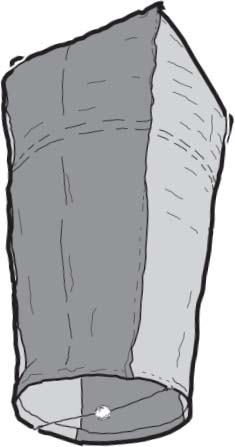
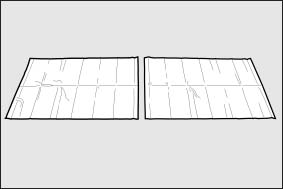
The Kongming Lantern has a unique tapered shape that has a square cross-section at the top and a round cross-section at the bottom. The design in this book is about 48 inches (120 cm) tall and 24 inches (60 cm) wide at the top.
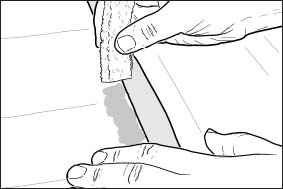
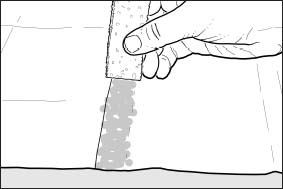
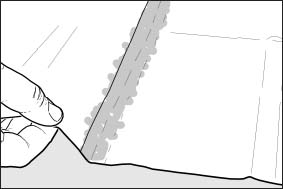
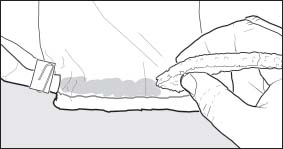
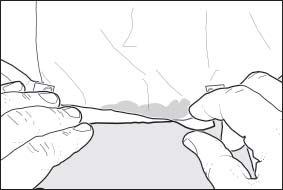
The balloon envelope is made from tissue paper glued together with diluted white craft glue (PVA glue). The tissue paper panels making the envelope are joined together with a “fin seam” that sticks out from the surface of the envelope. This type of seam is very easy to form and, more important, is very easy to make airtight. Leaks allow the hot air to escape, and the balloon will not fly as well.
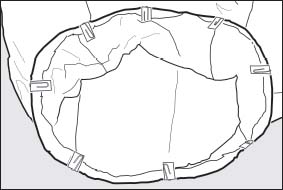
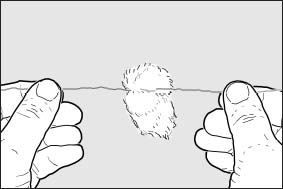
There is a ring made from thin iron wire fixed into the opening at the bottom of the envelope. A simple cotton-ball burner is fixed into the middle of a thin wire stretched across the middle of the base ring.
The Kongming Lantern is one of the easiest tissue paper balloons to make, because it has simple, straight seams and is made from only four panels. As it has such a simple envelope and also uses a simple burner, the Kongming Lantern is a good design to choose for your first tissue paper balloon.
As the name suggests, Kongming lanterns are usually released at night. Because of the thin tissue paper used to make them, the whole envelope glows brightly when they fly. Kongming lanterns are released in large numbers during the Chinese Autumn Festival. Many people write their hopes for the new year onto the paper envelope before they release their balloon.
If you want to launch a balloon at night, you need to have a bright luminous flame in your burner. The color of the flame depends on the type of fuel you use and how well it burns. Kerosene and diesel fuel are good for night launches, as they burn with a bright yellow flame. Unfortunately, the flame also produces a great deal of soot, so the envelope usually lasts for only a couple of flights as it gets so caked with soot.
You’ve probably heard the simple explanation that a balloon rises because the gas inside is lighter than the surrounding air. But why should a bubble of gas rise just because it is lighter than the air around it?
Imagine you have two cube-shaped building blocks, both the same size, on a table in front of you. One is made from a light wood, such as pine or balsa, and the other darker block is made of metal.
Both blocks press down on the table beneath them, but obviously the metal block presses down harder because it is heavier. The weight is spread out over the area of the bottom of the block, and we call a force spread out over an area pressure. The pressure under the metal block is higher, even though the area in contact with the table is the same for each block.
Now imagine that you put four more metal blocks on top of both blocks to make a square column.
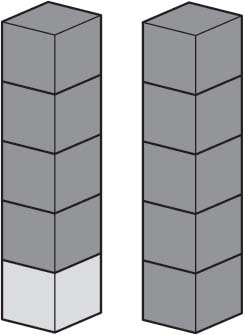
Now the pressure has increased under both blocks. But the pressure under the wooden block is still a bit less than the pressure under the metal block, because the weight of the five metal blocks is more than the weight of the wooden block plus four metal blocks.
Take the wooden block and put it under the surface of the water in a fish tank.
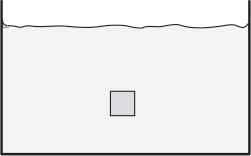
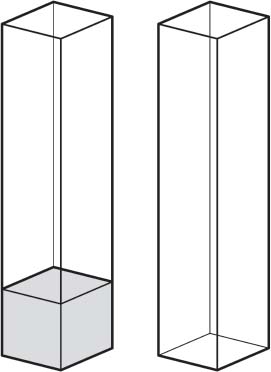
A cube of water doesn’t weigh as much as a cube of metal, but it is still heavier than the cube of light wood. So in the tank you get something just like the stack of blocks on the table. Imagine two square columns next to one another made of water. They don’t flow out sideways because there is more water all around them, but gravity still makes the water press down.
The pressure under each column depends on the weight of the whole square column. The light wood weighs less than the same amount of water, so the pressure under the all-water column is higher than the pressure under the column with a wooden block at the bottom. Of course, there are identical all-water columns surrounding the wooden block. Because the surrounding water pressure pushes up against the bottom face of the block harder than the block itself is pushing down, the result is that the block is forced up.
It may seem that this explanation has moved a long way away from balloons, but the air behaves in the same way as water in a tank or pool. In fact, you could say that we live at the bottom of a swimming pool of air that covers all of the Earth. Of course, the pool is about 60 miles (100 km) deep!
Because air pressure works the same way as water pressure, a lightweight balloon of hot air receives an upward push in the same way as the block in the pool. The balloon is lighter than the same volume of air, so the pressure on the bottom of the balloon is a little less than atmospheric pressure. The air pressure pushes the bottom of the balloon up.
Adult supervision required
Materials
8 sheets of tissue paper, 20 inches by 26 inches (50 cm by 66 cm) or larger
1 cup (240 mL) diluted white craft glue (1 part PVA glue to 5 parts water)
6½ feet (2 m) thin, soft iron wire
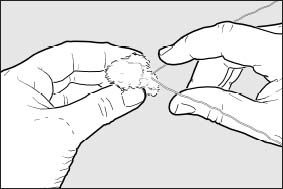
Cotton ball, about 2 inches (5 cm) in diameter
1 fluid ounce (30 mL) kerosene
Tools
Narrow sponge or brush (to apply glue)
6 straight (dressmaker’s) pins
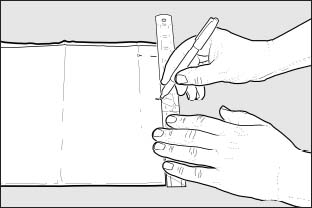
Ruler
Pen
Scissors
Long, straight-edge plank of wood or similar
Heavy books or food cans to hold down the tissue paper
Clean sponge and dry cloth
Pliers (with wire cutters)
8 paper clips
8 cardboard rectangles, 2 inches (5 cm) long by 3/4 inch (2 cm) wide, folded in half
Before You Start
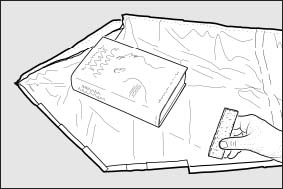
You will need a large, flat surface to build your balloon. You can use a table or the floor, but whatever you use is going to get glue on it, so make sure the glue won’t damage it. You can help to protect the table or floor by cutting trash bags into large plastic sheets to cover the work area.
If you do cover your table with plastic sheets, you can leave the balloon on the table to dry, as white craft glue will not stick to the plastic used to make trash bags. The balloon will dry more slowly if you leave it on the table rather than hang it up, but it is a lot easier.
As with any tissue paper balloon, it is a good idea to have the bottom 12 inches (30 cm) of the balloon coated with a fire retardant. You need to coat the tissue paper before you create the balloon—see chapter 11 (page 221) for instructions.
When you make a tissue paper balloon, most of your time is spent waiting for the glue to dry. If you have a blow-dryer, you can make a balloon much more quickly by using the blow-dryer to blow warm air at the glued seams. Don’t use a fan heater or other room heater as they can set the tissue paper on fire.
What to Do If Things Go Wrong
Holes in tissue paper are easy to fix, and a repaired Kongming Lantern will still fly well. You can find instructions for repairing holes in chapter 11 (page 211).
In fact, check chapter 11 if you have accidentally glued parts of the panels that shouldn’t be glued together, if you need a recipe for a different glue, if you cannot find the right materials, or if you have any other problems.
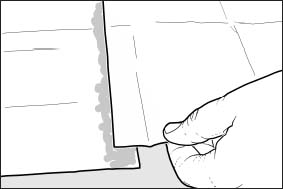
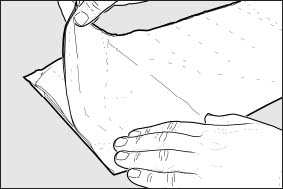
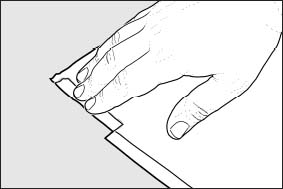
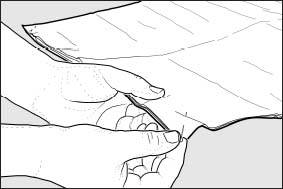
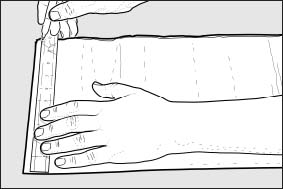
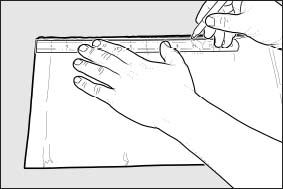
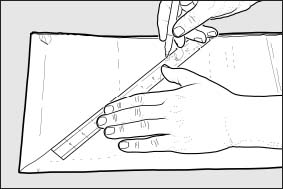
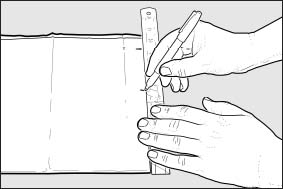
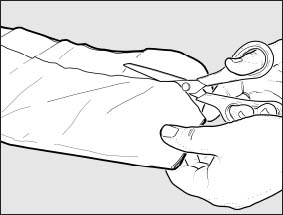
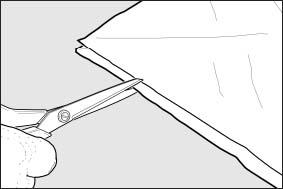
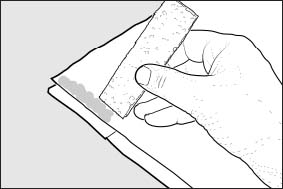
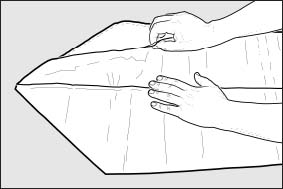
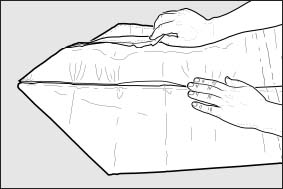
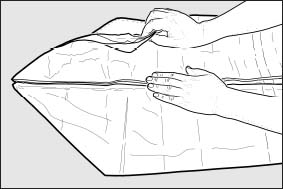
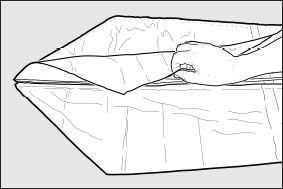
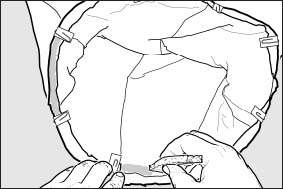
How to Make the Envelope


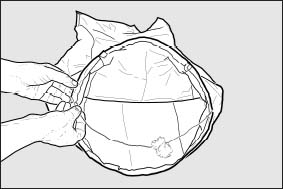
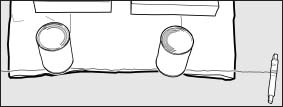
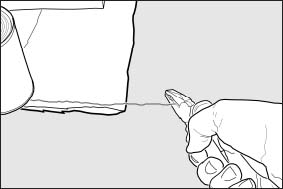
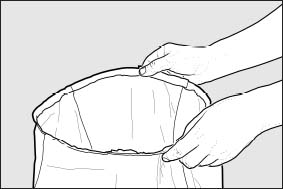
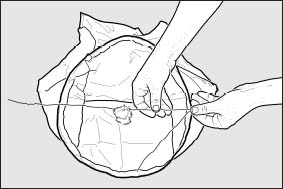
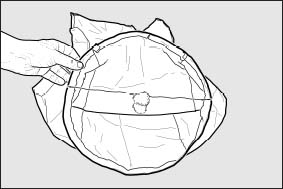
How to Fit a Thin Wire Ring
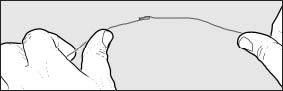
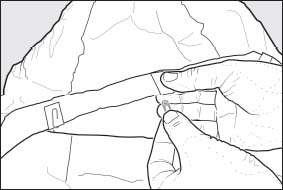
Because the tissue paper gets very weak when it is wet, you should only glue alternate gaps between the cardboard strips. You can glue the rest after the first gaps are dry.
Repeat these steps until you have glued half of the gaps. Put the balloon to one side and prop the base ring up until the glued flaps are dry. Remove all of the cardboard strips. Hold the balloon up and rotate it until one of the loose flaps is toward you. Lay the balloon on the table or floor and draw the near edge of the base ring toward you to ensure that none of the envelope is trapped underneath.
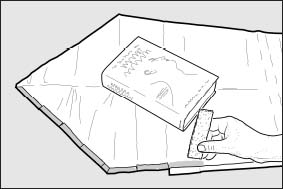
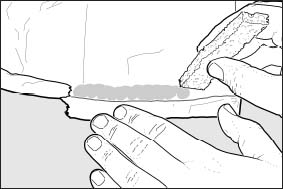
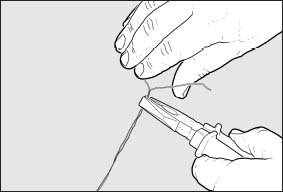
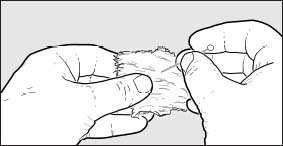
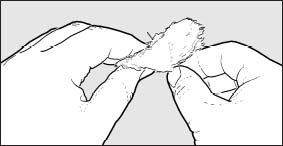
How to Make a cotton-Ball Burner
What Next?
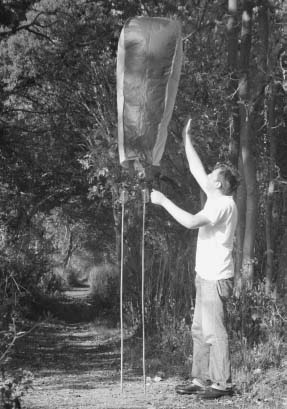
Check the envelope for any leaks by inflating it over an electric toaster or similar heater (see page 29). Look for gaps in the seams or holes in the tissue paper and repair them (see instructions in chapter 11, page 211). Take care not to scorch the cotton-ball burner. Once you have fixed any leaks, the balloon is complete and ready to fly. See chapter 2 (page 33) for instructions on flying a balloon with a burner.
Applying a fire retardant to the tissue paper will almost completely eliminate burn-ups on launching. If the wind catches the burner flame and pushes it onto the side of the envelope, all that will happen is the flame will scorch a hole through the tissue paper.
Be aware that grazing animals will often try to eat a crashed balloon and may be injured if wire has been used to make it. If you live in an area that contains a lot of livestock, you can make a Kongming Lantern with a wire-free burner. Make the envelope as described in this chapter (steps 1 to 28) and follow the instructions to fit the wire-free burner from chapter 6 (step 35 onward). Because the Kongming Lantern has less lift than the Montgolfiere, you will need to use 1/8-inch-by-3/16-inch (3 mm by 5 mm) balsa wood sticks instead of ¼-inch (6 mm) hardwood dowels. (If you can find a dowel smaller than ¼ inch, this might work as well.)
If you want to make a larger, more traditionally shaped Kongming Lantern, start by gluing three sheets of 24-inch-by-20-inch (60 cm by 50 cm) tissue paper together along their long edges as shown.
Make four panels like this and follow the instructions in this chapter from steps 6 to 28 to make the envelope.
In step 12 you should measure 8 inches (20 cm) up from the fold rather than 6 inches (15 cm) so the opening is a bit bigger.
This Kongming Lantern will need a heavier ring than the one described in this chapter to keep it upright. Use a rattan ring (chapter 7) or a simple thick wire ring (chapter 8). You can fit any burner from the other chapters, but the waxed string burner (chapter 7) is the closest one to a traditional Kongming Lantern burner.