When I want to enhance my photos, add special effects or create artistic interest, I often do one of two things: (1) I apply an action or two and tweak them to suit my particular photo and/or (2) add a subtle application of texture.
An action is a scripted effect that you can apply to your image in Photoshop Elements or CS. You load the actions into Photoshop, press a button and the software runs through the script, applying a number of edits that you can later tweak by increasing/decreasing strengths or hiding the effects of portions of the script. You can use more than one action on a photo and also add some of your own enhancements/corrections (refer to my top five correction tips in chapter seven of this e-companion).
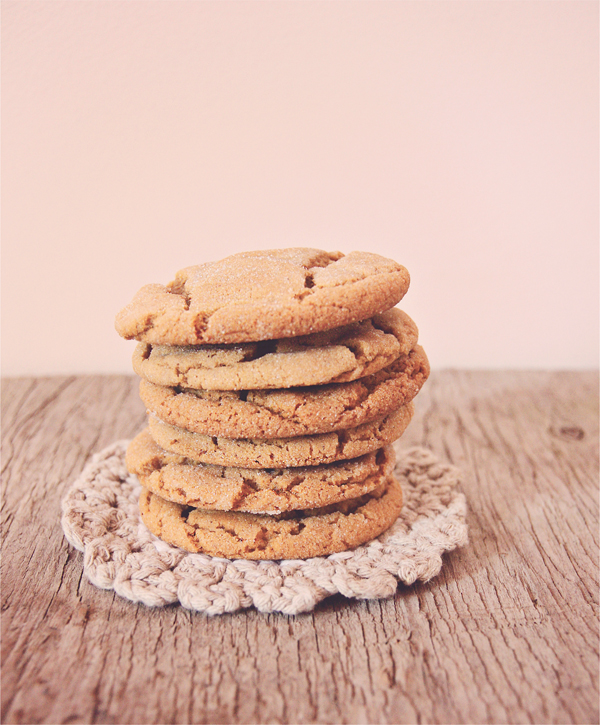
My favorite actions by far are created by MCP Actions™ at www.mcpactions.com. Founder Jodi Friedman creates actions for both Photoshop Elements and Photoshop CS (as well as presets for Lightroom). The examples in this chapter utilize her Spring Splendor set. I used multiple actions for each one, and tweaked them to best suit each photo. A couple of these images have appeared in the book before, and now I present them to you with fresh and creative looks that have a hint of vintage and a dash of retro.
When it comes to adding texture layers to your work, think subtle. You want to enhance the subject matter, not overpower it. Textures come in a variety of tones and styles. Some add grit, grain and scratches to your photos, while others can add faux light, tinting and even painterly effects.
I’ve invited Merek Davis, the creator of the texture sets called Mextures (www.mextures.com) and the creator of the Mextures app, to share his tips for adding textures to imagery.
Open up your photo and your texture image file (Tip: Ideally, the texture file should be about the same size or larger than your main photo for image quality purposes. You can sometimes get away with applying somewhat smaller textures and resizing them up, as long as you move the opacity slider way down, which hides loss of quality). Go to Window> Images in Elements or Window> Arrange in CS and select an option for displaying both your files in the workspace.
I usually choose the ‘Float All in Windows’ option or the ‘Tile’ option, but choose one that works best for you. Using the Move Tool, click and drag the texture file over the photo. Resize if necessary by clicking and dragging on the tiny boxes that appear at the edge of the image. Apply a Blending Mode from the Layers Palette. Reduce opacity of the texture layer to keep things subtle. Repeat this process when adding subsequent texture layers.

Photoshop Elements - In this screenshot I am applying one of Merek Davis’s Premium Mextures textures to my rose photograph in Photoshop Elements 12. I decided to apply the ‘Screen’ Blending Mode set at an opacity of 100% (full strength is rare for me, but it works in this case, as the texture is a subtle, lovely one).
Pixlr’s regular Editor (free at www.pixlr.com) allows you to apply a texture image file to your photo in much the same way as in Photoshop. Open your main image in the program and go to Layer> Open Image as Layer and select your texture file. It will open the texture image and automatically place it over the working file. You have some options if the files are not the same size.
You can either use the Crop Tool to crop both to the same size, or change the size of one of the images by first selecting its layer in the Layers Palette and then going to Edit> Free Transform. If you decide to reduce the size of the main image (which I don’t recommend for quality and printing purposes), you’ll see white background – just crop it out with the Crop Tool. You can also move the texture with the Move Tool (located to the right of the Crop Tool in the Tools Palette). Next step: In the Layers Palette, click on the triangular icon ‘Toggle layer settings.’ The Blending Mode pull-down menu will appear, as well as an opacity slider.
In Pixlr’s Express Editor go to Overlay and choose a set of textures to experiment with. I am a fan of ‘Grunge,’ ‘Canvas’ and ‘Color correction.’ Remember to reduce the strength of the texture with the ‘Amount’ slider.

Here is the same maneuver being carried out in Pixlr’s regular editor.
Mextures, DistressedFX, Grungy, ScratchCam, MonoVu, Layrs, VintageFX, PicGrunger, Pixlromatic, 100Cameras, Snapseed, Filter Mania, Magic Hour, Cameramatic
Mobile Photography apps that allow you to apply your own textures and blending modes: Blender, DXP, Superimpose.
Looking for textures to add to your work? Of course you can develop your very own texture library – take photographs of grungy and scratched textures, scan painted backgrounds, use captures of the sky at sunset. Stretch your imagination to find textures in your environment. Online resources that I recommend include:


Multiple Editing Effects - I applied multiple actions to each of these photos from the MCP Actions™ Spring Splendor set (the sets are available for both Photoshop CS and Elements). I tweaked settings and made further customized enhancements to get the looks I desired.

Merek Davis—This image was one of my favorites to use Mextures on. In fact, I created 12 different edits using this image for the Mextures launch page to show the diversity of the app. This particular edit is my favorite.

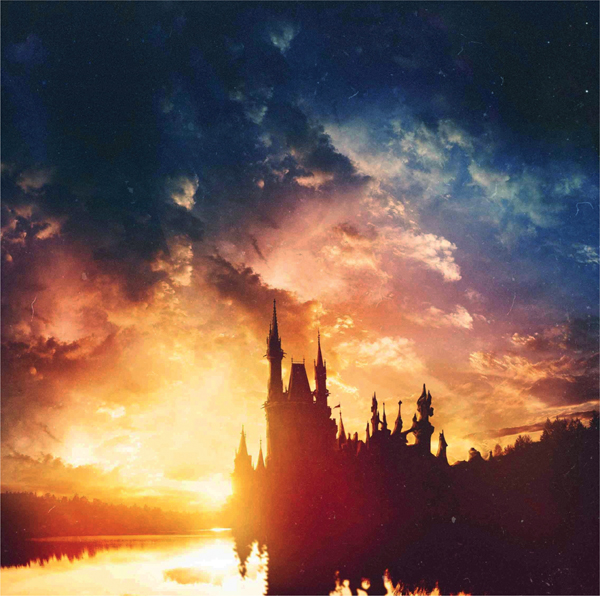
Merek Davis—This snap is actually a composite. It was one of my first times blending/overlaying clouds with a subject.

Merek Davis—I love beautiful skies. If you look through my work, you’ll notice it’s primarily dominated by large skies and castles.

Merek Davis—Fog and forests – that makes for a great recipe. This particular image was edited with VSCO Cam for fade and tint, and then Mextures for additional coloring and light leaks.