Creative blur will transform your photos into soft, dreamy, ethereal images. Here’s how you can get the look.
I have one for my Canon DSLR (they also make them for Nikon), which comes with a Composer Pro lens that accommodates interchangeable optics which add specialized blurs to your shots. The kit comes with the following optics: Pinhole/Zone Plate, Plastic, Single Glass and Double Glass. I recently acquired their Edge 80 and Sweet 35 optics, which I am thrilled with. You can move and tilt the Composer Pro lens and decide where you wish the focus to be. For more information on Lensbaby products visit www.lensbaby.com.


Edge 80 - This provides a sharp slice of focus surrounded by blur. The optic allows you to create tilt-shift effects without having to break the bank on an actual tilt-shift lens.

Double Glass Optic - This gives a sharp focal center and applies a blur to the rest of the image. For this shot, I manipulated the lens and moved in close so that the entire shot would be blurred. I enjoy the way this optic warped my silhouetted subject, adding to the feeling of movement.

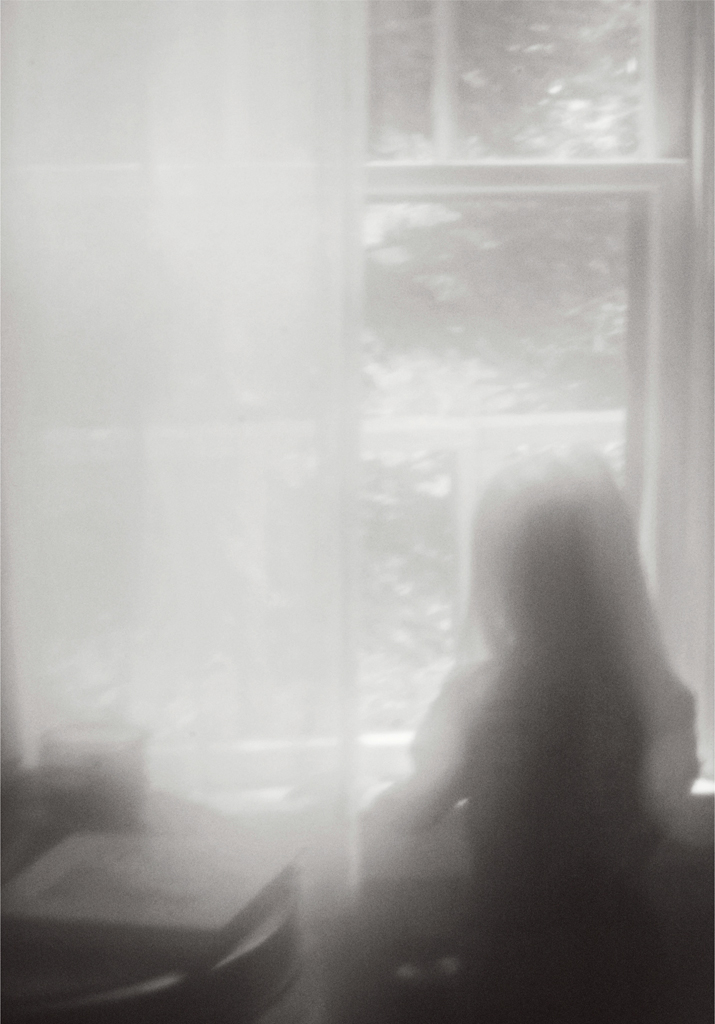
The Pinhole/Zone Plate - This is the dreamiest Lensbaby optic. It gives you glowing, soft photos with sharper edges. I especially love to use it when photographing silhouettes of my children as they stand in a brightly lit window.

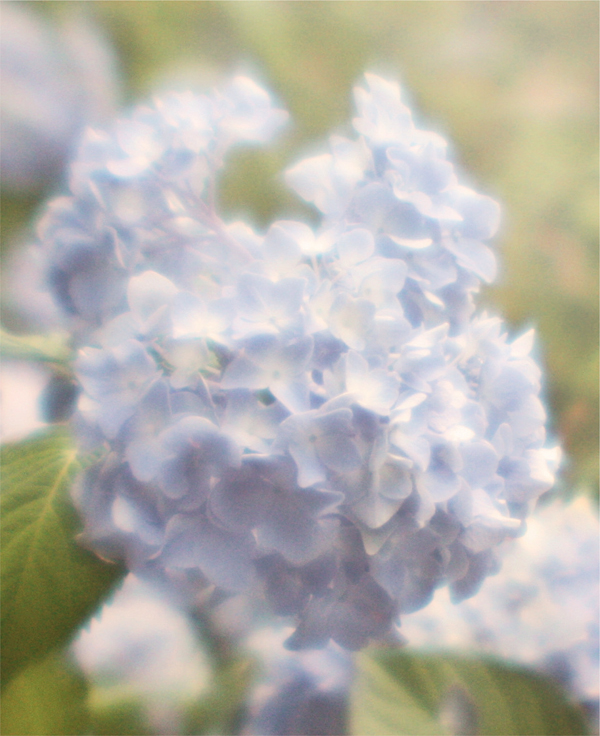
Lensbaby’s Plastic Optic - This produces soft images with chromatic aberration, which essentially is discoloration on the edges of subjects – where wrong is oh so right! Using Photoshop, I added a white Gradient Fill Layer to this photo and lowered the opacity, giving it a further dreamy, light-flooded appearance. Layer> New Fill Layer> Gradient

Sweet 35 - Sweet 35 will give you a clear focal center called a sweet spot, and will blur the areas that surround the sweet spot. I added a subtle texture by Nichole Van (more on adding textures to images in the next chapter).
Visit Pixlr.com to access this amazing free online photo-editing software. The Pixlr Express Editor has a tool that allows you to add an in-focus circular sweet spot surrounded by blur, or a slice of focus surrounded by blur. Go to Adjustment> Focal to access the tool. You can select an area of focus, taper the area that moves from focus into blur, and adjust the strength of your blur. You can also add a ‘Color boost’ or ‘Glow boost.’
Apps that will give your mobile photos dreamy blur, bokeh, lens flare, light leaks and more.
For blur: PixlrExpress+, FocalLab, BlurFX, Layrs
For lens flare: LensFlare, LensLight
For light leaks and more: Mextures, iDarkroom, AfterLight, Pixlromatic, PicFX


Focal Blur Tool - Pixlr.com’s Express editor has a Focal Blur tool that allows you to add creative blur to your shots in the post-editing stage (go to Adjustment> Focal). EXIF data for original shot: 15-85mm f/3.5-5.6 lens at 15mm, ISO 200, f/6.3 for 1/100 sec.
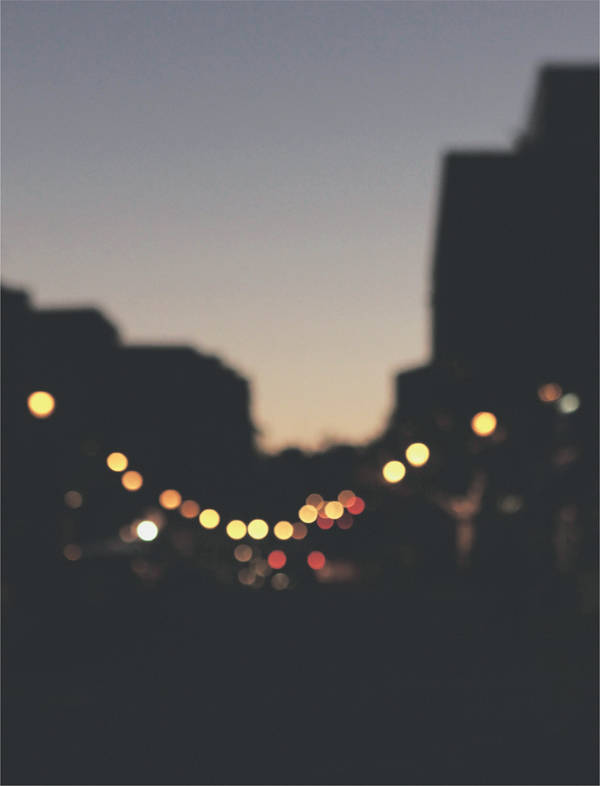
An easy technique for rendering your photos a dreamy blur with bokeh (where the points of light in your scene are converted into soft circles of glowing light) is to select your lens’s widest aperture setting and manually twist your camera’s focus ring until you achieve just the right amount of this effect. You’ll want to see a little bit of detail in the composition, so don’t blur it too much. Tip: Be sure to first flip the switch on your lens barrel to MF (manual focus). Performing this technique in AF (autofocus) can harm some lens mechanisms.

Create Dreamy Blur - Creating dreamy blur in your shots is easy – just throw your aperture wide open, flip the switch on your lens barrel to MF and twist the focus ring until you achieve the perfect bokeh and desired amount of blur. 24-70mm f/2.8 lens at 70mm, ISO 400, f/4 for 1/125 sec. I applied Camera Bag 2’s ‘matte’ filter to the image.