“When first the soil receives the fruitful seed make no delay, but cover it with speed!”
—Virgil, The Georgics
I remember the first time I planted a seed, and my wonder (mixed with disbelief) that such a small, flat, dry-looking capsule could contain the makings of a plump, orange pumpkin. To this day, I am filled with childlike excitement whenever I hold seeds in the palm of my hand and contemplate the miracle inside each one.
Nothing gives you more value for your money than a packet of seeds. Spend some time browsing seed selections in catalogs (see Resources), and you will discover an array of plants seldom found in nurseries. For just a few dollars, you will be able to plant rare heirloom varieties once cherished by your ancestors, wildflowers from your childhood, or a diverse selection of vegetables with tastes unrivaled by market produce.
You won’t find a litany of basic how-to-plant directions in this chapter; that subject is well covered in many books. Instead, I want to share some shortcuts and oddball planting tips that always work well for me.

The smaller seeds plant shallow,
The bigger seeds plant deeper.
If you forget this simple rule,
Your seeds will all be sleepers!
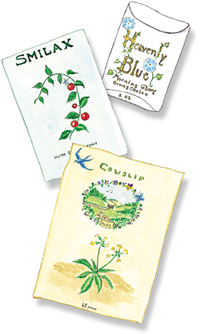
Seed cover (the soil atop seeds) is one of the most important keys to success. Bury seeds to a maximum of three times their diameter, and be sure to keep them moist or the germination process will stop. The tiniest seeds need only be shaken across soil and patted into place. A gentle watering with a fine spray secures them.
Scarify impermeable seed coats (such as lupine and morning glory) by rubbing them across a small piece of drywall sanding screen (100 grit). Staple the screen near the edge of your potting bench, place the seeds on the screen, and rub them back and forth with a block of wood. If you don’t want to wrestle with a sanding screen, brew a cup of hot tea and drop your seeds into the water for an overnight soak.
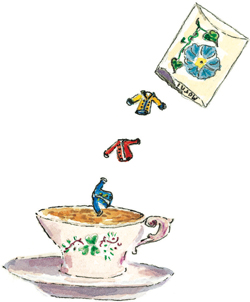
My child’s-eye view of seed coats.
Germinate large seeds (such as moon vine, morning glory, or gourd) between two sheets of damp paper towels. Wet the towels thoroughly, sprinkle the seeds across one sheet, top with another, and tuck the wet towels into a clear plastic bag. Check the seedlings in a week. If you have green sprouts, it’s time to plant them in soilless potting mix. Sow the seedlings in a 1½- to 2-inch-deep tray, or in homemade paper pots filled with moist potting mix. Water them gently and enclose the tray or pot in a plastic bag or plastic wrap—you’re creating a mini-greenhouse. Then set the plants in a warm, well-lit area.
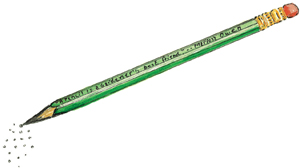
Use a pencil as a triple-duty tool. End the frustration of trying to perfectly space and plant tiny seeds. Sharpen a lead pencil to a fine point, and dib it into moistened planting mix—it must be moist to work—to the correct depth. Lightly touch the tip of the lead to a seed, and it adheres like magic. Gently poke the seed into the hole. Use the eraser end of the pencil to cover the seed with the planting mix.
To help keep seeds spaced well apart, you can buy Paper Planting Tapes—or you can easily make your own seed tapes. Mix some water and flour to a thin consistency and paint it (or squirt it from a squeeze bottle) onto the center of a long piece of toilet paper. Sprinkle fresh seeds into the moist goo. When it’s dry, place the tape on a weeded and prepared bed.
Fill an empty grated-cheese container with soil, sprinkle a light dusting on top of the tape, and water thoroughly. Keep seeds moist until germination, then water as needed.
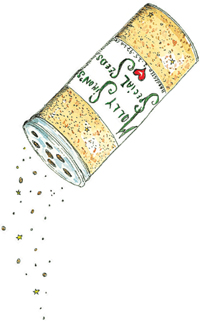
Make the chore of sowing tiny seeds easier by mixing them with a handful of fine sand in a grated-cheese shaker. Then, rake your bed or prepare your pot, and shake the seed mix lightly onto the soil.
Many of the tiniest seeds and seedlings are eaten by slugs or birds. However, for some reason birds won’t touch a bed that’s covered with small chipped gravel, and slugs won’t traverse the sharp terrain. When planting, spread a thin layer of gravel across the potting mix or soil, then simply shake the seeds on top and water thoroughly. The gravel acts as a protective mulch and reflects light and heat.

“Nothing which gives us a happy hour can be insignificant.”
—Dr. George Johnston, 1858
Prevent damping-off, a fungal disease that attacks and destroys seedlings, especially those started indoors and in greenhouses. If your seedlings are wilted, have keeled over, or have a rotten spot at the base of their stems, there’s a good chance they have this fungus. Remove any sick plants and toss them into the trash.
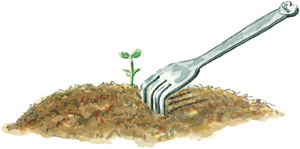
Now use a damping-off fork “rake” to cultivate the soil around the remaining plants. Provide plenty of light and good air circulation (try a small fan set on low), and water seedlings with chamomile tea (see here).
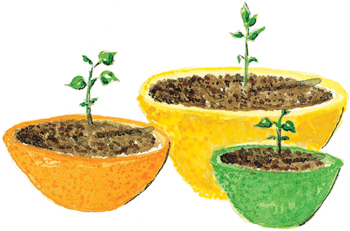
Fill the containers described here with soilless seed-starting mix, drop in the seeds, and water thoroughly.
Empty rinds of grapefruits, lemons, limes, and oranges make excellent little starter pots. You can transplant rinds directly into the garden soil.
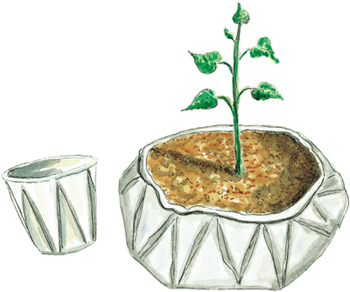
Those pleated paper drinking cups you find at the water cooler make great expandable little pots. Place the open end of the cup against your mouth, and give a strong blow; the cup will expand to more than double its size. When you’re ready to transplant, just slit the sides of the cup and place it in the garden.
Or make your own biodegradable pots. Using a soup can as a mold, wrap two sheets of newspaper around the outside of the can, fold the leftover paper to shape the bottom, and tape it to hold it in place. Run a piece of tape around the center to strengthen the sides, then slip the paper pot off the can. Recycle empty milk cartons, soup cans, Styrofoam cups, yogurt and cottage cheese containers, and take-out food containers as planters. Make sure to provide drainage holes.
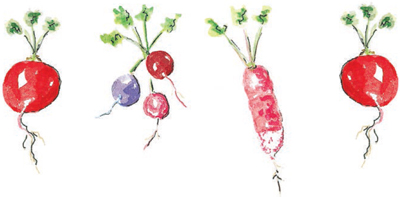
Help your tiny seeds push their way through crusty soil by planting “markers”—larger, tougher, faster germinating seeds—nearby. Victorians always planted the round, robust seeds of radish along with their tiny carrot seeds. Markers not only break the crust for the smaller seeds, but also delineate exactly where they’re planted—a great aid when you’re weeding. Use radish marker’s for your poppies, evening primrose, and other tiny seeds.
If you’re starting seeds indoors in a cold cellar or porch, you might want to draft your heating pad into service (it must be suitable for moist heat). Many plants need soil that’s at least 50 degrees to germinate. So warm it up with a pad set at the lowest setting.
Professional growers reduce their irrigation chores and keep plants moist by setting containers on capillary mats—fiber pads that hold moisture and keep it moving. Make your own mats by laying a sheet of black plastic on the ground and topping it with 10 to 12 sheets of newspaper. Place your potted plants on the newspaper and water them thoroughly. Runoff is absorbed by the paper, then slowly released back to the plant. (You can use these mats for about 2 months; then throw them into your worm bin or compost pile.)
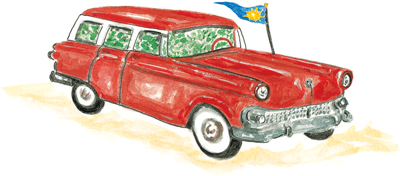
A station wagon or van (with windows) can double as a temporary greenhouse and protect your seeds and seedlings from birds, squirrels, and insects. Lower the rear seats and spread plastic across the bed. Move newly sown flats and pots onto the plastic, park your car in a partially shaded location (cars heat up rapidly), and roll the windows down a few inches. Water as needed.
“Into the prison of the seed comes water, the liberator!”.
—D. C. Peattie
Poke chopsticks into a newly prepared and seeded bed. Place small plastic bottles over the exposed ends of the chopsticks (so as not to rip the material). Cover the bed with a sheet of floating row cover or coarse cheesecloth. Hold the edges down with small rocks. Water with a gentle spray. The cloth protects seeds from washout, slugs, snails, and seed-eating birds. Remove the cover when the seedlings show two sets of true leaves (see sidebar).
Bury pieces of human or dog hair around seedlings to deter the critters who try to feast on them. Hair also contains nutrients that will nourish young seedlings.
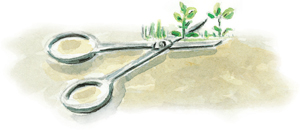
Overexuberant sowing of seeds leads to a thick mob of seedlings, and if they aren’t thinned, none of them will thrive. Because pulling out seedlings can injure the survivors, use cuticle clippers or small scissors to cut the extras at soil level.
If you want to save the seeds of your favorite annuals and perennials, tie a colorful ribbon on the stems in bloom. After the seeds have flowered, find the ribbon, enclose the seed head in a brown paper bag, and tie it closed. Clip the stem and hang the bag indoors to dry. Remember to label the bag with the flower’s name and description.
