

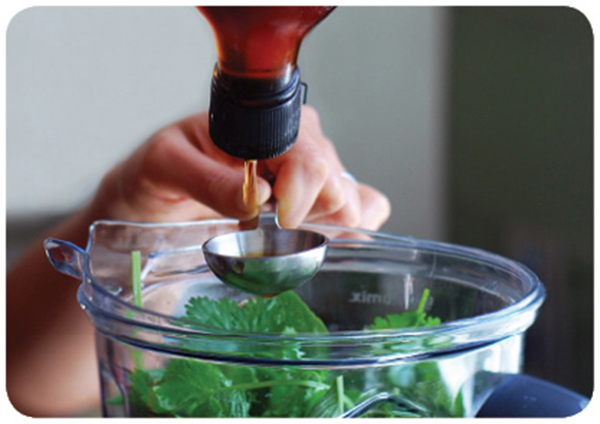
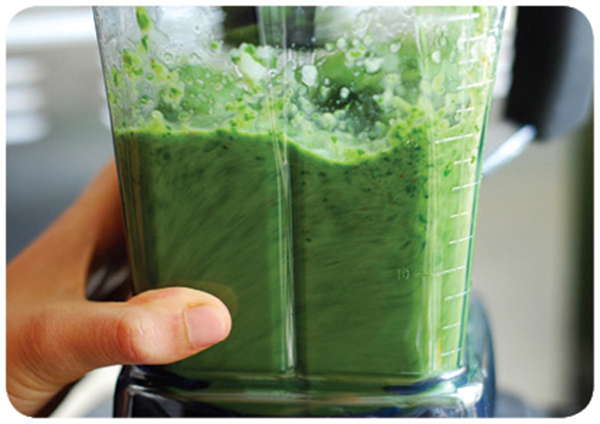
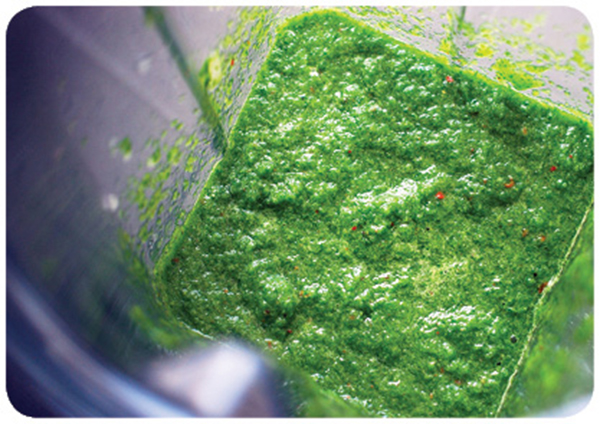
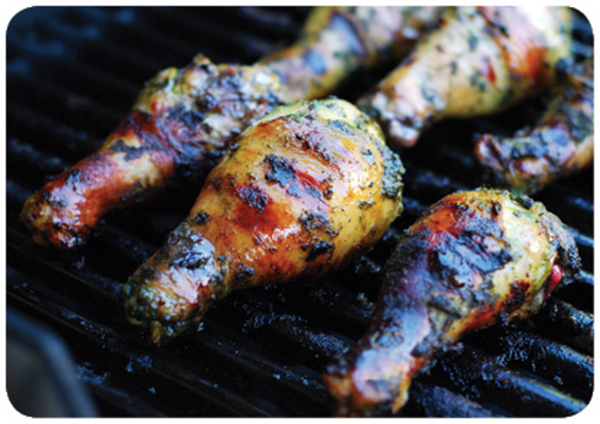
After pestering my crazy-awesome chef sister for a Paleo marinade recipe, she finally relented and sent me the secret formula for her go-to, Thai-inspired, green herb marinade. This stuff is truly phenomenal—and not just on chicken.
| Makes 6 servings | 1 medium sweet onion, coarsely chopped (about 1 cup) | |
| Hands-on time: 15 minutes | 1¼ cups packed fresh basil | |
| Total time: 2 hours | 1 cup packed fresh cilantro (leaves and stems) | |
| ¼ cup packed fresh mint | ||
| 3 garlic cloves, peeled | ||
| ¼ cup Paleo-friendly fish sauce | ||
| 2 tablespoons apple juice | ||
| 1 teaspoon Aleppo pepper or red pepper flakes | ||
| ½ teaspoon freshly ground black pepper | ||
| Finely grated zest from 1 medium lime | ||
| 3 pounds skin-on chicken drumsticks or thighs | ||
| 2 limes, cut into wedges |
DO THIS:
Instead of using the green stuff as a marinade, try drizzling it in soups or on grilled meats!

No, I’m not talking about processed hunks of fried pink slime served up in fast food containers. Instead, we’re making nuggets from pieces of whole breast meat, brined for maximum juiciness and fried in healthy fats. These crispy chicken pieces are the perfect finger food for anyone who loves eating with their hands.
| Makes 6 servings | 6 cups water | |
| Hands-on time: 20 minutes | 6 cups water | |
| Total time: 1 hour | 1 cup ghee or fat of choice, for frying | |
| 1 cup tapioca powder or arrowroot powder | ||
| 4 large skinless, boneless chicken breasts (about 2½ pounds), cut into ½-inch-thick nuggets | ||
| Fleur de sel or other coarse sea salt (optional) | ||
| ½ cup Sriracha Mayonnaise, Lemon Honey Sauce, Honey Mustard Dressing, Avocado + Basil Dressing, Paleo Ranch Dressing, or Louisiana Rémoulade |
DO THIS:

JUICY LEAN MEATS: NOT AN OXYMORON!
All too often, chicken breast and other lean cuts can turn out dry and powdery. The key to firm, juicy, savory chicken? Brining. Soaking lean poultry or pork in a salt water solution reshapes the protein molecules in the meat, keeping it plump and moist throughout the cooking process. Brining also breaks down the structural integrity of the meat, resulting in greater tenderness. Try it!

The best way to reheat cold nuggets is to fry 'em again. They may crisp up even crunchier than the first time!

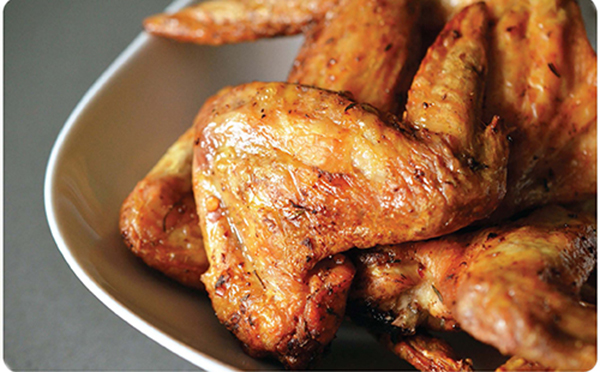
Hosting a party? Want to serve finger food that’s easy to prepare yet packed with umami? This recipe fits the bill. If you have time, marinate the chicken for a few hours in advance of cooking—but if you’re expecting guests within the hour, these wings will taste magical even if you’re making them to order.
| Makes 6 servings | 4 pounds chicken wings | |
| Hands-on time: 10 minutes | 2 tablespoons Magic Mushroom Powder | |
| Total time: 1 hour | ½ teaspoon Paleo-friendly fish sauce (optional) | |
| Melted ghee | ||
| 2 small limes, cut into wedges |
DO THIS:
Prepare this dish with thighs for an easy weeknight meal! Just cook for 15 minutes more, or until the internal temperature of the bird reaches 170°F.
Dip these wings in Sriracha Mayonnaise!
So you’ve had a long, stressful day, and no clue what to make for dinner. But you have chicken breasts in the fridge, right? Believe it or not, you can easily transform that cold poultry into hot, crispy paillards in 30 minutes or less. Plus, you can release your pent-up rage by going medieval on the chicken. Win-win!
| Makes 4 servings | 4 skinless, boneless chicken breasts (about 6 ounces each) | |
| Hands-on time: 30 minutes | ½ cup coconut flour | |
| Total time: 30 minutes | 1 tablespoon kosher salt | |
| ½ teaspoon garlic powder | ||
| Freshly ground black pepper | ||
| 2 tablespoons ghee or fat of choice, plus more as needed | ||
| 2 limes, cut into wedges (optional) | ||
| 2 cups Spicy Pineapple Salsa or Salsa Roja Asada (optional) |
DO THIS:

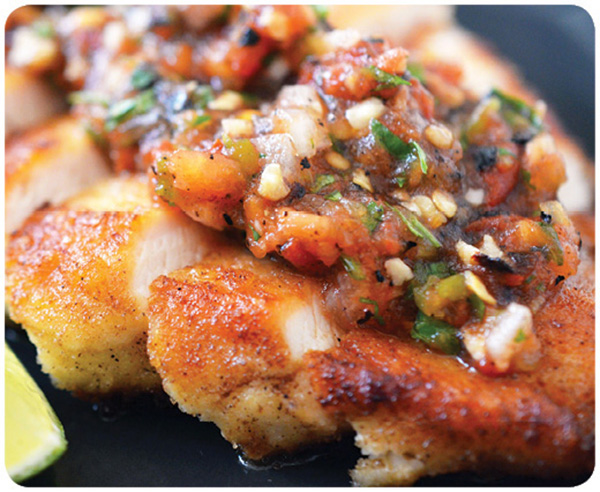
"Paillard" is a fancy French culinary term that describes a piece of meat that's been thinly sliced or pounded to facilitate quick cooking. It's fun to throw big words around!

Ever try to prepare a whole chicken in the slow cooker? With most recipes, the bird winds up overcooked, stringy, and dry. Super icky—but not with this recipe. This preparation will yield a moist, tender chicken and a thick, savory gravy. Serve it for supper, and everyone will lick their plates clean. Plus, you’ll finally get to show off that awesome gravy boat that your mom gave you.
By the way, the fish sauce is optional, but trust me: it adds a ton of umami to this dish. Omit it at your peril!
| Makes 4 servings | 2 tablespoons ghee or fat of choice | |
| Hands-on time: 30 minutes | 3 large leeks, white parts only, chopped medium | |
| Total time: 6 hours | 6 garlic cloves, smashed and peeled | |
| 1 teaspoon tomato paste | ||
| Kosher salt | ||
| Freshly ground black pepper | ||
| ½ cup chicken stock | ||
| 1 (4-pound) whole chicken | ||
| 1 tablespoon dried poultry seasoning or dried herb blend of choice | ||
| 1 teaspoon Paleo-friendly fish sauce (optional) |
DO THIS:
CHEW ON THIS:
Waste not, want not: save the chicken bones to make Bone Broth!

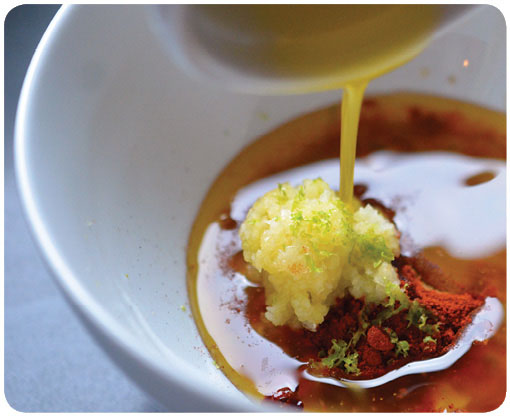
PERUVIAN ROAST CHICKEN
+ AJI VERDE CHILI SAUCE
Makes 4 servings | Hands-on time: 30 minutes | Total time: 8 hours
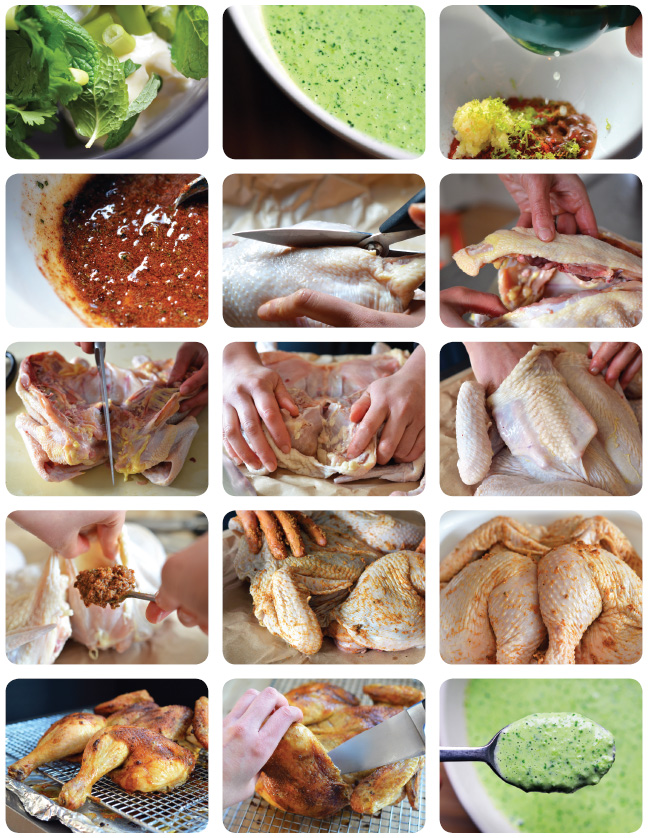
My childhood best friend, Evelyn, was born in Peru—but as kids, we were much more interested in the craptacular contents of our school’s vending machines than the South American dishes her mom would make. So it wasn’t until decades later that I finally had a taste of Peruvian-style roast chicken at a San Francisco restaurant. A paste of garlic and spices had been rubbed both under and over the crisp, golden-brown skin of the chicken, giving the tender meat a hint of tartness and smoke. I was hooked.
Making authentic Peruvian chicken at home, however, posed a few challenges. First of all, I don’t have a rotisserie. (My kitchen’s already overflowing with gadgets; one more appliance and my neat-freak husband will keel over.) Secondly, I don’t have easy access to the Peruvian black mint known as huacatay—a distinctively flavored Andean herb used to make the luscious green aji verde chili sauce that traditionally accompanies the roast chicken.
But I can never resist a challenge.
The solution to the rotisserie problem was simple: I’d spatchcock the bird before oven-roasting it. Spatchcocking sounds dirty, but it simply means removing the backbone and butterflying the bird to ensure that the breasts and thighs will cook to juicy perfection at the same time.
Finding common ingredients to replace the huacatay was tougher, but after some research and taste-testing, I found that a mix of fresh basil, cilantro, and mint produces a remarkably similar perfume and herby notes.
My recipe for homemade Peruvian chicken takes a bit of pre-planning and patience, but it’s a cinch to prepare and yields a juicy and intensely flavorful meal. Paired with the cool, tangy contrast of the aji verde chili sauce, this dish will be one that you’ll want to make—and devour—again and again.
Besides, it sure beats soda and chips from my high school’s vending machines.
GET:
Aji Verde Chili Sauce
2 tablespoons extra-virgin olive oil
2 garlic cloves, minced
3 jalapeño peppers, stemmed, seeded, and roughly chopped
1 scallion, roughly chopped
½ cup Paleo Mayonnaise
⅓ cup fresh basil
⅓ cup fresh cilantro
⅓ cup fresh mint
2 teaspoons fresh lime juice
1 teaspoon white vinegar
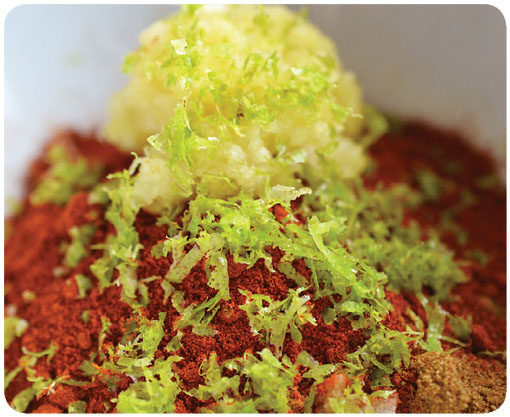
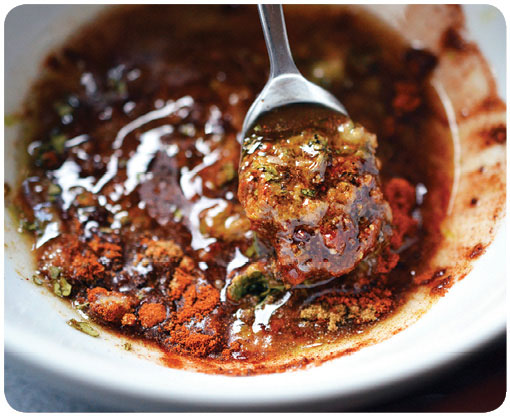
Peruvian Marinade
4 garlic cloves, minced
3 tablespoons melted ghee or fat of choice
1 tablespoon kosher salt
1 tablespoon freshly ground black pepper
1 tablespoon ground cumin
1 tablespoon smoked paprika
1 teaspoon dried oregano
Finely grated zest and juice from 1 small lime
1 (4-pound) whole chicken
DO THIS:
Spatchcock, spatchcock, SPATCHCOCK! I love that word.
EVERYTHING tastes better with aji verde chili sauce: from meat and fish to salads and soups!

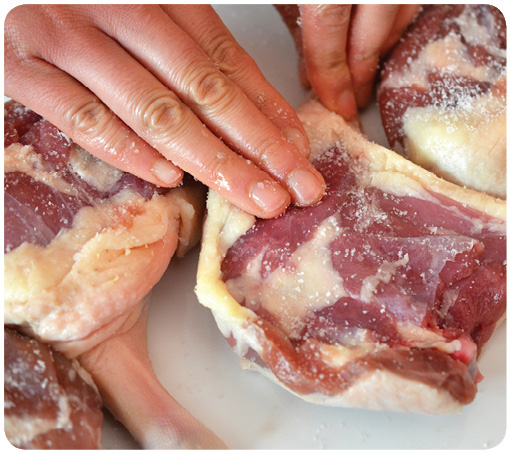
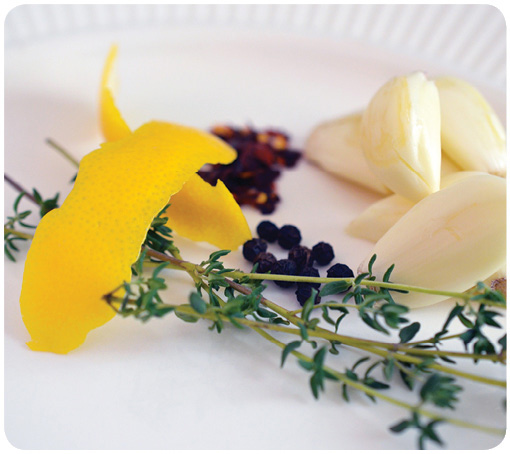
When it’s cooked properly, roast duck is sublime, with thin, crackling-crisp skin and moist, fork-tender meat. This slow-roasted duck is infused with bright, peppery aromatics, and it’s a cinch to prepare. Just give the marinade ingredients some time to intensify the flavors of the meat, and pop these duck legs in the oven for a comforting seasonal dish. Serve it up with an autumn salad, and you won’t be disappointed.
| Makes 4 servings | 4 duck legs | |
| Hands-on time: 20 minutes | 1½ teaspoons kosher salt | |
| Total time: 2 days | 2 strips lemon peel, each approximately ½ inch by 2 inches (use a vegetable peeler!) | |
| 10 whole black peppercorns | ||
| 6 garlic cloves, smashed and peeled | ||
| 4 fresh thyme sprigs | ||
| ½ teaspoon red pepper flakes | ||
| 1 tablespoon duck fat or fat of choice |

DO THIS:
Serve this with a simple salad of watercress and frisée, seasoned with salt and pepper, and tossed with Citrus Vinaigrette!
