KITCHEN NOTES

Definitions
To paraphrase Shakespeare: what’s in a name? A jam by any other name would taste as sweet. All preserves are variations on a theme of cooked fruit/vegetables and sugar or vinegar, but in order to avoid any confusion here are my definitions of the various preserves in this book.
▪ Conserve Made with the whole fruit, as for a jam, but the fruit is steeped in sugar before cooking, only briefly, so the final set is softer with more intact fruit.
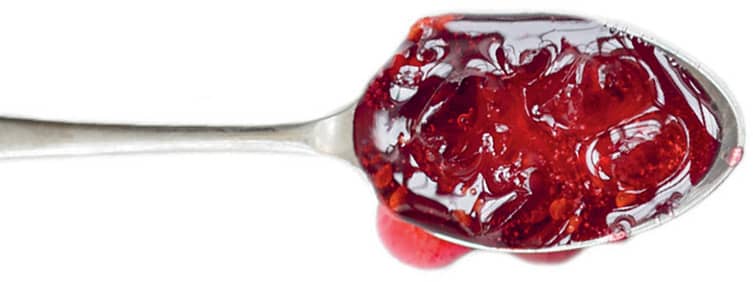
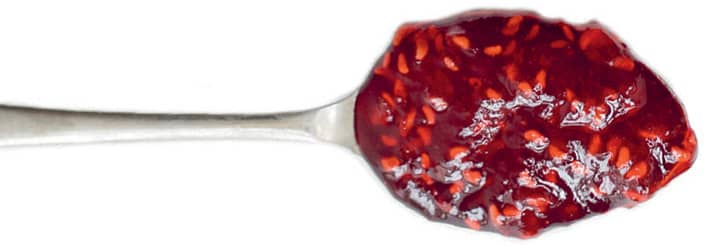
▪ Jam This, the simplest of the preserves, is fruit and sugar boiled together until set into a soft consistency. The fruit is usually cooked alone first, then the sugar added for a final boil.
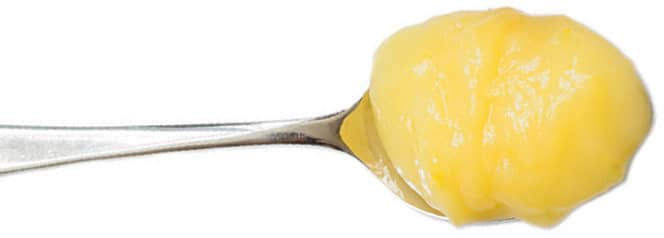
▪ Curd A cooked, thick-set fruit custard most commonly made with citrus fruits, which will last for a month or so in the refrigerator.
▪ Marmalade A jam that generally includes citrus fruits and sometimes their peel, which is softened by lenghty cooking. Good marmalades have a bitter edge to their sweetness.

▪ Cheese A strained jam that is boiled and dried to the extent that it can be set in a mould and sliced.
▪ Syrup The simplest syrup is a sugar solution in which herbs or flowers are steeped to release their flavour. Syrups can also be made with fruit juices, typically of berry fruits.
▪ Compote A compote has the lowest sugar level of any sweet preserve, and therefore must be kept in the refrigerator and eaten within a few days of making. Essentially it is stewed fruit.
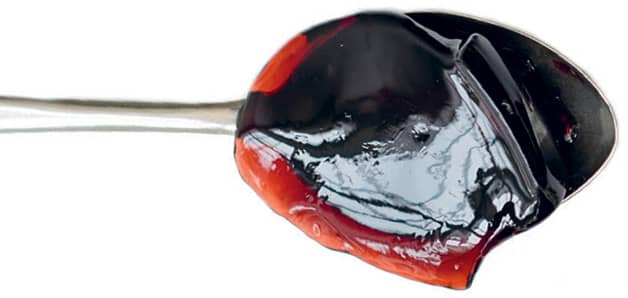
▪ Jelly Has a similar final consistency to jam, but is made with only the juice of the fruit, resulting in a clear, smooth product. Not to be confused with the US application of the word jelly, meaning a jam preserve.
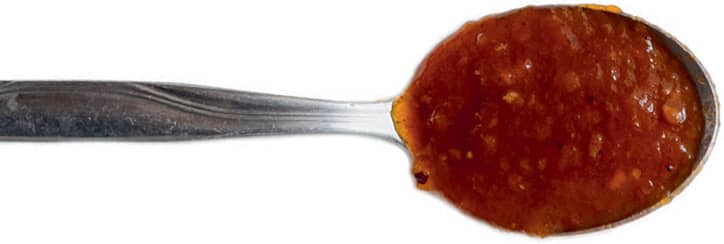
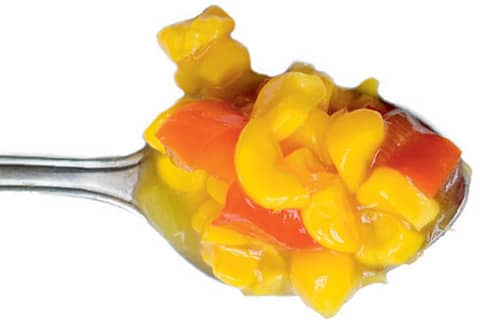
▪ Ketchup Traditionally a sauce made with a single vegetable or fruit cooked with vinegar and sieved to a smooth consistency. Modern ketchups sometimes combine more than one vegetable/fruit.
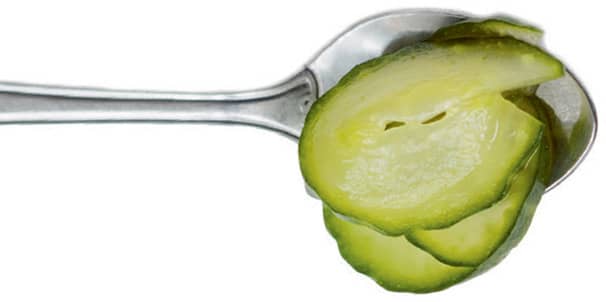
▪ Pickle Fruits or vegetables preserved in a salted or sugared vinegar. Generally the prettiest of the savoury preserves.
▪ Relish Although a relish may have virtually the same ingredients as a chutney, these are cooked only briefly so the vegetables or fruit retain more bite. They do not keep as long as a chutney.
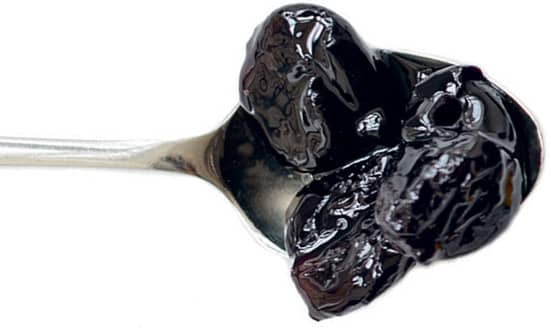
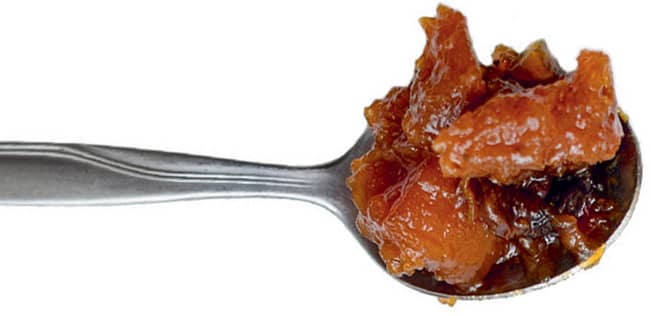
▪ Chutney The longest-cooked of the savoury preserves, chutneys have a sweet/sour taste and a sticky consistency. They need to mature before they can be eaten. I favour distinct chunks of fruit and veg (rather than an amorphous mass) and a ‘single origin’ approach (rather than throwing in the whole garden).
Ingredients: Your harvest
PREPARING YOUR HARVEST
The sooner you can preserve your fruit and vegetables after harvest, the better. All the recipes assume each piece of fruit or vegetable has been washed, dried and picked over (removing leaves, stalks and any wildlife). Most weights accommodate any subsequent peeling, coring, topping and tailing or pitting that might be necessary, but a few use the prepared weight.
Do not worry unduly about getting the weights absolutely accurate for the fruit and vegetable element. I tend to add a few grams to allow for discarding any bad bits that I might discover when chopping, but if I do not find any I eat a bit instead!
FREEZING FRUIT
Some fruits freeze well, and this is a good way to preserve them temporarily until you have time to make them into jam or decide what to do with them. When cooking with such frozen food, the weight of frozen fruit should be equal to that of the fresh fruit quantity specified. You can successfully freeze all berries (except strawberries) – and currants and chillies too. Lay the washed and dried fruit on a baking sheet, not touching, and put in the freezer for twenty-four hours before scraping them off the tray and into a freezer bag or airtight box for longer-term storage. When cooking jams and jellies, the fruit can be used straight from the freezer (just remember it will take a little longer to cook than from fresh). If you defrost it first (the better option for preserves like curds), use all the juices as well as the fruit itself.
PECTIN LEVELS
Perhaps the most off-putting part of jam making is its chemistry. To set and keep well, jam or jelly needs to have the fruit, sugar, acid and pectin levels at the right ratios. Pectin is a natural substance found in the fruit itself, particularly in the cores as well as stones and pips. When pectin is combined with acid – such as in fruit juice – and sugar, it will set jam. Low-pectin fruits such as strawberries often have acidic lemon juice added, to help them set. It is also possible to buy powdered and liquid pectin, and ‘jam sugar’ – sugar with added pectin – to help the set. The recipes in this book have been formulated to avoid these where possible.
ZESTING
That lovely aroma when you zest citrus fruit is from the essential oils in the skin being released. Aim to get as much of that oil into whatever it is you are making – either by zesting with a hand-held grater and holding it directly over (in, even) the pan, or by using a box grater out of which the condensed oil can be scraped. Always finely grate the rind, unless otherwise stated. The peel, when needed, is best pared from the fruit using a small, sharp knife. If you are buying citrus fruit, make sure that it is labelled as unwaxed.
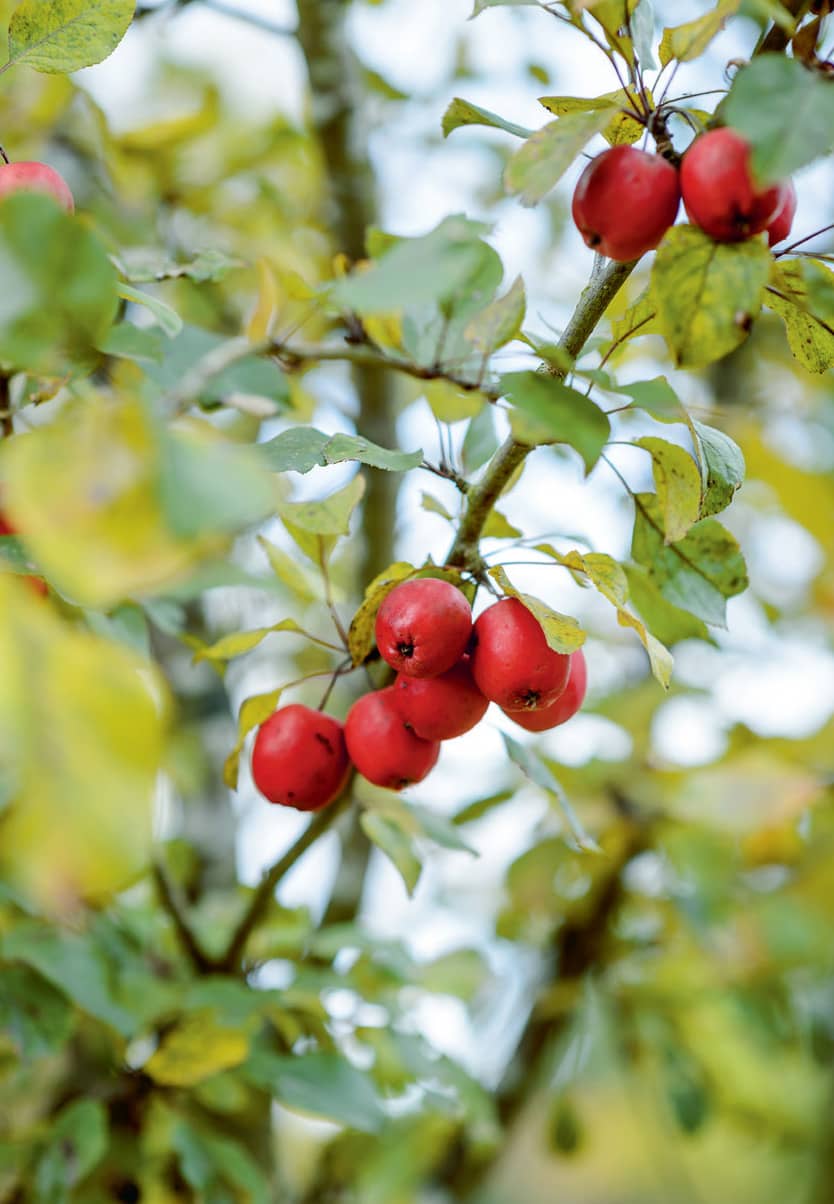

Most tree fruits, including crab apples, are ready for picking when the stalk breaks easily from the branch.
Ingredients: The rest
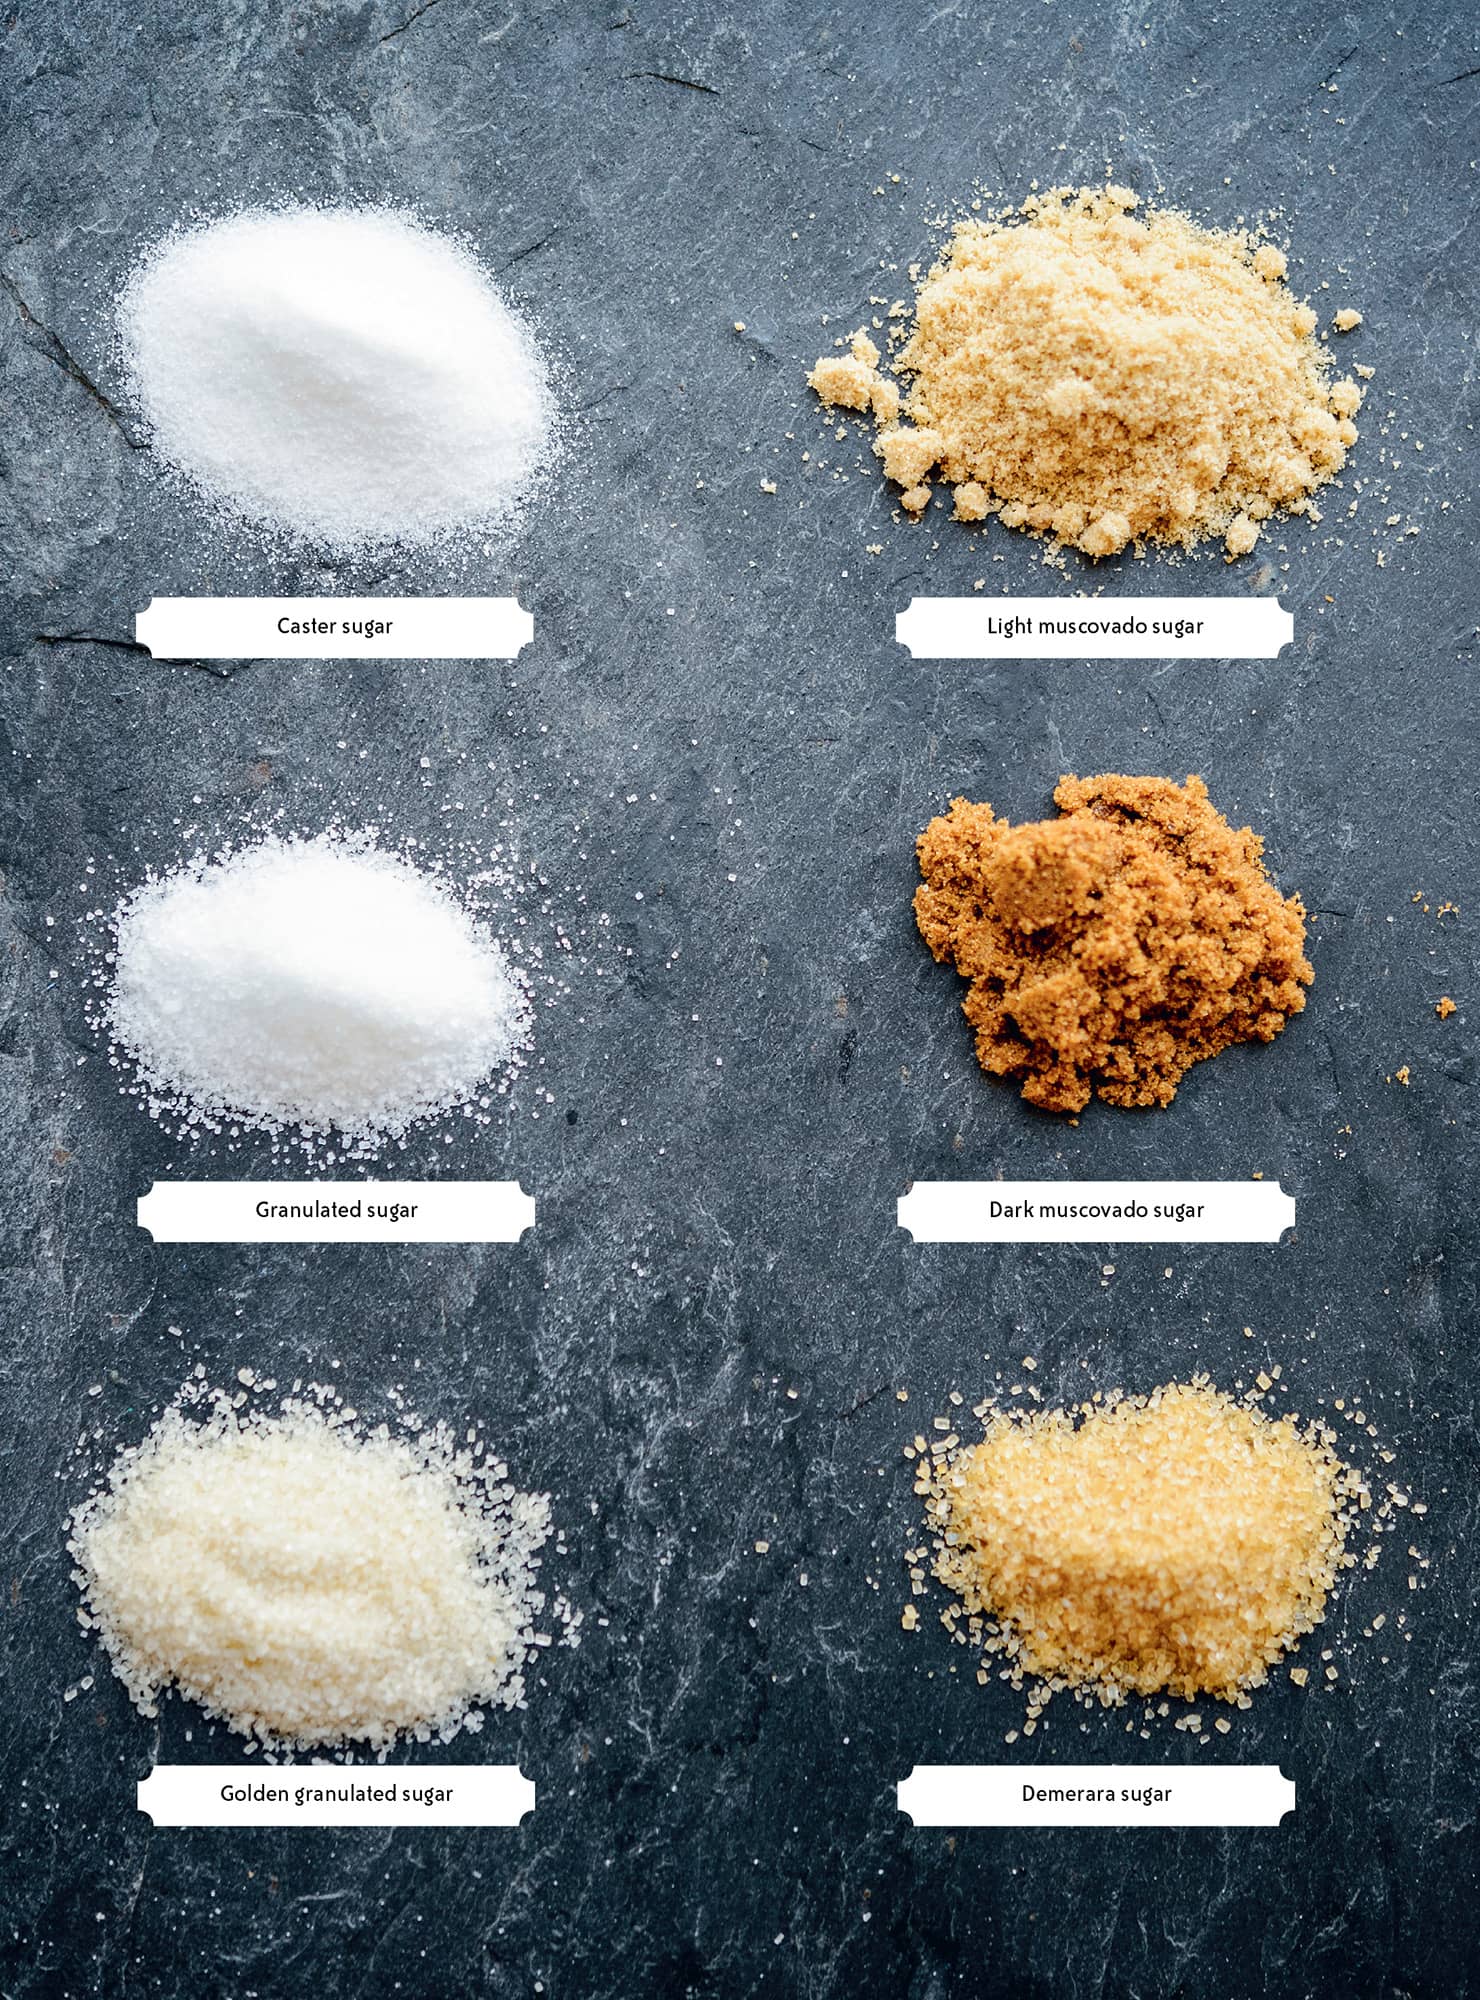
SUGAR
Pouring an entire bag of sugar into a jam pan is almost guaranteed to prompt vague thoughts of eating more healthily in future or else worries about that next trip to the dentist. Yes, preserving does involve a lot of sugar: but without it you would not be able to make preserves last so long, or taste so good! Do not be tempted to reduce the quantities specified; it will result in unsatisfactory setting and keeping. Jam is a luxury and should be treated as such – a little goes a long way. Refrigerator jams are the exception, but their lower sugar content means they rely on the cold temperatures to help preserve them, and they do not last as long.
There are different types of sugar, from dark, brown muscovado to pure white caster. Generally the darker the sugar, the less refined it is and the more treacly or caramel-like the flavour. Sometimes this complements a preserve, while at other times it overwhelms it, so again please use the sugar specified for the best results. (See also Pectin levels, on jam sugar).
Fresh herbs and flowers can be used to flavour sugar. I have only suggested such scented sugars in the recipes, rather than specifying them, because they take a while to mature and I wanted you to be able to preserve a harvest straightaway, without any forethought. I’ve suggested where they might be used in some recipes, but experiment with your own flavour combinations too.
VINEGARS AND SPICES
When buying vinegar and spices, always choose the best quality you can afford, and always use the correct vinegar as specified in the recipe because the acid content – and flavour – varies hugely between the different types. Cider vinegar, white and red wine vinegars and balsamic vinegar are the only ones included in this book, and all are widely available.
Spices are used either whole or ground, depending on the cooking time and whether the final product needs a clarity that ground spices would ruin. Ideally make your own ground spices from the whole ingredient (in a pestle and mortar, or an electric spice grinder). However the quality of bought ground spices is pretty good these days provided that they have not been at the back of the cupboard for years! Mixed spice, not to be confused with allspice, is a blend of various spices including cinnamon, coriander and usually nutmeg and/or cloves: source your preferred brand/blend.
Equipment and sterilizing
WHAT YOU WILL NEED
I would like to debunk the theory that jam making requires a lot of specialized equipment (and therefore space in the cupboard). It does not. You do not even need a special pan, if you have already got a large saucepan. Of course there are a couple of things that would make life easier, but it would be fine to put them on your Christmas list and get preserving in the meantime. After all, humans were preserving food long before digital thermometers and suchlike were invented.
For most of the preserves in this book, you will probably already have most of the equipment you need in your kitchen. Your pan should be able to hold at least 5 litres/83/4 pints; while the initial ingredients might not come far up the sides, a jam can increase to several times its original volume when boiling. Jam, or maslin, pans are designed not only with this large volume in mind, but also with a heavy base and generally in stainless steel to conduct the heat evenly without the jam burning on to the base of the pan. Wooden spoons are better than metal, which can affect the flavour (especially of curds), although they will stain; alternatively use silicone spoons/spatulas. I keep separate spoons for sweet and savoury preserves to avoid flavour contamination.
Straining fruit and vegetables is often done through a sieve (note: always wash up the sieve or at least put it into soak as soon as possible after using, or it can be a nightmare to clean). For jelly making, the fruit pulp is left to drip through a fine mesh. This can be a specialist jelly bag, of which the cheaper nylon ones do the job absolutely perfectly, or else a large piece of muslin cloth tied up at the corners. (When we were doing the images for this book the photographer, Jason, asked if I would be suspending the bags over upturned chairs. As much as this would make a good picture, I had to disappoint him. I simply tie up the bags to a cupboard handle and leave them to drip into a bowl on the work surface. You can get a butcher’s hook to make this easier, or tie the bag on to the jam-pan handle if it has notches so that the handle can be stood vertically and the bag sits well clear of the base.)
You will need measuring equipment too: scales – electronic scales are the most accurate, especially for small quantities; measuring jugs, preferably a big one and a little one for smaller quantities; and a sugar thermometer is a good investment. The last item is not necessary (see Testing for a set), but it does make life easier, as does a potting funnel. Thereafter how much you succumb to the kitchenalia shops and catalogues is up to you.
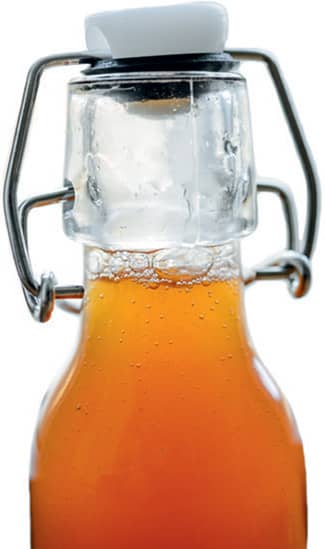
STERILIZING JARS AND BOTTLES
Incorrect washing and sterilizing can result in mould forming in stored preserves, so it is worth spending a few minutes making sure that your jars are scrupulously clean and properly sterilized.
The jars and bottles you use, especially if you are giving preserves as gifts, can affect the look of the jam enormously. A huge variety of shapes and sizes are available, and for that reason the recipes in this book give the final quantity of jam as a simple measurement, so you can work out which of your jars would add up to that total the best.
It is obviously worthwhile recycling jars where you can, but I would avoid using jars that previously had particularly pungent bought sauces in them as these inevitably transfer lingering flavours into the new contents. Similarly, when reusing your own jars it is best to avoid a jar for jam that previously had a chutney or pickle in it, and vice versa.
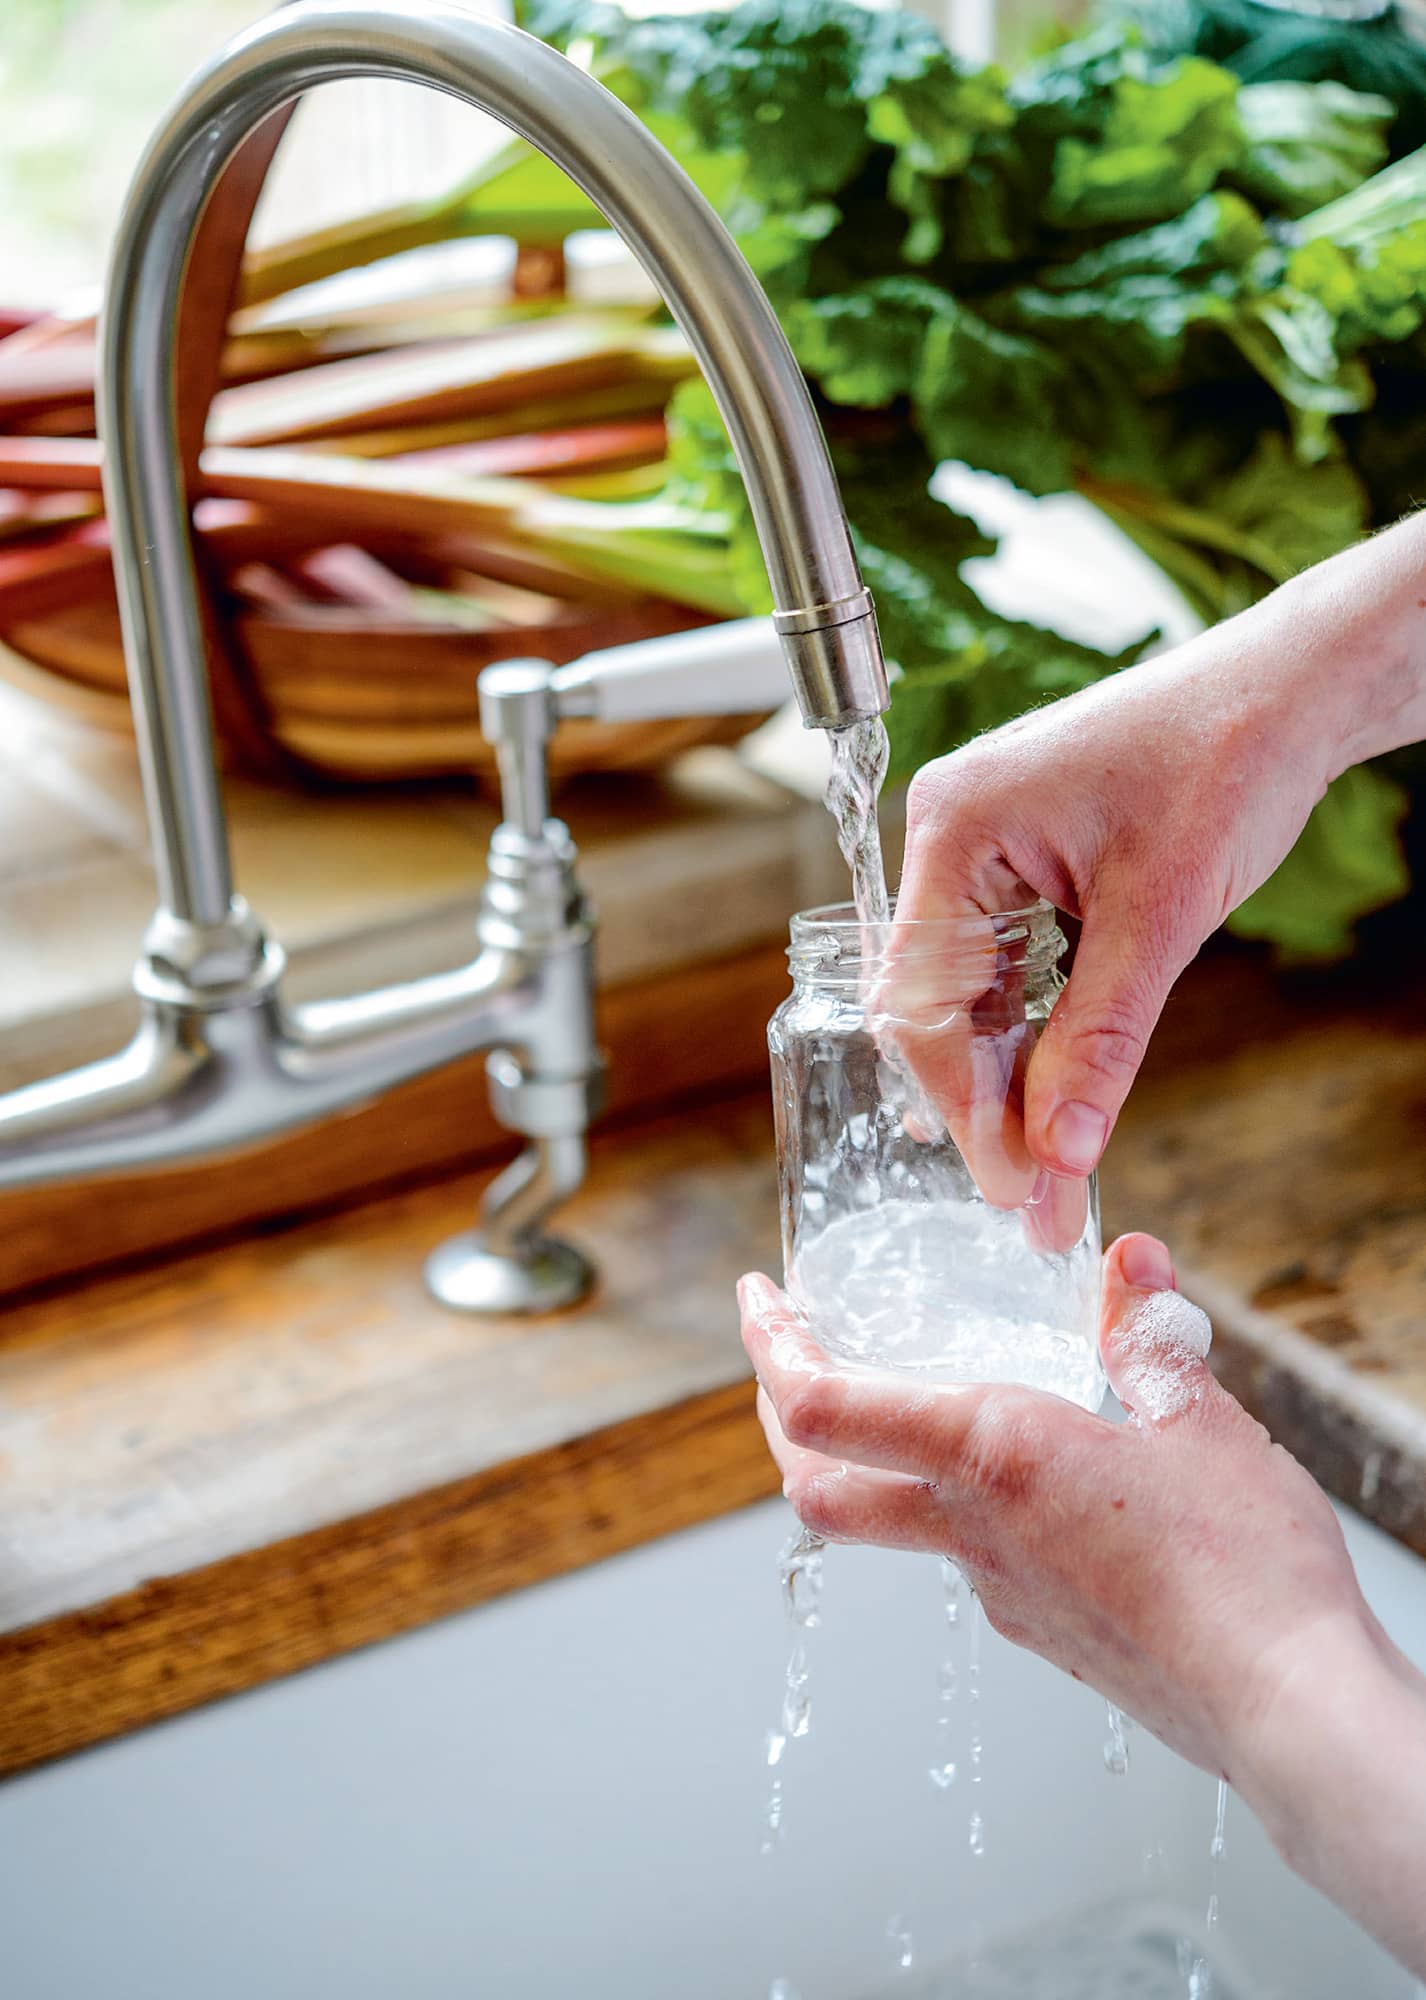
Wash jars really thoroughly in hot, soapy water, even though they were clean when you put them away, then rinse very thoroughly as well. Sterilizing is as simple as putting the jars in the oven at 110°C/225°F/gas mark 1/2 when you start prepping your ingredients. Turn the oven off after fifteen minutes but leave the jars in so they will be warm when you come to pot up your preserves (but not hot – if they are hotter than the preserve it will continue cooking). Alternatively put the jars in the dishwasher on its hottest cycle, and take them hot (but dry) out of the dishwasher straight to potting. None of the recipes requires sterilizing the filled jars/bottles. This is just too much of a faff to warrant being able to store something for an extra couple of months.
Testing, potting and storage
TESTING FOR A SET
Setting point is defined as the temperature at which, once cooled, a jam or jelly will solidify into a spreadable consistency. There are three ways to check this: temperature; the flake test; and the wrinkle test. Whichever method you use is up to you, but the more experienced you get at making jams, the more often you will know simply from the look and feel of the liquid that it is ready. Personally I rely on this gut instinct, backed up by a sugar thermometer and the wrinkle test (I am a belt-and-braces kind of girl).
Temperature
Setting point as indicated by a sugar thermometer is 105°C/221°F. Many thermometers handily have ‘JAM’ written on them at this point. Put the thermometer in the pan as soon as you start boiling and keep it there. Beware though that higher-pectin jams will set at a few degrees below this and that, when making small quantities, thermometers are not always accurate (that is, the jam may be at setting point even though the thermometer is reading well under 105°C/221°F). Digital thermometers can also be used, providing they are waterproof.
Essentially this is a wrinkle test on a spoon, and it is a good initial indicator of setting point if you do not have a thermometer. Take the pan off the heat, to avoid overboiling, while you test the jam or jelly by coating a wooden spoon in the liquid and lifting it out of the pan; then spin the spoon around a few times to cool down the jam or jelly before letting it drop off the spoon (back into the pan – do not waste it). A jam at setting point will collect together and fall off as flakes, rather than run off in a continuous stream.
Put a saucer in the freezer as soon as you start making the jam or jelly. Once you think it is approaching setting point (as indicated by either or both of the above), take the pan off the heat and drop a small spoonful of jam or jelly on to the cold saucer and leave it for a minute or two. Once it has cooled a little, push the edge of the blob with your finger. If the surface wrinkles up it is ready for potting.

To do the wrinkle test, drop a spoonful of jam on to a cold plate and push the edge of the jam with your finger. If the surface wrinkles then it is at setting point.
SCUM
Not the nicest of words to associate with food, scum forming on the top of preserves as they boil is simply the impurities in the sugar and fruit cooking out. It is perfectly edible, but makes the jam look cloudy and unattractive if it is left in. Once setting point has been reached, scoop out the scum with a large spoon. A slotted spoon is usually specified, but I find these ineffective. A solid spoon means you sacrifice a little good jam, but it is worth it for a clean and quick scoop.
POTTING
Fill your warm, sterilized jars to 1cm/1/2in below the rim. For pickles and other preserves that will have vinegar poured over them once in the jar you should allow for a clear 1cm/1/2in vinegar plus another 1cm/1/2in of space below the rim – likewise for pesto, leave space for a layer of oil on top.
If you are using a jar with a screw-top or clip-top with a rubber seal, there is no need to add a wax disc, which personally I find fiddly and annoying. However, if you are only tying a piece of tautened cellophane over the top of the jar, the wax disc should be laid on the surface of the jam or jelly to seal it from the air (that is, the bacteria in the air) more effectively.

STORING PRESERVES
Store your preserves, unless otherwise stated, in a cool, dry, dark place because excess heat or light can cause discoloration and other problems. Once opened, some preserves must be kept in the refrigerator. Most jams and jellies however will not go mouldy very quickly and if you eat them fast enough you can avoid the refrigerator, which can dull their flavour (continue keeping them in the cool, dark place though). Mould forming on the top of unopened preserves is a result of unwanted bacteria in the jar: make sure the jars are properly washed, sterilized and warmed next time.
Try to eat your preserves within a year – not only will you have fresh ingredients for a new batch next year, but I find they taste best within this time frame.