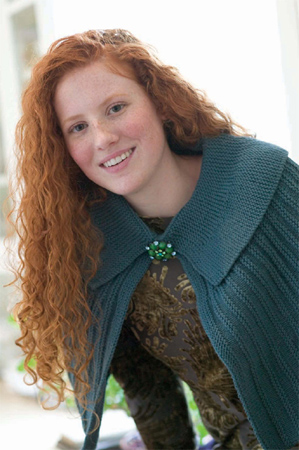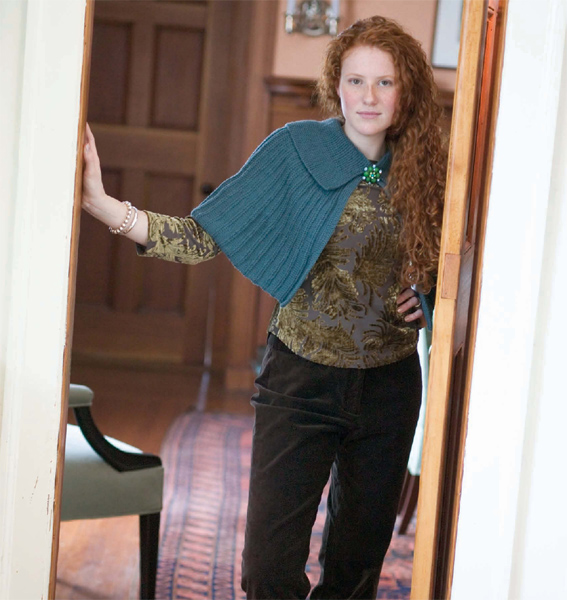
Necessity is the mother of invention, and for Robin Melanson, cool evenings at a mountain resort necessitated a quick-knit cape. Robin was attending the Canadian Superbike Championship (motorcycle races) in Quebec with her boyfriend when she got cold. In just a few days she knitted the prototype for this design (to the awe of the motorcycle types around her) from some mill-end yarn she happened to bring along. Robin works the capelet sideways from center front to center front and shapes it with short rows to taper the neck and flare the lower edge. For this version, she’s refined her original wrap by using a fine merino yarn and adding a foldover collar—a sophisticated detail appropriate for more “genteel” occasions.
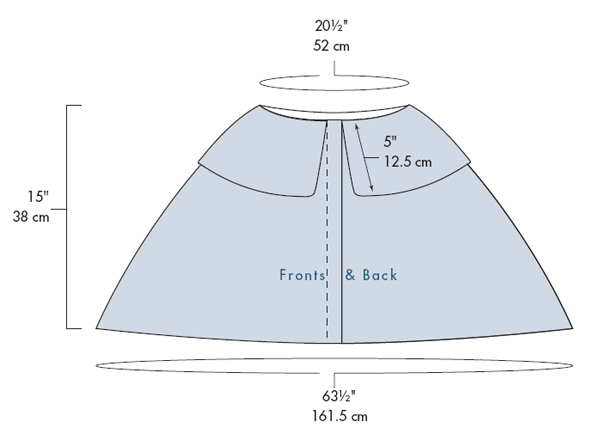
63½" (161.5 cm) circumference around lower edge, 20½" (52 cm) circumference around neck, and 15" (38 cm) long (excluding collar).
About 960 yd (878 m) of DK-weight (Light #3) yarn.
We used: Zitron Ecco (100% extra fine merino; 120 yd [110 m]/50 g): #128 cadet blue, 8 balls.
Size 6 (4 mm): 24" (60-cm) or 32" (80-cm) circular (cir). Adjust needle size if necessary to obtain the correct gauge.
Markers (m); tapestry needle; large-eye sewing needle; ⅝" (1.5-cm) button; plain plastic button with same number of holes as larger button (2 holes if using a button with a shank).
22 sts and 44 rows = 4" (10 cm) in garter st.
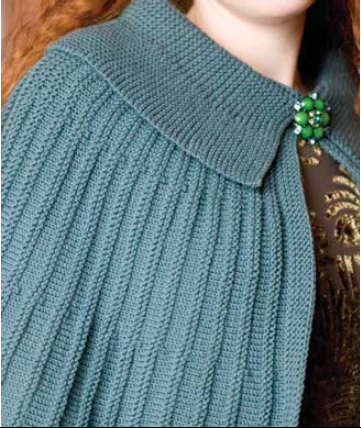
Using the long-tail method (see Glossary, page 147), CO 110 sts. Do not join.
Next row: (WS) [K14, place marker (pm)] 4 times, k27, pm, k27. Slip markers (sl m) every row.
Rows 1, 3, and 5: (RS) Knit to fourth marker (m), sl m, sl 1 purlwise (pwise) with yarn in front (wyf), knit to end—82 body sts; 27 collar sts; 1 slipped st to mark foldline between body and collar (sl this st on RS rows, knit this st on WS rows).
Rows 2, 4, and 6: Knit—piece should measure about ¾" (2 cm) from CO after completing Row 6.
Row 7: (short row; see Glossary, page 154) Knit to first m, sl m, wrap next stitch, turn.
Rows 8, 10, and 12: Purl to last st, sl 1 pwise wyf.
Row 9: (short row) Knit to first m, knit next st tog with wrap, knit to second m, wrap next st, turn.
Row 11: (short row) Knit to second m, knit next st tog with wrap, knit to third m, wrap next st, turn.
Row 13: Knit to third m, knit next st tog with wrap, knit to fourth m, sl 1 pwise wyf, knit to end.
Row 14: (short row; collar shaping) K14 to first m of this WS row (fifth m on RS rows), wrap next st, turn.
Row 16: Knit to first m of this WS row (fifth m on RS rows), knit next st tog with wrap, knit to end.
Row 17: Work as Row 1.
Row 18: Work as Row 2.
Rep Rows 7–18 a total of 56 more times, ending with Row 18—piece should measure about 63" (160 cm) from CO, measured along lower edge (beg of RS rows), 33" (84 cm) measured along collar edge (end of RS rows), and 20" (51 cm) measured along sl st foldline between collar and body. Next row: (RS; make buttonhole) Knit to third m, k7, BO 4 sts, knit to fourth m, sl 1 pwise wyf, knit to end.
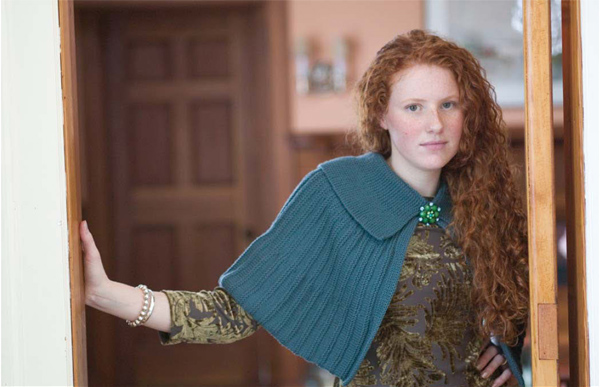
Next row: (WS) Knit, using the backward loop method (see Glossary, page 146) to CO 4 sts over gap to complete buttonhole. Work Rows 1 and 2 of patt once more. BO all sts.
Weave in loose ends. Block lightly, being careful not to stretch out bottom edge too much—it should appear fluted. Tidy up buttonhole, if necessary, by sewing around it with yarn threaded on a tapestry needle. Separate yarn into its individual plies, and use a few plies threaded on a large-eye sewing needle to sew button opposite buttonhole, backing button with plastic button to prevent main button from stretching the fabric.
Short rows—working across just some of the stitches on a row, then turning and working back in the other direction—are a way to create shaping without interrupting the knitting.
