Image
Image

My Doll’s Very Own Skirt

Image

What You Need

Let’s Review

Before you begin, you’ll need to know how to:

A NOTE FOR GROWN-UPS

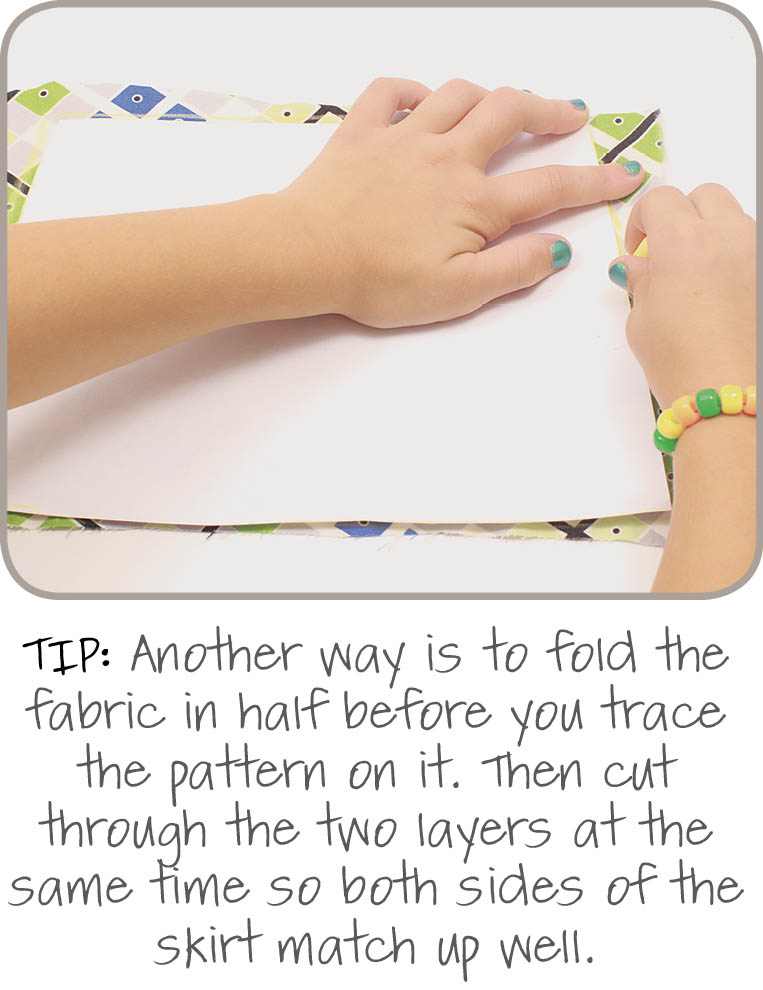
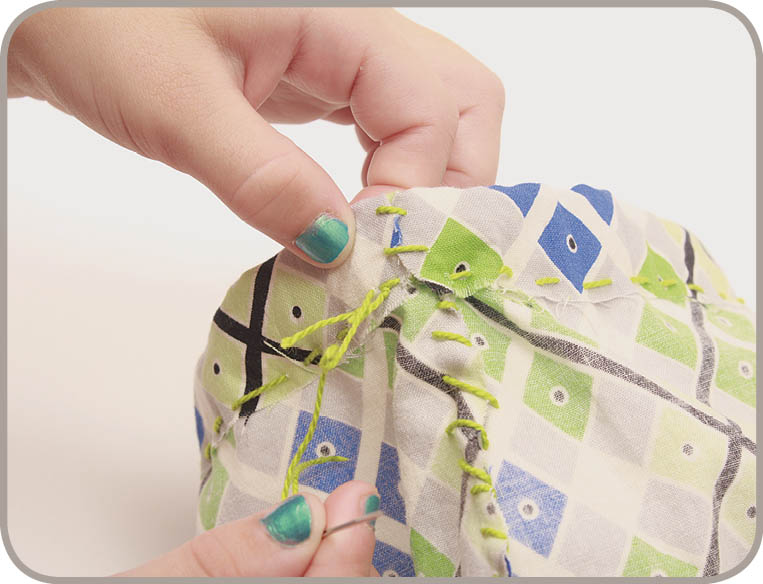
This hand-sewn project is a good practice run before machine-sewing My Very Own Skirt. It is a classic A-line skirt designed to fit standard 18-inch dolls as well as most stuffed animals, and you can easily alter the pattern to fit other dolls. Young sewers might need your help with making the waist casing. While ironing is not called for, pressing down the casing fold before sewing is helpful.

Instructions

  1. 1. Print and cut out the pattern pieces, attaching along the dotted line to make the full shape. Use chalk to trace the pattern onto fabric two times.
    Image
  2. 2. Cut out the fabric pieces. Pin one piece on top of the other with the good sides of the fabric together.
    Image
  3. 3. Sew both sides of the skirt together using a whipstitch.
    Image
  4. 4. Both sides are sewn.
    Image
  5. 5. Time for the waistband. Fold the top down 1 inch all the way around and pin it in place. The good side of the fabric should face out.
    Image
  6. 6. Sew a running stitch along the bottom of the waistband to make a casing. Start sewing at one of the side seams. Leave a 2-inch opening.
    Image
  7. 7. Use a safety pin or bodkin to push the elastic through the casing.
    Image
  8. 8. Try the skirt on the doll to get a good fit.
    Image
  9. 9. Once you have a good fit, safety-pin the ends of the elastic to the skirt to keep them in place while you take the skirt off the doll.
    Image
  10. 10. Put one of the elastic ends on top of the other and sew them together. Be careful not to twist the elastic.
    Image
  11. 11. Tuck the elastic back in the casing and sew the opening closed.
    Image
  12. 12. Now it is time to hem the skirt. Whipstitch around the bottom edge, or you could turn up the bottom and sew a hem or add ribbon. Now turn the skirt so the good side of the fabric faces out.
    Image
    Image

MAKE IT YOURS