Image

My Very Own Skirt

Image

What You Need

Let’s Review

Before you begin, you’ll need to know how to:

A NOTE FOR GROWN-UPS

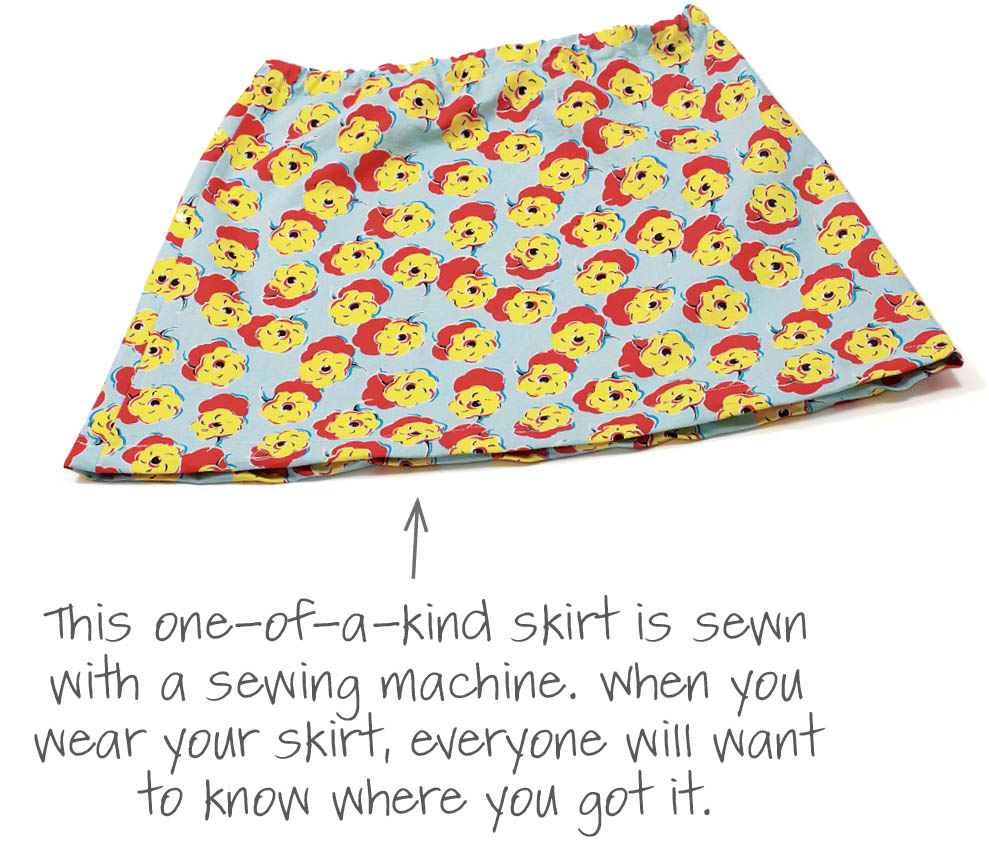
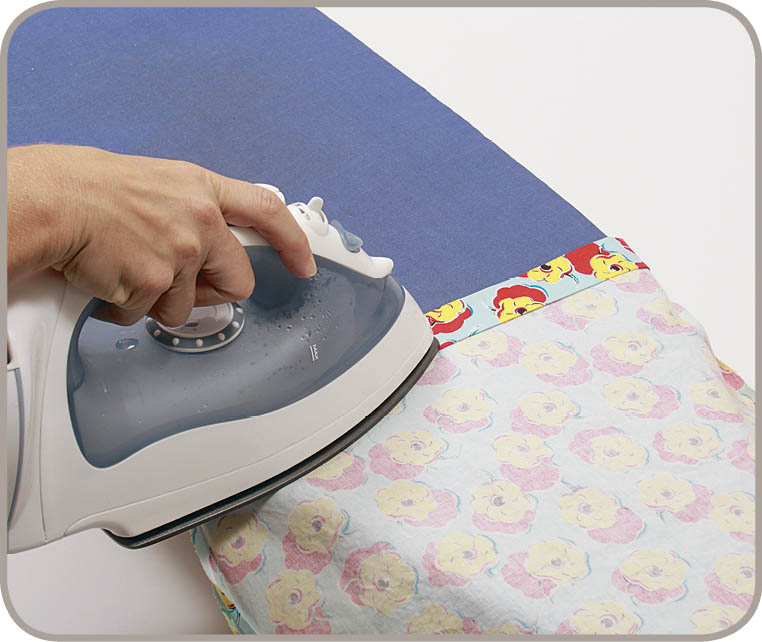
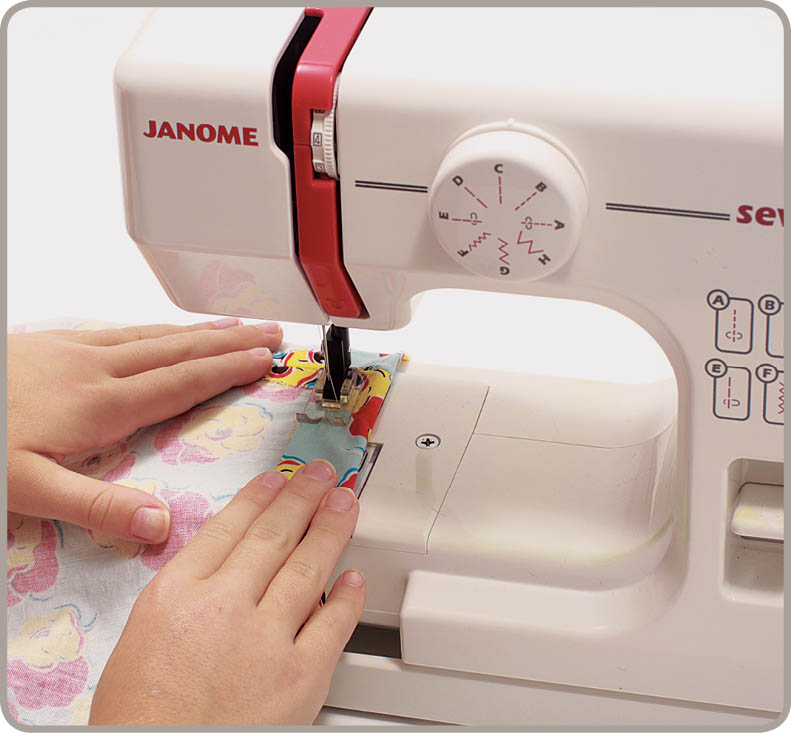
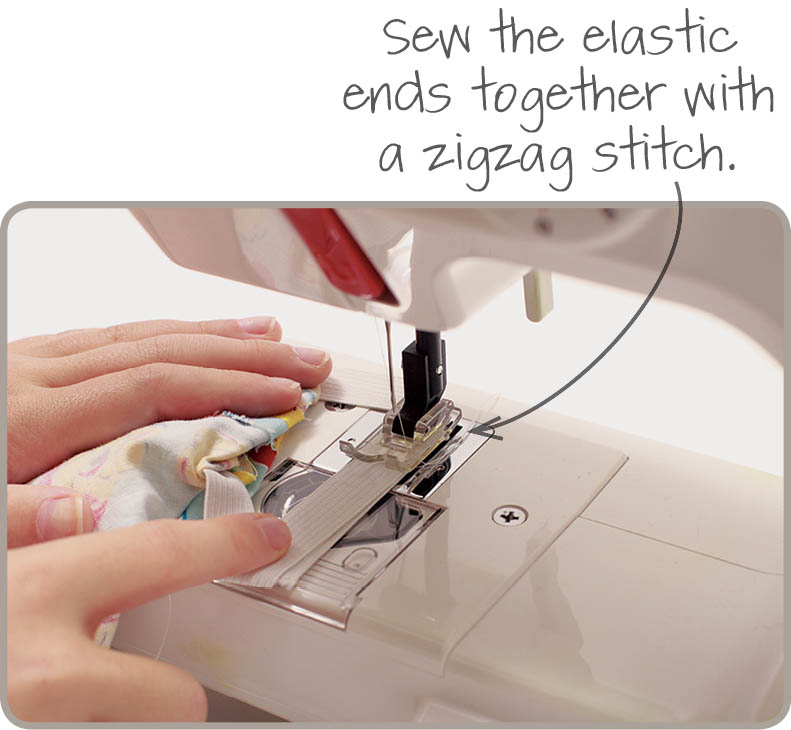
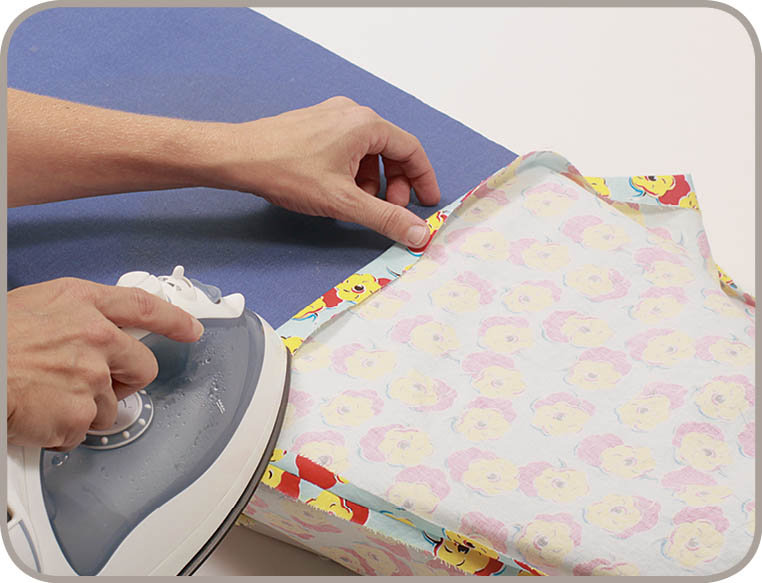
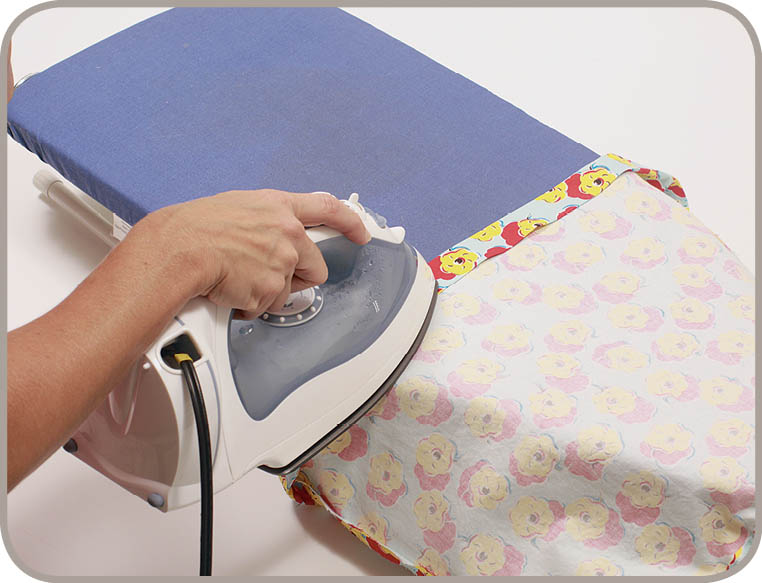
This A-line skirt is stylish and fun. Still, it can take a while to make, so it helps to break the project into steps. Young sewers will need assistance using the sewing machine and an iron. They may also need help threading the elastic through the casing and sewing the ends of the elastic together. The seam allowance is 14 inch (the width of a sewing machine’s presser foot).

Image

Instructions

  1. 1. Print out and attach pattern pieces along the gray lines. Choose your size and cut out the skit pattern along the lines for your size. Use chalk to trace the pattern onto the fabric two times or, for a more even cut, fold the fabric in half and trace the pattern onto it one time.
    Image
  2. 2. Cut out the fabric pieces. If you folded the fabric, carefully cut through both layers at the same time so you end up with two matching skirt pieces. Cutting the fabric this way will make sure the front and back pieces of the skirt are even.
    Image
  3. 3. Pin the two skirt pieces with the good sides together. Make sure all the edges stay matched up.
    Image
  4. 4. Stitch the skirt sides with a sewing machine. Sew with a straight stitch.
    Image
  5. 5. Iron the side seams open. Be sure to ask an adult to help you!
    Image
  6. 6. Make the elastic waistband. Fold the top edge of the skirt down 12 inch all the way around. Iron the waistband fold. Again, ask an adult for help!
    Image
  7. 7. Fold the top down once more, this time 1 inch.
    Image
  8. 8. Iron the fold with an adult’s help.
    Image
  9. 9. Sew along the waistband casing 14 inch from the bottom edge. Start sewing at a side seam. Leave a 2-inch opening.
    Image
  10. 10. Use a safety pin or bodkin to push the elastic through the casing. Take your time.
    Image
  11. 11. Try on the skirt to get a good fit (see Get a Good Fit). Have a friend help you. Safety-pin the ends of the elastic to the skirt to keep them in place while you take off the skirt.
    Image
  12. 12. Lay one end of the elastic on top of the other. Be careful not to twist the elastic. Sew the ends together with a wide zigzag stitch. If you are not sure how to do this, ask an adult to help you. You can also sew the elastic together by hand.
    Image
  13. 13. Now sew the opening closed with a straight stitch. The waistband is done.
    Image
  14. 14. Time to make the hem. It is like making the waistband. Fold the bottom edge up 12 inch all the way around. The good side of the material should face out.
    Image
  15. 15. Iron the fold. Again, ask an adult for help.
    Image
  16. 16. Fold the hem up again, this time 1 inch.
    Image
  17. 17. Iron the fold with an adult’s help.
    Image
  18. 18. Sew the hem 14 inch from the top. Use your presser foot as a guide. Start at a side seam. This time, do not leave an opening.
    Image

Get a Good Fit

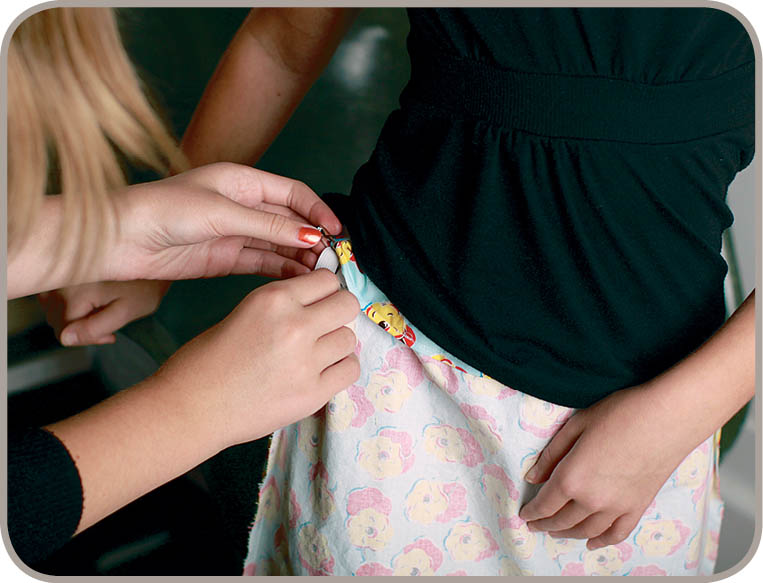
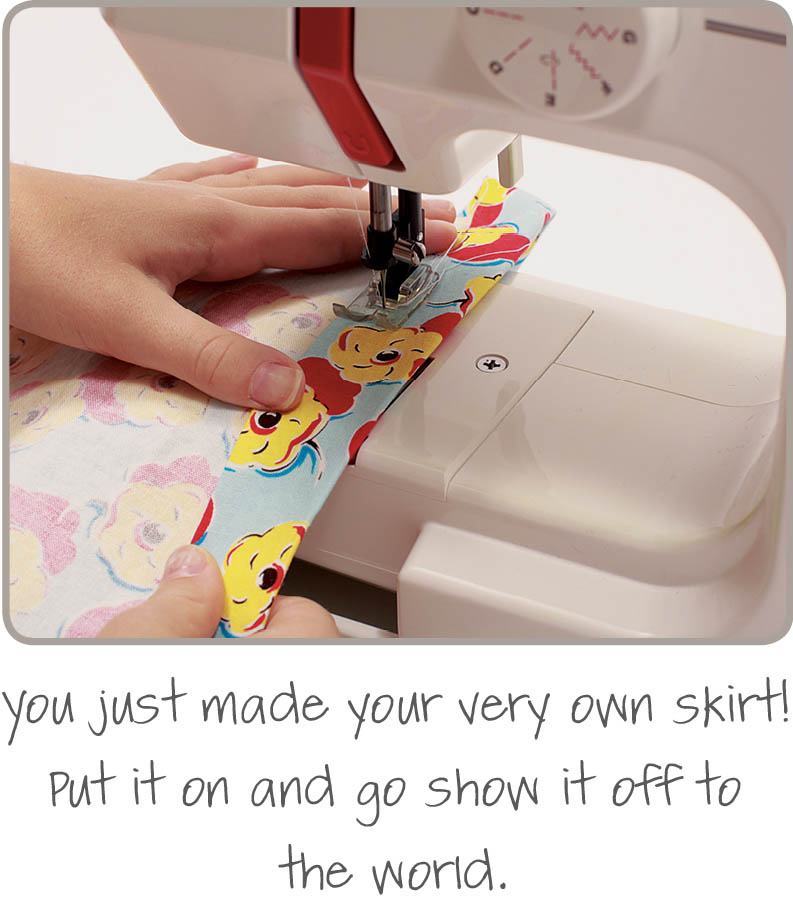
When you are sewing your very own skirt, you can make sure it fits just right. Here’s how.

  1. 1. Try your skirt on as you sew. Is it too tight or too loose? If the skirt is too tight, you might need to use a larger pattern. Or you might have made your seam allowance too big. If the skirt is too loose, you might need a smaller pattern or a larger seam allowance.
  2. 2. Check the waistband. After the elastic is through the casing, try the skirt on. Now have a friend help you pull the elastic so that it feels right. Pin both ends of the elastic to the waistband until you are ready to sew them together.
  3. 3. Think about how long you want your skirt to be. Before you sew the hem, try the skirt on to check the length. Remember, the hem allowance is 112 inches. If you want the skirt to be longer, make a smaller hem.

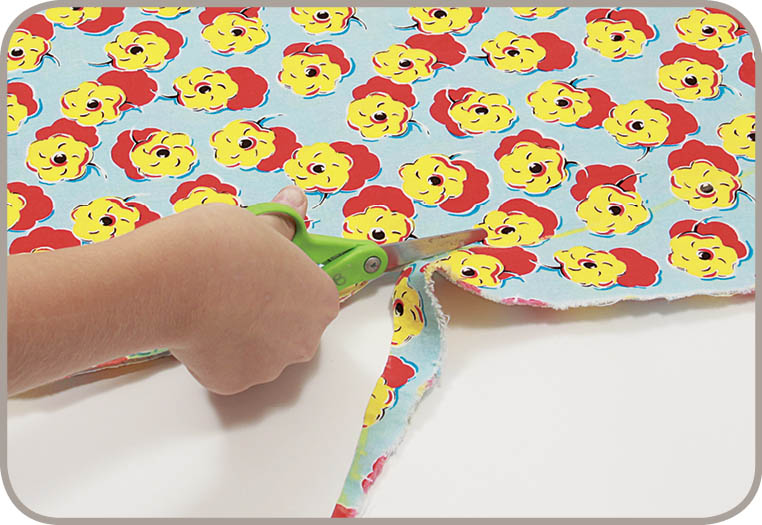
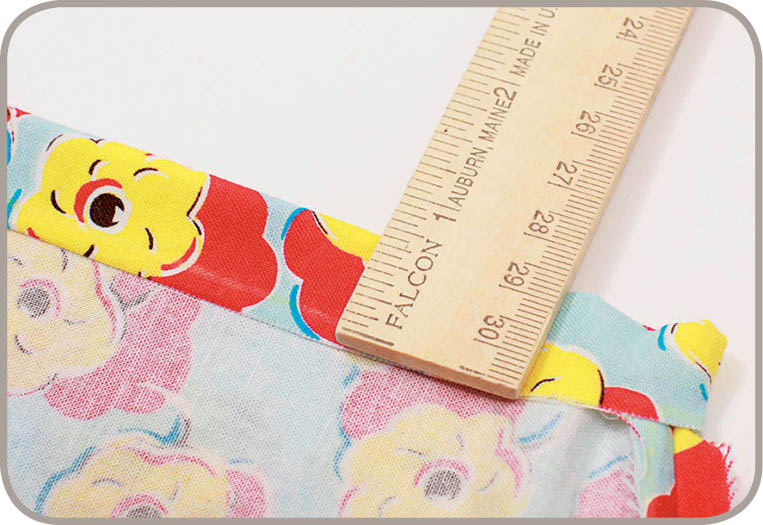
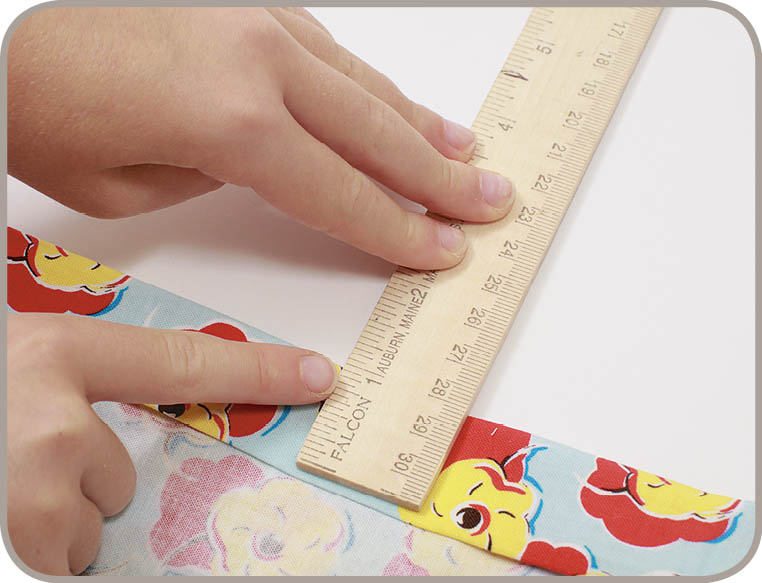
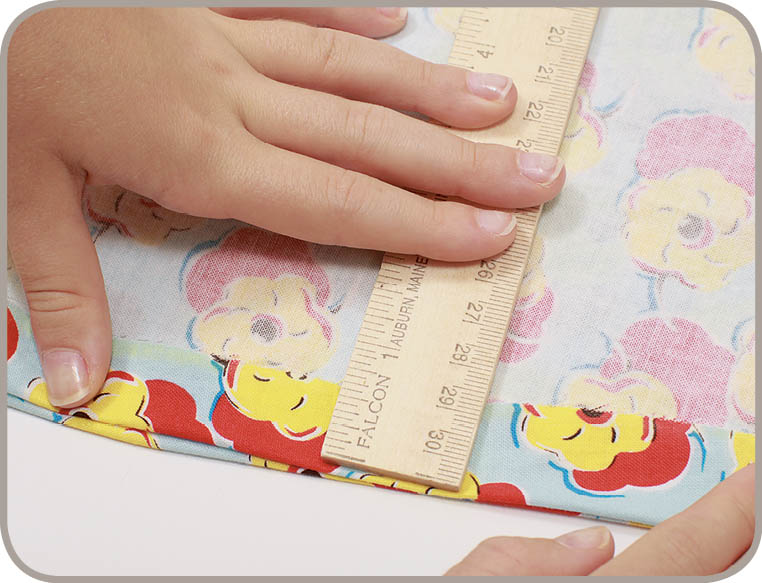
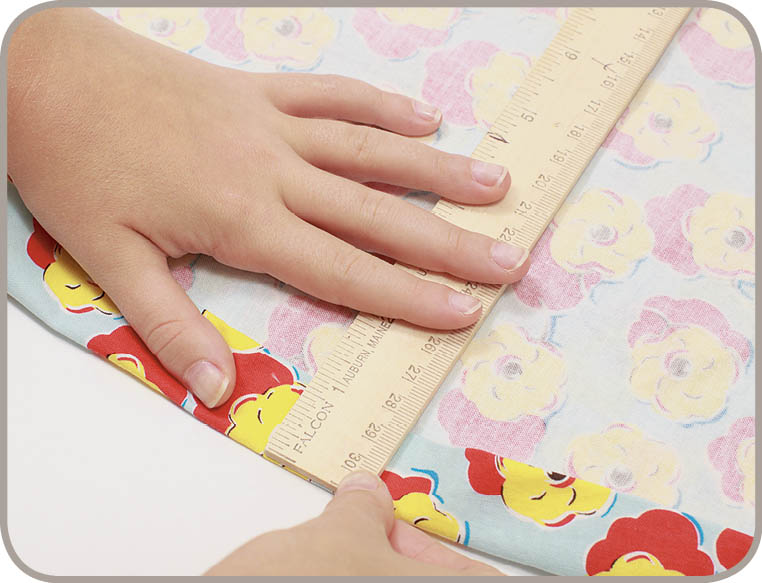
    Do you want a mini skirt? If so, use chalk to mark the length. If the length you marked is more than 2 inches from the bottom edge, use a ruler and chalk to mark a straight line 112 inches below the mark you made for the length. Cut along the straight line. Then hem the skirt.

MAKE IT YOURS