
Tools and Equipment
• Scale to weigh flour ($12 to $15). The flat kind that you can set a bowl on is what you want.
• Instant-read thermometer ($10 to $20). An absolute necessity for temping your breads so you know when they’re done on the inside.
• 4- to 6-quart cast-iron or enameled cast-iron pot with lid ($40 to $400). This type of pot acts like a mini-oven within your oven; perfect for holding heat and trapping steam to give your loaf a big initial lift.
• Several large and medium mixing bowls.
• Baking sheet.
• Parchment paper.
• Oven thermometer.
• Pizza stone or griddle. Flat stones or griddles are heated to high temperatures and used to “bake” flatbreads like naan and pita. A cast-iron griddle holds heat best.
• Loaf pan.
• Glass jar with hinges and a rubber gasket ($5 to $10). You can house your starter in a regular one-pint mason jar, but the hinged ones with a seal allow CO2 to escape and keep out O2, which is just what you want.
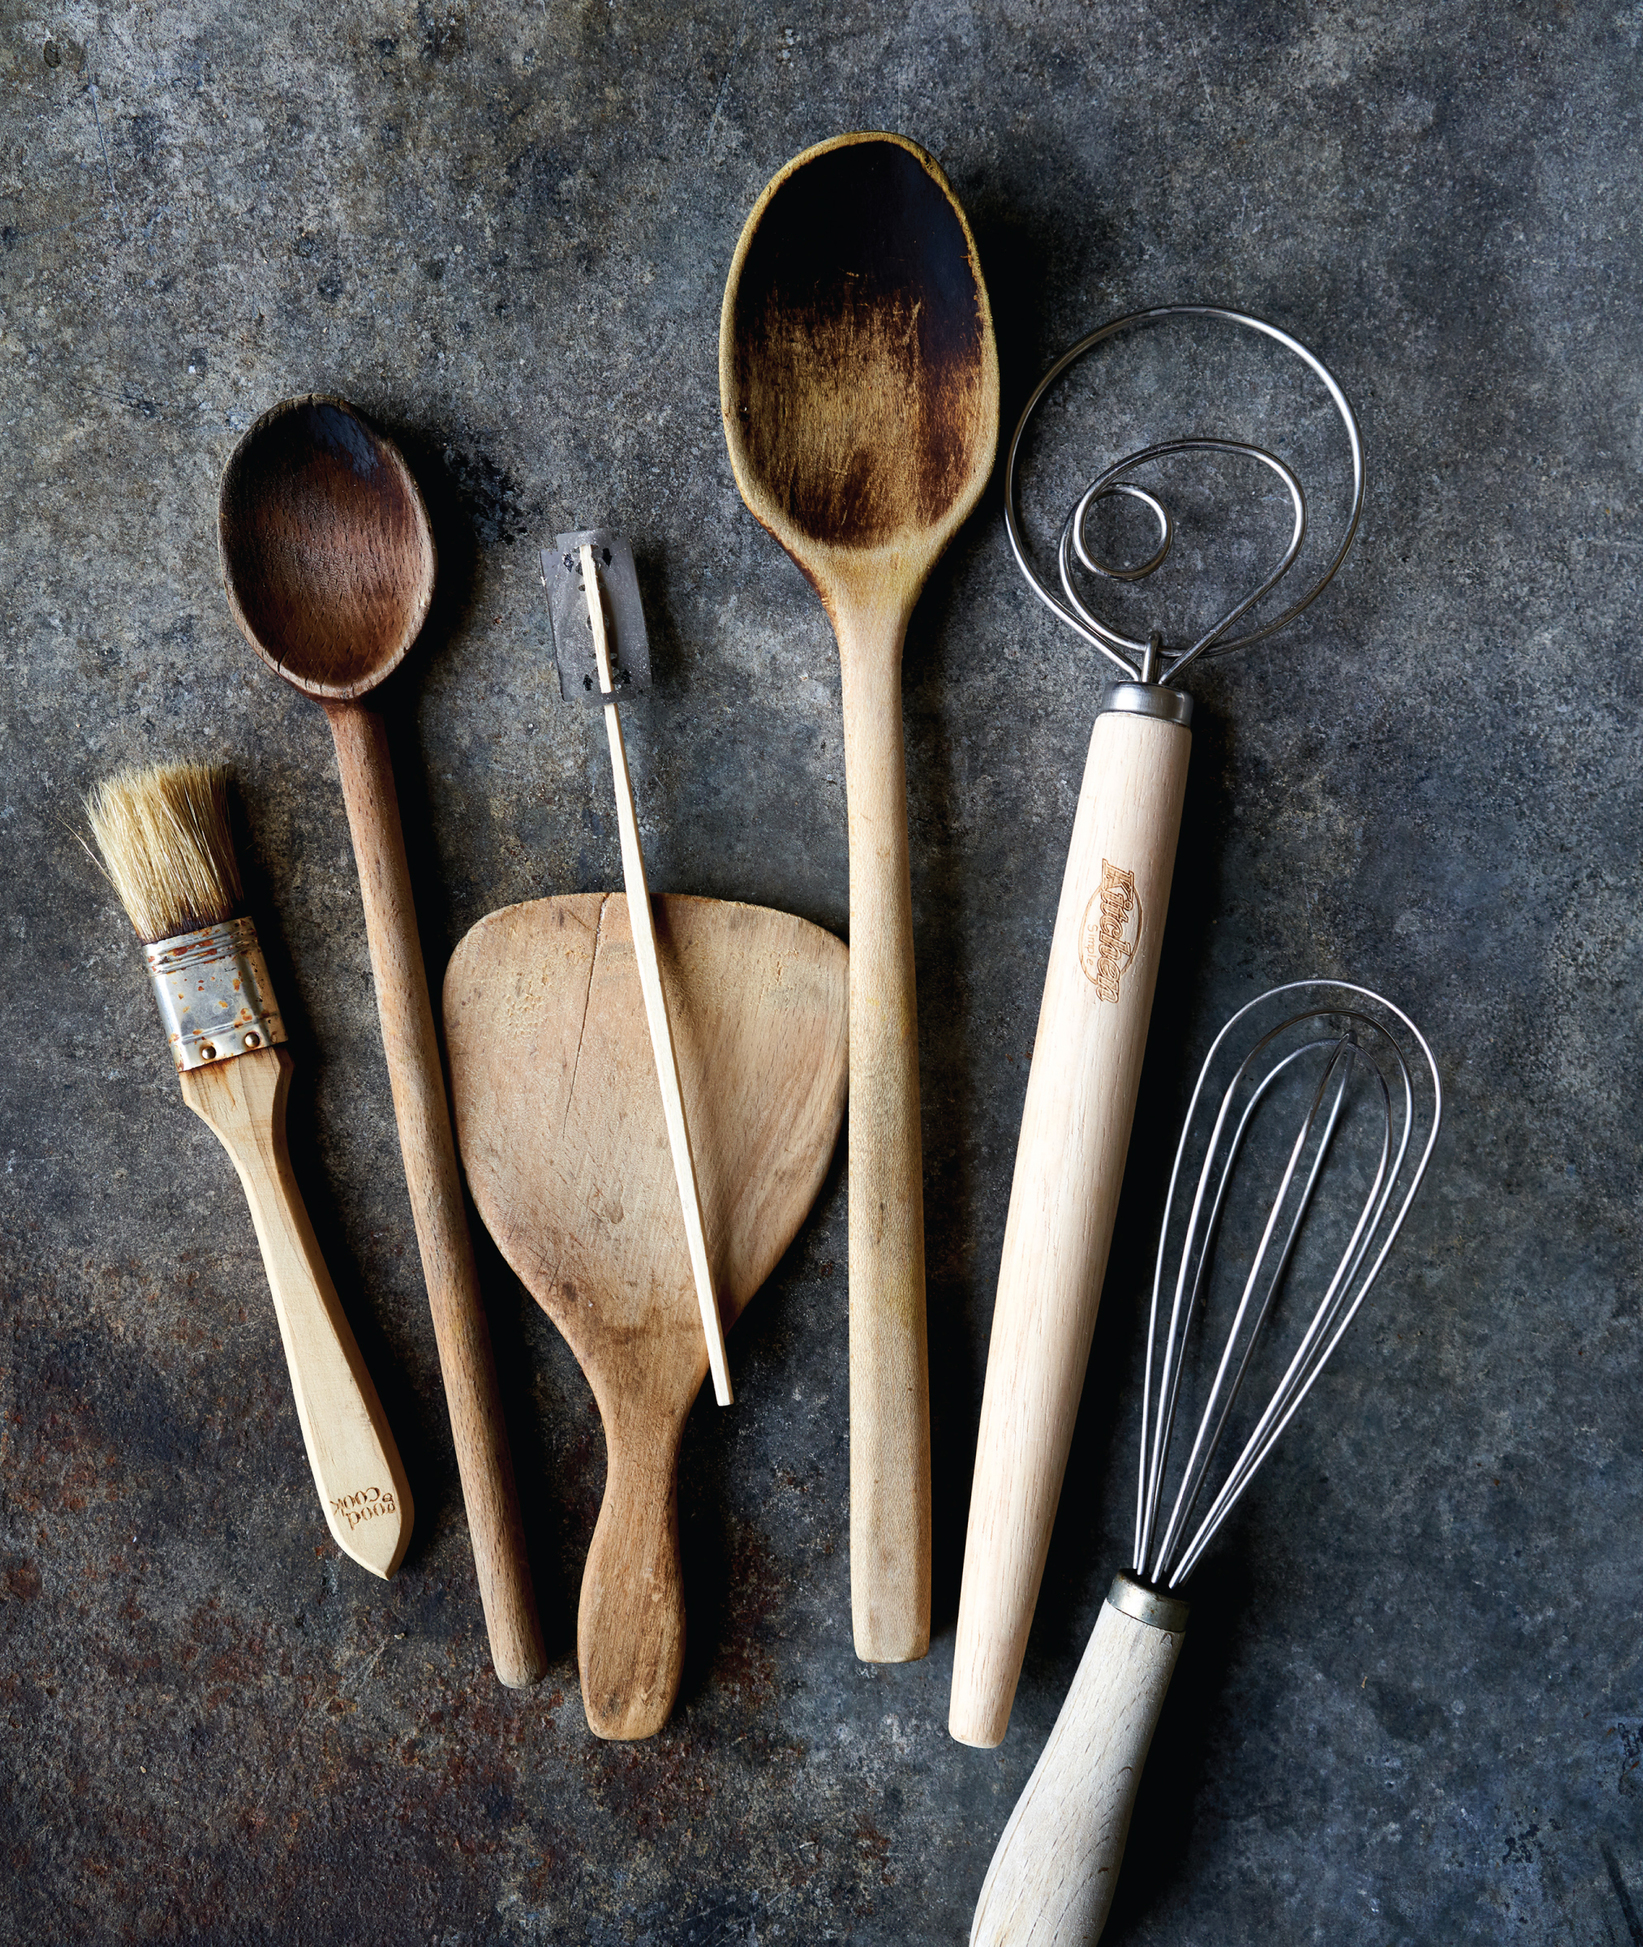
• Danish dough whisk ($10 to $15). This whisk that sports a lovely circular shape is perfect for doing the difficult work of mixing in flour. Big spoons can substitute. Regular whisks are a bad idea as the dough will get all caught up in the wires.
• Dough scraper or bench knife ($7 to $10). This is a small rectangle of stainless steel with a handle; good for portioning and lifting dough as well as cleaning up the area where you knead.
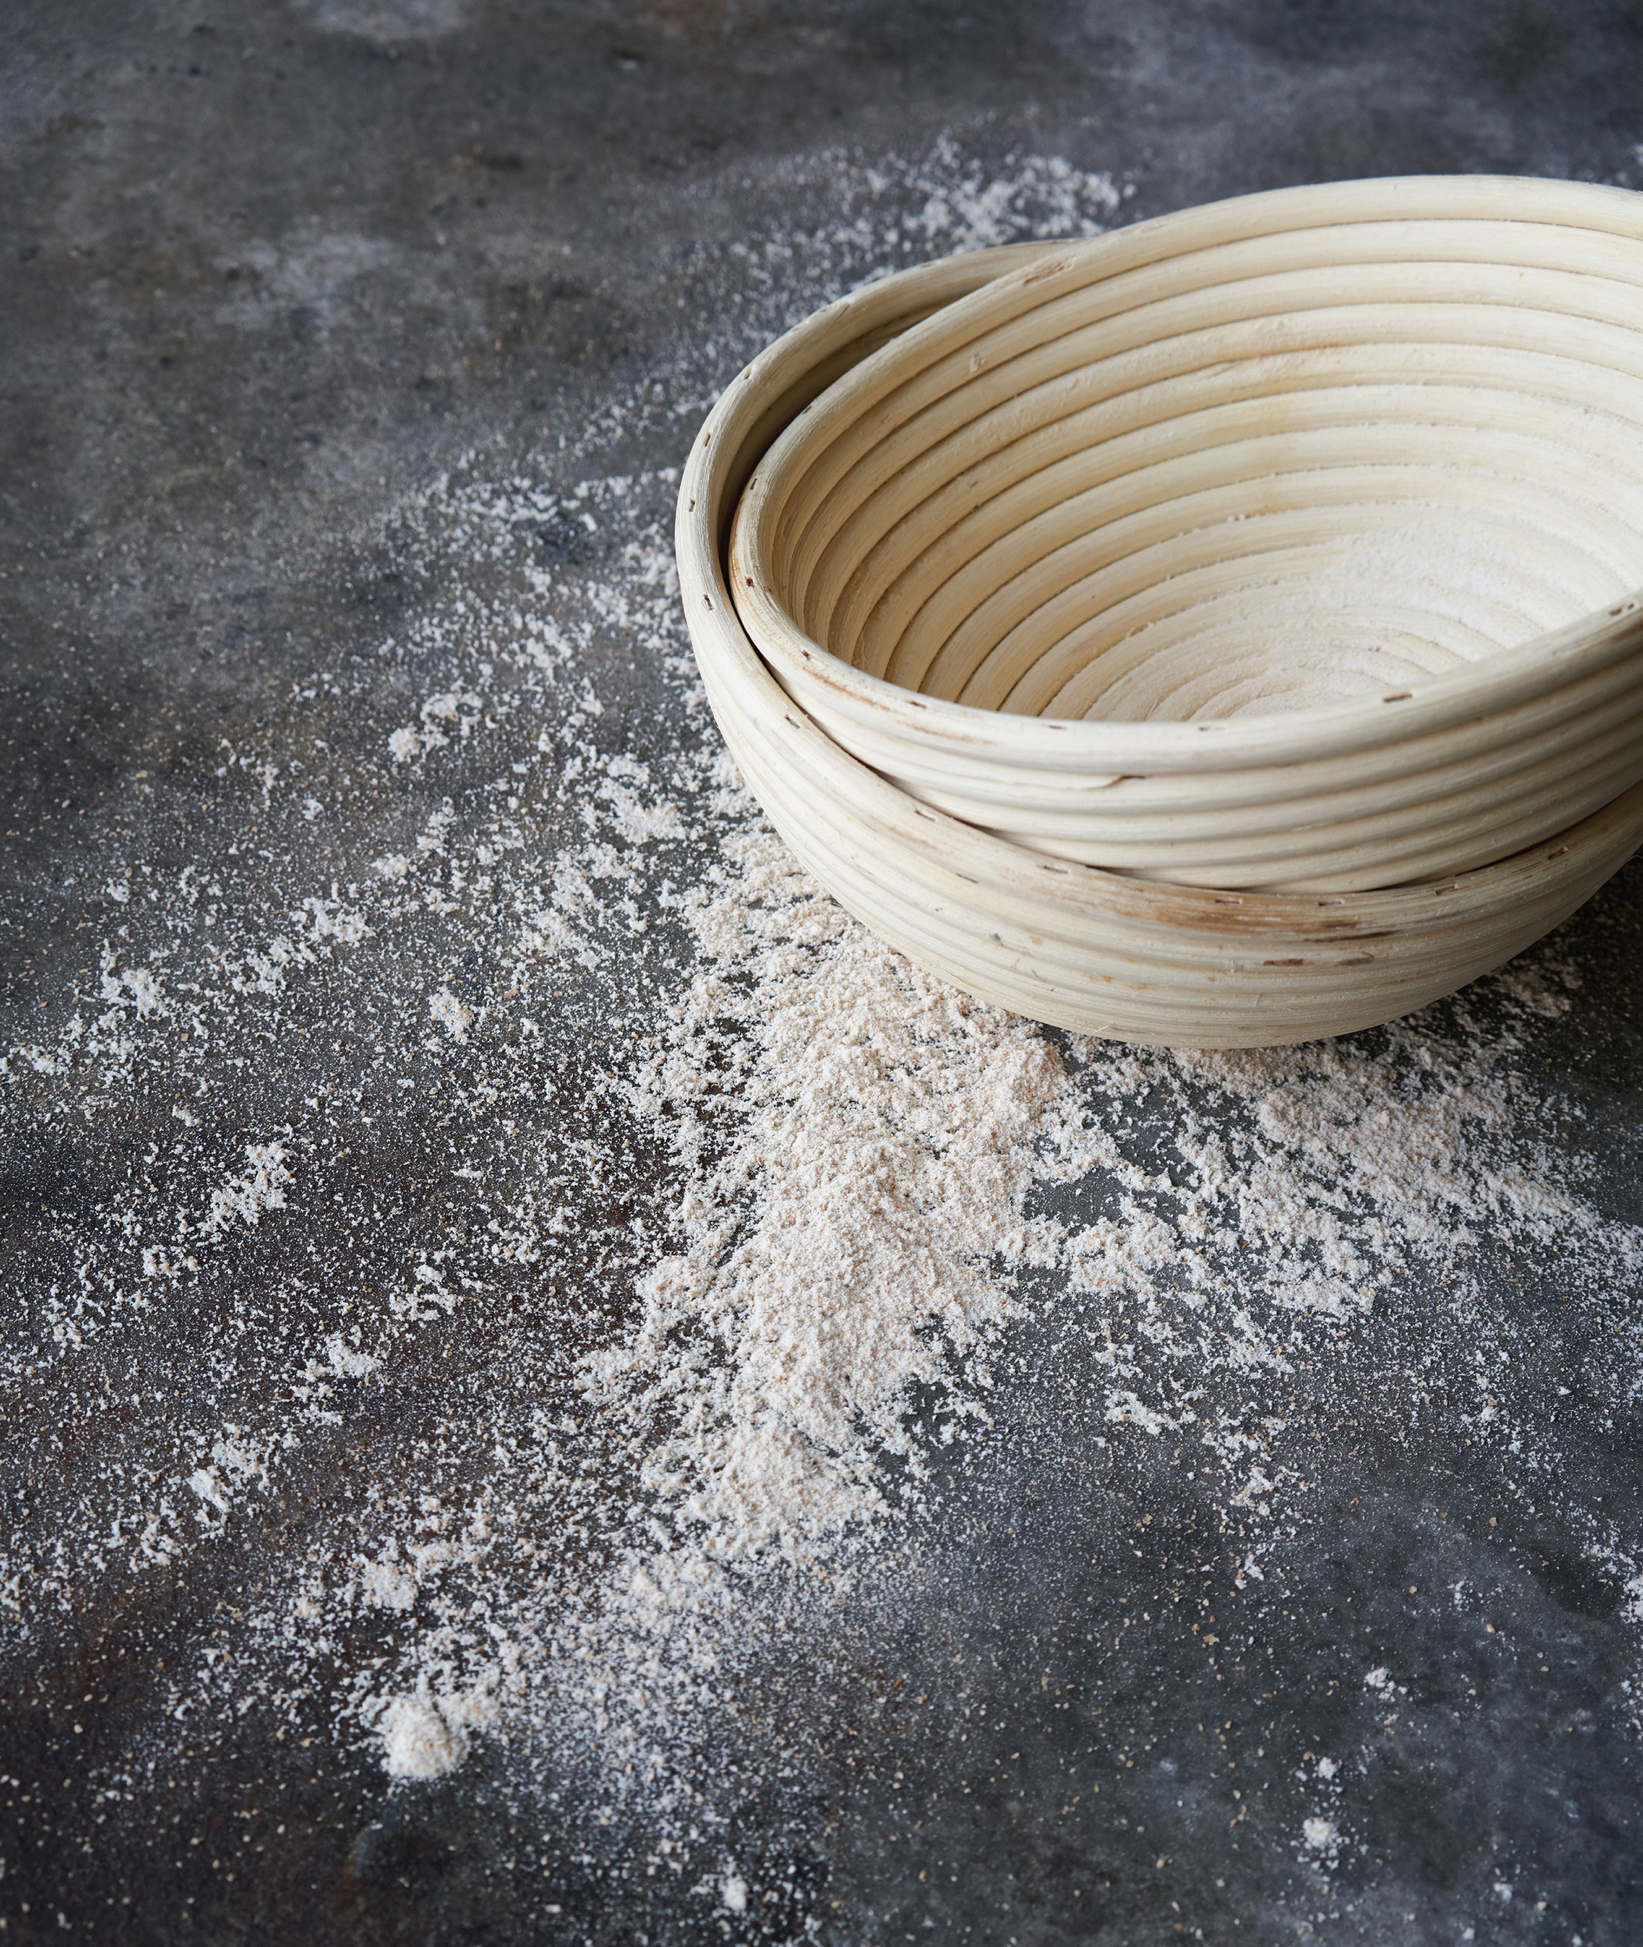
• Proofing basket (a.k.a. banneton) (8½-inch, about $12). Proofing your shaped loaf for a boule can be done in a large strainer, colander, or regular round basket, but the banneton puts those pretty concentric circles on the top of the finished loaf.
FLOURS
For breads that need to rise, it’s important to choose bread flour, which comes from strains of wheat that contain more gluten. The protein content is an indicator of the gluten needed for bread baking. For example, the protein content of whole wheat bread flour falls between 13 and 15 percent. Compare that to whole wheat pastry flour, which comes in at around 8 percent; not enough. Most flour manufacturers label the packaging so that consumers will know. If they haven’t outright called the flour a “bread” flour, sometimes they will have a list of products that the flour is appropriate for (e.g., bread vs. cookies).
If you substitute a pastry, cake, or all-purpose flour for bread flour, you risk the dough not having enough gluten to form a structure so the bread can rise! On the opposite end, when making something like a pancake, where a rise is not the goal, a pastry flour will render a lighter outcome.
Buy organic flours, made from locally grown grains, if possible.
Barley Flour
This is flour ground from whole grain barley. In this book, it is only used in the recipe for injera because it is traditional to use teff flour and barley flour to make this Ethiopian flatbread. The barley flour can be substituted, but the teff flour cannot.
Masa Harina
Don’t confuse masa harina with cornmeal. They are not the same. Masa harina is a finely ground corn flour. The fineness of the flour makes tortillas smooth and pliable.
Rye Flour
Rye flour is unique in its ability to amplify the flavor of the wheat in your bread but also deter gluten’s ability to rise and form the structure of the bread. For more about rye, see Why Does Rye Behave Differently Than Other Grains? (this page).
Teff Flour
This product is only needed for injera making. The tiny dark-red grain lends a stretchy feel to bread that can’t be duplicated with any other flour. See Injera (this page) for more on teff.
Unbleached White Bread Flour
Buy from producers who don’t bleach their white flour, because bleach is no friend to microbes. Bread flour comes from wheat that contains more gluten than all-purpose flour; better for baking bread.
Whole Wheat Flour or Whole Wheat Bread Flour
Hard red wheat, finely ground, serves best for making whole grain breads. If you’re looking for the best, touch the flour. You want the finest grind in town, not the gritty one. If the name of the flour doesn’t include the word “bread,” look for any indication on the label that the flour’s purpose is bread making.
Whole White Wheat Flour (a.k.a. White Whole Wheat Flour or Ivory Flour)
Disregard the confusing name and you’ll discover this is a whole grain flour, complete with bran, germ, and endosperm. It’s made from a type of whole grain wheat that doesn’t contain the genes that give the bran color. An easy way to think of it is as sort of an albino wheat. Not only does it have a lighter color compared to hard red whole wheat, it has a milder taste. Nutritionally, whole white wheat flour matches whole wheat flour.
Whole Wheat Pastry Flour
This whole grain flour comes from a type of wheat with a lower gluten content. Not so good for rising a loaf, but perfect for pancakes and biscuits, where there’s no kneading to develop gluten.
SALTS
Fine Sea Salt
Good-quality sea salt has the advantage of containing a wide range of additional minerals. Beyond this obvious benefit, there are two reasons I choose this salt over iodized table salt. The iodine added to salt to make it “iodized” causes the need to add bleaches and anti-caking agents, which have consequences. The iodine can discolor the salt, thus requiring bleaching. This treatment causes the salt to cake so…you got it, the anti-caking agents are brought in. I don’t want to support all this meddling, so I buy good-quality sea salt, nothing added. The second reason is taste. Put a bit of iodized salt on your tongue. Really taste it. Rinse your mouth, then have a taste of sea salt. Different, huh? Iodized salt has an acrid, unpleasant side note. I don’t want that in my food. In this book, fine sea salt is preferred when there is not a lot of exposure to time and liquid, and the salt needs to dissolve quickly.
Kosher Salt
This is good stuff. No additives. Preferred by most chefs. I have specified it when there is plenty of time and liquid for the coarse salt to be absorbed, or when I want the final product to have a clear look (like in jam or kraut). Sometimes the minerals in sea salt can give the finished product a little cloudier look.
If you want to use only one or the other, your food will be perfectly okay.
Places and Ways to Help Your Dough Rise
Where should you put your beautiful bowl of dough so that it will rise? Most of us don’t have a proofing room or keep our stoves and ovens running all day to create a “proofing kitchen”! So we need to be creative about finding an area where the temperature can be maintained at the perfect 75 to 85 degrees F. It’s best to take the temperature of the area before relying on it. In one of the Cookus Interruptus cooking videos I made, we put the bowl of dough in Grandpa’s lap while he was napping to keep it warm. That works.
Remember that after 4 hours, the yeast’s ability to rise has reached its maximum. Don’t overrise your dough by placing it in an area that’s too hot or letting it rise too long. Like an overstretched rubber band, the dough will have lost its elasticity and can fall flat when you bake it.
UTILIZING APPLIANCES
• For some with older models of gas ranges, the pilot light in the oven, or a combination of the pilot light plus the oven light, creates a box where the right temperature can be maintained. Use an oven thermometer to confirm this first.
• Preheat your oven to 150 degrees F. Turn it off and wait a few minutes. Place the covered dough bowl inside.
• Place a small saucepan or cake pan containing 3 to 4 cups of boiling water in the bottom of the oven. Place the bowl of dough on the middle rack above it. This method also keeps the rising area moist, so no need to cover the dough.
• Check the temperature on top of your refrigerator or hot water tank. One of these might hit the happy zone of 75 to 85 degrees F (perfection is 78 to 82 degrees F).
• Your microwave oven can double as a proofing box. Start by microwaving 1 cup of water in a microwave-safe glass for 2 minutes on high power. Once the water is heated, place the covered bowl of bread dough in the microwave, along with the water, and close the door. If possible, check the temperature to confirm it falls in the happy zone.
HOT ROOMS, CLOSETS, AND BOXES
• Place a space heater in a small bathroom or walk-in closet and heat the room to 80 degrees F. Pay attention to what the bowl of dough is sitting on (porcelain is cold, but thick bath mats are cozy).
• Maybe there is a windowless closet in your home that tends to trap heat. Test the temperature in the area. In my house it’s a linen closet, so there’s also bedding to provide further insulation.
• Put a 15-watt clip-on light in a ceramic bowl or pot (so it doesn’t melt the plastic) in a large ice chest. This will create a warm proofing box. Be sure to allow about an hour for the chest to warm up. Once warm, it should hold the temperature nicely.
• Buy a proofing box! This will set you back about $125, but if peace of mind is the goal it may be worth it.
BEDS AND BOWLS
• Place the bowl of dough on top of the top sheet in your bed and pull the comforter over that. If you happen to have an electric bed warmer, it will be even cozier under the covers (check because you don’t want the temperature above 85 degrees F!).
• Fill a large ceramic bowl with hot water. Set it on a dish towel on your counter. Place a baking sheet on top of the bowl of hot water and your bowl of dough, covered, on top of that. A proofing tower!

