I saved the most fun part for last.
The other main part of what directors do, other than directing the actors, is directing the camera operator. The camera operator might be you in your YouTube videos, or it might be a friend. Regardless, you should understand the shots that make up most filmmaking.
The basic shots in Hollywood filmmaking are the establishing shot, the medium close-up, the close-up, and the over-the-shoulder shot. These shots are shown in Figures Figure 2-13 through Figure 2-17.
An establishing shot is a wide shot that shows the setting where the scene takes place. A lot of beginning filmmakers skip this, and that can be a mistake. If you start with a close-up of two people talking, the viewer has no frame of reference for where the scene is taking place. This is not always needed; sometimes it's all about the people. But in any story-driven piece, consider whether the location is important. If it is, you might want to consider starting the scene with an establishing shot.
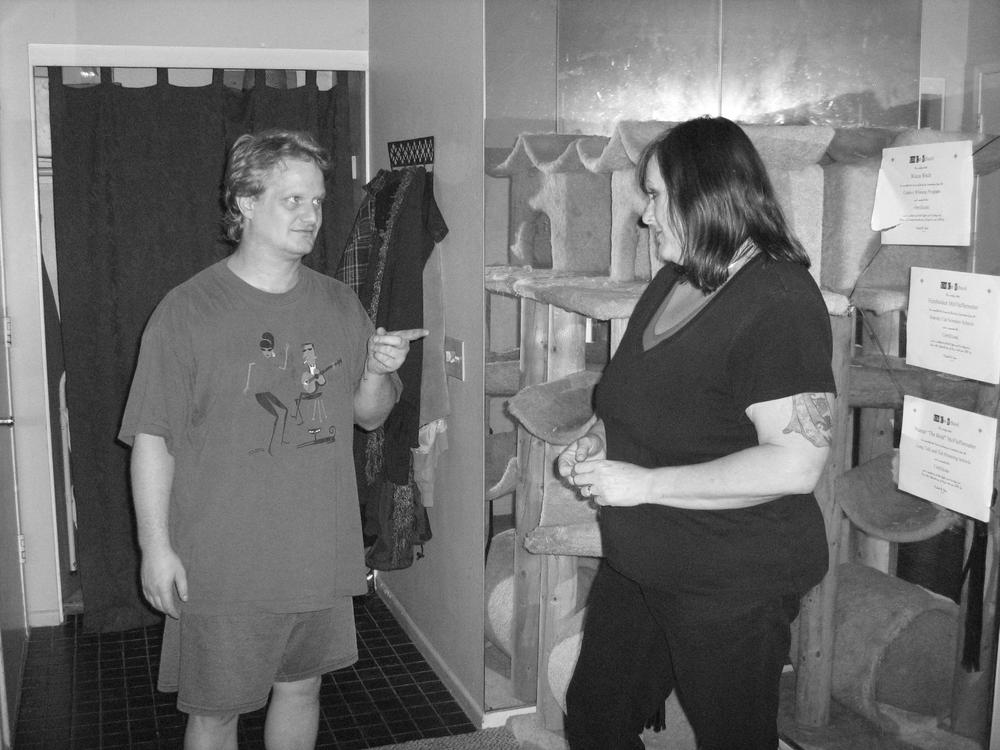
Figure 2-13. Michael and Debra Jean in an establishing shot. This photo and the next four photos taken by London May.
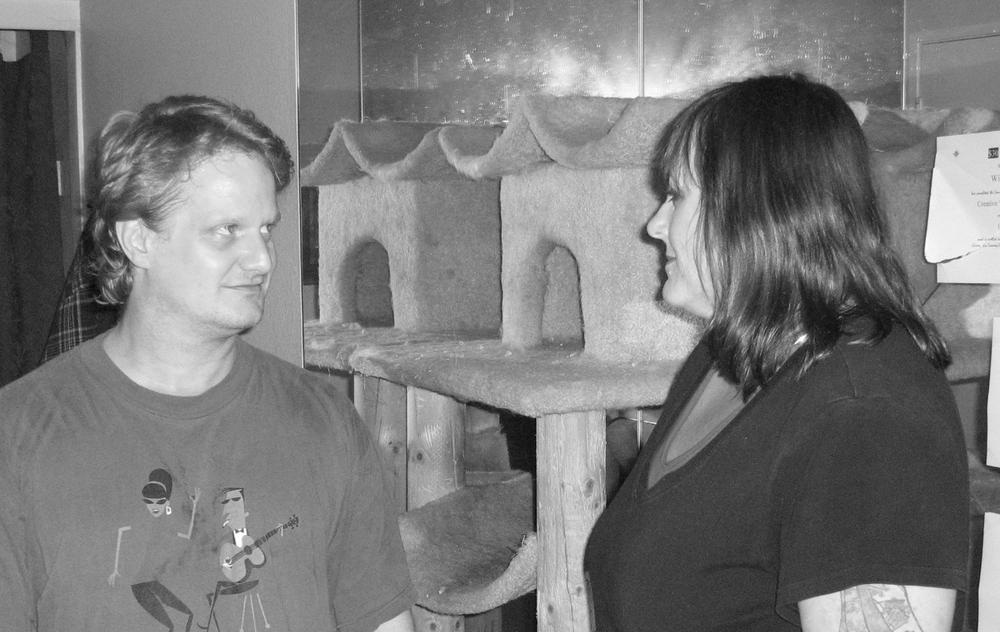
A medium close-up shot shows a bit of the background of the setting but comes in closer on the people talking. This is often where you "meet" the characters for the first time.
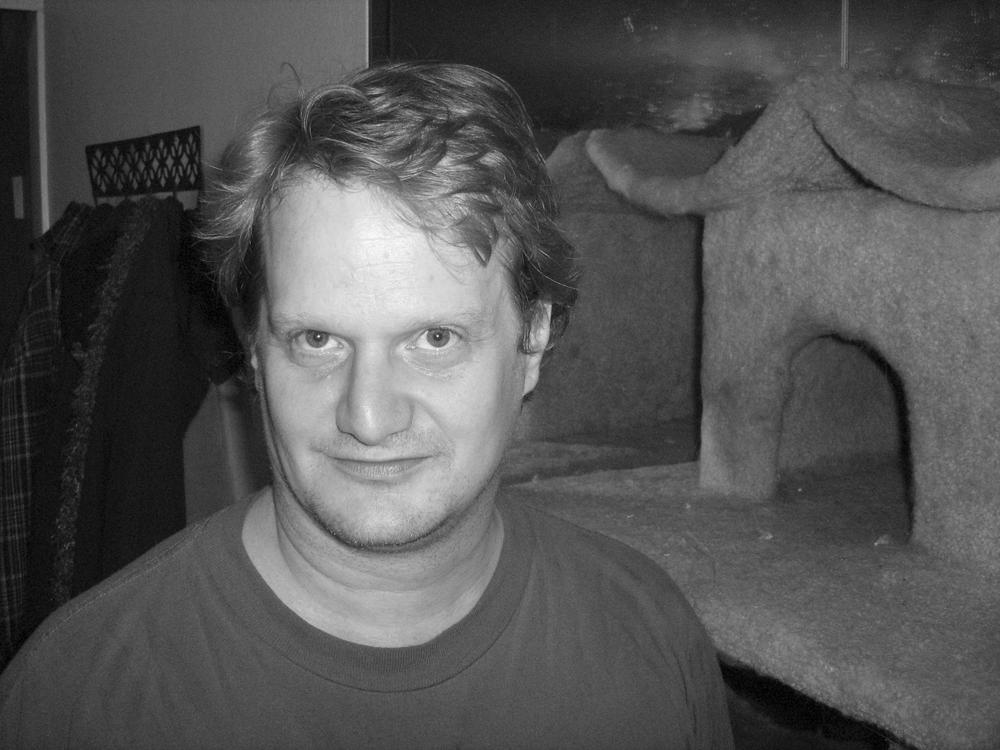
A close-up shot shows more of the mood of the face of one character. It should be used sparingly because it can be a little intimidating. It is often good for showing a reaction, especially of shock or surprise.
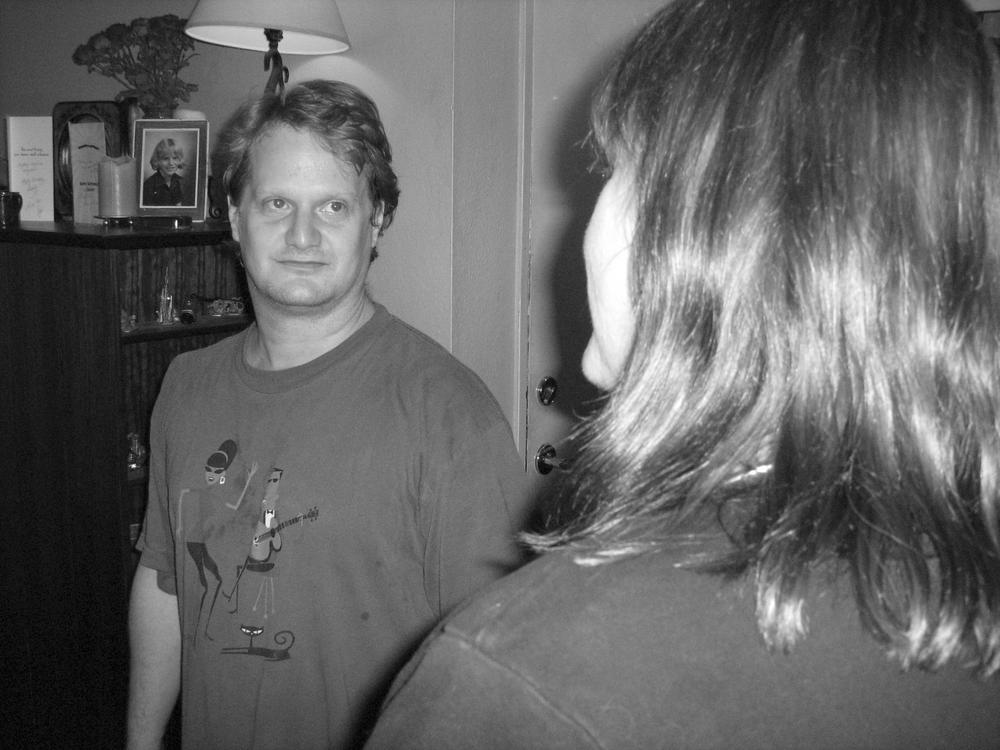
An over-the-shoulder shot is often used to show the face of the person speaking, while putting it in the context of the other person listening. It can be overused and grows tiresome quickly, especially if you switch angles every time each person speaks.

Here's a great tutorial on using different shots (see "more info" on the right to see which shots show up at each time point): www.youtube.com/watch?v=CpPWdgGa28k (URL 2.26). You can also use different camera angles to accomplish different feels. Here's a good tutorial (from the Take0 folks) on camera angles: www.youtube.com/watch?v=VLfI4DQIAaY (URL 2.27)
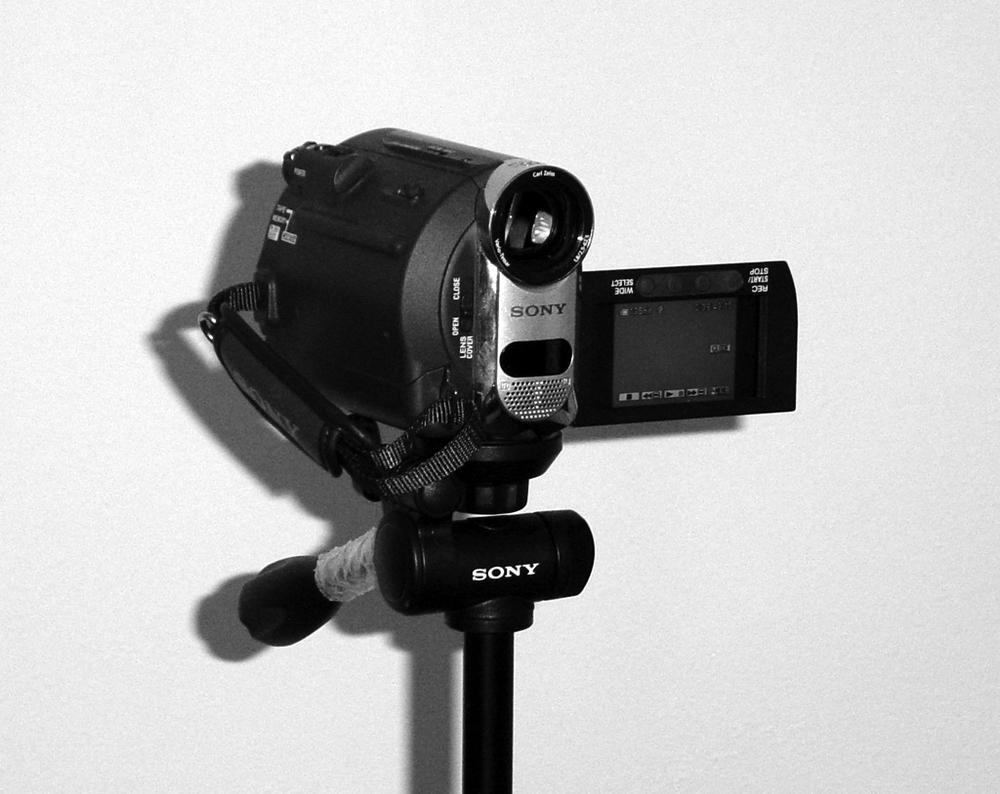
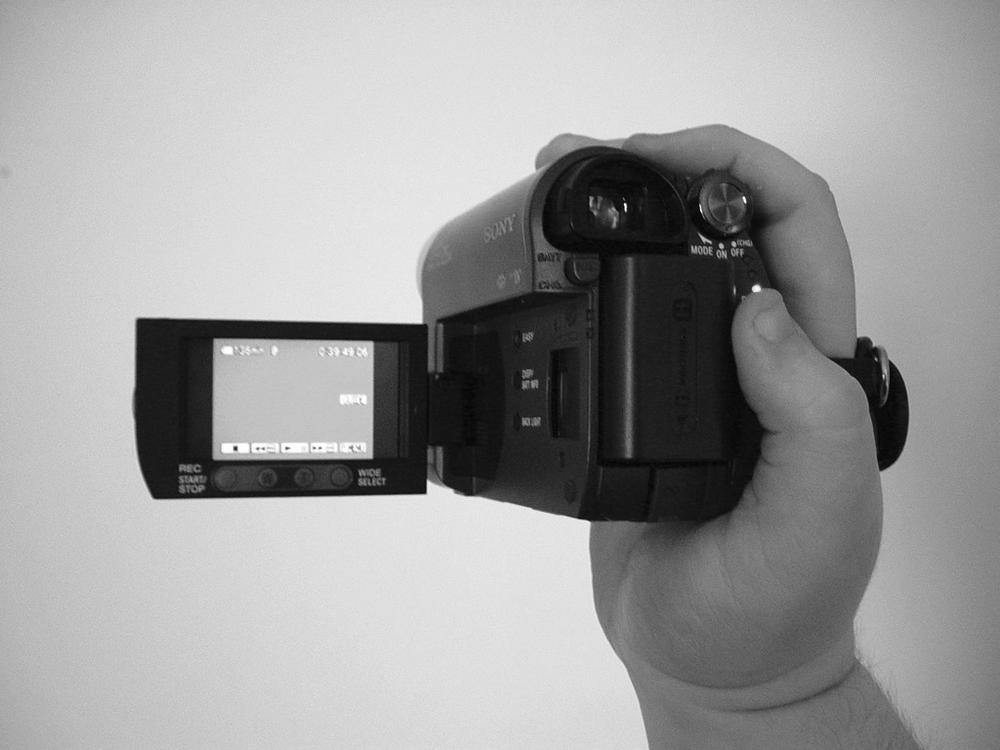
You can buy an inexpensive tripod for your camera. A tripod stabilizes the camera. (You can also just set your camera on a stack of books if you don't have a tripod.) Shots from a stabilized camera can look more professional, or they can look stale. Handheld shots (where you're holding the camera rather than stabilizing it with a tripod or other object) can look exciting and add energy, or they can feel jittery and amateurish. Figure 2-18 and Figure 2-19 illustrate tripod and handheld camera use.
Here's a video that was taken using handheld camera work that looks good: www.youtube.com/watch?v=7_kWmZG1zdE (URL 2.28). It's Alan walking around his apartment, vlogging while holding the camera.
Experiment with both stabilized and nonstabilized camera work, know what each can do, and add it to your list of tools to get the exact right look for every moment you commit to video. As the director, you are calling the shots, literally, whether you're directing someone else with the camera or doing it yourself. It's all part of getting your vision onto the tiny screen and potentially out in front of millions of people.
So, there's your crash course in storytelling and directing. Got that? Good. Time to move on to actually committing your stories to the camera and then getting them up on the 'Tube.