BASIC WALL DISPLAY SHELF
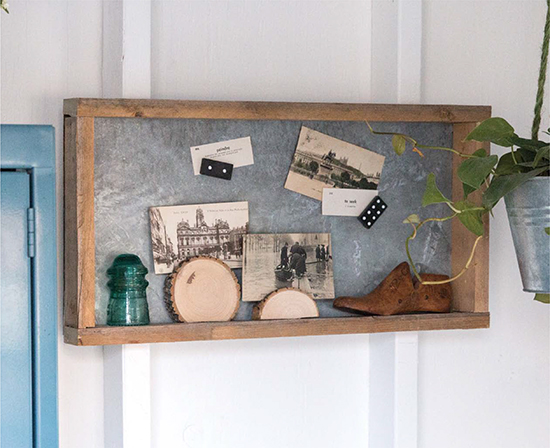
A long time ago, I found a vintage box that appeared to be a tray. When I got it home, I actually decided to hang it on the wall and use it as a shelf instead. There was just enough depth inside the tray to feature some of my favorite pieces, but I loved the ability to add things along the top as well as inside. With this Basic Wall Display Shelf, you get all of the same advantages of the vintage tray I found, but with the added character of a galvanized back. And of course, you could also use this as a tray, just like the vintage one I love.
MATERIALS
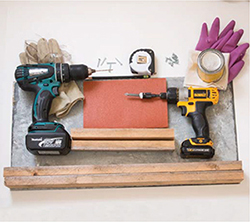
- 4 pieces of wood for the frame, 2 pieces cut to the larger-side length of your sheet metal and 2 pieces cut to the shorter-side length of your sheet metal (The wood I used was 1" thick and 21⁄2" wide. I also used wood that had a rustic finish already. If you are working with new wood, stain it before you start.)
- Work gloves
- Eye protection
- Drill
- Sandpaper
- Screw gun
- 4 wood screws
- 12" × 24" piece of sheet metal
- 20 sheet metal screws
- 1 French cleat (optional)
- Rubber gloves
- Wood stain
- Stain cloth
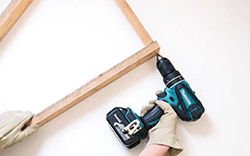
- Place the ends of one of the larger and one of the smaller pieces of wood adjacent to each other, forming a 90-degree angle. Wear your work gloves and eye protection and use your drill to create a pilot hole that goes through the outside piece of wood into the inside piece of wood. Then remove your drill from the wood. Use your sandpaper to lightly sand the edges and corners to make sure they are smooth.
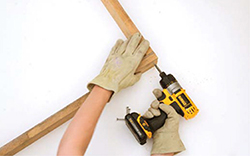
- Use your screw gun to attach the two pieces together with a wood screw, leaving the screw just a little loose. Repeat for each of the corners. Then, once all of the screws are in, line the corners up with your sheet metal and tighten all four corners to ensure that your sheet metal sits inside the framework of the wood and does not hang out over the edge.
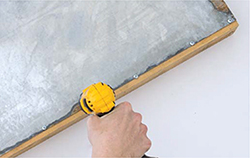
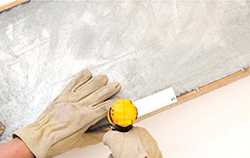
- Place the sheet metal on the back of the wood and use your screw gun to attach it to the wood with sheet metal screws.
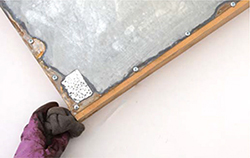
- If desired, use your screw gun to attach a French cleat to help you hang your shelf.
- Put on your rubber gloves and apply stain with the stain cloth to the cut edges of your wood to blend them in with the rest of the wood.
TIPS & RECOMMENDATIONS
When creating this project, I purposefully used a size of sheet metal that could be purchased right off the shelf without any cutting. However, with a straightedge and a pair of metal snips, you can cut a piece of sheet metal down to any size of your choice. The easiest size to find is 24" × 36" and you can size down from there. You could also join two pieces and have the seam hidden by an extra shelf. For this project, using a chop saw will be the quickest and easiest way to cut your wood, but if you don’t have access to one, a miter box will work perfectly well.