BUCKET WALL SHELF

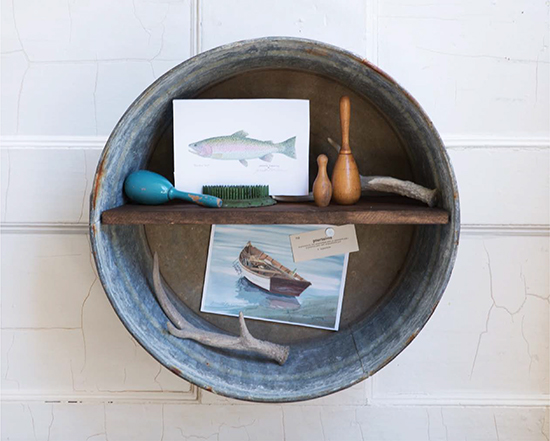
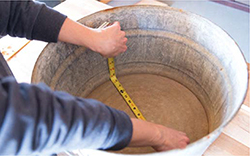
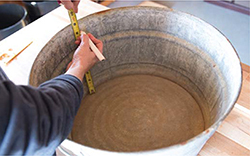
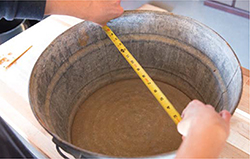
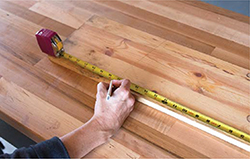
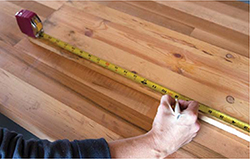
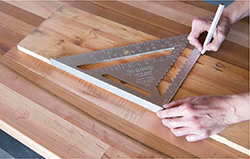
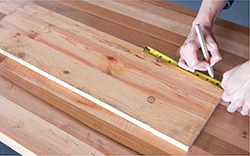
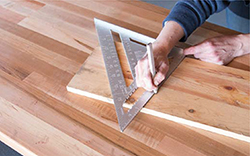
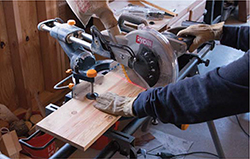
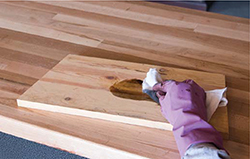
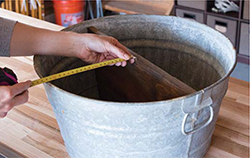
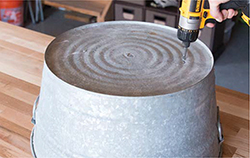
I have always wanted to hang a galvanized bucket on the wall, but I also wanted it to be functional. After experimenting with how to hold it on the wall and how to best use it, I finally came up with a project that worked: this Bucket Wall Shelf! I love the storage functionality and I love the mix of the galvanized metal with rustic wood. And the bonus with this project is that it can also be used as a magnet board.

MATERIALS

  1. Use your tape measure to measure the inside diameter of the base of the galvanized bucket. This will be the shorter length of your shelf.

  2. Measure the depth of your shelf (mine was 8"). Measure up from the bottom of the bucket on the inside to the depth of your shelf and mark this measurement on each side of the bucket with a pencil.

  3. Measure across the bucket at the two marks you just made. This is the longest length of your shelf.

  4. Use a pencil and mark the longest length on one of your shelf’s edges.

  5. Use your measuring tape and find and mark the center point of this longest length.

  6. Use your square and a pencil and draw a line from this center point across to the other side of the board across from the first mark, which will be the shelf’s shorter-length side.

  7. Using your width measurement from step 1, divide the width in half and measure out half that length in each direction from your center point from step 6 and mark it with your pencil.

  8. Use the edge of your square and a pencil and draw a line to connect the ends of the longer length with the ends of the shorter length. This will give you your angle for cutting the sides of your shelf.

  9. Put on your work gloves and eye protection, line up your angle carefully, and cut with a chop saw. If you do not have access to a chop saw, you could also use a jigsaw. Place your board inside your bucket to ensure your cuts are correct and it fits.

  10. Put on your rubber gloves, dip the stain cloth in the wood stain, and apply the stain in the direction of the wood grain. Be sure to wipe off any excess stain. Let the stain dry according to package directions.

  11. Place the stained shelf inside the bucket and measure to double-check that it is centered from top to bottom.

  12. Use your drill to drill a pilot hole and then use your screw gun to attach one screw on each side from the outside of the bucket into the wood shelf. Place your screw about 1" in from the bottom side of the bucket, making sure it’s lined up with the placement of the shelf. After the first screw is attached on each side, use your level to ensure the board is straight. Then add an additional screw in each side about 1" down from the top end of your wood shelf. Finally, measure with your tape measure where the shelf sits relative to the bottom of the bucket and then transfer that measurement to the back of the bucket. Then use your screw gun to attach three screws from the back side into the shelf, one in the middle and one on either side about 3"–4" from the middle.

TIPS & RECOMMENDATIONS

This project is perfect for your guest bathroom as well. Roll and tuck hand towels and wash cloths to be readily available for your guests. You can even add toiletries on the shelf to make the perfect guest welcome.