As every forager knows, wild edible harvests are intensely seasonal. Some examples: You’ve got 2 or 3 weeks (max) to harvest black raspberries. Nettles must be picked before they flower. And once Japanese knotweed turns woody, it’s useless to you in the kitchen. No one is flying in any wild edibles from the Southern Hemisphere and stocking them in grocery stores to tide us over in winter, so if you want to enjoy your foraged harvests year-round, you’ll need to learn how to preserve them when they’re at their peak.
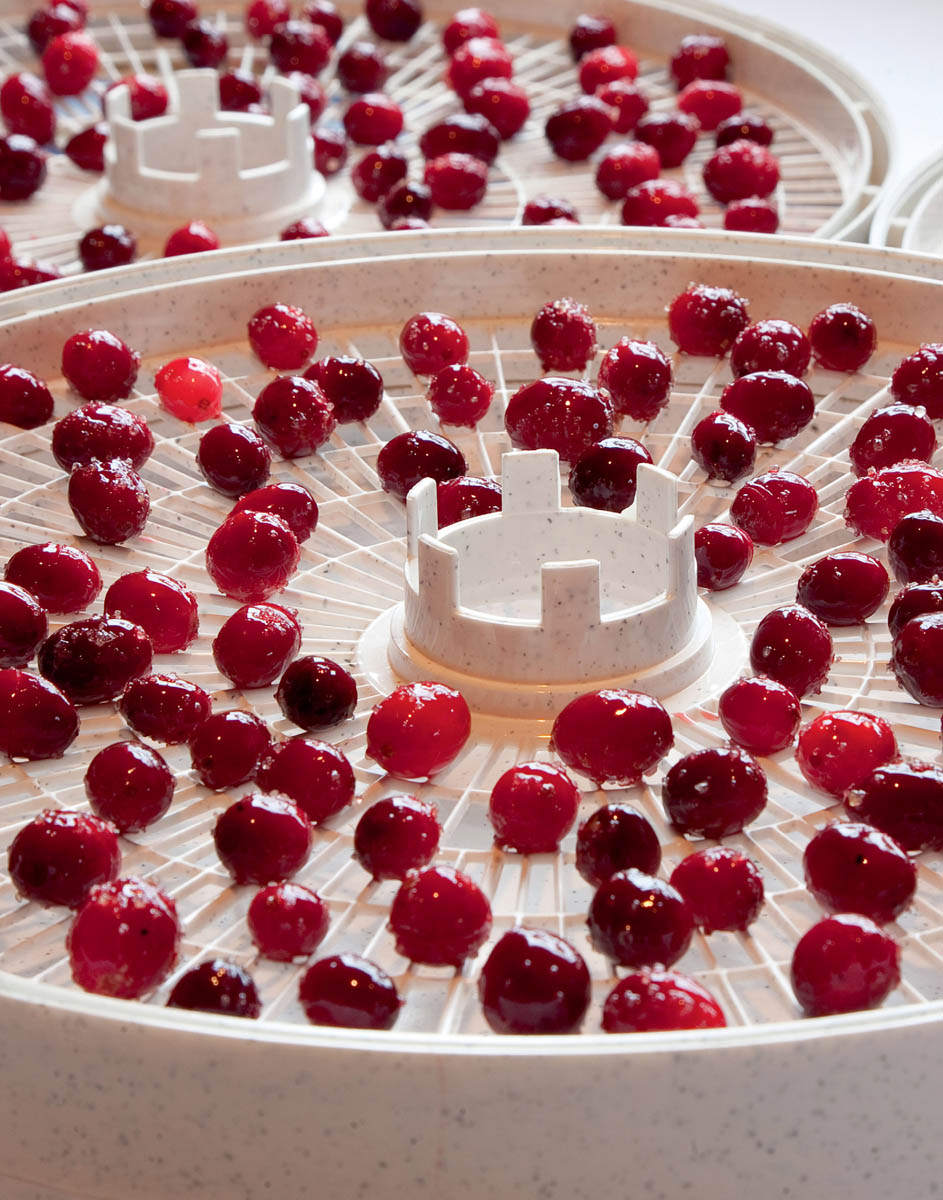
Dehydration is one of the easiest and least expensive ways to preserve your herbs and fruits. If you had a banner year for wild garlic or cranberries, why not fill your pantry with jars of dried wild produce?
My favorite way to dry a harvest is with a dehydrator. Mine has paid for itself many times over. You don’t have to buy new. Search through the classified ads on websites like Craigslist, and you might just find one for a fraction of its original retail price.
If you live someplace humid, a dehydrator is essential for drying herbs and fruit. High humidity can cause these foods to mold before they dry. Herbs are best dried at 95°F (35°C) or lower. This is because volatile oils, which contain most of the flavor, are preserved at lower temperatures. Fruit and fruit leather can be dried at 135°F (55°C). Look for a dehydrator with a thermostat so you can adjust the temperature to suit what you’re drying. A timer is also a nice bonus.
Of course you can dry food without a dehydrator. If you live someplace arid, try a double screen setup. Place your herbs (or fruits) on one screen, then cover with a second screen on top. The mesh allows air to circulate from above and below, and it protects your harvest from pilfering birds and mammals.
Several companies make screened, collapsible shelves you can hang in a breezy spot. Drying in open air usually keeps the temperature below 95°F (35°C). Maintaining a low temperature with this method may be a challenge in truly hot desert locales, such as Phoenix or Death Valley. Depending on the humidity where you live, it may take several days for your harvest to dry.
If you don’t have an equipment budget, you can always bundle your harvest and hang it in a dry, dark place. But don’t be fooled by those pretty magazine photos of kitchens bedecked with colorful bundles of herbs. Dried herbs left in a working kitchen will quickly become dusty and lose their flavor. Once your harvests have dried, transfer them to sealed containers and store them in a dark place to preserve their color and flavor.
Oven and microwave drying are a last resort. Most traditional ovens can’t be set below 170°F (75°C), which is too high for herbs and even higher than I’d recommend for fruits and fruit leather. But we make the best of what we’ve got, right? Prop open the door of your oven with a wooden spoon to lower the internal oven temperature. Try not to think about the energy you’re wasting.
Microwaves can be used to dry herbs, but not for fruit. As with a traditional oven, you’ll lose some flavor due to the high temperature, but at least you won’t be heating your house with an open oven. Place your herbs in a single layer on a dry paper towel, and microwave at full power for 30-second intervals until the herbs are crisp. Replace the paper towel if it becomes wet, and be sure to let your herbs cool before you transfer them to a jar. Condensation may form during cooldown, which could lead to mold.
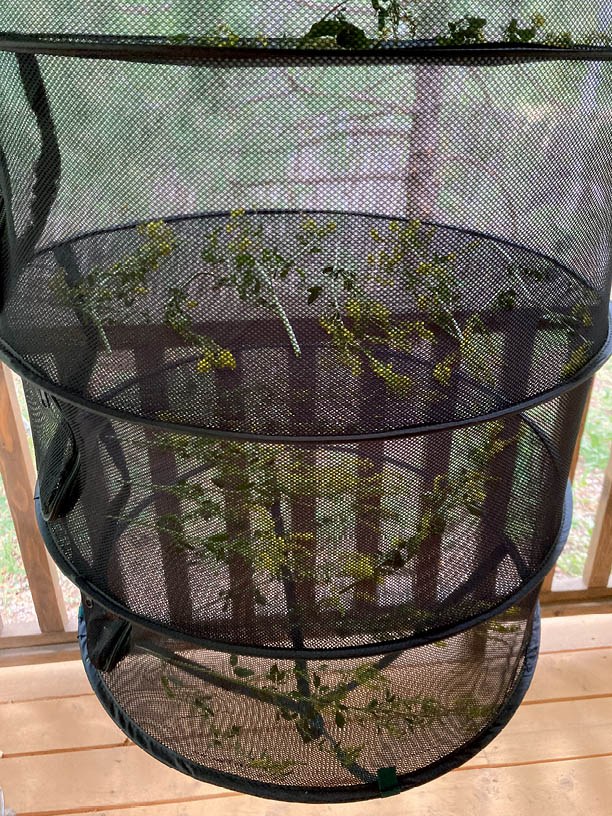
This multitiered, screened-in air dryer lets you dry loads of herbs without electricity.
While some foragers dry and powder their greens, I do not. I suppose you could add powdered greens to soups or stews as a thickener, but you lose a lot of flavor and all the texture this way, which is a crying shame. Blanching and freezing is the best way to preserve your harvest of leaves and stems, as this process maintains both the color and nutrition of the plants you’ve picked. And thanks to Harold McGee and his fantastic book On Food and Cooking, I can explain exactly why blanching and freezing works so well.
Freezing your greens stops their metabolic processes. When the water in plant tissue freezes, it becomes immobile, and this, in turn, immobilizes most other molecules in the plant, causing most chemical activity to come to a screeching halt.
Ah, but some chemical reactions are actually enhanced by freezing. The formation of ice crystals speeds up the enzymatic breakdown of both pigments and vitamins by concentrating the enzymes and other molecules responsible for these processes. As a result, your frozen food will thaw to be less beautiful and less nutritious than when it was fresh.
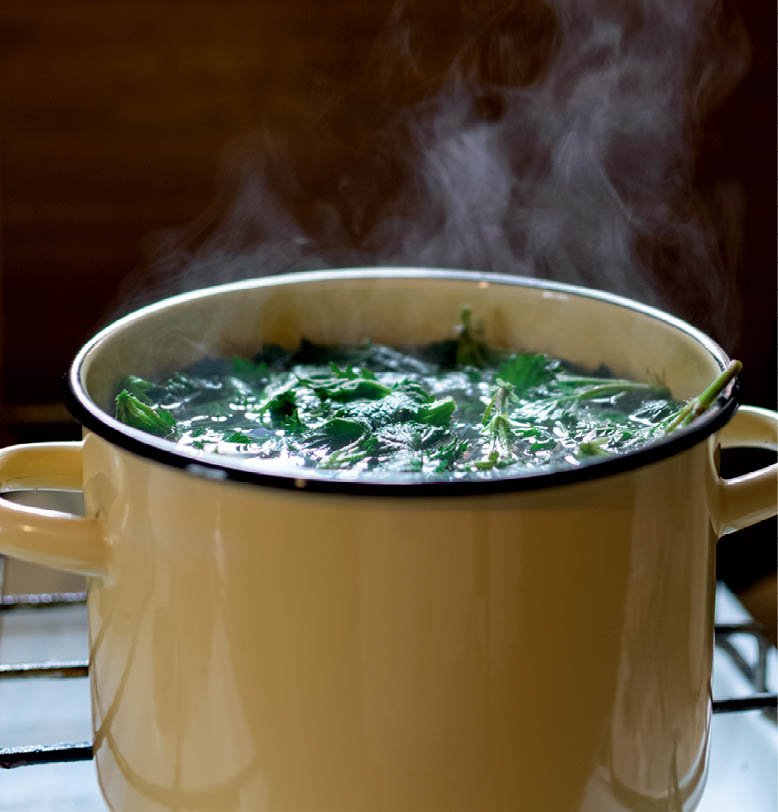
Here’s where the blanching comes in. Blanching stops the enzymatic breakdown of pigments and vitamins. To blanch your greens, bring a large pot of water to a rolling boil, and plunge your greens into the water. How long you blanch your greens will depend on how thick they are. Milkweed shoots may need a full 2 minutes, while quickweed leaves could be done in 30 seconds. You’ll develop a feel for this with experience. Strain the greens and transfer them to a bowl of ice water to stop the cooking. Overcook your greens and you’ll be left with mush. Undercook, and your frozen greens will end up a dull color with fewer nutrients.
Once your greens have completely cooled, squeeze out as much water as possible from the leaves to minimize the accumulation of ice crystals in the plant tissue. These sharp crystals puncture the plant’s cell walls and destroy the structure of the plant, once again leaving you with mush.
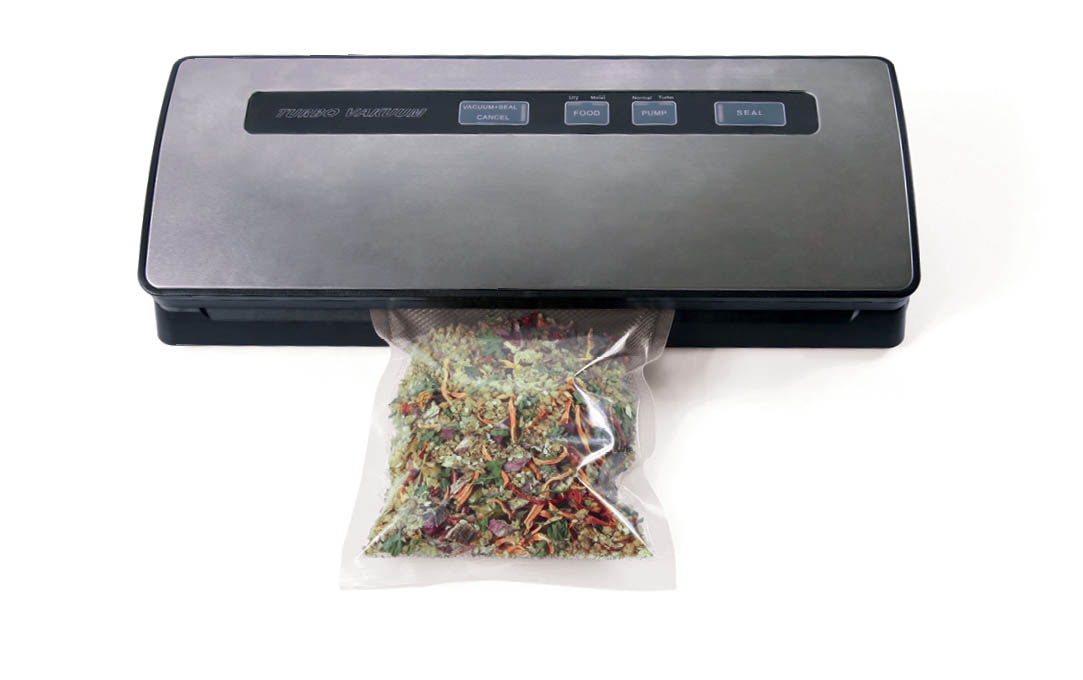
If you plan to freeze your greens long term (more than a few weeks), use a vacuum sealer to package them. Removing the air is crucial. Because water seeks equilibrium, and because the air in your freezer is very cold and dry, without a vacuum seal, ice crystals in frozen food will evaporate. This results in freezer burn, which produces a stale flavor and tough texture.
Remember how hard you worked to harvest your nettles, dock, and mustard greens? Surely you don’t want all that effort to go to waste. The extra steps of blanching before freezing, then tightly packaging your greens and removing as much air as possible with a vacuum sealer, are worth the time it takes to preserve your harvest at its peak.
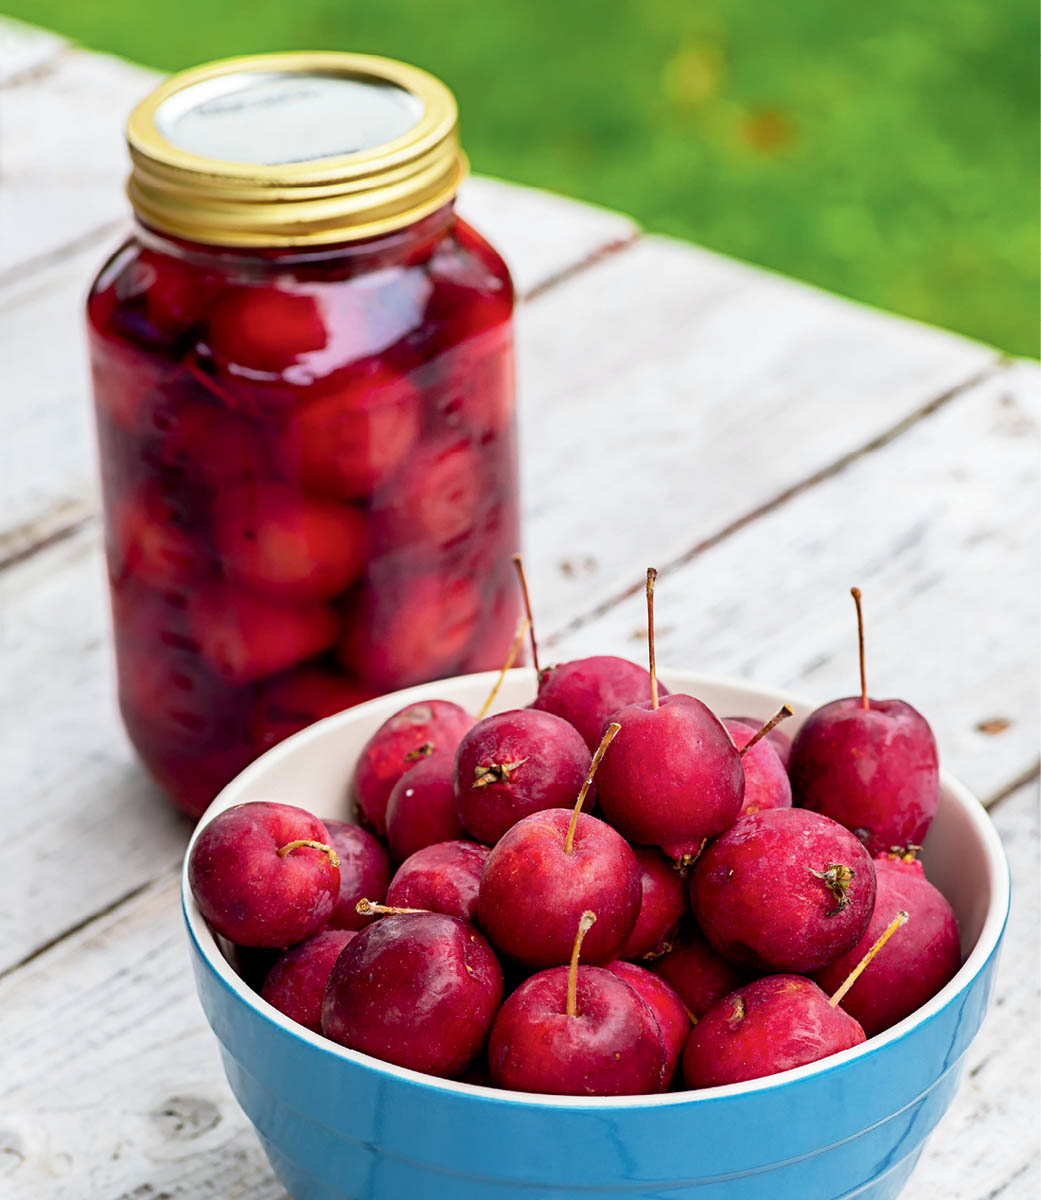
Some things can be frozen without blanching, primarily fruits and nuts. I often freeze acorns immediately after gathering them, because I don’t have time to process them right away. And while fruits like plums and crabapples can certainly be canned, it’s a lot easier and a lot less laborious to toss them in the freezer.
Nuts don’t require any prep work before freezing. Just put them in a freezer bag, shells and all, and store them away. Thaw them when you have time to play with your harvest.
Fruit should be rinsed and dried before freezing. If you’re going to use the fruit in jam or jelly, you can freeze it in a ziplock bag, or vacuum seal it if it’s going to be a few months before you get around to using it. If you’re freezing berries to use in baking, and you want the original shape and texture of the fruit to be preserved, consider spreading them in a single layer on a cookie sheet (after you’ve rinsed and dried them), then put them in the freezer. After they’re frozen, transfer the berries to a freezer bag or vacuum seal them. If you just toss them in a bag after rinsing and drying, you will likely have a giant mass of fruit pulp, which is fine for some things but not for others.
If you decide to make a deep dive into food preservation, you may want to consider investing in a boiling water bath canner, a pressure canner, or both. The nice thing about canned goods is that you don’t have to wait for them to defrost, and they can be stored anywhere (under the bed, at the back of the closet, and of course, in a kitchen cupboard).
Jams, jellies, syrups, and pickles can all be canned in a boiling water bath, which is basically a big stockpot. This type of canning is only for high-acid foods, foods with added sugar, or pickled foods.
A pressure canner can be used to can any kind of food, including greens, roots, and fruit, without additional sweetener. Pressure canning will give you a soft (dare I say mushy?) end product, but if you’re just going to use the canned greens as a soup base, it really doesn’t make a difference. Check out Put ’em Up! or The Beginner’s Guide to Preserving Food at Home for detailed canning instructions.
This technique takes advantage of the natural yeasts found in many flower pollens. Ratios of 3:1 (water:sugar) and 2:1 (water:loosely packed flowers) generally work well for this technique. For example, for 12 cups of water you would need 4 cups of sugar and 6 cups of loosely packed flowers. You’ll also need one thinly sliced lemon or lime for every 12 cups of water.
Ingredients
Materials
Instructions
Any strongly scented, edible flower will make a flavorful syrup. As with the naturally fermented soda recipe, don’t wash your flower petals; pollen and yeast contribute to the flavor.
You’ll need equal parts fragrant flower petals, white sugar, and water. You can use other sweeteners, but white sugar has a very neutral flavor, which keeps the focus on the flavor of the flower.
Ingredients
Materials
Instructions
Vinegar has a strong flavor all on its own, so if you want to infuse it with something wild, choose a plant with a taste that can stand up to the vinegar. Some things to try are melilot flowers, wild garlic stems, Pennsylvania bay leaves, or sumac berries. Bright red sumac fruit will give you a lovely colored vinegar.
Ingredients
Materials
Instructions
Combine the herbs with the white vinegar in a pint jar. Allow the mixture to infuse for about 2 weeks, then strain off the solids and transfer the vinegar to your jar.
Fermentation requires yeast, and yeast requires food in the form of sugars. Because different wild plants contain different amounts of sugar, the exact proportions you use to make a wild wine depend on the foraged ingredient. The recipe below is for a simple crabapple wine. For an excellent collection of wild wine recipes, I recommend Making Wild Wines & Meads by Pattie Vargas and Rich Gulling.
Ingredients
Materials
Instructions
You can infuse any kind of spirit with any kind of fruit. But the neutral flavor of vodka allows the foraged ingredient to shine, so let’s start there. The technique is the same for any spirit you may use.
Sweet fruits like bramble berries don’t need any sweetener, but if you’re using a tart fruit, like plums or chokecherries, you may want to add some sugar to the mix. The amount depends on the fruit. Start small and increase until the flavor pleases you.
Ingredients
Materials
Instructions
To make jelly, you need to get fruit juice to jell, which requires pectin. Some fruits (wild plums, cranberries, crabapples) contain enough pectin to jell on their own. But for jellies made with low-pectin fruit (raspberries, rose hips, sumac), you’ll need to add commercial pectin. If you’re not sure which way to go, err on the side of caution and add the pectin. You’ll find recipes and instructions on the insert in the pectin package. You can also make jelly by adding commercial pectin to an infusion of flower petals, like Queen Anne’s lace, dandelions, or rose petals. The following recipe is for making fruit jelly without commercial pectin.
Ingredients
Materials
Instructions
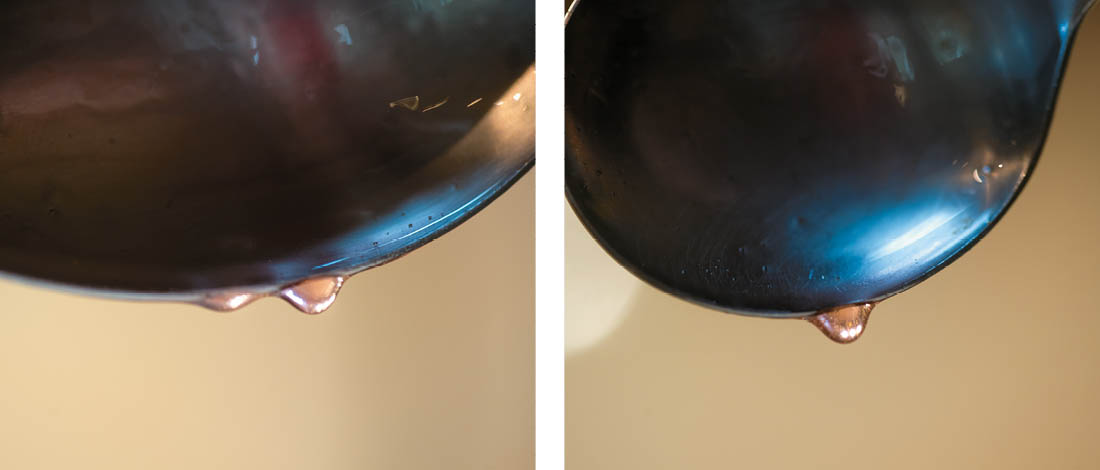
Your jelly has reached the jelling point when the last two drops slide together, and drip from the spoon as a single drop.
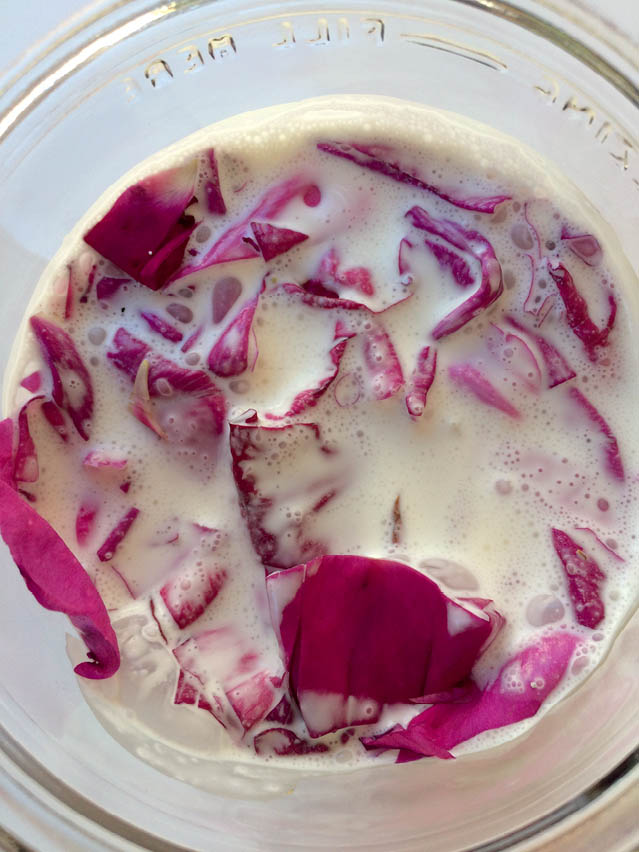
Many flowers infuse wonderfully in cream, adding surprising flavor to the rich liquid. The same technique can be used for herbs.
Ingredients
Materials
Instructions