Brewing your own beer

Brewing is a lifetime’s journey, but immerse yourself in the fundamental techniques and you’ll have a solid base from which to make great beer.
Sanitisation
Cleanliness, they say, is next to godliness, and in brewing it’s also right beside tastiness (and safeness). Sanitisation has to come first – its importance can’t be stressed enough. A whole batch of beer can be spoiled by the infiltration of unwanted bacteria or wild yeast. Warm wort is a playground for rapidly reproducing cells, and infected beer is fit only for the drain. (Unless you’re Belgian – the likes of lambics are intentionally infected. But that’s another story…) Every part of every piece of equipment used post-boil has to be thoroughly free of germs. Get into this habit early and you’ll save yourself heartache further down the line. It’s helpful to think about a ‘two-steps-back’ regime: sanitise anything that will touch the wort. Bottles, too, have to be thoroughly cleaned and sanitised – use a special brush or rinser.
Preparation
Most homebrewers use the power of gravity to transfer liquids between vessels in the various stages of the brew. If you have the space, a stepped podium-type arrangement will make this easier; if not, limber up for a bit of lifting and lowering. Electric inline pumps take out the struggle.
A Wyeast Smack Pack will have to be activated at least three hours before you need it. White Labs vials need to be brought to room temperature then activated 15 minutes before use. A traditional liquid yeast starter will need to be prepared 12 to 18 hours in advance. Grain should be ground as near as possible to mash-in time.
Set aside about four to five hours for a brew, longer for your first few – this is not an activity that benefits from haste. It’s also not an activity that you can pause for a few hours while you go to work/sleep/the pub. And don’t get too carried away with thoughts of sampling your beautiful beer any time soon. Grain to glass is about four to five weeks, when fermentation and conditioning are taken into account. It’s worth the wait.
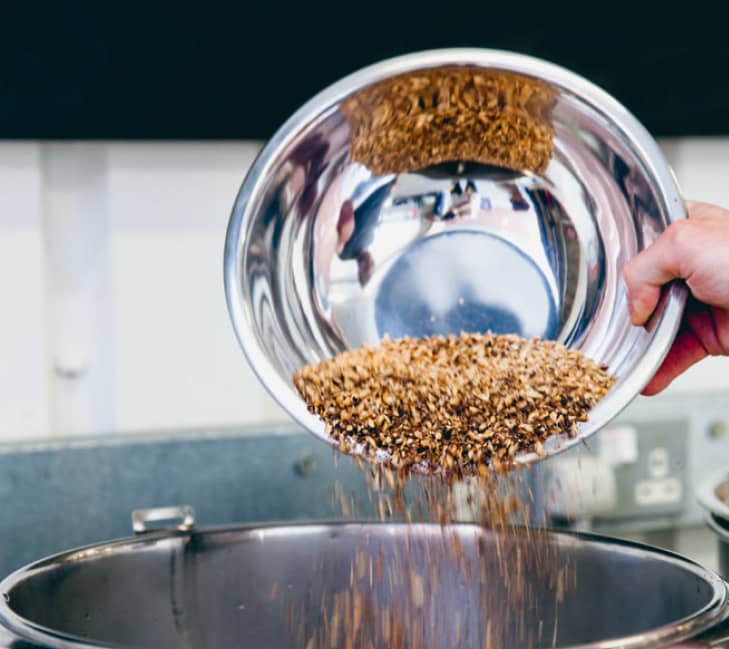
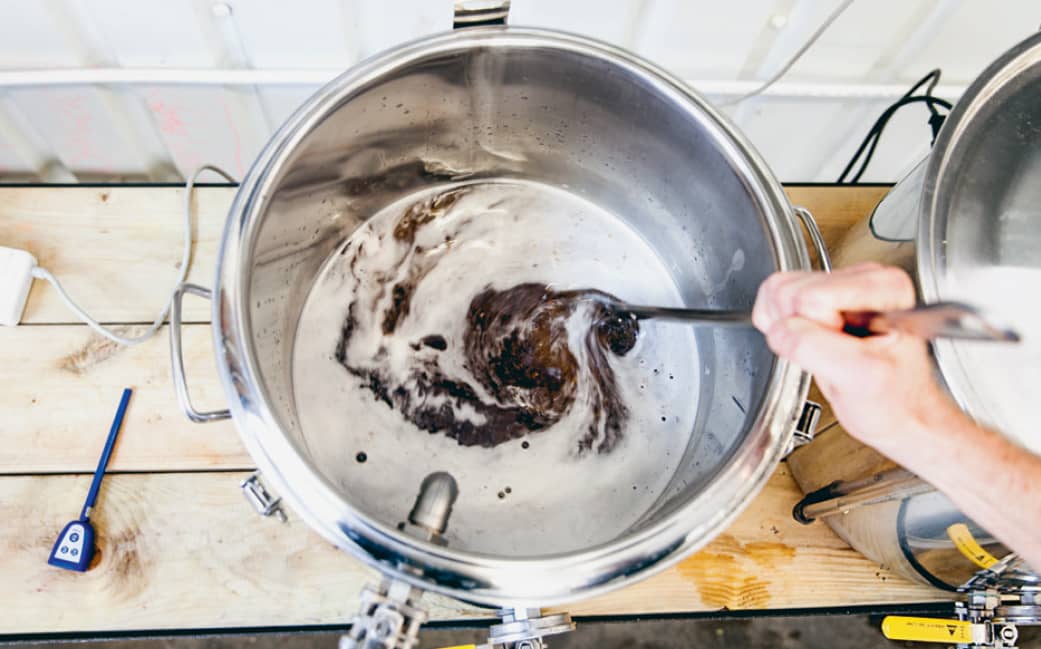
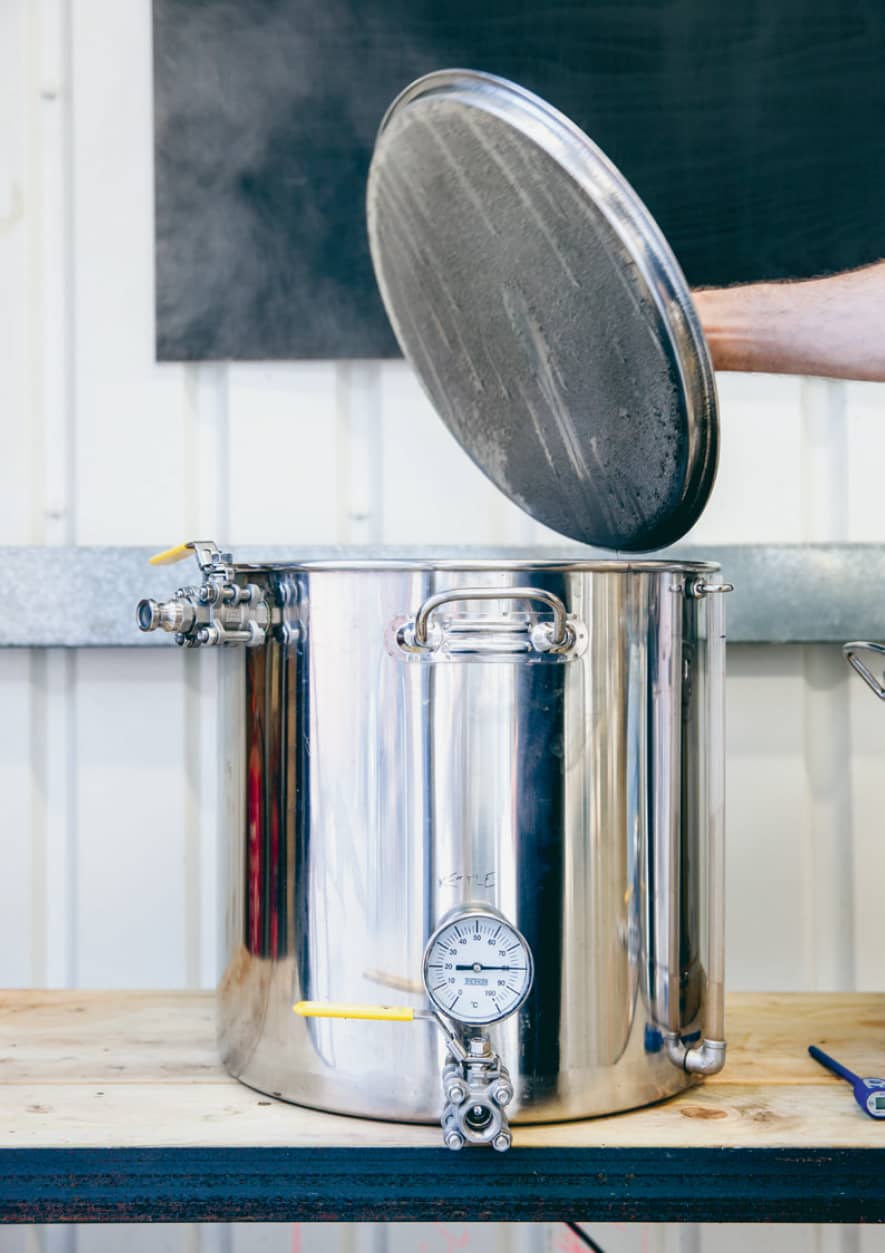
Step 1 Mashing
Extracting fermentable sugars from crushed grain in hot water.

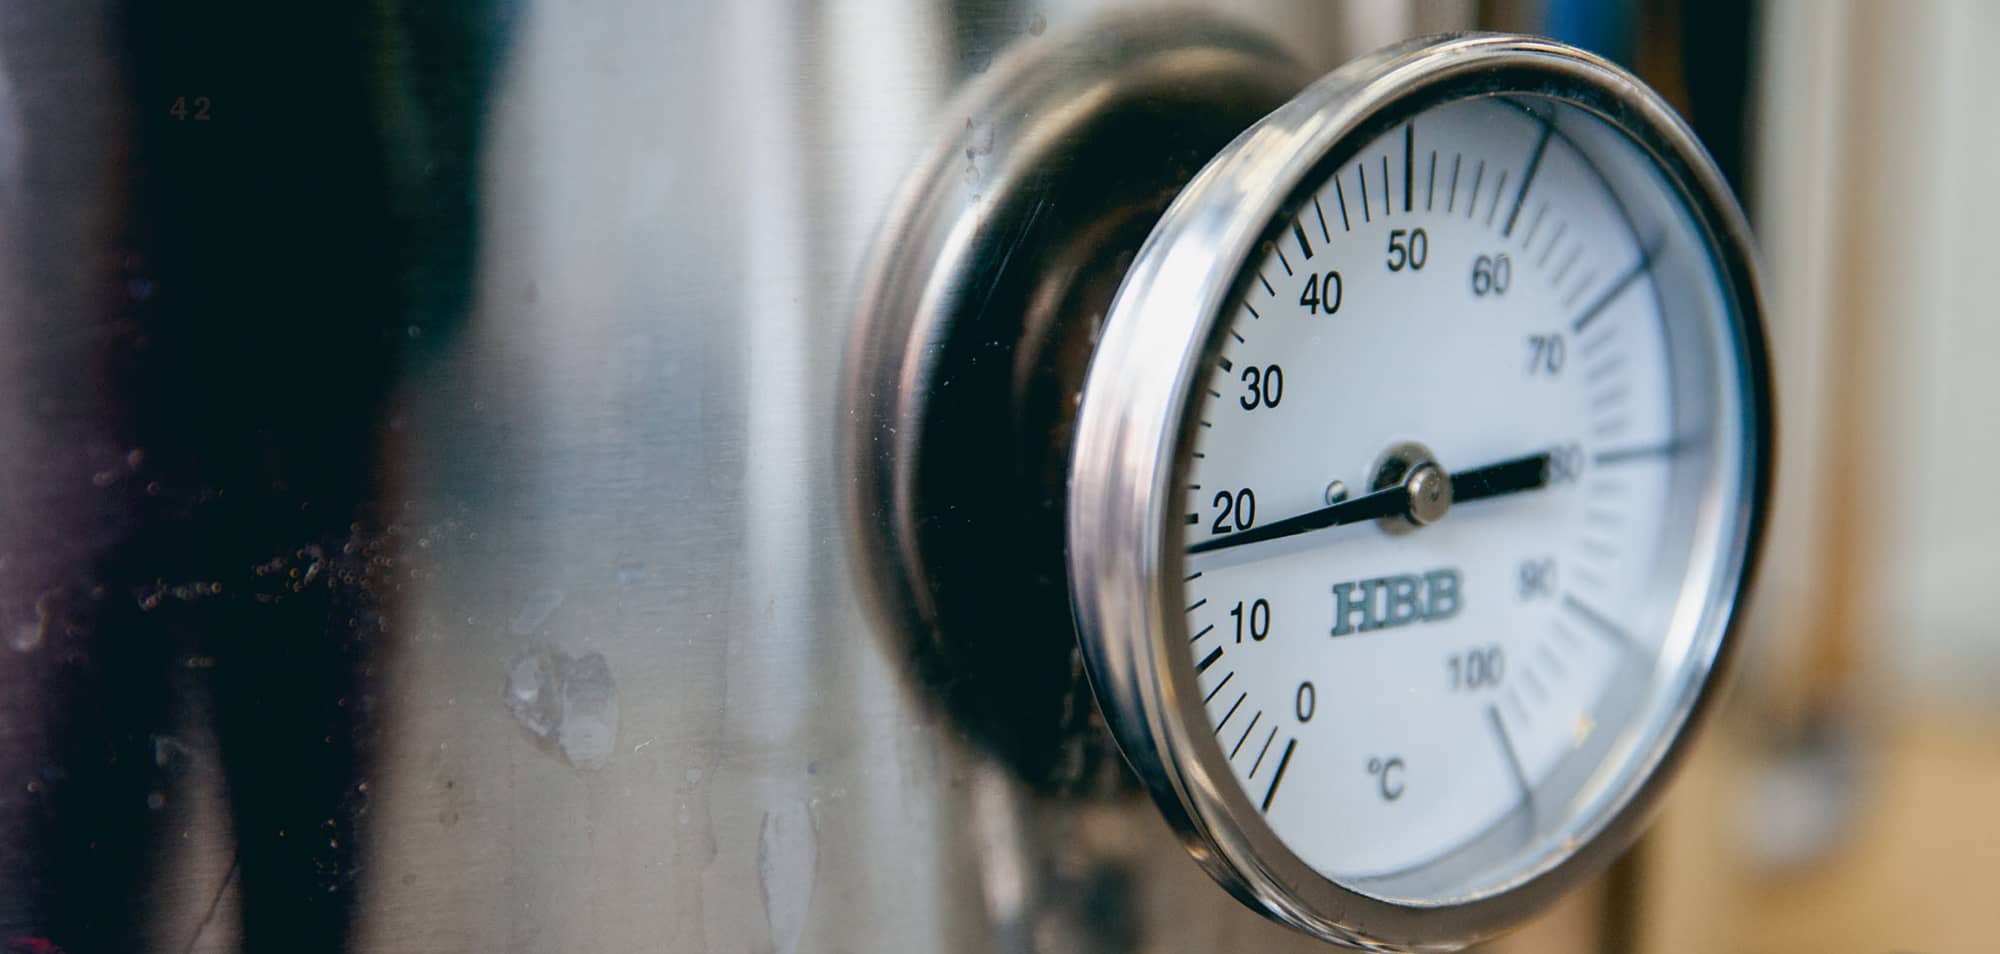
01. Heat the total liquor (see ‘mash’) in your hot liquor tank to about 10C/18F more than the recipe specifies. This could take an hour – get everything else ready, weighed and laid out while it’s warming. This higher temperature allows for a bit of cooling in the tun to optimum mashing temperature, which is usually between 65C/149F and 68C/154F, although individual recipes call for variations.
02. Add the hot liquor (for volume calculation see ‘mash’) and the well-mixed, crushed grains to the mash tun simultaneously, while carefully mixing. This can be done in half-stages, taking temperature readings to ensure it’s not too hot or cold. Leave the lid off and add cold water to drop the temperature; add more hot water to raise it if necessary (record the volume of water additions, subtract from sparge).
03. Stir gently to mix everything together, distribute the water/grain and eradicate clumps. Too much vigour at this stage will drop the temperature more than desired and can lead to a ‘stuck’ mash, which is akin to a sloppy loaf of bread in the mash tun – just try draining wort out through that.
04. Put the lid on the mash tun. For single-rest infusions, leave for one hour (longer won’t hurt). For multi-rest infusions, as a few of the recipes in this book require, it’s necessary to increase the temperature during the stage to extract different malt characters. The rests are intended to develop enzymes and lead to greater efficiencies. Modern ‘modified’ malts, however, are designed to allow high levels of extract without multi-step infusions. This method is easier if you have a temperature-controlled mash tun; otherwise, you’ll have to start off with a thicker mash (see ‘mash’) and add hot water to hit the temperature targets. It is harder to master, certainly, and harder to keep consistent – many homebrewers deem it mostly unnecessary, some swear by it. Try it if you like to see how you get on.
05. Some brewers carry out an iodine test at the end of the mash. Take a grain-free sample of wort, put a couple of drops of common iodine in. If it turns black, there are still unfermented starches (remember that from school science?) and you should keep mashing for longer. If it stays clear/turns slightly red, your mash is efficiently finished.
Step 2 Lautering
Rinsing the mashed grains of all their fermentable sugars and creating the desired pre-boil wort volume.
01. Raising the temperature of the mash to 77C/170F is known as a ‘mashout’. This is done either with external heat or by adding very hot water – about 93C/200F – and serves the dual purpose of making the wort flow more freely and halting the enzyme conversion process. Some homebrewers do it; others don’t bother and skip this stage without disastrous results. ‘Sticky’ grain bills, such as those with a lot of wheat or finely ground rye, may benefit from a mashout.
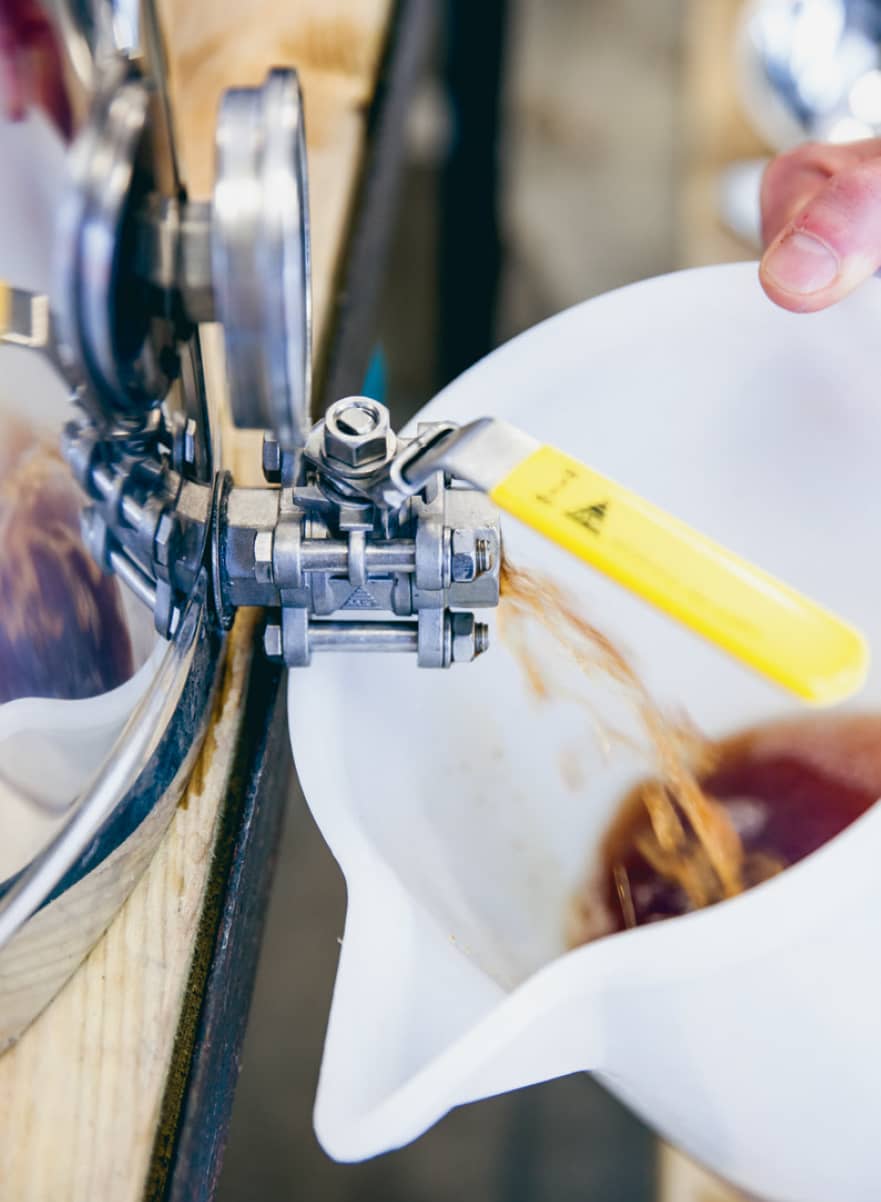
02. There are two stages of lautering – recirculation and sparging. Firstly, to recirculate (which ‘sets’ the grain bed), cut a piece of foil to fit the top of the grain and perforate it a few times. Draw off one or two pints of wort from the tun’s tap into a jug, close the tap, and gently pour back over the foil. This is also known as ‘vorlauf’. Repeat this recirculation two or three times until the runnings are free of husks and big bits of grain debris. The clearer the better.
03. There are two methods of sparging: batch and fly. This book only deals with fly sparging (see right), which is usually considered more efficient. Ensure water in the hot liquor tank is at 78C/172F, and that you have at least the volume required for the lauter (see ‘mash’). Sparging effectively rinses the grains of all the fermentable sugars formed in the mash, creating the correct volume of rich, sweet wort.
04. A stuck mash is when grains become too thick to allow filtering of the wort and can happen with batch or fly sparging. The sign of a stuck mash is when no wort flows out the bottom, even though the tap is open and there’s liquid in the tun. To fix it, close the outlet tap on the tun and give it all a little stir; recirculate a couple of times after this as in step 2 to ‘set’ the bed again, and leave for 15 minutes before running off again. If this doesn’t work, you might need to try other methods like a more forceful stirring or the reapplication of heat to loosen the liquid.
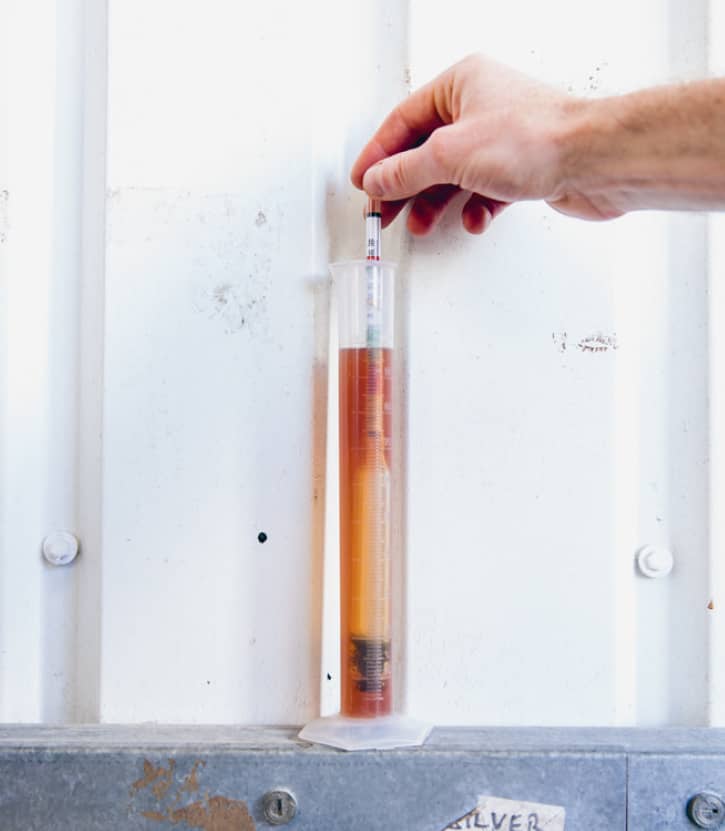
05. Before the wort is boiled in the kettle it can be useful to take a gravity reading at 20C/68F (see here). This will be your pre-boil gravity.
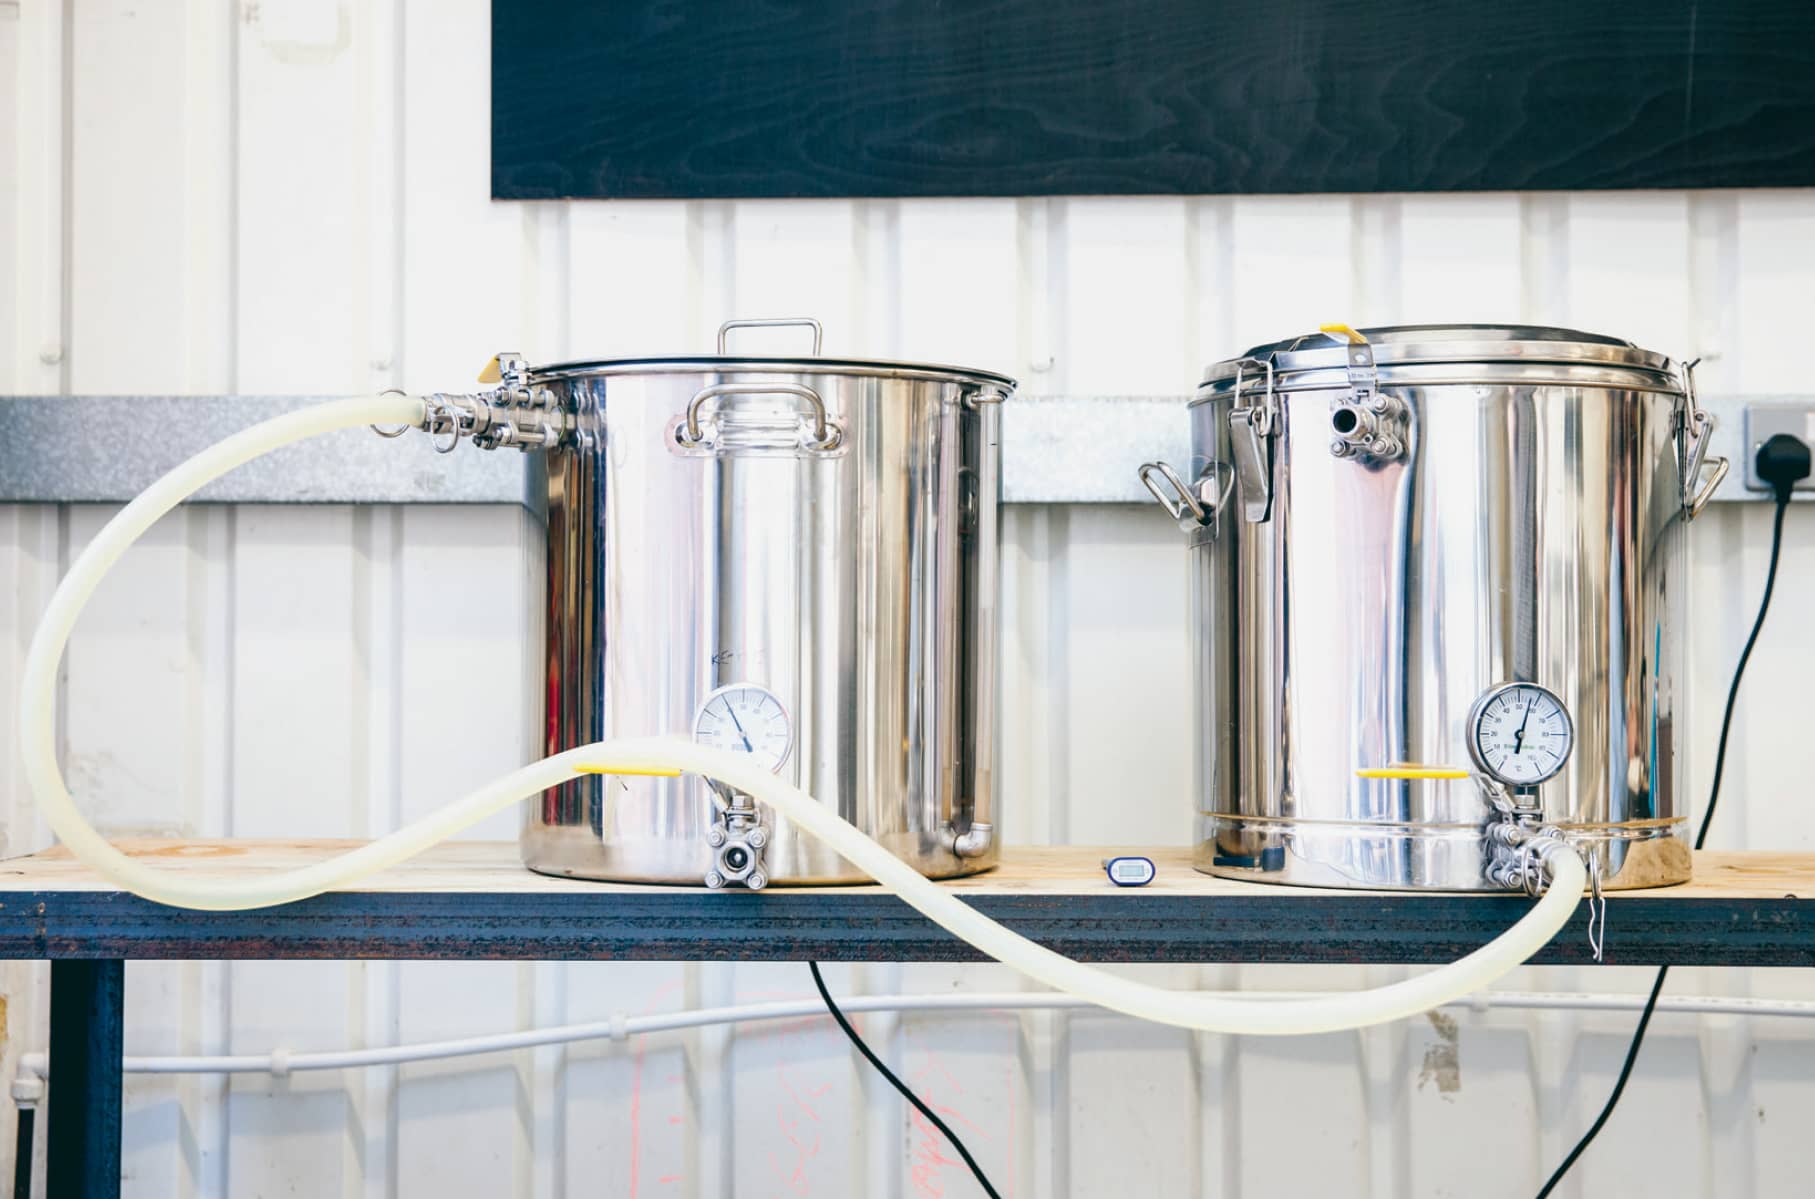
06. If you’re using a sparging arm, set it up above the tun. Connect its inlet hose to the hot liquor tank, and a hose to the tap at the bottom of the tun. Lead the other end of this hose to the boil kettle.
07. Partially open the hot liquor tank tap, causing the arm to spin and water to sprinkle out; simultaneously open the tap at the bottom of the tun. The object here is to produce a continuous and steady flow of wort down through the grain bed and out. If the grains seem to ‘pull away’ from the walls of the tun a bit, increase the water in; if there’s a layer of water above the grain bed, decrease it. Too much water weight could collapse the bed, making filtering impossible.
08. As soon as the kettle’s element is fully covered in wort, you can turn it on to begin to boil – this will save time. Keep the water flowing until you’ve reached the desired pre-boil volume in the kettle (see ‘mash’).
An alternative fly sparging method involves a flexible, perforated food-grade plastic hose, which sits atop the grain bed and is connected to the hot liquor tank and trickles water. Or, easier still, continue sparging with the foil method described on the previous page: refill your jug with 78C/172F water from the hot liquor tank and gently sprinkle it over the top. Repeat this several times.
Yet another method that homebrewers use is to spread water over the grain surface with a big metal spoon and a hose that’s connected to the hot liquor tank.
Whichever way you do it, the principle and aim is the same, and it should take anything from 45 minutes for a standard grain bill up to 90 minutes for heavy mashes. Make sure you only use the right amount of sparging water as calculated at the start of your brew (see ‘mash’).
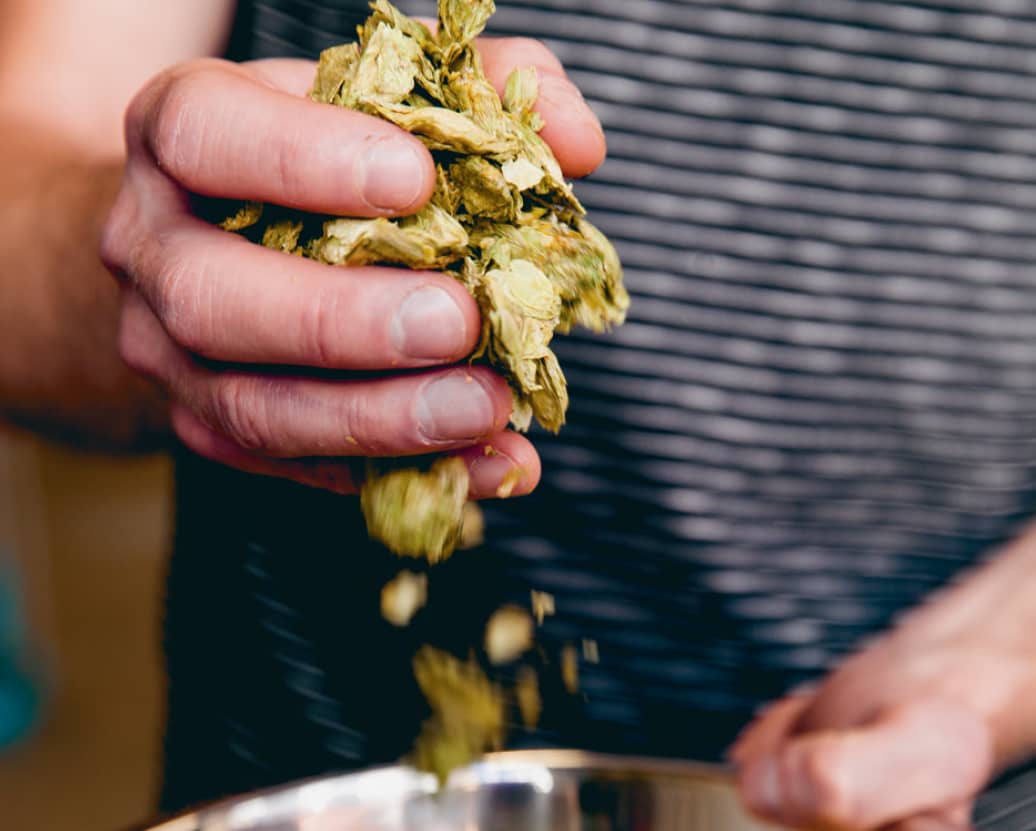
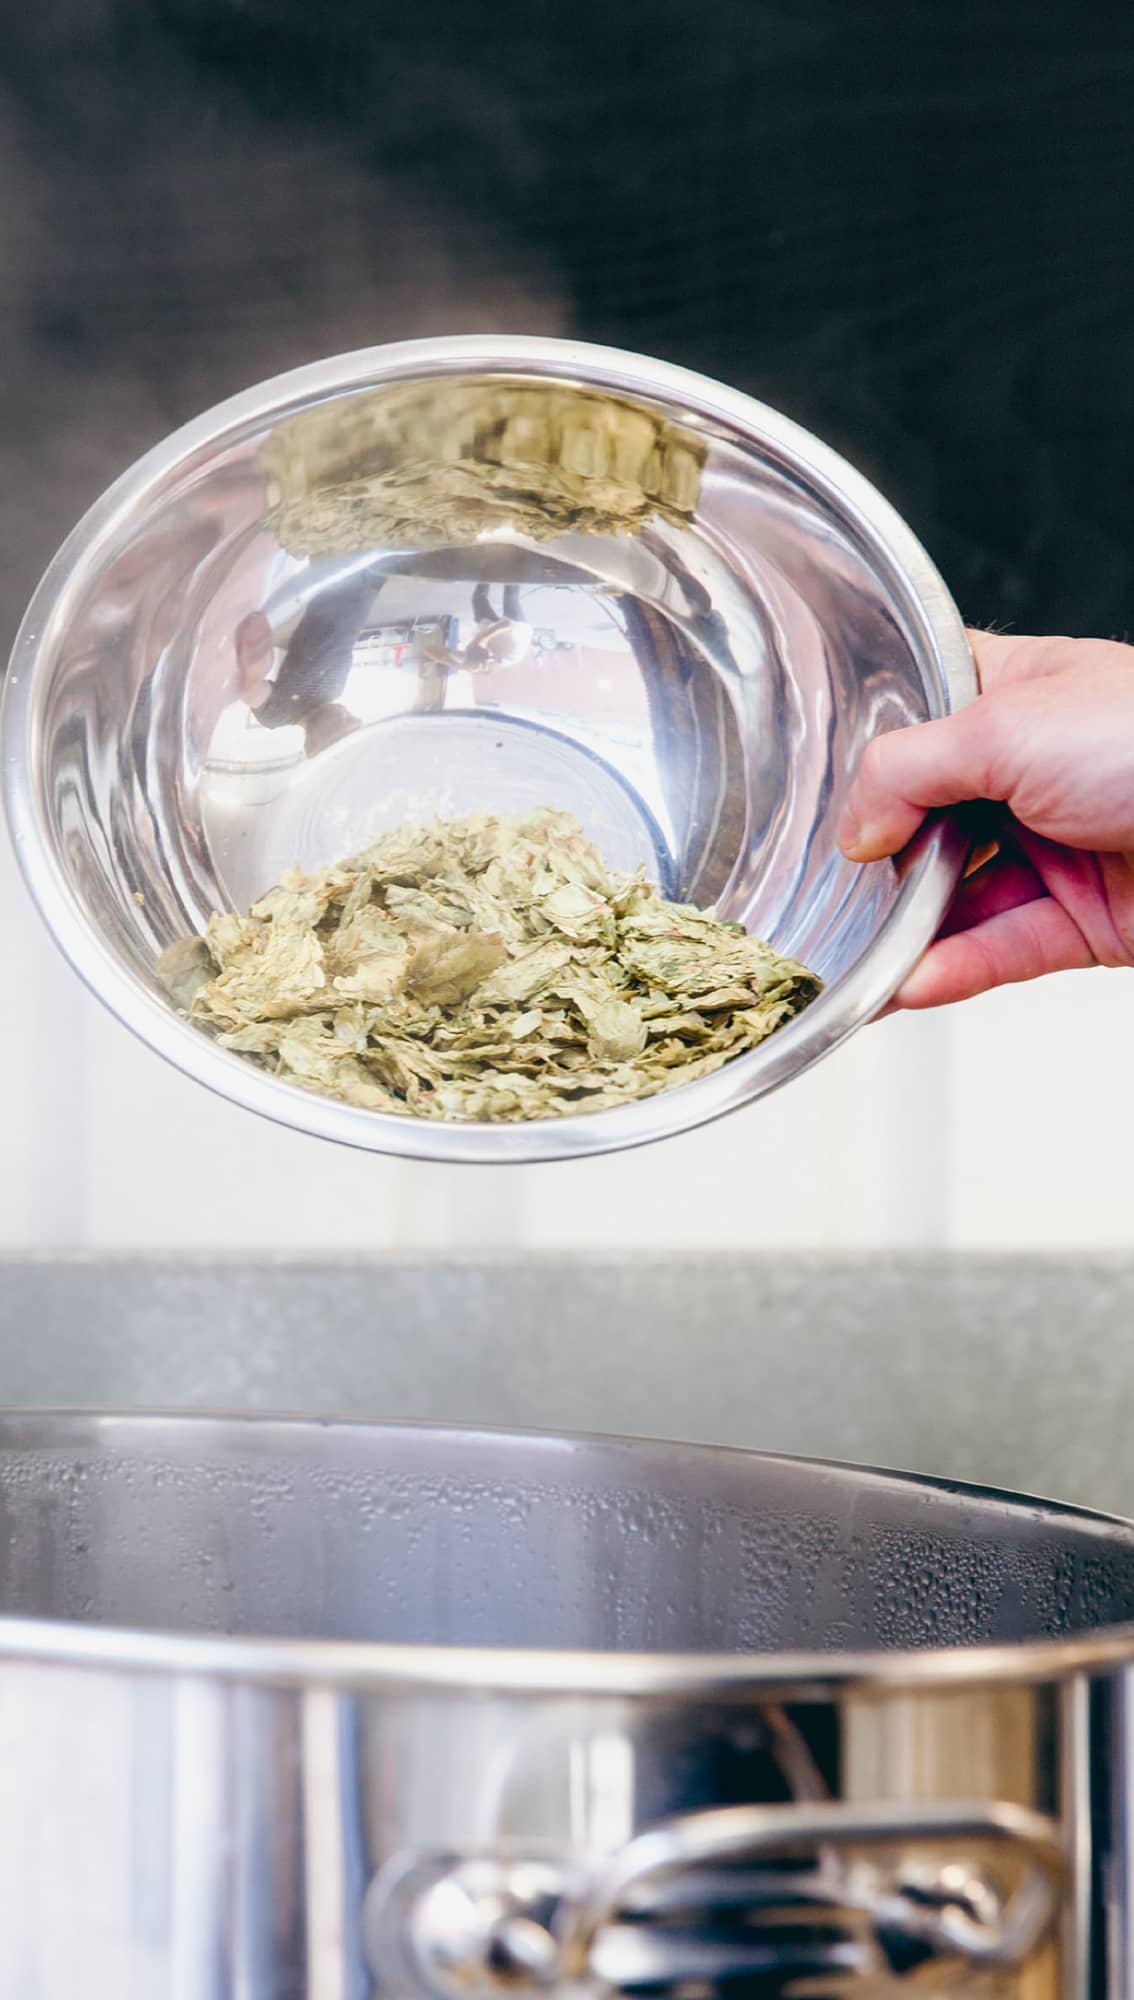
Step 3 Boiling
Extracting bitterness, flavour and aroma from hops (and killing unwanted bacteria).
01. By now you should have the correct volume of wort in the kettle, and it should be on its way to boiling. Putting the lid on the kettle will get you there quicker.
02. Adding hops before the water even boils is known as ‘first wort hops’.
03. When the wort hits a rolling boil, you’re ready to commence the hop schedule. Break up any big lumps in the hops then drop each addition straight in as the recipe directs, giving it a stir each time. Leave the lid partially off throughout the boil. This allows for the escape of sulphur compounds (which give beer an unwanted ‘cooked corn’ flavour), or chlorine, should your tap water contain it; it also lets you see if the liquid is in danger of boiling over. You will lose some wort to evaporation (see ‘mash’), but you should have allowed for this.
Your first couple of boils will give you a clear idea of exact measurements. If you’re using finings of any sort, like Whirlfloc (see here), this is the stage you’ll add them (usually ten or 15 minutes from the end).
04. Keep the water bubbling merrily for the duration. If you’re using a coiled immersion cooler and not performing a hop stand, insert it (without water flowing) 15 minutes before the end to sanitise.
05. At the end of the boil, remove the heat source (brewers call this flameout) and add any final hop additions (ie for a hop stand or whirlpool).
06. Take a small sample and use a hydrometer or refractometer to take a gravity reading (OG).
Step 4 Hop stand
Giving hops a long, lazy bath in warm wort for maximum aroma.
Conventional wisdom claims that the wort needs to be cooled as quickly as possible after the boil. However, as some of the recipes in this book indicate, a hop stand can add huge aromas to the final beer and many homebrewers now incorporate it. Basically, it simply involves adding a load of aroma hops and leaving them in contact with the cooling wort for anything between ten and 45 minutes. This is also known as ‘whirlpool hops’, due to the pro technique of spinning the wort, creating centrifugal force to form a pyramid of solids in the middle of the kettle, allowing for easier drainage. You can do this if you wish, but a hop stand can still be performed without a whirlpool. If your recipe doesn’t call for a hop stand, skip to Step 5 on the following page.
Step 5 Cooling & aerating
Dropping the wort temperature and preparing it for the introduction of yeast.
Whether you’ve performed a hop stand or not, it’s imperative the wort is now cooled as quickly as possible to minimise risk of infection (and for two other reasons: to get it to the yeast-friendly temperature indicated on the packet and to minimise hanging-around time. A batch of wort can take hours to cool naturally). See here for the different chillers you can use (or simply dunk the whole kettle in a big bath of iced water, which takes a long time and only works for non-electric stovetop pots, of course). From now on, anything that comes into contact with the wort must be considered a potential risk to the health of your beer. Sanitise. Also, at this stage it’s a good idea to think about yeast – if it needs to be rehydrated, start it while your wort is cooling.
Immersion cooler
If you’re using an immersion cooler, connect hoses to the ends – one for cold water in, one out. Turn on the cold water tap as high as it safely will go and ensure the output leads to a drain or sink. Stir the wort with a sterilised spoon to ensure maximum cooling efficiency.
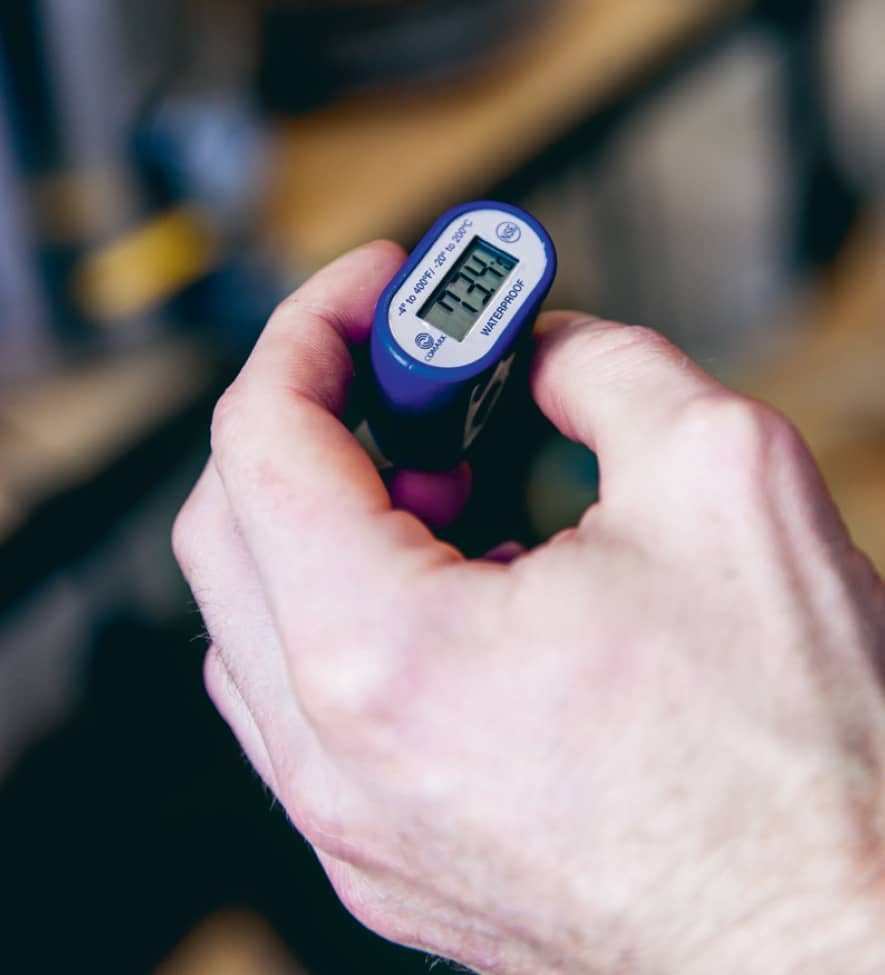
Take regular measurements until the wort temperature is within the range specified on the yeast packet. Turn off the cold water input and remove the chiller.
Transfer into the fermenter will have to be carried out now – either with gravity or a siphon. Splashing is desirable at this stage – oxygen in the wort is essential for the yeast to start fermenting.
Plate cooler
Connect hoses to the correct inputs and outputs. You’ll be extracting the wort as it chills – so you’ll have to balance the output carefully to ensure that the liquid flowing directly into the fermenter is at the right temperature (around 20C/68F or less). If it’s too high, close off the tap at the bottom of the boil kettle a little. Splashing at this stage is to be encouraged – oxygen in the wort is essential for the yeast to begin fermenting. Keep this going until you’ve drained the boil kettle into the fermenter.
In the fermenter
01. Depending on your efficiency and evaporation, the volume of wort at this stage may vary. If you have more or less than the intended batch size, the chances are that your gravity will be a bit off target – the beer will still be eminently drinkable, just not exactly the ABV you were aiming for.
02. Take another gravity reading. This will be your original gravity (OG), vital in determining final ABV. Compare it to the target OG in the recipe (see here).
03. Give the wort a stir to avoid any hot spots, then take a temperature reading. If it’s too hot, the yeast you’re about to pitch will not work or could even die off, and you’ll have to pitch another batch. Which you may or may not have hanging around somewhere. It’s a good idea to have a spare.
04. Aerate the wort. Like us, yeast can’t live on beer alone – it needs oxygen. (Don’t aerate wort above 26C/80F – it can cause oxidation, which is not the same as aeration and makes your beer taste weird.) Homebrew shops sell aeration equipment; the simple way of aerating is to put the fermenter lid on tight and shake it all for a few minutes.
Step 6 Pitching yeast
There’s a party going on in your fermenting vessel. The sugars are sitting guarding the booze stash and the hops have got boring old water up on the dancefloor. But it’s not going off just yet. Pitching the yeast is like chucking John Belushi in and locking the door: things are going to get wild.
How much yeast should you use? One packet per 20L/5 gallon batch will probably be enough for beers up to 11% ABV or so. For higher-gravity beers, it’s advisable to use two packs or make a starter culture. As mentioned shown here, there are two forms of commercial yeast, dry and liquid. Liquid yeasts should be stored in the fridge until use, although it’s best not to keep them for too long (anything more than a few months will render them sluggish and feeble). Dry yeast is much hardier. A third kind, wild yeast, is floating all around you right now – it would get involved with your beer if you gave it the chance, but the outcome would be unpredictable to say the least. Stick to the store-bought stuff at first; spontaneous fermentation is for the confident only.
Some manufacturers of dry homebrew yeast recommend rehydrating dry yeast before pitching. They’ll tell you that the rehydration process has the potential to damage yeast cell walls, and so should be carried out on a smaller scale at a certain temperature before pitching. Some homebrewers disregard this advice and sprinkle the yeast straight on top of the wort, which is most of the time absolutely fine, but not guaranteed to work. Best follow the instructions on the packet (and always sanitise the outside of the packet too before opening). If the packet doesn’t have instructions (where did you find this stuff?), do it like this: boil four times the amount of water as you have yeast. Allow to cool to around body temperature (hopefully 37C/98F) in a sanitised jar. Sprinkle room-temperature yeast over and leave for 15 minutes. Stir it in gently, and after another 15 minutes, check first that the yeast temperature is within 10C/18F of the wort it’s going into, then send it in. Liquid yeast, provided the nutrient pouch (if there was one) was activated three hours before and it’s at the correct temperature, can be poured right in too.
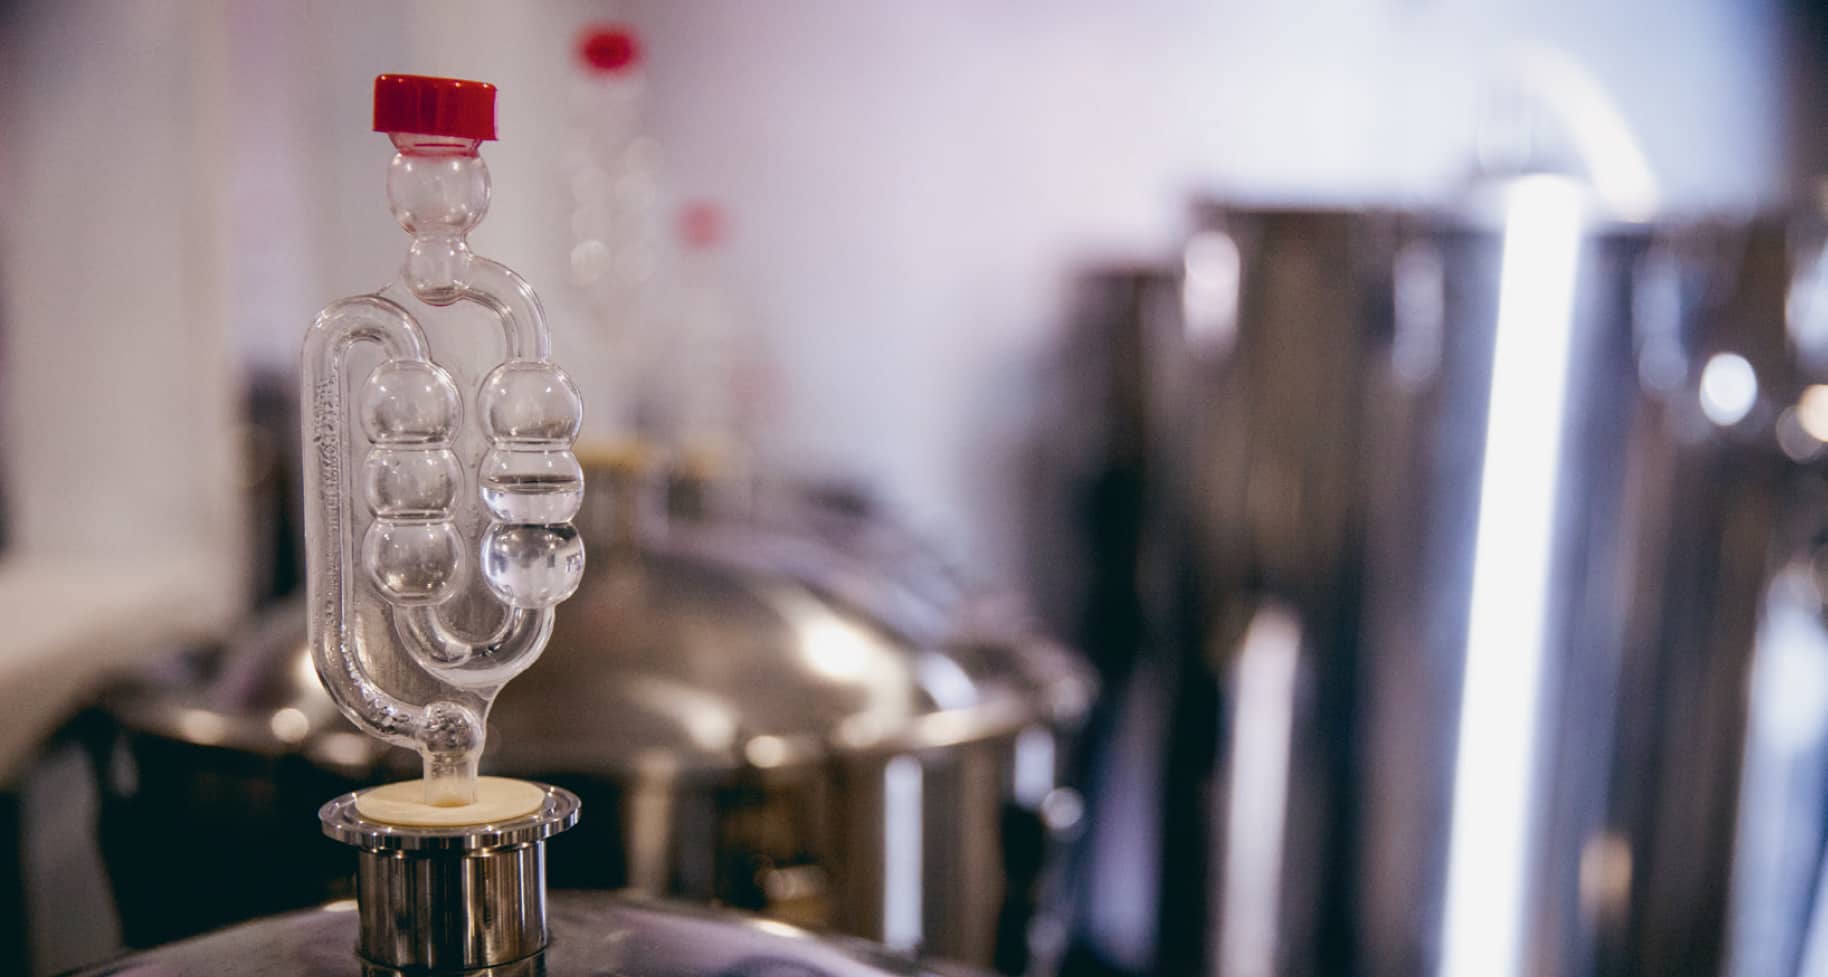
When you’ve pitched the yeast, wave goodbye to the wort and shut the lid or seal the top. Next time you open it, you’ll have beer. Put the airlock in the hole (with a bit of sanitised water, if it’s the bubbler type).

Step 7 Fermenting (and dry-hopping)
Good beer demands a good fermentation. Give the yeast what it needs and it’s hard to fail.
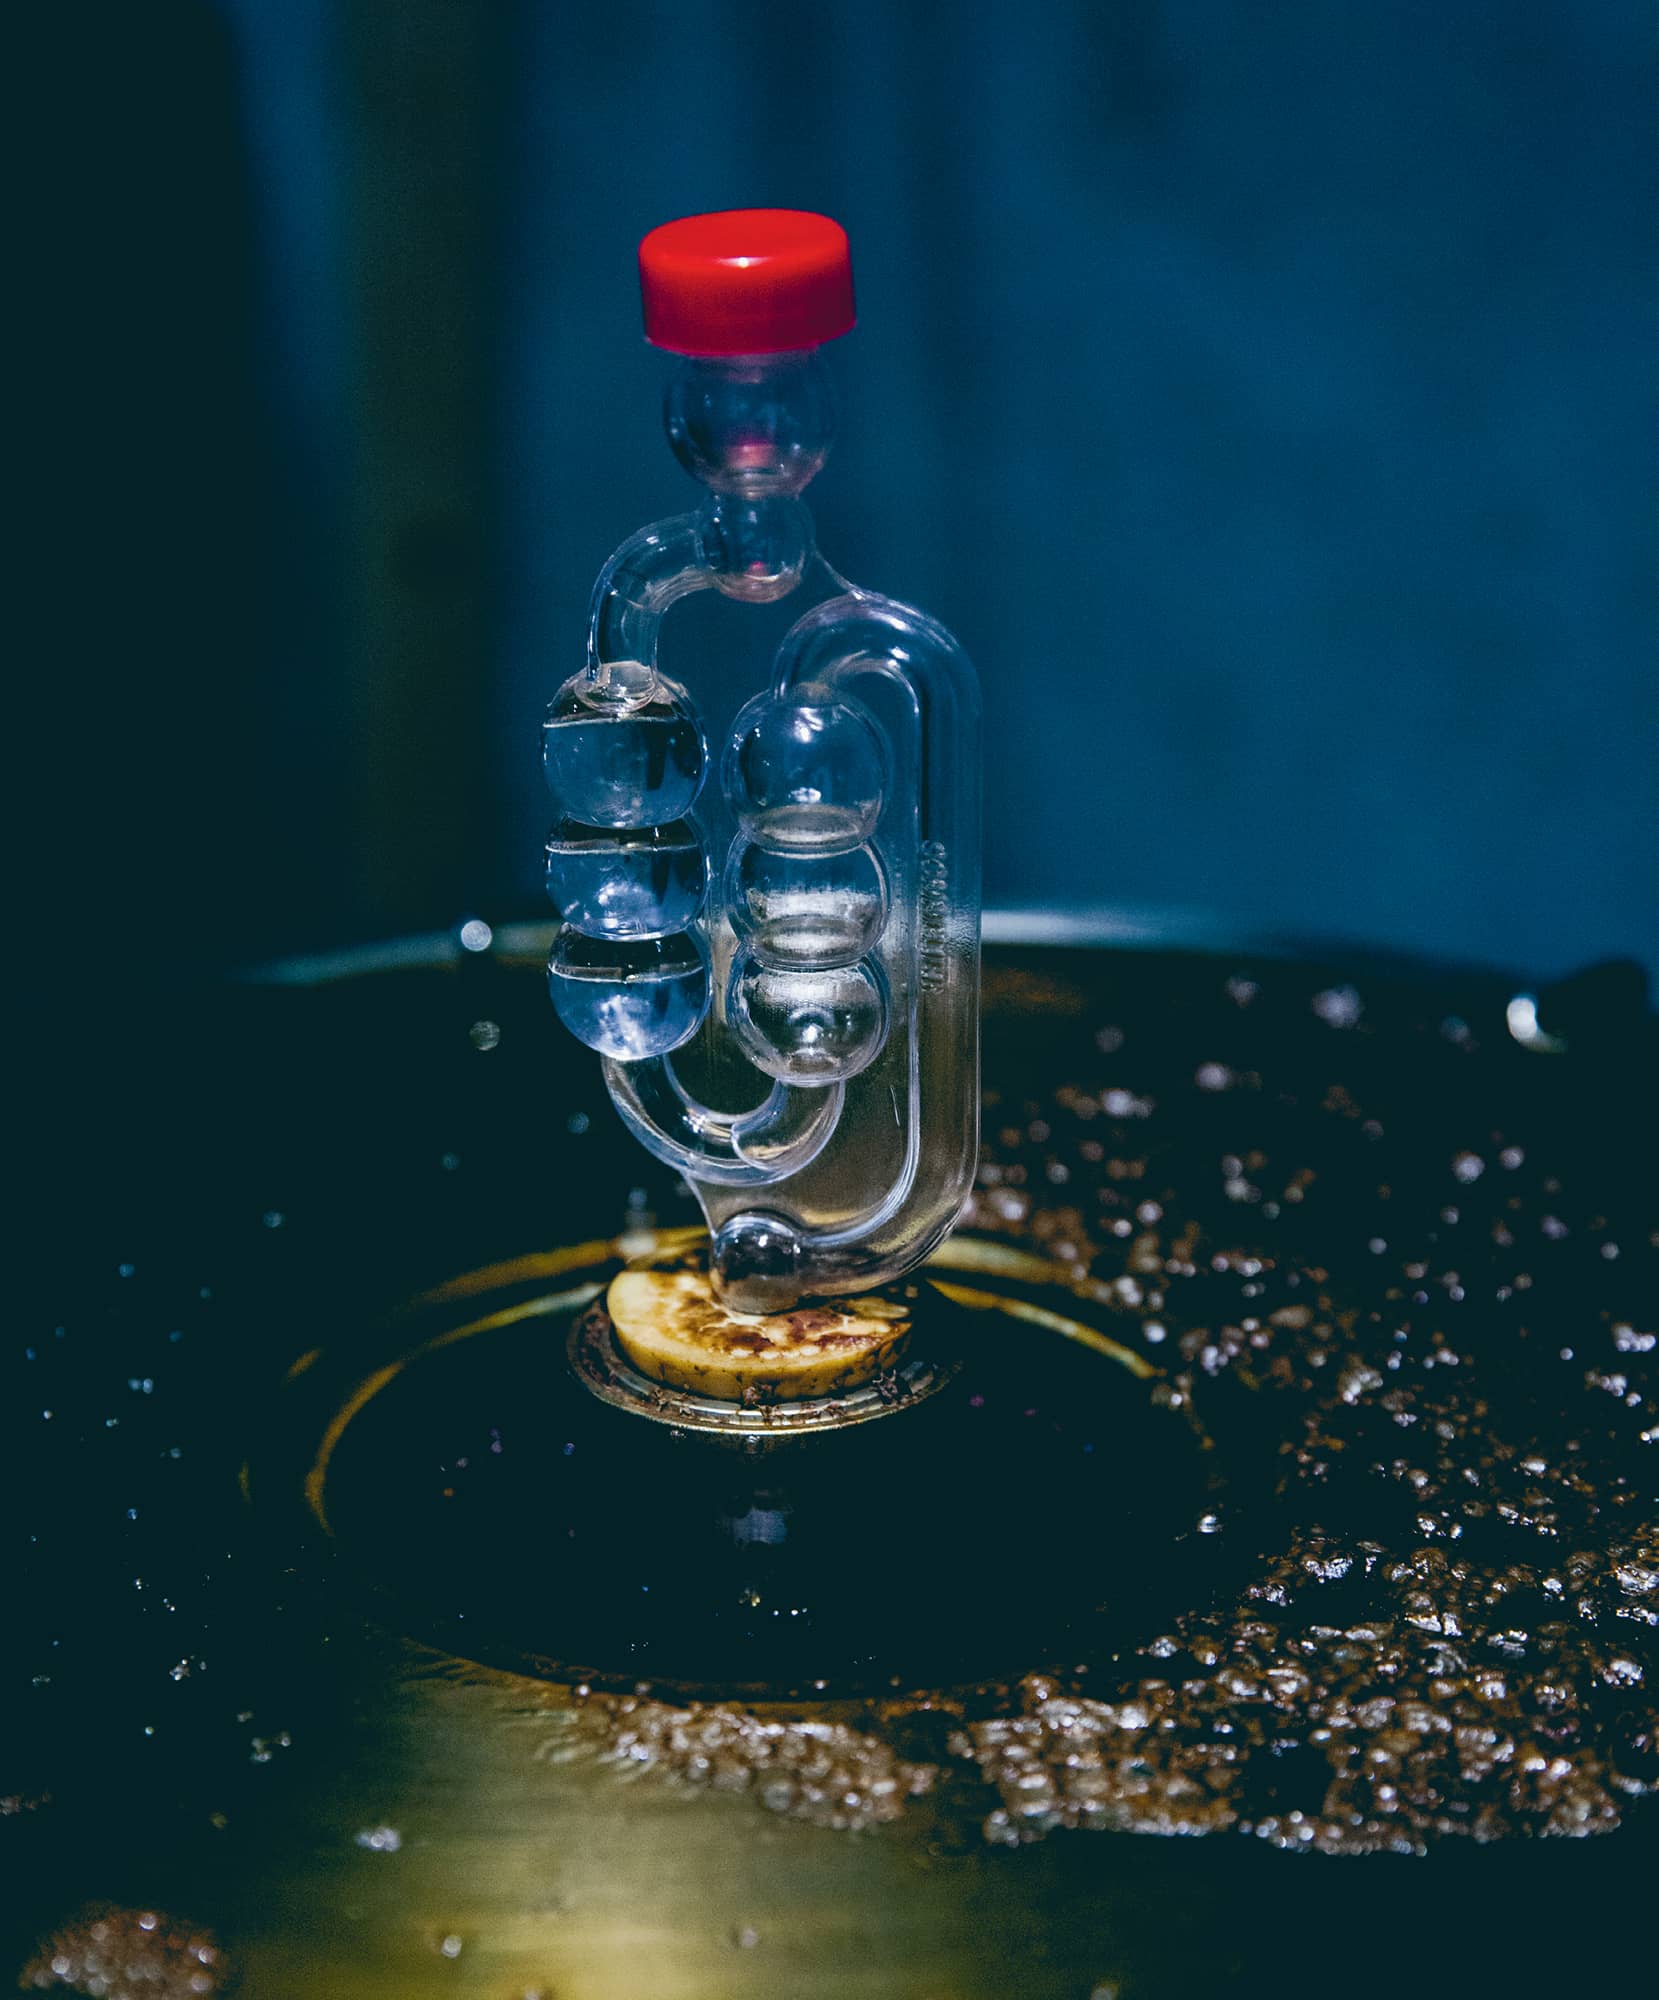
In some ways, fermenting is the easiest step in brewing, because it involves passing over all the work to the yeast: but fermenting is also perhaps the most important. Give the yeast a hand by ensuring the fermentation vessel is stored in a dark place at the temperature indicated in the recipe. Primary fermentation should begin within 12 hours of pitching: the evidence will be activity in the airlock as lots of CO2 is produced. (If nothing happens after 24 hours, the yeast has probably not worked. Don’t despair: pitch your spare packet, making sure you follow the condition instructions carefully.) If you have a glass vessel you’ll be able to see the scummy-looking krausen forming on the top of the wort, but if you’re fermenting in steel or plastic, don’t be tempted to open the lid to have a look. That’s asking for infection.
Under normal conditions, this phase could last up to ten days for ales – it’s hard to be accurate, because yeast is free and alive and doesn’t follow instructions. Keep monitoring it – when the activity from the airlock has slowed right down, it’s time to either rack off into a secondary fermenter (not strictly essential for a homebrewer, most of the time) or simply leave for longer to condition. The yeast is still working, albeit at a slower pace, and the beer is clearing. Three weeks is about the maximum you’d want to leave it on the yeast cake without racking off.
When you’re satisfied the phase is over (and satisfaction comes with experience), it’s time to take a gravity reading. This will be your target final gravity (FG), and will be used to determine ABV.
If you’re making lager, it’s time for the lagering phase – another fermentation stage at a lower temperature.
Some brewers then practise ‘cold crashing’ on lagers or beers, chilling the beer to between 1C/33F and 5C/40F for between a couple of days and a week to aid in clarifying.
If you’re dry-hopping, as many of the recipes in this book suggest, after primary is the time to do it. How long should you dry-hop for? As with most aspects of homebrewing, there’s no straight answer. Three to five days is a good bet, but experiment with less or more if you like. The hops need to be in contact with the wort long enough to give up their oils. Your choice of fermentation vessel will affect the method you use: some people dry hop using a muslin bag, to avoid extra matter in the wort, but that becomes hard to physically fit into a plastic or glass carboy. So hop plugs are handy at this stage because they’re just more practical. If you’re not racking and filtering out to a bottling vessel (see Step 8), a bag is pretty much essential to avoid hop lumps in your beer.
Step 8 Priming, bottling & conditioning
The last few stages before the best one (drinking) involve setting the stage for carbonation and giving the beer somewhere peaceful to rest.
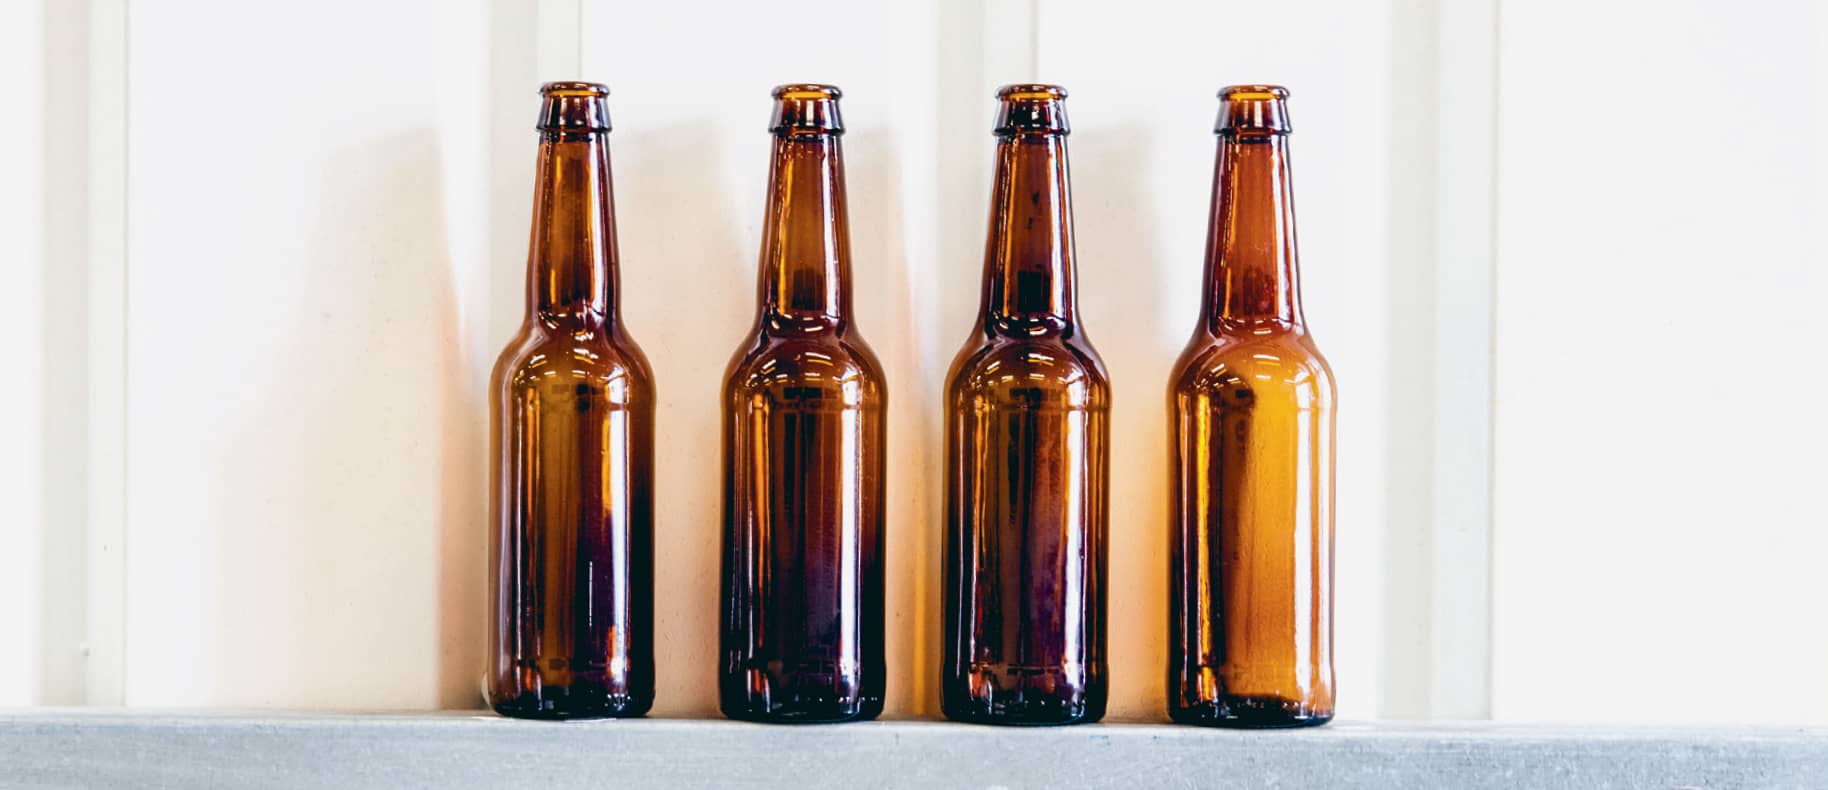
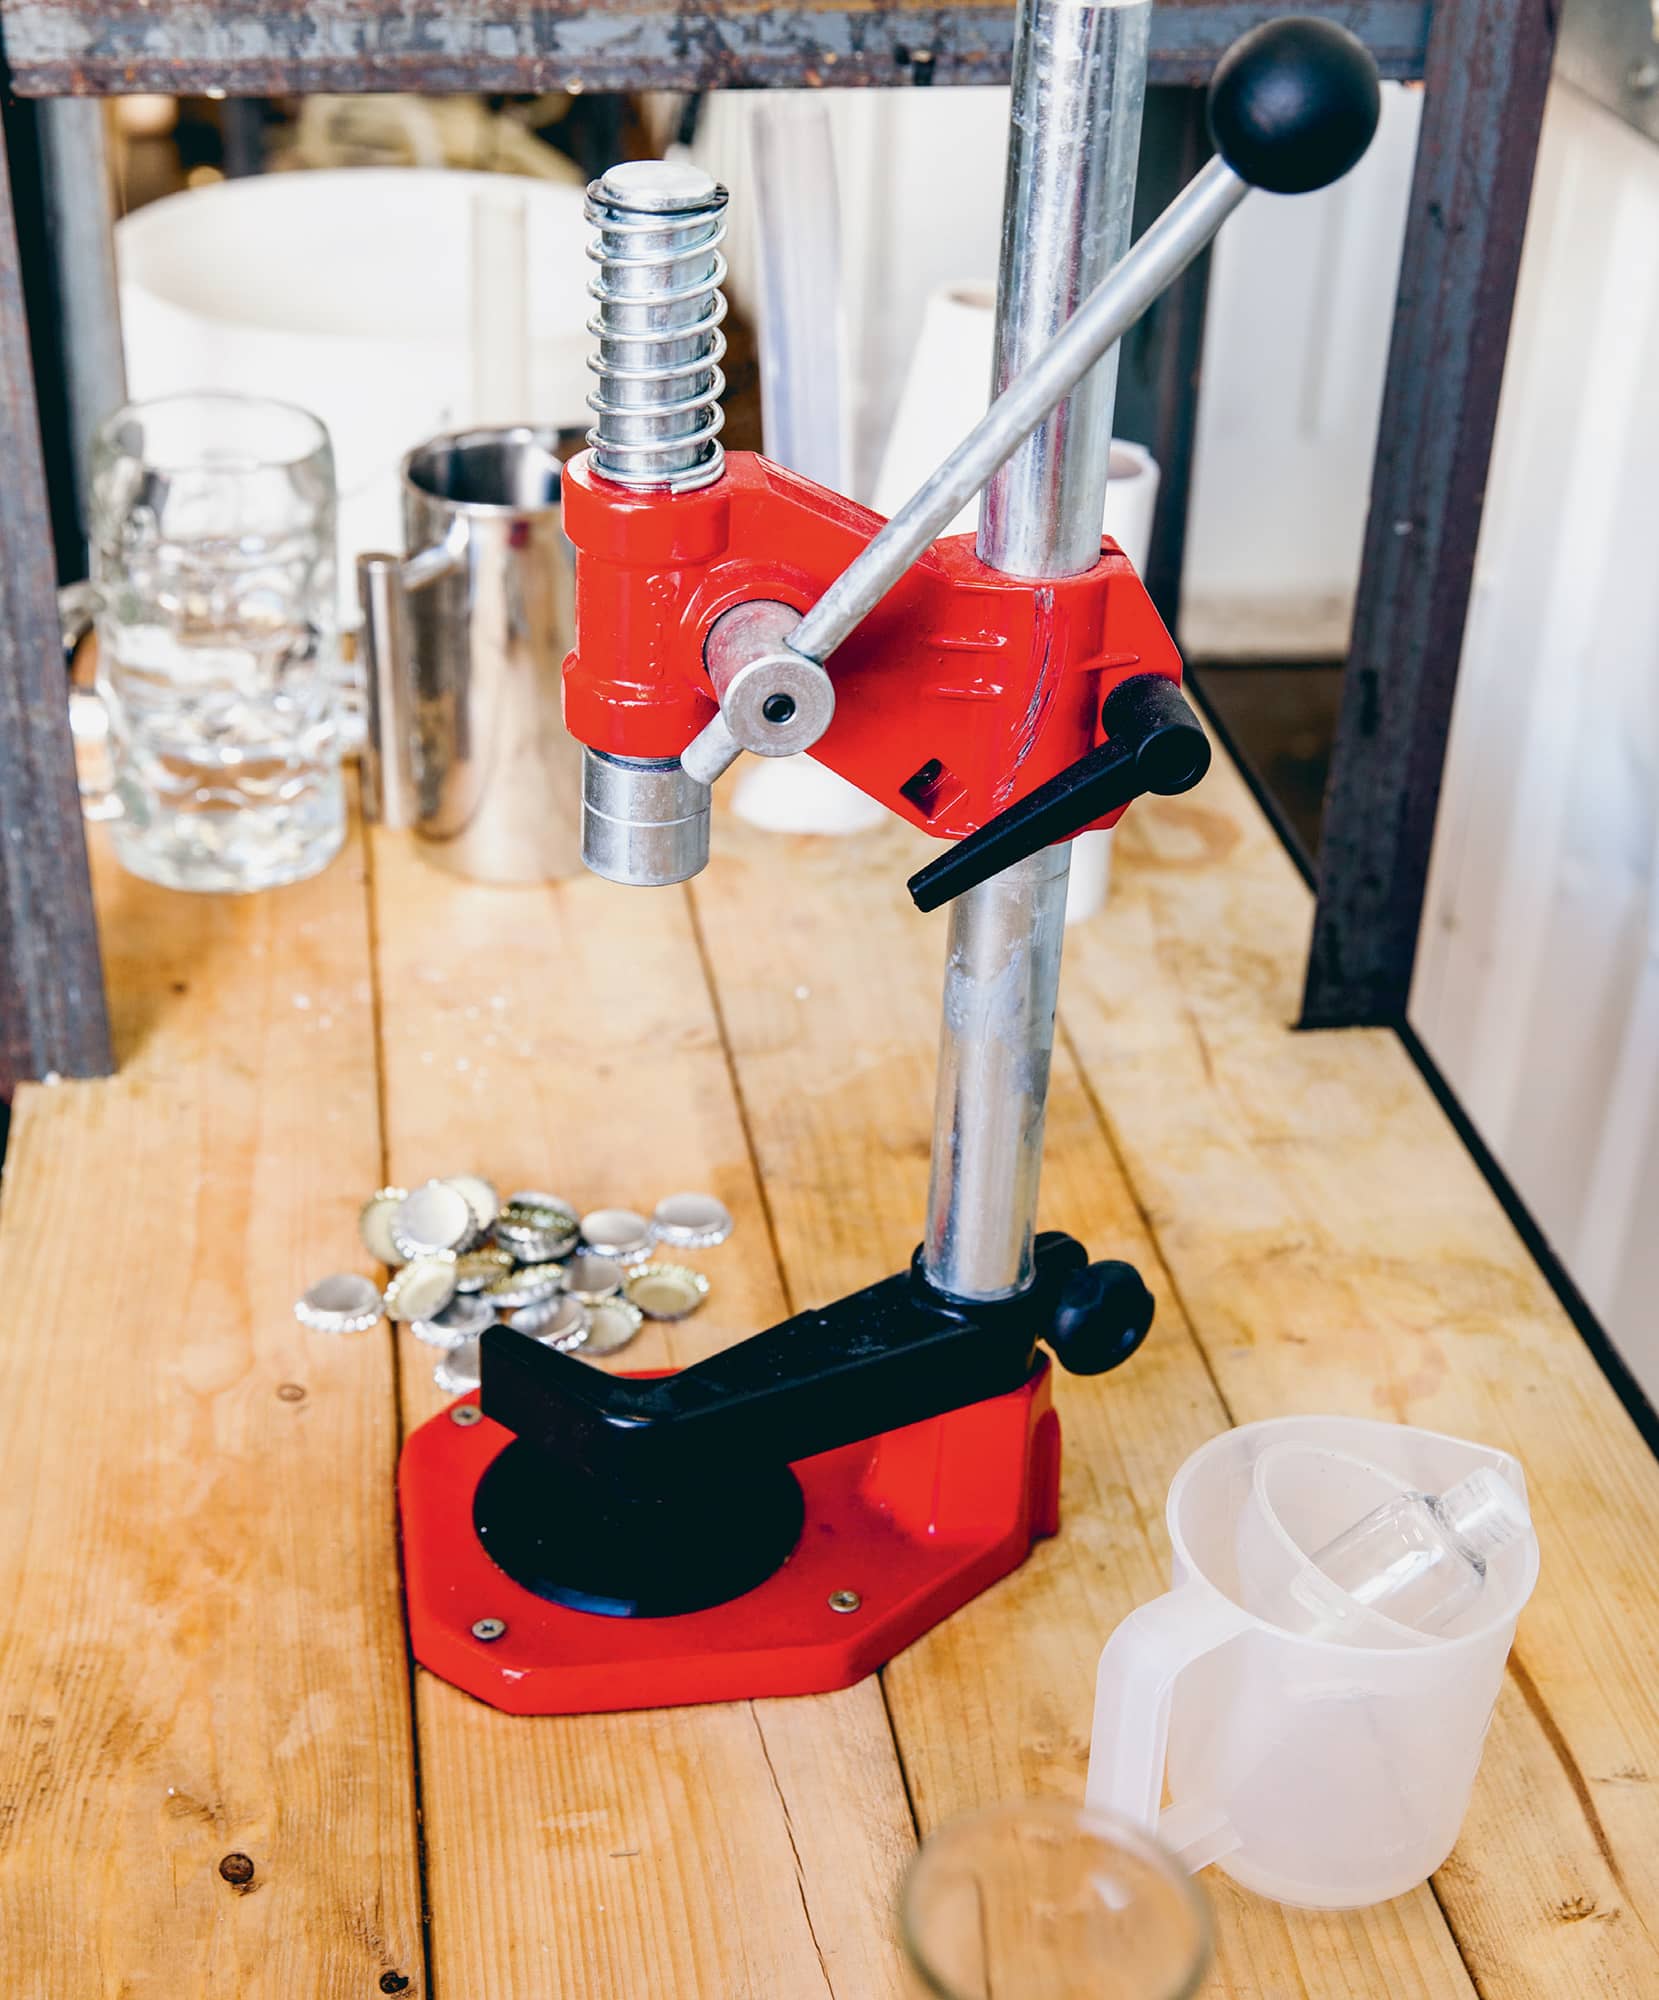
You’re so close to having real beer. The liquid in the fermenter is no longer wort: it’s malty, hoppy and alcoholic, but flat and underdeveloped. For fizz, it needs priming with sugar, usually brewing sugar (a simple glucose which adds no flavour and is easily converted to CO2 by the yeast). Mix up a solution according to the volumes of carbonation required: brewing software makes this a cinch. You can rack the beer out into another vessel before bottling, to minimise sediment transfer into bottles: if you do this, put the sugar solution in then rack on to it. Or just use the fermenting vessel and be careful. Pour the solution into the almost-beer, stirring very gently but ensuring it’s well mixed. Attach the scrupulously sanitised bottling tap to the vessel and fill the scrupulously sanitised bottles. To suffer contamination at this stage would be like breaking your ankle on the last 100 yards of a marathon. Using a capper, fix the sanitised caps on solidly. Put the bottles somewhere dark and cool for two weeks, although you’ll find that another one or two on top often helps. (Some beers, like Nøgne Ø’s barleywine, need longer to mature.)
And as for the next stage, you probably don’t need any guidance. Get a couple cold, say cheers, and drink the best beer you’ll ever taste. Until the next batch.