I am a dog person. I started begging my parents to get me a dog when I was about eight. When I was thirteen, my parents heard about a dog that was tied to a leash and stuck outside all day while the owners were at work. Apparently the neighbor kids kicked and tormented the dog, and when the owners found out, they decided to give him away so he wouldn’t be abused anymore. Two-year-old Nicholas, a Lhasa Apso–terrier mix, made his way into our lives and hearts.
He was a much-loved and pampered pet and lived a wonderful life up until he passed away a few years ago. I fondly remember him as the first dog to touch all our lives and firmly define us as dog people.
We now have a Yorki-Poo mix named Dodger. Little Dodger, the sweet and gentle dog who lets babies tug his ears and chases after mischievous little boys. I love seeing Dodger interact with my family, and I hope my kids will grow up to be dog people, too.
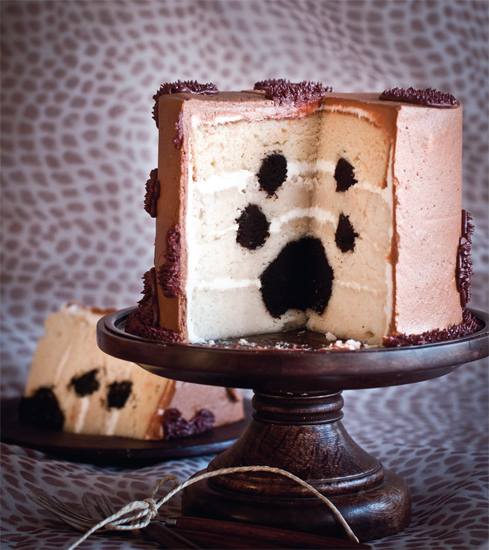
Just to be clear, this cake can totally work as a cat paw . . . so it’s perfect for cat people, too.
2 recipes White Cake
1 recipe Chocolate Cake
1 recipe Basic Buttercream
Brown gel food coloring
SPECIAL EQUIPMENT:
4 8-inch round cake pans; 9 × 13-inch cake pan; 2-inch round cookie cutter; small offset spatula; 3-inch round cookie cutter; disposable plastic pastry bags; coupler set; #4 decorating tip and grass tip
DIFFICULTY: Challenging
1. Bake the white cake into four 8-inch layers. Cool to room temperature, then freeze for at least 6 hours, preferably overnight. Level all the layers.
2. Bake the chocolate cake in a 9 × 13-inch pan and cool it to room temperature.
3. Prepare the buttercream.
4. Remove any dark or hard edges from the chocolate cake, then crumble it into a large bowl. Mix in 2 to 4 tablespoons of the buttercream to create a cake mixture. You’re looking for a Play-Doh-like consistency. Cover the bowl with plastic until ready to use.
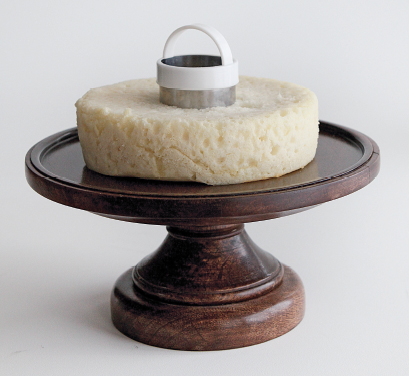
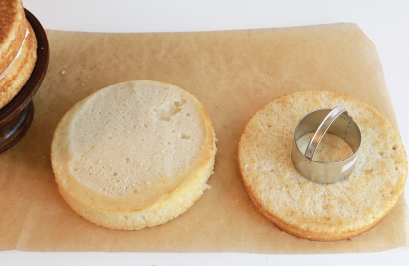
5. Place one white layer on a cake stand and a second white layer on a piece of parchment. Center a 2-inch round cookie cutter on the cake and press lightly to create a guideline. Repeat on the second white layer.
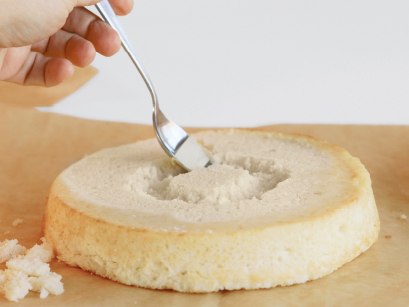
6. Using a small spoon, hollow out a shallow well (no more than 1 inch deep) in the center of the layer on the cake stand, leaving a little island of cake slightly raised in the center.
7. Now turn to the second white layer. Hollow out a well that’s a little deeper than the previous hole, and this time, don’t make an island.
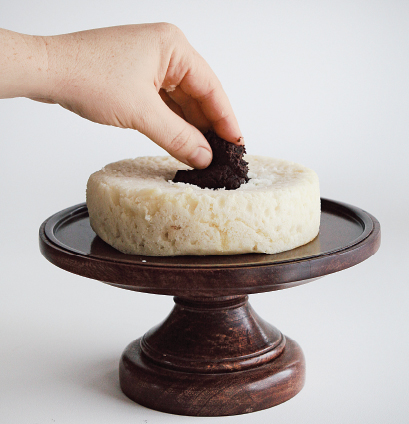
8. Fill both cavities with chocolate cake mixture.
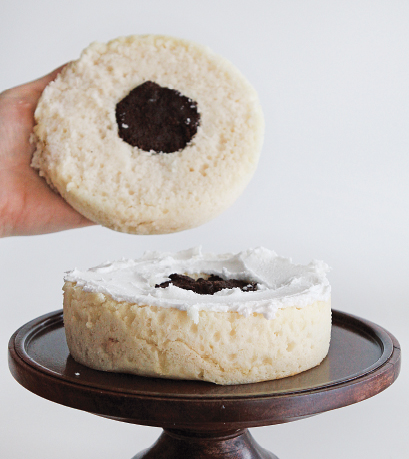
9. Using the offset spatula, place a thin layer of buttercream around the edge of the bottom layer, avoiding the cake mixture. Gently turn over the second layer and place it on the bottom layer so that the cake mixtures meet in the middle. This is the bottom of your paw print. If the cake seems too soft or crumbly, freeze it for at least 30 minutes.
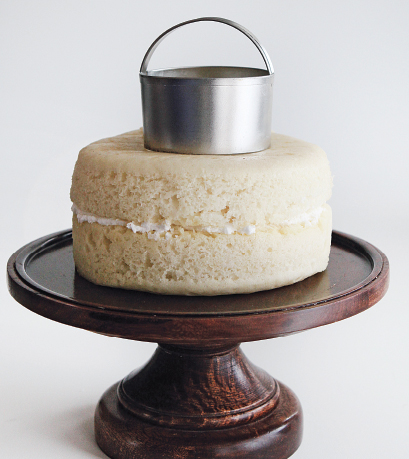
10. Center a 3-inch round cookie cutter on top of the 2-layer cake. Press in slightly to create a guideline.
tips and tricks
To keep your channel even, place a piece of tape around the spoon to show the desired depth. Simply insert the spoon into the cake until you reach the tape and dig out the cake.
11. Make the same guideline on one of the remaining layers.
12. Working on that layer, center a spoon on the guideline and create a shallow channel in the cake.
13. Cut a matching channel into the top of the 2-layer cake. Fill the channel on top of the 2-layer cake with cake mixture (mound it a bit, since you’ve carved out cake in the other layer and it needs to fill the space).
14. Using the offset spatula, spread buttercream around the top of the edges and center of the 2-layer cake.
15. Turn over the white layer with the channel, and place it on top of the 2-layer cake, settling it gently so that the cake mixture fills the channel.
16. Using the 2-inch cookie cutter, repeat steps 13 to 15 with the three-layer cake on the cake stand and the remaining layer of white cake.
17. Cover the cake in a crumb coat. (If the cake is too soft or crumbly, freeze it first.)
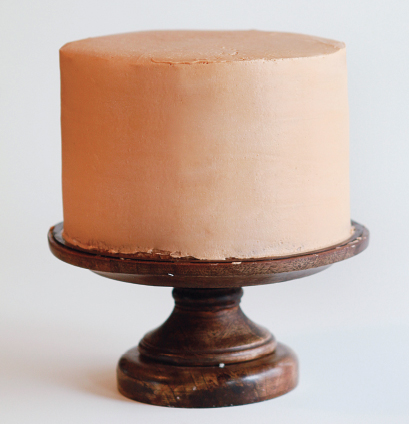
18. Tint the remaining buttercream light brown. Set aside ½ cup. Using a small offset spatula, cover the cake in a smooth coat of buttercream.
19. Add a little more brown food coloring to the brown buttercream that was set aside.
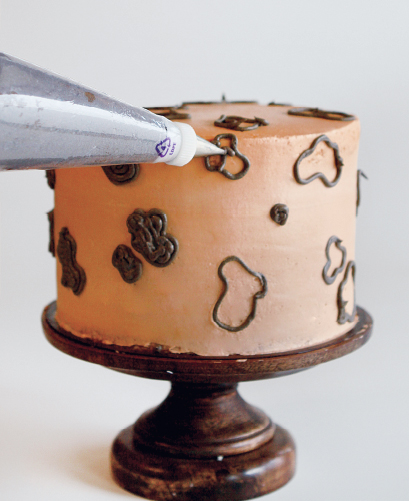
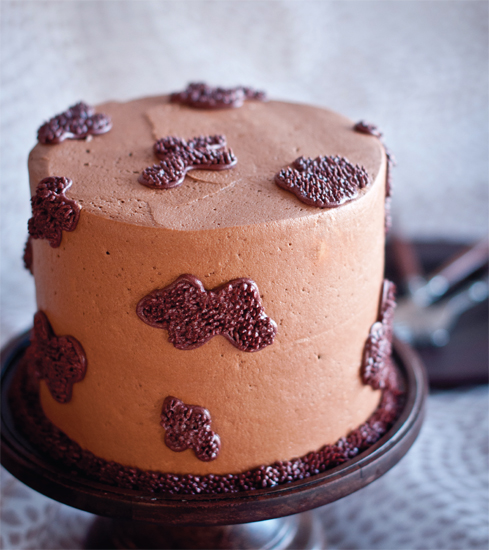
20. Insert a coupler into a pastry bag, then attach the #4 decorating tip. Fill the bag with the dark brown buttercream. Make small blob outlines all over the cake. Remove the #4 tip and attach the grass tip. With small, short motions, add a fur-like texture to the blobs. You might want to practice this motion on parchment first.
21. Chill the cake until serving.