Men in both my family and my husband’s have made the amazing sacrifice of service to this country. While they served in different divisions, different countries, and different wars, the common denominator was that they were all army men. This cake is a small tribute to everyone who has served. To those who’ve chosen sacrifice over self, I’m in awe of you!
I decided to do stripes in this cake because they’re one of the few symbols that are universally military. I have plenty to learn about what the different stripes and colors mean, but you can switch this cake up with whatever’s appropriate for your favorite serviceman or servicewoman.
I’d be happy to join you in some research over a nice big piece of cake!
3 recipes White Cake
1 recipe Basic Buttercream
Green and brown gel food coloring
SPECIAL EQUIPMENT:
4 8-inch round cake pans; 9 × 13-inch pan; offset spatula; 4½-inch round cookie cutter; thin paring knife; skewer; rolling pin; serrated knife; disposable plastic pastry bags; #4 and #12 decorating tips; coupler set (optional)
DIFFICULTY: Challenging
1. Use 2 recipes of white cake to bake four 8-inch round layers. Cool them to room temperature.
2. Bake the remaining recipe of white cake in a 9 × 13-inch pan and cool it to room temperature.
3. Make the buttercream.

4. Place one of the layers on a sheet of parchment and, using an offset spatula, spread a thin layer of buttercream on top. Place a second cake layer on top. Reserve the other 2 layers.
5. Freeze the layers for at least 6 hours, preferably overnight. There’s no need to freeze the 9 × 13-inch cake.
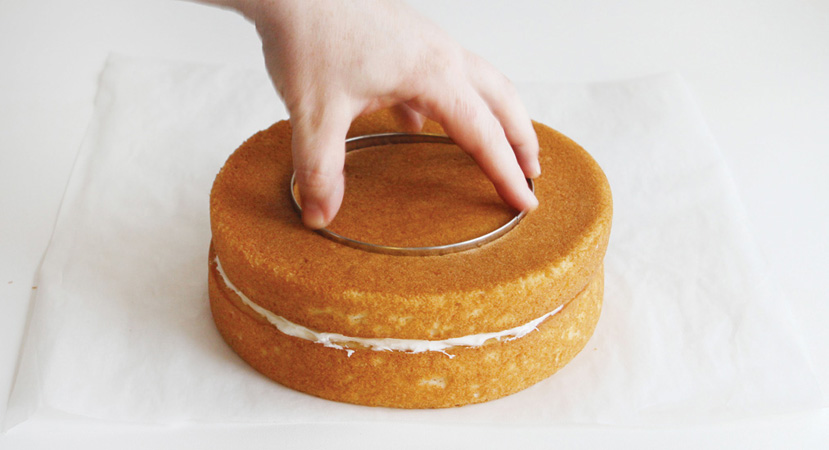
6. Place a 4½-inch round cookie cutter in the center of the 2-layer cake and press as far as it will go without smushing the cake. Remove the cutter and use a sharp thin paring knife to finish the cut all the way to the bottom.
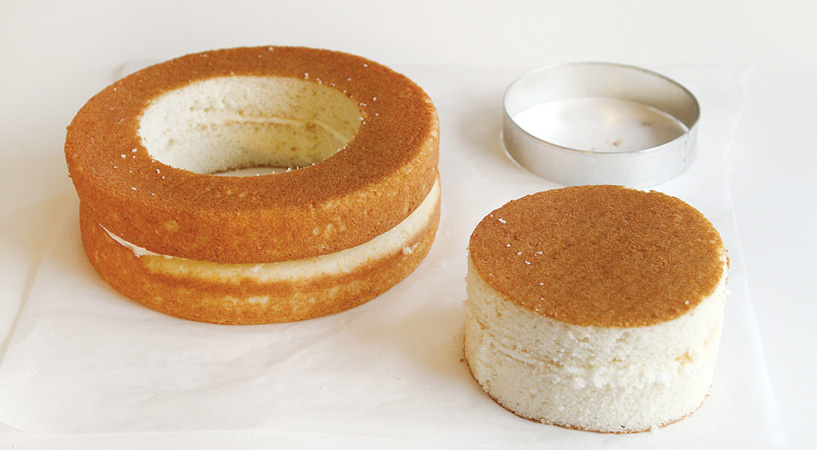
7. Carefully remove the center portion. I lifted the cake slightly and pressed the center portion up for easy removal.
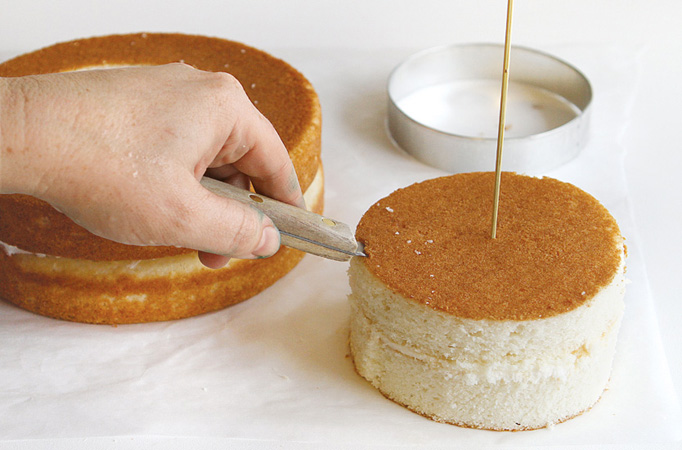
8. Insert a skinny skewer into the center of the cake column. Using a sharp paring knife and starting from the outer edge, cut through the cake at a 45-degree angle until you reach the skewer. Cut around the entire perimeter of the cake column and remove the cone-shaped top. Lay the cone point side up.
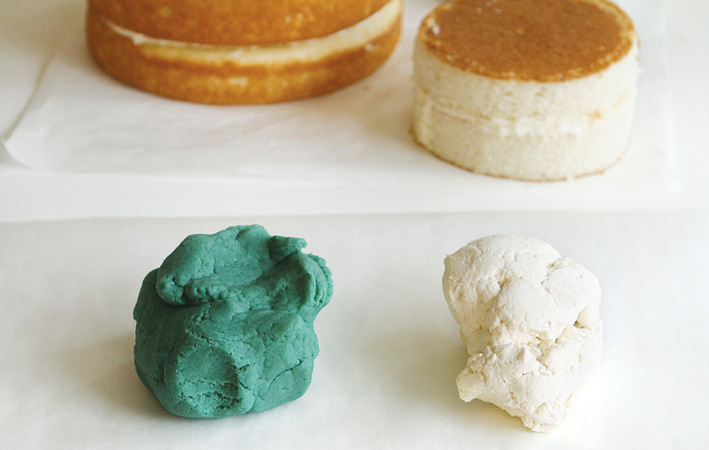
9. Remove the hard bits and dark parts and crumble the 9 × 13-inch cake into 2 large bowls. To one bowl, add 2 to 4 drops of green gel food coloring and 1 or 2 tablespoons of buttercream. Mix very well to make a pliable cake mixture. Add more food coloring as needed until the mixture is very green. Combine 1 or 2 tablespoons of buttercream to the other bowl of crumbled cake and combine to make a white cake mixture.
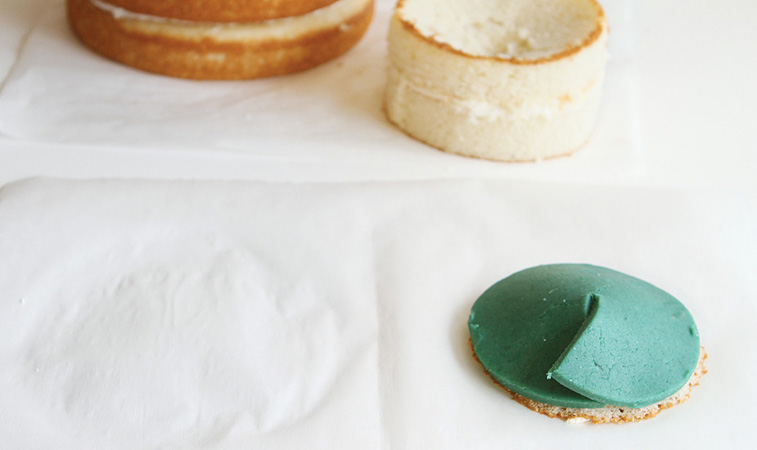
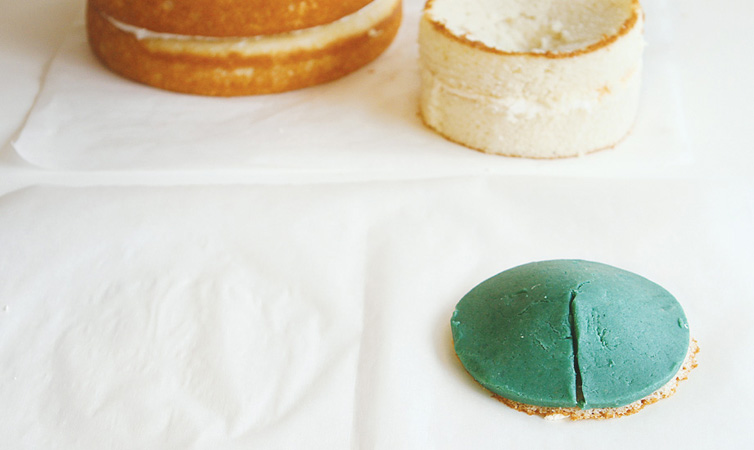
10. Place a fistful of green cake mixture on a piece of parchment and roll it out to a thickness of ½ inch. Cut out a green circle using the 4½-inch cookie cutter, then cut a line halfway through the circle.
11. Place the circle on top of the cake cone you just made.
12. Cut away the excess overlap and smooth out the green layer.
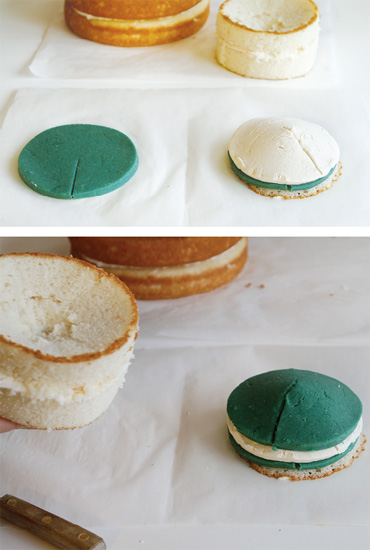
13. Repeat with a layer of white cake mixture on top of the green, followed by a second green layer.
14. Place one of the reserved layers on a cake stand and cover the top with a thin layer of buttercream.
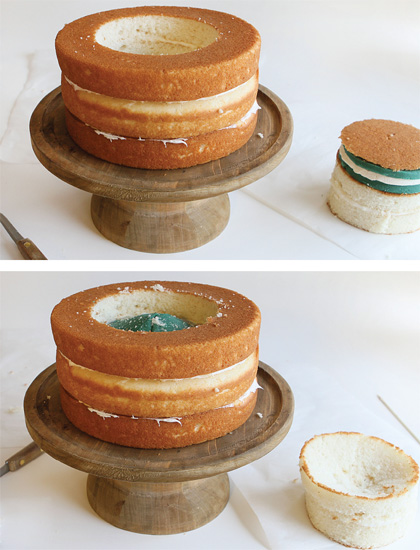
15. Carefully set the 2-layer cake on top. Then slowly and gently place the stripe structure inside the cake, pointing up.

16. Invert the cut 2-layer column so that the cap fits over the green point of the stripe structure inside the cake. Using a serrated knife, slice off the excess cake to make an even top surface.
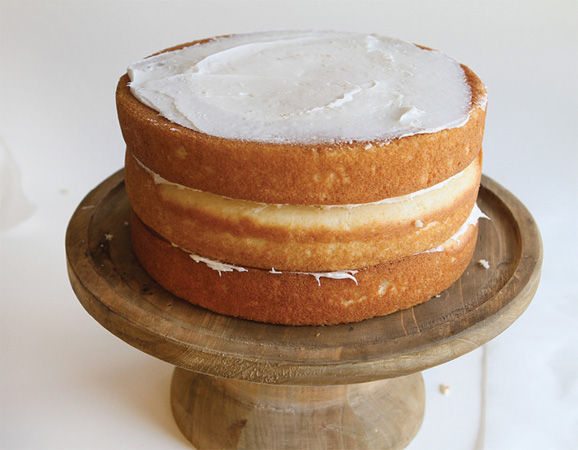
17. Frost the top with buttercream and place the final reserved layer on top.
18. Cover the cake in a crumb coat and chill for at least 1 hour.
19. Divide the remaining buttercream among 4 bowls. In 3 of the bowls, add different amounts of brown gel food coloring to achieve different shades of khaki and brown. Add green gel food coloring to the last bowl. Stir the 4 colors separately and add more color as needed to get the desired shades for camouflage.
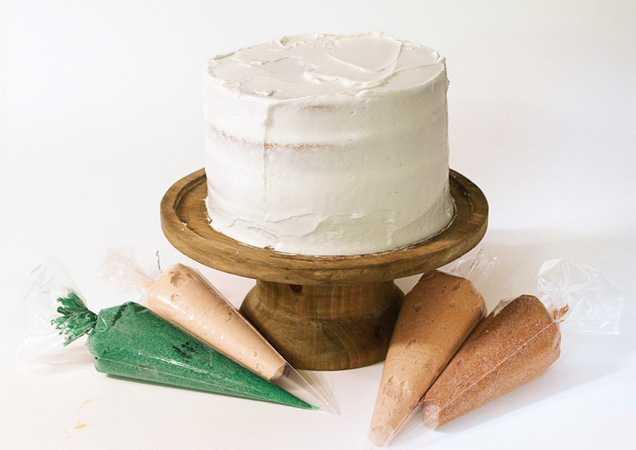
20. Place the 4 colors in plastic disposable pastry bags. Use a coupler set to make it easier to switch out the colors while using the same decorating tip.
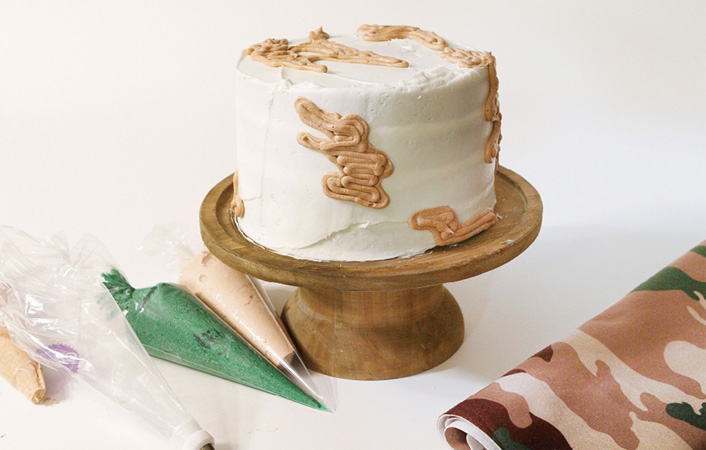
21. Insert a coupler into a pastry bag and attach a #4 decorating tip. Cut the tip off one of the frosting bags and slip it into the bag with the tip. Outline blob-like camouflage shapes around the cake. Switch colors until you are satisfied with the design.
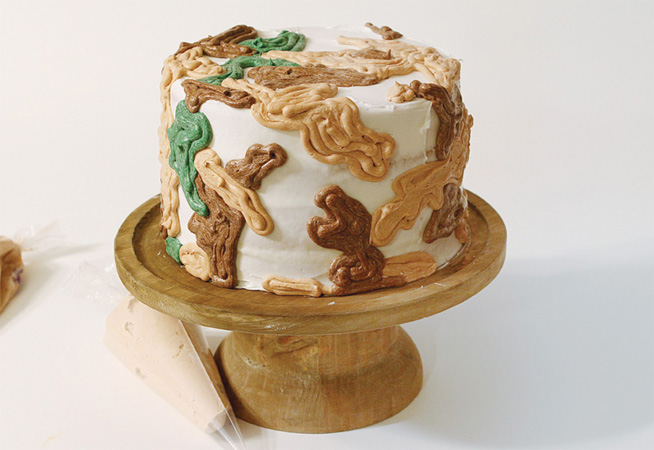
22. Change to a #12 decorating tip to fill in the blobs with the matching color.
23. Freeze the finished cake for about15 minutes,
then use a plain paper towel to flatten the buttercream. Be gentle!
24. Chill the cake until serving.