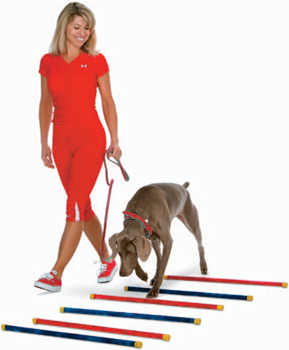
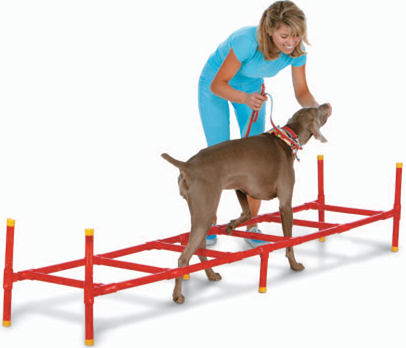
1 Teach foot placement. Lay eight parallel bars at varying distances apart and walk your dog on lead through them. Your dog will probably avoid the bars with his front feet but may step on them with his rear feet. Walk the bars in both directions and with your dog on both sides of you. Do this five to ten times per session for five days.
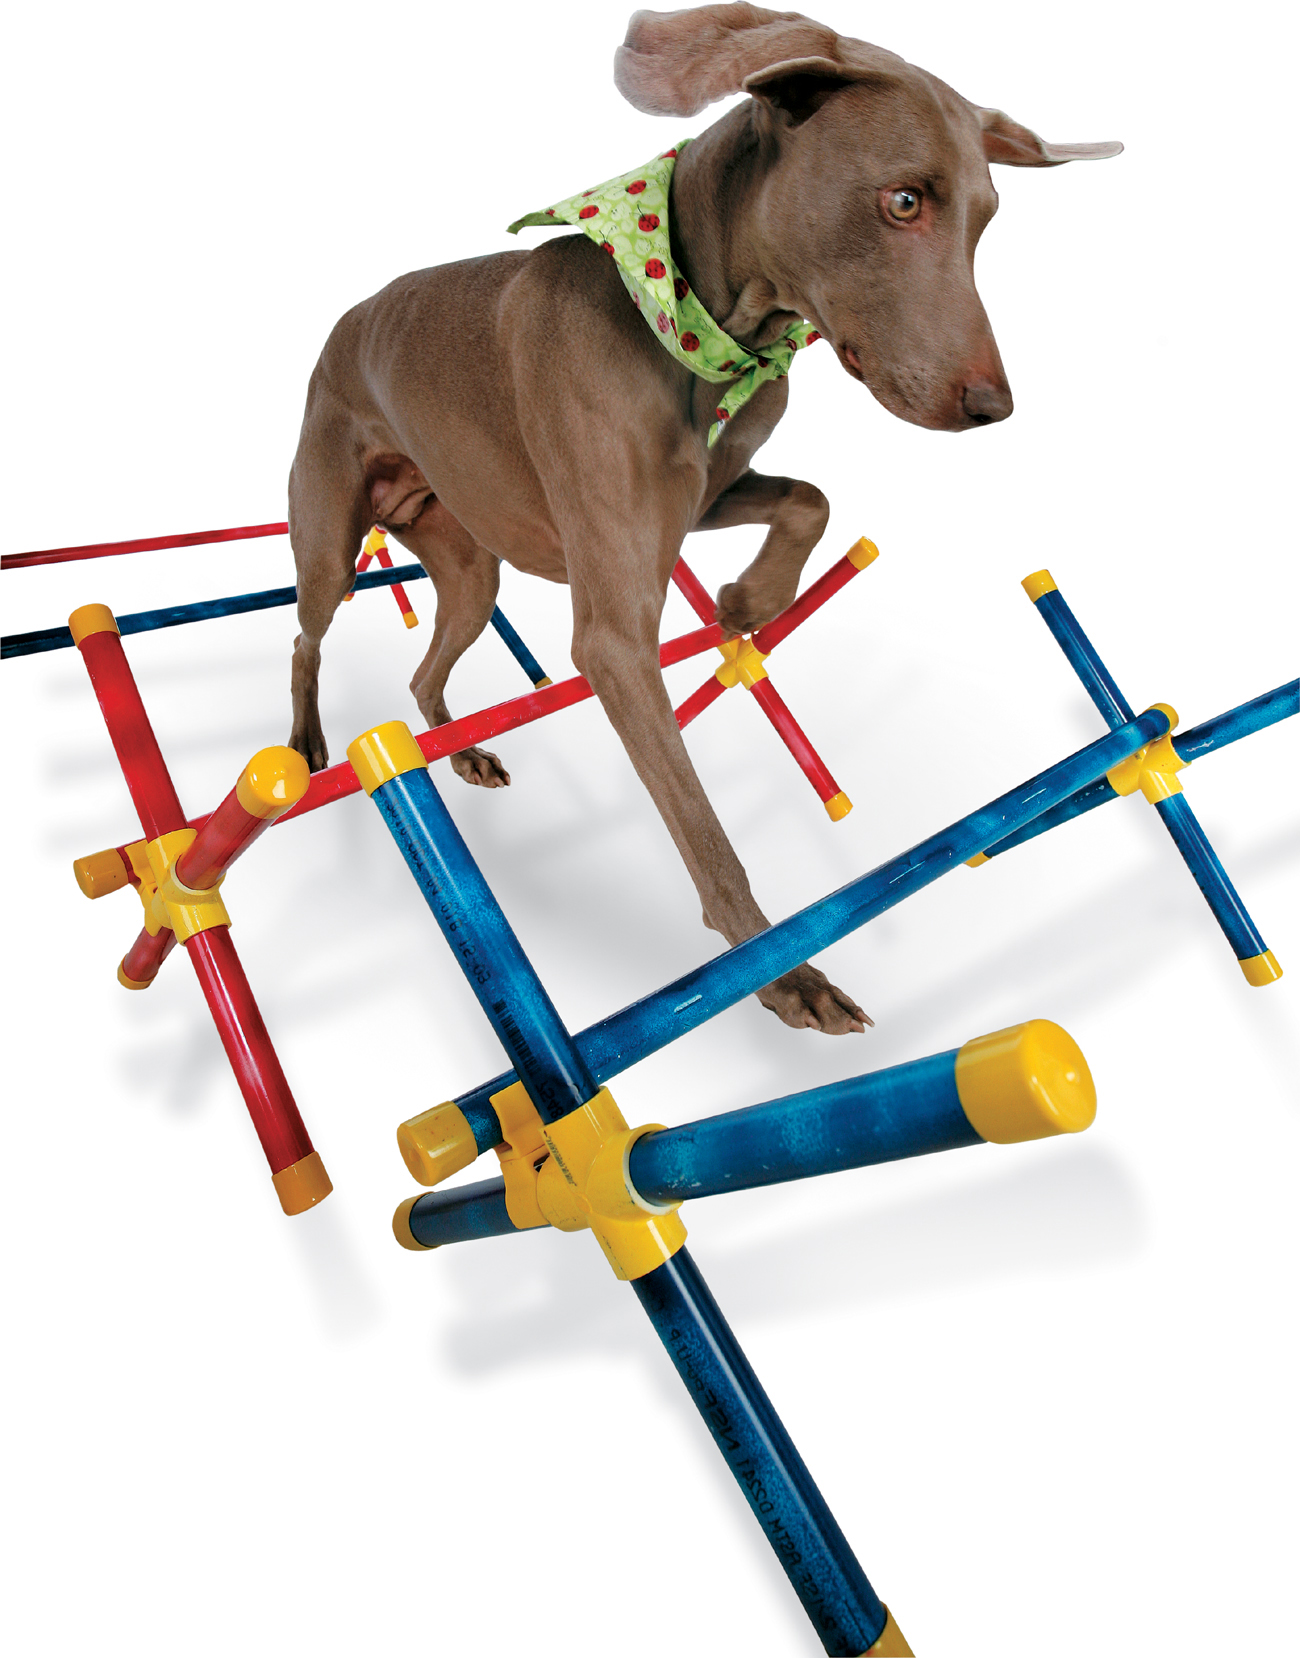
2 Teach rhythm/cadence. Next, raise the bars and space them equally apart (see “Equipment”). Take your dog through at a slow trot. You don’t want him jumping over the bars, but rather stepping (or reaching) over them. As he improves, try different speeds.
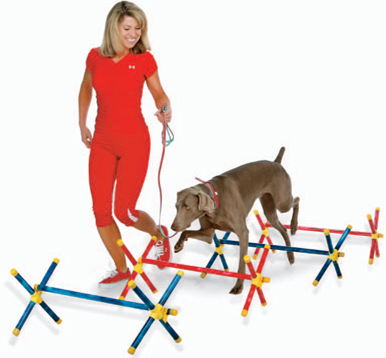
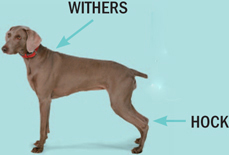
3 Teach maximum stride length. Space the bars at a distance of one and a half times your dog’s height at his withers. Take your dog through at a fast trot.
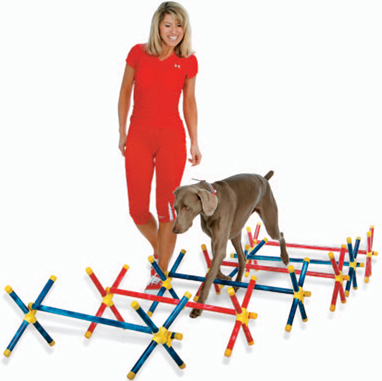
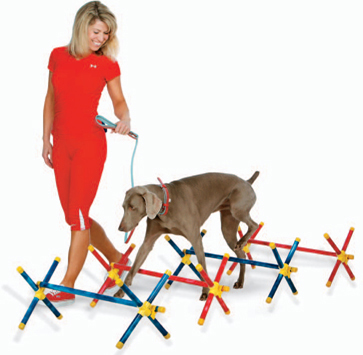
4 Increase the number of poles to sixteen. Gait your dog through the cavalettis ten to fifteen times once or twice a day.
TIP:
Avoid using treats as they will distract your dog from thinking about his foot placement.
EQUIPMENT:
The bar height should be one-half the height of the dog’s hock (rear ankle). Vary the height of the bars slightly so that your dog has to pay attention to each bar. The distance between the bars should be equal to the height of your dog’s withers (shoulders).

My front feet are easy. My back feet sometimes forget where to go.
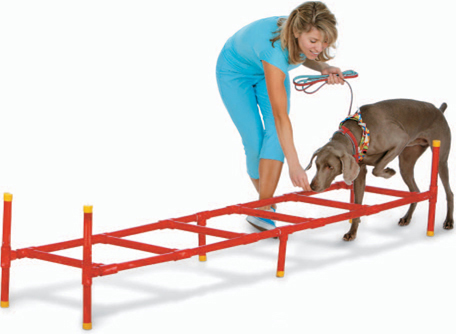
1 Place your ladder alongside a wall to prevent your dog from walking off the side. Use the hand closest to your dog to hold him on a short leash. In your other hand, hold several treats just above the ladder rung (keep your hand low so that your dog will be able to see where he is walking).
2 Lure your dog forward. After he has stepped through two or three rungs, give him one of the treats (always reward low, near the rungs). Continue luring him forward with another treat.
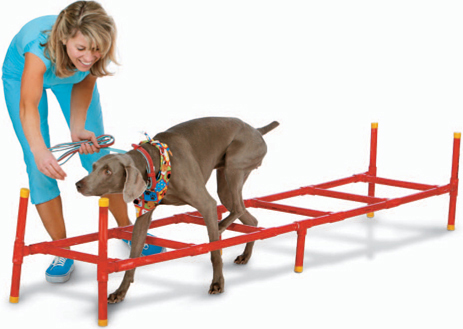
3 Turn around and switch hands so that your dog is now on the other side and go through again.
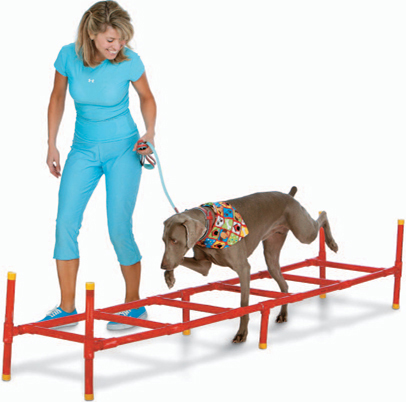
4 Increase the pace as your dog gets comfortable. Then move the ladder away from the wall and start over from the beginning.
TIP:
Some dogs may not even like to stand still with their feet between the rungs at first, so give your dog time. If your dog is sidestepping, squirming, or jumping, take him though the ladder more slowly.
EQUIPMENT:
A ladder is approximately 7 feet (2 m) long with rungs spaced 12 inches (30 cm) apart (used for any size dog). It stands a few inches off the ground but can be lowered by removing the legs for small dogs, puppies, or initial training.

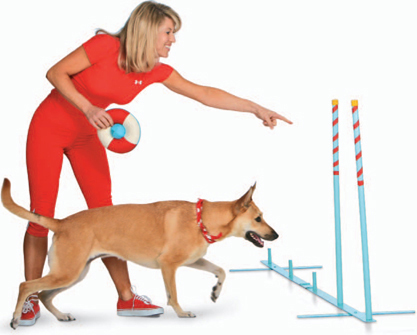
1 Start with just two poles. Send your dog through the poles any way you can, such as by using your pointed finger or a leash, or by running alongside the poles. Avoid luring your dog through with a treat.
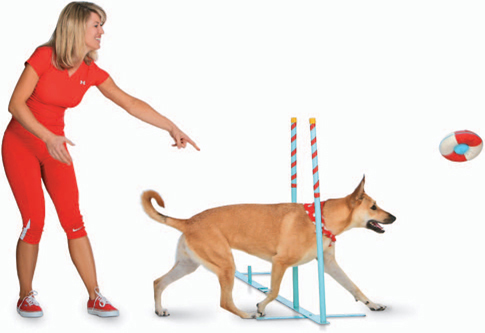
2 The second your dog goes between the poles, toss a toy (or food toy) in FRONT of him. This will teach him to progress forward instead of turning back to look at you.
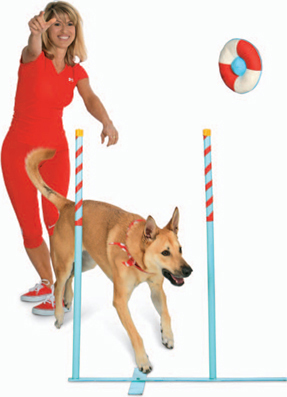
3 Once your dog has the hang of going between the poles, start to add more distance.
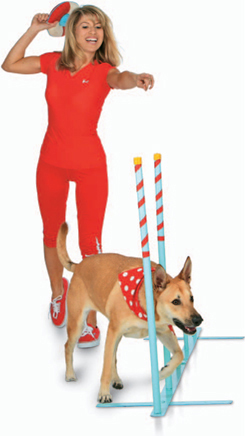
4 Now try to send your dog from an angle. In agility competition the dog must enter the set of poles with the first pole passing along his left shoulder.
TIP:
Once your dog has mastered two poles, add a second set of two poles in a parallel line, 15 feet (4.6 m) from the first set. Have your dog do one set and then the other set. Gradually move the two sets closer together.
EQUIPMENT:
Poles are about 3 feet (0.9 m) tall and spaced about 20 to 22 inches (51 to 56 cm) apart. PVC plastic pipe poles can be cut at an angle and pounded into the grass. Tall cones or plungers can be used as an indoor alternative.

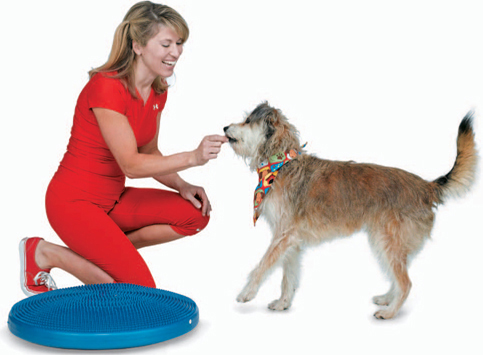
1 Get your dog’s attention by holding a treat near his nose.
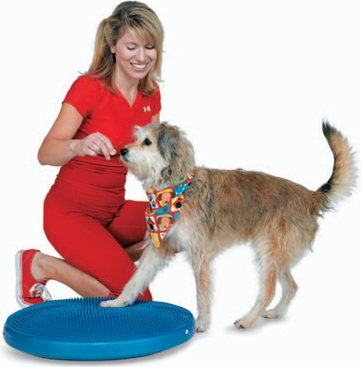
2 Slowly move the treat over the balance disc, luring your dog to put his front paws on it. Avoid moving your hand too fast, as your dog may jump over the disc.
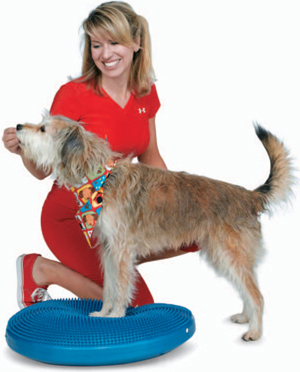
3 As soon as his paws come onto the disc, release the treat. It will be handy to hold several treats in your hand, so you can keep him in position by letting him sniff or lick another treat.
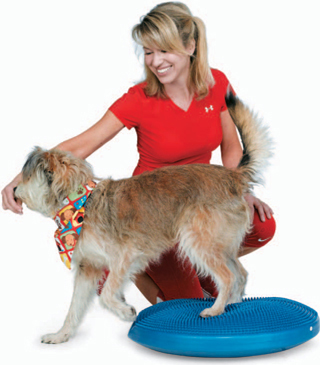
4 As an added challenge, lure your dog past the balance disc until his back paws come on, and his front paws come off.
TIP:
Most dogs can be lured onto a balance disc within a few minutes. As your dog improves, back your hand away for a few seconds, and then bring it forward to give him his treat. Give the treat only while your dog is in position—with his front paws on the balance disc.
EQUIPMENT:
Any low, stable object can be used for this exercise. An inflatable balance disc will give your dog an added challenge.

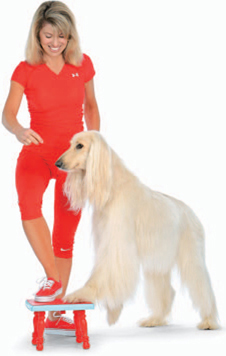
1 Hold a treat near your dog’s nose and slowly bring it up above the perch. Your dog may try to walk around the perch or jump over it. Keep moving your treat slowly until he gets the idea to step on the perch with his front paws.
2 The instant his front paws come on the perch, release the treat. Allow him to nibble some additional treats in your hand while his paws remain on the perch.
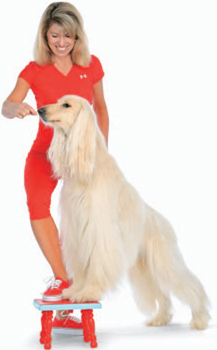
3 See if you can get your dog to rotate his back feet around the perch. Hold treats in front of his nose and use your other hand to gently nudge him sideways. The second he sidesteps with his rear feet, give him a treat.
4 Go slowly and try to get your dog to make one complete revolution.
TIP:
Perch work feels awkward for dogs at first, but they should quickly get the hang of it. It is important that you give the treat while your dog’s paws are on the perch and not after he has come off. If he gets off the perch, just lure him back onto it.
EQUIPMENT:
A perch is about 1 foot (30 cm) in diameter, raised a few inches in height. Make a simple perch from a concrete brick, a cat litter pan, an upturned planter, a phone book, or other sturdy item.

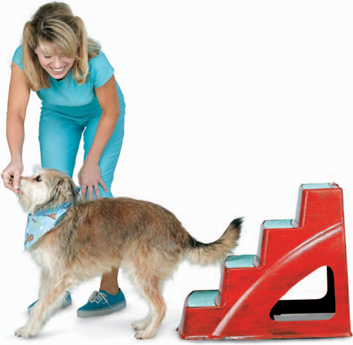
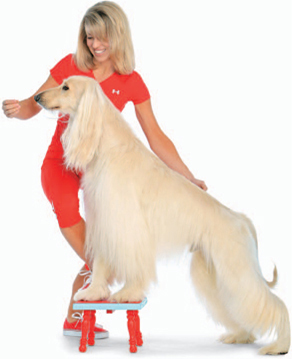
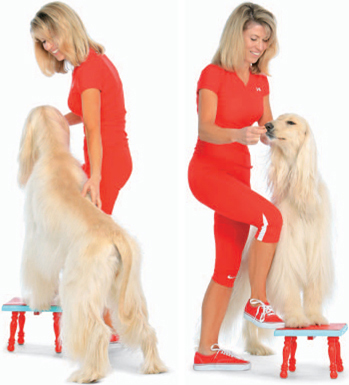
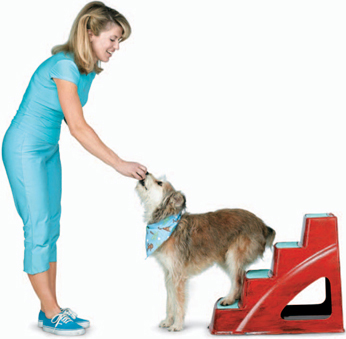
1 Set your steps next to a wall to confine your dog. Start with your dog directly in front of the steps. Hold a treat in your fist at your dog’s nose height and slowly push the treat toward your dog’s back feet. Use your body to crowd your dog so he doesn’t veer to the side.
2 In an attempt to keep nibbling the treat, your dog may bow down a little, and will eventually back up. As soon as even one of his feet touches the step, mark that instant by saying, “Good!” and releasing the treat.
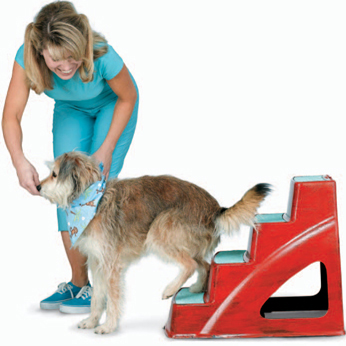
3 As your dog improves, try to get both of his hind feet to come onto the steps before you say, “Good!” and release the treat.
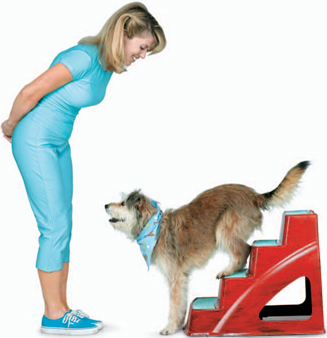
4 And finally, hold both of your hands behind your back and use your body to crowd your dog back onto the steps. The second his feet get on the steps, say, “Good!” and pull out the treat from behind your back.
TIP:
This exercise is an unusual behavior for your dog and requires a type of coordination not often used. You may see a lot of silly squirming at the beginning. Watch carefully so that you can give him the treat the instant one foot touches the step.
EQUIPMENT:
You can use a step, stairs of a staircase, an agility contact obstacle, a low perch, or a brick.

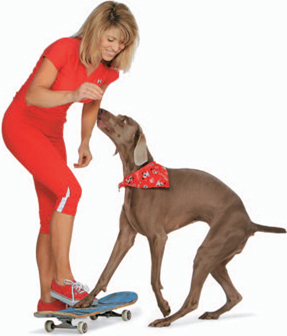
1 It’s not uncommon for dogs to be initially scared of skateboard sounds, so start with the skateboard on carpet or grass, where it is quieter and moves slower. Put treats on the skateboard to encourage your dog to investigate it. Use a treat to lure him to put his front paws on it (see Paws-Up Balance Disc, page 72).
2 Roll the skateboard back and forth in front of your dog. If he moves toward it, roll it AWAY from your dog, so it runs away like a prey animal. Does he chase it? Praise your dog excitedly when he catches it, especially if he steps on it!
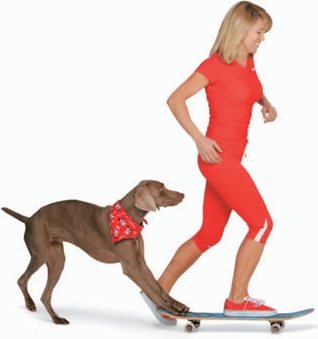
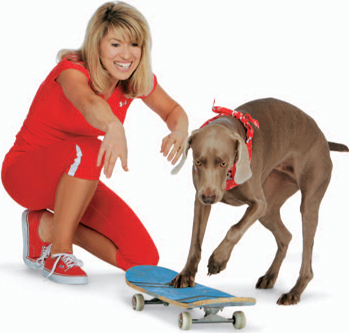
3 Take the skateboard to a parking lot and skate on it yourself. Call to your dog and encourage him to chase you. This can help engage his prey drive.
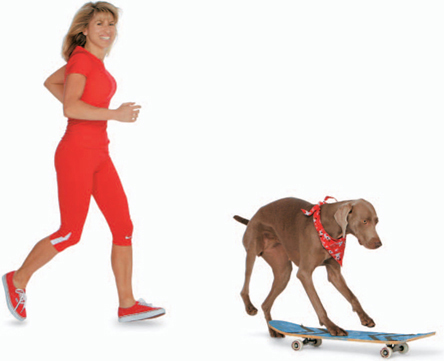
4 Run and toss the skateboard ahead of you and continue to chase it yourself. Use your voice to get your dog excited and chasing it too!
TIP:
Some dogs will have a natural drive to chase the skateboard and jump on top of it and often bite it as well. Few dogs love the skateboard on their first try, and most require at least several weeks of exposure to build drive for it.
EQUIPMENT:
Look for the largest-size skateboard that you can find. Very large dogs may need a specialty long board (a surf-board-inspired oversize board). You can make your own skateboard by attaching casters to the bottom of a foam body board or kickboard.
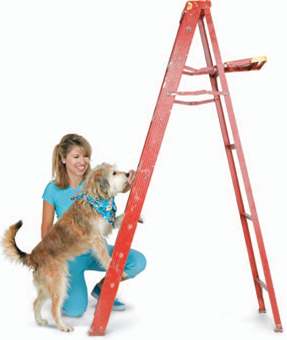
1 Hold a handful of treats and let your dog sniff them. Slowly raise your hand up the rungs of the ladder. Keep your eyes on your dog’s front paws. The instant one paw touches a ladder rung, say, “Good!” and let him have a treat. Even if he doesn’t touch the rung, you may need to occasionally give him a treat to keep his interest.
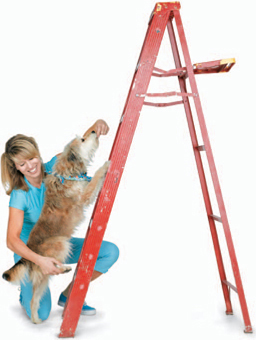
2 Continue to lure his head upward. The trickiest part is going to be getting your dog’s first hind foot on the rung. As he struggles to find the rung, use your other hand to guide it in place.
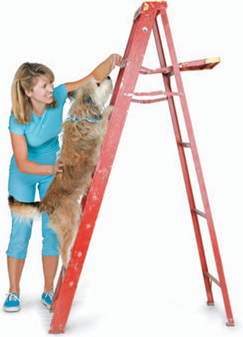
3 Keep luring your dog upward. Use your other hand to guard his body so that he doesn’t fall.
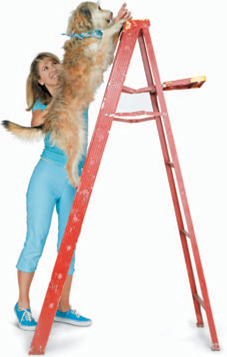
4 Have an extra-big treat waiting for your dog at the top of the ladder.
TIP:
Practice no more than five minutes per session, as this exercise is mentally and physically tiring for your dog. Always lift your dog off the ladder rather than allowing him to jump off, as he could injure himself in jumping.
EQUIPMENT:
For SAR work, the ladder must be 6 to 8 feet (1.8 to 2.4 m) high with flat rungs. The ladder is secured at a 45-degree angle. Apply grip tape to the steps to provide traction.


