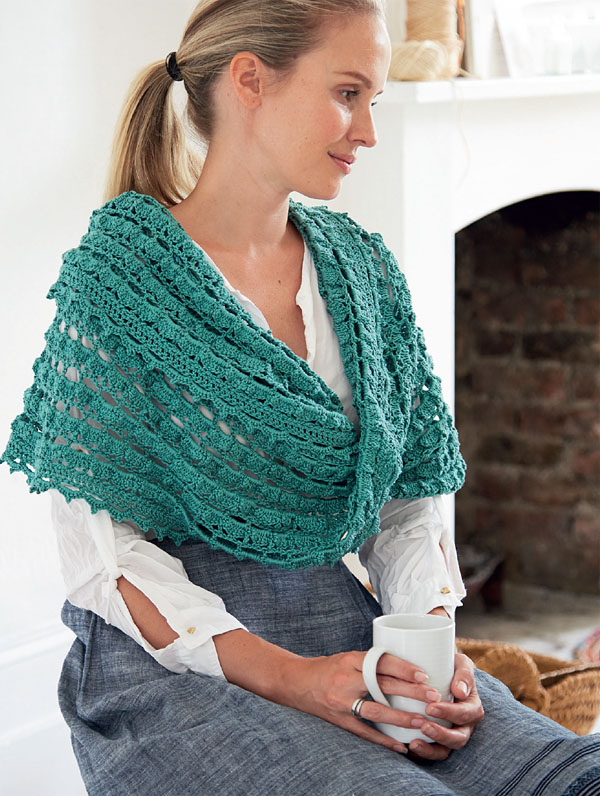
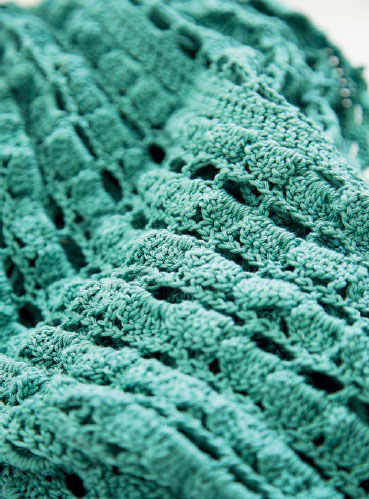
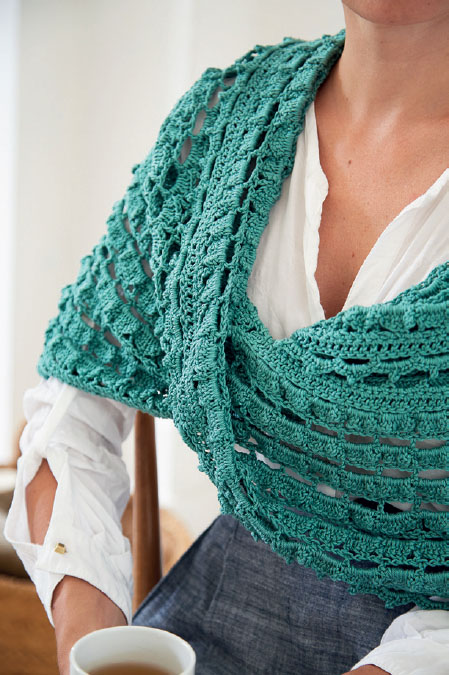
The möbius is a clever design that is looped with a twist, meaning that there is only one true surface. While this may look like a complex design, once the foundation rounds have been worked the lace is created on each side of the centre section, effectively working from the centre of the strip outwards, making it a surprisingly quick project to complete!
MATERIALS
• Rowan Cotton Glace (100% cotton; 115m/126yds per 50g/1¾oz ball) DK-weight yarn 9 x 50g (1¾oz) balls of shade 844 Green Slate
• 4mm (US G/6) crochet hook
• Locking stitch marker
• Tapestry needle
FINISHED MEASUREMENTS
107cm (42in) circumference x 51cm (20in) deep
TENSION
[7tr-shells] 4 times and 9 rows of lace pattern to measure 10cm (4in)
ABBREVIATIONS
See page 9.
FOR THE MöBIUS
Foundation: Using 4mm (US G/6) hook, make 201ch. 1dc in second ch from hook, 1dc in each ch to end. (200 sts)
Join the ends as follows: Lay strip flat ensuring there are no twists, and form a circle lining up the ends of the strip. Now twist one end of the strip 180 degrees to make a single twist in the strip and thus creating the möbius and join with a sl st in first st. Place a locking stitch marker to indicate beginning of round.
Round 1: 1ch (does not count as st throughout), 1dc in each st to marker, join with a sl st in first st.
FOR THE LACE PATTERN
Round 1: 6ch (counts as 1tr and 3ch), miss 3 sts, 1tr in next st, *3ch, miss 3 sts, 1tr in next st; rep from * to end, join with a sl st in 3rd ch of 6ch.
Round 2: 1ch, *3dc in ch-sp, 1dc in tr; rep from * to end, join with a sl st in first st.

Make it yours
For a cosier variation try working this design using a chunkier yarn and larger hook.
Tip
If you’re unsure about how a möbius works, take a strip of paper and give it a single twist then join the ends. This will create a twisted continuous loop and it is that which forms the foundation of this shawl.
Round 3: 3ch (counts as 1tr throughout), 1tr in each st to end, join with a sl st in 3rd ch of 3ch.
Round 4: 1ch, 1dc in first st, *3ch, miss 3 sts, 1dc in next st; rep from * to end, join with a sl st in first st.
Round 5: 1ch, 1dc in first dc, 7tr in ch-sp, *1dc in next dc, 7tr in ch-sp; rep from * to end, join with a sl st in first st.
Round 6: 5ch (counts as 1dtr and 1ch), 1dc in 4th tr, 1ch, *1dtr in dc, 1ch, 1dc in 4th tr, 1ch; rep from * to end, join with a sl st in 4th ch of 5ch.
Round 7: 6ch (counts as 1tr and 3ch), 1tr in dtr, 3ch, *1tr in dtr, 3ch; rep from * to end, join with a sl st in 3rd ch of 6ch.
Rounds 5–7 set pattern.
Rep Rounds 5–7 a further 4 times, then Rounds 5 and 6 once more.
Next row: 1ch, 1dc in each st and ch-sp to end, join with a sl st in first st.
Next row: 3ch, 1tr in each st to end, join with a sl st in 3rd ch of 3ch.
For the Border
Next row: 1ch, 1dc in first st, 4ch, miss 3 sts, *1dc in next st, 4ch, miss 3 sts; rep from to end, join with a sl st in first st.
Next row: 1ch, miss first dc *[4dc, 2ch, sl-st into 1st ch of 2ch (picot created), 4dc] in next ch-sp, miss next dc; rep from * to end and join with a sl st in first st.
Fasten off.
MAKING UP AND FINISHING
Weave in all loose ends and block to measurements – the möbius will have a natural twist in it, so it will never be able to lay flat, the twisted section can be worn at the front or side of the body as preferred.
Tip
The nature of the möbius means that after each full round you will have added the pattern to both sides of the centre strip. You can check that each round is complete by laying out the cowl and checking that the design is duplicated at each side of the centre section.


