CHAPTER 6
ALCHEMY IN THE KITCHEN
From the time people discovered bees and their colonies, bees have always been used as a source for food. Initially, honey and honey comb were simply eaten as they were found. Over time, people learned where the bees stored the honey, pollen, and brood and harvested more selectively. As we developed pots for storage and cooking, honey became something that could be stored and used as needed. Foods were created that incorporated bee-related materials. Today, we have modern systems in place that enable us to separate honey, beeswax, and other bee-related products.
It is impossible to write a book about honey without including some food recipes. However, this book is not intended to be a cookbook. I have tried to showcase recipes that utilize honey, beeswax, and pollen in transformative ways. Also, because I dislike recipe books that use part of something, such as egg yolks in Cannelé Bordelais (shown here) for example, without suggesting ways to use the remainder, I have also included some recipes to make use of what is leftover. Those egg whites not used in Cannelé Bordelais can be used in the recipe for Chunky Buckwheat Granola (shown here).
COOKIES AND CANDIES
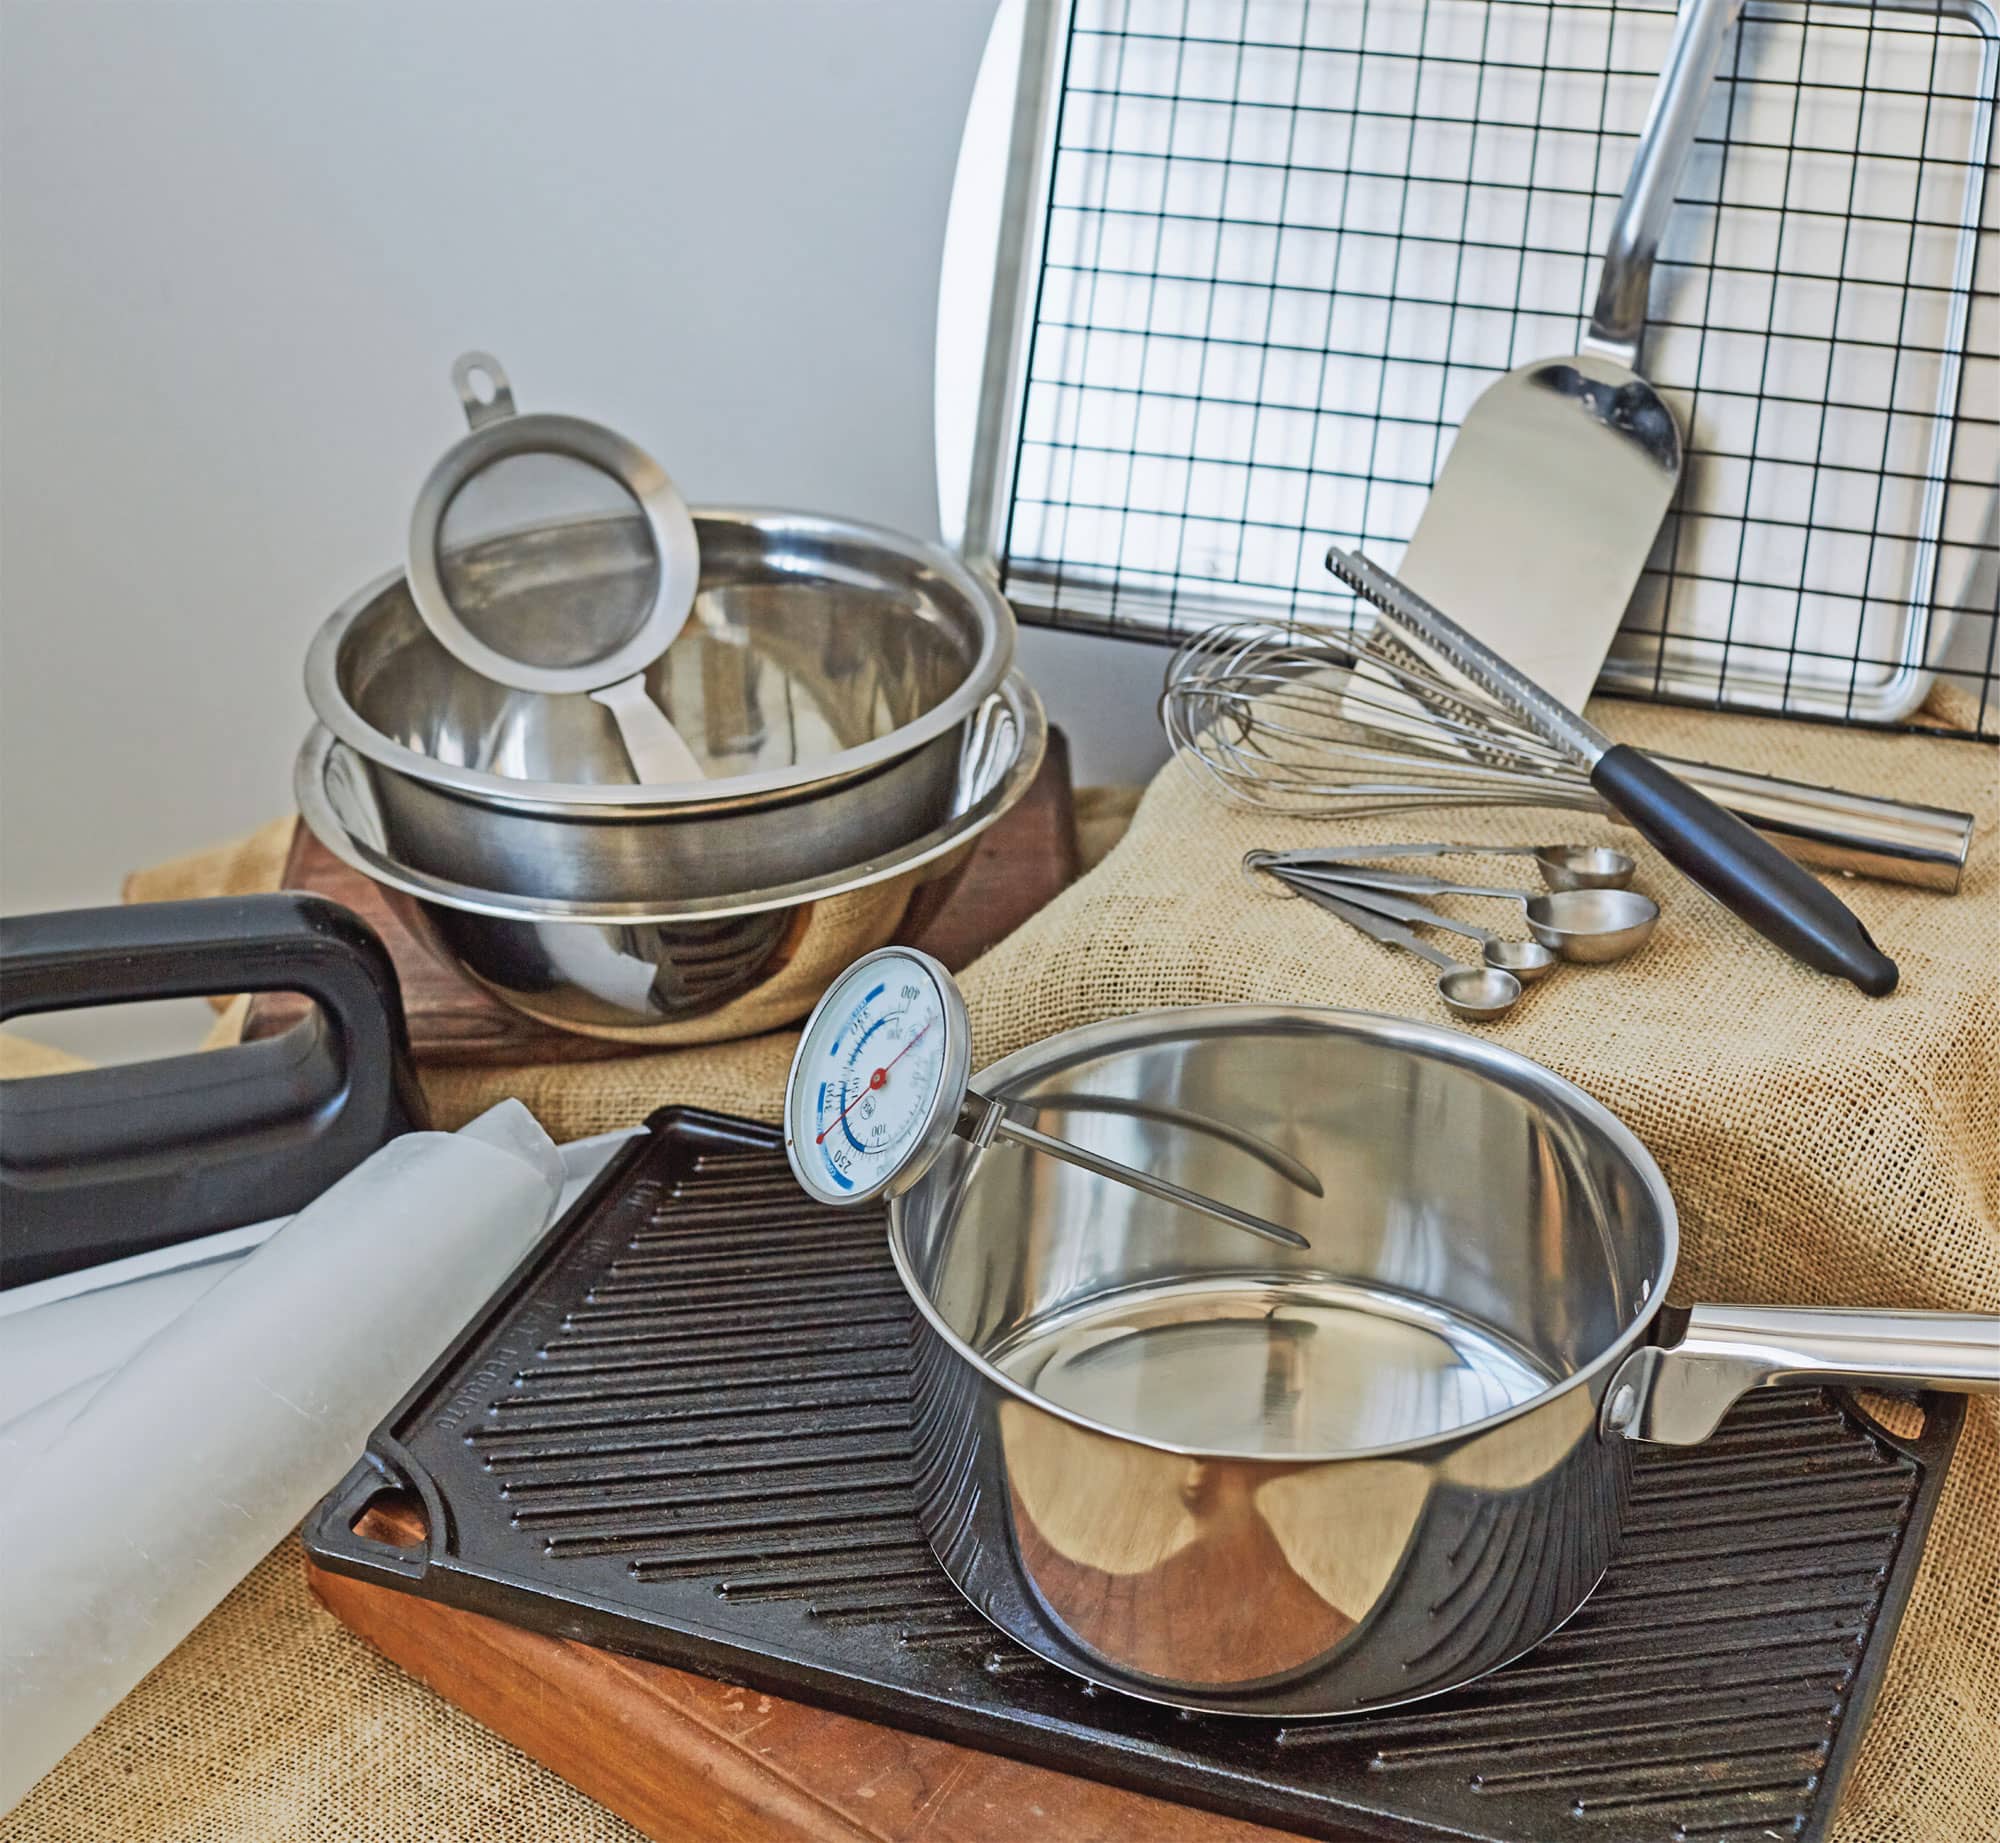
Cookies and candy are the perfect vehicles for showcasing honey. Honey cookies, energy bites, and peppermint patties come together quickly and are easy to make, even for novices. Caramels made with honey are a bit more advanced, but can be very rewarding once the technique is mastered.

EASY
◁ HONEY COOKIES 
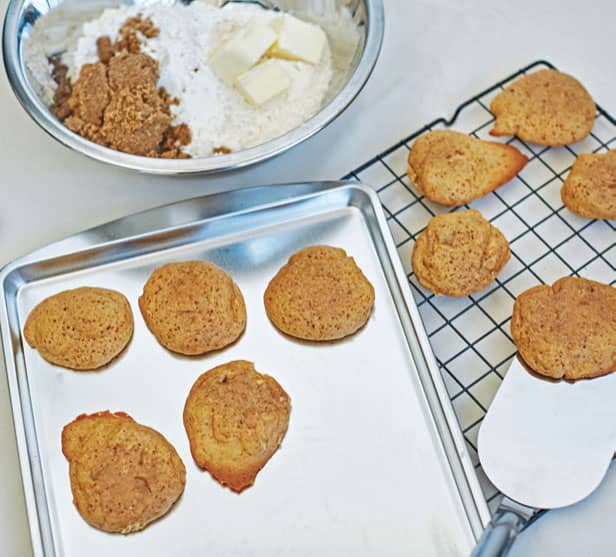
These sweet and chewy cookies are simple, easy to make, and delicious.
1. Preheat the oven to 375°F (180°C, or gas mark 4).
2. Beat together the butter, brown sugar, honey, and egg in a medium bowl until smooth, scraping the sides occasionally. Stir in all the remaining ingredients.
3. Drop the dough by spoonful onto a greased or lined baking sheet. Bake for about 7 to 10 minutes or until the cookies are set and the edges are beginning to brown. The cookies will still look shiny when they’re done.
4. Remove them from the baking sheet, place on a cooling rack, and allow to cool completely. These are best enjoyed fresh, but if necessary they will keep for several days in an airtight container.
EASY
◁ ENERGY BITES 
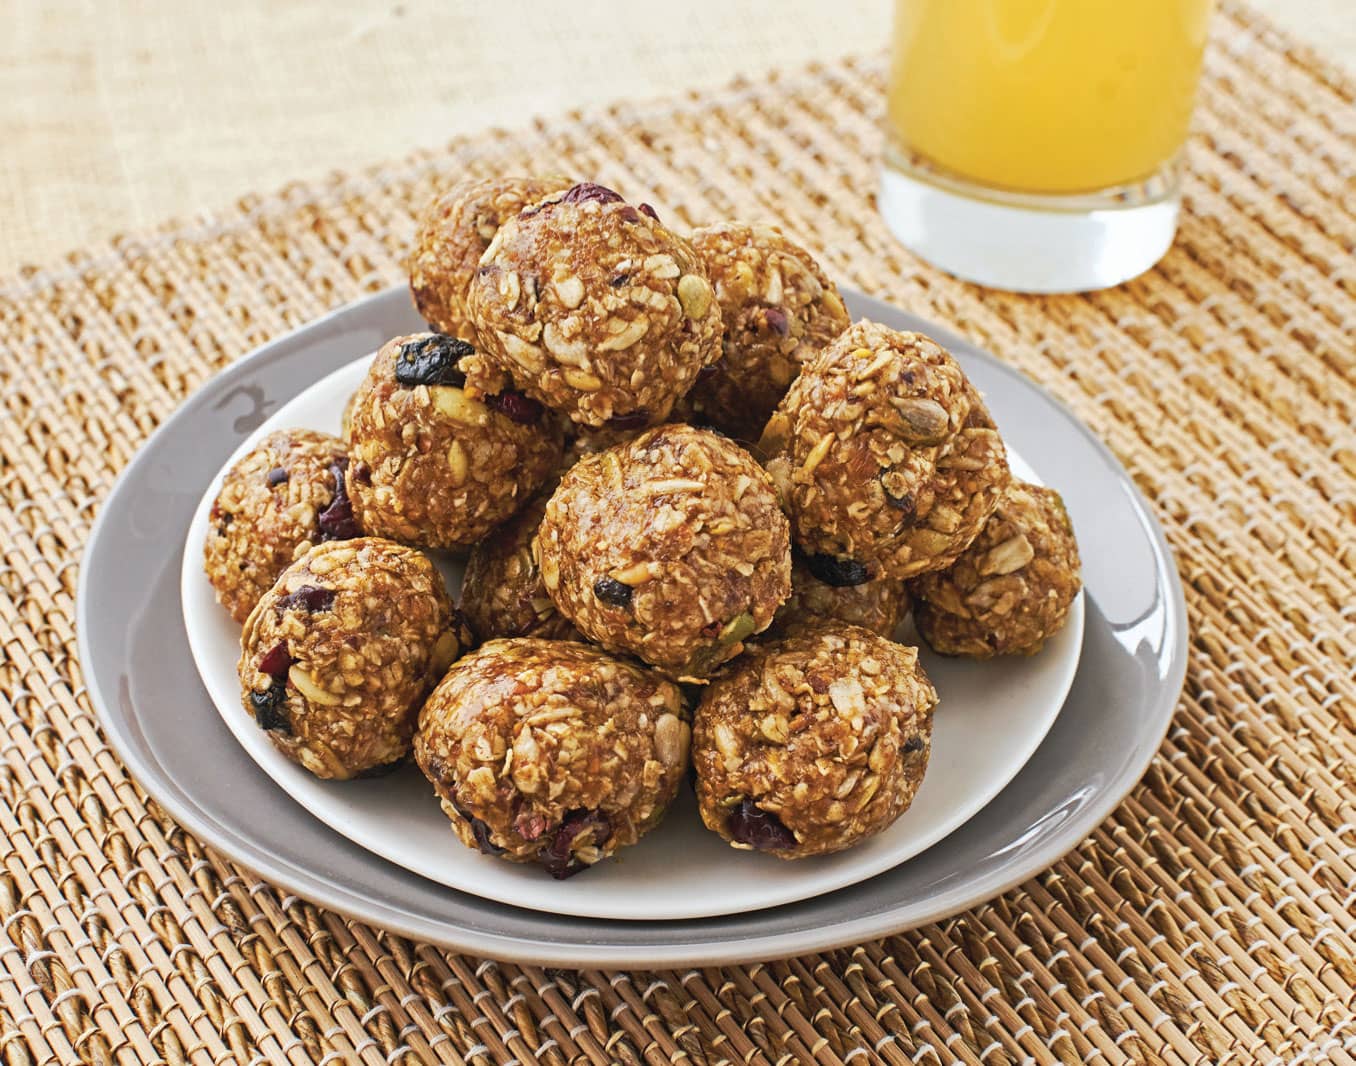
These bites are easy to make and provide the right amount of energy and nutrition in a single portion. This recipe can be adapted to include whatever ingredients are readily available. I like to include cacao nibs in my personal batches, but the harder texture has been misinterpreted as a nut shell, so I usually leave them out when making them for others. Also, I recommend storing in an airtight container in the refrigerator; they seem to hold up better when kept cool.
1. Measure all the dry ingredients into a medium bowl. Set aside.
2. Measure the honey and nut butter into a small bowl. Warm the mixture slightly to make it easier to stir. Add vanilla extract and pollen. Stir to combine.
3. Add the honey nut butter mixture to the dry ingredients and mix thoroughly.
4. Form into bite-size balls about 11/2 inches (4 cm) in diameter. Store in an airtight container in the refrigerator. They will keep for several weeks if stored in the refrigerator.
MODERATE
◁ HONEY CARAMELS 
I admit it. I have a weakness for caramel. Growing up, I loved Marathon candy bars, which were made with super hard, super chewy caramel—real filling pullers. Most of the caramels available these days are super soft and hardly chewy. I tried to find a halfway point with this recipe, a happy medium between the caramel of my youth and the soft caramels of today. I have also added a chocolate option, which is delicious.
1. Line the baking dish with wax paper, leaving long overhangs on two sides.
2. In a small saucepan, combine the cream and split vanilla bean and simmer over low heat for 10 minutes. Remove the vanilla bean, scrape out seeds, and add to the cream. Add the cocoa powder, if desired, and stir to combine. Keep warm on low heat.
3. In a large saucepan, combine the sugar and honey. Without stirring, dissolve the honey and sugar mixture over medium heat until smooth and melted. Continue heating the mixture until it has darkened to a deep caramel color, about 5 minutes. Watch carefully—sugar burns quickly!
4. Remove from the heat and whisk in the chunks of butter one at a time. Once all the butter is added, whisk in the hot vanilla cream mixture.
5. Bring the pot to a boil over medium heat and continue to boil until the mixture reaches the hard ball stage (see sidebar). Remove from the heat and pour the caramel into the prepared pan.
6. Place the pan in the refrigerator for about 10 minutes to set up slightly and then sprinkle top of caramels with sea salt. Let the caramels set up at room temperature for about an hour or until totally cooled.
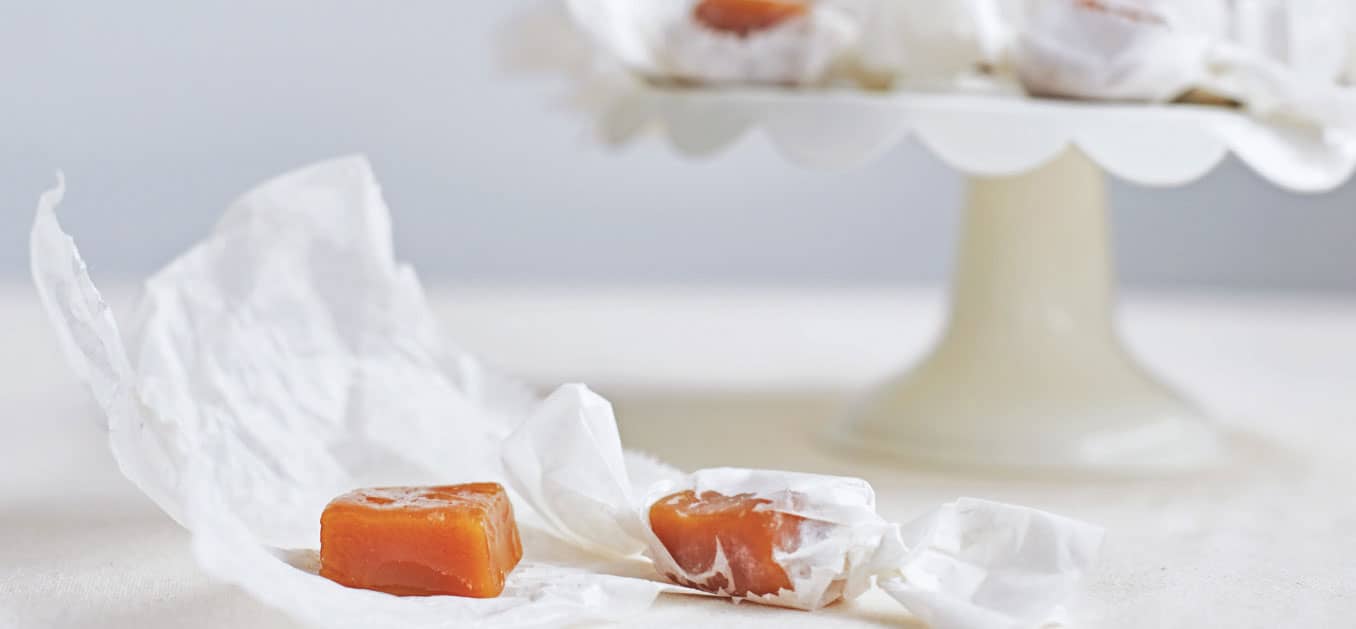
7. To remove from the pan, gently pull on the wax paper and remove the caramel block from the pan. Cut into squares with a sharp knife and wrap in small pieces of wax paper.
8. Keep the wrapped caramels in an airtight container to prevent them from attracting moisture and getting gummy on the outside. Assuming they don’t get eaten first, they should keep for several weeks.
EASY
◁ PEPPERMINT PATTIES 
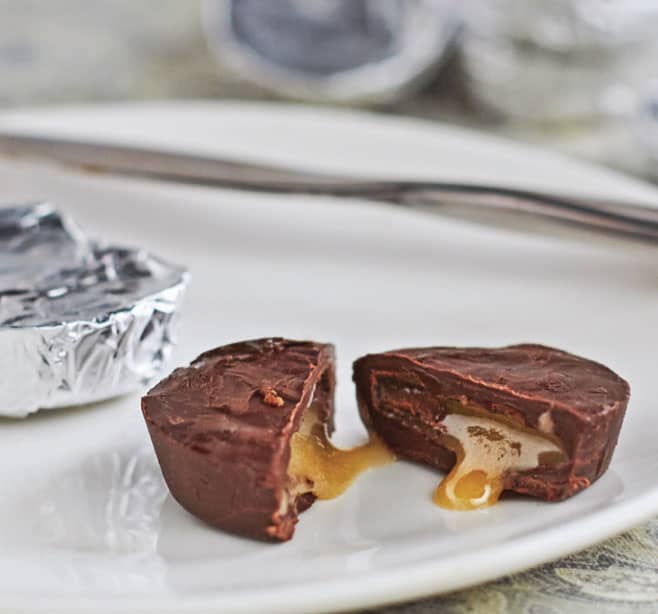
Peppermint patties are quick and easy to make and require only a few ingredients. I used an artisan chocolate bar with 72 percent cacao from my local grocery, but any bittersweet chocolate will work. I have also seen these made with unsweetened chocolate, as the honey adds plenty of sweetness, but I find the flavors a bit too disparate for my taste. Also, this works best with solid honey: the stiffer, the better.
1. Melt the chocolate in a double boiler. Once melted, drizzle about 1/2 teaspoon of the chocolate into the bottom of each silicone mini-muffin cup. Use the spoon to spread the chocolate up the sides a bit and allow to harden.
2. In a small bowl, mix the honey and peppermint oil.
3. Once the first layer of chocolate has hardened, spoon a dollop of the honey mixture in the center of each cup and top with the rest of the melted chocolate. I usually start drizzling around the outside and work toward the middle. Chill thoroughly and pop out of the molds. I like to wrap mine in candy foil for a decorative touch. Store in an airtight container. Keeps for several months.
DESSERTS
Desserts are a traditional way to use products from the hive. I have gathered a collection of various recipes that utilize not just honey, but beeswax as well.
MODERATE
◁ CANNELÉ BORDELAIS 
My love affair with Cannelé began when I was researching uses for beeswax for my last book, Beeswax Alchemy. Whole treatises have been written chronicling the quest for the perfect Cannelé. There was no way I had time to perfect something so elusive for my last book! I was very disappointed.
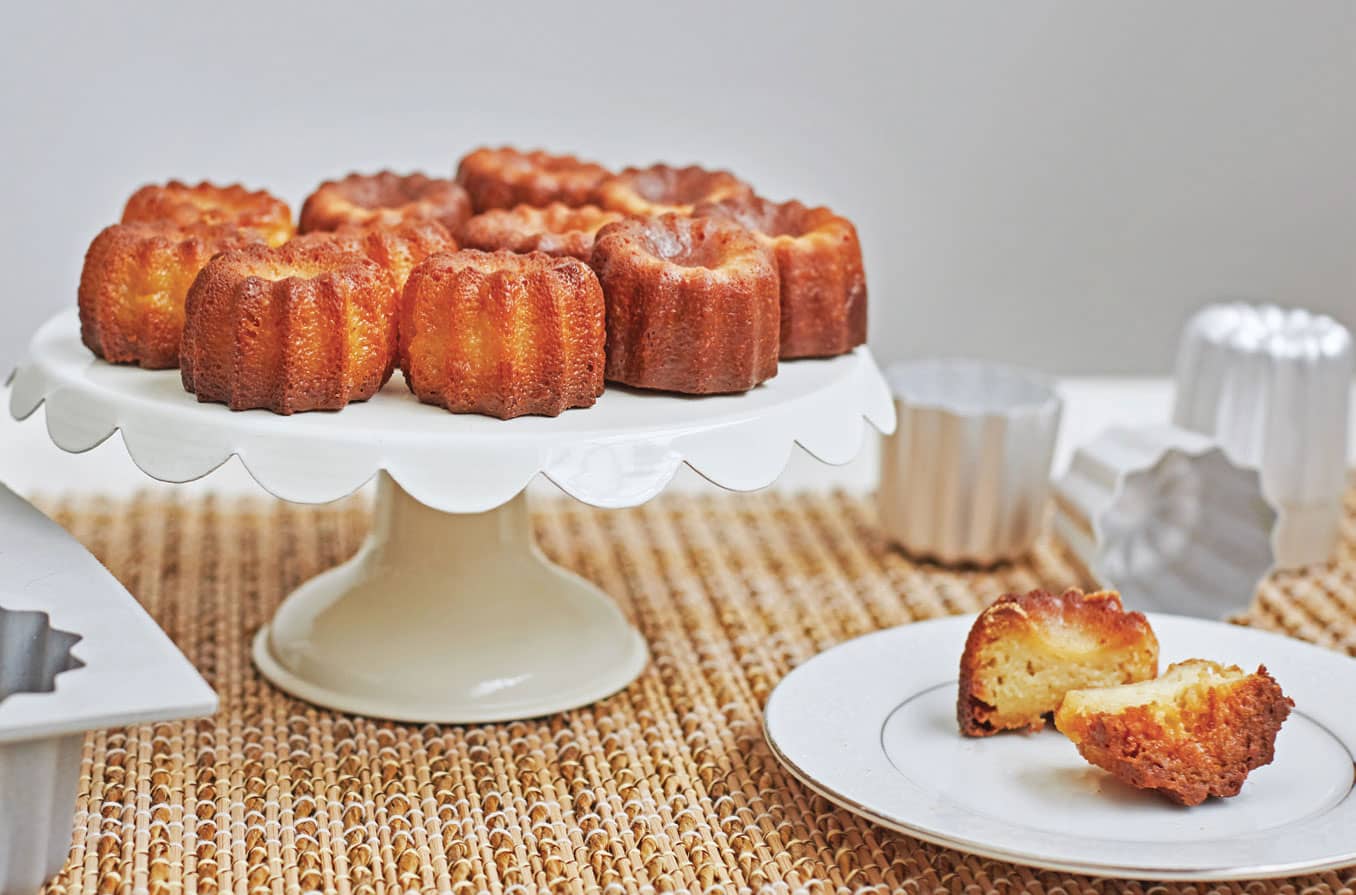
But, once the book was written and I had some free time, I decided to delve into the Cannelé world myself. After all, a pastry that is dark and crunchy on the outside and super moist, almost liquid, on the inside seemed to be the perfect pastry for me. And, best of all, it includes beeswax, which is mixed with butter and used as a mold grease. As the Cannelé bakes, the beeswax adds a warm honey-like scent and flavor, while adding a nice crunch. I have seen recipes that also use honey in place of the sugar, but for simplicity, I stuck with sugar for this recipe.
These pastries come from the Bordeaux region of France, which is a region known for its wine. One theory is that this recipe came about when winemakers, who used egg whites to clarify wine, were looking for uses for leftover egg yolks. It seems plausible to me.
The Cannelé are traditionally baked in small copper molds. The individual molds are taller than they are wide and they are fluted. Although I would love to try making them with copper molds, the molds are very expensive. Cheaper alternatives are available. I purchased some aluminum single molds and a silicone mold with 6 cavities. Although I was happy with both, the aluminum molds yielded a Cannelé that was more crunchy and browned.
1. Heat the milk, butter, and vanilla bean and seeds in a saucepan over medium heat until the butter is melted and it is at a low simmer. Remove from heat and allow to cool for a bit. Remove the vanilla bean.
2. In a medium bowl, stir together the sugar, flour, and salt. Set aside.
3. In a small bowl, stir together the eggs and egg yolks, taking care not to incorporate too much air. Temper the eggs by adding small amounts of warm milk to the eggs and stirring before adding more milk. The idea is to raise the temperature of the eggs without cooking them. Once about half the milk is stirred into the eggs, add the remaining milk and egg mixture to the sugar and flour mixture. Stir just enough to incorporate. Add the rum and pour the mixture into an airtight container and refrigerate.
4. Leave the mixture to rest in the refrigerator for at least 2 full days, stirring occasionally. Allow to come to room temperature for an hour before baking.
5. When ready to bake, preheat the oven to 475°F (240°C, or gas mark 9) and prepare the molds. I use the same technique for both silicone and aluminum molds. First, melt the beeswax and butter in a small, heatproof container. To coat the molds, heat the molds slightly. Brush the beeswax/butter mixture in a thin layer inside the molds and pop into the freezer to cool.
6. Place the molds on a baking sheet, allowing for plenty of air space around each mold. Give the batter a gentle stir and pour into the waiting molds. Fill the molds about 3/4 full.
7. Once the oven is hot, carefully transfer the baking sheet to the oven and immediately lower the temperature to 425°F (220°C, or gas mark 7). Bake for 15 minutes. Lower the baking temperature to 375°F (190°, or gas mark 5) for another hour or so. Bake until the outside is medium to dark brown (but not burnt). Take the baking sheet out of the oven and allow the Cannelé to rest for 10 minutes before unmolding them onto a cooling rack.
EASY
◁ HONEY CITRUS TEA CAKES 
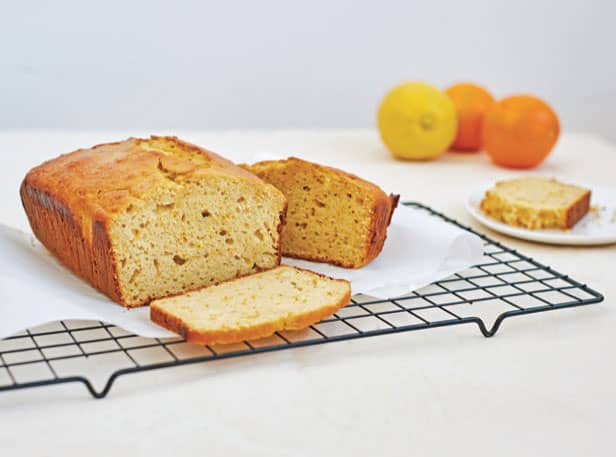
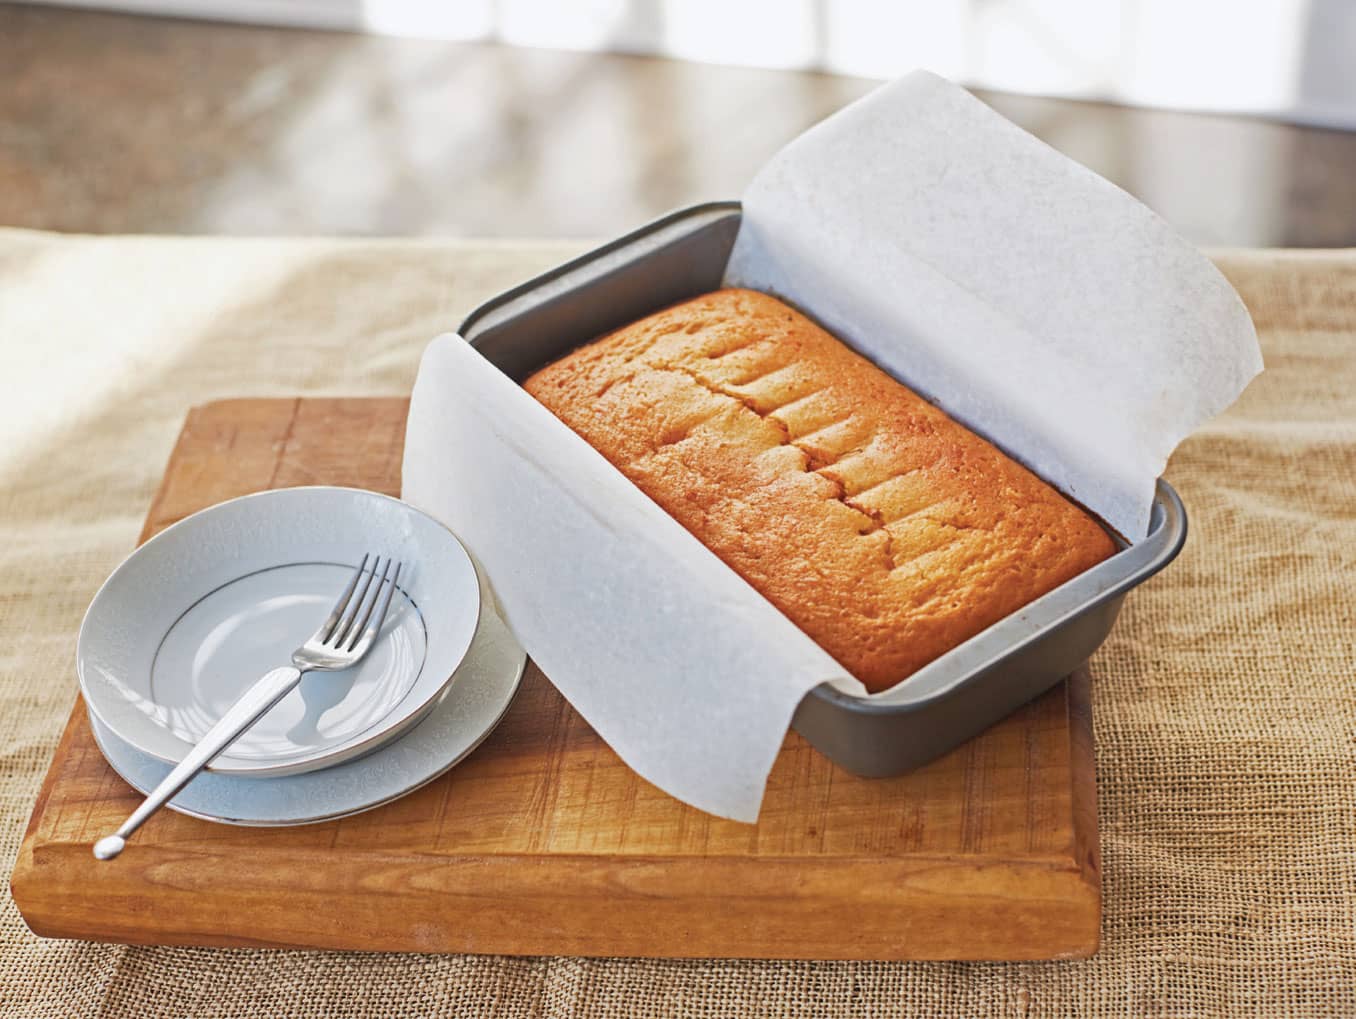
Tea cakes are simple cakes originally intended to be served with tea. They come together quickly and are relatively foolproof. Although this tea cake can be made without the citrus, it would be a shame because the flavors meld beautifully with the honey. I bake this in a loaf pan, but traditionally, it is baked in a round cake pan.
1. Preheat the oven to 350°F (180°C, or gas mark 4). Line a loaf pan with a piece of parchment paper long enough to hang over the sides (this acts a handle to easily lift the baked loaf from the pan).
2. In a small bowl, whisk together the flour, baking powder, salt, blood orange zest, and lemon zest.
3. In a medium bowl, whisk together the eggs, honey, olive oil, and blood orange and lemon juices. Whisk vigorously until smooth and there are no lumps. Combine the milk and the flour mixture and stir until just blended and there are no visible lumps of flour.
4. Scrape the batter into the prepared loaf pan. Bake for 50 minutes or until a deep golden color and the cake springs back when gently tapped with your finger.
5. Let the cake cool completely before slicing. Wrap any leftover cake tightly in parchment paper and enjoy within 2 days.
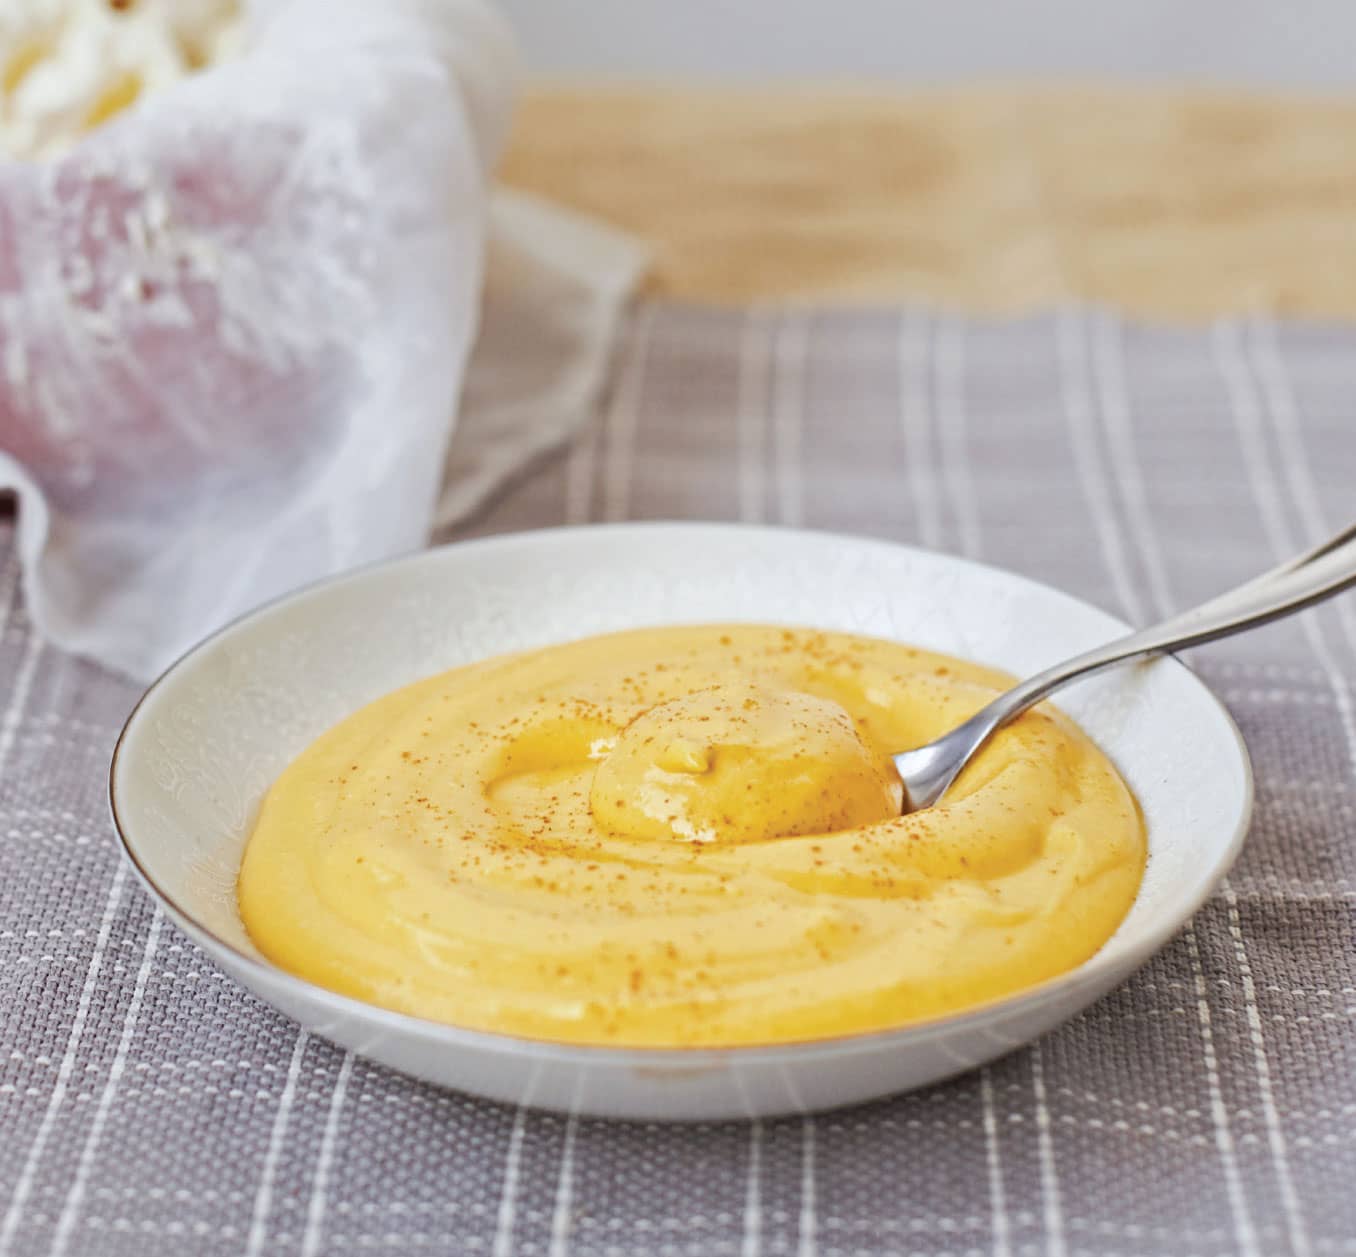
EASY
◁ MANGO SHRIKHAND 
This dessert has its origins in Northern India. Shrikhand is a sweetened, strained yogurt often served with added fruits, nuts, and spices. I usually make this when I need whey for lacto-fermentation (see recipe). It is perfect for hot summer days!
1. Pour the strained yogurt into a medium bowl and set aside.
2. Pour the milk into a small, microwave-safe bowl and warm to a temperature of approximately 120°F (49°C). Add the saffron and mix. While still warm, add the honey and stir to combine. The warmth of the milk should help to soften the honey, allowing it to mix with the cool yogurt.
3. Add the milk and honey mixture, cardamom powder, and mango puree to the strained yogurt. Stir gently until it is completely mixed.
4. Spoon the mixture into dessert dishes and chill. If desired, top with the chopped nuts right before serving. Best enjoyed within a day or two.
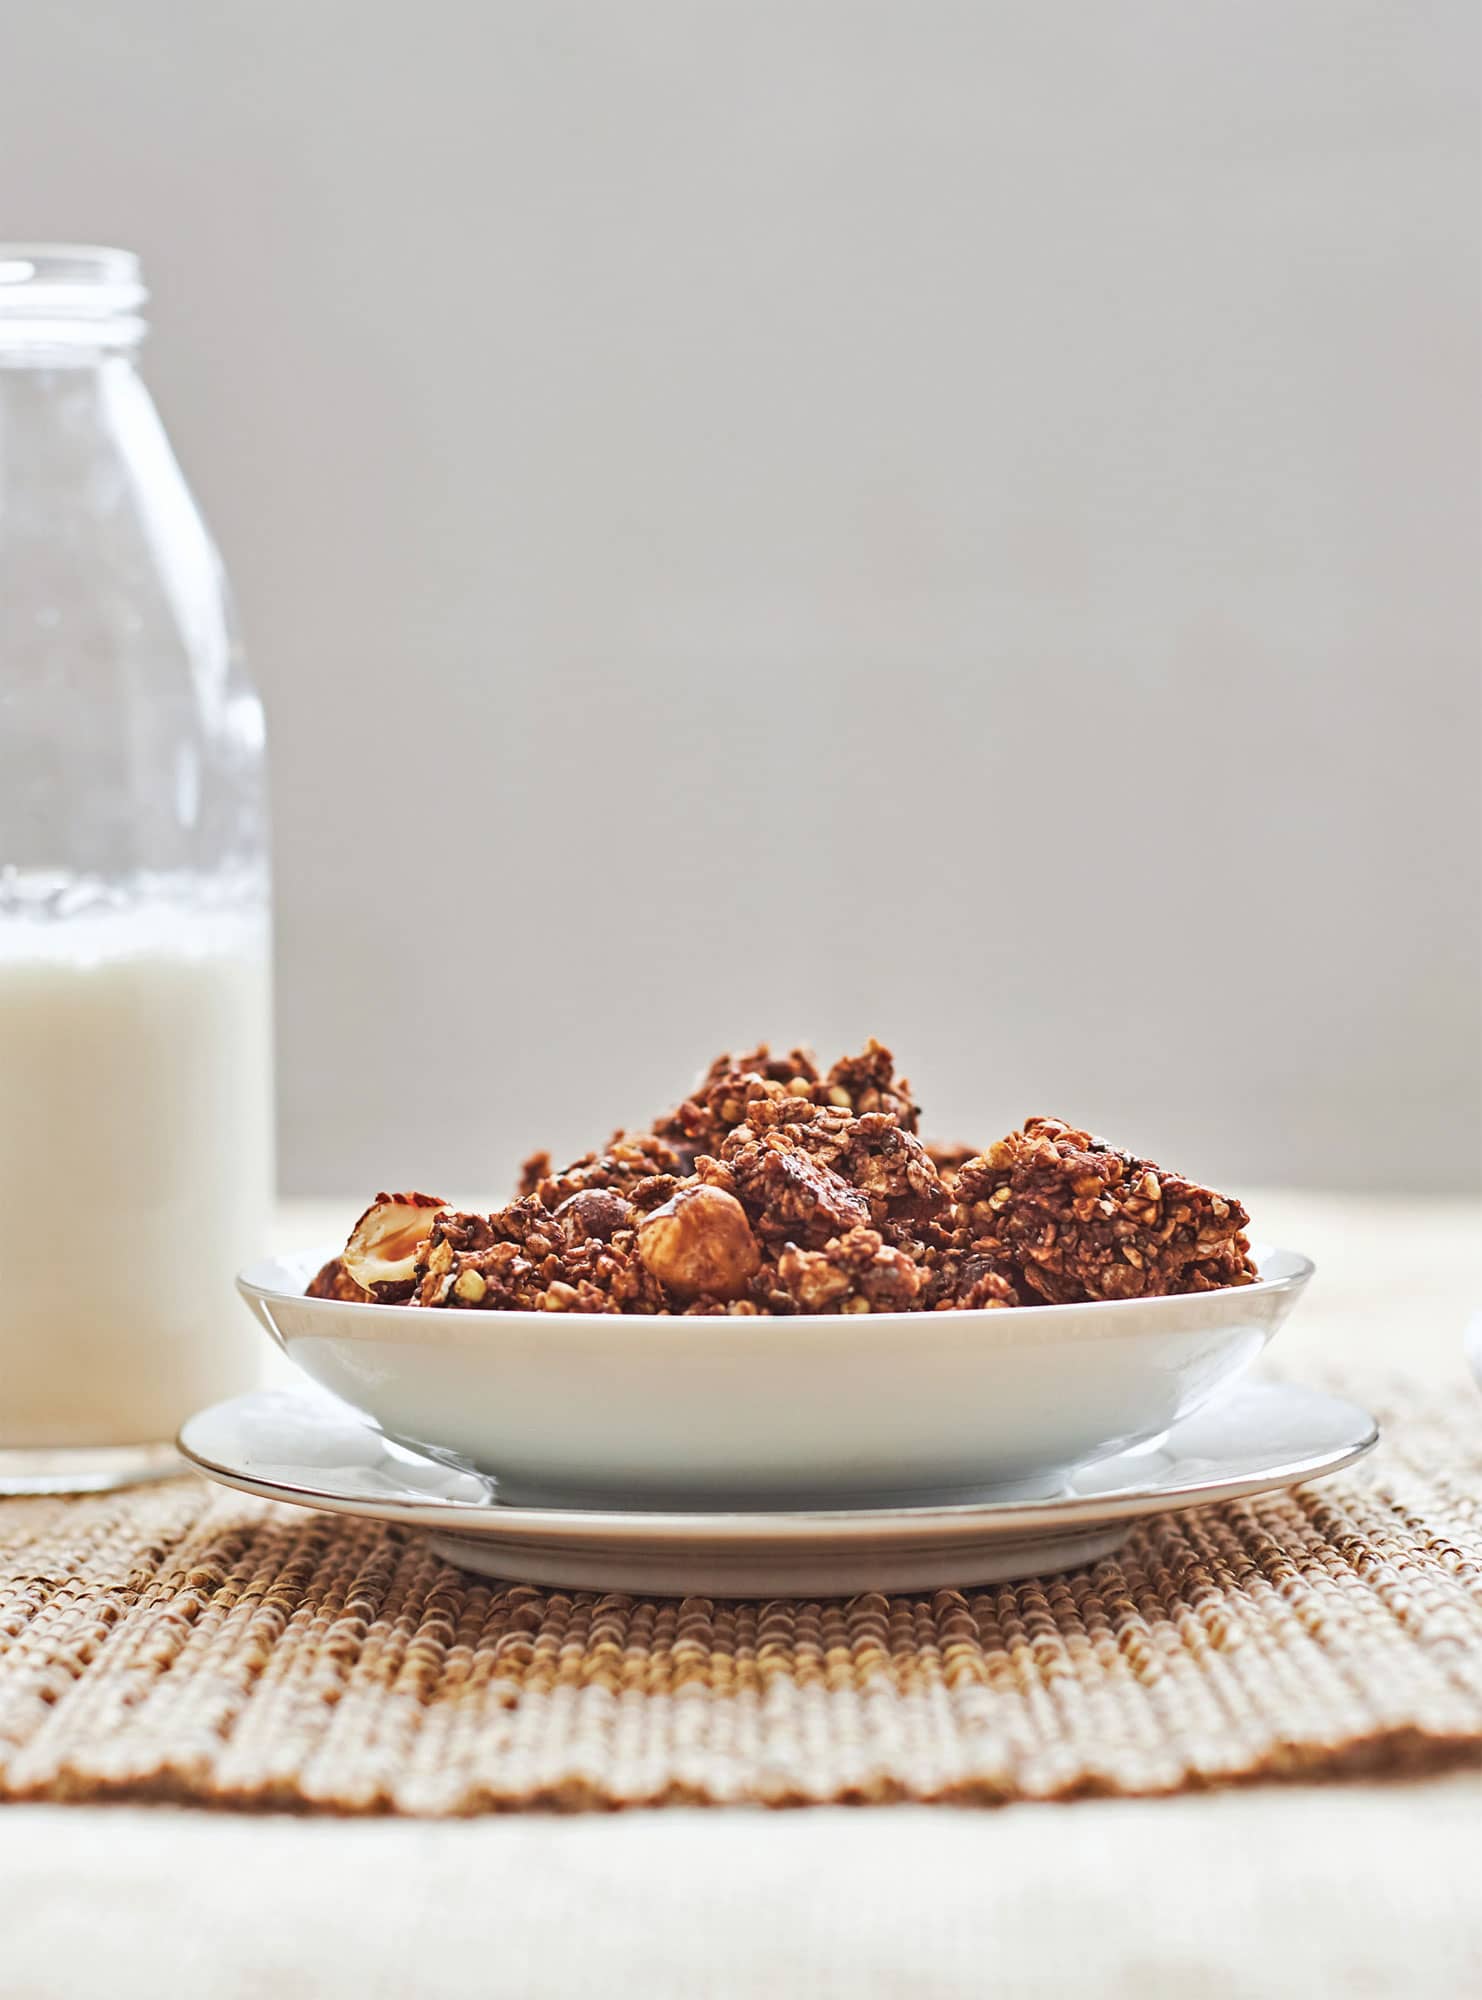
EASY
◁ CHUNKY BUCKWHEAT GRANOLA 
Granola is my go-to snack in my workspace. It is easy to eat and substantial enough to tie me over until dinner. It is also a good way to use up leftover egg whites. Although not required, for those like me, who prefer a chunky granola, using egg whites is key to creating nice big chunks.
1. Preheat the oven to 350°F (180°C, or gas mark 4).
2. In a large bowl, combine the oats, buckwheat, coconut flakes, chia seeds, and coconut sugar. Roughly chop the nuts and add them to the mix.
3. In a small saucepan over low-medium heat, melt the coconut oil. Add the honey, vanilla, salt, and cocoa powder. Whisk to combine until smooth.
4. Whisk the egg whites in a small bowl until fluffy.
5. Pour the honey/oil mixture over the dry ingredients and fold with a spoon to coat completely and evenly. Add the whipped egg whites and mix thoroughly.
6. Spread the mixture out in an even layer on a lined baking sheet and press firmly with the back of a spatula to ensure that the mixture is compact. Bake for 15 to 20 minutes.
7. Remove from the oven, flip the granola in large chunks, and place back in oven to bake for another 10 minutes, stirring every 3 to 4 minutes until toasted and fragrant. The dark color of the granola with cocoa powder makes it hard to tell if it is cooked or not, so go by smell. Another good way to test it is by tasting a hazelnut, which takes the longest to cook—it should taste nutty and pleasantly roasted. Store granola in an airtight container for up to several months.
ICE CREAM
Ice cream and honey are a match made in heaven. Homemade ice cream often gets too hard once it freezes completely. By using honey instead of sugar, the freezing temperature of the mixture is lowered, changing the crystal structure to yield an ice cream that stays softer and scoopable. It is best made in a manual or electric ice cream maker.

EASY
HONEY ICE CREAM 
Technically, this recipe is a frozen custard and is a nod to my home city of Milwaukee, which is known for frozen custard. In my head, it is ice cream and its all good!
1. Place the container in which you plan to store the finished ice cream into the freezer to chill. In a medium saucepan, combine the cream, milk, and honey. Warm over medium heat until barely simmering, stirring frequently. Remove from heat and cover. Set aside.
2. In a medium bowl, whisk the egg yolks. Temper the egg yolks by slowly pouring some of the hot cream into the yolks while whisking to raise the temperature and keep the egg yolks from cooking. Then, pour everything back into the saucepan.
3. Heat the mixture over medium heat, stirring constantly and scraping the bottom as you stir. While the custard heats, stir in the salt and vanilla extract. Gently cook until the mixture thickens enough to coat the back of a wooden spoon, about 4 minutes.
4. Pour the custard through a fine-mesh strainer into a clean bowl. Place the bowl in an ice bath and stir the custard occasionally until it is cool, about 20 minutes. Cover and refrigerate for at least 3 hours or overnight.
5. Pour the chilled custard into the ice cream maker and follow the manufacturer’s instructions.
6. After the ice cream has reached the desired consistency, scrape it into the prechilled container, cover, and place in freezer. I prefer to eat this right away, but it can be stored in an airtight container in the freezer for several weeks.
EASY
BEESWAX ICE CREAM 
Why put beeswax in ice cream? It effectively raises the melting point of the ice cream, making it less messy to eat on really hot days. The recipe is similar to the honey ice cream, but the addition of beeswax means more egg yolks are needed to help emulsify the wax into the cream.
1. Place the container in which you plan to store the finished ice cream into the freezer to chill. In a medium saucepan, combine the cream, milk, and honey. Warm over medium heat until barely simmering, stirring frequently. Remove from the heat and cover. Set aside.
2. In a medium bowl, whisk the egg yolks. Temper the egg yolks by slowly pouring some of the hot cream into the yolks while whisking to raise the temperature and prevent the egg yolks from cooking. Then, pour everything back into the saucepan.
3. Heat the mixture over medium heat, stirring constantly and scraping the bottom as you stir. While the custard heats, stir in the salt and vanilla extract. Gently cook until the mixture thickens enough to coat the back of a wooden spoon, about 4 minutes.
4. Remove from the heat and slowly whisk the melted beeswax into the hot custard. Pour the entire contents into a blender and blend on high for 30 seconds. Strain the mixture into a clean bowl through a fine-mesh strainer to capture any wax solids that have not been incorporated. Place the bowl in an ice bath and stir the custard occasionally until it is cool, about 20 minutes. Cover and refrigerate for at least 3 hours or overnight.
5. Pour the chilled custard into the ice cream maker and follow the manufacturer’s instructions.
6. Once the ice cream has reached the desired consistency, scrape the finished ice cream into the prechilled container, cover, and place in freezer. I prefer to eat this right away, but it can be stored in an airtight container in the freezer for several weeks.
APPETIZERS
This category should probably be called “Everyday Recipes,” because most of the recipes make their way into regular rotation in my house, especially the bread. I always have a loaf in the works. Even the Pistachio and Honey Chevre log, which is a staple at gatherings, is something I also make for the family on occasion.
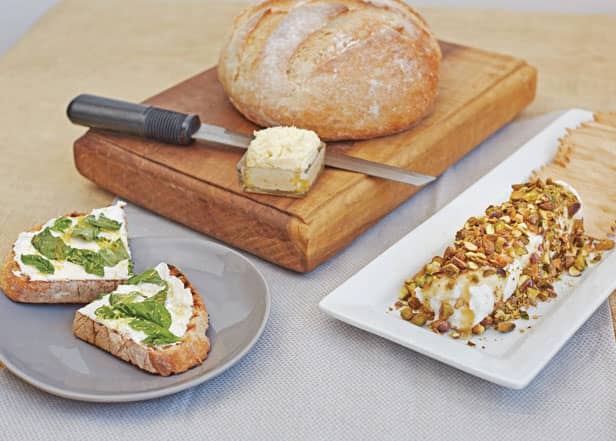
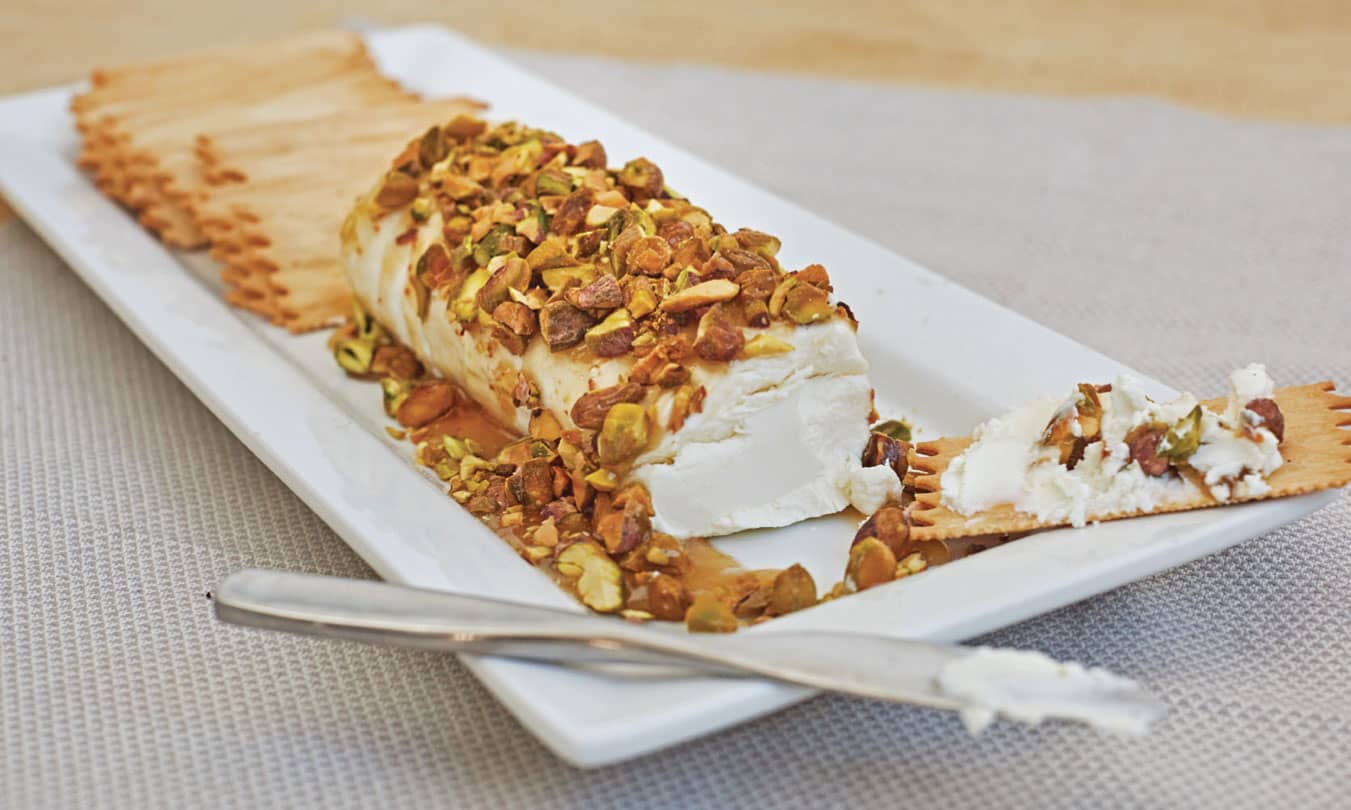
EASY
◁ PISTACHIO AND HONEY CHEVRE LOG 
This is one of my favorite last-minute go-to recipes if I have forgotten to make something for a get-together at a friend’s house. The sweetness of the honey is a nice counterpoint to the tanginess of the chevre and the pistachios add a pleasant crunch. I use a fig jam, but almost any jam would be nice, even something with a little bit of heat.
1. Place the chevre cheese log on serving dish.
2. Warm the honey and jam in a small bowl in the microwave until the preserves are melted and the honey and jam can be easily combined.
3. Drizzle the honey-jam mixture over the goat cheese log and sprinkle with chopped pistachios.
4. Serve with crackers or crusty bread.
BREAD WITH HONEY BUTTER
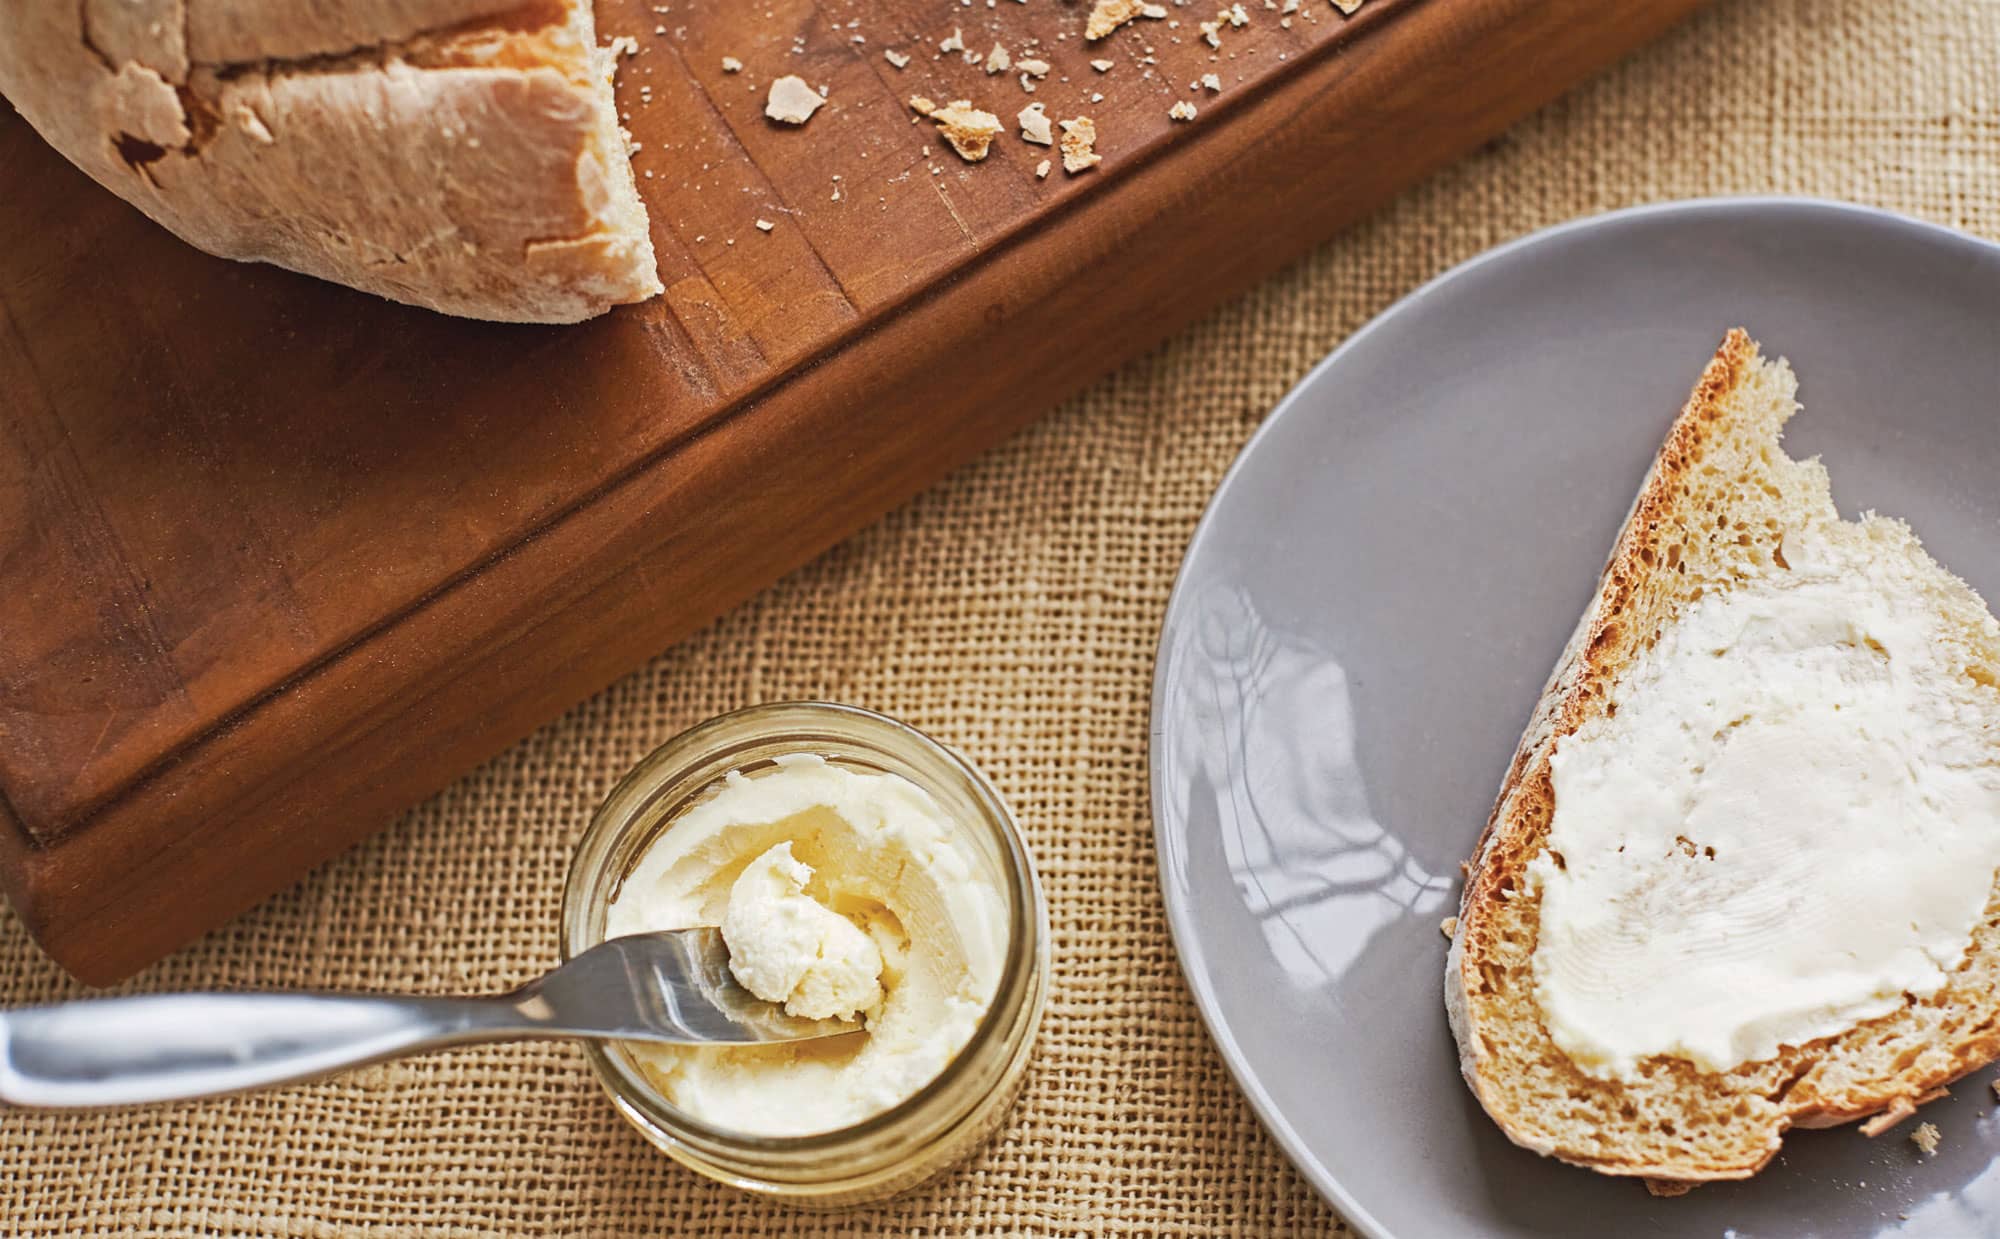
What could be better than fresh baked bread with butter, especially honey butter? In my world, nothing. Although this bread uses only a bit of honey, it makes the perfect vehicle for honey butter.
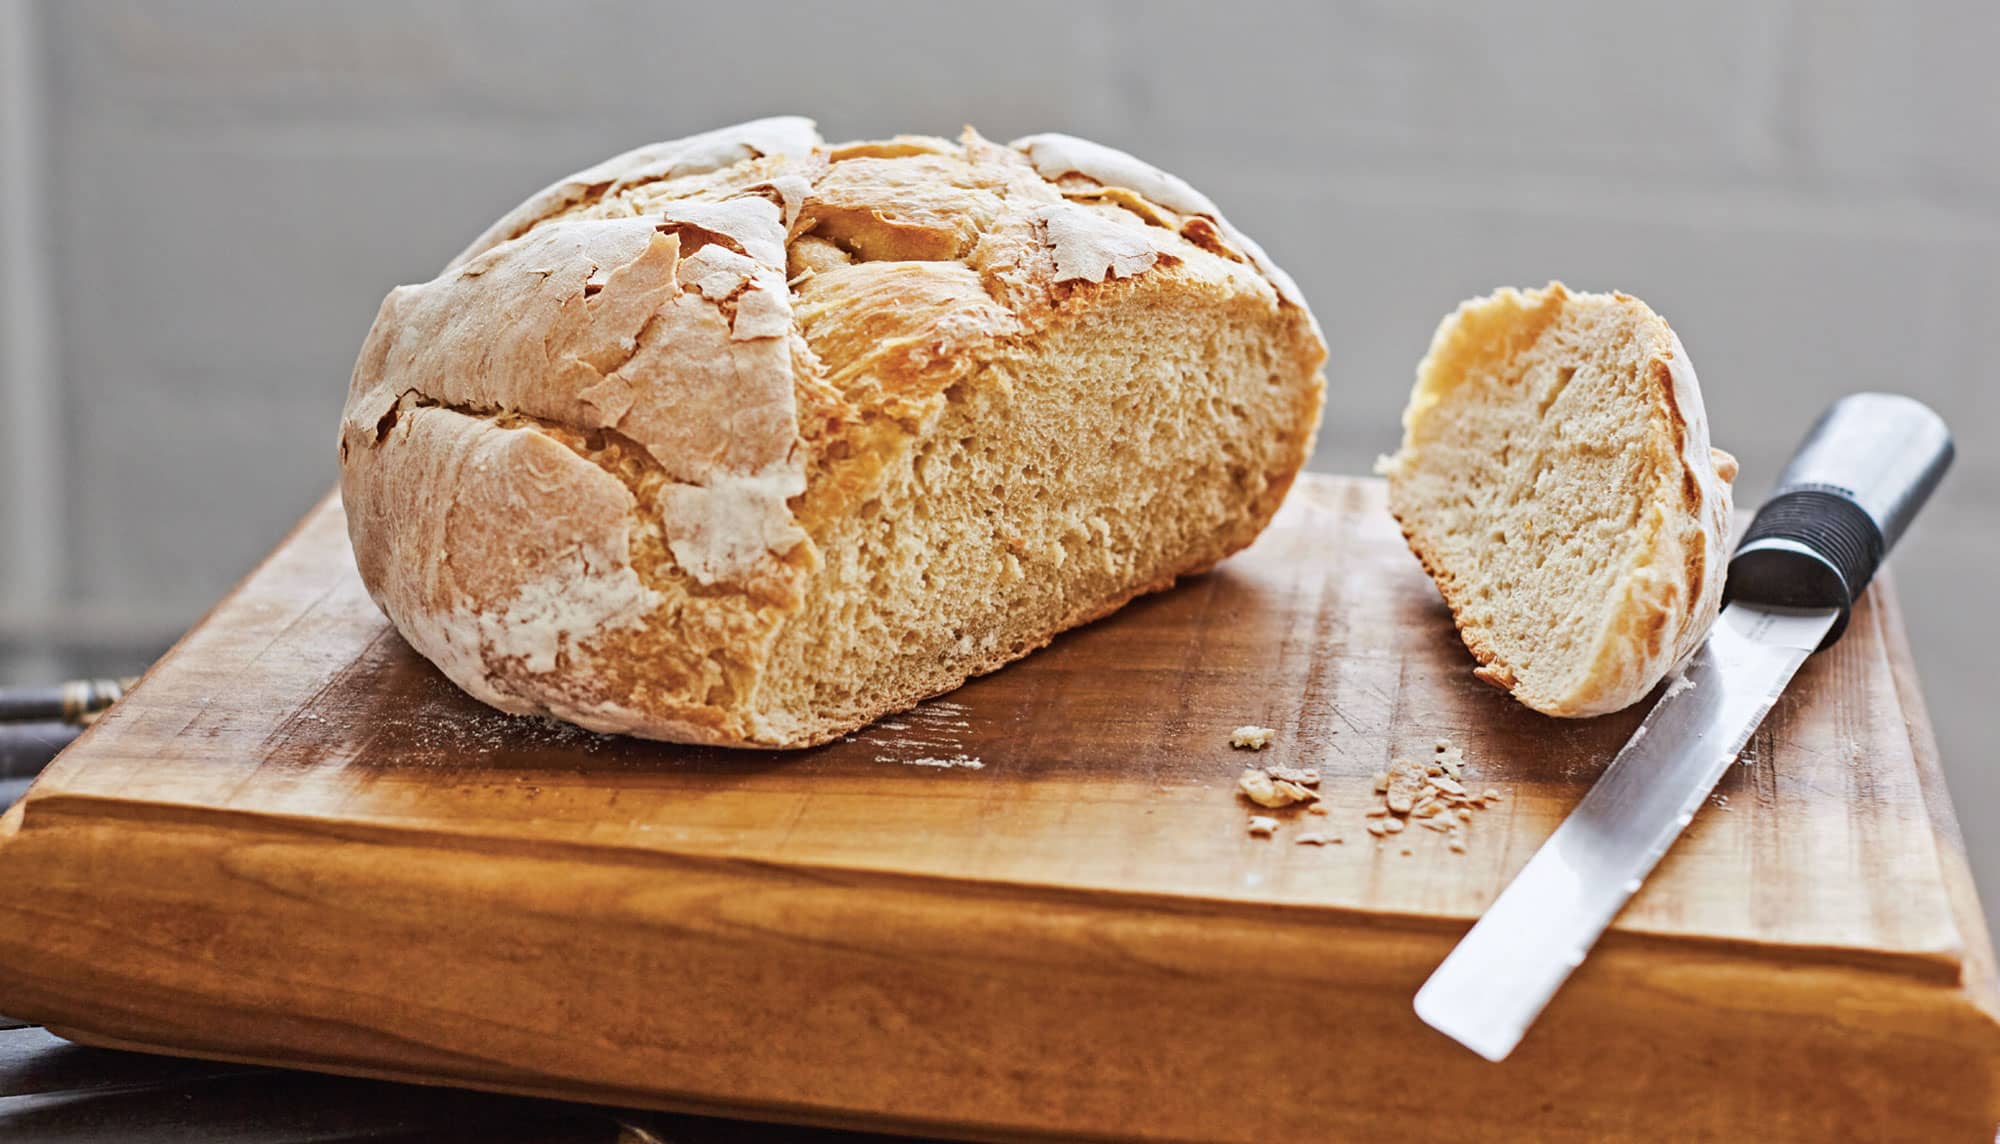
Ever since I read Michael Pollan’s Cooked, I have been obsessed with sourdough bread. I am not gluten intolerant, but I do believe that fermenting the dough before baking makes it easier for the body to digest the wheat properly. To that end, I have tried multiple times—unsuccessfully—to create my own sourdough starter. Having failed at that, I recently dusted off a technique I used many years ago, which was counter to everything I knew about breadmaking at the time: mix yeast with water, add flour, knead, set in warm place for a couple hours, shape and put in loaf pan, final rise, and then bake. But that technique produced bread-shaped rocks. The epiphany for me was the concept of the slow-rise loaf. This technique used a fraction of the yeast and allowed the bread to rise slowly in a cool location overnight before baking the following day, having slightly soured in the process. Success!
Although this method is not new or quick, I have made some of the best breads since I began to using it. I start with a pre-ferment, sometimes known as a biga or poolish, and the following day, I add to it to make the actual dough. It often takes 3 days from start to finish, but requires very little actual hands-on work. I bake the bread in a cast iron Dutch oven. In this self-contained, moist environment, the bread develops a nice, crunchy crust.
MODERATE
RUSTIC DUTCH OVEN BREAD 
1. To make the pre-ferment, stir all of the pre-ferment ingredients together to make a thick, wet mixture. Cover with plastic wrap and let it rest for at least 2 hours. For best flavor, let the starter rest longer or overnight.
2. To make the dough, stir the pre-ferment with a spoon and then add the water, yeast, honey, 31/2 cups (480 g) of the flour, and the salt. Mix or knead the dough, just until the ingredients are all incorporated. The dough should be a slightly shaggy, messy dough. Cover with a towel or plastic wrap and let it rest for 30 minutes to allow the flour to absorb the water and then knead it again. It should now be more cohesive and a bit smoother. Knead the dough, adding more flour if needed, to make a soft dough.
3. Place the dough in a lightly greased bowl, cover with lightly greased plastic wrap, and allow it to rise until almost doubled in a cool spot or in the refrigerator.
4. Carefully work the dough into one large loaf, trying not to deflate the dough completely. Dust a piece of parchment paper with cornmeal or flour. Gently place the dough on the parchment paper, seam side down, and cover with greased plastic wrap. Allow to rise in a warm spot until it rises by 50 percent or more.
5. Put the Dutch oven inside the oven and preheat both to 425°F (220°C, or gas mark 7). The pot may take a bit longer to heat up than the oven itself.
6. When the dough is ready, remove the pot from the oven. Pick up the parchment paper and dough together and place it directly into the pot. Slash or cross-hatch the bread with a sharp knife. Cover the pot with the lid and place in oven.
7. Immediately reduce heat to 375°F (190°C, or gas mark 5) and bake for 30 minutes. Remove the lid and bake an additional 20 to 30 minutes or until the bread is baked through. The internal temperature should be at least 190°F (88°C). Remove the bread from the Dutch oven and place on a wire rack to cool. Resist the urge to cut into the bread while it is still hot. The loaf is best enjoyed fresh but cool. It will keep for a couple days in a plastic bag.
EASY
◁ HONEY BUTTER 
1. Cut the butter into chunks and add to the bowl. Mix the butter with mixer at low speed until it has loosened up and is easily workable.
2. Add the honey and mix at medium speed until well combined.
3. Spoon onto parchment paper or plastic wrap to form a log and refrigerate for several hours or until needed.
EASY
◁ BASIL HONEY RICOTTA TARTINE 
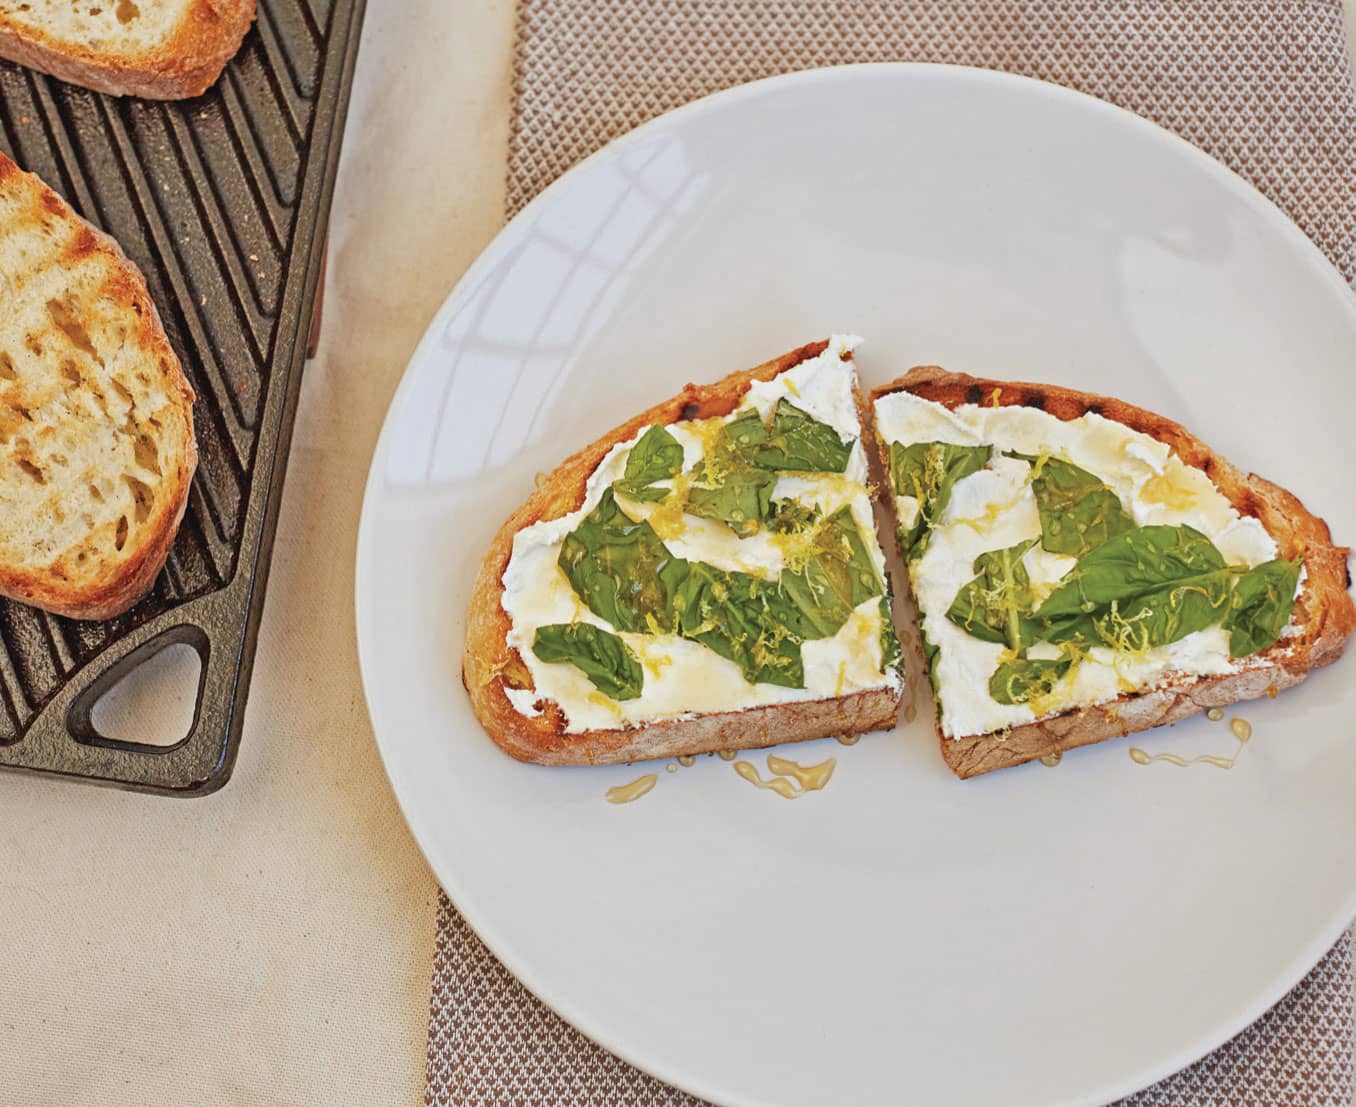
I fell in love with tartines, or French open-faced sandwiches, when I toured France. It seemed that every corner bistro had at least a couple on the menu. Served on a crunchy slice of sourdough bread, the toppings were usually simple, but elegant. This is one recipe I come back to time and time again. The recipe as shown utilizes the whole loaf of bread, but the recipe can easily be scaled down to a slice or two for a light lunch.
1. Toast the bread slices on a grill or on the stove top in a grill pan for about 2 minutes per side. The bread surfaces should be toasted to a light to medium brown.
2. Rub the garlic clove across one side of the toasted bread.
3. Spread a layer of ricotta on the bread, add the basil, and dust the bread slices with lemon zest.
4. Right before serving, drizzle the honey over the top. Consume immediately.
ACCOMPANIMENTS
This is probably my favorite food section. It showcases the versatility of honey and its uses. Most of them come together easily and elevate the foods to which they are added.
EASY
HONEY MUSTARD 
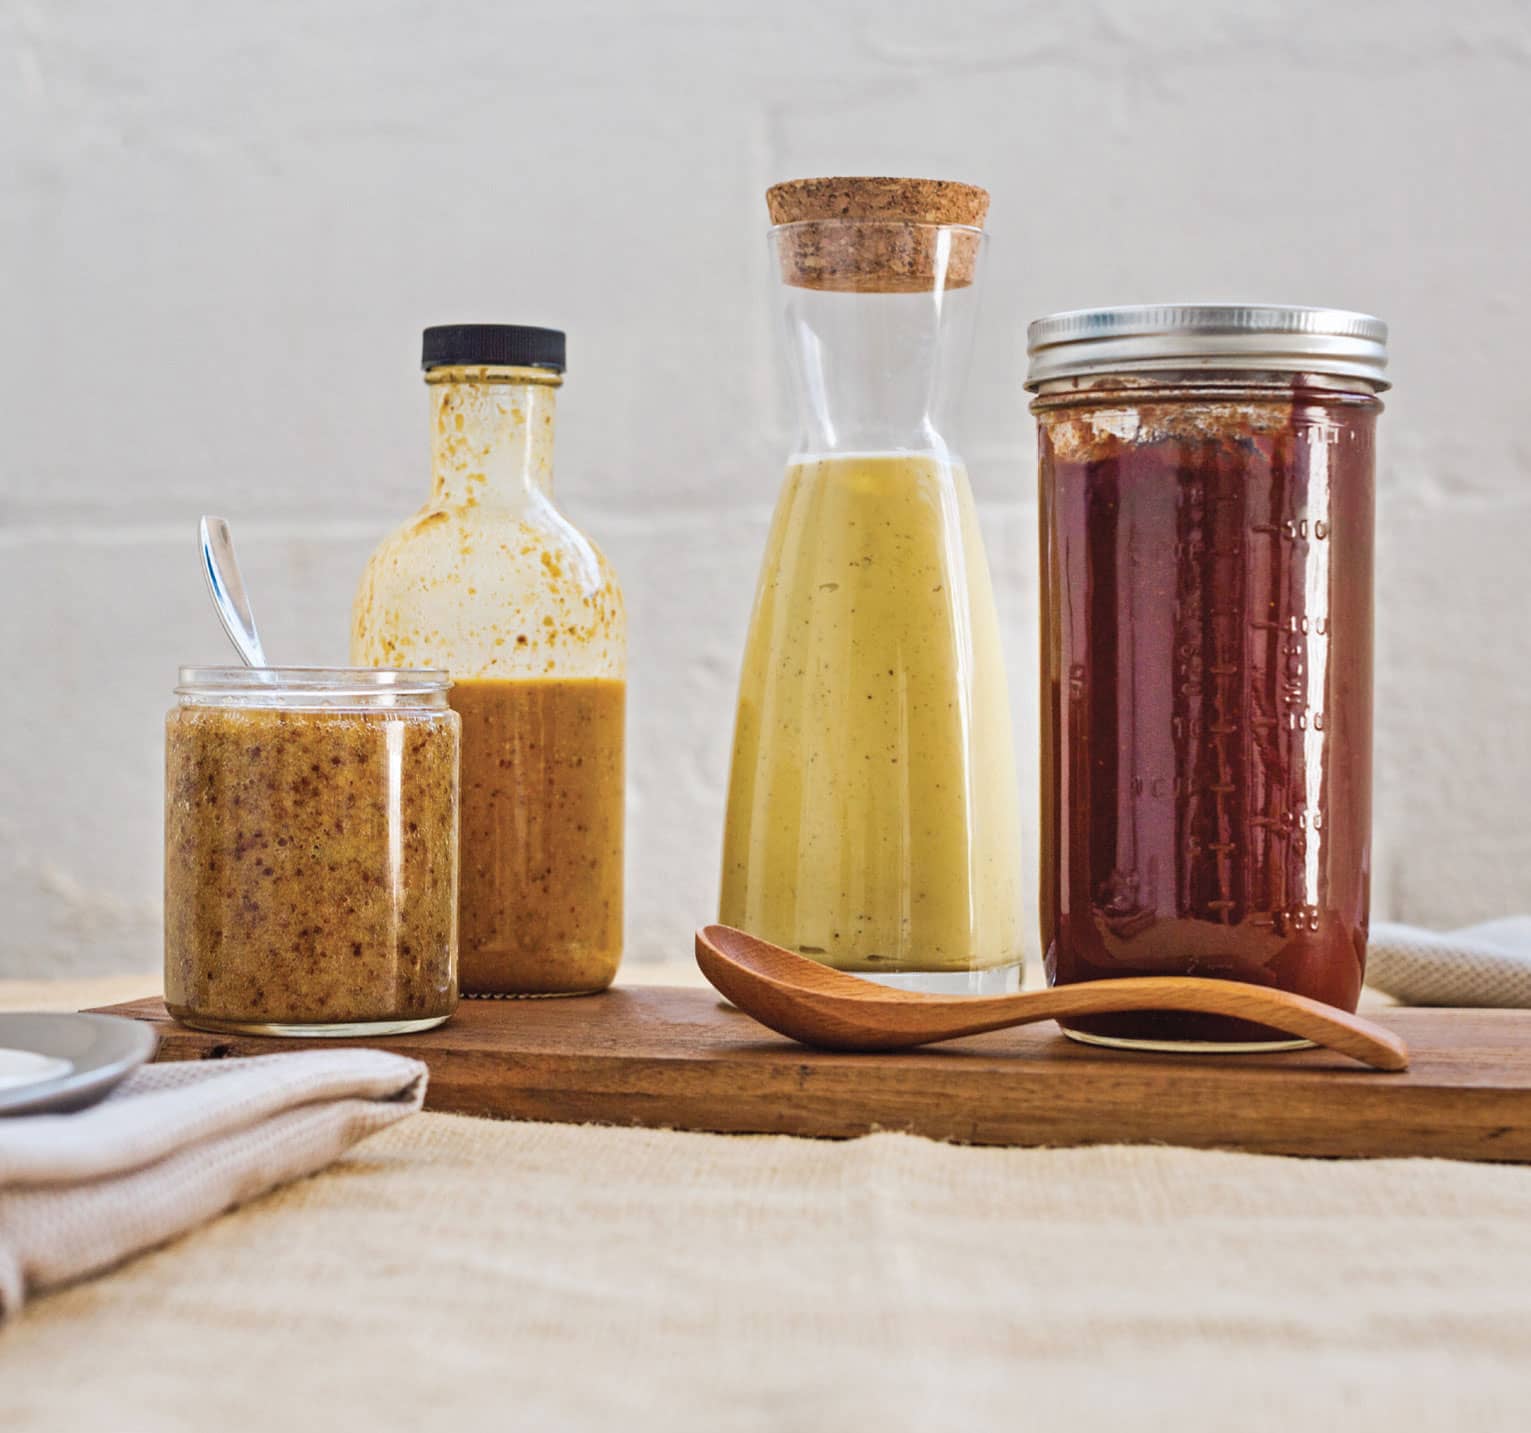
I love mustard! Mustard is easy to make, but it can be a bit tricky to strike the perfect balance of flavors. Although I love a spicy mustard, for a honey mustard, I prefer using mostly yellow mustard seeds (about 90 percent yellow, 10 percent brown). This mustard is made with no preservatives, so I like to make it in small batches in a wide-mouth pint-size (475 ml) canning jar. That way, it can be made and stored in the same container. This recipe calls for whole seeds instead of powder, which results in a course, slightly grainy mustard.
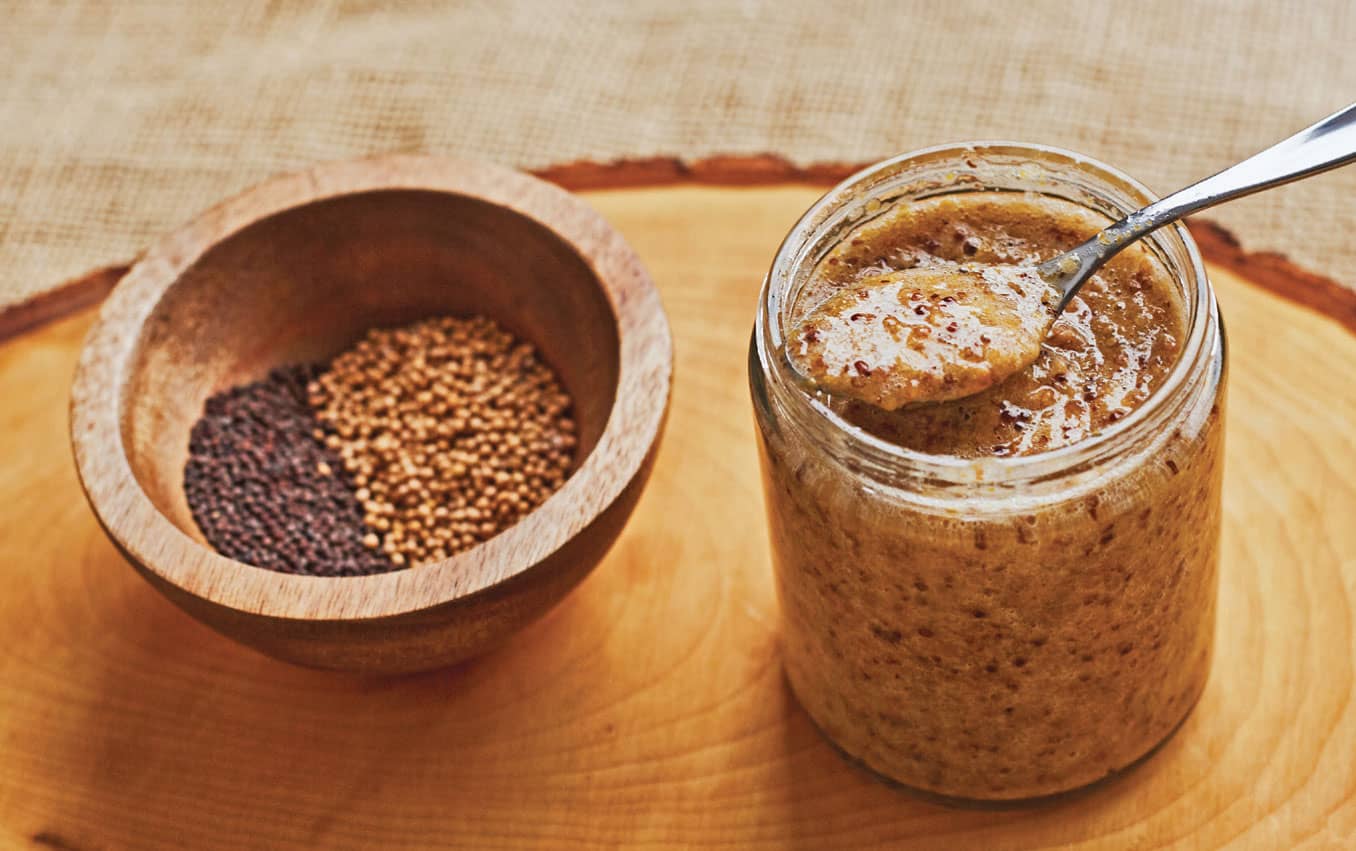
1. Measure the mustard seeds into the pint-size (475 ml) canning jar. Add the water and let sit for a couple minutes. Add the vinegar, cover the jar with a lid, and refrigerate overnight.
2. By the following day, the seeds will have soaked up most of the liquid. Use an immersion blender to puree the contents of the jar as much as desired. Add the salt and honey and mix well.
3. Add the lid and refrigerate the mustard for several days, allowing it to mellow a bit before assessing the flavor. Will keep for several months in the refrigerator.
EASY
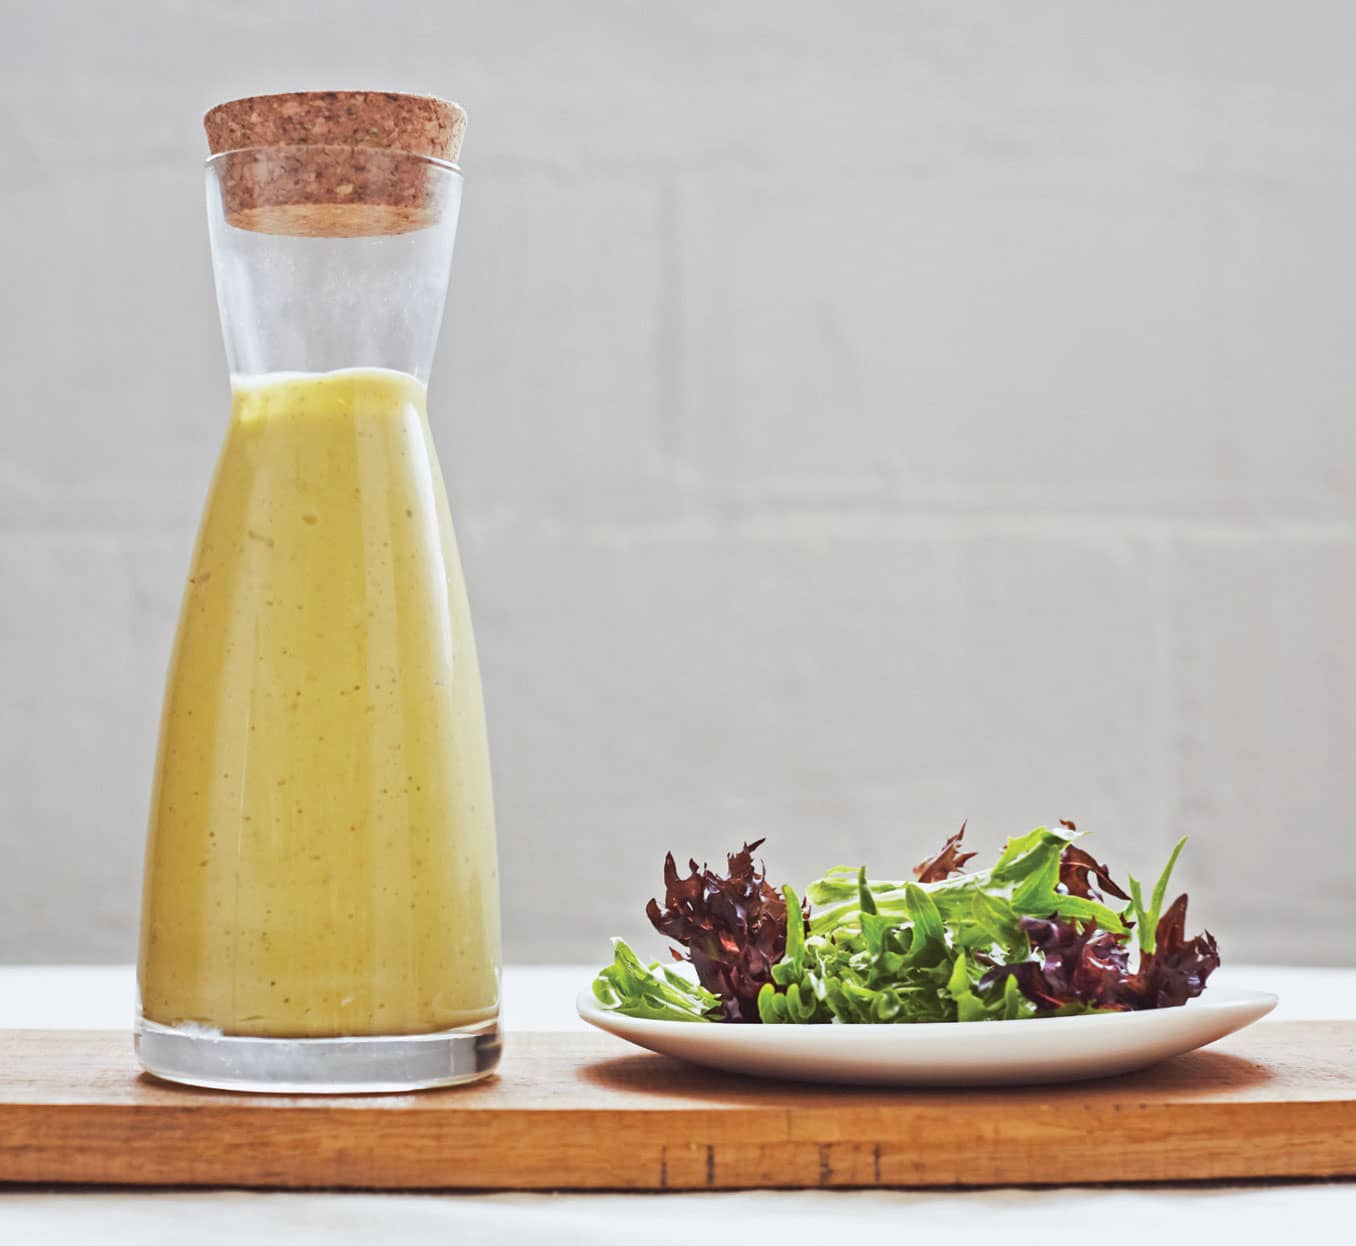
◁ HONEY AVOCADO DRESSING 
This dressing tastes great on anything, from salads to wraps and sandwiches. It is the addition of the avocado that makes it decadently creamy. I like to use the fermented honey garlic shown here in this recipe.
1. In a blender, combine the oil, honey, garlic, avocado, lime juice, and cilantro and season with salt and pepper. Puree until smooth.
2. Use a spatula to transfer the dressing to an airtight container.
3. Refrigerate for up to 3 days.
EASY
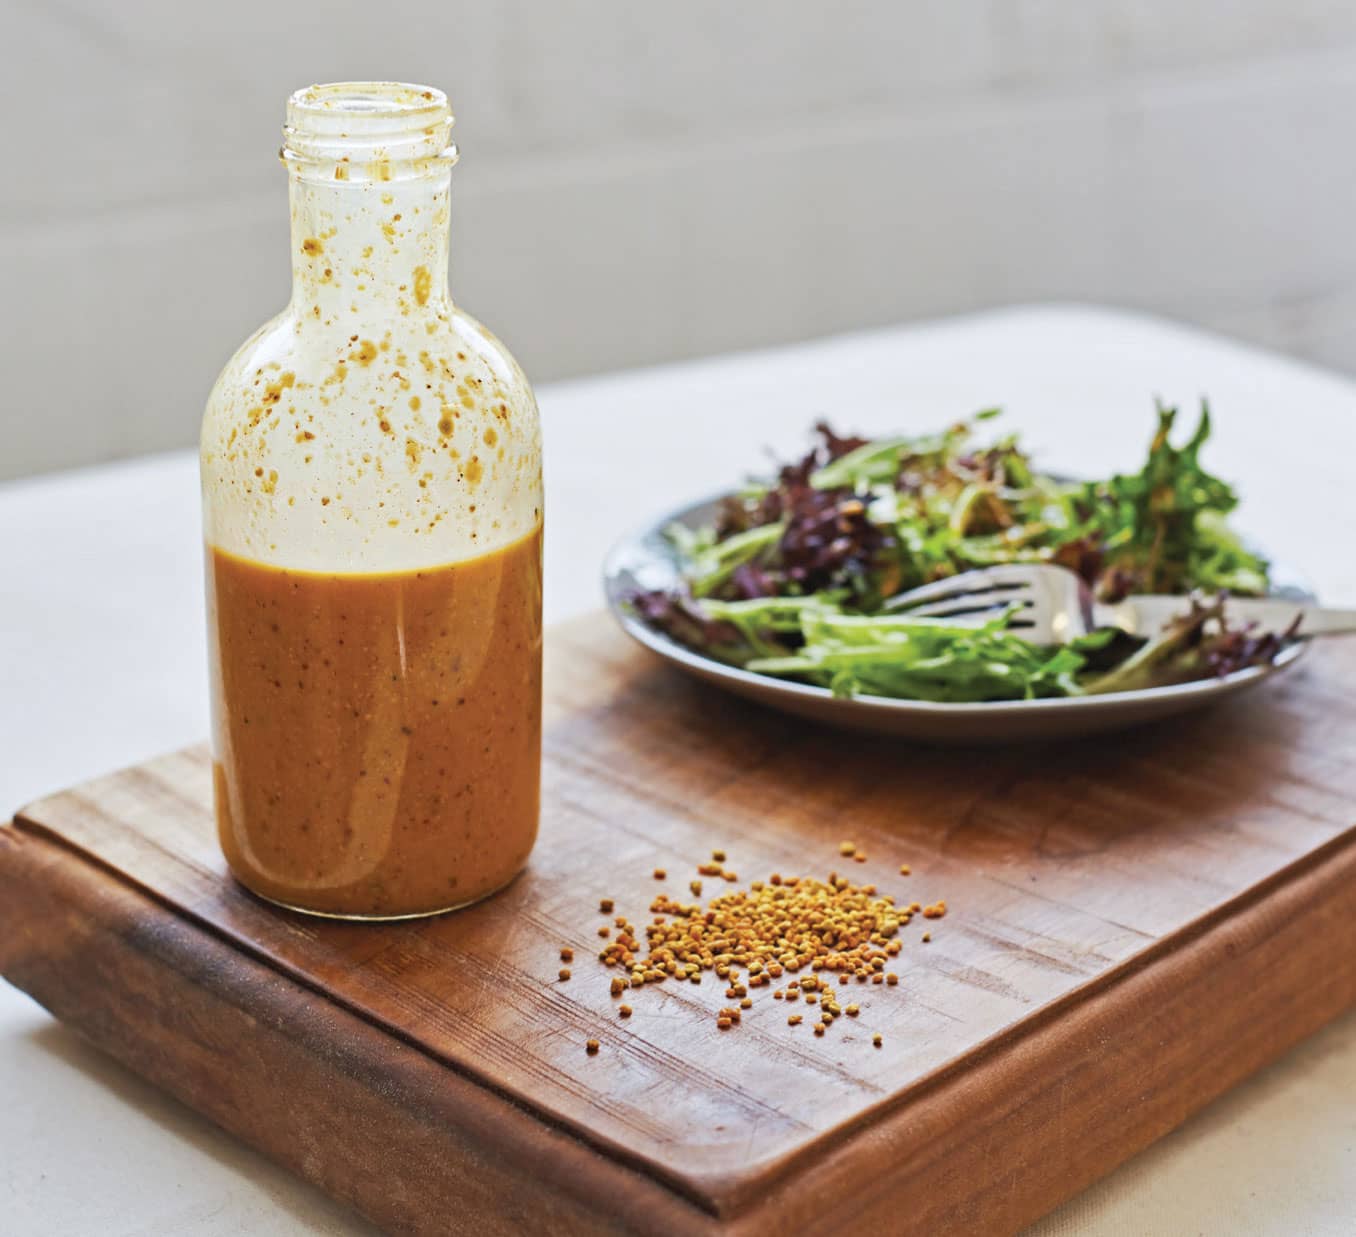
◁ HONEY VINAIGRETTE WITH POLLEN 
This dressing works well on “stronger” greens such as romaine lettuce, fresh spinach, or other sturdy greens.
1. In jar or carafe, mix all the ingredients together.
2. Refrigerate for several hours for the flavors to meld and for the pollen granules to break apart.
3. Mix well before serving.
4. Keeps for about 1 week in the refrigerator.
EASY
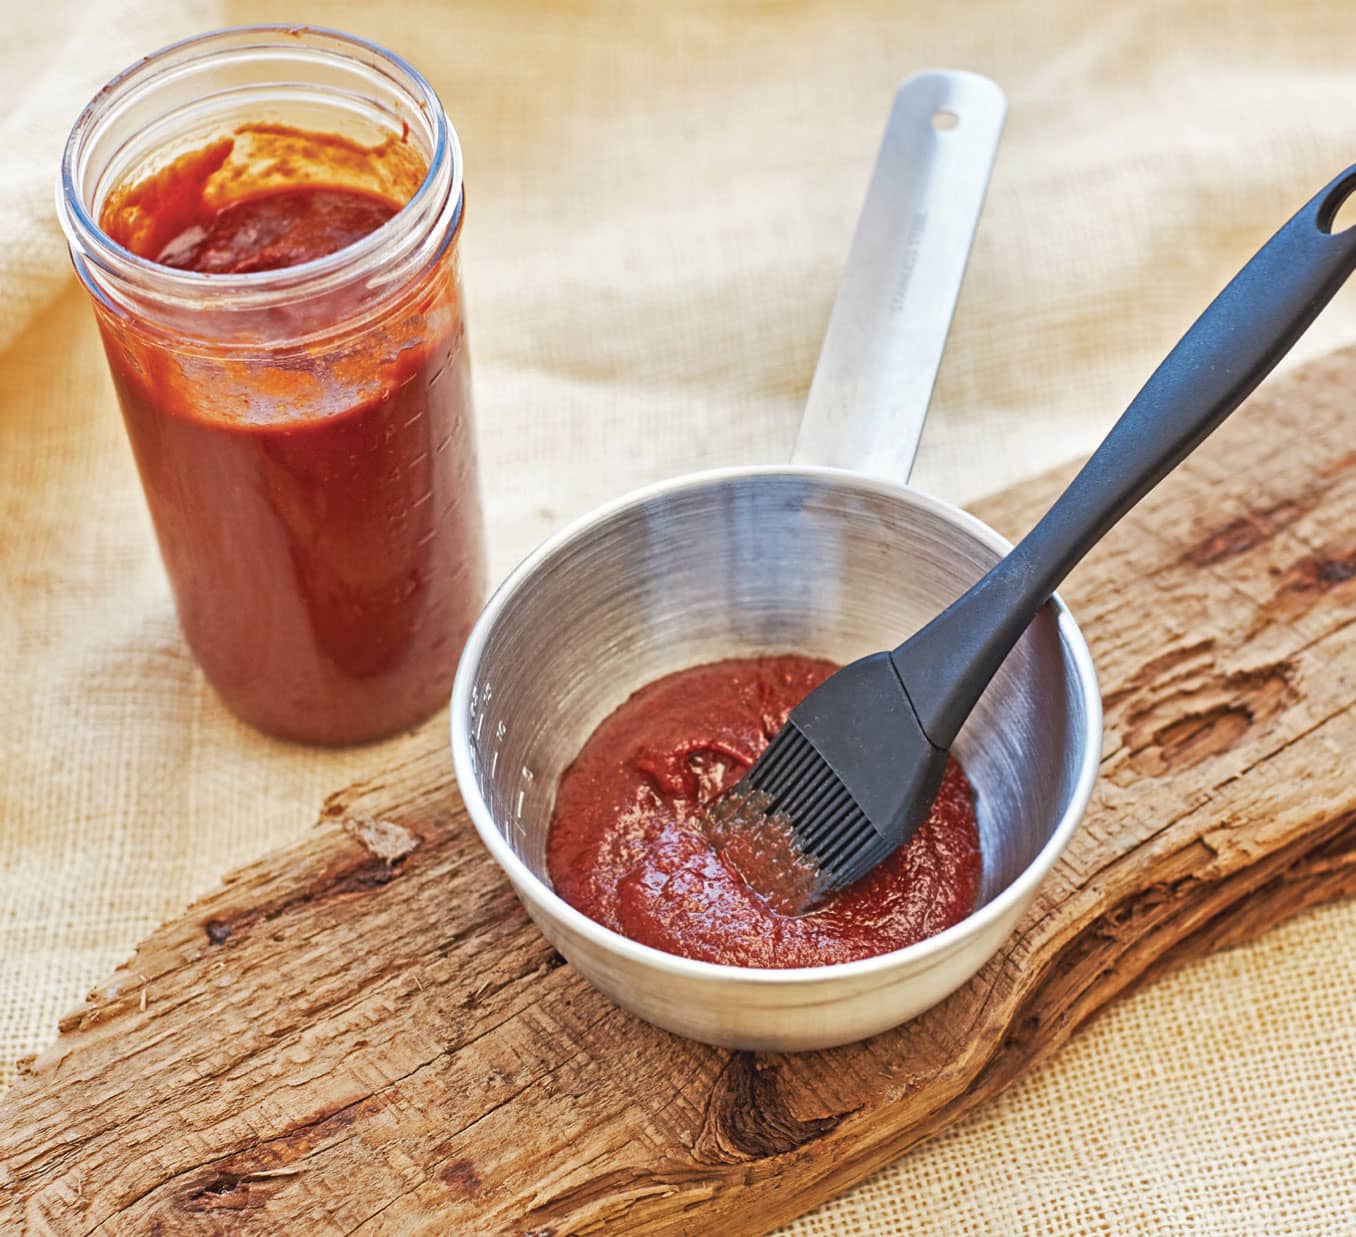
◁ HONEY BARBECUE SAUCE 
This barbeque sauce is a combination of sweet and tangy and is simply the best way to top your summer BBQ!
1. In a medium saucepan, whisk all ingredients and warm over medium heat. Simmer the barbecue sauce for 10 to 15 minutes.
2. Remove from the heat and allow to cool.
3. Transfer to an airtight container and store in the refrigerator until ready to use. Use within 1 month.
MODERATE
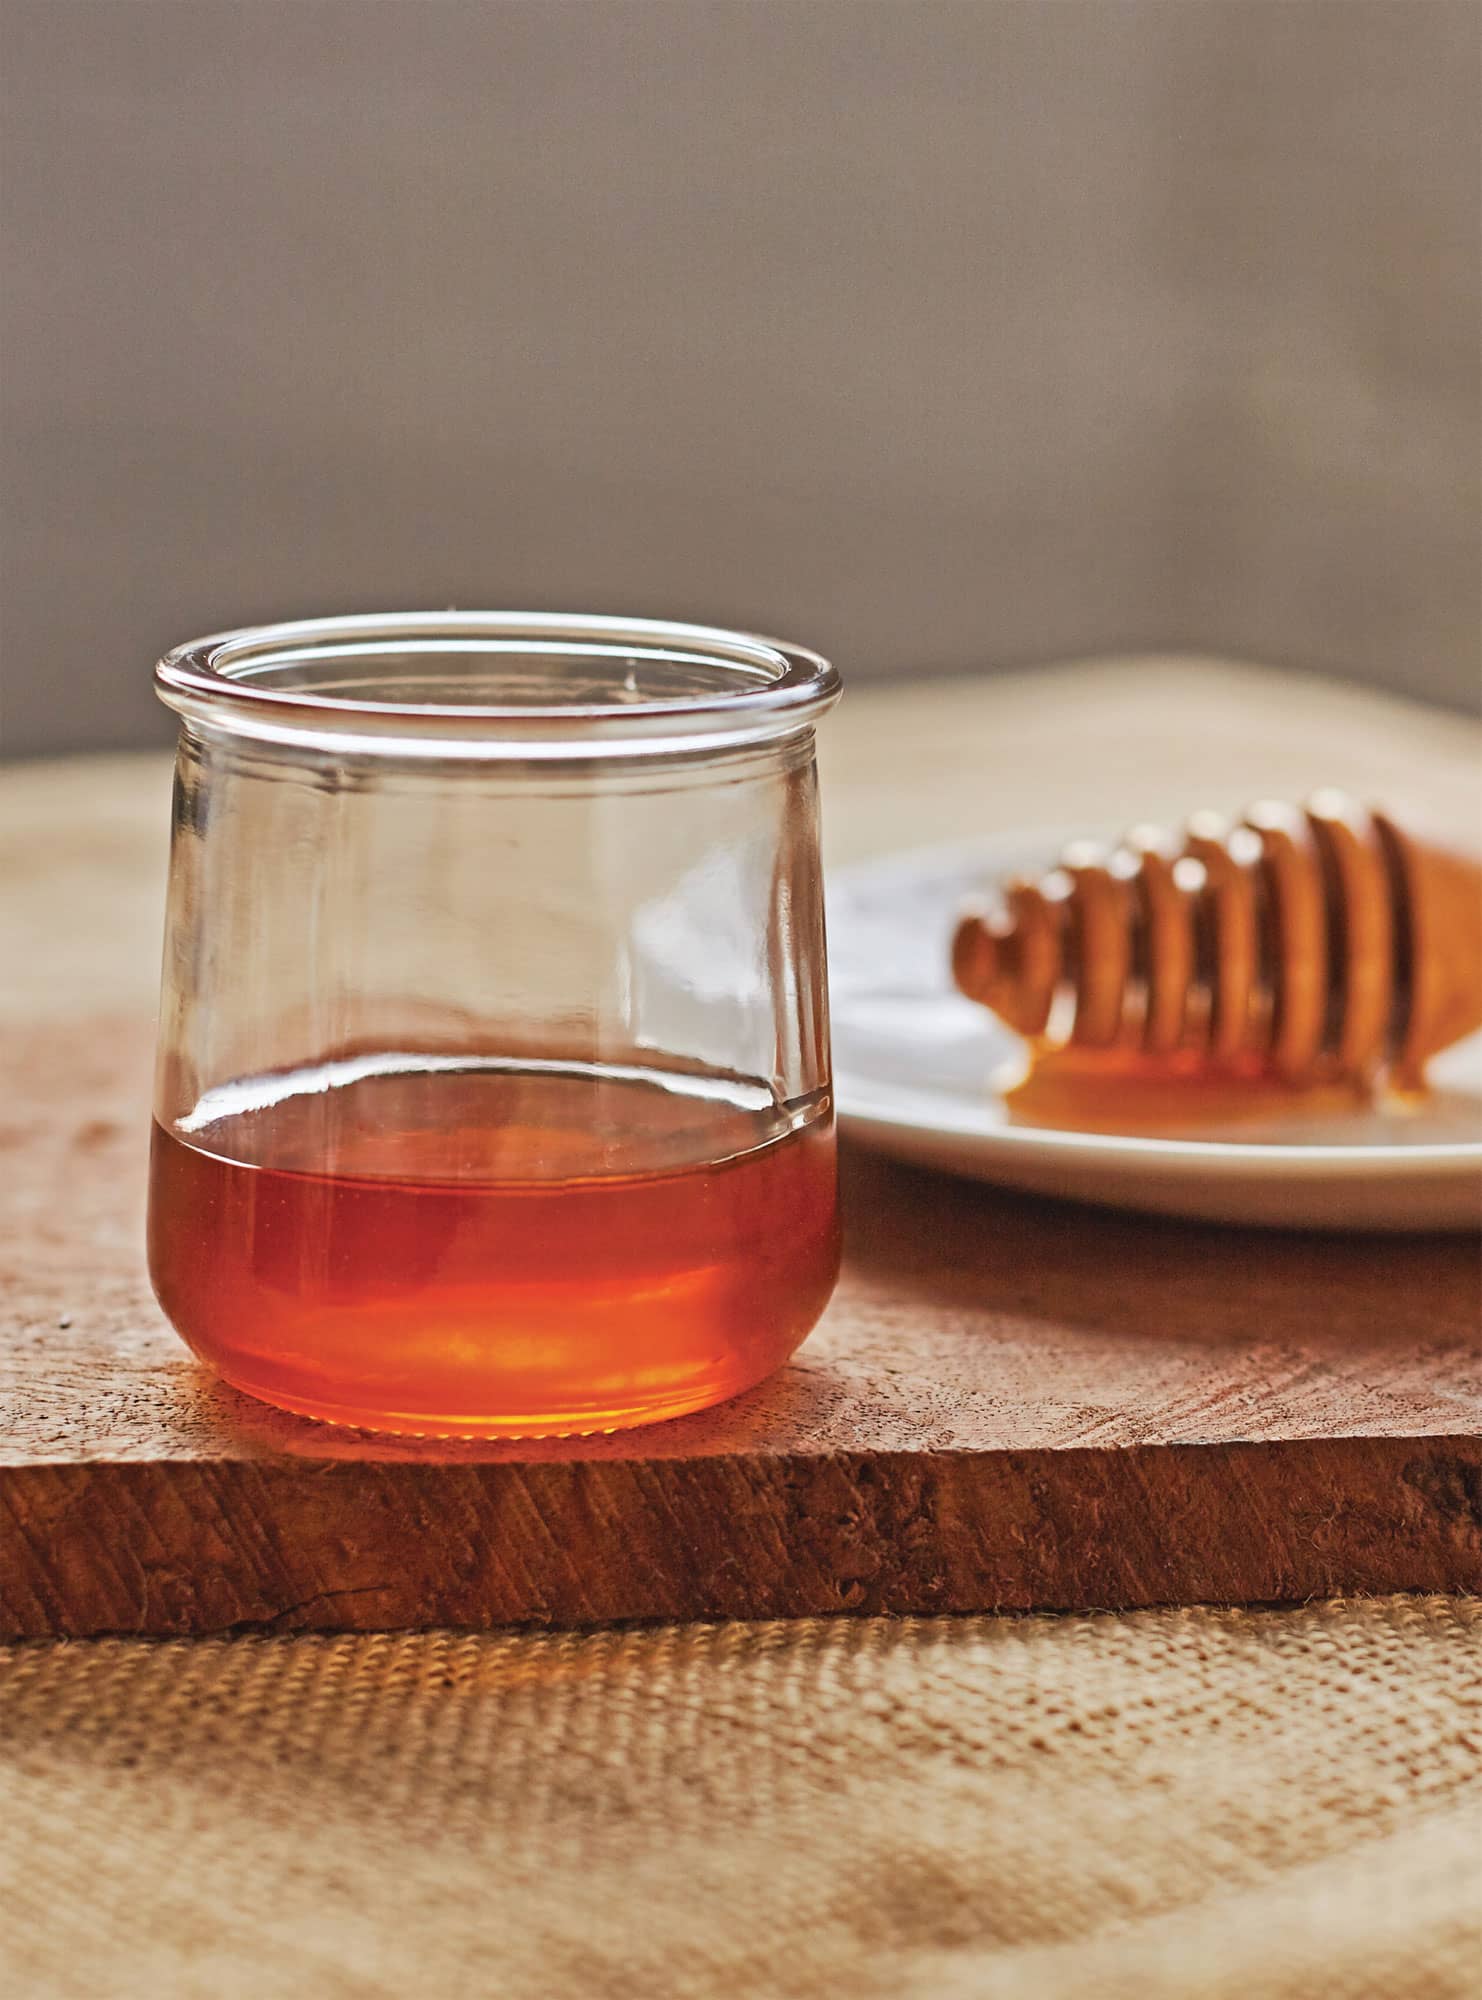
◁ SMOKED HONEY 
Sweet, sticky, smoky honey! The earthy aftertaste of smoked honey enhances both sweet and savory dishes. Cold-smoking retains the natural honey components and makes a small batch. Smoked honey is a unique gourmet ingredient that is ideal for gifts and sharing with your family and friends. Although this is best made with a smoker where it can be done cold, it can also be done using a grill.
1. Pour the honey into foil trays (ensure that the honey is no thicker than 1/2 inch [1 cm] for maximum exposure).
2. Place the foil trays onto the wire rack in the smoker or grill.
3. Cold smoke the honey for 30 minutes for smaller smokers or 60 minutes for larger smokers. Stir every 15 to 20 minutes.
4. Remove the trays from the smoker or grill.
5. Cover the trays with a lid, foil, or plastic food wrap and set aside (indoors) at room temperature for 24 hours.
6. Taste the smoked honey, mixing with nonsmoked honey if the smoked flavor is too strong for your liking.
7. Pour the smoked honey into airtight containers such as glass jars with lids.
8. This can be used immediately or stored at room temperature as with regular honey. Stir the honey before use.
FERMENTED FOODS
Although fermented foods have been around for a long time, they have recently found renewed favor. Before the invention of refrigeration, fermenting food was one way of preserving foods. Today’s renewed interest comes from a new understanding of how the fermentation process actually enhances the nutritional value of food and helps our bodies digest foods that otherwise might be difficult.
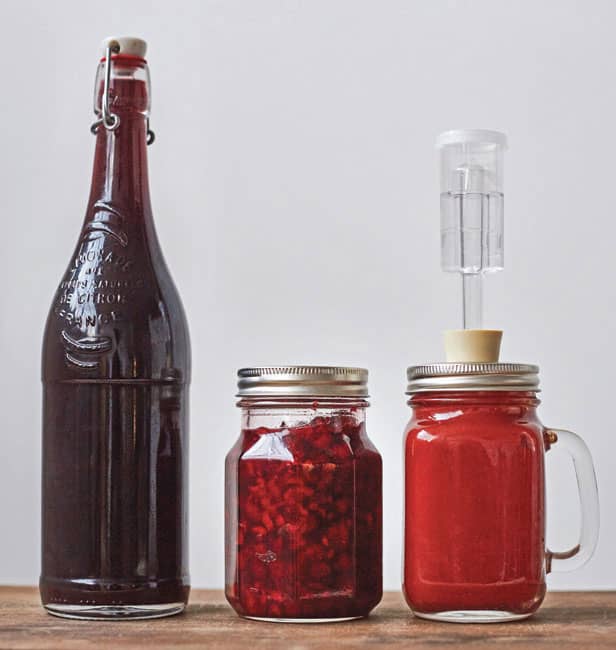
FERMENTING BASICS
Sauerkraut, pickles, and other vegetables that are grown in, or directly on, the ground are covered in the bacteria that act as a starter to fermentation. Fruits and vegetables that grow more removed from the soil may not come with their own handy, built-in bacterial starter, so one is needed to kick off the fermentation process. That’s where whey comes in to save the day.
Although whey is not the only starter that can be used, it is one I always have on hand. The reason to use whey is that it contains Lactobacillus, the same bacteria that turns milk into yogurt. Lactobacillus is also the bacteria found naturally on vegetables. The term lacto-fermentation defines things fermented using the Lactobacillus bacteria.
EASY
STRAINING YOGURT FOR WHEY
This is my method for straining yogurt. The yield is somewhat variable, depending on how long the yogurt is strained. In general, I figure 1 quart (950 ml) of regular yogurt will yield approximately 1 cup (235 ml) of whey. Separated whey can be refrigerated for several months until used.
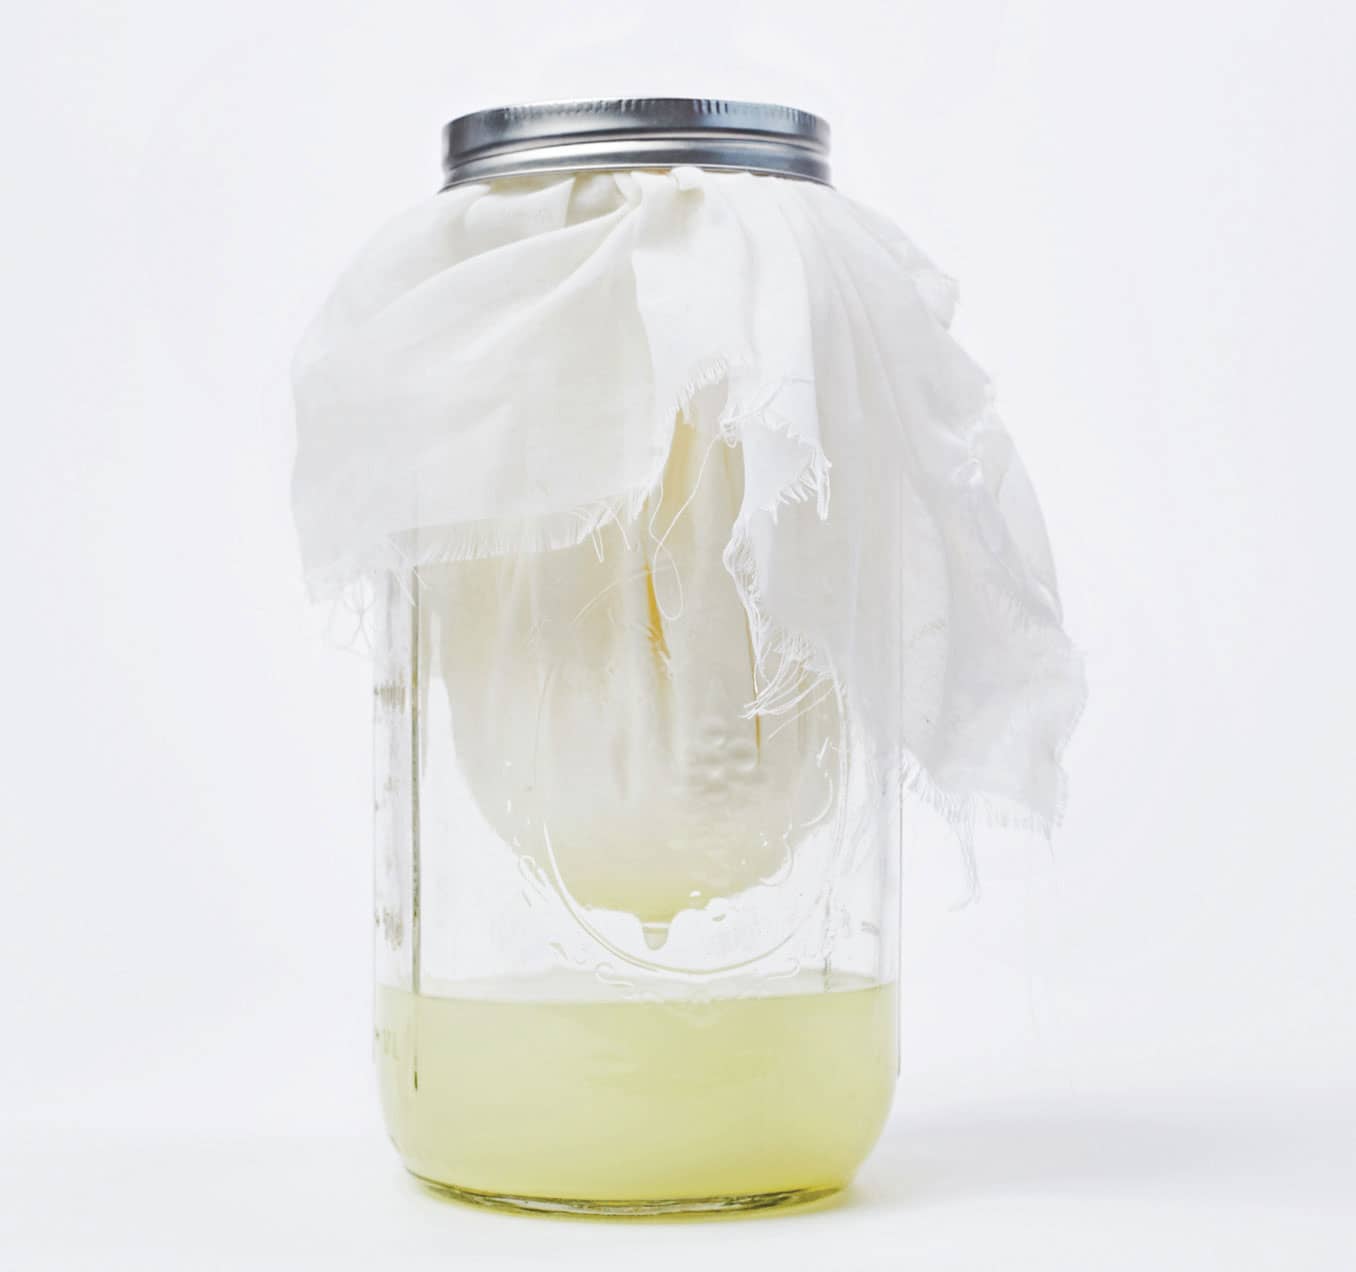
1. Stretch the muslin fabric across the top of the canning jar, allowing the excess to drape over the sides. Push the fabric down into the canning jar, making sure the bottom of the muslin is suspended high enough above the bottom of the jar to allow room for the whey that drains off the yogurt to accumulate. Hold the fabric in place by securing a rubber band around the top.
2. Add the yogurt to the jar and cover the jar with the lid. Place the jar in the refrigerator and allow the yogurt to drain for several days. The liquid that accumulates at the bottom is the whey. The strained yogurt can now be used for all sorts of things, such as the Mango Shrikhand shown here. Use the whey to make the fermented recipes in this section.
FERMENTING EQUIPMENT
Although fermenting generally doesn’t require a lot of fancy equipment, there are a few items that will make the fermenting experience easier and more consistent.
The Lactobacillus bacteria prefer an anaerobic environment, which means without air. As the bacteria break down the sugars and starches, carbon dioxide gas is created, which builds up pressure inside the container. Ideally, the gas should be able to escape without allowing in outside air. This can be accomplished a couple ways. One is by opening the jar or bottle daily and burping it, which lets in a small amount of outside air. Another is by adding an airlock. An airlock is a device often used in brewing beer that forces escaping air though a water barrier, keeping the outside air out.
Although no special containers are required for fermentation, there are a few general guidelines. It is best to use glass or ceramic containers, especially for smaller quantities. I usually use glass because it is easy to see what is going on inside the ferment, the container is easy to clean and sterilize, and it has a relatively small footprint on my kitchen counter.
Lacto-fermentation is an anaerobic process, so most other bacteria that could contaminate the ferment would find the environment inhospitable. For this reason, it is usually good enough to thoroughly clean the fermenting container without needing to take the extra step of sterilizing it. For those who own a dishwasher, running the container through a dishwasher cycle is enough to make the container sterile. For those who do not own a dishwasher, like me, using a boiling water bath for the container will suffice.
EASY
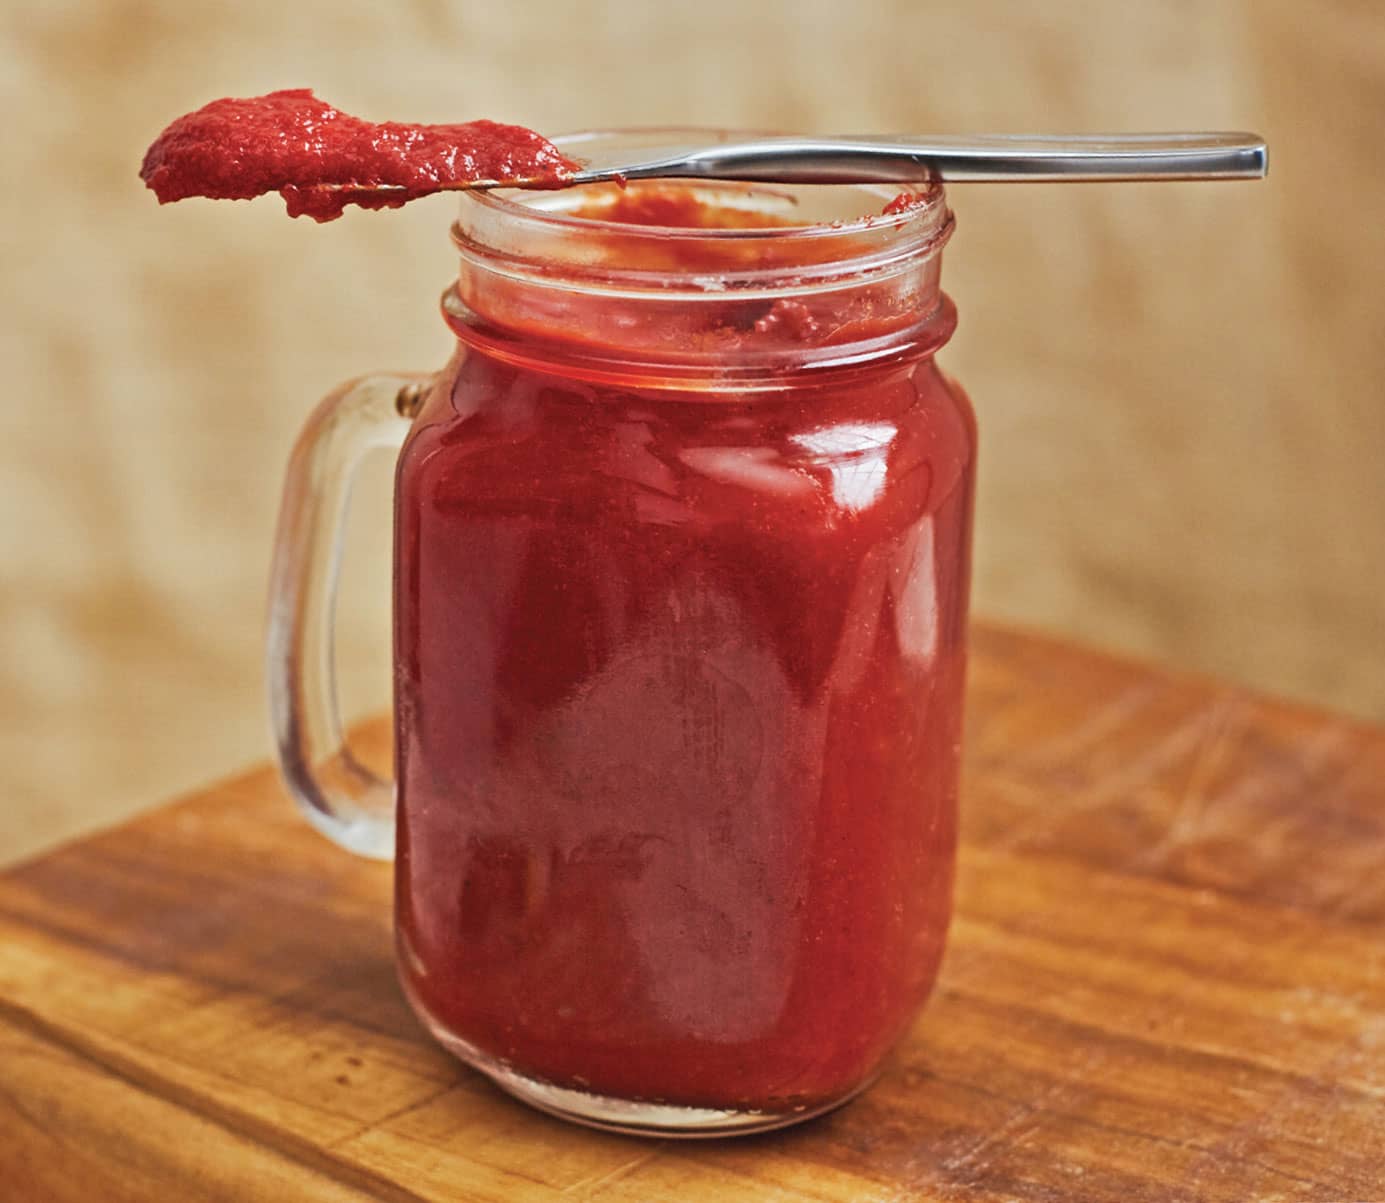
◁ FERMENTED KETCHUP 
Although technically ketchup doesn’t need fermentation, it is a good way to add some probiotics to a common condiment.
1. Combine all the ingredients in a pint-size (475 ml) canning jar, tasting and adjusting the seasonings as needed. Cover with an airlock or regular lid.
2. Allow the homemade ketchup to sit out at room temperature for 2 to 3 days. If using a regular lid, open the jar every day or so to release the gases. This is not necessary if an airlock is used.
3. Store the ketchup in the refrigerator for another 3 days before enjoying. Keeps for several weeks.
EASY
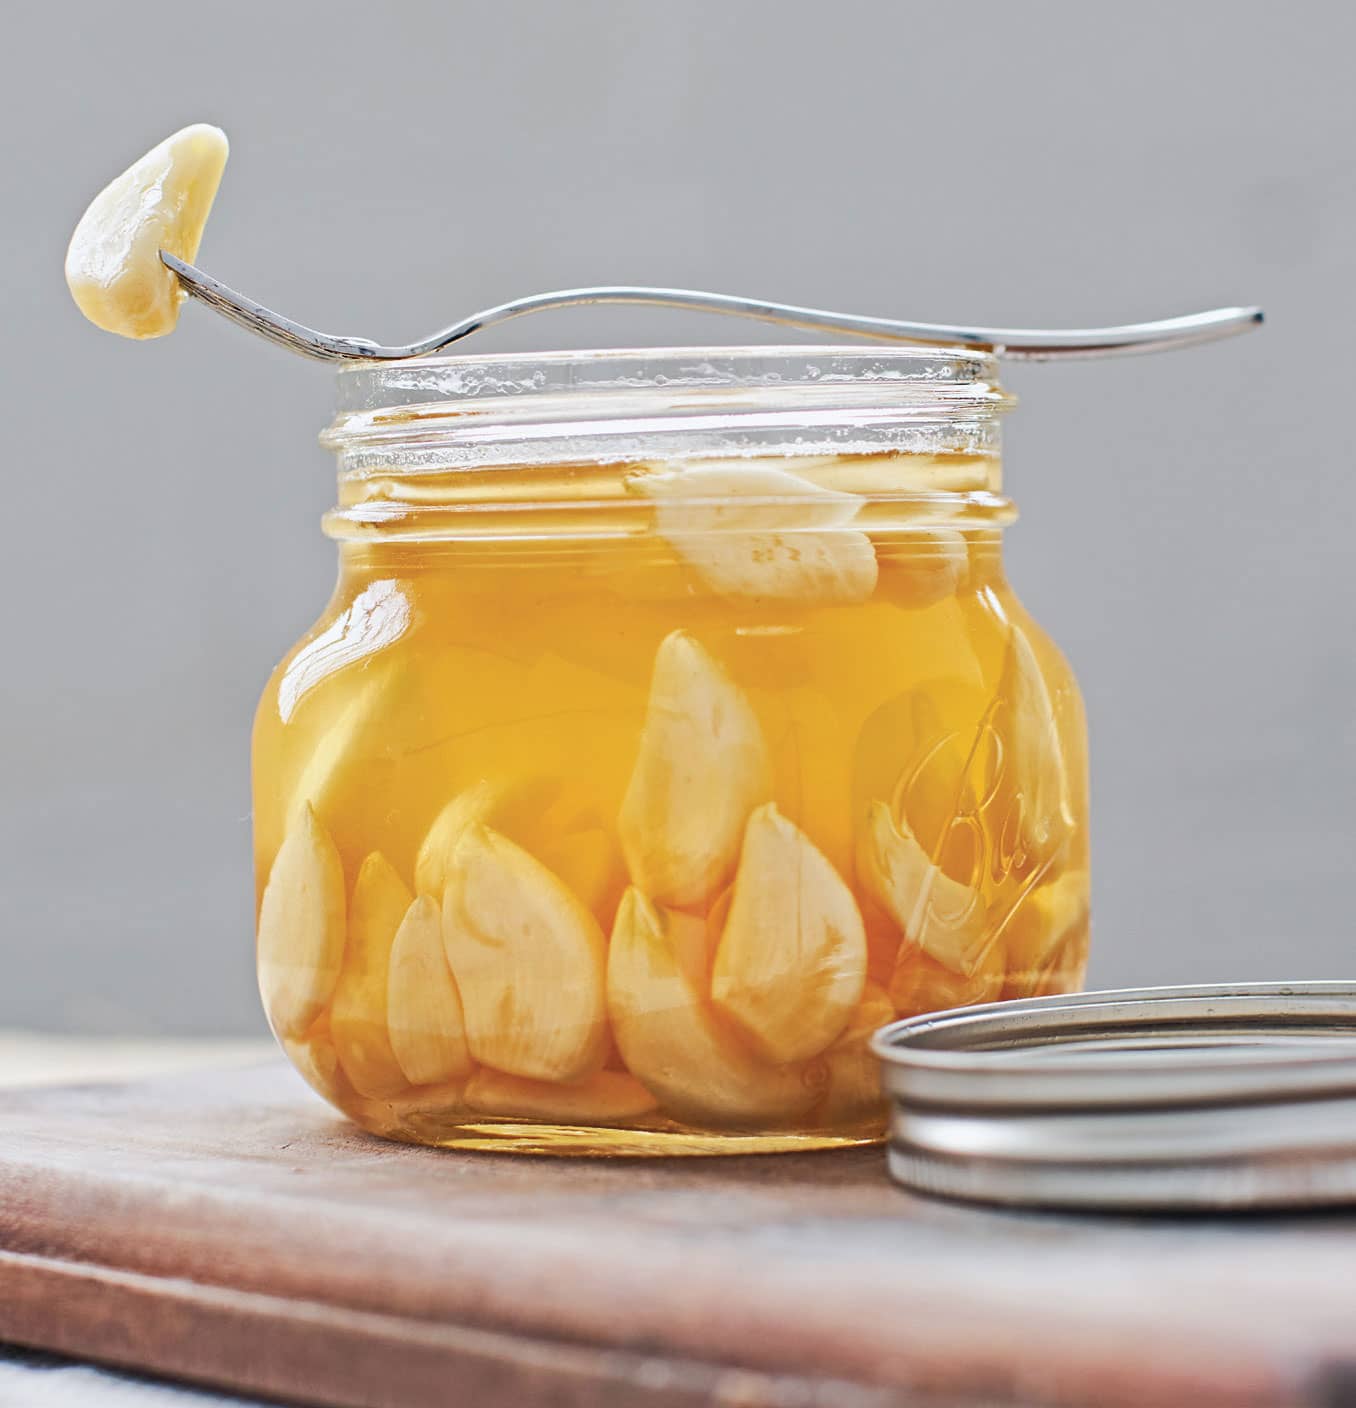
◁ FERMENTED HONEY GARLIC 
Fermenting garlic in honey is one of the easiest ferments to do! The fermented garlic mellows and loses some of its pungency, making it a treat to eat. I like to eat a clove or two of the fermented garlic when I feel a cold coming on. Both the honey and the garlic work beautifully for all sorts of dishes, such as the Honey Avocado Dressing shown here.
I usually make several batches when garlic is plentiful at my local farmers’ market. Keep in mind that the number of garlic bulbs and the amount of honey used in this recipe will depend on the size of the garlic cloves.
1. Peel the garlic cloves and lightly crush them.
2. Fill a pint jar (475 ml) about three-fourths full of garlic and add enough honey to cover while allowing enough head space in the jar for the ferment to bubble, at least 1 to 2 inches (2.5 to 5 cm). Screw the lid on the jar and let it rest on your counter for 1 month.
3. Each day, burp the jar by removing the lid and releasing the built-up air. After 1 month, store in the refrigerator.
EASY
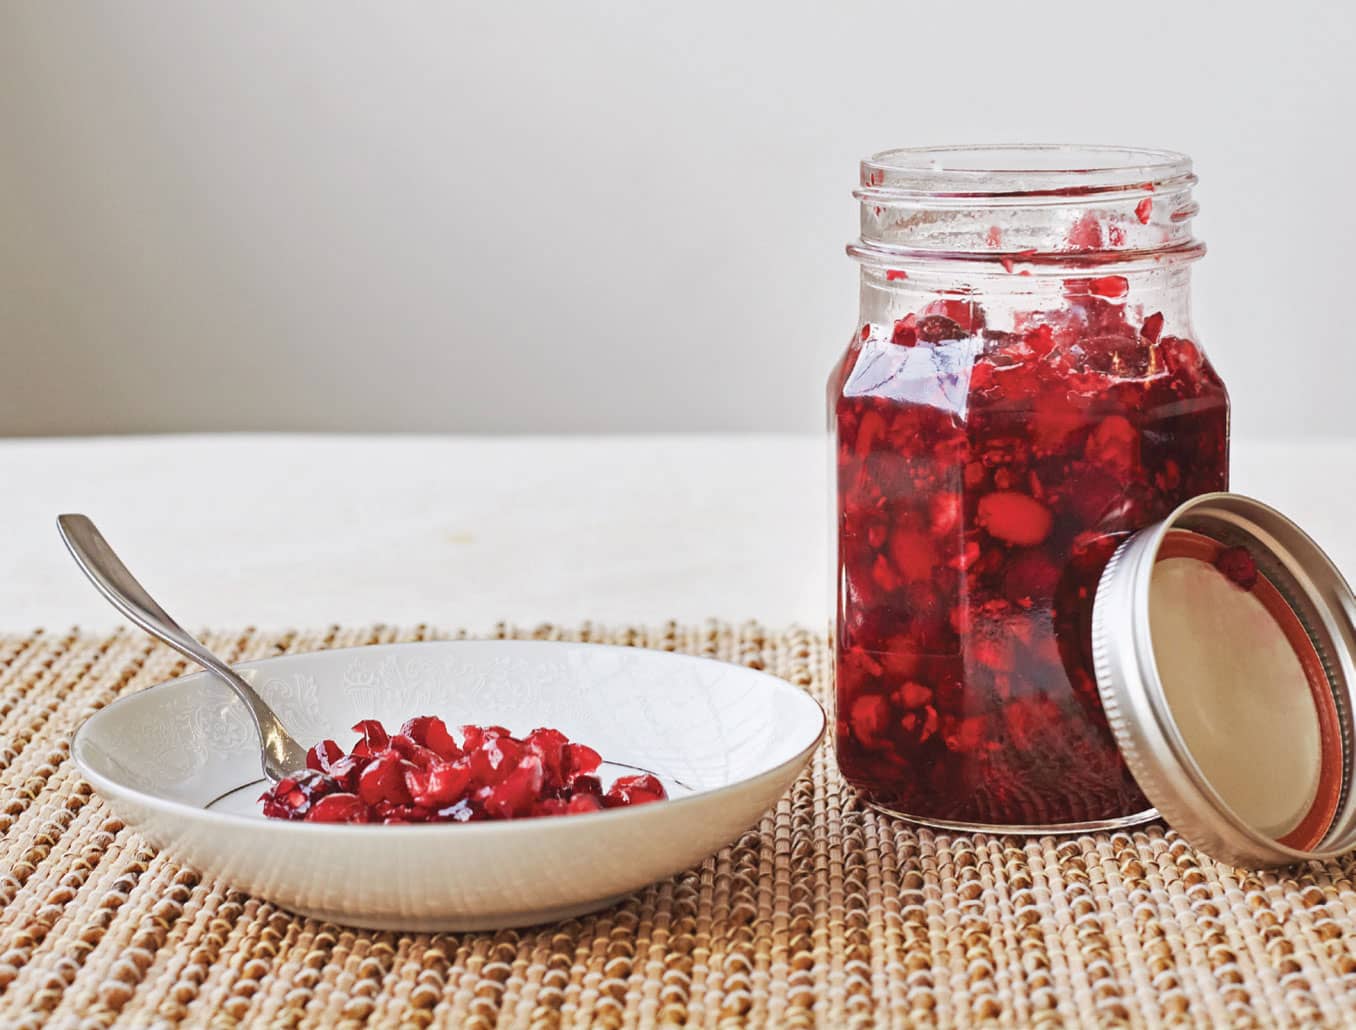
◁ FERMENTED HONEY CRANBERRIES 
Cranberries or other fruits can also be fermented in honey. Cranberries are grown in my home state of Wisconsin and are usually available fresh each autumn. Other fruits can be used, although I would suggest trying something on the tart side, such as lemons, to counter the sweetness of the honey. Also, I usually make this recipe without spices, but some people add ginger and cinnamon to the ferment.
1. Rinse and sort the cranberries and then lightly pulse the berries in a food processor. The goal is the break them open, not puree them.
2. Add the berries and orange zest to a quart (950 ml) canning jar. Pour the honey over the cranberries and slowly fill up the jar, stopping about 1 to 2 inches (2.5 to 5 cm) from the top.
3. Close the jar and place the jar in a warm, dark place. Turn the jar daily for 1 to 2 weeks until the honey thins and then leave the cranberries to ferment for another 4 to 6 weeks. Store in a cool area.
EASY
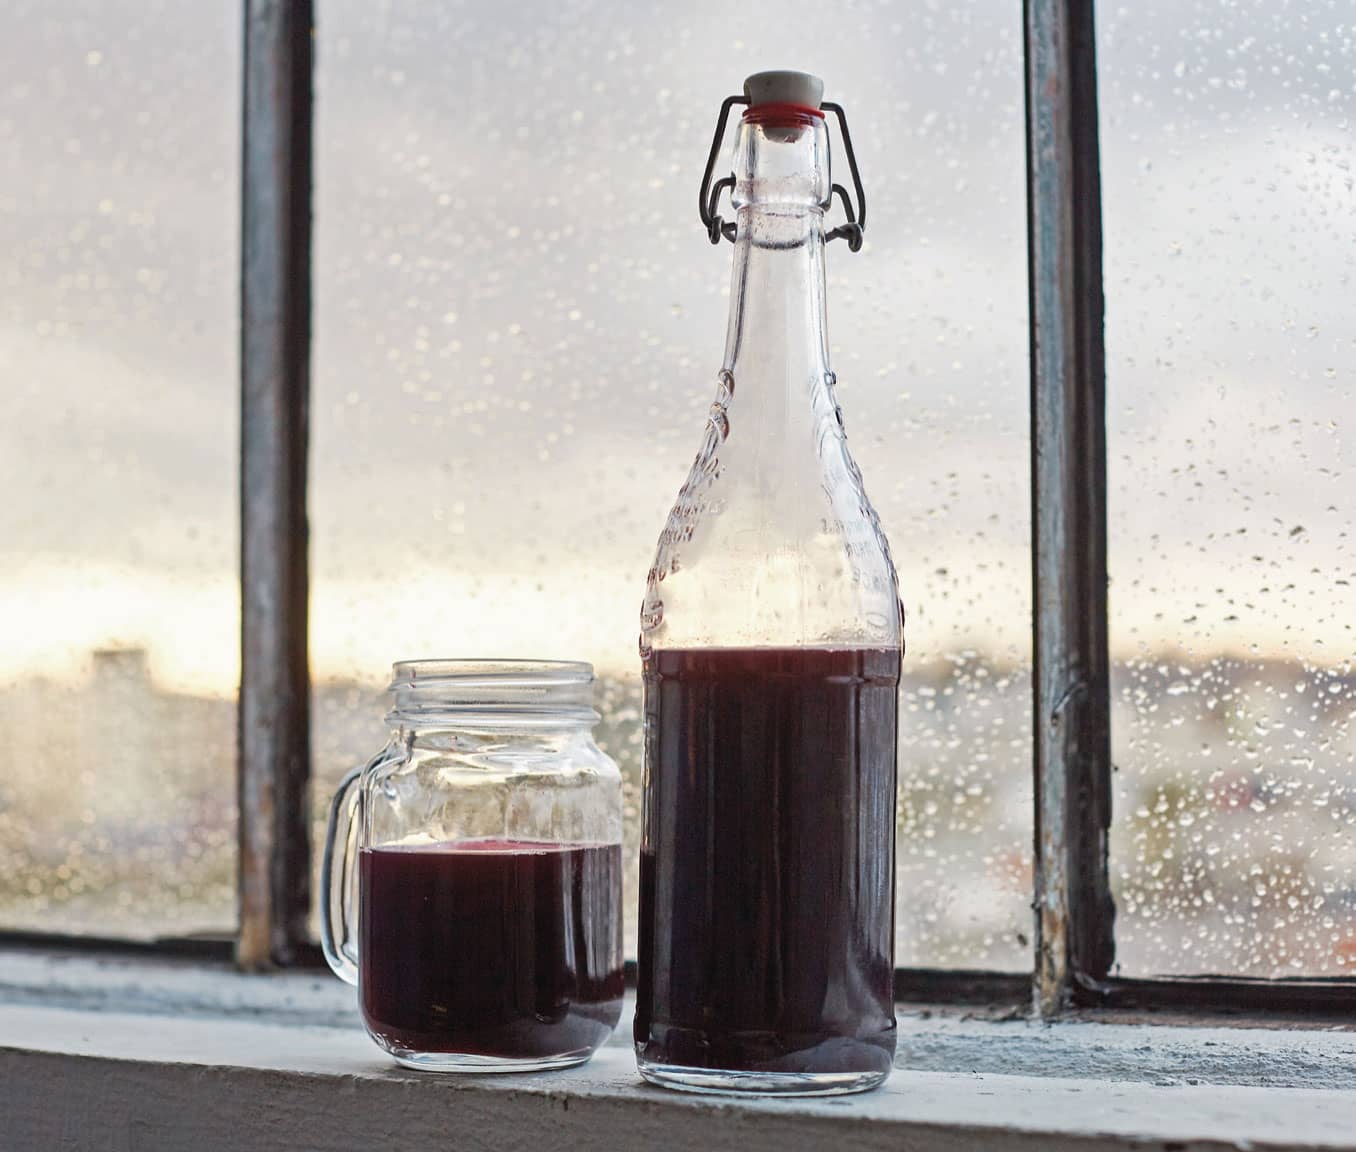
◁ FERMENTED PROBIOTIC HONEY BERRY SODA 
This is a naturally fermented soda that is loaded with probiotics, which give the drink its fizz and foam. The recipe is very adaptable depending on what berries are abundant and in season. Although fresh is preferred, frozen berries will work as well. This can also be adapted to other fruit; however, the amount of fruit may need to be adjusted depending on the amount of juice that is released.
1. In a saucepan, gently simmer the water and berries for approximately 30 minutes. Allow the mixture to cool to about 100°F (38°C).
2. Strain the berry liquid through a sieve into the prepared fermenting jar. Add the honey to the jar, mixing to dissolve it completely. Add the whey and additional water to taste. The mixture will be quite sweet, but much of that sweetness will be used up during the fermentation.
3. Seal the jar with an air-lock lid and leave in a warm spot on the counter for approximately 3 days. Check for fizz and tartness. Fermentation can take up to 1 week or more depending on temperature during the fermentation and the strength of the whey. The warmer the room and the longer the ferment, the fizzier and tart the soda will be.
4. Once it has reached the preferred tartness and fizziness, transfer the soda to the flip-top bottles and refrigerate to slow the fermentation until the soda can be consumed. The soda is usually best when consumed within 2 weeks.
EASY
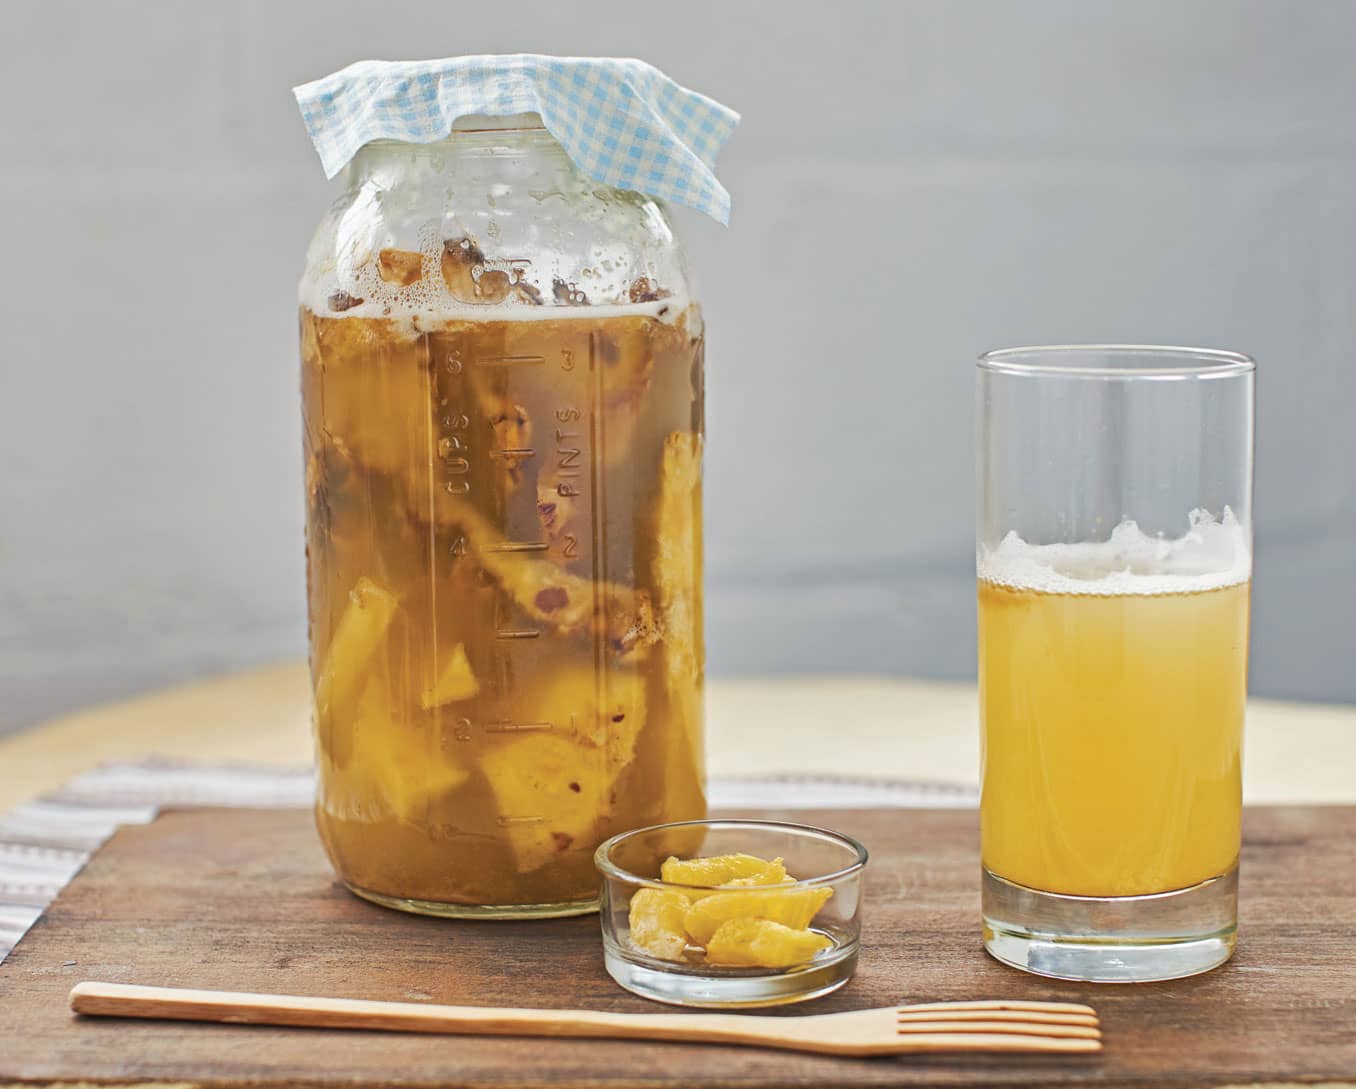
◁ TEPACHE 
Tepache is one of Mexico’s most popular street drinks, and it is made from fermented pineapple rinds. The final product is a lightly alcoholic, spice-infused glass of fizzy, slightly funky pineapple juice.
This fermented beverage relies on the yeast and bacteria that are naturally present on the pineapple for the fermentation process. To make this, I usually include all the rind and the core and about half of the fruit.
1. Wash the pineapple and cut into chunks.
2. Mix the honey and water in the 1/2- gallon (1.9 L) jar until it is completely dissolved.
3. Add the pineapple chunks to the jar and cover with a cotton cloth or towel. Set the jar aside in a cool, dry place away from direct sunlight and let it ferment for 3 to 4 days. It will become cloudy and develop a harmless white foam that can be skimmed off.
4. Strain the finished tepache into a pitcher and refrigerate until well chilled. Serve over ice. This is best consumed within a few days of straining.
BEVERAGES
Although there are lots of ways to use honey in beverages, such as mead or beer, I leave that to the experts and focus on beverages that are easy to make and very tasty.
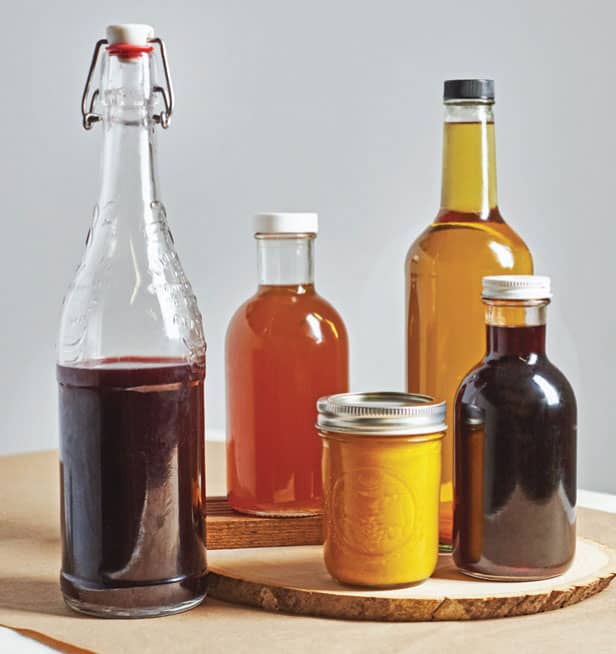
EASY
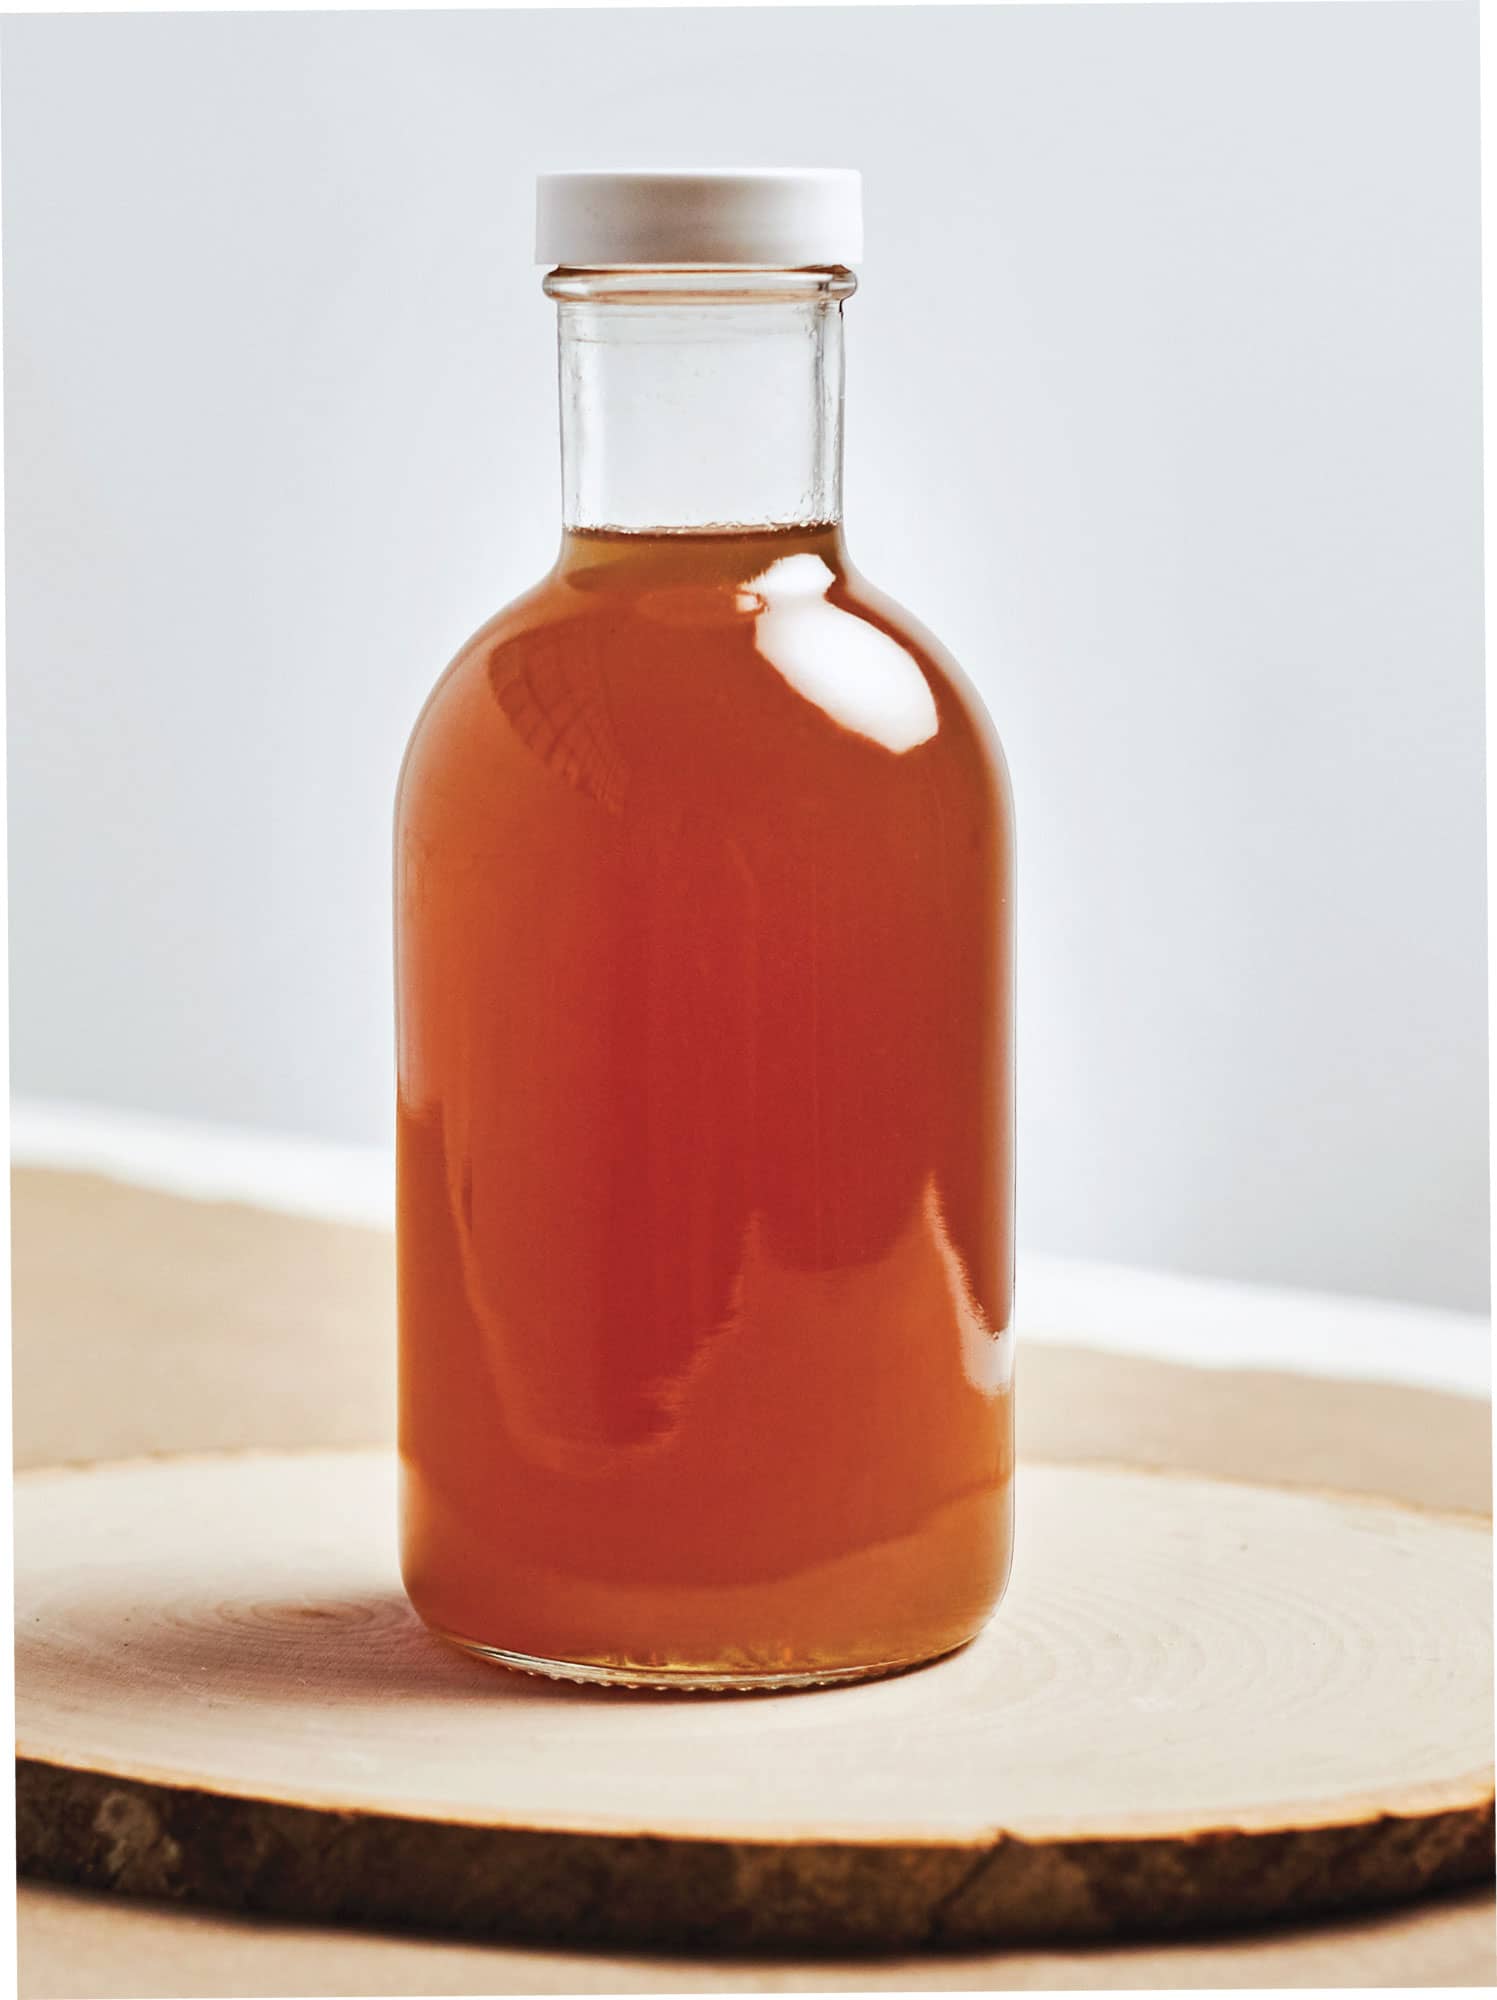
◁ BASIC HONEY SYRUP
(WITH VARIATIONS) 
This recipe is the honey equivalent of a sugar-based simple syrup. Simple syrups are handy to keep around for adding sweetness to all sorts of drinks. Why create a simple syrup instead of adding honey directly? Honey on its own is a little too viscous to mix well with other cold ingredients. Honey in hot tea is fine, but honey in an ice-filled cocktail shaker won’t mix in nicely. The recipe below is a starting point, but see the sidebar for some interesting additions that can make ordinary drinks extraordinary.
1. Warm the honey and water over medium heat until the honey is completely dissolved and the mixture is homogenous. Do not boil.
2. Let cool completely before using. It can be stored in the refrigerator for up to 2 weeks.
EASY
GINGER ALE 
Spicy, sweet, fizzy ginger ale is a favorite of mine any time of year.
1. Pour the syrup and sparkling water over ice.
2. Stir gently to combine.
3. Add the lime peel and enjoy.
EASY
MANDARIN FIZ 
I love the combination of citrus and raspberry.
1. Pour all the ingredients over ice.
2. Stir gently to combine.
3. Garnish with raspberries.
EASY
CUCUMBER LEMONGRASS COCKTAIL 
Lemongrass can be a bit overpowering by itself, but when combined with cucumber, the perfect balance is achieved.
1. Juice 1/2 pound (225 g) of cucumbers (or more if needed) in a juicer to yield 3/4 cup (175 ml) of cucumber juice.
2. Pour the lemongrass honey simple syrup, cucumber juice, and vodka or gin over ice.
3. Stir gently to combine.
4. Garnish with cucumber spear.
EASY
APRICOT CARDAMOM COCKTAIL 
This cocktail is the perfect balance of sweet, tangy, spicy, bitter, and herbal. A nonalcoholic version of this drink can also be made by mixing with sparkling water.
1. Pour all the ingredients over ice.
2. Stir gently to combine.
EASY
TEQUILA HONEY COCKTAIL 
For me, tequila is the epitome of summer, and I love sitting outside on the patio with friends, sipping margaritas. This cocktail is a pleasant alternative to the standard margarita.
1. Add the tequila, honey syrup, and lemon juice to a shaker with ice and shake until chilled.
2. Pour into a cocktail glass and add 2 dashes of the bitters.
3. Garnish with a lemon peel.
EASY
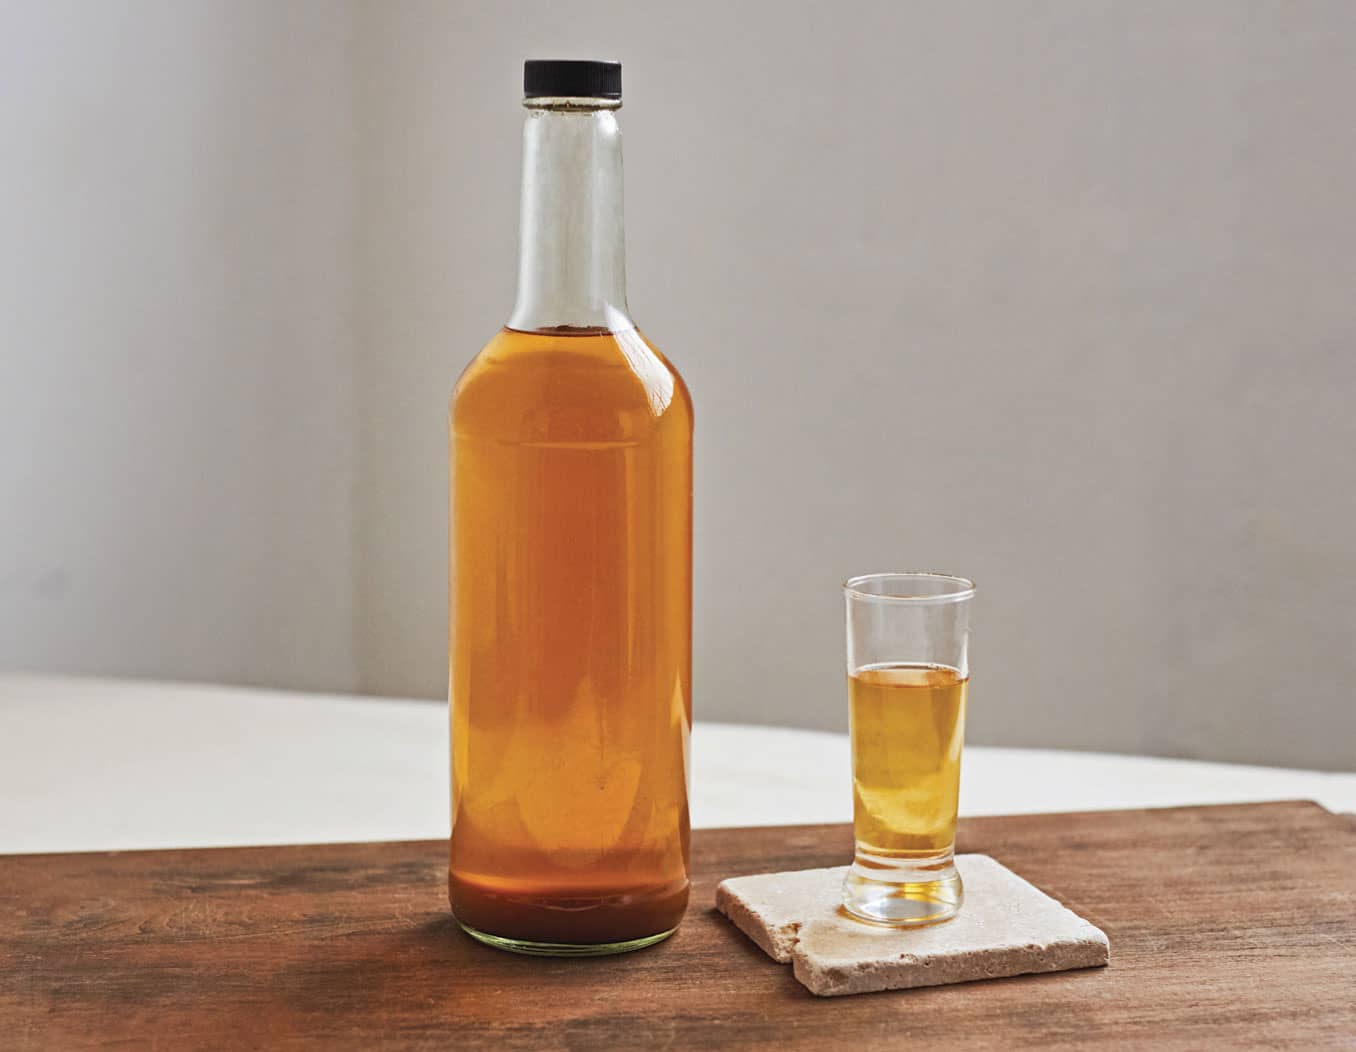
◁ LITHUANIAN HONEY SPIRITS 
This Lithuanian spirit is also known as Krupnikas. All the spices meld to create this sweet, fragrant blend that is full of complex flavors and aromas. Although technically drinkable in a couple weeks, over time, the flavors continue to improve, so having some patience is key.
Make a batch right after honey harvest so that some will be ready for the holiday gift-giving season.
1. In a large pot, bring the honey and water to a simmer. Skim off any foam that surfaces.
2. Add all other ingredients except the grain alcohol. Simmer uncovered for 30 minutes.
3. Turn off the heat and add the grain alcohol to the still-hot mixture, stirring to combine. Strain the mixture.
4. Pour into clean, sterile bottles and set aside for at least 2 weeks, longer if possible.
EASY
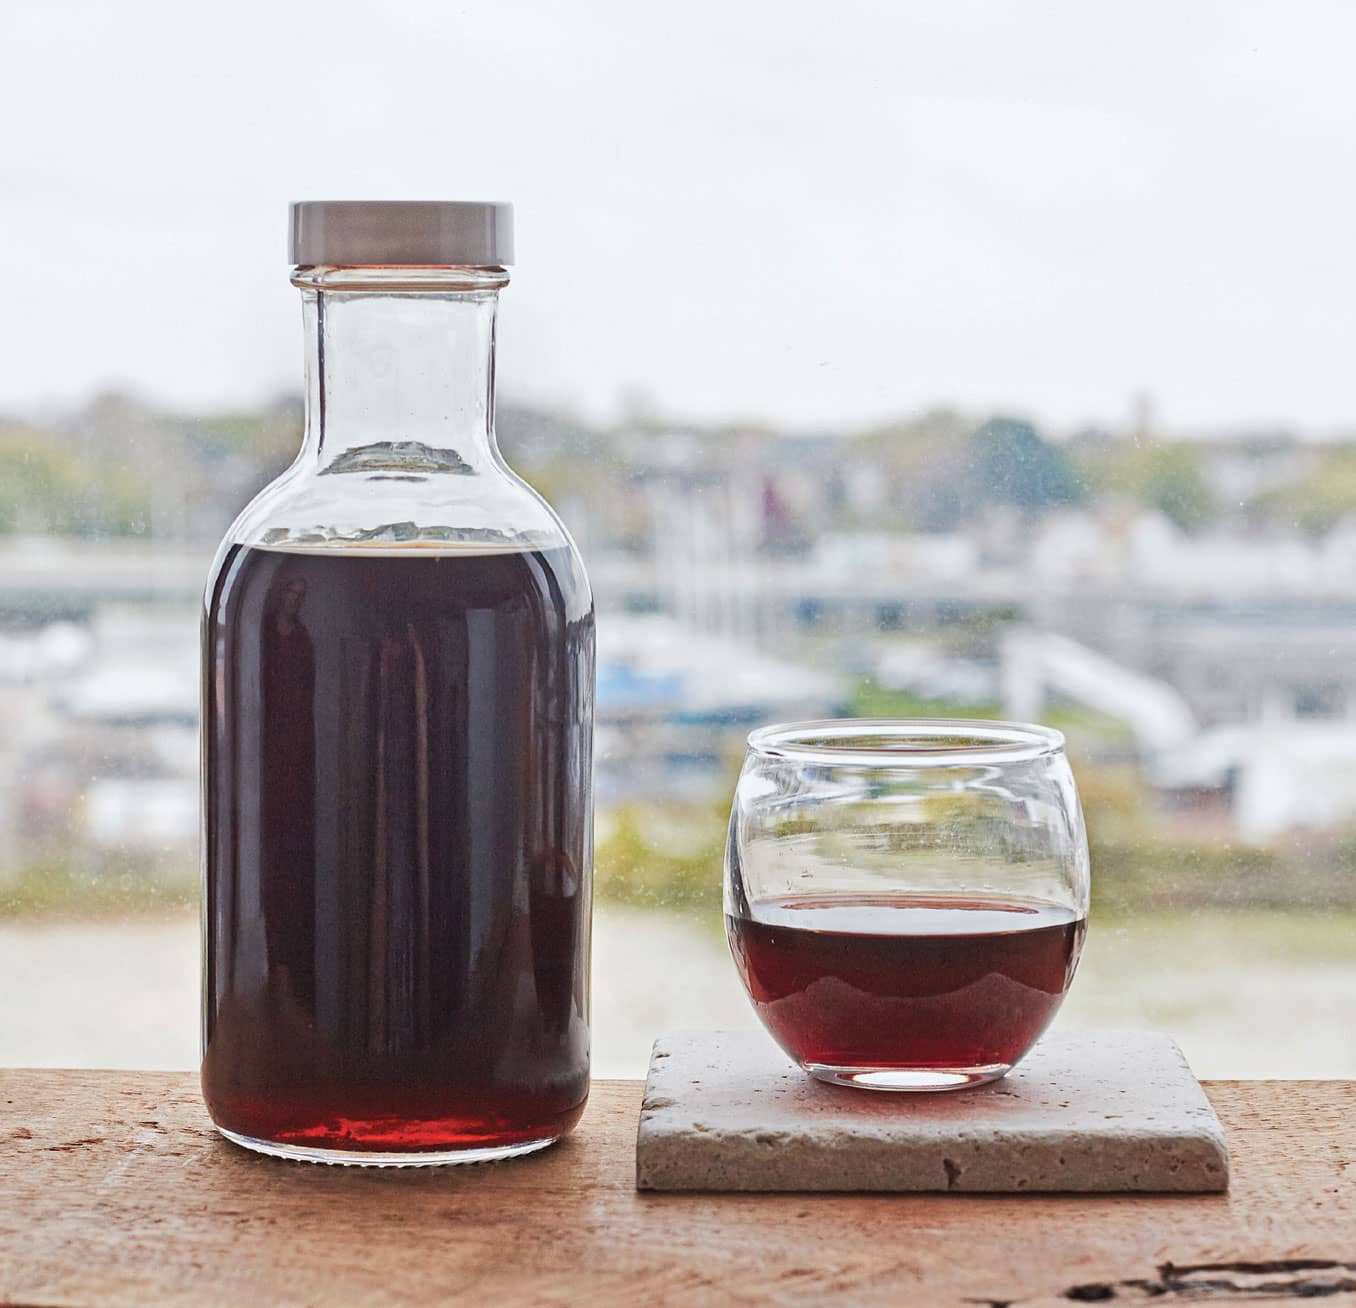
◁ ELDERBERRY TONIC 
Although this really tasty beverage is technically a liqueur, I call it a tonic because during cold and flu season, this has been a godsend. Elderberries have been used for centuries to treat the flu. Elderberry bushes grow wild here in Wisconsin, so I don’t have to go too far to find some, but in a pinch, dried berries can also be used. Also, I like to use grain alcohol because there is water in the recipe as well. This ensures that the mixture is preserved properly and doesn’t require refrigeration.
1. Place the elderberries and water in a saucepan. Smash the berries with a potato masher to release the juices. Bring to a boil and allow to cool.
2. Stir in the honey and the alcohol.
3. Pour into clean, sterile bottles and allow to age for at least 1 month.
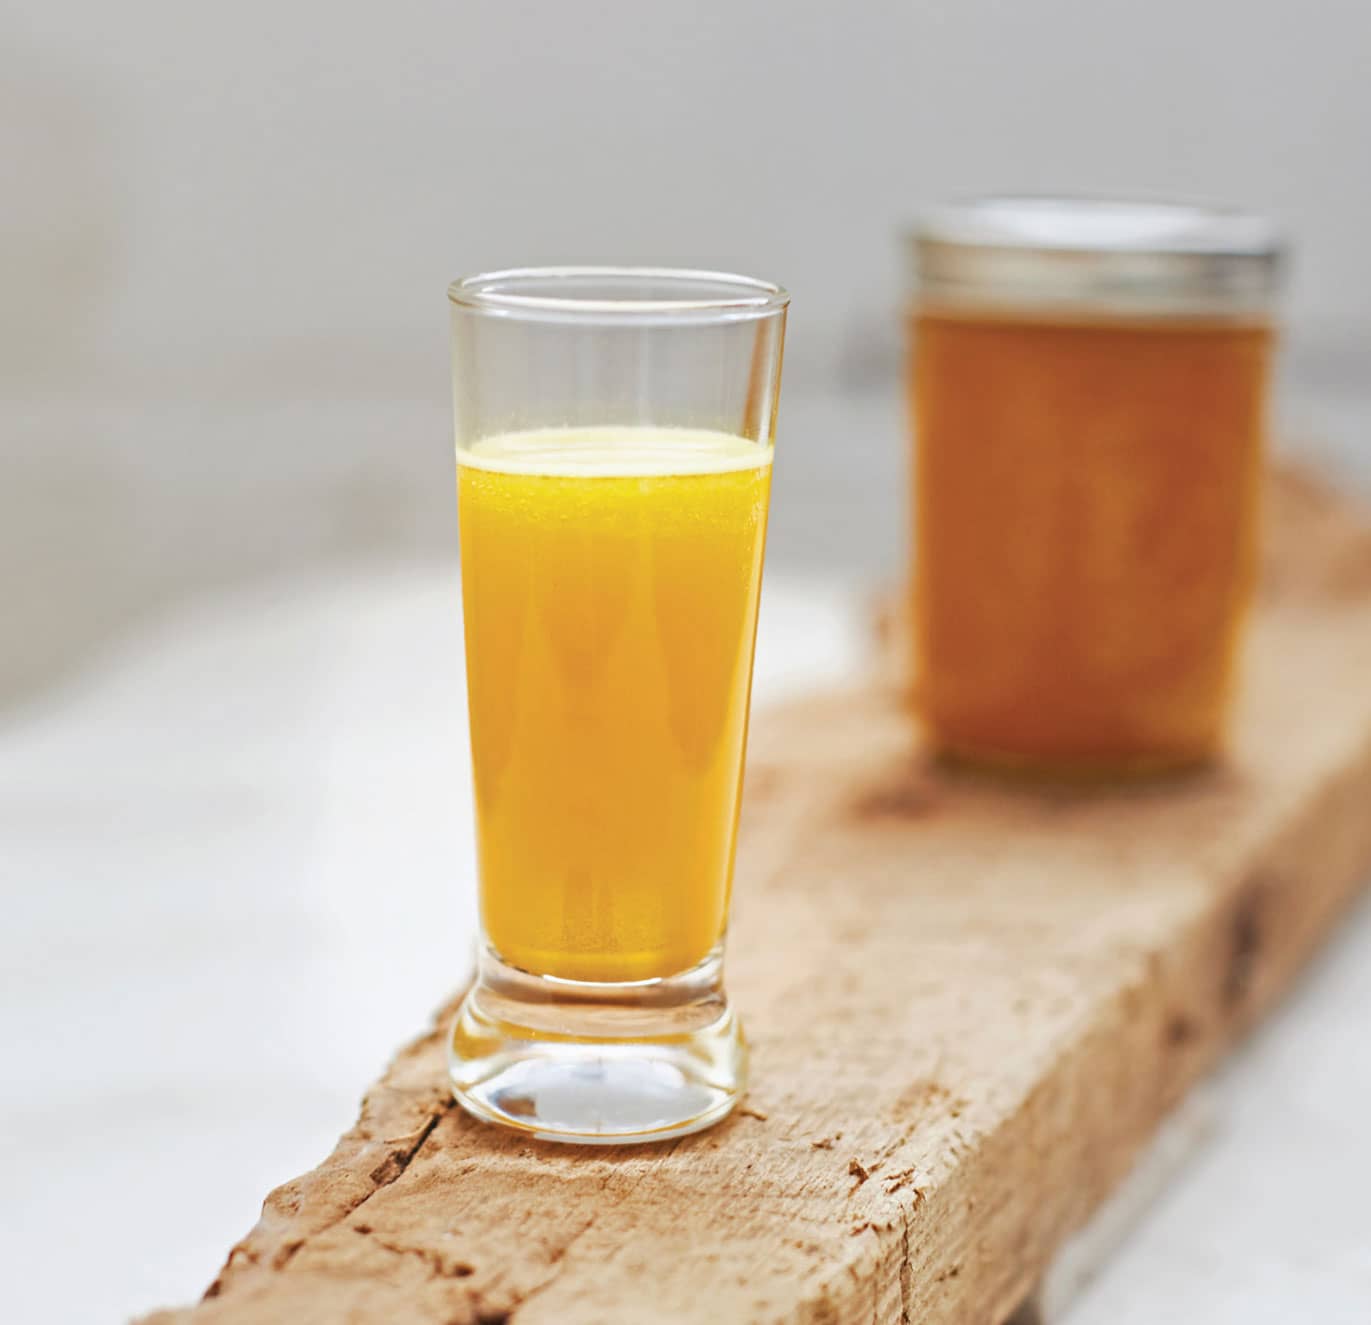
EASY
◁ TURMERIC HONEY SUPER BOOSTER 
This powerhouse is a trio of super foods. Turmeric is great at fighting inflammation and bacteria. Its active ingredient, curcumin, combats inflammation and swelling in the tissues of the sinuses, which makes it a saving grace for sufferers of hay fever, asthma, and bronchitis as well as seasonal allergies.
Honey in its raw, unfiltered, unheated state is full of minerals, vitamins, enzymes, and powerful antioxidants. It has healing antibacterial, antiviral, and antifungal properties. It also has pollen grains in it, making it a low-dose pollen therapy.
Organic apple cider vinegar helps to boost immunity. It contains living enzymes that work to fight off infection and bring your body back into balance.
1. Whisk all the ingredients together in a small bowl until smooth. Pour into an airtight container and refrigerate for up to 1 week.
2. To use, simply add 1 tablespoon (15 ml) to some warm water and drink.