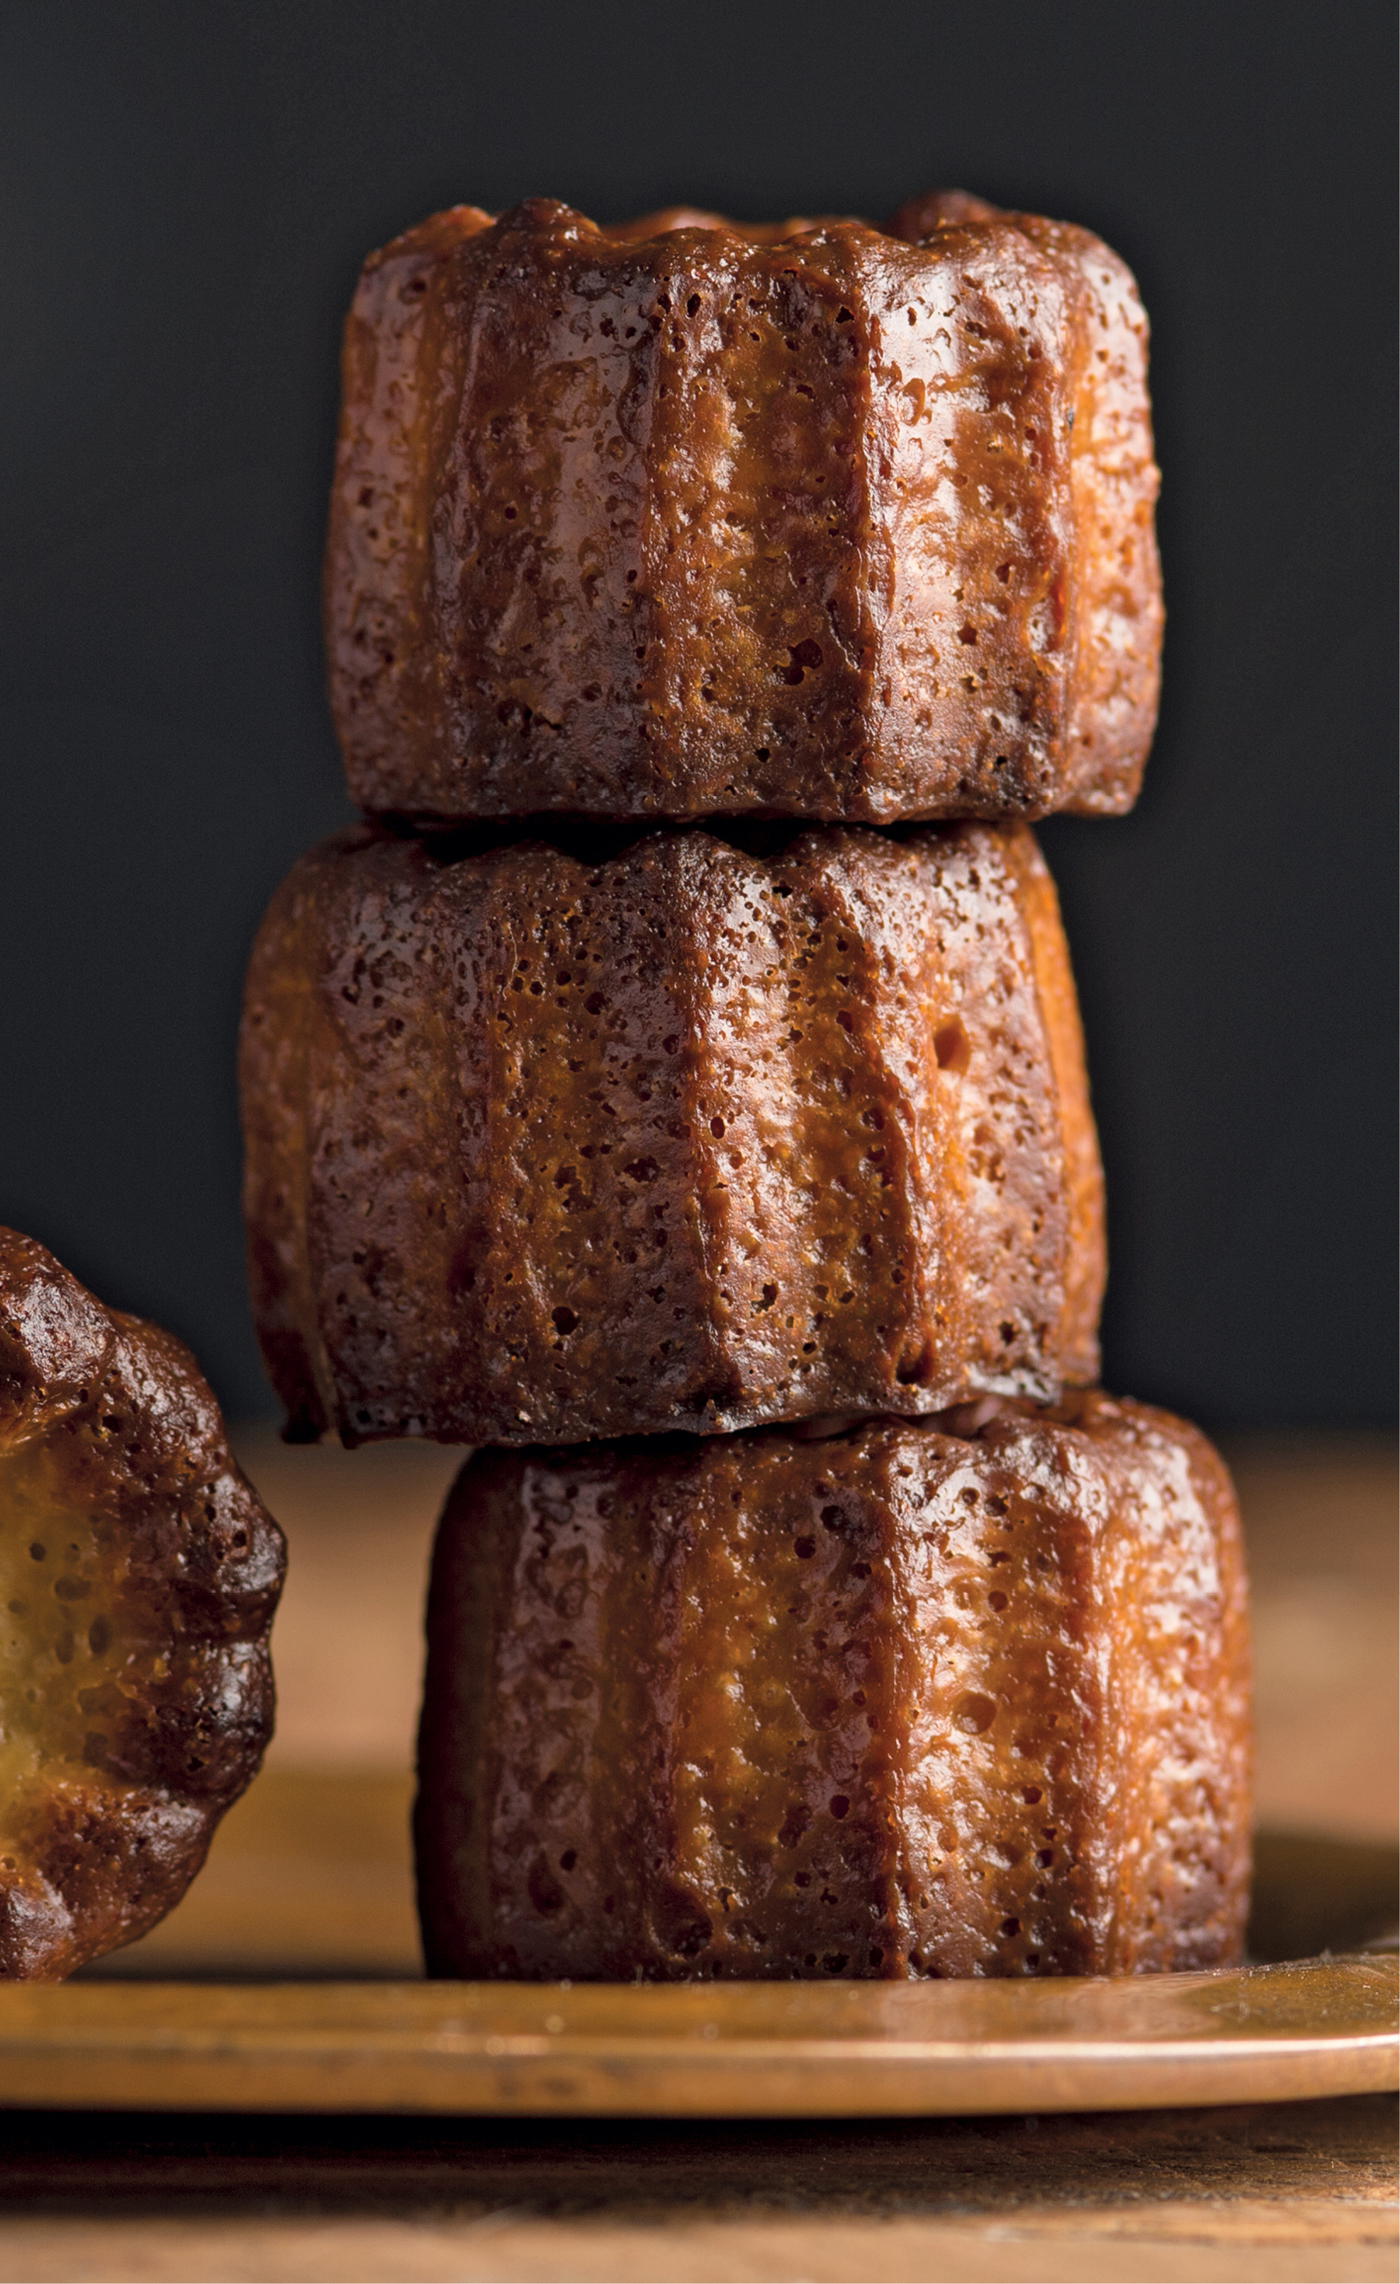
Canelés
If you’ve ever tasted a canelé, a classic rum-flavored French pastry, you know what lust is. They have a delicate flavor, a crispy exterior, and an incredibly custardy interior, but they can be hard to get just right. They’re traditionally prepared in copper molds lined with edible wax. My version uses silicone molds, which are much easier to deal with (and cheaper).
Note that the batter must be refrigerated overnight.
Makes 16 canelés (yield may vary, depending on the size of your mold)
Difficulty: Hard
Make Ahead and Storage: The canelés are best served the day they are made, but you can keep them airtight at room temperature for up to 1 day.
- 484 g / 2 cups whole milk
- 60 g / ¼ cup heavy cream
- 28 g / 1 oz / 2 tablespoons unsalted butter
- 248 g / 1¼ cups granulated sugar
- 150 g / 1¼ cups all-purpose flour
- 113 g / 2 large eggs
- 54 g / 2 large egg yolks
- 30 g / 2 tablespoons dark rum
- 15 g / 1 tablespoon vanilla extract
- Softened unsalted butter, for greasing the pan
1. The day before you want to make the canelés, combine the milk, cream, butter, and 50 g / ¼ cup of the sugar in a medium saucepan and bring to a simmer over medium heat.
2. Meanwhile, in a large heatproof bowl, whisk together the remaining 198 g / 1 cup sugar and the flour to combine. When the milk is about to simmer, add the eggs, yolks, rum, and vanilla to the bowl and whisk to combine.
3. Pour the hot milk mixture into the bowl in a slow, steady stream, whisking constantly just until the batter is smooth; take care not to incorporate too much air.
4. Strain the batter into a storage container, cover tightly, and refrigerate overnight or for up to 24 hours.
5. The next day, set the batter out to warm to room temperature for 1 hour—you can work with it in batches.
6. Preheat the oven to 450°F / 232°C, with a rack in the middle.
7. Rub the cups of a silicone canelé pan generously with softened butter (see Pro Tips). Place the pan on a baking sheet and heat in the oven for 3 to 4 minutes. Meanwhile, transfer the batter to a container with a spout (such as a large liquid measure).
8. When the pan is hot, pour the batter into the molds, filling each three-quarters full. Immediately return the pan to the oven and bake until the canelés puff up and begin to brown, 30 to 32 minutes.
9. Reduce the oven temperature to 400°F / 204°C and bake the canelés for 30 to 32 minutes more—the surface should be very golden.
10. Remove the pan from the oven. Use a small offset spatula to loosen each pastry from the mold and flip it over in the mold (this will help brown the pastries evenly all over). Return the canelés to the oven and bake until the tops are very golden, 12 to 15 minutes more.
11. Let the canelés cool completely in the pan before unmolding.
✻ Why It Works
The batter has a strong enough structure from eggs and flour to set the exterior but a high enough moisture content to keep the interior soft and custardy, even after the long baking time, which is crucial to the caramelized exteriors.
★ Pro Tips
My pan has 8 cups that each hold 75 g / ⅓ cup batter. If your molds are larger, you’ll need to increase the baking time—it may take experimentation to get it just right.
Resist the urge to open the oven door during baking other than when called for in the recipe—the canelés are more likely to bake properly with consistent temperatures and minimal fussing.