Installing a WAMP on Windows
There are several available WAMP servers, each offering slightly different configurations, but probably the best is Zend Server Free Edition, because it’s free and comes from the developers of PHP itself. You can download it at http://tinyurl.com/zendfree as shown in Figure 2-1. If there is a problem with that short URL, the full URL of the download page is http://zend.com/en/products/server/free-edition.

I recommend you always download the latest stable release (in this instance it’s 6.0.1/PHP 5.4 for Windows), which will be listed first in the download section of the web page, which should display the correct installer for your computer out of Linux, Windows OS X, and IBM i.
Note
It’s possible that during the lifetime of this edition, some of the screens and options shown in the following walkthrough may change. If so, just use your common sense to proceed in as similar manner to the sequence of actions described.
Once downloaded, run the installer to bring up the window in Figure 2-2.
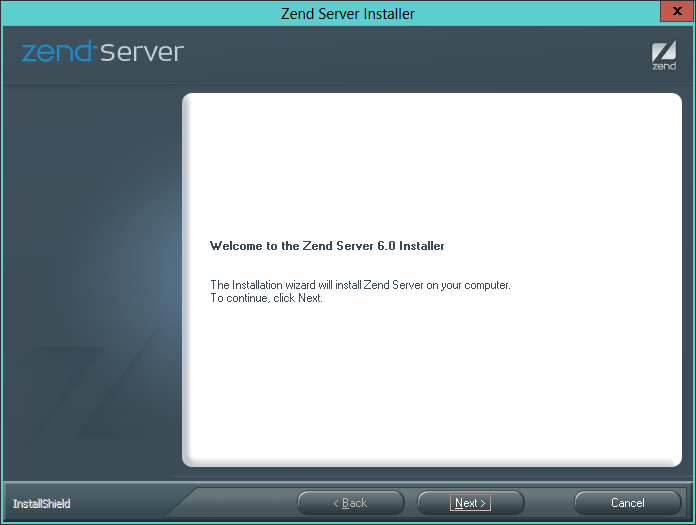
Click Next and accept the license agreement that follows to move onto the Setup Type screen (see Figure 2-3). Select the Custom option so that the MySQL server can also be installed.

When the Custom Setup window appears, scroll down the list of options to the bottom and ensure that MySQL Server is checked, as shown in Figure 2-4, then click Next.

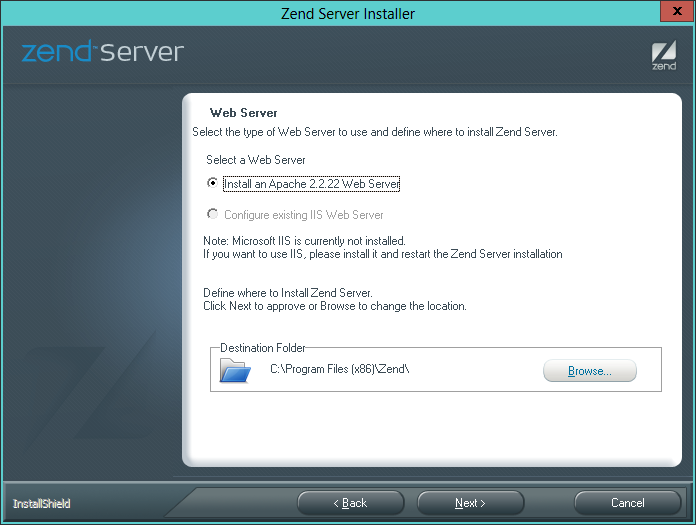
On the following screen (Figure 2-5), even if you already have an IIS web server installed, I recommend that you choose to install the Apache web server because the examples in this book are for Apache. After that, click Next.
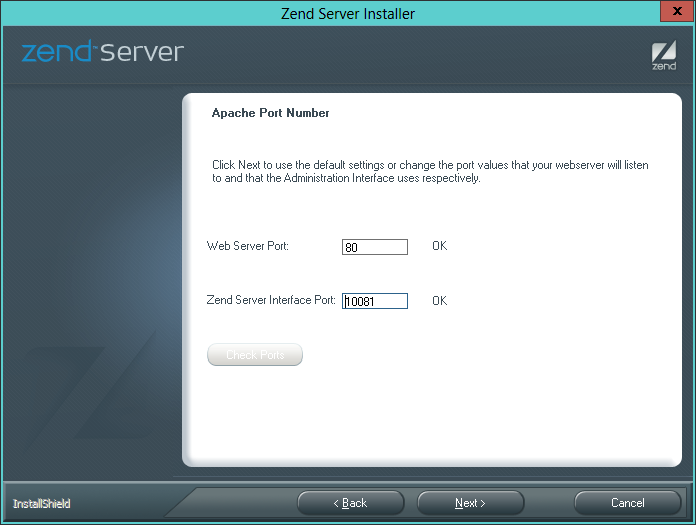
Now accept the default values of 80 for the Web Server Port, and 10081 for the Zend Server Interface Port (see Figure 2-6). Click Next.
Note
If either of the offered ports state that they are occupied (generally this will be because you have another web server running), and they don’t allow you to use the defaults, then try a value of 8080 (or 8000) for the Web Server Port and 10082 for the Zend Server Interface Port. Be sure to remember these values later when accessing either web pages or the Zend server. For example, instead of visiting http://localhost in your web browser, you would use localhost:8080/index.htm.
Once the ports have been assigned, you will reach the screen in Figure 2-7. Click Install to start the installation.

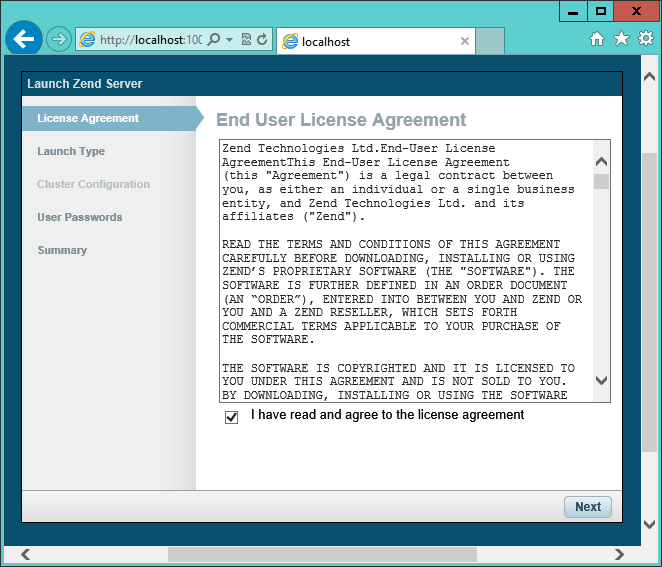
During installation, some extra files may be downloaded, so it may take a few minutes for the programs to get set up. But when they are ready, you will be notified and offered to start using the software by clicking Finish. When you do so, your default browser will open with the page shown in Figure 2-8. To continue, you must check the box to agree with the terms.
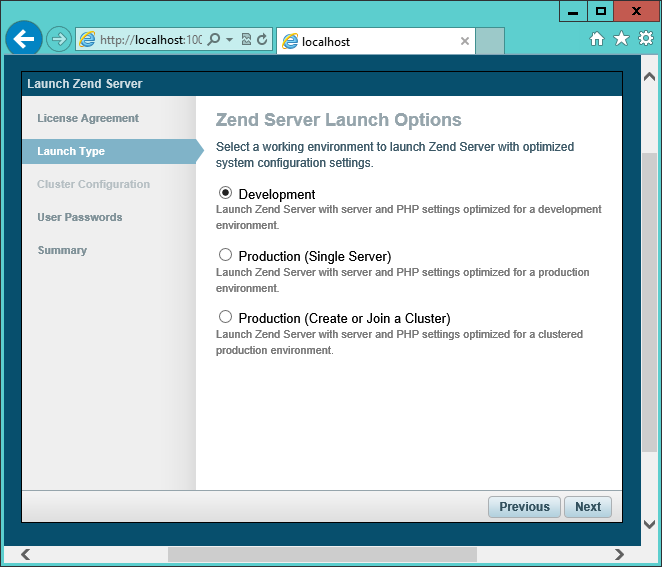
Next, you are asked how you will be using the server. I recommend you select the Development option for the purposes of working through the exercises in this book (see Figure 2-9).
Now you are ready to set a password for the user
admin (see Figure 2-10). You do not need to
enter a password for the user developer. Make sure you
choose a password that you will remember.

Click Next to proceed to the screen shown in Figure 2-11. You can now click Submit to finish installation. Note that the “Create or Join a Cluster” option may not appear on the OS X version of the installer.

After a short wait, your browser will show the Dashboard screen in Figure 2-12, which is the place where you can administer the server.
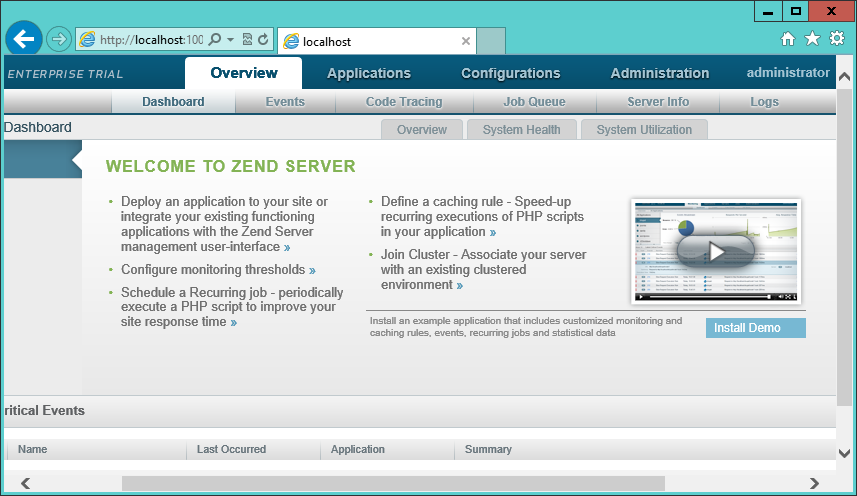
You can return to this screen at any time by entering http://localhost:10081 into your browser. Or, if you entered a value other than 10081 for the Zend Server Interface Port (or 10088 on a Mac), you can get to this screen by using that value after the colon instead.
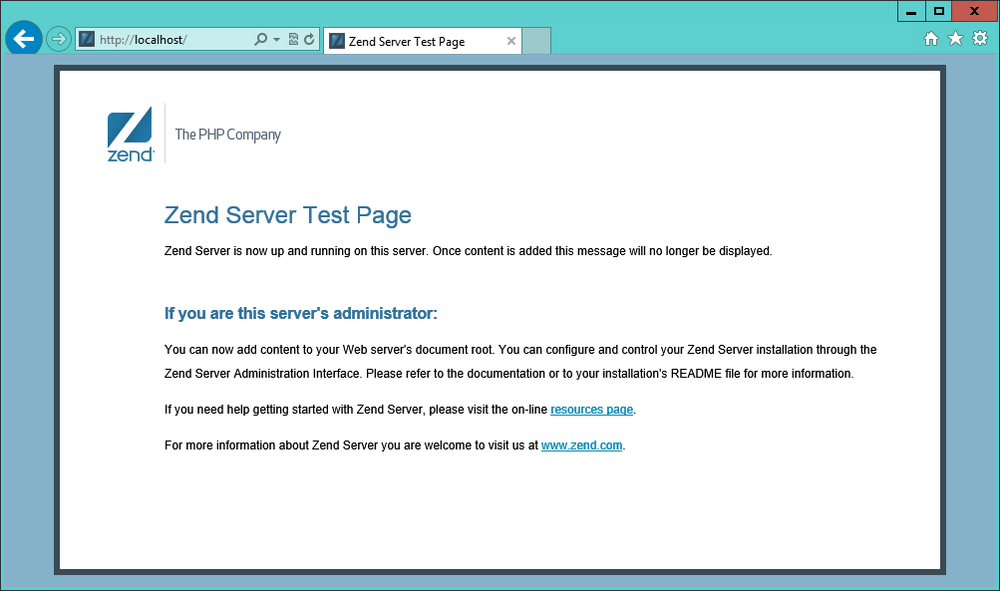
Testing the Installation
The first thing to do at this point is verify that everything is working correctly. To do this, you are going to try to display the default web page, which will have been saved in the server’s document root folder (see Figure 2-13). Enter either of the following two URLs into the address bar of your browser:
localhost
127.0.0.1
The word localhost is used in URLs to specify the local computer, which will also respond to the IP address of 127.0.0.1, so you can use either method of calling up the document root of your web server.
Note
If you choose a server port other than 80 during installation (such as 8080) then you must insert a colon, followed by the new value after either of the preceding URLs. For example: localhost:8080. You will also have to do the same for all example files in this book. For instance, instead of entering the URL localhost/example.php, you should enter the following one: localhost:8080/example.php (or whatever value you choose).
The document root is the directory that contains the main web documents for a domain. This is the one that is entered when a basic URL without a path is typed into a browser, such as http://yahoo.com, or for your local server, http://localhost.
By default, Zend Server uses one of the following locations for this directory (the former for 32-bit computers and the latter for 64-bit):
C:/Program Files/Zend/Apache2/htdocs
C:/Program Files (x86)/Zend/Apache2/htdocs
Note
If you are not sure whether your computer is 32-bit or 64-bit, try to navigate to the first directory and, if it exists, you have a 32-bit machine. If not, open up the second directory because you have a 64-bit computer.
To ensure that you have everything configured correctly, you should now create the obligatory “Hello World” file. So create a small HTML file along the following lines using Windows Notepad or any other program or text editor. Do not use a rich word processor such as Microsoft Word (unless you save it as Plain Text):
<html>
  <head>
    <title>A quick test</title>
  </head>
  <body>
    Hello World!
  </body>
</html>
Once you have typed this in, save the file into the document root directory previously discussed, using the filename test.htm. If you are using Notepad, make sure that the “Save as type” box is changed from “Text Documents (*.txt)” to “All Files (*.*).” Or, if you prefer, you can save the file using the .html file extension.
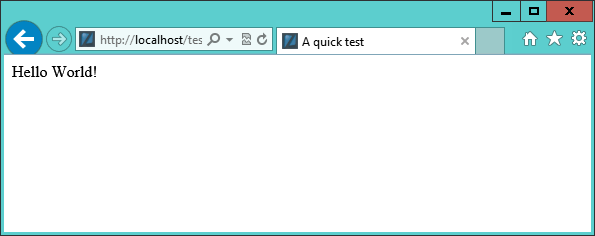
Now you can call this page up in your browser by entering one of the following URLs (according to the extension you used) in its address bar (see Figure 2-14):
http://localhost/test.htm
http://localhost/test.html
You should now have had a trouble-free installation, resulting in a fully working WAMP. If you encountered any difficulties, check out the comprehensive Documentation at http://tinyurl.com/zenddocs, which should sort out your problem.
Alternative WAMPs
When software is updated, it sometimes works differently than you expect, and bugs can even be introduced. So if you encounter difficulties that you cannot resolve, you may prefer to choose one of the various other solutions available on the Web instead.
You will still be able to make use of all the examples in this book, but you’ll have to follow the instructions supplied with each WAMP, which may not be as easy to follow as the preceding guide.