HONEY FACIAL SCRUB
A great exfoliating face wash makes all the difference in the world. And I know because, over the years, I have more than done my part to keep the skincare industry in business. The problem, though, with so many of the fancy face scrubs I used to buy (and buy and buy) is that while they smelled nice and may have made my skin look good, they were really expensive and—worse—often contained plastics, irritating fragrances, glycerin, parabens, phthalates, and other dubious ingredients.
A few years ago, after trying—and failing—to decode the ingredient list on a super-high-end sugar scrub I was using, I decided to try my hand at making my own. I figured there couldn’t be much more than sugar in a good sugar scrub! This recipe is the result. With nothing more than brown sugar (a gentle exfoliant and source of bacteria-fighting glycolic acid) and honey (a natural humectant and bacteria zapper), this scrub smooths, buffs, and draws moisture to the skin, leaving it soft and supple. Use it once or twice a week to keep your complexion clear and your skin looking healthy.
Makes 1 treatment
1 tablespoon raw honey
1 tablespoon light brown sugar

Combine the honey and sugar in the palm of your hand. Massage into clean, damp skin in a circular motion. Rinse thoroughly with warm water. Pat dry.
CUCUMBER HONEY TONER
I have to confess that I’ve misjudged toner over the years. I think that because my initial introduction to it was as a teenager using a popular blue-tinted “astringent,” my assumption was always that toner was supposed to be a super harsh, this-stings-so-it-must-be-working kind of thing. Not the case, actually. Think of toner as the dental floss of the skincare world. Yes, a good face cleanser is important, just like brushing with toothpaste is the backbone of good oral hygiene, but you aren’t really done cleaning your mouth until you floss away all the gunk your toothbrush can’t reach. Same with toner—you really haven’t finished washing your face until you use toner to clear your pores of whatever remaining residue and impurities your cleanser missed. Plus, toner helps balance your skin’s pH (i.e., how acidic it is), which goes a little off after washing. This easy DIY toner recipe is perfect for calming, balancing, and cleansing skin. The cucumber soothes and softens because it has the same pH as healthy skin, and the honey helps maintain moisture. Use it regularly, and you’ll be armed against dry skin, a puffy face, blemishes, and other assorted skin blahs.
Makes about ½ cup
1 medium cucumber, peeled and roughly chopped
2 teaspoons honey
1. Place the cucumber chunks in a blender and process until smooth.
2. Strain the cucumber puree through a cheesecloth-lined sieve (you can also use a paper coffee filter), allowing all the juice to collect in a glass bowl or measuring cup. Give it about 15 to 20 minutes.
3. Pour the cucumber juice into a clean glass bottle or jar and add the honey. Shake well to combine. Refrigerate for up to 1 month.
4. To use, shake the bottle and saturate a cotton pad or two with the toner. Sweep over your clean face, neck, and décolletage. Continue with your regular skincare routine.
ZIT ZAPPER
There’s a lot I don’t miss about being a teenager: algebra, questionable haircuts, general social awkwardness, and, of course—clichéd as it may be—pimples. While I never had severe acne (just severely bad hair), I always depended on my trusty tube of thick, white, harsh, and drying zit cream to get me through occasional breakouts. Fast-forward a few years and guess what? I still have to contend with the occasional pimple, even now that I’m (supposedly) a grown-up. Suffice it to say, I’ve had a long time to test out all kinds of treatments and can tell you that my favorite at-home remedy for acne is green tea and honey. Green tea is a natural anti-inflammatory and can decrease redness and swelling, while honey—an antibacterial, as we know—can destroy acne-causing germs. This remedy is quick, easy, and really mild (yet effective), making it safe for all skin types, even sensitive skin. And, most important, it’ll zap any zit that dares to show up.
Makes 1 treatment
1 tea bag green tea
8 ounces boiling water
1 teaspoon honey
1. Place the tea bag in the hot water and allow to steep for 5 minutes.
2. Add the honey and stir to dissolve. Allow the mixture to cool completely.
3. Once cooled, soak a cotton ball in the liquid and apply it to the pimple for at least 1 minute. Allow to dry.
BRIGHTENING AND TIGHTENING FACIAL MASK
Here’s a spa-quality treatment to make at home that will exfoliate, brighten, and moisturize your skin—no appointment necessary! It’s potent yet gentle enough for most complexions, and super easy to (literally) whip up. The ingredient list may look wacky (I know, I know, mayonnaise seems weird), but trust me on this one. It works! The vitamin C and alpha hydroxy acids in the strawberries and the naturally grainy bee pollen granules exfoliate the skin, helping the honey, which we know is a potent humectant, to better penetrate and work its magic. Olive oil is a fantastic moisturizer and is infused with antioxidants. Mayonnaise is rich in omega-3 and -6 fatty acids that repair damaged skin and promote cell regeneration and it gives a hit of vitamin A, vitamin K, and proteins that improve skin’s elasticity. And as for the essential oil? Well, that’s because . . . mayonnaise.
Makes 1 treatment
3 strawberries, mashed
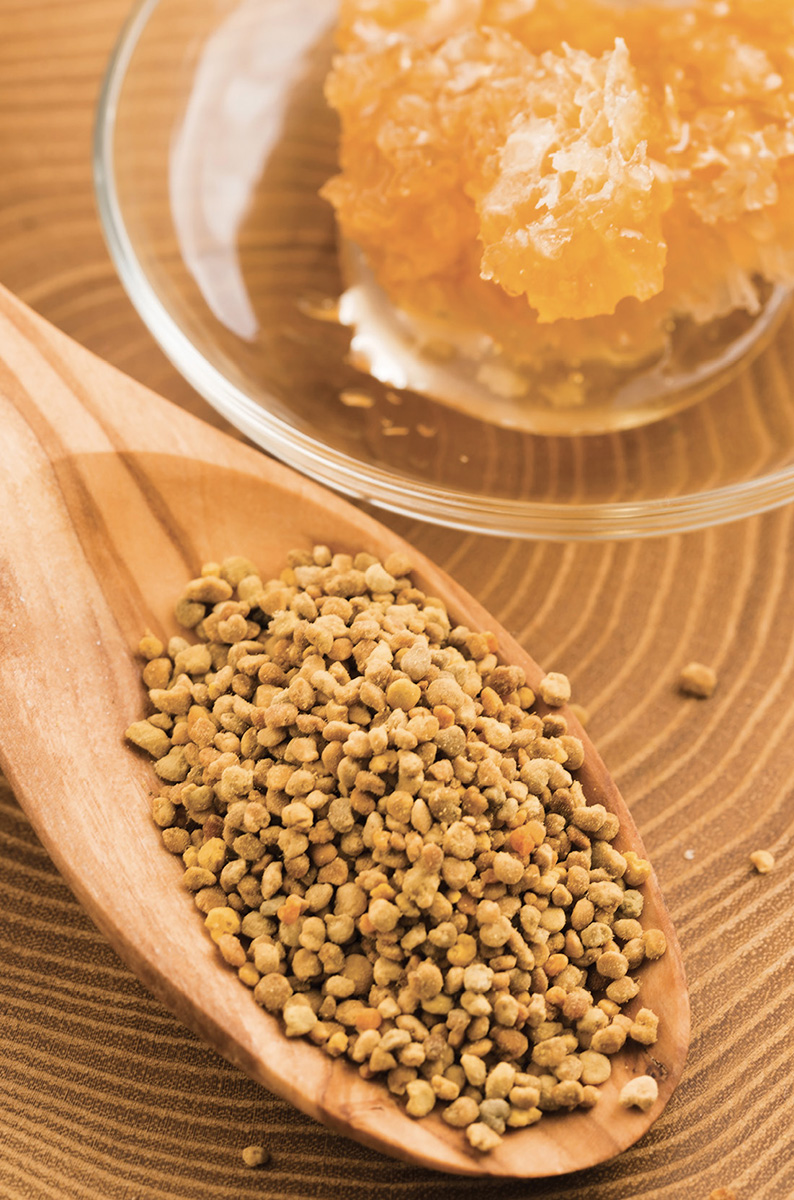
2 tablespoons bee pollen granules
2 tablespoons honey
1 teaspoon olive oil
2 teaspoons store-bought mayonnaise
2 to 3 drops of essential oil, such as lavender, rose, or lemon

1. Place all the ingredients in a small bowl. Whisk to combine.
2. Apply the mixture to a just-cleaned face, avoiding the eye area. Relax for 20 minutes, then rinse with warm water.
HOMEMADE LIP BALM
Surprisingly quick and staggeringly easy to make, this stuff is da balm! With ingredients that moisturize and protect, this balm is not only as effective for soothing and preventing chapped lips as any ready-made lip balm you might grab at the checkout line at the grocery store—if not more so—but it’s 100 percent natural and much less expensive. The shea butter and coconut oil offer a silky, smooth texture that glides on like a dream. The added honey makes it ever so slightly sweet and extra moisturizing and the peppermint oil gives it a fun, cooling sensation. And speaking of oils, this recipe is completely customizable, so . . . say, you don’t like peppermint? No problemo! Use something else, such as lavender, vanilla, orange, or chocolate (gasp!). You can even get creative and add color or shimmer (see note) to your lip balm, which, of course, absolutely screams “gift giving.” If you want, you can even decorate the pots or tubes with cute labels, a bit of paper or some fun washi tape, and then all that’s left to do is open your own Etsy shop.
Makes 10 to 12 pots or tubes
3 tablespoons coconut oil
1 tablespoon beeswax pellets
1 teaspoon shea butter or cocoa butter
1 teaspoon honey
6 to 8 drops food-grade peppermint oil
Lip balm tubes or tins
1. Combine the coconut oil, beeswax, and shea butter in a small, heat-safe bowl or mason jar and place into a small saucepan filled with water over medium-low heat, stirring until the mixture is completely melted. Add the honey and stir to incorporate.
2. Remove from the heat and stir in the peppermint oil, then carefully pour into tubes or tins and let set for at least 1 hour.
3. Store in a cool, dry place.
Note: To add color to homemade lip balm, add a bit of lipstick to your wax and oils as they are melting—just scrape a bit off the end of the lipstick. The more you add, the more intense your hue will be. Stir well for even color. And if you (or your kids) want to add a touch of sparkle—use edible glitter! Yep, from the baking aisle of your local craft store.
LIP SCRUB
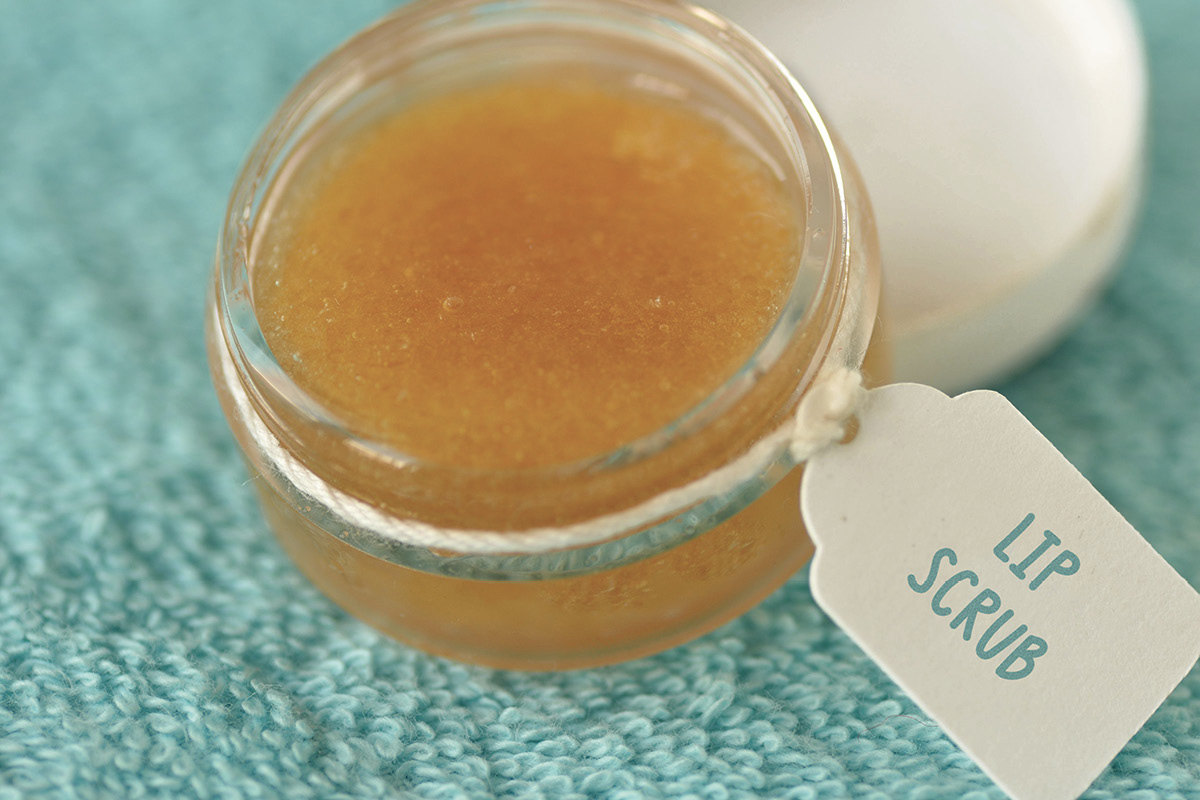
On a recent morning, as I was standing outside in front of our compost pile, I started to wonder whether there was something amazing, useful, and cool I could be doing with the morning’s spent coffee grounds as I was about to add them to our growing pile of kitchen scraps. Curious, I brought them back inside and then it took all of about half a second of Googling to find out that there are about a bazillion amazing, useful, and cool things one can do with old coffee grounds. Where had I been?! Turns out you can use coffee grounds to repel slugs in the garden, scour pots and pans, mask furniture scratches and remove onion smell from your hands—to name but a few. My favorite discovery, however, is this awesome lip scrub. With just three products from your kitchen cupboard—coffee grounds, olive oil, and honey—you can make a great scrub in less than five minutes. And lest you think that scrubbing your lips is a completely ridiculous and unnecessary step in a beauty routine that already asks more of you than you have to give (as I did), let me just say this: to really, effectively moisturize dry, chapped lips, you have to get rid of the old, cracked, dead skin cells before you slather on lip balm. Otherwise, the moisture can’t get where it needs to go; it’s blocked by a barrier of blech. You’ll especially love this stuff when winter rolls around, and you’re desperate for some moisture and softness. Use once or twice a week to remove flakes and soften and polish your pout.
Makes 2 or 3 treatments
2 tablespoons used coffee grounds
1 teaspoon honey
½ teaspoon olive oil

1. Combine all the ingredients in a small bowl or jar, stirring until well blended.
2. Use your finger to apply some of the mixture to your lips and, using a circular motion, scrub for up to 1 minute.
3. Rinse off with water and pat dry.
CONDITIONING HAIR TREATMENT
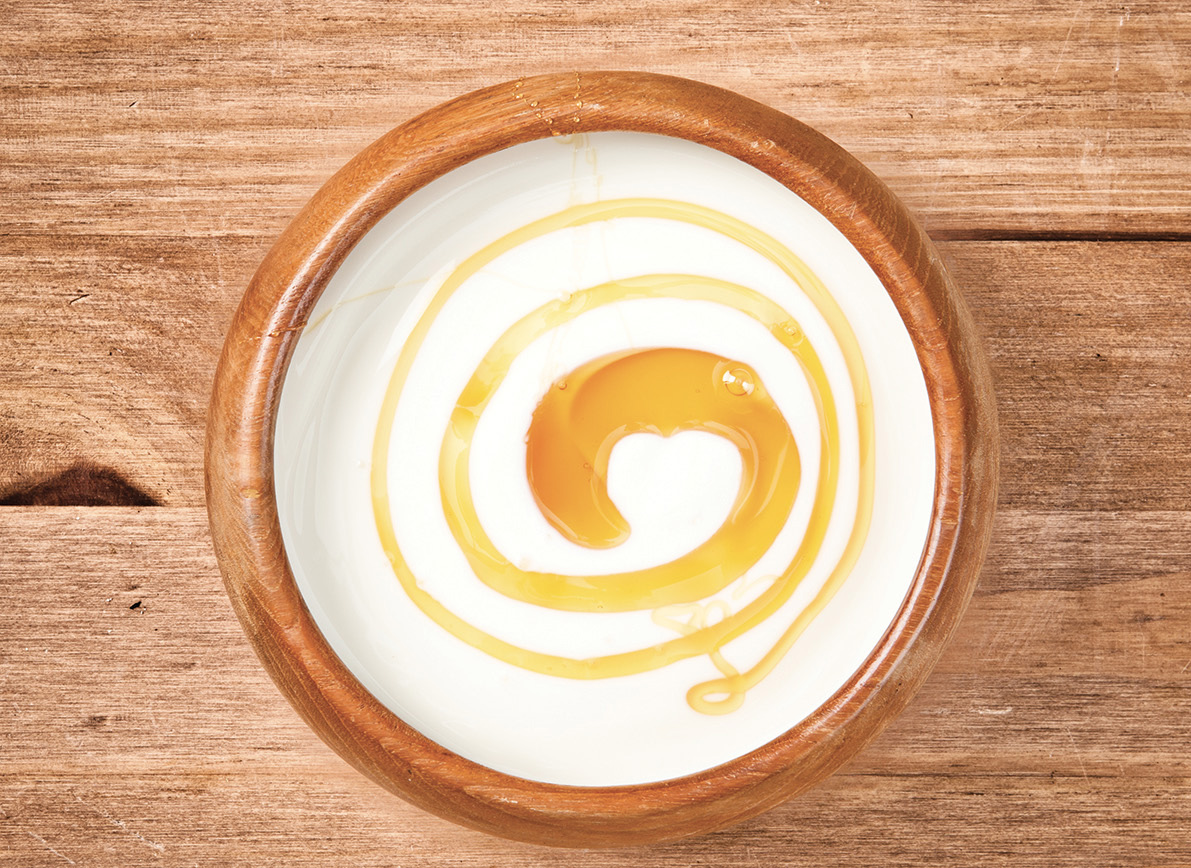
Hair coloring, heat styling, sun, and dry weather, even your hair’s natural texture—especially if it’s curly—can leave you with dry and/or damaged hair. With my own head of curly, tending-toward-dry hair, I’ve invested significant time and serious cash searching high and low, near and far, in drugstores, salons, health food stores, and online for the best hydrating hair products. Of course, when it comes to DIY hair treatments, this ain’t my first rodeo. Believe me, there isn’t much I won’t dump on my head in the name of hair hydration—bananas, eggs, olive oil, mayonnaise, coconut oil, beer . . . I’ve tried them all to see which, if any, could turn my parched hair into the soft and shiny tresses of my dreams. The problem with a lot of those homemade treatments is that they tend to leave my hair greasy or limp or both. Not exactly what I’m going for. But this honey treatment? This one is different. First of all, there’s no oil to speak of, so you won’t end up with hair that is weighed down or dirty-looking, which can happen after an oily treatment. Plus it combines just two natural ingredients—honey and yogurt—both of which are incredibly nourishing, hydrating, and emollient. And my favorite part? If you’re running late in the morning, you can make a double batch and eat half for breakfast. I’m (half) kidding!
Makes 1 treatment
2 tablespoons plain, whole-milk yogurt (or more for longer hair)
1 tablespoon honey (or more for longer hair)

1. Combine the yogurt and honey in a small bowl.
2. Work the mixture onto your hair, from roots to ends, massaging the mask into your scalp.
3. Leave the mixture on your hair for 15 to 20 minutes, covered with a plastic shower cap if you like, before rinsing thoroughly.
4. Use this treatment once a week to restore and maintain your hair.
THE PERFECT SHOWER GEL
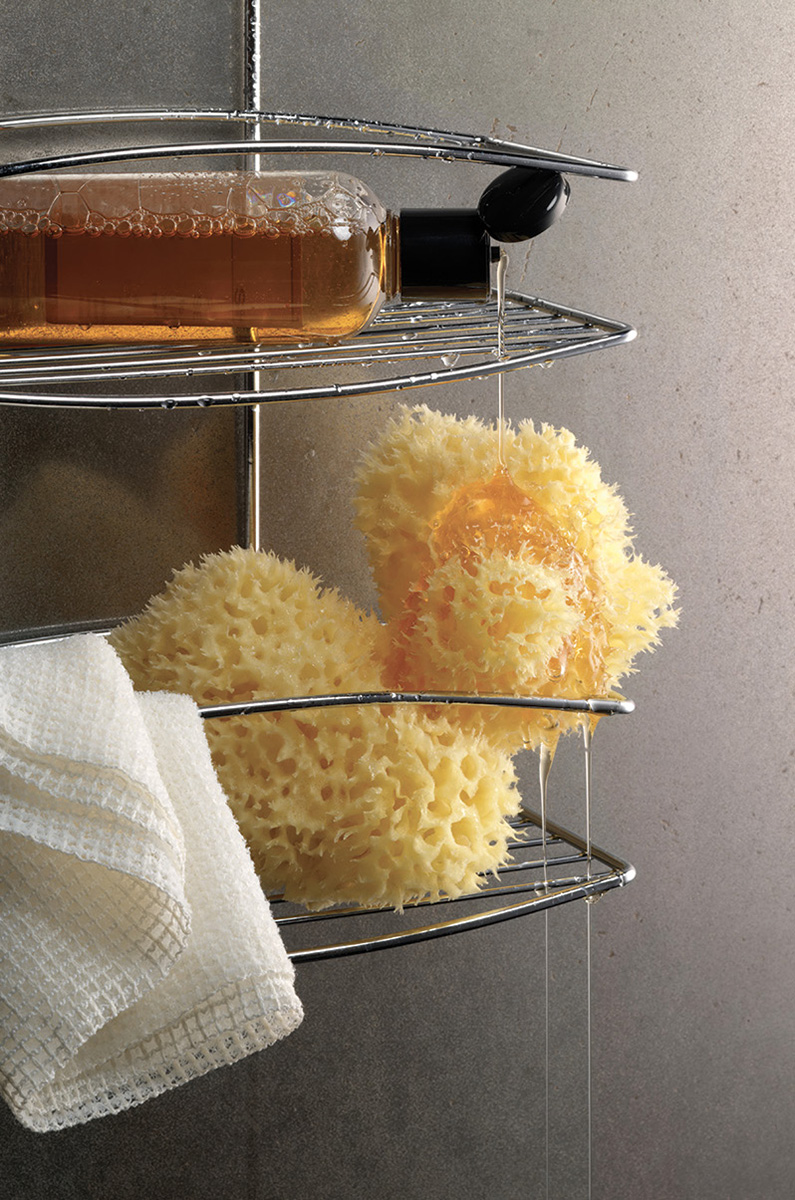
If asked to describe the difference between taking a bath and taking a shower, I’d be willing to bet that most people would characterize baths as indulgent and relaxing and showers as more or less compulsory. And, while it’s true that there’s something intrinsically soothing about soaking in a warm tub, especially one that’s scented with something lovely like lavender, a shower can be restorative and calming, too—if you’re using the right stuff. This homemade body wash is not only good for your skin, with gently cleansing Castile soap, emollient oils, and nourishing honey, it smells freaking fantastic and feels super luxe on your skin. Because there are no weird chemical emulsifiers in there, you may find that it separates a bit in the shower. This isn’t a problem. Just give the bottle a good shake before you use it, then take a deep breath in. Smell that? That’s the sweet, sweet scent of the perfect shower gel.
Makes about 1 cup
⅔ cup unscented liquid Castile soap
¼ cup honey
2 teaspoons jojoba, almond, or untoasted sesame oil
1 teaspoon vitamin E oil
50 to 60 drops essential oil (see note)

1. Combine all the ingredients in a bottle with a squirt top or a pump, shaking to mix.
2. To use, shake well, then squirt onto a washcloth or directly onto your body.
A few words on fragrance: The sky’s the limit when it comes to scenting your shower gel. Any combination of essential oils will work here—use one, use a few—just be sure to use scents you really love and you can’t go wrong. If you’re looking for ideas, here are a few that I happen to like, listed with some of their skin benefits:
Geranium: Great for oily skin, acne, dull skin, eczema.
Grapefruit: Tones and cleanses.
Lavender: Good for all skin types. Soothing scent.
Patchouli: Antimicrobial, astringent, beneficial for cracked and chapped skin.
Rosemary: Stimulating and restorative. Good for acne, eczema, and dermatitis.
Sandalwood: Great for all skin types, especially mature skin.
Sweet orange: Brightening and revitalizing.
Tea tree: Antibacterial; highly therapeutic for acne and inflamed skin.
Vanilla: Antibacterial. Great for general skin care.
MOISTURIZING LOTION BARS
Lotion bars have been kind of a revelation in my house and I’ll tell you one of the reasons: Have you ever witnessed the horror show that is a tube of lotion in the hands of a toddler? The aftermath looks like a crime scene after the murders of many, many marshmallows. Lotion bars are solid, like a bar of soap, so there’s no squeezing involved, which makes them not only toddlerproof, but also perfect for traveling, gift giving, and everyday use. They’re solid at room temperature—thanks to honey’s superstar cousin, beeswax—but the warmth of your skin softens and melts the bars, so to use them, all you have to do is rub one over the surface you want to moisturize, and voilà—you’ve got lotion where you need it. I love these bars in winter when my hands are raw and cracked from the cold, dry air. I keep one in my handbag, one on my nightstand, and one at the kitchen sink. In summer, I stash one in the pool bag to use as an after-sun soother. You can certainly get fancy with these, using cute molds or adding fragrance, spices, or shimmer (see lip balm notes, page 153), but the truth is, you really can keep it simple and still end up with a fabulous moisturizer. I’ve made these bars in muffin tins and ice cube trays, both of which work perfectly well. You can even spray the sides of a loaf pan with nonstick spray and then cut slices for individual use.
Makes about 1 cup; number of bars depends on mold size
BASIC LOTION BAR:
⅓ cup coconut oil
⅓ cup shea butter or cocoa butter
⅓ cup beeswax
1. Combine the coconut oil, shea butter, and beeswax in a small, heat-safe bowl or mason jar and place in a small saucepan filled with water over medium-low heat, stirring until the mixture is completely melted.
2. Pour the melted ingredients into molds.
3. Set aside and allow to cool, about 30 minutes to an hour, until solid.
4. Remove the bars from the molds and store away from direct sunlight and direct heat for up to a year.
Lavender Lotion Bars:
Stir 10 drops of lavender essential oil and 1 tablespoon of dried lavender buds into the melted ingredients, then proceed with the recipe.
Bronzing Lotion Bars:
Stir 1 tablespoon of bronze mica powder, 1 teaspoon of unsweetened cocoa powder, and ½ teaspoon of ground cinnamon into the melted ingredients, then proceed with the recipe.
Sore Muscle Treatment Bars:
Stir ½ teaspoon of ground cayenne pepper, 1 tablespoon of menthol crystals, and 10 drops of peppermint or wintergreen essential oil into the melted ingredients, then proceed with the recipe.
MILK AND HONEY ELBOW SOFTENER
So, you’ve got yourself some dry elbows. Well, guess what? You aren’t alone. Dry, flaky, even cracked elbows are not only annoying, but fairly common. See, the skin on your elbow is quite different from the skin on other parts of your body. It tends to be much thicker and, because there are fewer oil-secreting glands there, it’s drier than other parts. And here I thought having thick skin was a good thing! Actually it is—since elbow skin is so thick, it’s able to withstand all the stretching, bending, and friction it endures day in and day out, which is great and all, and let’s all be grateful for our working parts, but still! Rough, darkened, leathery elbows stink, especially if you’re rocking a sleeveless look. Here’s a treatment to use on those unsightly suckers that combines soothing, hydrating honey with milk—a source of lactic acid that exfoliates, lightens, and brightens skin. Use it daily, and you’ll see smoother, softer elbows before you know it!
Makes 1 treatment
½ cup milk
2 tablespoons honey
1. Stir the milk and honey together in a small bowl.
2. Massage the mixture into your elbows and allow it to penetrate the skin for 5 to 10 minutes.
3. Rinse thoroughly, pat dry, and follow with a thick moisturizing cream.
SKIN-SOFTENING HONEY BATH
Quick literary quiz: Who was Shakespeare talking about when he wrote, “Age cannot wither her”? I’ll give you a hint: she was a legendarily beautiful Egyptian queen, famous for her über-trendy winged eyeliner, who captured the hearts of both Julius Caesar and Mark Antony. Did you guess Elizabeth Taylor? Ohhhh, so close! The answer, of course, is Cleopatra. Renowned for her radiance, she famously bathed in milk and honey. (Apparently, she used donkey’s milk, but no need for us to dwell on that detail. Move along, move along.)
And now you, too, can give your skin the royal treatment with this luxurious bath—using milk (which contains exfoliating lactic acid), and honey (which softens, hydrates, and all-around pampers). For a decadent bath that will not only rejuvenate your skin but also give you a mini escape from the stress of daily life, give this a try.
Makes 1 bath
2 to 3 cups whole milk, or 1 cup powdered whole milk
½ cup honey
¼ cup almond oil (optional)
1. Pour the milk, honey, and almond oil (if using) into your bath water as you’re filling the tub.
2. Lie back, relax, and enjoy a luxurious soak, Your Majesty.
HONEY MINT MOUTHWASH
I don’t want to freak you out or anything, but I thought you should know: your mouth is full of bacteria—millions and millions of bacteria, good and bad. If you’re wondering whether that’s what accounts for stinky breath, then ding-ding—you are correcto! Bacteria like to eat, and when they’re done, they have to get rid of their waste, if you know what I mean. Hydrogen sulfide. That is what stinks, and that is what signals us to grab for that bottle of mouthwash. The thing is, commercial mouthwash is full of alcohol, which, yes, kills bacteria, but can actually alter the natural pH of the mouth. It also contains detergents, fake sugars (e.g., sorbitol and saccharin), synthetic colors (why is it blue?), and artificial fragrance and flavorings—all of which mess with the natural flora in your mouth. The good news is that making your own all-natural mouthwash is incredibly easy, as in five ingredients easy. Of course, one of those ingredients is honey, which contrary to what you may be thinking, does not promote tooth decay. Just the opposite, thank you very much! Here, honey not only makes this mouthwash taste sweet, but it also helps kill the bad bacteria that are giving you dragon breath.
Makes 2 cups
1 cup warm distilled or filtered water
1 tablespoon honey
Juice of ½ lemon
5 drops food-grade spearmint oil
5 drops food-grade peppermint oil
5 drops food-grade anise or clove oil
1. Combine all the ingredients in a glass bottle or jar. Stir or shake well. Store in a cool, dark place.
2. To use: shake well, then swish around in your mouth and/or gargle for 1 to 2 minutes. Spit, rinse, and enjoy fresh breath.
