CHAPTER 3
Storing & Organizing
A kitchen’s organizational system doesn’t need to be perfect; it just has to support the cooks who use it. You don’t have to buy a bunch of matching bins if that’s not your style. There are lots of ways to organize—baskets, shelves, racks, bins, jars, and beyond!—and the quirks are what make a kitchen uniquely geared for you. In this chapter, we cover all things decluttering, storing, and organizing tools and ingredients, plus how to come up with systems that work for you and your space.
USE THIS CHAPTER

To Find a Home for Every Kitchen Helper
 YOUR WORKSPACE
Meet the Rhombus
Take a look around your kitchen. What shape is it? What are the parts of it you visit most? They’re probably the sink, the fridge, and the stove—a trio so ubiquitous that designers and architects call it “the triangle.” We’d add the counter as a fourth destination, making our kitchen a…rhombus. This well-worn rhomboid groove consists of the most productive spots in the space. Internalize these four zones, and what happens at each—we’ll tell you how to make the most of them on this page.

5 Tips for Sharpening Up Your Route Through the Kitchen
There’s lots that can be done to make your path more easily traveled, or to make each “stop” more productive. The less running back and forth you have to do, the more seamless your cooking will be. You probably already do some of these things intuitively.
-
Embrace the rhombus. Give each station equal importance by making it as efficient (and pleasant to be at) as possible. That might mean adding a cushioned mat in front of the counter to make Sunday meal prep more comfortable. Or, try storing mixing bowls, storage containers, and a compost bin on or near the counter. The sink might be stocked with soaps, brushes, kitchen towels, and hand lotion. Pans, cooking utensils, and ingredients want to be near the stove, along with your recipe cards and cookbooks.
-
Then go beyond it. What else do you use your kitchen for? Homework? Eating? Cocktail parties? Consider making “stations” for those uses: a desk complete with a jar full of pens and a bin for wrangling charging cords; a cozy spot to sit for a meal, with a stash of napkins and placemats; a dedicated drawer of corkscrews, toothpicks, and tea lights.
-
Think about what you use most often—and what you don’t. If you can, keep only what you use daily out on the counter. Organize cabinets and shelves so that your most-reached-for tools and ingredients are up front. (After you’ve whirled through the kitchen like the organizing wizard you are, we bet you’ll find more than a few things you don’t need anymore. Head to this page for a how-to on decluttering, and to this page to find out how to donate them.)
-
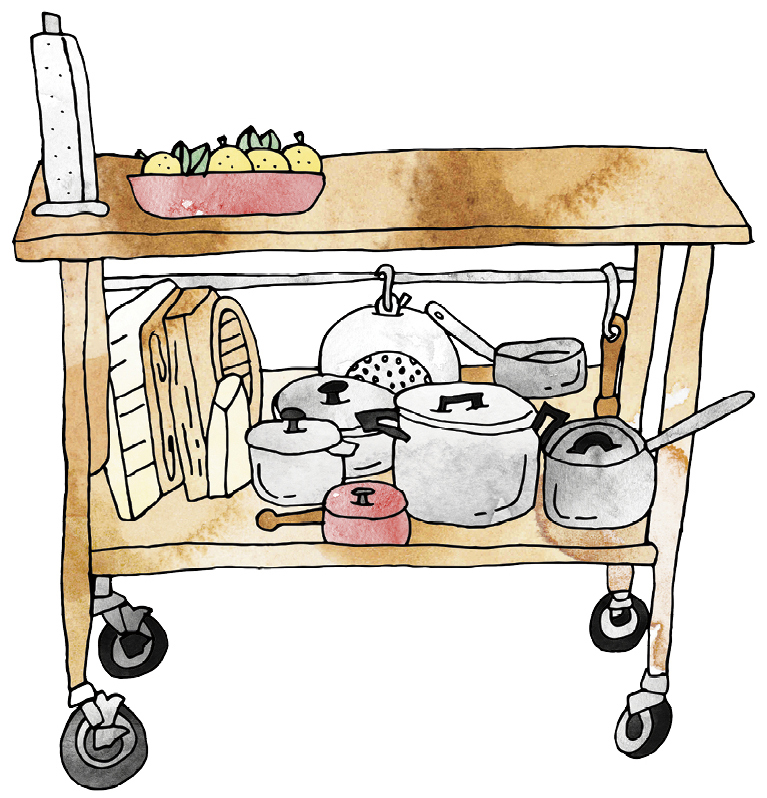
Get creative in smaller spaces. A freestanding cart (topped with a butcher block or otherwise) can transform a countertop-less kitchen, creating a prep zone you don’t have to move anything to access (with extra storage on the shelves below).
-
Make inefficient corners earn their keep. A storage solution can turn an awkward space into an essential one. If you’ve got countertop area to spare, make part of it into a bar or breakfast corner or letter-writing station. Hidden or slim nooks can stash your mop and broom, and too-high or too-low shelves can show off favorite cookbooks, a row of beloved trinkets, or pretty cookware.
Carving Out Your Workspace (the Kitchen’s Busiest Spot!)
A tidy, organized workspace eliminates any and all obstacles to cooking. With everything you need just an arm’s length away, you can simply jump into whatever delicious task you fancy. These guidelines will lead you to a streamlined workspace—one where you can whisk up a vinaigrette, stem and tear greens, and season a piece of meat, all with elbow room to spare.
What Should Be in Your Kitchen Workspace

-
A rack or block of knives
-
A crock or mounted rail with larger essentials, like wooden spoons and silicone spatulas
-
A drawer of smaller essentials, like measuring cups and vegetable peelers
-
A butcher block you can chop directly on, or a nearby stack of cutting boards
-
A drawer, cabinet, rack, or pegboard of mixing bowls and most-used pots and pans
-
A small tray or lazy Susan of basics to get your cooking going, like salt and pepper, oil, vinegar, and favorite spices
What Shouldn’t Be in Your Kitchen Workspace

-
Papers, including mail, dry-cleaning receipts, work or personal documents, the newspaper, and your kid’s field-trip permission slip
-
Your computer and its charger
-
Purses, bags, or backpacks
-
Kitchen tools and appliances that aren’t used daily (like stand mixers or juicers)
ODE TO THE JUNK DRAWER
We love a junk drawer—it helps our main workspace stay organized and clutter-free. So what should go in there? All the little doodads you need on hand that don’t have much to do with cooking (think notepads, rubber bands, batteries, that jumble of clips you fasten chip bags with). House them in shallow boxes, on trays, or in drawer dividers to keep the chaos controlled.

6 Workspace Strategies That Keep Our Test Kitchen Humming
The test kitchen is the heart of the Food52 office. On a busy day, it can see up to twenty wildly different recipes, divided among as many as four cooks. That’s a heavy load for a little kitchen to bear, and it’s possible thanks to a few key features. We’ve identified the six things we love best about this space—including a few you can lift for your own home.
-
Low, open storage racks beneath some of the countertops keep heavy, oft-used pots and pans within reach, show them off, and keep air circulating around them so they dry more quickly. Get this at home with a freestanding kitchen cart or worktable with a roomy countertop and shelving beneath.
-
Multiple workspaces—two long sets of countertops on either side of a single aisle—allow multiple chefs to move and work freely without too much bumping of elbows. If you cook with your whole family, an extra workspace (hi again, kitchen cart) can give everyone breathing room.
-
Good lighting makes the space pleasant to be in. In your kitchen, use bright white lightbulbs (rather than warm white) for a cheerful atmosphere; the better to see your knife work, too.

-
Smart, thoughtfully designed cabinetry fits larger tools, bowls, and some appliances (like the blender and food processor), thanks to adjustable shelves. The doors have a cushioned close, which makes for a lot less slamming. You may not be able to hack adjustable shelves without some home renovation, but you can easily get quieter cabinets: Add a couple of stick-on, sound-dampening door bumpers, which you can find at the hardware store.

-
A rolling speed rack (a tall metal rack that can hold many sheet pans at once) is a restaurant essential that’s also at home in the test kitchen. The cooks load it with multiple projects in various stages, eliminating the need for cooling racks and also keeping the counters clear.

-
In-drawer knife blocks lay flat in the drawers alongside other tools, giving the test kitchen’s expansive knife collection a safe place to hang out when not in use. Our kitchen likes the ones from Messermeister.

 YOUR TOOLS
How to Organize Your Everyday Stuff (Or, How to Unjumble the Jumble)
Now that you’ve set yourself up with everything you need, it’s time to keep it from ending up in a big pile. So ask yourself: What do you use most often, and where do you use it? Does it have a “family” of similar items? How easy is it to access? With this in mind, here are our go-to organizing tools and strategies.

-
Trays wrangle and anchor “sets”—like your daily tea-making supplies near the kettle or your salt, pepper, and oil near the stove.
-
Mini organizing baskets and drawer dividers turn jumbled drawers into orderly ones. These are great for utensils and the small, handheld stuff (your can opener, church key, thermometer, and such).

-
Narrow wall-mounted spice racks, plate hangers, hanging plate racks, or even picture rails show off dishware in style (they’re like art you can eat on!), especially when grouped together by color.
-
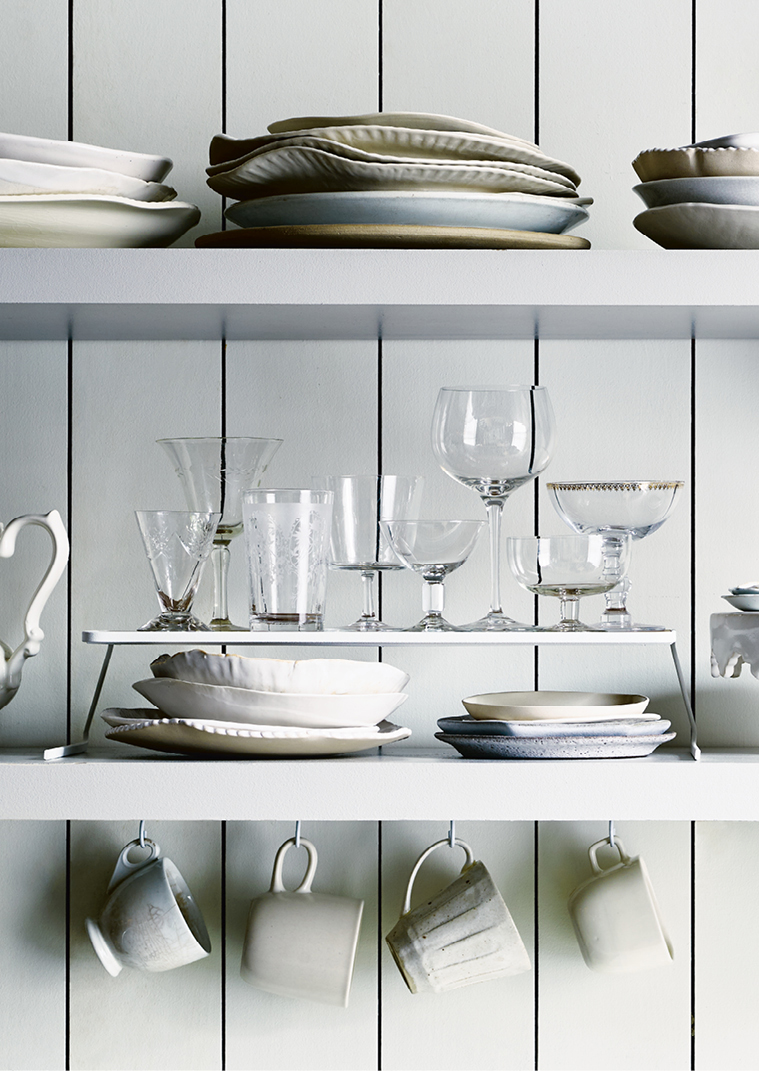
Dish risers create storage space out of thin air.
-
Hanging or freestanding shelves display the prettiest (and biggest) of your tool kit—like pitchers, teapots, and cake stands.
-
Vertical plate holders secure wobbly stacks of dishes in drawers or on shelves.
-
Cup hooks work for mugs, sure, but also for oft-grabbed tools.
-
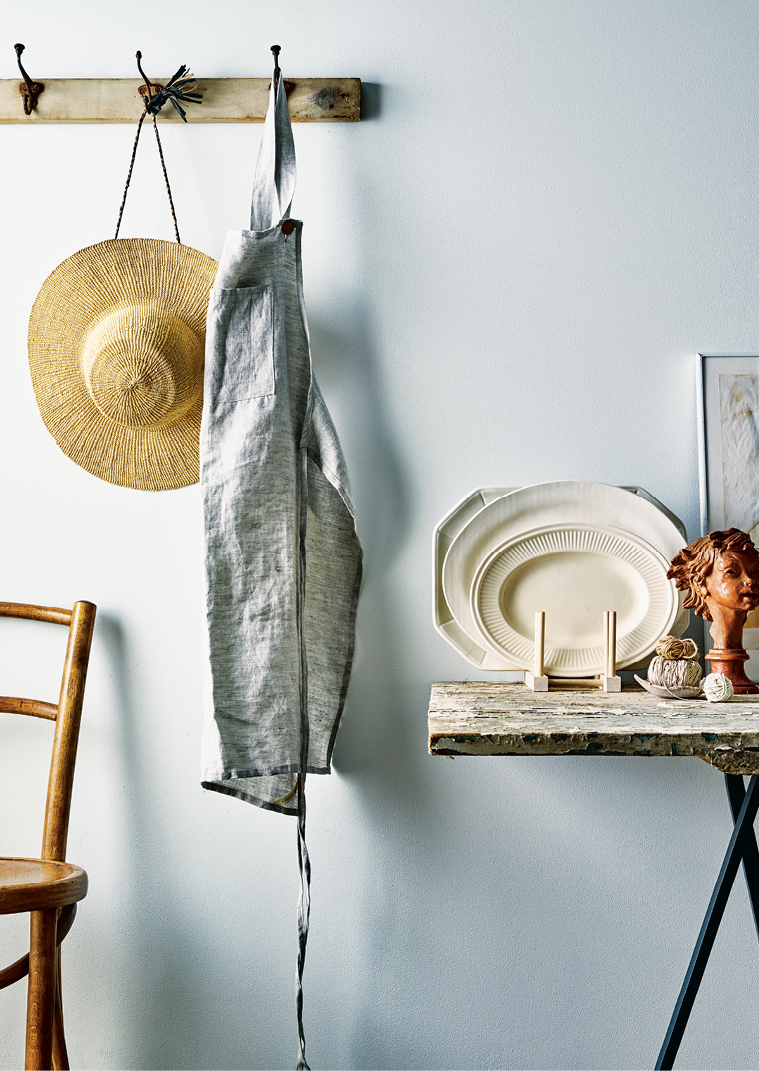
Hooks give a home to kitchen towels, apron straps, baskets, and shopping totes.
-
Mounted Shaker-style peg rails or curtain wire hung like a laundry line will hold anything that can be dangled from an S-hook—like towels, scissors, cup measures, or a braid of garlic.
OUR ORGANIZING HERO
The cutting board rack is a double-railed rack with pegs or other dividers. In addition to our board, we pack them with tools such as sheet pans, platters, and even pot lids on the counter, on a wide shelf, or in a tall cabinet.
Out-of-Our-Way Methods for Storing Pots & Pans
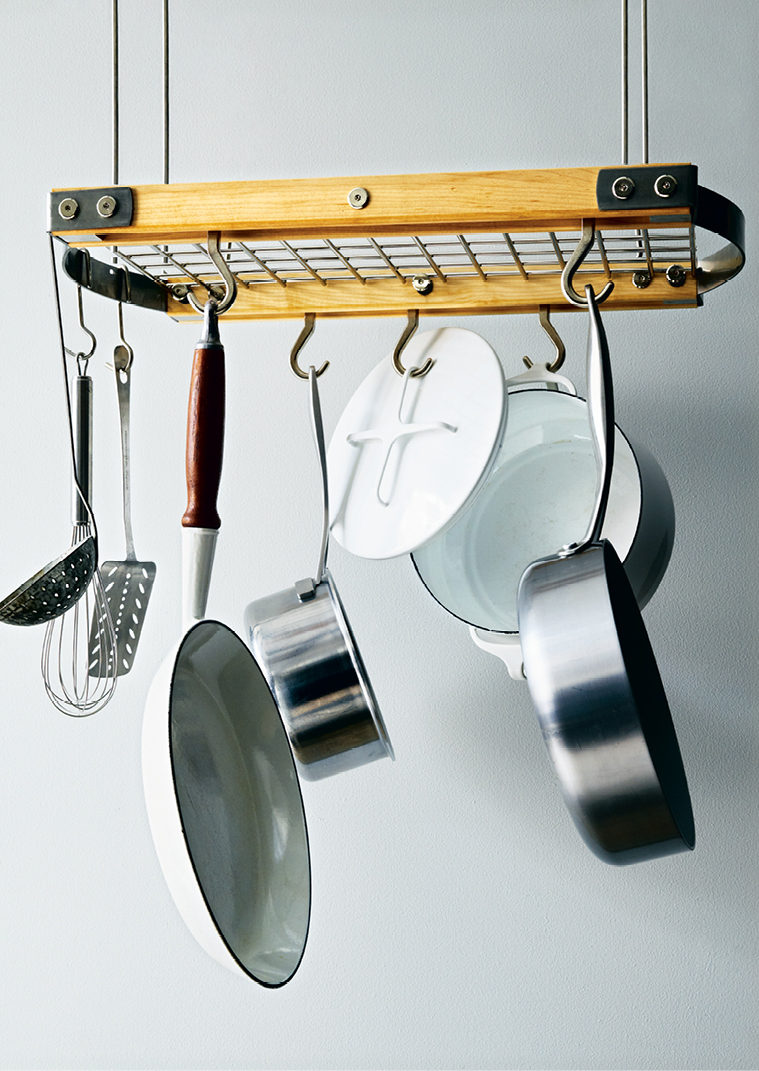
Where to put the pots and pans we reach for daily, for maximum convenience and minimal hefting? We’ve got a bunch of ideas:
-
Dangling from a hanging pot rack suspended from the ceiling
-
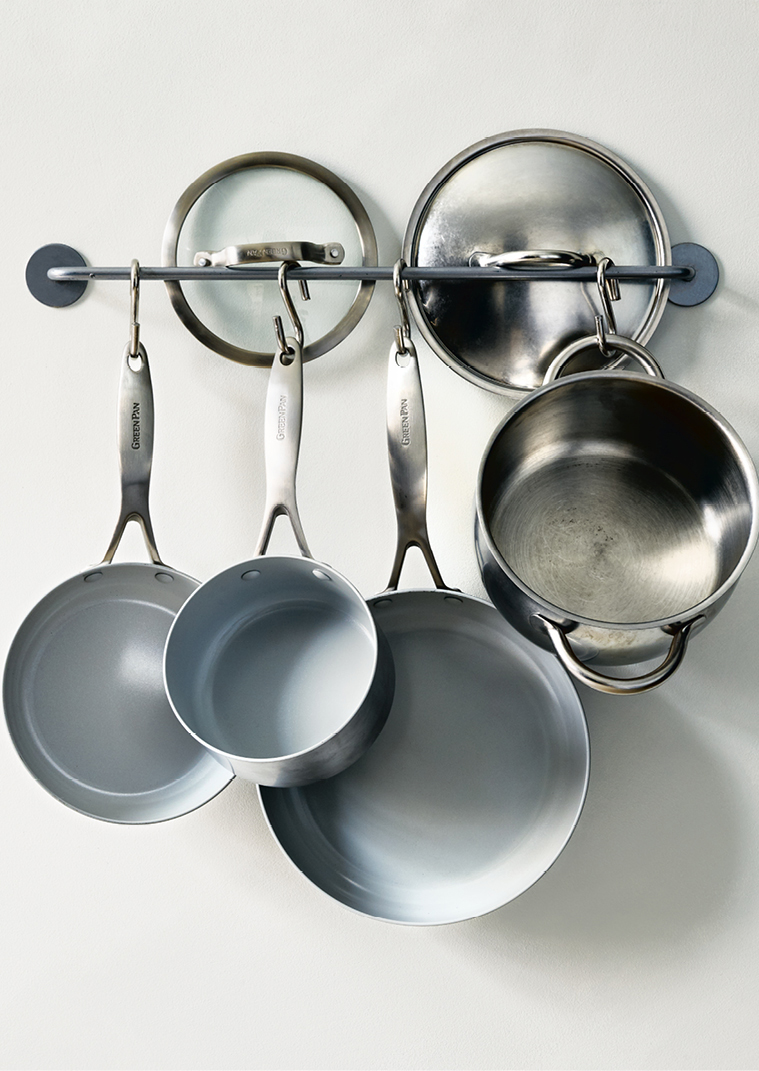
Lined up along a metal kitchen rail with S-hooks

-
…Or along a Shaker-style wooden rail
-
Hung on a pegboard
-
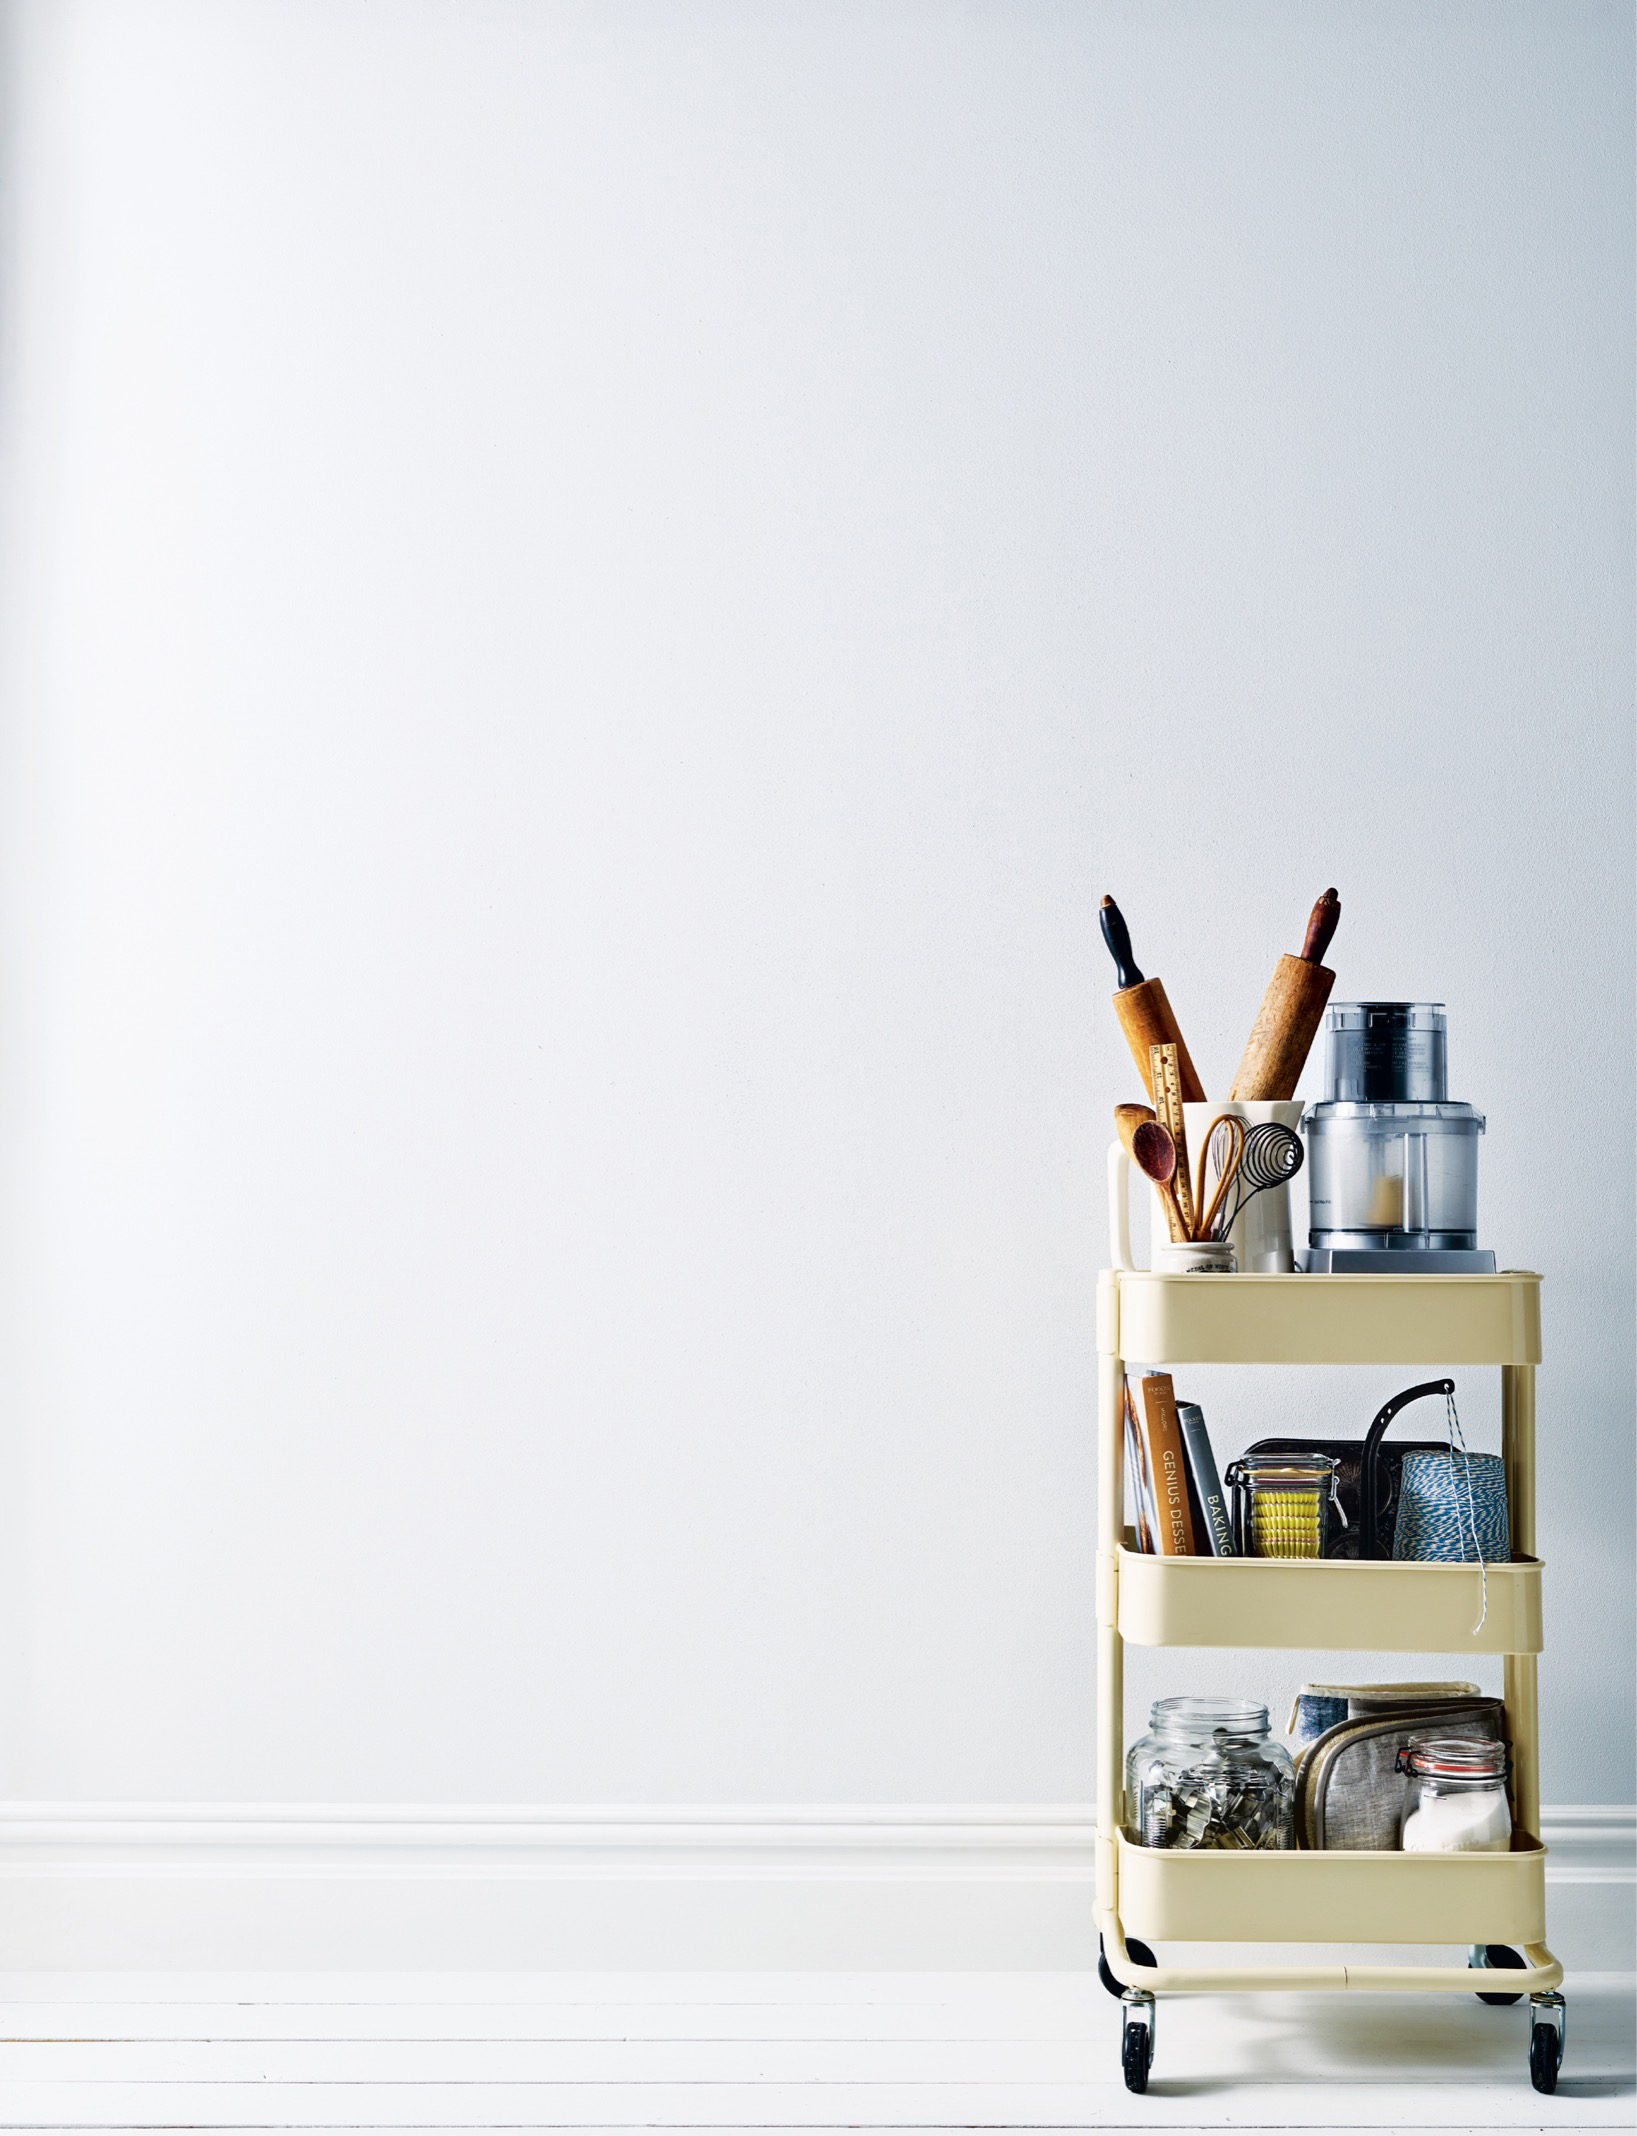
Stacked on or parading along the shelves of a bookshelf or cart
Plus, here are five ways to tidy their lids:
-
Tucked behind a mounted metal rail
-
Lined up in an accordion rack
-
Stored upside down in their corresponding pots

-
Stashed on a cabinet door–mounted lid rack
-
Stood upright in the slatted shelves of a wire shelving unit
How to Make Bulky Tools & Appliances Disappear (Well, Sort of…)
Much as we like a minimalist space and airy, wide-open countertops, it often makes sense to leave the larger helpers be (think the toaster and electric kettle you use every day, or the hard-to-move microwave). You can make them part of a tableau: Surround them with things you do like to look at, like plants, art, and your cookbook collection. Or situate them among other oft-used tools—beneath a pegboard, for instance—so they look like part of a coordinated crew.
For the rest, the things that need a home off the counter?Arrange them alone or in groups…
-
In your deepest drawers, or on tall or slide-out cabinet shelves (Bonus: If you have the option to fit your cabinets with electrical outlets, run with it! Fill them with appliances you’ll never have to remove to use.)
-
On bookshelves or the low-level shelves of your island
-
On the shelves of your pantry (as long as they don’t push out other ingredients by being there)
-
On a utility cart that you can tuck away in a big closet—or embrace as part of your kitchen décor
-
In a built-in cabinet or freestanding armoire all their own
-
On extra-high shelves, on top of the fridge or in the gap between the cabinets and ceiling
4 Strategies for Conquering Storage-Container Mountain
We’re guessing you’re plenty familiar with the woes of wrestling food-storage containers—round pegs in square holes, mismatched lids and bowls, plus the odd leftover takeout box. With four simple steps, you can make sense of your situation, once and for all.
-
Pull all of your storage containers out of wherever they live, and match tops with bottoms. Toss or donate any strays, recycle plastic takeout containers, which usually aren’t microwave- or dishwasher-safe, and be ruthless with anything stained, smelly, or misshapen.
-
Review what you’ve got left (and what you need), considering your cooking and eating habits. Glance at our starter kit on this page for guidelines on stocking up.
-
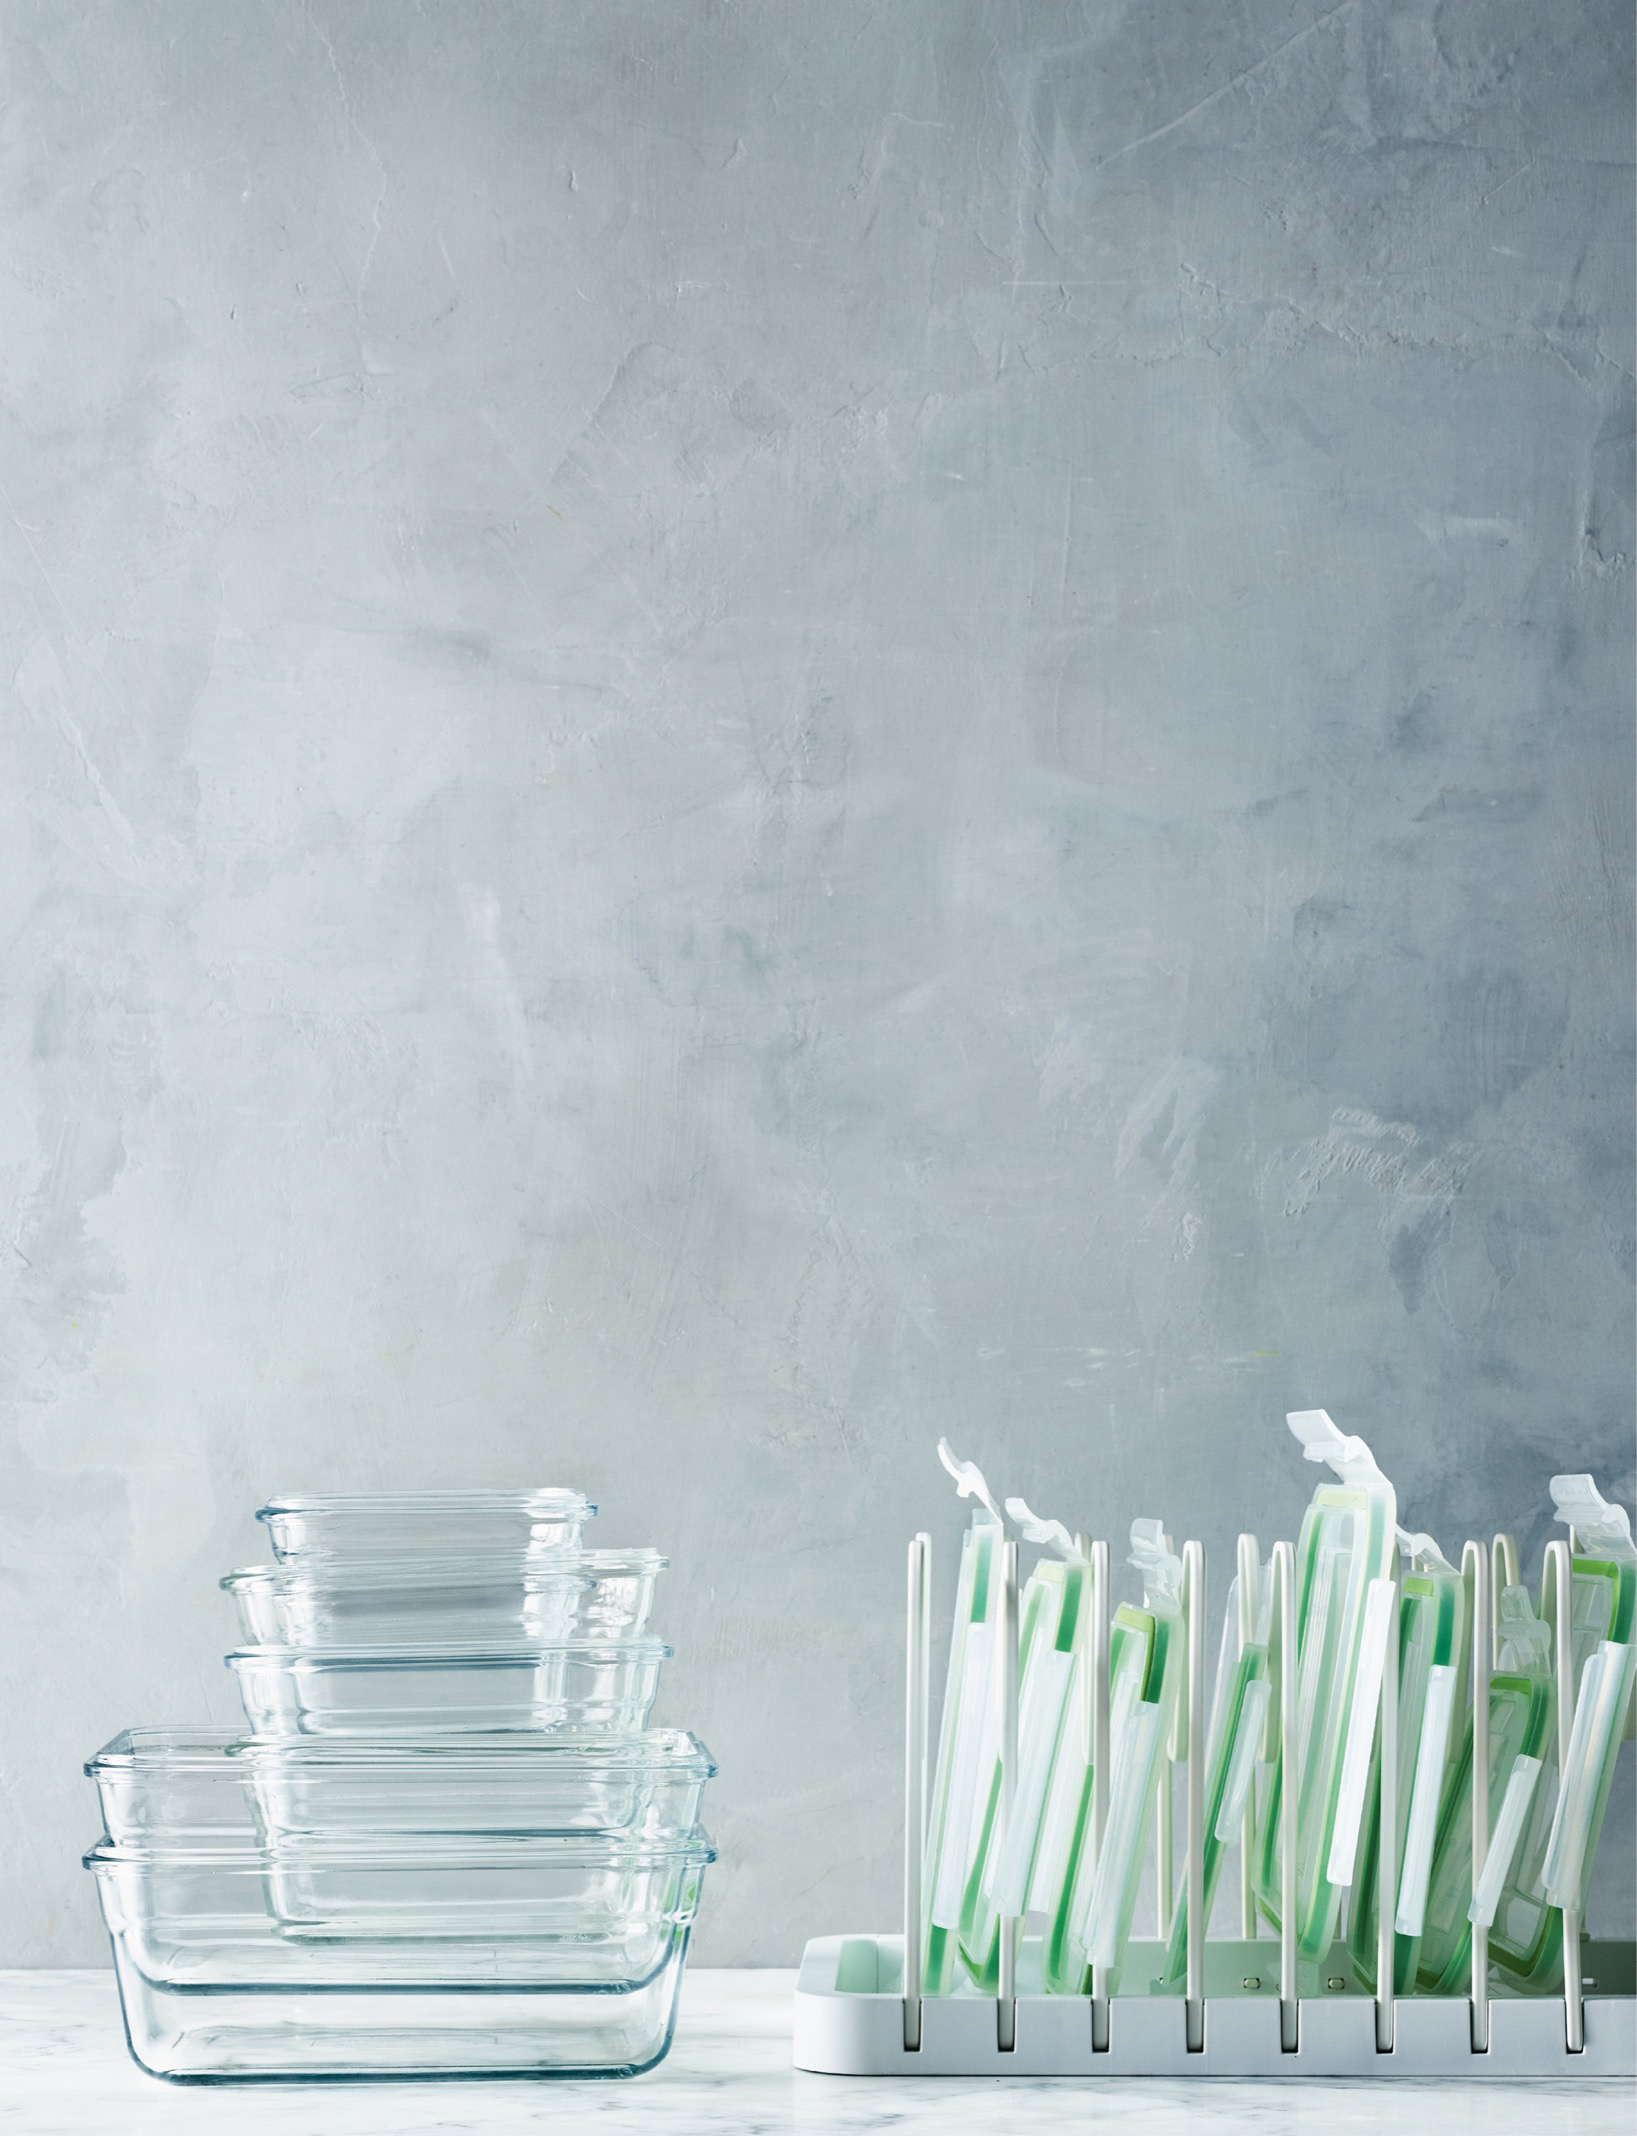
Once you’ve established who stays, who leaves, and who else is invited, stack like and like together: round with round, square with square, neatly nesting them.
-
Devote a low, wide drawer or a cabinet or pantry shelf to your containers, so you can see what you’ve got and protect against avalanches. If you’re working with deep shelves, keep containers you use most up front and lesser-used ones behind.
Those Rascally Lids!

Now that the bottoms have a home, you’ll want a few places to keep the lids, ahem, contained:
-
A deep-sided tray, small basket or bin, or fabric box that can nestle up against the stacked containers.
-
A basket or a magazine holder hooked over a cabinet door, or installed on its inside.
-
A clip-on storage basket or shelf (yep, we’ll use up every inch of that prime vertical space below), and/or a plate rack where lids can “stack” horizontally.
 YOUR PANTRY
Organizing the Pantry (Or, How to Keep the Madness Contained)
We know the pantry’s a tool kit: an intentional, supremely functional set of ingredients (and some snacks, too). But pantries can be plagued by tippy boxes and bags, shadowy corners, dusty messes—or worse yet, pests (yikes!). To ward off pantry chaos, we ask our three essential questions: What do you use most often? Does it have a “family” of similar items it can go with? How easy it is to access? We like a mix of lots of different organizational tools that give us a flexible system to maneuver through it all (plus, see this page for tips on storing individual ingredients).
-
High-sided trays are great for anything that a taller edge would help keep contained—like all your boxed and canned tomato purées and sauces, or your stand mixer and all of its attachments.
-
Large airtight, lidded glass or plastic canisters (from 1 liter to 5 liters or larger) to house bulk ingredients, like flour, and snacks, like granola bars; stackable is best for these, too.
-
Lazy Susans make hard-to-reach cabinet corners valuable real estate.
-
Lidded glass jam, mason, and paint jars in a variety of sizes (from tiny 1-ounce jars to liter size or larger—and stackable, please!) store spices, nuts, grains, beans, and more.
-
Over-door racks transform nothing space into storage for spices and canned goods.
-
Small cardboard or shoe boxes do just the same!
-
Wire or woven baskets collect puffy bags of chips, stacks of kitchen towels, or a family of various bottles.

Whip Your Pantry into Shape with These 7 Steps
Most of us hear the call to organize our pantries and try as hard as we possibly can to tune that call out. No more! These seven steps will get you a pantry setup to be proud of.
-
Pull everything out. Yep, everything, from all the shelves, and dust them all off (shelves, too). Toss or compost ingredients you haven’t cooked with in a while (and don’t plan on returning to), food gifts you received but won’t use, and anything past its best-by date.
-
Decant ingredients and check inventory. You know by now how much we love airtight containers, especially those you can see into (and especially if they stack!). As you decant, make a list of ingredients that need a top-off.
-
Protect against invaders. We’re talking pests of all kinds. Embrace airtight containers. Freeze pantry items as soon as you purchase them to kill any existing critters or their eggs. Tackle crumbs and sticky spots as they happen (see this page for how).
-
Clearly label your stores. With ingredients that have a short shelf life, you may find it helpful to include the date you purchased it. Pull out your trusty label maker or fall back on Old Faithful, aka painter’s tape and a permanent marker.
-
Group items in “families.” Think canned things, pasta and grains, and nuts and dried fruit. Arrange them on the same shelf or group them in a basket or bin. A “baking specifics” bin might include baking powder and soda, vanilla extract, cocoa powder, chocolate chips, and muffin-tin liners.
-
Position most-used staples within easy sight and reach. If you can’t see it, chances are you won’t use it. (Stash what you use least on higher-up shelves—a stepstool’s your friend!)
-
Rinse and repeat as necessary. At least every six months or so. If you’re just not using an item, give it to a friend or donate it to a food pantry. (Just check the expiration date.)
THE EVERY-NOW- & THEN-ERS
We see you, pasta roller and pastry bags. Corral tools you use less regularly in a small lidded storage bin and label what’s inside (e.g., “Christmas cookie cutters”). Put the box on a high-up shelf for when you’ll use it next.
And for those large, unwieldy items that you pull out only for your biggest parties and gatherings (hi, roasting pans and chafing dishes)? Tuck them into large bins (labeled with the contents, please) and hide them out of sight, even outside the kitchen. Or embrace nice-looking storage solutions you can keep out, like benches with hidden cavities, vintage steamer trunks, or attractive fabric or wood bins.
Going Rogue: How to Make a Pantry in Any Kind of Kitchen
A spacious, walk-in pantry for all of our staples is the stuff of dreams, for most. But smaller spaces can be just as effective. Here are some clever ways to house cans, jars, and such.
-
Cabinet drawers, both deep and shallow: Oft-neglected in pantry planning, but great for anything you’d like a bird’s-eye view of—jarred spices, dry goods, even cans. Label lids so you can see them from above.
-
Industrial-style metal utility carts: A nice option for overflow, or a specialized variety of goods (your extensive collection of baking supplies, perhaps). Even better if it’s wheeled, so it can become a traveling or disappearing pantry.
-
Freestanding cupboards: Shelves and pullout drawers you can shut the doors on.
-
Old-school, library-style shelf dividers: These can help keep different groups contained.
-
Open shelving: If you can’t beat it (a lack of built-in storage, that is), highlight it. Hung shelves, a sturdy bookshelf, or a wire restaurant-style rack make for attractive pantry stand-ins. (Have formal storage but want to open things up? Take your kitchen cabinets’ doors off their hinges.)

The Lean, Mean Pantry Behind Our Test Kitchen
The Food52 test kitchen’s pantry is inspired by the one in our cofounder Amanda Hesser’s Brooklyn home (see this page for more about it!). Chef-in-residence (and former test kitchen director) Josh Cohen knows it well.
-
“We have large bulk storage for sugar and various flours and then we organize the rest of the pantry by shelf,” says Josh. There’s one shelf for nuts and dried fruit, one for pastry items (cocoa powder, food coloring, beans for blind baking), a slide-out shelf for vinegars and honey and other condiments, another slide-out shelf for dry spices, a shelf for specialty flours, and a shelf for baking tools (like loaf, springform, and tart pans).

-
All ingredients are transferred from their original packaging as soon as they come in. Most find a new home in a plastic quart or pint container. Josh says, “For larger bulk storage, I like to use rectangular Cambro containers” (large, heavy-duty storage staples of restaurant kitchens). At home, he uses glass mason jars.

-
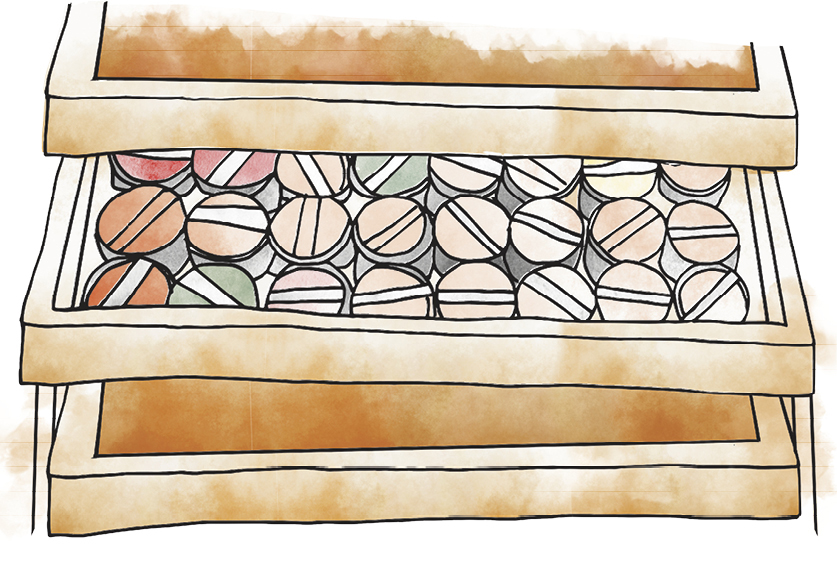
Spices are poured into 4-ounce tins with clear tops. Since they live together on a shallow slide-out shelf (that’s a solution lifted straight from Amanda’s kitchen), it’s easy to see at a glance what’s what. And, of course, they get a label, too.
-
Shelves that can be repositioned at different heights are a must. This lets our kitchen team adjust the shelves as necessary to fit growing stacks of pans or an extra-tall bottle of vinegar.
-
Last, mental mise en place is the name of the game. Above all, the test kitchen stores the items they use the most in places that are easiest to reach. Then they consistently phase out the stuff not being used (weekly, in fact!). “We want the kitchen to be as lean and functional as possible,” Josh says. “When our shelves have clarity and room, our minds are calm, we’re happier, and our cooking improves.”
A FEW MORE WAYS TO STORE SPICES…
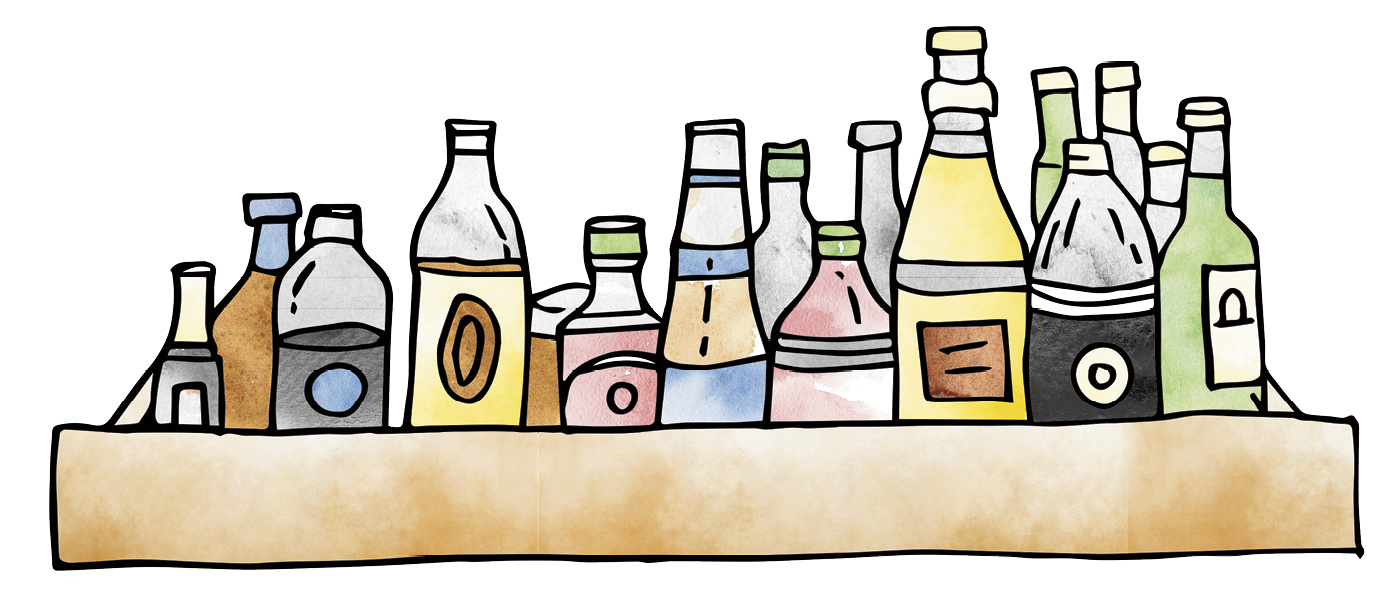
No matter which way you go, labeling is a must—and you can try alphabetizing, color-coding with washi tape, or grouping them by family, too.
-
An over-door wire rack of shelves is great for those with really big spice collections
-
A deep-sided tray that can be slid onto a shelf
-
A shallow drawer
-
A pretty tray on the counter for most-used spices (or try a masala dabba, a compartmentalized Indian spice tray with a lid)
-
Magnetized containers that stick to the fridge or to a mounted steel plate
 YOUR FRIDGE & FREEZER
Order! Order! Creating Calm in the Fridge & Freezer
An orderly fridge and freezer work for you, not the other way around. It’s more I know what we’re having for dinner! and less What the heck is this slimy thing? Here are some of our foolproof ways to stay organized.
First things first:
-
Remove everything from both the fridge and freezer so you can better assess what you have. Toss anything that’s past its prime or spiky with ice, that you can’t remember buying or using, and that doesn’t make you excited to cook or eat.
-
Give the shelves (and any jars or bottles that need it) a quick wipe down with a hot soapy cloth. Head to this page if the fridge or freezer needs a more thorough cleaning.
-
Time to put everything back! Here’s how.
In the Fridge

Line the bottoms of any crisper drawers with clean kitchen towels to help absorb excess moisture. (No drawers? DIY with lidded, shoebox-size, clear-plastic tubs.)
Then store as follows:
-
Organize like with like. Peanut butter goes with the jam, hot sauces with their brethren, leftovers stacked all in one place, lunchmeat alongside the cheeses.
→Embrace FIFO. That’s first in, first out, or the practice of rotating food as it comes in. It might feel less convenient to start, but by putting the newest food at the back and the oldest up front, you’ll reach for the ingredients to use up first.
-
Think about the fridge’s “zones.”
→The crisper drawers are the coldest and most humid parts of the fridge, and the ideal space for lush vegetables: broccoli and cauliflower, leafy greens, radishes, celery, green beans, and ears of corn in their silky jackets.
→The top shelf and the door are the warmest areas of the fridge and should be home to hardier things—like most condiments and produce that prefers less moisture (think cucumbers, peppers, zucchini, and eggplant).
-
And as for where to put specific ingredients?
→Fruit should have its own home, whether in a crisper drawer or in a bowl, where it’s easily reached for snacking.
→Leftovers and soon-to-expire things should be labeled clearly and dated in airtight containers or mason jars. Store at eye level so you’ll use them up.
→Lemons and limes can live in the crisper drawer, too—or in a small bowl that you can pull easily from the fridge while you cook.
→Meat should be on the bottom shelf. It’s the coldest place in the fridge, and putting meat here prevents it from dripping onto anything else.
→Milk and other perishables should live off the door (which is one of the fridge’s warmest spots).

In the Freezer

-
Store stuff by family. This means coordinating ingredients (frozen cubes of homemade stock, tomato paste, or caramelized onions), sauces (pomodoro and pesto), baked goods, meats, vegetables, and so forth.
-
Label before you freeze, rather than removing something already frozen, then labeling and replacing it in the freezer. The condensation on already-frozen items makes adhesive labels (or painter’s tape) pretty much ineffective, but as long as the label goes on prefreeze, it shouldn’t peel off.
-
Freeze flat to save space. Pour liquids such as stock or sauces into ziplock bags, then freeze flat. Store the frozen bags vertically (like a record collection) or horizontally (like stacked sweaters). A small plastic or metal bin can help line up all the bags.
-
Treat your freezer like an extension of your pantry. A lot can go in there, but there’s no need to stockpile. Pull from and add to the freezer as needed—daily, even!
-
Keep a list. In restaurant kitchens, a garde-manger is the person who keeps tabs on everything in the giant fridges and freezers. You can be your own garde-manger by hanging an inventory of the freezer’s contents on the fridge and updating it regularly.
-
Toss anything that’s been in there for more than a year. We try to use up frozen goods between 3 to 6 months postfreeze.

 YOUR GAME PLAN
The Big Stock-Up: Our Tips for Shopping, Sourcing & Investing
Before buying bins, baskets, and sorters, consider this: Architects and landscape designers will wait to put formal pathways in a space until informal pathways have been created instinctually by its dwellers. Organizing your kitchen can benefit from the same line of thinking: You know best how you use it. What are your pathways? Let them guide you as you figure out what you really need. The tips that follow will help, too.
When You’re Setting It Up

-
Figure out the pain points. You need to define the issue before you can solve it, so start by thinking through the problems. For example: “My granola bars are all over the place.” Or, “I’m losing things in the fridge.” Or, “I can’t find the tools I need.”
-
You may already have what you need. Slatted shelving on a kitchen cart is an easy way to line up pot lids. A crock or pitcher—or even a big jar—is ideal for a clutch of spoons by the stove. Need to wrangle your lemons and limes in the fridge? Nestle them in a pretty soup bowl.
-
Map it out before you buy. Where in the kitchen will you keep your tools? Your pots? Your pot lids? Know what you need to buy before you buy it, and measure drawers and cabinets so you don’t end up with crammed cupboards or containers that don’t fit.
-
Get creative. And beware of anything that can’t multitask. A system that adapts to your needs (versus a collection of super-specific tools) is one you’re unlikely to grow out of. A simple towel bar (yep, the kind you’d install in your bathroom) supplied with S-hooks makes a versatile, $20 catchall that looks good to boot.
-
You don’t have to do it all at once. You’re creating a system and a routine—and those things naturally take some time to refine.
When It Comes Time to Buy

Seek out sturdy, utilitarian, frill-less bins, boxes, and baskets—ideally, they’ll be easy to clean as well. Remember that you might already have the thing you need, so look around your home for tools first!
For more ideas, head to the Sourcebook on this page.
-
Hardware stores or ULINE for pegboards, S-hooks, cup hooks, and the like.
-
Home-goods stores (in-store or online) for sleek wire baskets, heavy-duty plastic bins designed for the fridge and freezer, and specialized “organizers.”
-
Office supply stores for drawer dividers and organizers for small tools (that is, anything roughly pen size).
-
Thrift or antique stores for vintage crocks, vases, baskets, and shelving.
-
A few of our favorite sources for organized kitchens: The Container Store and Bed, Bath & Beyond for glass canisters, spice jars, wire baskets, and plain old inspiration; Dymo for label makers; Muji for simple plastic, bamboo, and metal baskets and dividers; and IKEA for lazy Susans, inexpensive kitchen carts and freestanding islands, handy crates, and rails, racks, and curtain wire (a nice alternative to a metal bar for hanging tools).
Where to Donate Everything You’ve Thoughtfully Cleared Out
There are heaps of organizations ready and eager to accept gently used kitchen tools, appliances, plates, and the like—and there are places to donate food you’re not using, too.
-
Take your cookbooks to your local library.
-
Some libraries or other community centers lend out kitchen tools; call to see if your local places have this service. If not, consider offering to start one.
-
Senior centers, places of worship, and thrift stores may accept lots of preloved items with life left in them—from linens and dishes to toasters and blenders. Call ahead to see what they can use.
-
If you’re renovating your kitchen, consider donating your appliances (as well as light fixtures, hardware, kitchen cabinets, and even flooring and building materials) to Habitat for Humanity. Many of their ReStore outlets offer free pickup for large items. (Likewise, consider shopping for your renovation at a ReStore.)
-
Many branches of Big Brothers Big Sisters accept smaller household goods, like linens, dishes, and cookware (they’ll even pick it up). Find a local chapter to see what they accept and schedule a pickup.
-
To donate food, first make sure it hasn’t expired and that any packaging is tightly sealed. Then:
→Head to FeedingAmerica.org to find a food bank local to you.
→Ask around at your neighborhood places of worship, community centers, and shelters, many of which also accept food donations.
→Rally your friends (that is, convince them to clean out their own pantries) and have a mini food drive. Have a plan for where the food will go before collecting donations; it’s worth calling ahead to make sure your chosen food bank or community center will accept them.

Our Cofounder
AMANDA HESSER’S
Tidy-as-Can-Be Kitchen
Amanda Hesser is known for her organized approach. Here, we got a glance at her airy, modern kitchen: Food52’s very first test kitchen in the brand’s early days. Amanda renovated her pantry in 2006, and the rest of the space in 2012—she’s a fan of incremental renovations, design improvements in small doses—and created a home for everything. Dishware is stacked methodically in cabinets, cooking tasks get dedicated “stations,” and tools live near where they’ll be used. (We see you, stoveside utensil rack!)
 In my kitchen, the goal is to allow anyone to find what they need without digging around. In the fridge, for example, I label everything and line up ingredients in a row (labels facing forward, open containers in the front). I also do a clean-out once a week, and bursts of maintenance in between.
 We have “stations” for our prep tasks, like a spot near the fridge where we make toast and assemble drinks; a butcher-block counter across the kitchen with a pull-out garbage beneath, where our chopping is done; and a space beside the stove where prepped ingredients stay, next to a ceramic vessel with wooden spoons.
 My pantry is tall and has four levels of storage. At the top: Canning jars, carafes, some wedding gifts (sorry, friends/family!), and larger serving pieces. Middle two: Canned and dry goods, spices, oils, vinegars, and heavier cookware that I use regularly. Bottom: Garbage bags, lightbulbs, candles, and vases.
 There are a couple things in my kitchen that I’m still trying to figure out, like how to organize my lids. In my storage-container drawer, I line up lids inside a rectangular container. For pot lids, I have a rack inside of a deep pot-and-pan drawer. For my bowl lids—the circular kind that just flop around—I ordered an adjustable rack (kind of like a plate rack) that I’m hoping will solve all my problems.


I was raised by a master organizer: my mom. She vacuumed in straight lines, packed all of her clothes between layers of plastic, and ironed jeans. I do none of these things, but I definitely have her thirst for order and tidiness.
