USE THIS CHAPTER

To Tackle the Big (& Little) Stuff
CHAPTER 5
Cleaning Up
A clean kitchen is a happy kitchen, there’s no doubt about it. A tidy space looks and feels ready for anything—a rainy Saturday baking marathon, the frantic whirlwind of weekday breakfast-making, or the excitement before diving headfirst into whatever new recipe you’re itching to try.
That’s all well and good, but how to get the kitchen clean and keep it that way through the ins and outs of daily life? In this chapter, we cover the best cleaning supplies you can buy (and make!), and we give you the rundown on cleaning every shelf, surface, and cranny in your kitchen. We also throw in a handy guide for upkeep, plus easy ways to green your kitchen routine.
USE THIS CHAPTER

To Tackle the Big (& Little) Stuff
 YOUR CLEANING KIT
The Utility Closet:Essential Tools & Supplies
The power of a few all-natural cleaners, rags, and scrubbers is truly amazing, and we turn to them to get super-fresh spaces. For our tools, we prefer gentle but sturdy nonplastic options, when available—they work better and last longer. For cleaners, we favor low-cost, all-natural, make-’em-in-5-minutes solutions, like the recipes on this page. (It’s true, you won’t find bleach or almost any other commercial cleaner in this book.)
Tools for a Tip-Top Kitchen

5-gallon handled bucket
Bags for trash, recycling, and composting
Bottle brush
Broom and/or hand broom
Coir dish brush or scrubber
Copper-wire scrubbers
Dispensers and spray bottles for homemade cleaning supplies
Dustpan
Mini vacuum
Mop with washable microfiber pads or disposable pads
Nonabrasive sponges with a scrubby side
Rags, retired kitchen towels, or cut-up out-of-commission T-shirts
Rolls of recycled paper towels
Stepstool
Toothbrushes
Cleaning Supplies to Stock

Baking soda
Bar Keepers Friend and/or Bon Ami cleaning powders
Citric acid
Citrus peels (like lemon or orange)
Distilled white vinegar
Eco-friendly dish soap
Eco-friendly dishwasher detergent
Essential oils (citrus, lavender, tea tree)
Kosher salt
Lemons (whole)
Liquid castile soap and/or Dr. Bronner’s Sal Suds
Organizing Your Cleaning Crew
Storing your cleaning items in a thoughtful way is a must-do. You can’t clean effectively if you can’t see what you’re working with! Luckily, we’ve got ideas for keeping everything in order.

Under the Sink

Dish risers to finagle another level of storage.
Handled caddy or toolbox for stashing essential solutions, brushes, and rags (and for toting them around).
Lazy Susan for easy perusal of cleaning solutions.
Stackable lidded bins for keeping extra dishwasher soap, compost bags, and sponges.
Wooden or wire crate for corralling clean rags, scrubbers, and the like.

Elsewhere

Shaker-style peg rack: Anything that can be hung (dustpans, baskets, buckets) or balanced (brooms, rolls of twine) will be happy here. It’s an especially good solution for very small spaces, with little storage to speak of—just store your stuff all out in the open!
Storage closet: If you have one—lucky!—your supplies have a natural home. Stackable containers (like wire or plastic bins) maximize storage of small things. Embrace vertical space as much as possible by using the closet’s walls and door to hang tools, storage baskets, and bags.
Utility cart: Think of it as a shelving unit on wheels. Pop baskets, bottles, and buckets up top and stash backup supplies below. S-hooks, hooked onto the cart’s sides, can dangle for more hanging options. Roll the cart away to store in a closet or tuck it in a nook.
4 Essential DIY Potions to Make the Whole House Sparkle
They’re cheap! They’re better for the environment, with fewer freaky chemicals! You can funnel them into your own bottles and refill forever after! Best of all, they work all over the kitchen and home—and once they’re made, they’ll keep indefinitely. We’d pick these homemade solutions over the prefab stuff any day.
 Best-Ever Dish Soap

For tough-on-grease, gentle-on-hands sudsing
2 parts room-temp water + 1 part Sal Suds or liquid castile soap + heaping spoonful of baking soda + big pinch of kosher salt
Stir well to combine in a glass measuring cup; pour into a dispenser bottle.
 Sunshiney All-Purpose Spray

For glass surfaces and mirrors, stainless steel, ceramic tile, and more
1 part white vinegar + 1 part room-temp water + essential oils (citrus, eucalyptus, lavender, or tea tree) or citrus peels or eucalyptus leaves for antibacterial benefits
Shake well to combine in a spray bottle.
 Gentle Giant Spray

For a cleaner that’s gentle on surfaces that require special care
Room-temp water + drop or two of Sal Suds, liquid castile, or other liquid dish soap
Shake well to combine in a spray bottle.
 Super-Scrubby Scouring Paste

For grungy sinks, grout, and cooked-on grease on pots, pans, or the stove top
2 parts baking soda + 1 part room-temp water
Stir well to combine in a bowl; then use or transfer to a jar.
The Big Stock-Up: Our Tips for Shopping, Sourcing & Investing
Cleaning supplies are truly about as utilitarian as it gets. But lots of supplies and tools (even brooms and spray bottles) can be beautiful. They’re worth seeking out—especially if you’ll be storing them in plain sight. When in doubt, opt for natural materials (wood, coir, metal, glass) over plastic. They look nicer and usually last longer, too. Here’s where to shop for the cleaning stuff you’ll need.
For more ideas about what to buy, head to the Sourcebook on this page.
The Environmental Working Group is an amazingly helpful online resource when deciding what cleaning products to buy. Their database of consumer guides details (and rates!) household products of all kinds, based on their ingredients and environmental impact.
Grocery stores or big-box, discount, or online retailers for liquid castile soap, eco-friendly dish soap, sponges, recycled paper towels, kosher salt, lemons, citric acid (usually located near all the canning supplies), gallon-size jugs of white vinegar, and jumbo boxes of baking soda.
Hardware stores for natural-fiber brooms and scrub brushes, Bar Keepers Friend, Bon Ami, buckets, and spray bottles and liquid dispensers.
IKEA and The Container Store for genuinely nice-looking trash cans, utility carts, bins and crates, and straightforward large-scale storage racks.
Muji for its simple, sleek cleaning system: a set of brushes, dusters, mop heads, and more that you can buy piecemeal, plus a handle that you screw the different heads onto, plus a storage case and a bucket. We’re huge fans.
Restaurant supply stores for spray bottles, liquid dispensers, and extra-absorbent terry cloth “bar mop” towels, which make perfect all-purpose rags.
HOW DO I KNOW MY KITCHEN PRODUCTS ARE ECO-FRIENDLY?
If the container lists the ingredients, that’s a good sign. These terms on the packaging also point to greener options:
Phthalate-free
Caustic-free
Dye-free
Phosphate-free
Plant-based surfactants
Biodegradable
 YOUR POWERHOUSES
The Stove
If your kitchen is anything like ours, your stove gets worked hard—and is deserving of a little TLC. But just because it’s well used doesn’t mean it’s hard to clean or requires heavy-duty cleaning products. Go forth to get out all the grit and grease.
Spot-clean

Wipe down the surface and range hood with a hot, soapy sponge, or spray with Sunshiney All-Purpose Spray (see this page) and wipe clean with a rag.
Wash the spoon rest (if you have one).
Deep-clean a gas stove

Clean the grates and trays. Make sure your stove is off and cooled down first. Remove burner grates and trays and pile them in the sink. Smear Super-Scrubby Scouring Paste (see this page) onto the grates and trays, and let sit for 10 minutes. Wash with a hot, soapy sponge and dry thoroughly.
Clean the burner heads. Wipe the burner with a damp rag, and then carefully use the point of a paper clip or safety pin to get into the narrow crevices and clogged ignition ports or burner holes (where the gas comes out). Wipe with a rag soaked in white vinegar to remove any bits and grease.
Deep-clean an electric stove

Clean the electric coils. Give the coils a quick wipe with a damp rag. Then turn the burner to high for a few minutes to cook off any burnt-on food. Let cool completely, then disassemble the stove top by popping out the coils and the drip plates beneath them. Set them in the sink and use a dry toothbrush to get any residue off the coils—it should flake right off. Wipe clean.
Wash the drip plates. Use a hot, soapy sponge to wash the plates thoroughly. To remove cooked-on food, generously apply Super-Scrubby Scouring Paste (see this page) and let sit for 10 minutes before scrubbing it off with a sponge. Dry thoroughly. Ta-da!
For all other stoves, including glass-topped electric and induction stoves

Clean the stove top. Use a hot, soapy sponge or Sunshiney All-Purpose Spray (see this page) and a rag to clean the stove’s surface (the space beneath the grates and trays, if your stove has them).
Tackle cooked-on food by smearing it with Super-Scrubby Scouring Paste (see this page) and leaving for 10 minutes before wiping clean. Dry well.

The Oven
Between spattering roast chickens, smoky broiler sessions, and crumbs that fall and turn to cinders, the oven cries out for a thorough scrub. From daily maintenance to the deepest of cleans, take it on with the following routine.
Spot-clean

Wipe down the handles, knobs, and front with a hot, soapy sponge or with Sunshiney All-Purpose Spray (see this page) and a rag.
Deep-clean

Incinerate. If your oven has a self-cleaning cycle—which heats it to an extremely high temperature and burns off any stuck-on food—you can use that. All you have to do is sweep the remaining ash from the oven bottom at the end. But keep in mind that it will take several hours and the burning of the food often results in a strong smell.
Or…steam. If the prospect of heating your oven to almost 1,000°F doesn’t appeal, this may be more your speed. Simply place an oven-safe pan filled with water in the oven, set the temperature to 250° to 300°F, and leave it for up to an hour. You should then be able to wipe away much of the grime all over the oven—gently!
For really cooked-on stuff. Sprinkle about a cup of baking soda along the bottom of the oven and spray with white vinegar to create a light foam; for the sides of the oven, smear on Super-Scrubby Scouring Paste (see this page). Leave for 15 to 20 minutes and then use a damp sponge or rag to wipe it down. Rinse with hot water.
For crusty oven racks. Line a work surface (or the floor!) with newspaper. Remove the racks from the oven, setting them on the newspaper, and use a toothbrush to get some of the cooked-on grime off. Liberally apply Super-Scrubby Scouring Paste to problem spots. Let sit for 15 to 20 minutes and then use a damp sponge or rag to wipe it off, scrubbing gently as needed. Rinse with hot water, dry, and replace the racks.
DANG IT—A SPILL!
If something spills over in the oven (it happens—a lot), cover the mess with kosher salt the moment you notice it. The salt will absorb the liquid, and you should be able to easily sweep the mess out once the oven is cool. If the spill is major (that is, more than a couple of drips and spatters), turn off the oven immediately to prevent a fire.

The Microwave
The spot where you heat bowls of Bolognese, mugs of coffee, and garlicky green beans is sure to get a little funky. Here’s how to zap away the stickies, odors, and spatters.
Spot-clean

The outside. Wipe down the handle and front with a hot, soapy sponge or Sunshiney All-Purpose Spray (see this page) and a rag.
The inside. The walls and turntable get a swipe with a hot, soapy sponge or Sunshiney All-Purpose Spray and a rag.
Deep-clean

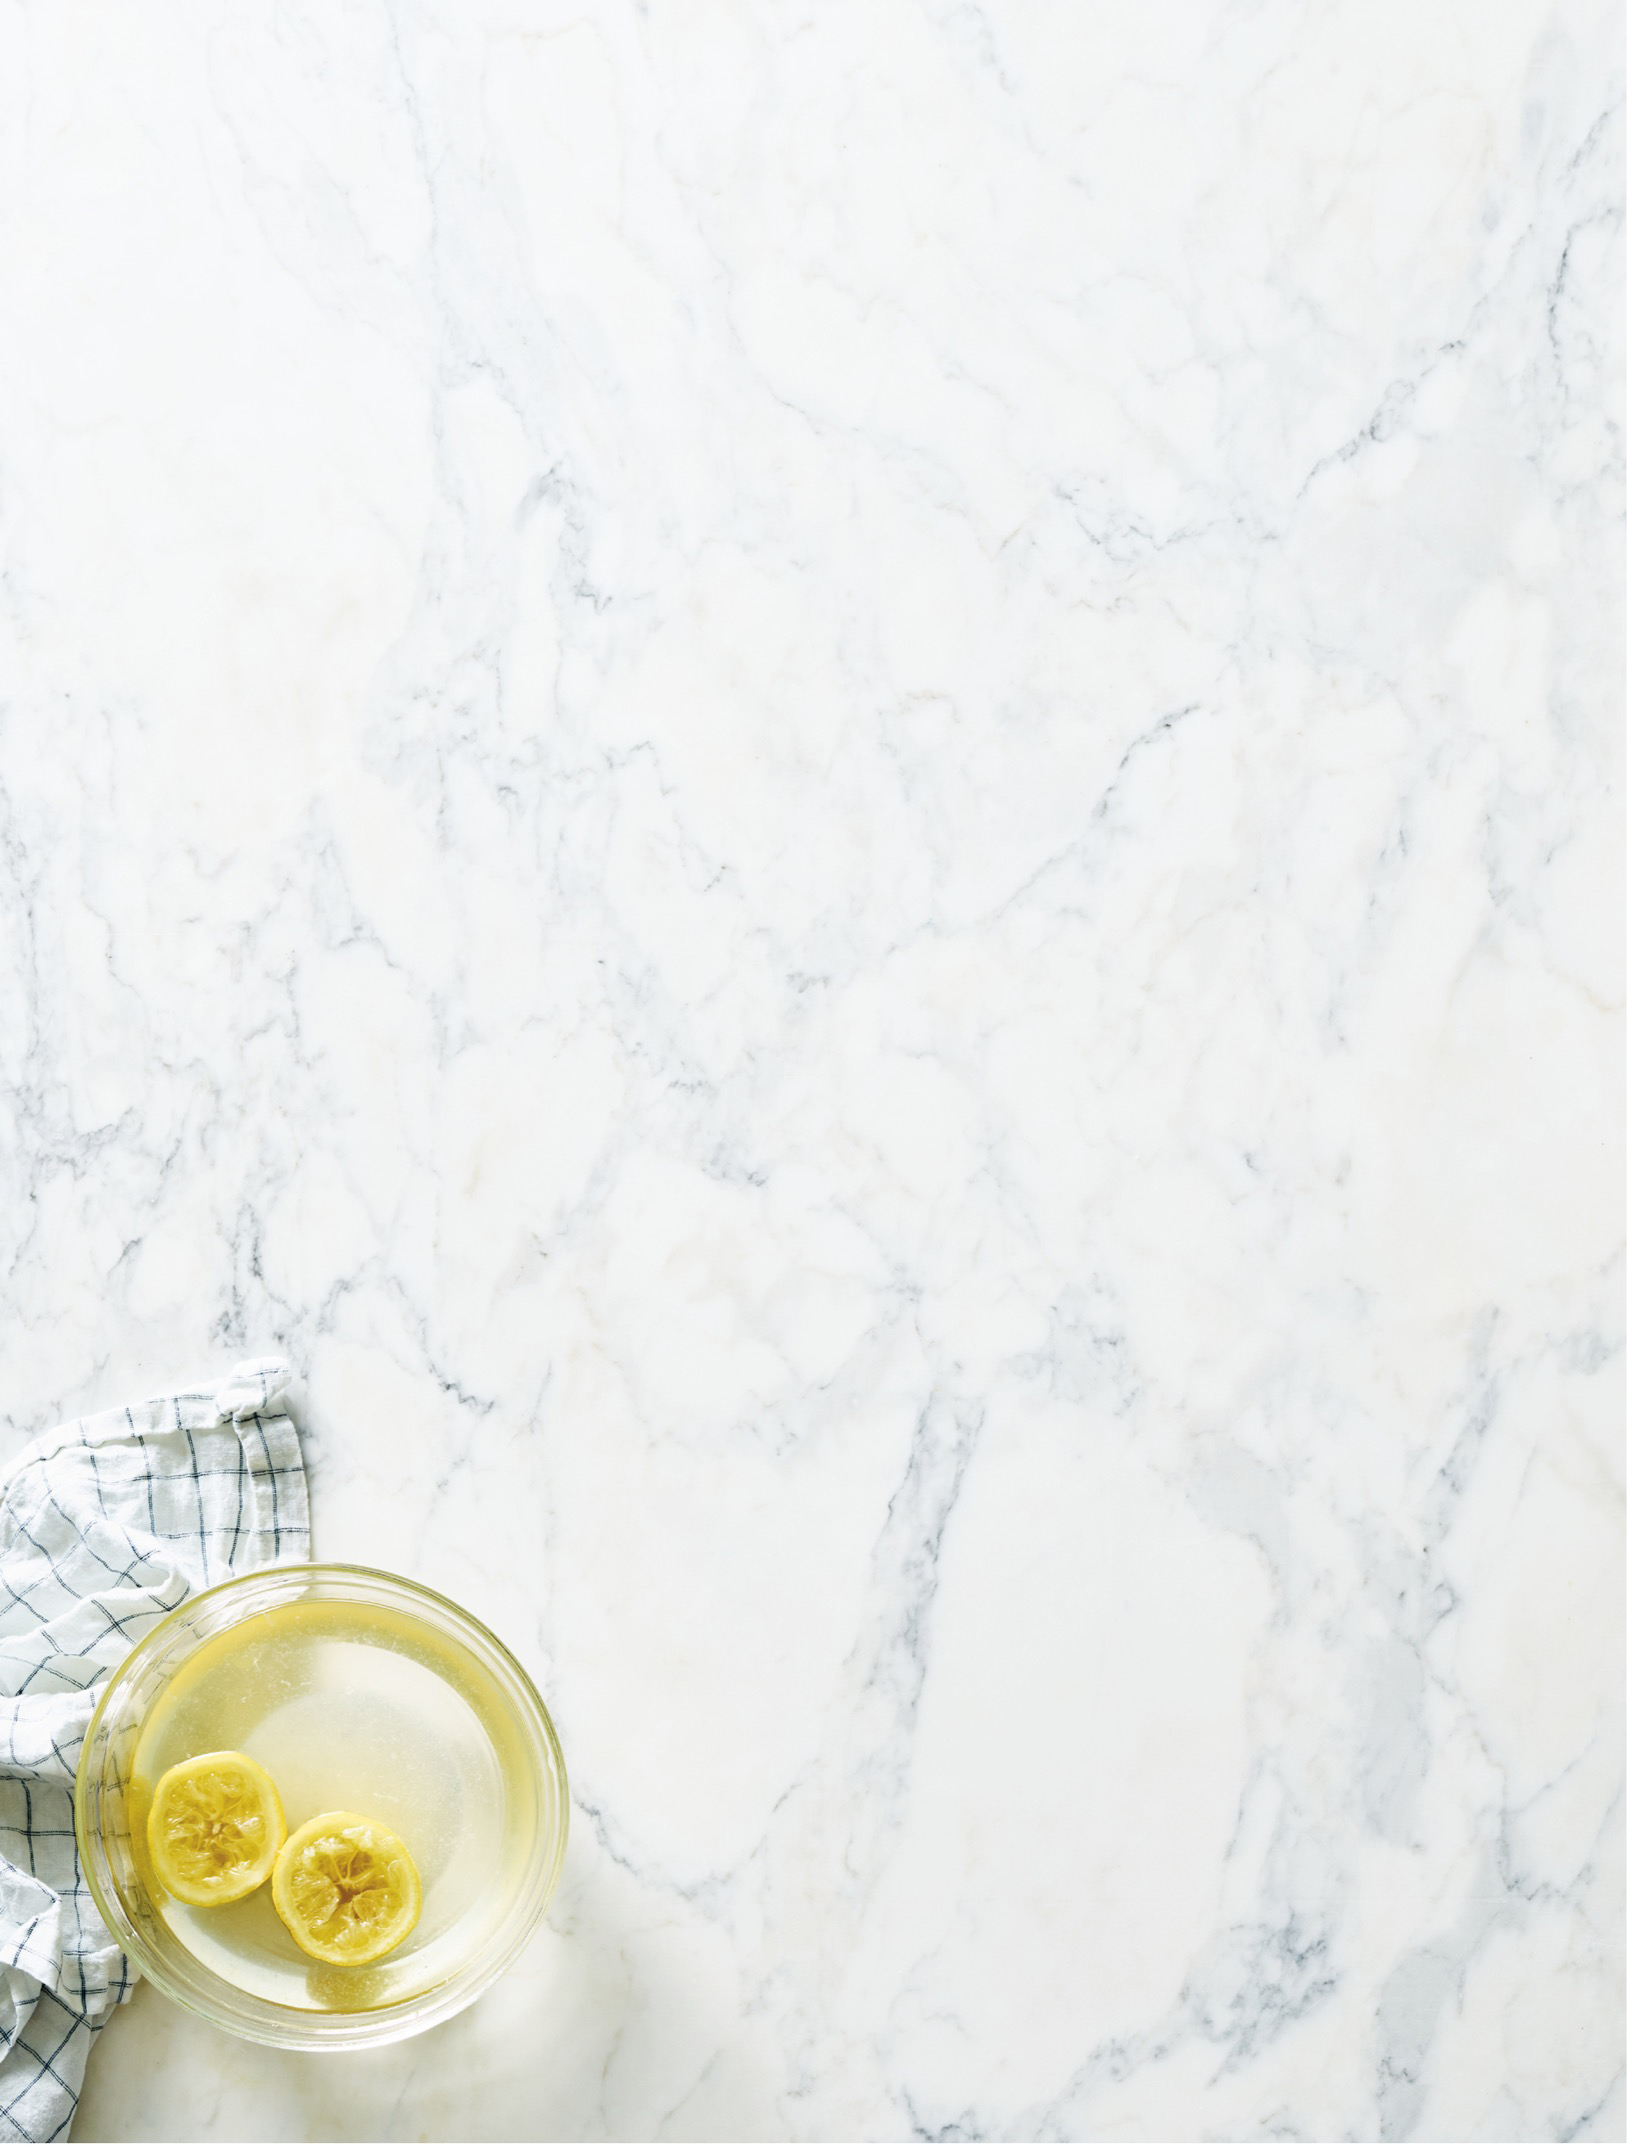
Get steamy. Fill a microwave-safe bowl (or a glass measuring cup!) halfway with water. Squeeze in the juice from a lemon and toss in the spent lemon halves, too. (The citric acid in the lemon is a natural degreaser.) Microwave on high until it comes to a boil, 90 seconds to 2 minutes. Let sit with the door closed for 3 minutes, then very carefully open.
Wipe away. Remove (and reserve!) the bowl of lemon water and any glass turntable; you may need to use pot holders. Use a clean rag or a damp sponge to wipe the walls, ceiling, floor, and inside door, scrubbing gently if needed. Dip your sponge or rag in the hot lemon water if cooked-on spots need a little extra attention. Wash the turntable separately with hot, soapy water and dry thoroughly before replacing.
Final touches. Use that hot lemony water and a rag to wipe down the microwave’s handle and front.
The Fridge & Freezer
There’s nothing quite like a tidy fridge and freezer, ready for action! Banish crumbs, spills, smells, and chaos like this.
Spot-clean the fridge

Wipe down handles and front with a hot, soapy sponge or Sunshiney All-Purpose Spray (see this page) and a rag.
Check the inside doors and shelves for spills, then wipe down with a hot, soapy sponge or Sunshiney All-Purpose Spray and a rag.
Add a fresh, open box of baking soda to the top shelf to absorb odors.
Deep-clean the fridge

The purge. Remove everything and assess. Toss anything moldy or slimy and recycle any packaging you can. (Freeze or give away still-good but unused stuff.)
Wipe it down. Remove drawers if you can and tap out any crumbs. Use a hot, soapy sponge or Sunshiney All-Purpose Spray (see this page) and a rag to wipe them clean. Then tackle the shelves, starting at the top and working your way to the bottom. (Don’t forget the fridge door and its rubber seals!) Thoroughly dry everything, then line the drawers with clean kitchen towels to help absorb excess moisture.
De-stick-ify. Use a hot, soapy sponge to wipe down sticky or oily bottles and jars. Dry before replacing. If you use any fridge organizers or bins, give those the same treatment.
Reorganize everything. Check out this page to learn what goes where.
Final touches. Toss any old invitations, loved but dusty drawings, and the like from your fridge door. Use a hot, soapy sponge or Sunshiney All-Purpose Spray and a rag to wipe down the fridge’s front and handle.
Spot-clean the freezer

Wipe down the handles and front with a hot, soapy sponge or Sunshiney All-Purpose Spray (see this page) and a rag.
Add a fresh box of baking soda to the top shelf to suck up any freezer-burn smell.
Deep-clean the freezer

Pull it all out, then decide what stays and what goes. Maybe turn some of the still-good stuff into tonight’s dinner.
The big thaw. If there’s a major ice buildup, you’ll want to unplug the fridge and defrost your freezer before wiping them down. If not, turn to your now-empty freezer with a warm, soapy rag in hand. Wipe away any ice buildup on the walls, shelves, and door. Run the rag under hot water any time it starts to seize up, but make sure it’s just damp—not sopping wet!—to avoid creating ice buildup. Repeat with a warm, nonsoapy rag.
Sort and Return. Keeping like with like is key (see this page for more tips).
Last but not least. Use a hot, soapy sponge or a rag and Sunshiney All-Purpose Spray (see this page) to wipe down the front and handle.
The Dishwasher
The thing that does the cleaning probably isn’t at the top of your list of things to clean. But the dishwasher needs a periodic refreshing, just like any other tool—and the following steps will help it do its job better.
Spot-clean

The outside. Wipe down the handle and front with a hot, soapy sponge or Sunshiney All-Purpose Spray (see this page) and a rag.
The inside. For a quick, hands-off refresh, run your (empty!) dishwasher’s “sanitizing” or “high-temp wash” cycle.
Deep-clean

Remove the filter. If you don’t know where it is, consult your user manual (or Google your model) to learn how to disassemble it. Soak it in hot, soapy water, then scrub it with a dry toothbrush reserved for cleaning. Replace the filter.
Clean the cavity. Spray the inside of the machine, including the racks and the inside part of the door, with Sunshiney All-Purpose Spray (see this page) and let it sit for 10 minutes. Give everything a good scrub with a scrub brush.
Wash any removable parts, like cutlery baskets, with hot, soapy water.
Rinse with vinegar. To kill any lingering bacteria, place a dishwasher-safe container with a cup of white vinegar upright on the dishwasher’s top rack, then run a hot cycle.
Finish with baking soda or citric acid. To scrub out any odors or stains, generously sprinkle the bottom of the dishwasher’s cavity with baking soda or citric acid, then run a hot cycle. Clean as a whistle!
Our Test Kitchen’s Tips for Maximizing Your Dishwasher’s Powers
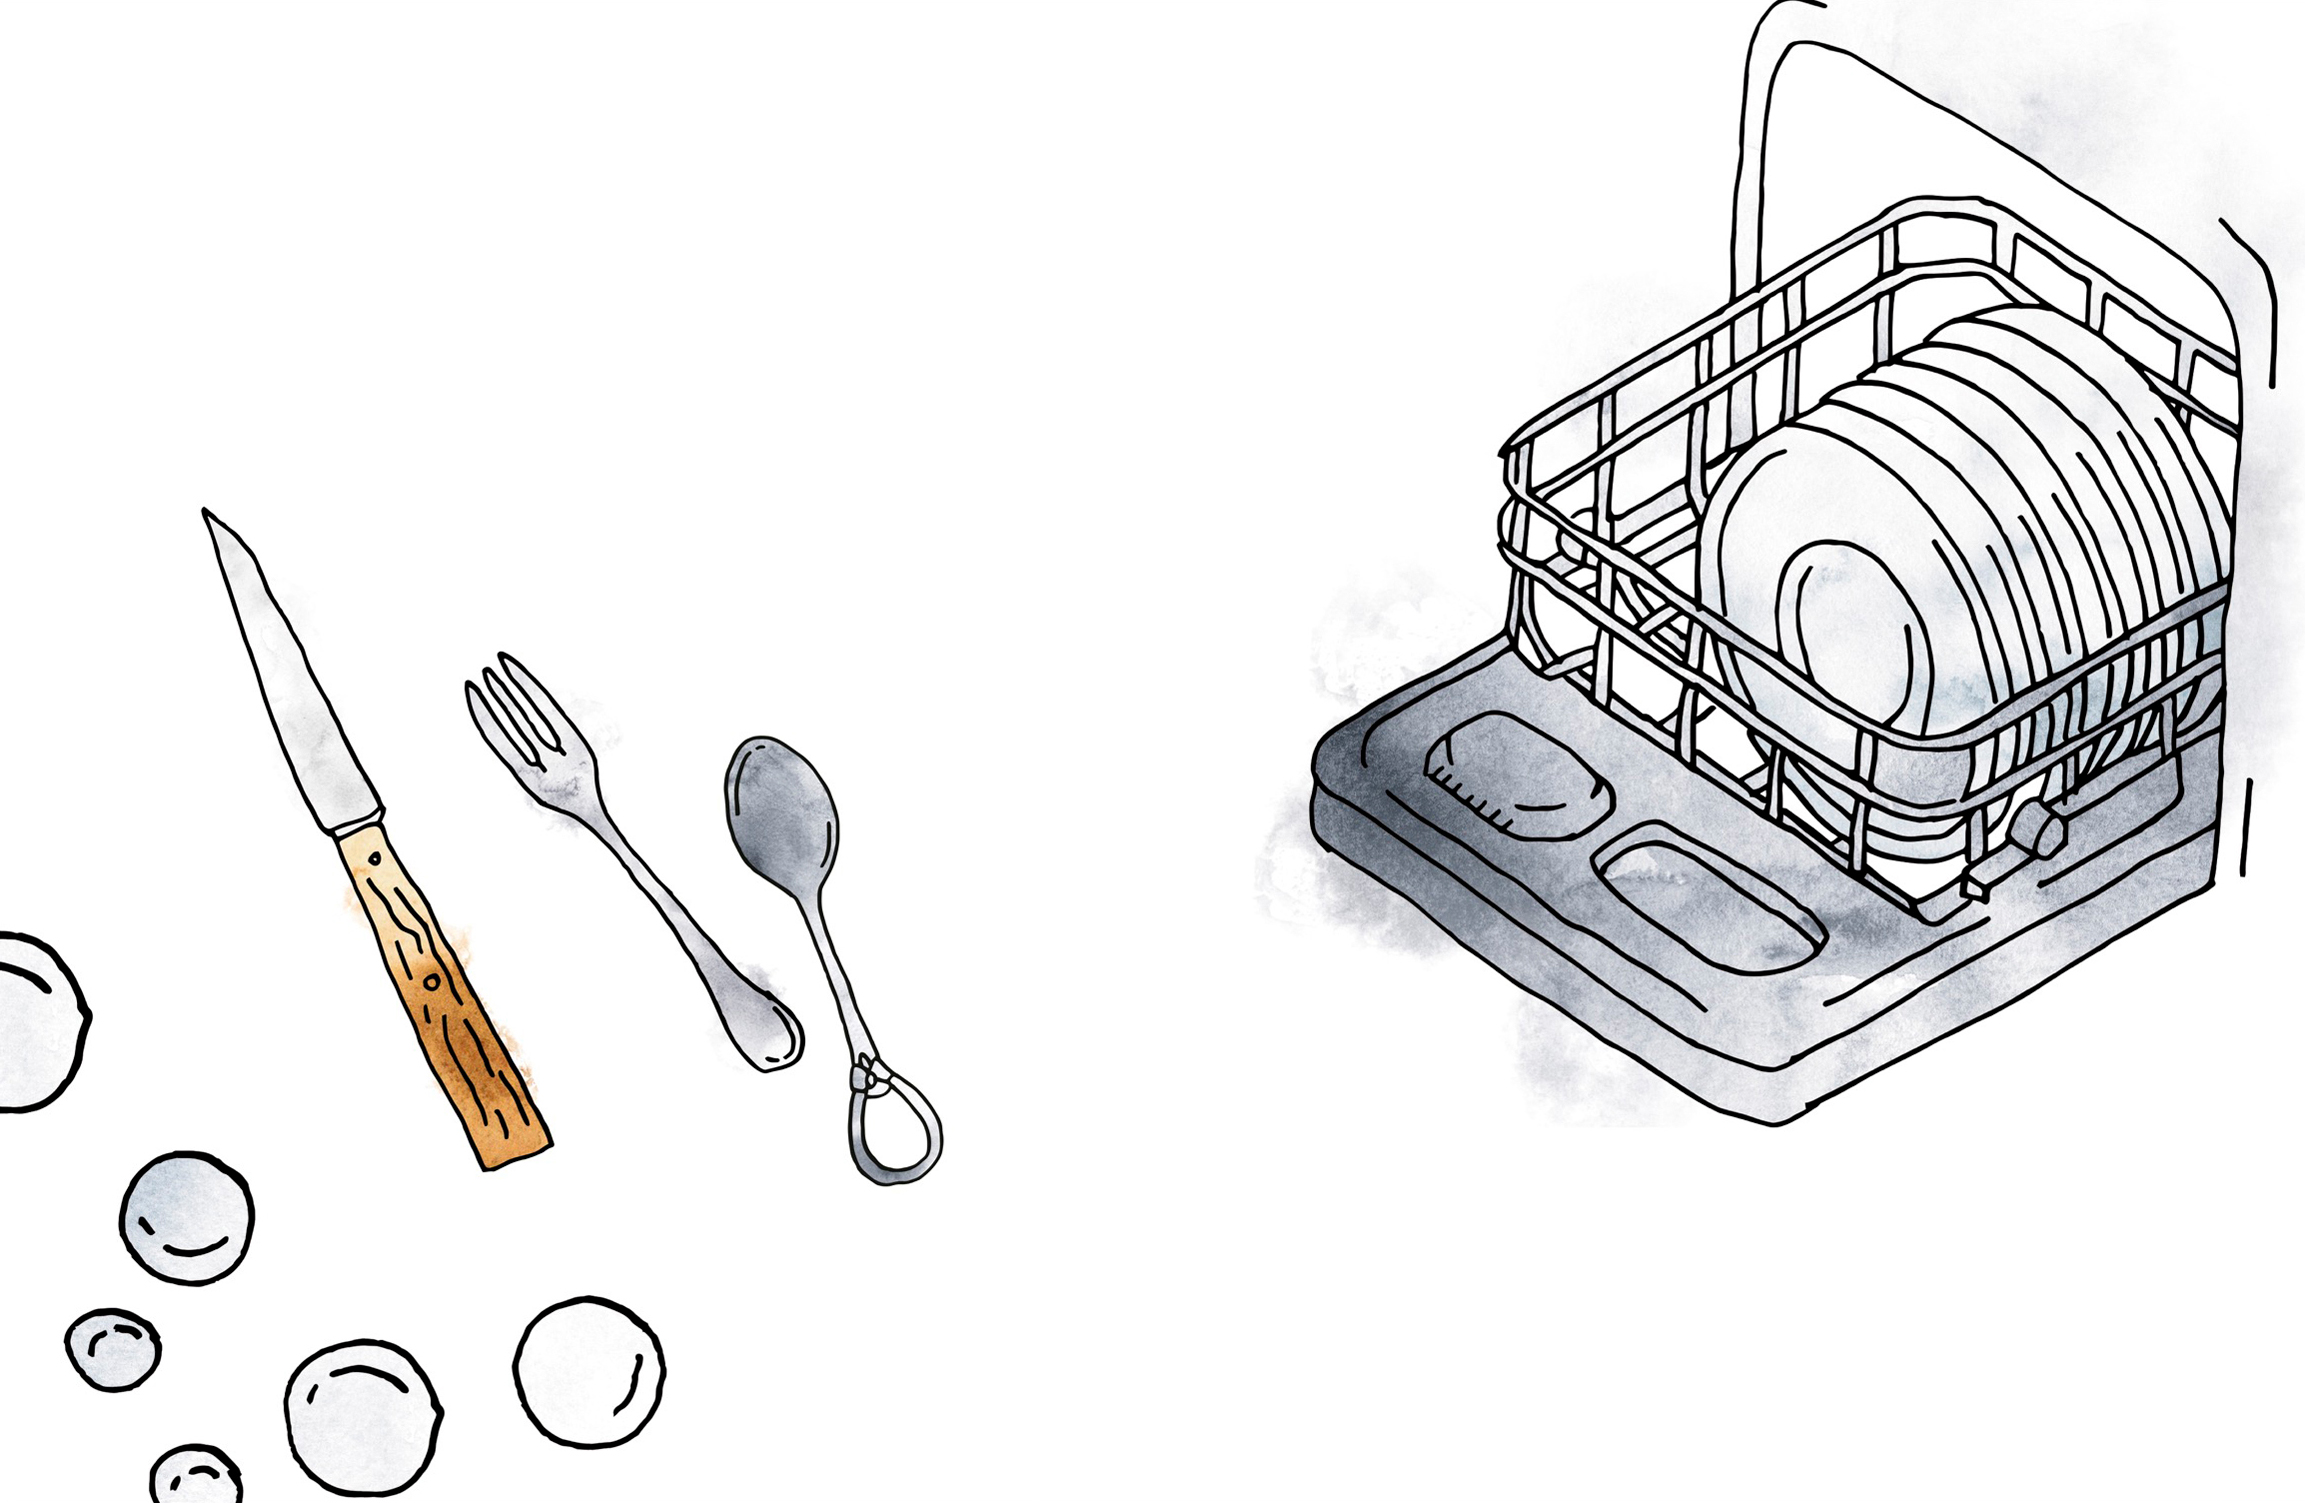
If you’re lucky enough to have a dishwasher, make it work as hard as it can. These prewash strategies all but guarantee dishware that comes out glinting cartoonishly. (And if your dishwasher happens to also be your dining partner, don’t forget to give ’em a squeeze and say thanks.) Here are our test kitchen’s tips—after all, we go through a lot of dishes.
Avoid loading up wood, cast-iron, aluminum, copper, or other items that risk losing their finish. And no sharp knives, either—the dishwasher will dull their sharpness!
Scrape off food from dishes, but no need to completely rinse. Your dishwasher soap needs something to cling to in order to be most effective.
Load from back to front. It’s not just efficient and space-saving, it also reduces the risk of accidental breakage. As for unloading, tackle it front to back, bottom rack to top rack.
Un-nestle silverware. If your dishwasher has a silverware rack, group like with like to speed up unloading. If it has a caddy instead, shuffle your utensils to prevent spoons from, well, spooning. Dinner knives should point down, forks and spoons up for the most even cleaning.
Put bowls on the bottom rack, facing the center, so water and soap can really get into them.
Add citric acid—especially if your water is hard. “Hard” water (that is, water with high amounts of dissolved calcium and magnesium) can leave chalky or foggy white spots on your glassware. A tablespoon of citric acid added to your dishwasher’s cavity solves the issue.
Wait to run the washer until it’s completely full to save energy and water.
 YOUR TOOLS
Pots & Pans
A cooked-on spot or a mysterious dark stripe isn’t a death sentence for a favorite pot or pan. All it needs is a little attention. No matter what kind of pan you have and what kind of cleaning is in order, you can show it some love and restore the shine.
Stainless steel

SPOT-CLEAN
Wash your cookware with hot, soapy water and dry immediately (this prevents water marks, too).
DEEP-CLEAN
To eliminate chalky white spots, which are caused by calcium buildup in tap water, pour a 1:3 solution of white vinegar and water into the pan and bring to a boil over high heat. Let it cool and then wash and dry as normal.
For stuck-on food bits, scrub the pot with a sponge to remove what you can; then fill the pot with enough soapy water to cover the food, bring to a boil, and scrape the bits away with a wooden spoon or copper scrubber. Let cool, then wash as usual with a hot, soapy sponge.
For discoloration from overheating (this often looks rainbow-y), try washing your pan with white vinegar, or using the pot to cook a high-acid food, like tomato sauce (it’ll be totally safe to eat!).
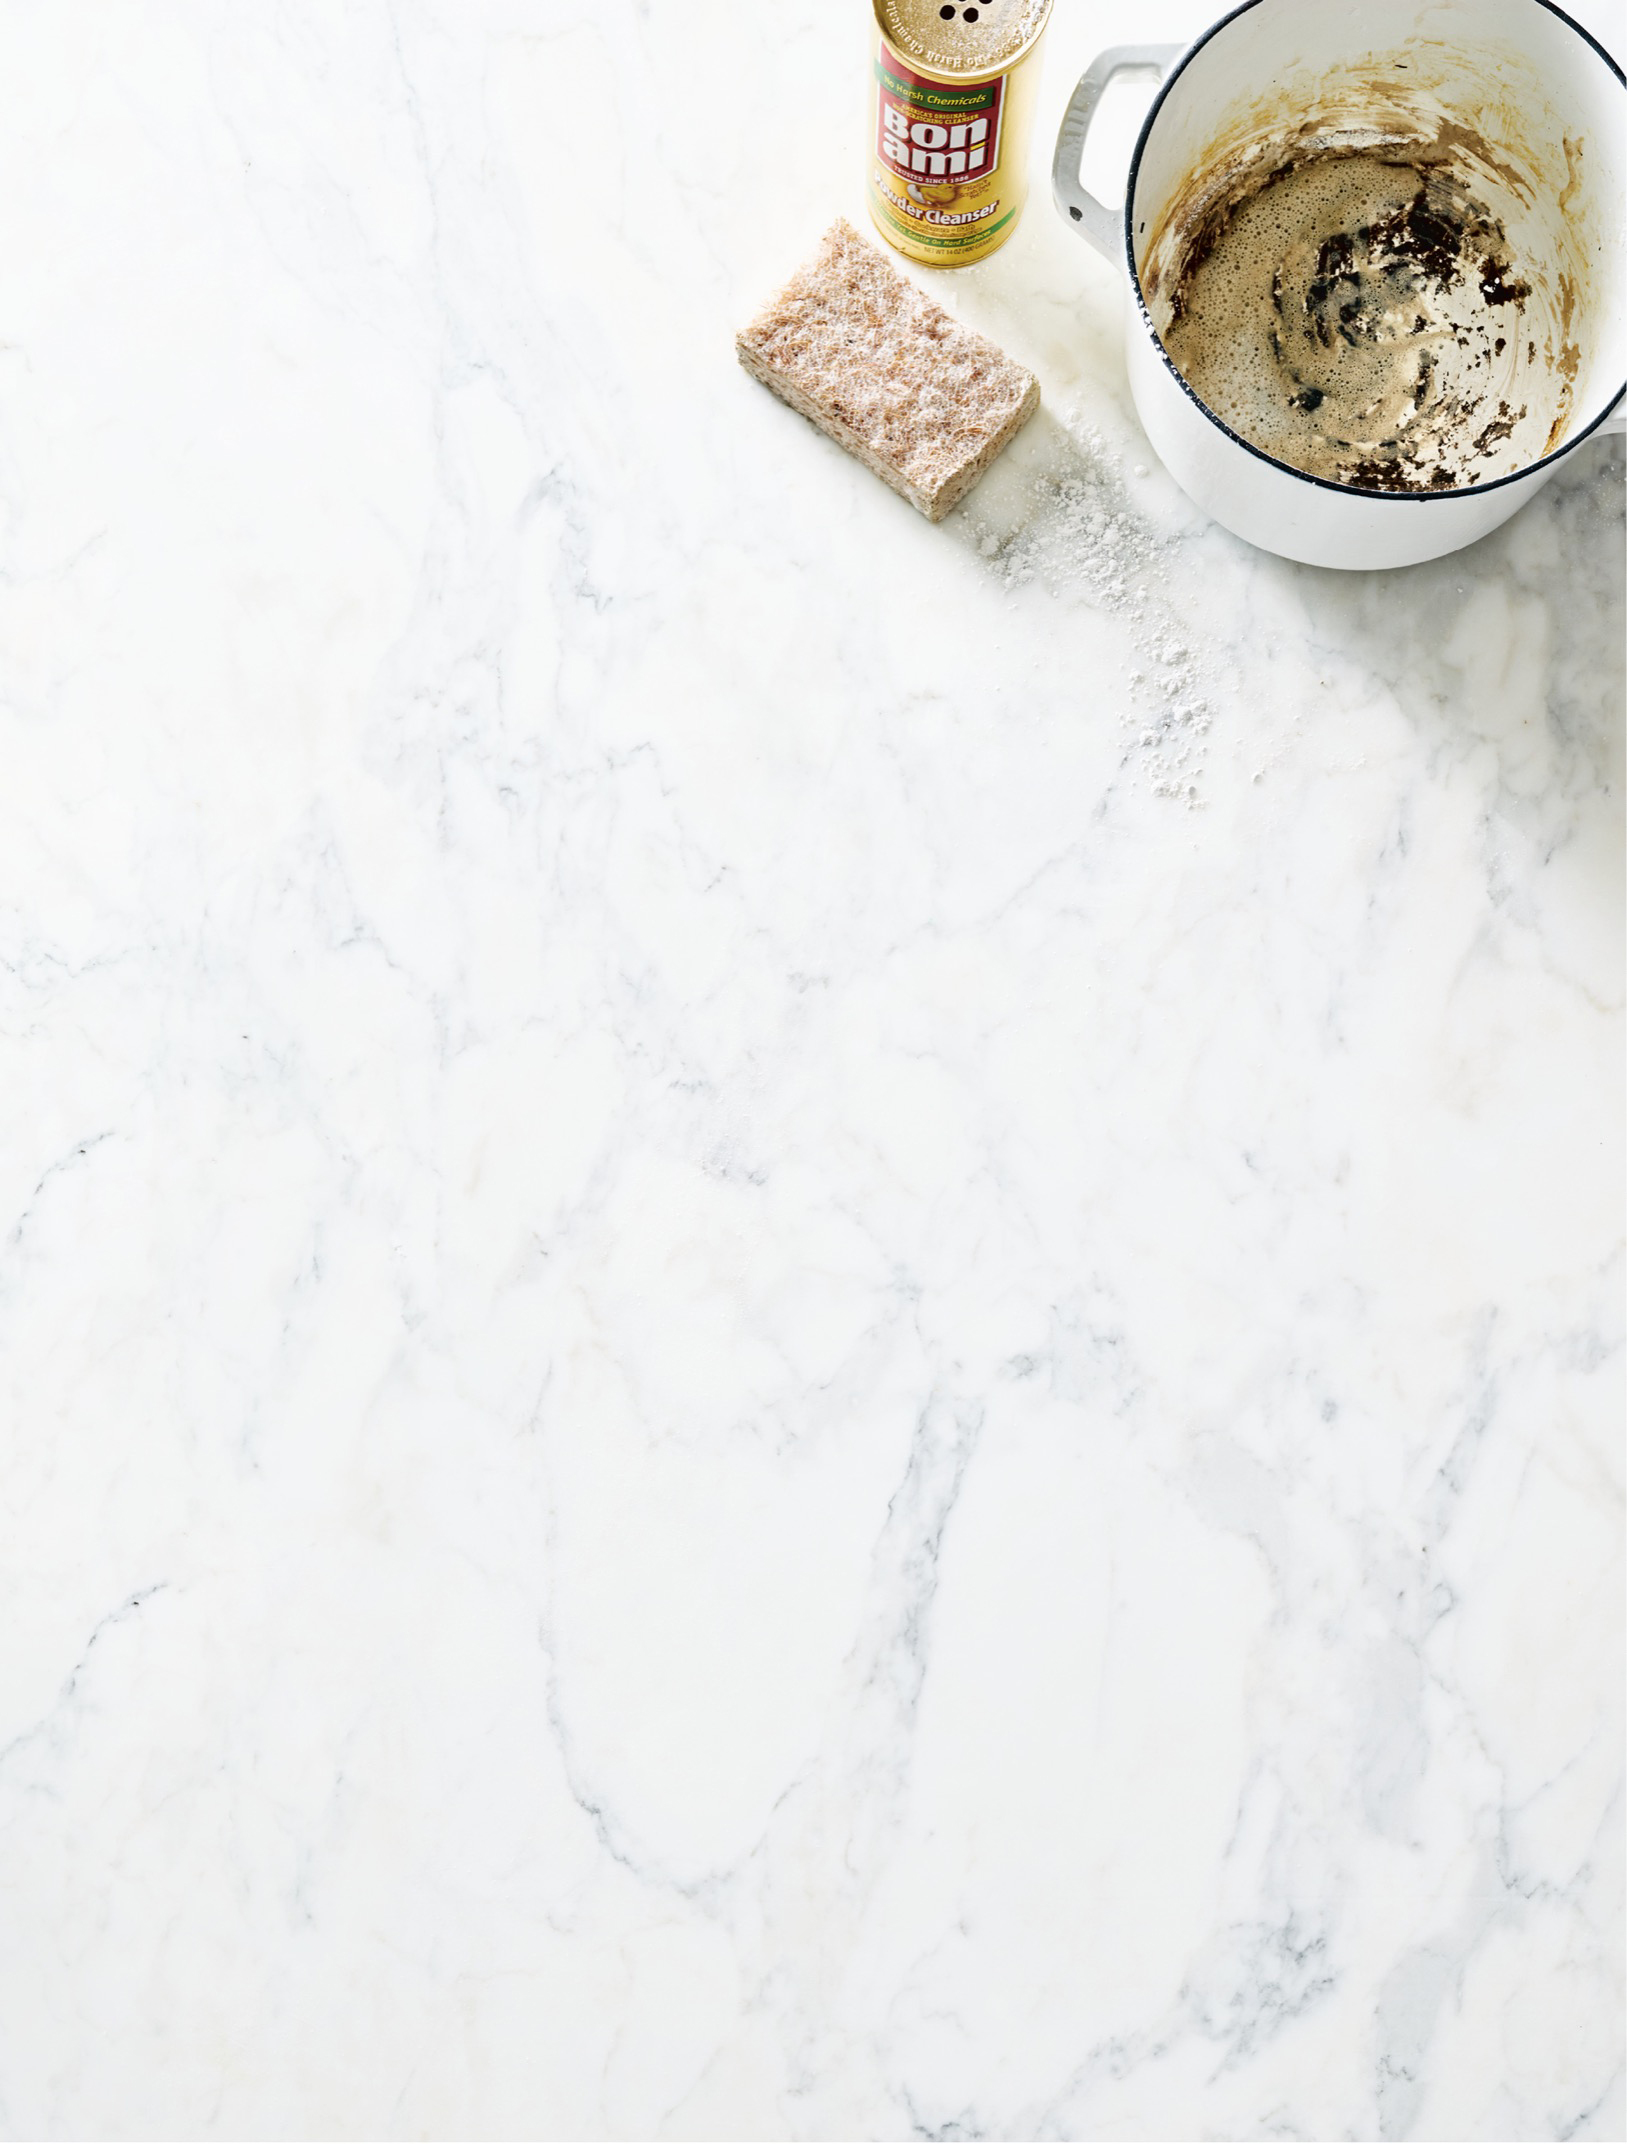
For burnt or burnished pans, bring out the Bar Keepers Friend or Bon Ami. First rinse the pan under water, which will keep the Bar Keepers Friend in place. Then sprinkle on about a tablespoon of the cleaner and use the scrubby side of a damp sponge to work at the grime. Scrub vigorously, reminding yourself that this is your day’s workout. Rinse and repeat if necessary.
Glass

SPOT-CLEAN
For a couple of pesky brown spots that a sponge alone won’t eliminate, make a batch of Super-Scrubby Scouring Paste (see this page) and go to town. Rinse off the paste, wash the pan with soap and water, and dry thoroughly.
DEEP-CLEAN
For more stubborn stains, bring out the Bar Keepers Friend or Bon Ami. Follow the same procedure as for burnt or burnished stainless-steel pans (at left).
Copper

SPOT-CLEAN
For a little blemish, sprinkle on a bit of kosher salt and rub with the cut side of a lemon; for something larger, make a paste of baking soda and lemon juice and rub gently with a rag. Wash with soap and water and then dry thoroughly.
DEEP-CLEAN
For a truly loved copper pan, coat the area with—bear with us—tomato paste or ketchup. (The acid is tough on tarnish!) Let sit for 5 minutes, rinse, wash with soap and water, and dry thoroughly.
Aluminum

SPOT-CLEAN
Wash with hot, soapy water and dry immediately.
DEEP-CLEAN
Vigorously scrub Super-Scrubby Scouring Paste (see this page) all over, using the scrubby side of a sponge. Spray or wipe with white vinegar and let sit for a few minutes, then rinse and wash with hot, soapy water. Dry thoroughly.
Enamel or ceramic

SPOT-CLEAN
Wash with hot, soapy water. Sponges and gentle scrub brushes are a-okay (but never any metal scrubbers!). Dry thoroughly.
DEEP-CLEAN
Cooked-on grime disappears in a snap with a little elbow grease and your secret weapon: Bar Keepers Friend or Bon Ami. Follow the same procedures as for burnt or burnished stainless-steel pans (see this page)—and don’t forget the handles.
Cast iron

SPOT-CLEAN
Wipe out the pan with a hot (but not soapy!) sponge, and give any problem spots a scrub with a coir or gentle copper scrubber, then rinse. Never soak the pan in water, or put it away damp. Instead, after rinsing, set it directly on the stove over medium heat and let it dry over the flame. If the pan seems parched—that is, not deep black and shiny—wipe it all over with a tiny bit of neutral oil and a clean rag.
DEEP-CLEAN
For a primer on refinishing and seasoning a cast-iron pan, head to this page.
The Head-Scratchers
If only our tools could talk and tell us what they need! We’ve gladly done some of the deciphering for you, to get the tricky ones sparkling again.
Wooden boards & tools

SPOT-CLEAN
To scrub out a stain, add a bit of kosher salt to a small batch of Super-Scrubby Scouring Paste (see this page). Dab it onto the stain, scrub in a circular motion using a rag or a brush, and rinse. Or try leaving the stained item in the sun for a few hours—it should help fade the stain.
To remove powerful odors (lookin’ at you, garlic), spray generously with white vinegar. (No spray bottle? Just dab the vinegar on with a kitchen towel.) Let sit 15 minutes and then wash thoroughly with hot soapy water. Let dry.
DEEP-CLEAN, OIL, AND/OR REFINISH
Start by sanding your cutting board or butcher block if it is truly dinged up. We like a medium-grain paper (say, 320 grit). Sand along the wood’s grain to freshen up the surface, but don’t totally eliminate scratches—remember, it’s supposed to look cut on! Brush off any dust.
Sprinkle kosher salt all over the board, and scrub with the cut side of a lemon. (If you’re cleaning a wooden spoon, make a paste of salt and lemon juice, then use a rag to rub it over the spoon.) Wipe off any excess salt with a rag.
Pour food-safe mineral oil all over the board or spoon, then use a rag to massage it in, rubbing along the grain of the wood. Let the slicked-up wood sit for 10 minutes, then wipe away any excess oil. Ta-da!
Silicone baking mats & utensils

SPOT-CLEAN
After each use, wash thoroughly with a hot, soapy sponge, then dry well, preferably out in the sun.
DEEP-CLEAN
When smelly or oily, smear Super-Scrubby Scouring Paste (see this page) all over it, then let sit for 10 minutes. Rinse clean; then dry. Alternatively, try giving it a soak in hot water dosed with a splash of white vinegar, then dry.

Stained linens

OIL-BASED STAINS
If the stain is from pesto or a curry, say, wipe off as much of it as you can, then soak up the oil by patting on a bit of flour or cornstarch. Let it absorb, then dab (don’t rub!) dish soap directly on to the flour. Toss the linen into the wash, using the warmest water you can for that particular fabric—or rinse it under a hot tap. If the stain remains after washing, repeat the process as needed, then dry.
OTHER PESKY STAINS
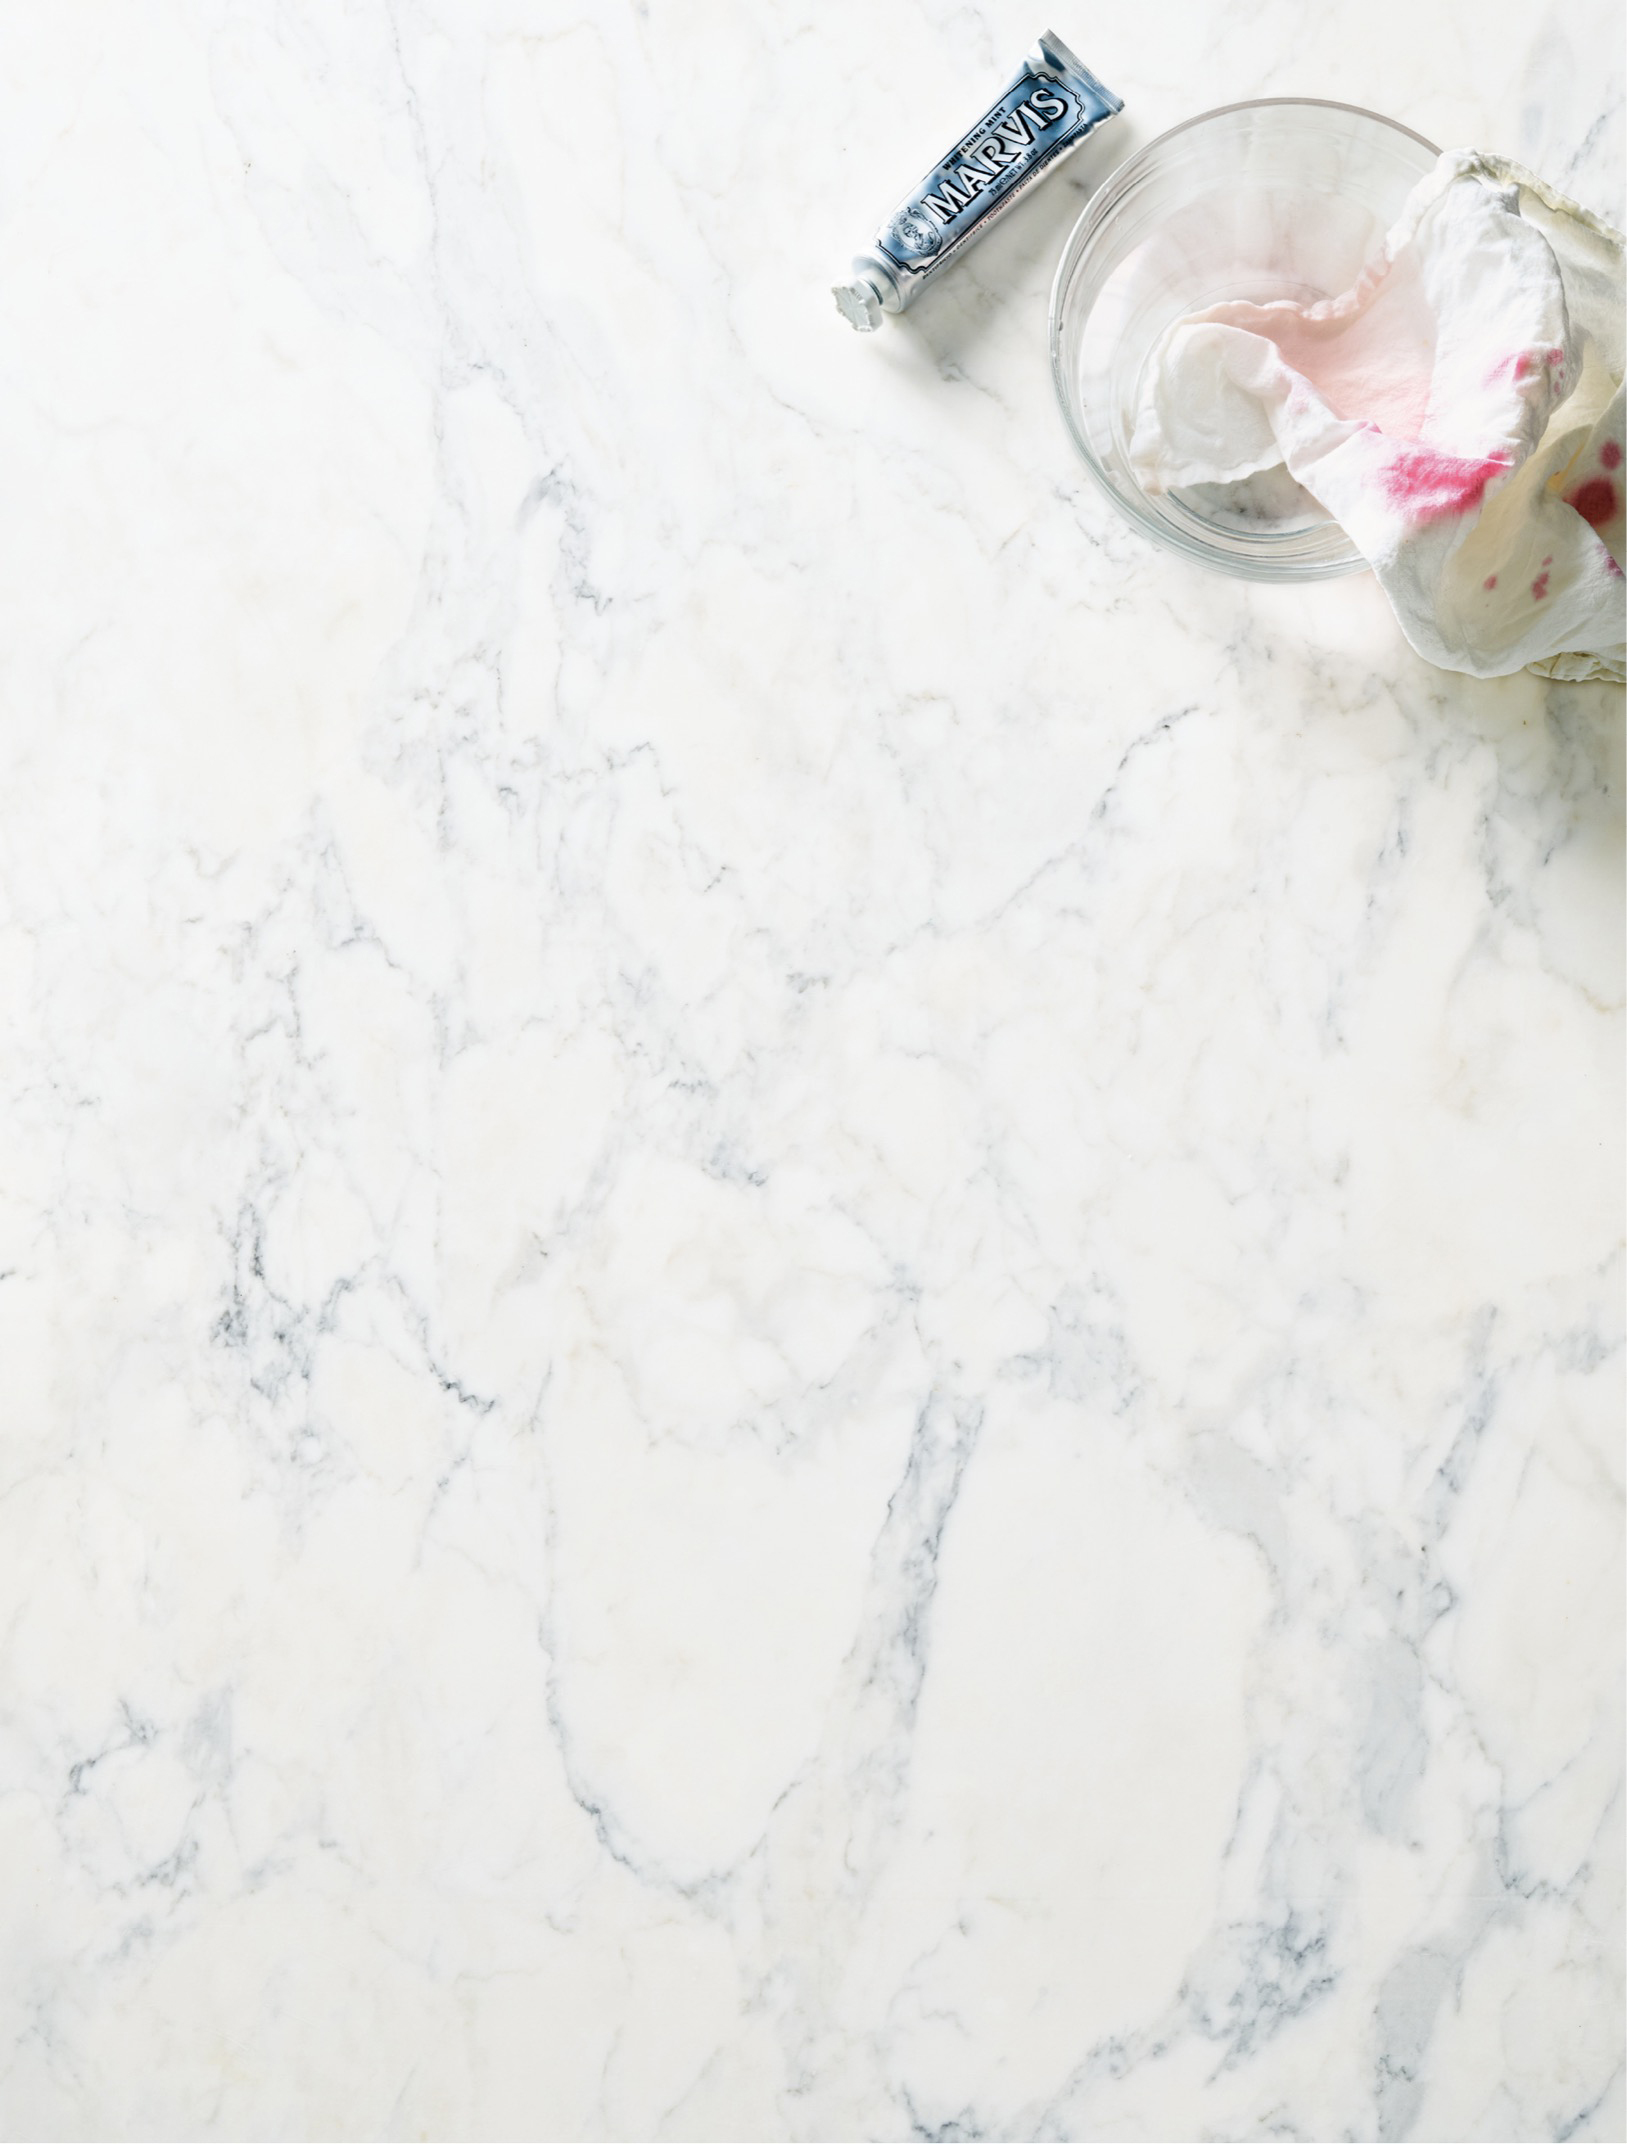
If the stain is from tomato sauce or red wine, first flush the stain with boiling water, submerge it in a bowl of white vinegar for an hour, and wring out the fabric. If it persists, apply a nongel whitening toothpaste onto the area, then rub, rub, rub! (Because the toothpaste isn’t in contact with the fabric for very long, it should only remove the stain, and not dye from the fabric. But if you’re concerned, skip the toothpaste and try the Super-Scrubby Scouring Paste on this page instead.) Rinse and repeat as needed.
Silver, small & large

SMALL ITEMS
For cleaning a mess of utensils, small items, and servingware (like your special-occasion silverware or estate-sale haul):
→Line a large casserole or baking dish with aluminum foil (or pick up a large disposable aluminum dish, like the kind you’d put in a steam tray).
→Sprinkle in a generous amount of baking soda.
→Add your items in a single layer, making sure each is touching the aluminum.
→Pour hot water over the silver, let it cool completely, then remove the silver and buff each piece dry with a soft rag. Magic! (Okay, science!)
LARGE ITEMS
For larger, awkwardly shaped, or single items (like a pitcher): Smear on Super-Scrubby Scouring Paste (see this page) with a rag; make sure you really massage it into the etchings and corners. Rinse clean under warm water, then buff dry with a soft rag.
Smelly dishes & food-storage containers

Soak plastic, glass, or glazed ceramics overnight in a 2:1 solution of white vinegar and hot water. The next day, wash with soap and water, then dry.
Stand mixer

Remove and wash the attachments and bowl in hot, soapy water. Dry thoroughly. Use a hot, soapy sponge or rag to wipe down the machine and (unplugged!) cord, then dry. Use a toothpick or pointy-ended skewer to excavate any trapped goop, dust, and residue. Be sure to remove the knob where you affix the mixer attachments, which hides a lot of gunk. Wipe clean with a damp rag.
Stained or smelly blender or food processor

Add a splash of white vinegar and a couple tablespoons of baking soda to the bowl of your food processor or pitcher of your blender. Let the science experiment fizz and fizz.
Add about a cup of just-boiled water, then put on the lid, leaving the feed tube or hole in the lid uncovered so that steam can escape. Blend for 30 seconds or so, pour out the solution and wash as usual with a hot, soapy sponge. Rinse thoroughly.
Spice or coffee grinder

Fill the bowl of the grinder with uncooked rice, grind until the rice is powdery, and then empty the bowl and wipe clean with a damp rag. The rice will absorb the oil (and, hence, the odor!) from the coffee or spices.
BONUS: A TEST KITCHEN TRICK FOR DE-SMELLING A SMELLY KITCHEN
Simmer a small pot of equal parts white vinegar and water—plus a few strips of citrus peel, if you like—for half an hour. It should kill any leftover scents of frying oil, fish, or anything else you’d prefer your kitchen not smell like.
Pot & Pan Preventive Care: Our Test Kitchen’s Tips for Avoiding Scrapes & Dings
Scratches are a drag for reasons beyond just aesthetics: They mess with your pan’s patina, making it less nonstick (and possibly exposing you to harmful chemicals). The best way to avoid scratches is to know what causes them—and to steer clear. Take up our test kitchen’s banner of preventive care.
For all pans

Use gentle, nonabrasive cleaning materials and tools.
If your pan has a grain (some metals, like stainless steel, have a grain just like wood), scrub with it, not against it.
If you stack pans to store them, slip a clean rag or a paper towel in between.
Dry thoroughly before putting away.
Let the cookware cool completely before cleaning it—pouring cool water into a screaming-hot pan can damage the finish and even warp the shape.
For cast-iron pans

Avoid using soap, which can strip that gorgeous seasoning you’ve worked so hard to build up!
While you can use metal utensils and scrubbers on cast iron, use them gently to keep that seasoning where it is.
For enameled and nonstick cookware

Never use metal tools or scrubbers on cookware! Seriously: no spatulas or tongs, no forks, no cutting in the pan. Pick wooden or silicone tools instead.

 YOUR COUNTERS & SUCH
Counters (of All Sorts!)
Though we guide you through caring for all types of counters and backsplashes here, keep in mind that some materials—marble, granite, wood—require careful cleaning to avoid staining, scratching, or stripping of their sealant. Be sure to use a mild solution and skip abrasive cleaners, like baking soda or vinegar-based ones. Use only sponges, rags, or gentle scrub brushes. And seek out a professional’s help to repair or maintain sealants.
Spot-clean

Wipe up crumbs with a hot, soapy sponge or rag.
Put away unused tools and appliances.
Clear accumulations of papers, mail, and other “life things.”
As needed, spray with Sunshiney All-Purpose Spray or Gentle Giant Spray (see this page), depending on what kind of counter you have, then wipe dry with a rag.
Deep-clean

Deeply de-crumb. Remove everything—appliances, butcher blocks, trays, crocks, plants—from the counter. Wipe away crumbs, spray with Sunshiney All-Purpose Spray or Gentle Giant Spray (see this page), depending on the counter material, and wipe dry.
Re-spiff a butcher block. Head to this page for an in-depth guide to giving it some love.
Get good-as-new grout. Make a batch of Super-Scrubby Scouring Paste (see this page). Using a dry toothbrush reserved for cleaning or a dedicated sturdy scrub brush, vigorously scrub the grout with the paste. Then spritz on Sunshiney All-Purpose Spray or a 1:1 solution of white vinegar and water (it should foam a bunch) and let sit for 10 minutes. Scrub the grout again, then wipe clean and dry thoroughly.
Say good-bye to stains. Does your counter have a “souvenir” from those juicy berries you ate yesterday? A batch of Super-Scrubby Scouring Paste does wonders on any kind of surface. Apply to the stain and let sit for 10 to 15 minutes, then gently wipe off—without scrubbing!—and rinse. You can also try using Bon Ami or Bar Keepers Friend. Sprinkle the powder onto a damp rag and then gently buff the stain.

The Sink
We turn our attention to the sink every day, right after we finish the dinner dishes. But it needs a regular scrub just like any other tool! It’s also easy to add to your routine. Whether your kitchen sink is stainless steel, porcelain, ceramic, or otherwise, you might be surprised how bright a little elbow grease makes it.
Spot-clean

Clear the sink and drying rack of dishes.
Run a hot, soapy sponge along the inside of the sink. Use a scrub brush if necessary. Rinse with hot water.
Dry the faucet and the countertop surrounding the sink with a clean rag or towel.
Deep-clean

Brighten porcelain or ceramic basins, or remove any stains from stainless steel. Dry the sink. Spread a bit of Super-Scrubby Scouring Paste (see this page) over the sink. Leave for 10 minutes, then scrub with a scrub brush or sponge. Rinse thoroughly.
Clean the faucet. Spray with Sunshiney All-Purpose Spray (see this page), then wipe dry with a rag. For hard-water stains, sprinkle with baking soda and scrub with a damp sponge or rag before wiping clean, rinsing, and drying.
Clear the drain. Loosen up a clog by first pouring boiling water down the drain. Then, pack a full cup of baking soda into it, followed by a cup of white vinegar and a cup of water. After 15 minutes, pour boiling water down the drain to free the paste and—hopefully!—the clog. If not, time to call in a plumber.
Freshen the garbage disposal. For a fresh-smelling, clog-free disposal, add a few big spoonfuls of baking soda and half a lemon to the disposal, then run hot water and turn your disposal on until the citrus has been broken up.
Clean the drying rack. If the rack comes in multiple parts, separate them. Wash all of it with a hot, soapy sponge; soak anything smelly in a solution of water with a splash of white vinegar. Clean the countertop beneath the rack with Sunshiney All-Purpose Spray and a rag. Dry the parts of the rack and then reassemble.

The Floor
Your kitchen floor puts up with a lot—crumbs, spills, shoe scuffs, roving packs of dust bunnies. Treat it right! To do that, you need to know what your floor is made of and the sealants it’s been treated with to avoid staining, scratching, or stripping them. Err on the side of extra-gentle cleaning solutions paired with the following tried-and-true techniques.
Spot-clean

Sweep high-traffic areas and vacuum corners or crumby spots if needed.
Deep-clean

Sweep or vacuum the floor. Remove any furniture or accessories (like rolling carts, stools, or floor mats), then sweep and/or vacuum thoroughly.
Mop the floor. For this job, we prefer a washable microfiber mopping pad (see this page). You’ll also need a spray bottle filled with Sunshiney All-Purpose Spray or Gentle Giant Spray (see this page), depending on what kind of floor you have. Spray and mop as you go in sections; when you’re done, let air dry completely before returning the furniture. Rinse and wring out the microfiber pad and toss it in with your next load of laundry.
Tackle remaining sticky spots. Spray or use a rag to saturate the gunk with Sunshiney All-Purpose Spray or Gentle Giant Spray, depending on what kind of floor you have. Use a scrub brush to work gently at the spot until it’s gone, then let the area dry thoroughly.

The Pantry
It’s one thing to have a tidy pantry; it’s another to have a truly clean one. Why not have both? Find our detailed tips for organizing on this page, and pair those with the steps below for a doubly spit-spot space.
Spot-clean

Return stray items to their proper shelves.
Decant any loose items.
Turn cans and jars so their labels face forward for easy reading.
Deep-clean

Clear the decks. Remove everything from the pantry. Wipe the shelves free of dust and crumbs with a rag, then spray with Sunshiney All-Purpose Spray (see this page) and wipe dry.
Weed out your pantry items, setting aside anything expired or forgotten to be tossed or donated (if unopened and before its expiration date).
Wipe right. Use a hot, soapy sponge or rag to wipe clean any oily, sticky, or otherwise gunky bottles and jars.
Finishing touches. Use Sunshiney All-Purpose Spray or Gentle Giant Spray (see this page) and a clean rag to wipe down any cabinet fronts and handles.
Cabinets, Drawers & Shelves
Out of sight, out of mind; right? If only. Nooks, crannies, and other out-of-the-way areas—like your drawers, cabinets, and shelves—are happiest with regular upkeep. Whether spot-cleaning or really getting in there, here‘s how to get started.
Spot-clean

Give cabinet fronts and handles a once-over with a hot, soapy sponge or the classic duo of Sunshiney All-Purpose Spray (see this page) and a rag.
Tidy stacks and rows. Reunite separate parts of things, like your stand mixer and its attachments.
Deep-clean

Cull and toss. Remove everything from the cabinets, drawers, or shelves. Donate any unused or unloved items and toss broken ones (for how and how often we decide what tools go, see this page).
Remove the drawers. Tap out any dust or crumbs, then wipe out the inside with a rag and Sunshiney All-Purpose Spray (see this page). Dry thoroughly.
Wipe away. Dust the shelves with a rag, then spray with Sunshiney All-Purpose Spray and wipe dry with a clean rag. Use your Sunshiney All-Purpose Spray and rag to wipe clean cabinet fronts and handles.
Freshen up. Wash or dust any dishware or tools that could use a refresh.
Good as new! Replace your stuff, keeping frequently used items at eye-level or at the front and lesser-used items higher up and farther back.
Trash Talk
Everyone has it. Everyone deals with it. No one likes to talk about it. But trash is an important part of the kitchen ecosystem, and we want to make it easier to handle. To do this, we’d like to pose a challenge: Get a smaller trash bin than you think you need—say, 4 to 5 gallons—and redirect all your recyclables and compostables. Food scraps go in a 1-gallon compost bin, and recyclable paper, plastic, glass, and metals go in a 10-gallon recycling bin (or two, if paper’s separate). We guarantee you’ll take out the trash at least half as often, and it won’t stink. Win, win!
That Smell Issue

A smaller trash can helps, and composting does, too. Beyond that, we’ve got some tips for minimizing the stink and giving your cans a good clean.
Start by taking out the trash!
If your can’s in good shape, inside and out (not sticky, smelly, or dirty in any way), skip to step 7. But if it’s not, follow steps 3 to 6 to deep-clean.
Squirt a bit of dish soap into the bottom of the bin, then add a few inches of hot water. Swirl vigorously, and let sit for 10 minutes. Swirl again, then dump.
If the inside is stained or grubby, use Sunshiney All-Purpose Spray (see this page) and a rag or scrub brush to tend to the problem areas. Rinse again.
Wash the inside and outside of the lid with a hot, soapy sponge.
Dry all parts thoroughly, outside in the sun if possible.
Add a bit of baking soda to a plain mailing envelope, then seal it and toss the packet into the bottom of the bin. This will help absorb odors. (Really stinky things, like bones or seafood shells? Tuck them in the freezer until trash day.)
Fit with a new trash bag. You’re done!
Recycle Like You Mean It

Seek out your state’s or city’s recycling guide so you know exactly what can be recycled. And remember: Most programs will only take items that are totally clean, so make sure you really wash out that peanut butter jar.
Start (& Keep!) Composting

If your city has a composting program, learn about what can be composted and where compost can be dropped off (like a farmers’ market), or whether it can be picked up at your house. Keep your kitchen’s compost bin within reach of your workstation, so you can add to it easily as you cook (store it in the freezer if you’re worried about the smell). Of course, if you have a yard, you can compost yourself. Pick a spot to deposit your collection and add to it, turning the pile regularly. In a few months, you’ll end up with happy soil to transfer to your garden beds.

 YOUR GAME PLAN
A Little-by-Little Schedule for a Squeaky-Clean Kitchen
We love the productive hum of chipping away at a checklist. Having a regular routine means we can all but go on autopilot. Here’s how we keep the kitchen clean as a whistle—by day, week, and month. (Hint: Make a few copies to tape up on your fridge, so you can check things off as you go!)
EVERY DAY

☐ Wipe down counters.
☐ Wipe out the sink.
☐ Load and unload the dishwasher.
☐ Wipe down the stove top and range hood.
☐ Wash reusable water bottles.
EVERY WEEK

☐ Clean out the fridge.
☐ Take out the trash, compost, and recycling as needed.
☐ Sweep and/or vacuum the floor.
☐ Wipe down the fridge, freezer, dishwasher, microwave, and oven handles.
☐ Wipe down the sink faucet and handles and stove and oven knobs.
☐ Wash kitchen towels, rags, and cloth napkins.
EVERY MONTH

☐ Mop the floor.
☐ Wipe down the cabinet fronts and handles.
☐ Oil wooden cutting boards and butcher blocks.
☐ Review and cull the contents of the freezer and pantry.
☐ Wipe down the inside of the microwave.
☐ Deep-clean the stove top.
☐ Empty the toaster of crumbs.
☐ Replace your sponges (biweekly).
☐ Sharpen your knives.


Restaurateur
JOANNE CHANG’S
Laid-Back Loft Kitchen
Joanne Chang has given us so much: The criminally tasty sticky buns at Flour, her bakeries, plus her illuminating cookbooks, Baking with Less Sugar and Pastry Love—to name a few. She also gave us a tour of the kitchen in her Boston loft. With limited counter space and storage, it makes the most of alternatives: A rolling cart, for instance, houses pots and pans, so closed cabinetry can corral smaller tools. Joanne manages to keep her kitchen uncluttered, thanks to a few restaurant-borrowed tips for a spruced-up space.
 We live in a loft, so the kitchen is part of the dining room, which is part of the living room. I love how open it is. If I could, I’d add a hood—now, when I make a steak or stir-fry, the whole place gets smoky. I’d also love a bit more counter space. (Who wouldn’t?)
 Cleaning as I go is an important habit I picked up from working in restaurants. Between cooking tasks, I use a bench scraper to brush food scraps off the counter, so I can just sanitize at the end. (A towel alone gets really dirty, really fast.)
 I love the meditative routine of cleaning my 25-year-old KitchenAid stand mixer with a toothpick. Doing dishes is the same; sometimes my husband, Christopher, and I will “fight” over who gets to do them (by hand!) because we both enjoy how calming it is.
 When it’s time to do a deep-clean, I begin by pulling out every single plate and bowl and cup and can and jar. Nothing is ever too grimy or dirty (since we clean as we go!) but things can get really messy, so I love to straighten everything out from time to time.


In the kitchen, I try not to rush. When I’m in a rush, I don’t cook well, I don’t enjoy it as much, the food doesn’t shine—it’s all wrong. The same goes for cleaning; I like to be deliberate.