CHAPTER 4
Cooking
This is why we do all of the stocking, sorting, organizing, and cleaning—to spend time happily noodling around in the kitchen.
In this chapter, we talk A-to-Z skills, like how to safely use those knives you’ve picked up, or how to get a gorgeous, flavorful sear on tonight’s steak. We’ve also got tips for building your confidence in the kitchen—and for making a cooking routine that’s perfect for you. Stick with us and you’ll have something good to eat every night of the week, plus delicious ways to use up your leftovers (no more sad desk lunches!).
USE THIS CHAPTER

To Prime Your Kitchen for Its Big Moment
 YOUR SKILLS
30-Minute Cooking School: What You Need to Know to Cook Just About Anything
We really believe anyone—you! us! anyone!—can cook, and cook well. You don’t need to go to culinary school or have an encyclopedic memory of recipes and techniques. You just need to have a few key tactics in your back pocket and use them regularly.
Here, we’ll cover food safety, knife skills, and basic techniques for cooking on the stove or in the oven—plus, you’ll find tips for efficiency, meal prepping, and recipe off-roading. Onward!

Food Safety: Clean & Clear
The most important part of cooking isn’t meal planning or shopping or prepping—it’s food safety. Food safety is the foundation of every meal you cook and eat, without which the most beautiful meal can quickly unravel. Luckily, most safety guidelines are either common sense or easy to remember. Here are the essentials.
-
Wash your hands, every time you switch tasks, touch your face or hair, handle meat or fish, crack eggs. We really mean all the time, all over your hands, with soap and hot water, please.
-
Prevent cross-contamination. Keep your cutting board and tools clean, too; wash with hot, soapy water between tasks and take special care after working with meat, seafood, or eggs. Wash and dry your produce thoroughly. And don’t forget to clean your surfaces and sink regularly (learn how on this page)!
-
Cool foods to room temp before storing. Introducing still-warm food to the fridge or freezer can bring down the temperature of the entire environment, jeopardizing what’s already in there.
-
Thaw foods quickly. You can thaw your steaks or fillets of fish in the fridge in a day, but if you don’t have that much time, try speed-thawing them on the counter: Place your frozen food in a freezer storage bag, squeeze out as much air as you can, and place the bag in a bowl of cold water. Change the water and turn the food every 30 minutes until thawed. Estimate 30 minutes per 1 pound of meat.
-
Cook meat thoroughly. A handy-dandy instant-read kitchen thermometer is the best way to gauge doneness. You want 165°F for poultry, 160°F for ground meat, and 145°F for seafood, pork, and medium-rare beef and lamb. Without a thermometer, rely on your senses: Meat should be firm to the touch, like the pad of your thumb. Poultry should have no remaining pinkness, and fish should flake when prodded with a fork.
Knife Skills: The Sharpest Tools in the Drawer
Every cook needs both a sturdy, all-purpose chef’s knife (more on that on this page) and some know-how to really get chopping. Below is all the info you need to mince, slice, and dice your way to greatness.
Getting a Grip

The way you hold a knife matters. With a proper grip, you not only have better control of the blade but you also protect your fingers and your wrist.
Keep your workspace clear. As you work, move completed things off your cutting board—chopped onions to a prep bowl or a hot pan; peels into the compost—so you’re never cramped.
Cut on a secure, even surface. Lay a damp paper or kitchen towel beneath your cutting board to keep it from moving. (For more on our cutting board faves, head to this page.)
Keep your knife sharp. We’ve said it before and we’ll say it again—a sharp knife is a safe knife. Pay regular visits to your local knife sharpener or hardware store, or learn to do it yourself. (There’s no better teacher than YouTube for this!)
Your noncutting hand should be in a “claw” position, gripping the food you’re cutting, with all the fingers (including the thumb) tucked toward your palm. As you cut, the knuckles of your noncutting “claw” should be flush with the knife’s blade, creeping backward over the food as the knife chops; the food, meanwhile, should barely move.
Your “knife hand” (probably the one you write with) holds the handle while the thumb and forefinger grip the heel of the knife; you don’t want to hold the handle with all five fingers. To get into position, think about how you’d go in for a handshake.

6 Knife Cuts You’ll Use Every Day

Chiffonade: Stack leaves of herbs or greens, roll them into a cigar shape lengthwise, and slice thinly across the cigar to create pretty ribbons. Roll your bundle of leaves as tightly as possible—it’s best to do this in a few batches rather than all in one huge pile.
→Good for: leafy herbs, like basil, or greens, like kale

Julienne/batonnet: Start by squaring off the thing you’re cutting—slice four times around a carrot, for instance, to create four flat and even sides. Slice the squared-off item into thin planks, then stack a few planks at a time and slice them into long, skinny matchsticks.
→Good for: firm, crisp foods, like cucumbers, carrots, jicama, peppers, and apples

Mince: Change your grip on the knife for this cut. Hold your noncutting hand on top of your knife and use it to help you ease the blade down in a quick rocking- chopping motion. You’ll end up with teeny-tiny pieces, like a micro dice.
→Good for: garlic, ginger, or woody herbs, like thyme or rosemary

Dice: Cut your ingredient in half to create a flat, even edge, especially if your ingredient is round. Next, place the food cut-side down, and cut long rectangles. Line the rectangles up side by side and cut across them to create cubes—small, medium, or large, per your recipe.
→Good for: potatoes, carrots, celery, tomatoes, onions, or anything you want in small, even cubes
Slice: Let your noncutting hand creep backward as you slice into the ingredient. The cutting hand uses the full length of the blade. Slice through the object using a slight rocking motion on the front part of the knife, rather than separate cuts that go straight up and down at the blade’s midsection.
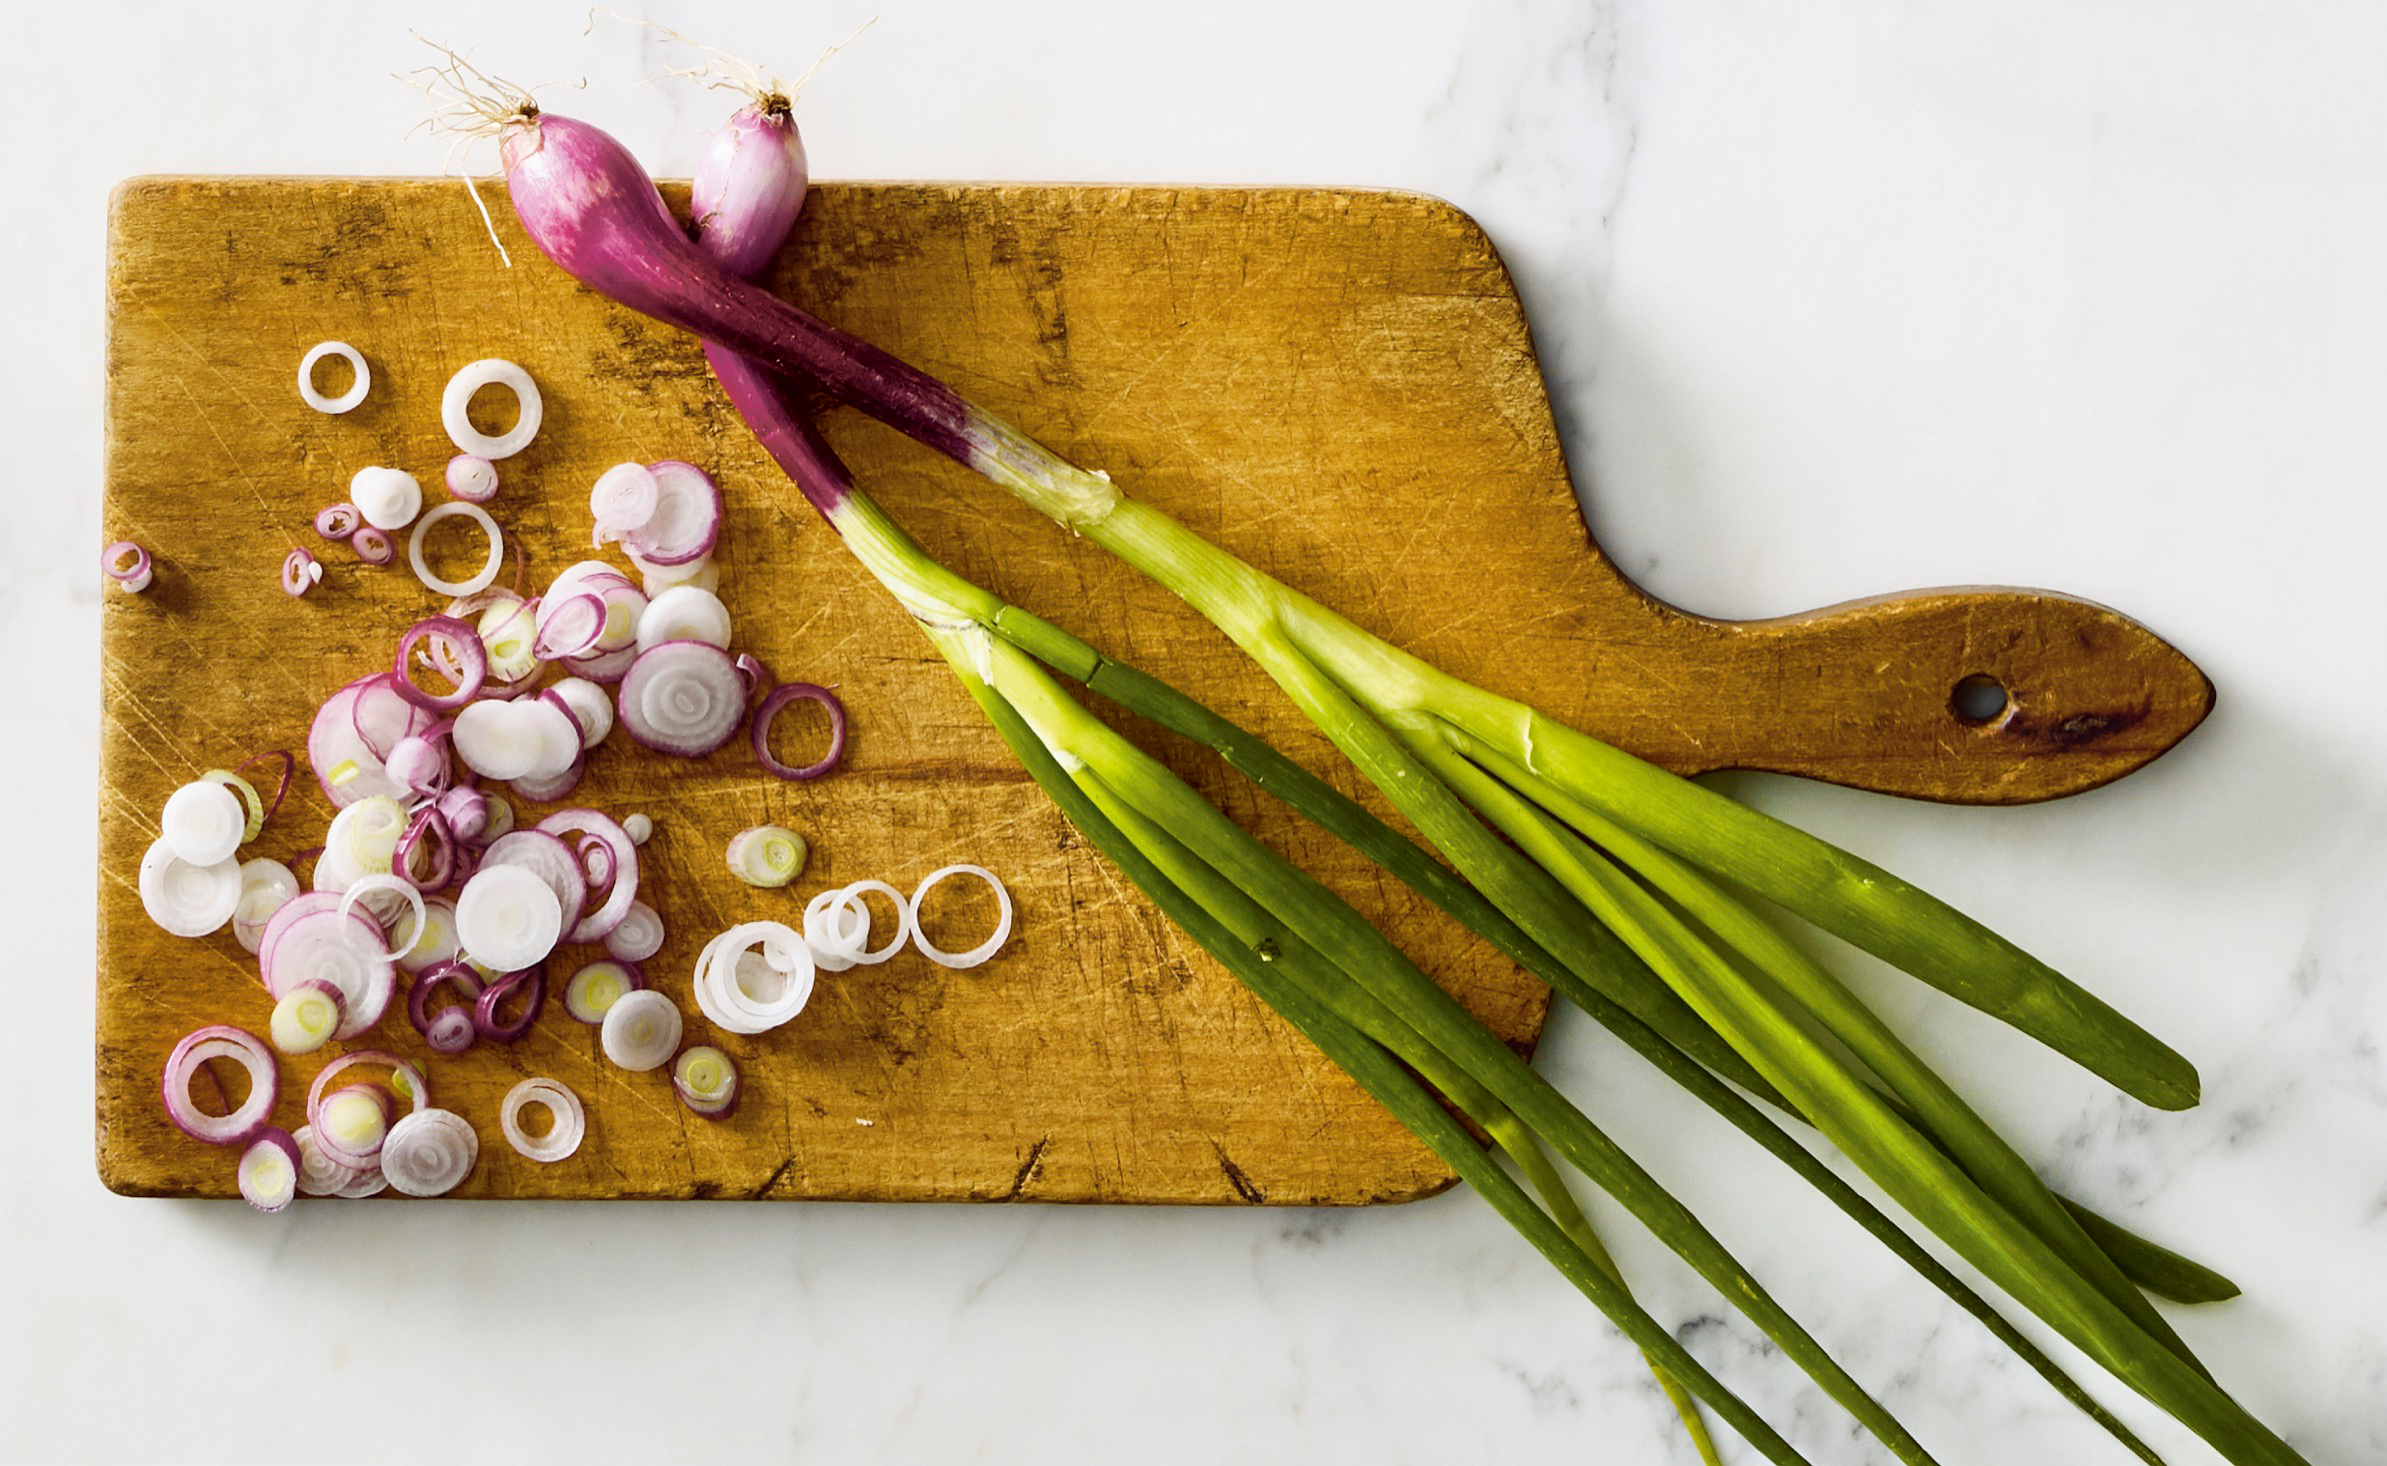
→Good for: radishes, scallions, onions, extra-thin pieces of anything

Roll cut: Hold the knife at a diagonal angle, slice your ingredient, and keep rolling it a quarter or a third after each slice. You get fun, unique shapes that are all roughly the same size.
→Good for: long, thin cylindrical ingredients, like carrots, cucumbers, and zucchini
Stove Skills: The Frying Pan,the Fire & Beyond
The stove is where so much of what we think of as “cooking” happens—from flipping pancakes to simmering soup. To get in on the action, grab a pot or a pan and cozy up to your cooktop. These are the methods that will carry you through most recipes.
-
Sautéing is our most frequently used method. It’s a relatively gentle way to quickly cook food and build flavor. You use it, for example, to soften chopped onion or garlic before adding everything else to the pan.
→Set a pan over medium or medium-high heat and then add a glug of cooking oil.
→When the oil shimmers, add your ingredient and stir with tongs or a wooden spoon until softened.
→To help an ingredient steam while being sautéed and accelerate the cooking, add a small splash of water to the pan.
-
Steaming is an indirect and gentle way of cooking. We like it for quickly wilting softer greens, like spinach, or slowly cooking denser foods, like hardy winter squash.
→Add a bit of water to a pot—more for bigger, longer-cooking items—and top off as needed to keep the pot from steaming itself dry.
→Add your food to a steamer basket and set it over the water, making sure the water doesn’t touch the food. Cover the pot.
→Bring the water to a low simmer over medium or medium-low heat and steam until the food is tender.
-
Stir-frying is extremely hot and fast. You use it to maximize browning on delicate and quick-cooking things, like green beans or shrimp.
→Set a pan over high heat until it’s very hot.
→Add a glug of cooking oil that has a high smoke point, like peanut or safflower oil (olive oil will burn and taste bitter).
→Toss in your ingredients and keep your face back to avoid getting spattered.
→Stir with tongs or a wooden spoon almost constantly, pausing briefly to let the ingredients brown.

-
Braising cooks food slowly and evenly in liquid, giving you falling-off-the-bone short ribs or melty, flavorful eggplant.
→Set a heavy, ovenproof pot or pan with a lid until hot (Dutch ovens work great!) over medium-high heat.
→Add your preferred oil. When it shimmers, brown your ingredients for a few minutes. Add enough liquid (like stock, crushed tomatoes, or wine) to submerge the food two-thirds of the way.
→Bring to a boil; then cover and bake in a low oven (about 325°F) for between 20 minutes and a couple hours, until the ingredient is very tender.
-
Searing is for aggressively browning food. You use it for steaks, big pieces of vegetables, and skin-on chicken thighs.
→Set a heavy pan (we like cast iron) over high heat until very hot. While you wait, thoroughly pat your ingredients dry.
→Add a glug of cooking oil that has a high smoke point, like peanut or safflower (no burnt, bitter, olive oil here!) and then add your ingredients with tongs.
→Don’t move or turn your items until they have a golden edge.
-
Poaching cooks food gently in liquid, but for less time than a braise (and in a lot more liquid). You poach to get moist chicken breasts for chicken salad, tender and never-dry pieces of fish, or fragrant pears for dessert.
→Put your poaching ingredient in a lidded pot, then add enough liquid—wine, water, olive oil, stock—to cover. You can add aromatics or whole spices, too.
→Bring the liquid to a simmer over medium heat, turn the heat to very low, cover the pot, and cook until your ingredient is ultra-tender.
Oven Skills: Baking, Roasting & Knowing Your Oven Inside-Out
Every oven is a little different, and if you’ve been thwarted by a funny one—with a faulty door, haywire heating, or uneven footing that turns out lopsided cakes—you’re in excellent company. The oven might seem to be a black box of mystery, but with some experimentation and know-how (an oven thermometer doesn’t hurt, either), you’ll be humming along in no time.
-
Know your oven. Where is its heat element? Does it seem to run hot or cold? Most ovens are hottest at their bottom back corners. Keep this in mind as you aim for the best browning or most even baking.
-
The position of the racks matters. If you want crisp chicken skin, place the pan on the top rack; it will receive heat reflected from the oven’s roof. If you want cooked through, flaky piecrust, put the pie plate on the bottom rack, closest to the heat source.
-
Rotating your pans matters, too. If you’re baking, say, two trays of muffins simultaneously, plan to rotate them halfway through the baking time to ensure even cooking and browning. Switch the trays from top to bottom and rotate them from back to front.
-
To encourage browning, increase the oven’s temperature. Or preheat your sheet pan. Or make sure whatever you’re cooking is totally dry, as moisture prevents browning.
-
To keep something from browning too quickly, make a loose “tent” with aluminum foil and set it over the problem area.
-
What about broiling? Your broiler lives on the roof of your oven or in a drawer beneath the oven. Use it when you want to brown or crisp something quickly without necessarily cooking it all the way through (say, a bubbly cheese crust on a baked lasagna). If the broiler is on the oven’s roof, arrange the oven racks so that your pan will be 4 to 5 inches from the broiler. Broiling goes quickly, so watch closely!
-
When cooking without a recipe, remember these temps! (And check out Your Kitchen Cheat Sheet on this page for any temperature conversions you may need.)
→200°F keeps food warm and cozy without drying it out.
→325°F cooks or braises a pot of beans or a fillet of fish loooow and sloooow.
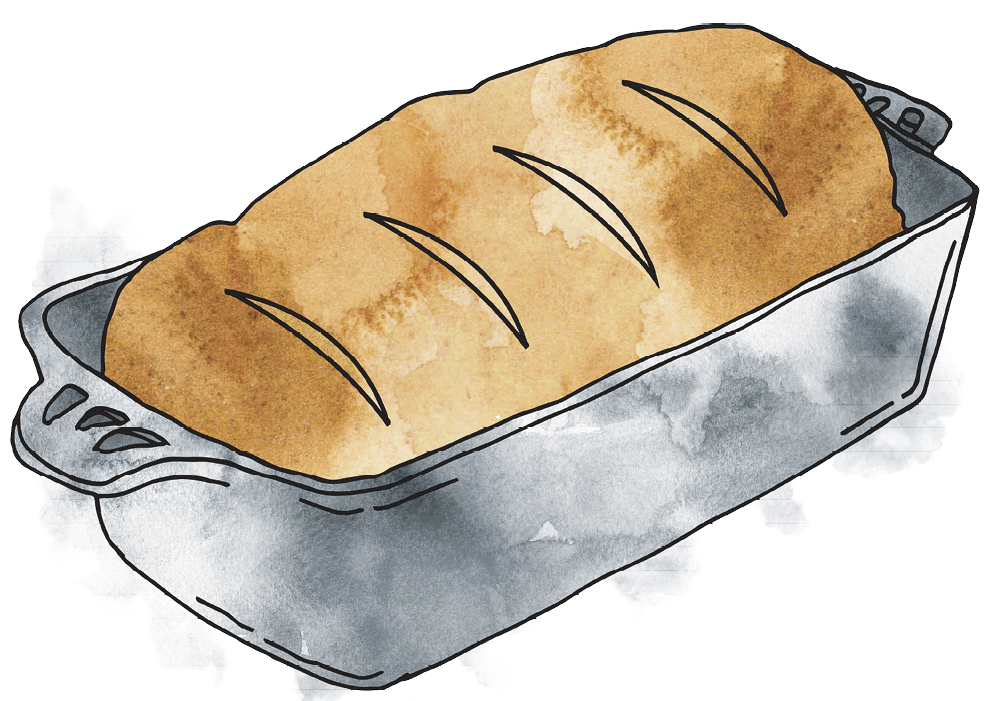
→350°F is your go-to for baking (Cakes! Cookies! Muffins!).
→425° to 450°F is just right for roasting carrots or chicken legs with crisped edges and tender insides.
Myriad Tips & Tricks for Savvy Cooking
We all have a friend whose table we love to eat at, whose kitchen we love to be in, and who seems like a cooking natural. A big part of that is confidence and practice. But your friend likely has their own set of tricks to make the job seamless. Here are some of ours, so you can start (or add to) your collection.
-
Revive wilty greens and slightly limp produce by soaking them in an ice bath for 10 to 15 minutes.
-
Keep steamed or blanched vegetables crunchy and bright, bright green by “shocking” them. Immediately after cooking, move them straight to an ice bath and let them sit until completely cool.
-
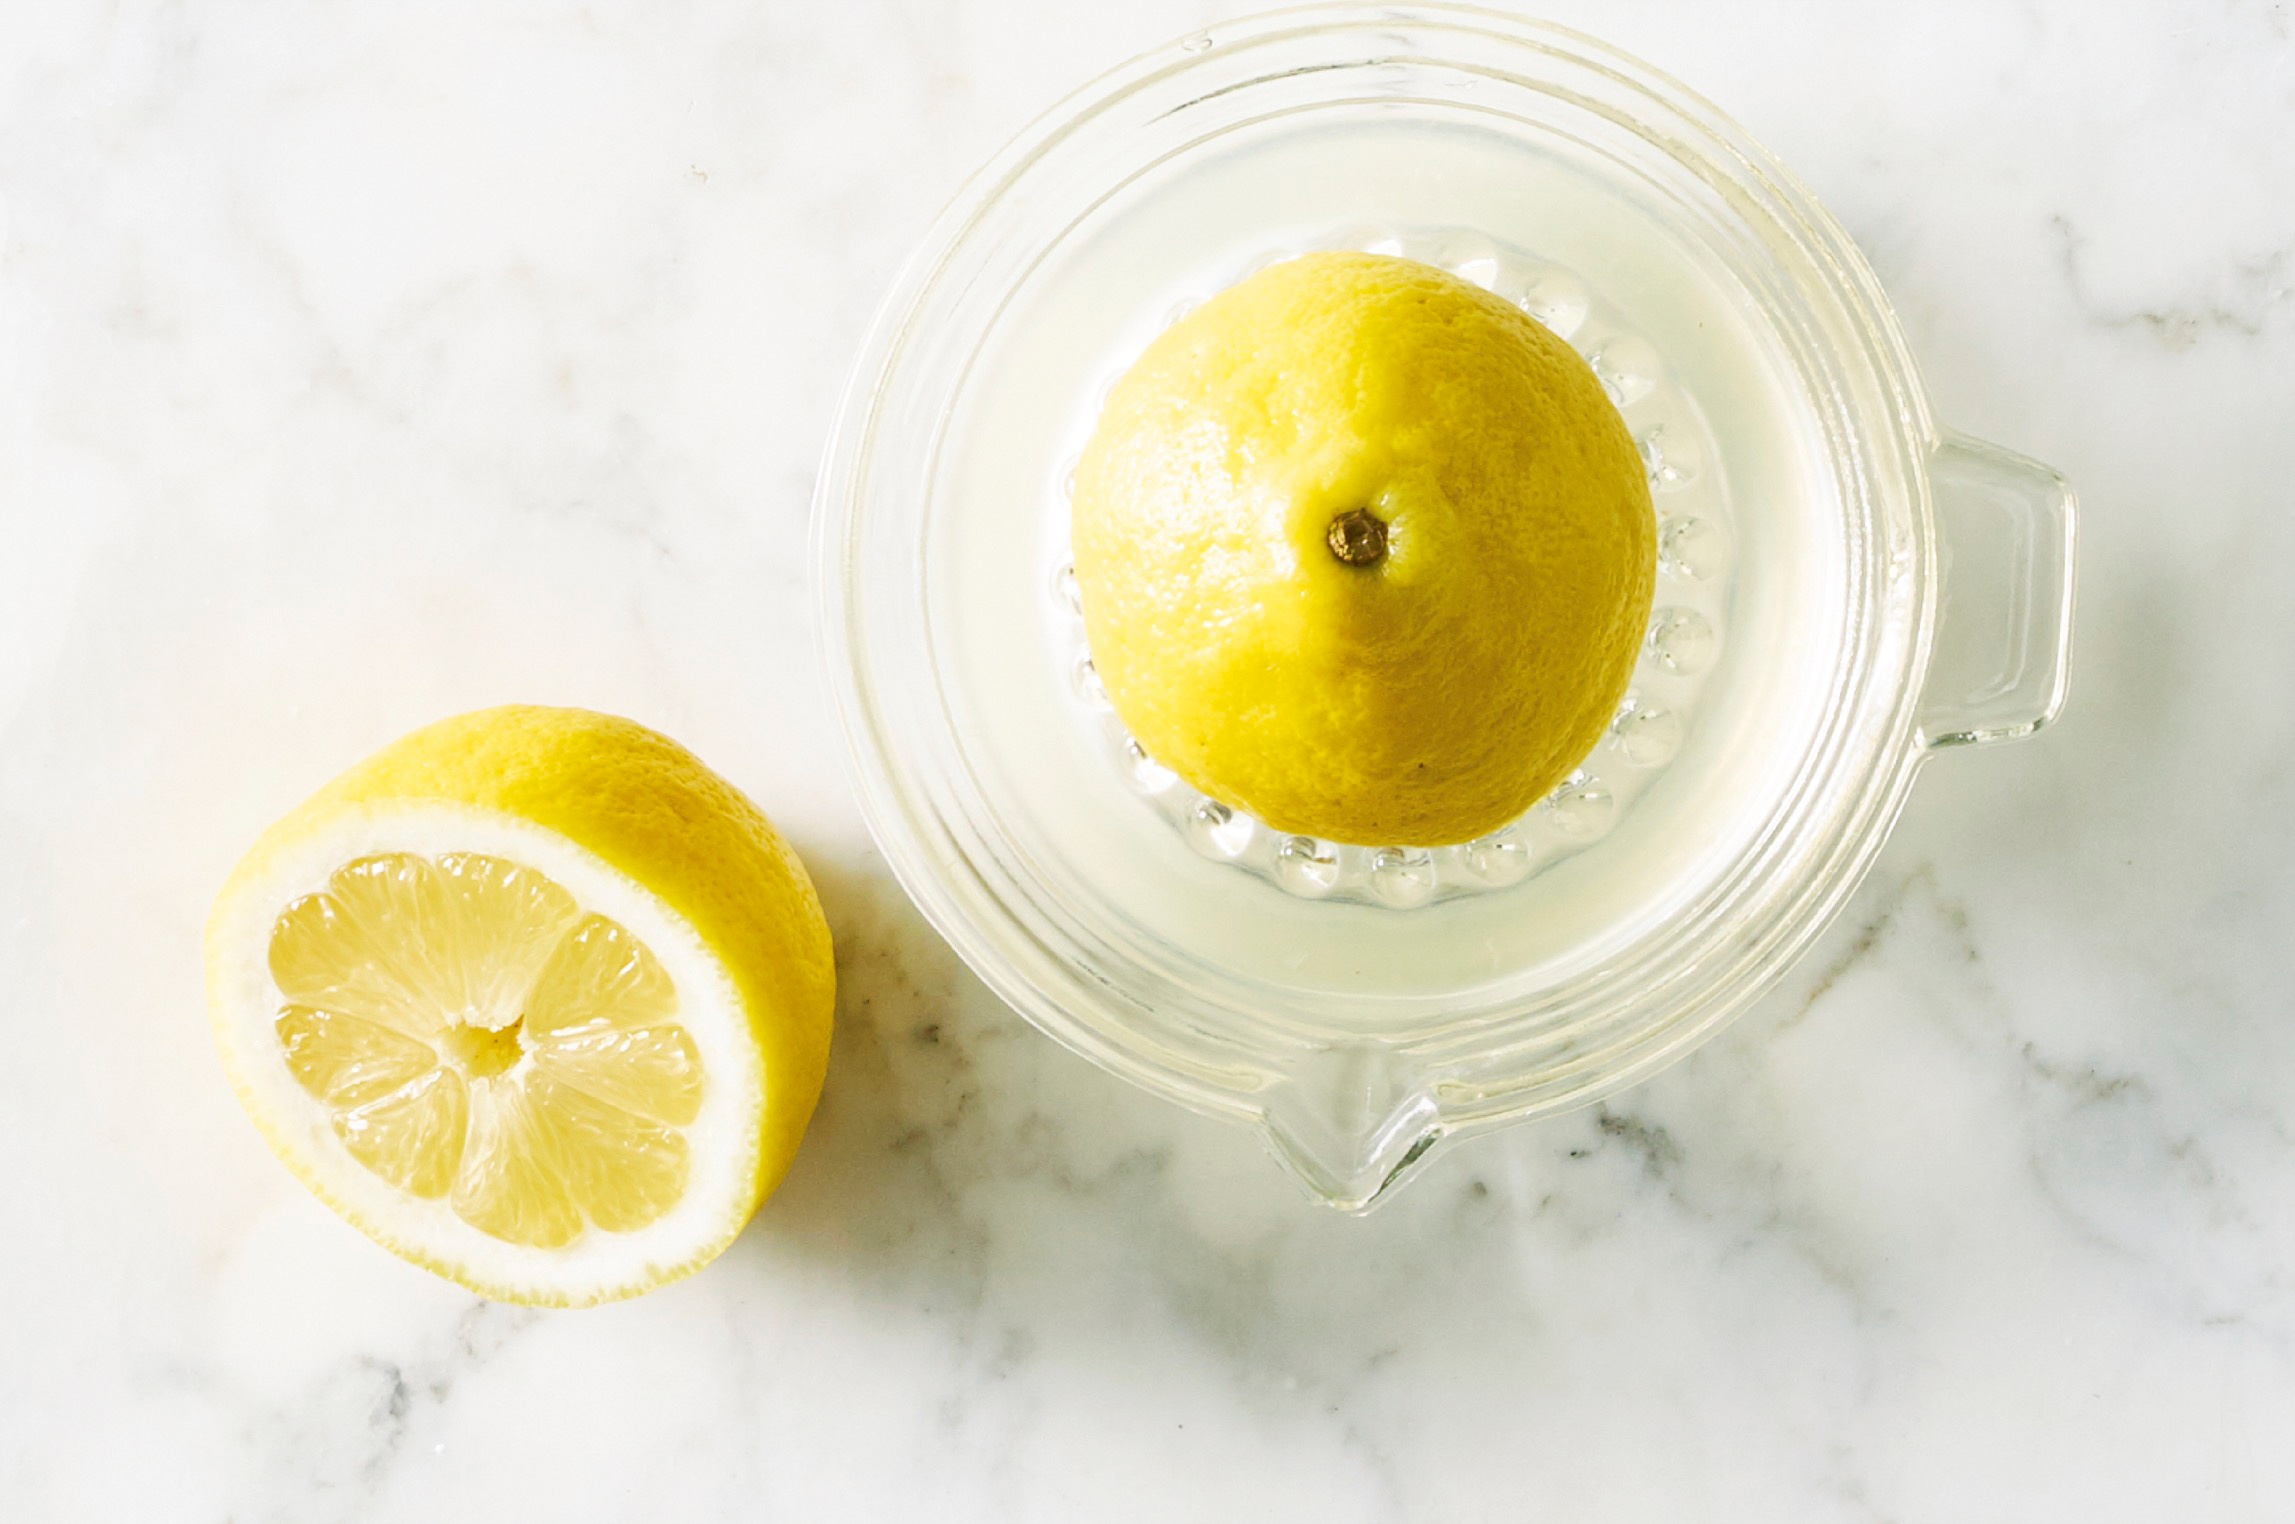
Prevent unwanted browning on apples, pears, artichokes, and avocados by squeezing lemon juice onto any exposed cut surfaces. You can also soak the produce in a big bowl of lemon juice plus water for up to an hour at room temp, or a couple of hours in the fridge.
-
Easily peel…
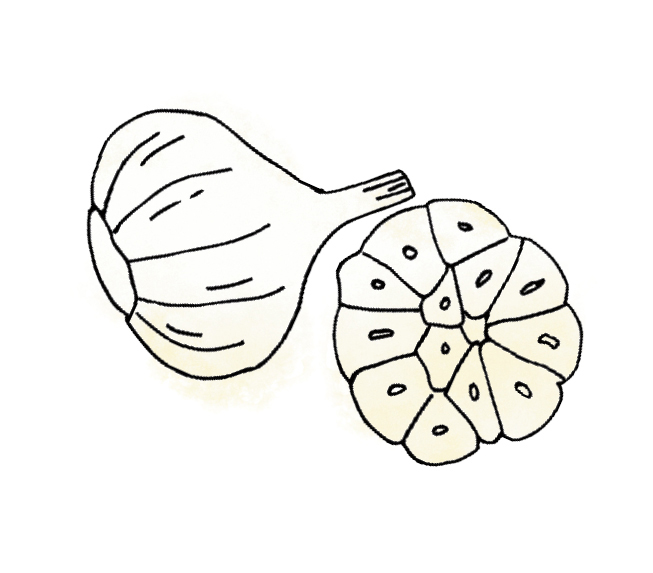
→Garlic by gently whacking a clove with the flat edge of your knife—the peel will come off.
→Ginger by scraping away the skin with the edge of a metal spoon.
→Hard-boiled eggs by gently cracking their shells after boiling and moving to an ice bath. The cool water sneaks under the shell, and helps the shell slip right off.
-
Keep your citrus zest together by grating the fruit with the bottom side of your rasp facing up—this approach naturally collects all the zest up top.
-
Get a sticky, stuck-on lid off a jar by wrapping a rubber band around the lid for a better grip. For even more grip, wrap a kitchen towel over around the rubber-banded lid and then twist.
-
Soften butter fast by cutting it into thin pieces and letting it sit for 5 to 10 minutes. Or microwave the full stick in 10-second blasts, turning the butter onto each of its sides between zaps.
-
Hack a double-boiler to melt chocolate (or make hollandaise, or cook other sauces gently) by setting a glass or metal heat-proof bowl over a saucepan filled with a few inches of water (when simmering, the water shouldn’t reach the bottom of the bowl).
THE THING ABOUT ONIONS…
You thought we already taught you all there is to know about knife work! And we did (see this page)—almost. See, dicing and mincing onions (and similar vegetables, like shallots) come with their own rules, thanks to all those layers. Halve an onion lengthwise, through its root end, leaving one end intact and slicing off the other end. Slip off the papery skin, and cut the onion into strips lengthwise, leaving that root end intact. Turn the onion so that the strips are perpendicular to your knife’s blade, then slice across to dice. To mince, run your knife over the pieces of diced onion in a rock-chopping motion to get even smaller, finer pieces. Discard the root.
-
Halve lots of cherry tomatoes in one go by positioning them between the lids of food-storage containers (like a sandwich!). Use your noncutting hand to gently but steadily keep the top lid in place while you slice between the lids and through the tomatoes with a serrated knife. Other small, round foods, like grapes or pitted olives, can get the same treatment.
-
Ensure evenly cooked meat by bringing it to room temperature before cooking or grilling. The meat should feel just cool to the touch, but not cold, before it heads into the pan.
-
Boost your meat’s flavor and increase its tenderness by seasoning it with salt, pepper, and/or other spices, up to one day in advance. Keep anything with a skin you’d like to crisp up (like a whole chicken) uncovered during its overnight sit in the fridge; air circulating around the food will help dry it, and the drier it is, the crispier it will become.
-
Mimic a cup of buttermilk for baked goods by using DIY soured milk instead—add a tablespoon of vinegar or lemon juice to a cup of cow’s milk (or unsweetened nondairy milk) and let it sit for 10 minutes. The acid in this substitute will react with the baked good’s leavener in the same way that buttermilk would.
-
To safely dispose of oil, never pour it down the drain! Instead, let it cool slightly, then pour it into an empty wide-mouthed and lidded bottle, can, or jar. Keep the container in the freezer and pour excess oil into it whenever you need to. When the container is full, scoop out and discard the hardened fat and start over.
-
Retrieve a shard of eggshell from your bowl of cracked eggs by wetting your fingers and then quickly and confidently grabbing it. The water keeps the whites from sticking to your hand.
PICKING THE RIGHT PAN
Now that you know your stove skills (see this page), you should know that, yes, there are sometimes better pans for certain jobs. But how to know what to use for your dish? For extra-sticky or delicate tasks (like pan-frying tofu or scrambling eggs), go nonstick. For use over high heat (like deeply browning chicken thighs or charring stir-fried green beans), or when moving from stove to oven (as when braising or making a frittata), pick heavy cast-iron or enameled cast-iron vessels. For boiling water, sautéing, and the rest, stainless steel or aluminum will do you right.
Our Test Kitchen’s Tips for Mastering the Art of Winging It
We love a recipe as much as the next cook—and we use them, get inspired by them, write them, and rewrite them. But there are times when we just want to set recipes aside and play. Winging it can make cooking exciting, and can reliably turn around a recipe that’s gone off the rails a bit. Here, our test kitchen shows us how to veer from the course (and have fun!).
-
Think about which flavors are already pals. If you’re searching for a missing flavor in your dinner, identify the flavors that are already present and then try to put your finger on a complementary one, based on where the dominant flavors are grown and used. Also consider any flavor combos you’ve encountered and loved in other recipes or at restaurants, and try mimicking those. For instance, you could pair garlic and butter, fish sauce and lime, star anise and scallions, tarragon and olive oil.

-
Understand your ingredients. If you know what kinds of ingredients fill certain roles in a dish—lemons and yogurt for acid, capers and soy sauce for salt, bread crumbs and sesame seeds for crunch, olive oil and avocado for richness, miso and mustard for savoriness, mayonnaise and butter for creaminess, honey and dried apricots for sweetness, and on and on—it’s easy to freestyle or make swaps.

-
Learn the big principles, and you’ll always know how to let loose. Experiment with different techniques using the same ingredient, or the same techniques using different ingredients. For example, if you pan-sear a fillet of fish skin-side down versus steaming it in a parchment-paper pouch in the oven, you get two completely different results. The same goes for roasting sweet potatoes versus string beans. But after you try a few things, you learn what techniques you like best for specific ingredients and can keep them in your arsenal for the future.

-
Use a recipe as a launch pad. Let it guide you for flavors, amounts, and timing, but tailor the rest—the ingredients, techniques, and the way the dish is served—to your own tastes.
-
Trust your senses. We rely on (and love!) our thermometers and buzzing timers, but our eyes, ears, nose, hands, and mouth are even more essential tools. This takes some practice, but with time, you’ll be able to smell when garlic is browned, tap on the crust to gauge doneness for bread, or feel that a steak is medium-rare by just touching it.

Mise en Place: What It Is, How to Do It & When You Should Throw It to the Wind
Fancy chefs like to throw these words around like confetti: Meez, meez, meez. But what does it actually mean? Adopted from French kitchens (which got many rituals and hierarchies from the French military—fun fact!), mise en place means “everything in its place.” In the kitchen, here’s what it looks like: Each ingredient in a recipe is fully cleaned, chopped, and portioned, usually into a brigade of small bowls, before the cooking happens. But although we love our mise, we actually don’t use it all the time. Here’s our advice.
When to Mise
-
For fast-paced recipes, like anything being stir-fried, for example.
-
For new or especially challenging recipes, so you can focus on the task at hand instead of readying the ingredients.
-
For recipes with lots of chopping, so you can cook through the rest of the recipe without thinking about it.
-
For many baking recipes. Whisk together the dry ingredients for muffins the night before—then add the wet ingredients, portion, and bake the next morning.
-
For cooking with kids. Mise cuts down on messes and helps to keep the little ones’ attention. Measure out or chop ingredients together in one session and cook in another.
-
For tonight’s dinner! Before you leave for work (or the night before), gather and prep your ingredients. Then all you have to do when you get home is assemble and cook.
When to Skip It
-
For recipes you know like the back of your hand, you probably have all that prep handled.
-
For recipes with ample inactive cooking time. Use the inactive time it takes to bake meat loaf, say, to chop greens for a side salad and make a dressing.
-
For recipes with a very short ingredient list or a simple technique. Making a straightforward fried egg sandwich? No need to mise.
-
For those times when you’re winging it. It’s your moment to shine.
WHAT ELSE TO MISE?
A group of all the stuff you need to make your dish, right next to your workstation—including the tools! Think of it as a kit: To stir together cookie dough, for example, prep your measured-out ingredients, lay parchment paper on your sheet pan, and keep a scooper at the ready. (Speaking of sheet pans, you can even use one to house your kit—it’s easily movable for efficient transport to your workstation, and can collect dishes and scraps post-prep.)
YOUR GAME PLAN
3 Time-Saving Prep Tips, Straight from Our Test Kitchen
Our chef-in-residence Josh Cohen understands more than anyone the reasons behind meal prep: It reliably gives you a week’s worth of lunches—or even just a head start on dinner. Here are Josh’s three best tips for making the most out of prepping meals. With these, you can eat well (and fast!) all week and won’t ever get bored.
-
Rely on these four components.
→Protein: This can be just about anything—meat, beans, eggs. If meat, Josh recommends a fatty, sturdy cut (say, chicken thighs or braised pork shoulder).
→Vegetables: Let whatever’s in season determine what you roast that week. Josh cranks up the oven temperature to as high as 450°F so the vegetables get great char (read: great flavor) but stay crisp-tender inside. For bonus points: keep some fresh lettuce around to turn your mix-and-match items into salads or lettuce wraps.
→Starch: Rice, quinoa, farro, barley, or potatoes are flexible and easygoing. After cooking, Josh spreads grains out on a sheet pan, so they cool quickly before being packed away.
→Sauce: Even if it’s as simple as oil, vinegar, and minced shallots shaken around in a jar, a zingy dressing makes anything better and unites a hodgepodge of ingredients.

-
Season them simply. This is the key to mixing and matching all week: Season with salt and maybe black pepper, and they’ll pair easily with just about anything as the week goes on. A fridge full of shredded chicken, brown rice, flour tortillas, sautéed kale, roasted butternut squash, and yogurt can become (1) a rice bowl, (2) a chicken burrito, (3) killer fried rice, (4) a chopped salad, and (5) a hearty soup.

-
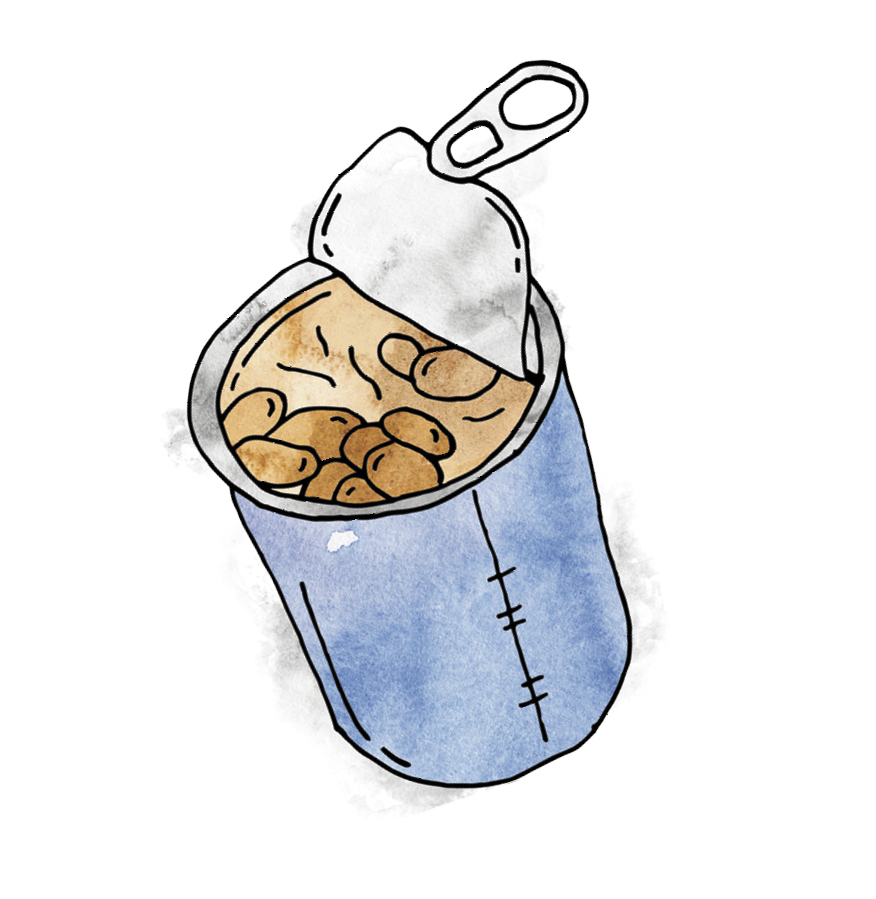
Fear not the shortcut. Pick and choose which components feel the most important for you to tackle, then let the supermarket take care of the rest. Grab a rotisserie chicken instead of roasting one yourself, use canned beans instead of dried, or cook up a pot of pasta instead of a more time-consuming grain.
YOUR RAINY-DAY FUND
If you prefer a here-and-there approach, cook these “investments” when you’re feeling fresh, then portion and stash them in the freezer. Think of them as your rainy-day fund, which you can pull from as needed and simply reheat—or transform! Once thawed, plain cooked chickpeas, for example, can be roasted till crunchy for a snack, smashed into a tuna-like salad for piling on sandwiches, puréed into hummus, or stewed with tomatoes and spices in a batch of chana masala.
-
Cooked beans in their broth
-
A hefty pasta sauce (say, marinara, Bolognese, or pork-shoulder ragu)
-
Puréed or mashed leftover roasted vegetables (which’ll turn into a creamy soup in no time)
-
Pizza dough and/or piecrust
-
Large-format or labor-intensive meals (enchiladas! dumplings! soups, stews, and chilis!)—enjoy half now and then freeze the rest for another time.
-
A pot of rice or another grain (or uncooked riced cauliflower or broccoli).

How to Leave Cooking to Chance (Do-It-Your-Way Menu Planning)
Need a zap of dinnertime inspiration? Just roll the dice to pass your cooking rut and collect $200—or, uh, pick an option or two from each category below, prep them at the start of the week, and jigsaw them together into delicious meals. Please play responsibly, and repeat as often as you’d like.

Protein
roasted chicken
seared steak
cooked lentils
roasted tofu
simmered beans
slow-roasted sturdy fish (like salmon or tuna)
fried or boiled eggs

Veg
sautéed hearty greens
raw crunchy vegetables
tender salad greens
roasted veg
steamed veg
stir-fried veg

Starch
crusty bread
pasta
potato wedges
grains (like rice, quinoa, or farro)
tortillas
Saucy Stuff
olive oil and red wine vinegar
a few shakes of hot sauce
a dollop of Greek yogurt
melted butter
chopped fresh herbs
a squeeze of lemon or lime
green sauce or pesto

Snack
roasted nuts
cut-up fruit
hummus and pita chips
yogurt dip and crudités
homemade trail mix
dried fruit
popcorn
nut snack balls

Bonus!
cookies
muffins
smoothie prep
quick pickles
granola
homemade bread
A Meal-Prepping Mini Guide
A passion for meal prep has seized many a home cook (and us, too!). Not only does it streamline that last famished half hour between now and dinner, but it can also save money and slash food waste. It can even get you out of a cooking rut—maybe you bookmark a new recipe to try or turn your prepped components into a combo you’ve never had before. Commit to a couple of hours of menu planning, shopping, and cooking on any given Sunday, and you’ll be ready to go for the week. Here’s how to do it.
-
Take stock of what’s in your fridge and pantry. What needs to be used up? Plan on working those things into the coming week’s menu. (Also make a note of staples in short supply.)
-
Assess your needs for the week ahead. Maybe you want a few dinners to provide ample leftovers, plus an easy-to-grab breakfast, some lunch components, and a snack to ward off the 3 p.m. sleepies. Or maybe you just need some ready-to-go items to mix and match as the spirit moves you.
-
Make a menu. Plan the week down to every snack, or keep it loose by giving yourself a couple of anchors and add-ons to tide you over while you figure out the rest.
→Your anchors are bigger, more substantial, and/or more time-consuming recipes that yield a generous amount of food and keep well—we’re talking prime leftovers. Think baked pasta, roast chicken, lentil soup, or that salmon recipe your friend sent you.
→Your add-ons are bits and pieces that round out your anchor to make a meal. They’re usually quick to prepare and always versatile, so that they can be used in a variety of ways to bulk up or brighten a plate. Think cooked grains; roasted, steamed, or raw chopped veg; vinaigrette; boiled eggs; or hummus.
-
Write your grocery list and head to the store. Include the ingredients you need for the recipes you know you’ll be making, plus your regular weekly staples. Leave yourself some space to be inspired by what you find at the store (like what’s in season or on sale).
-
Make a plan. How much time can you devote to cooking today? Give yourself a timeline and write down what needs to get done. And don’t forget that this is fun! Line up a couple of podcasts, put on a playlist to jam out to, or arrange a phone call with a pal.
-
Cook away! Start with the thing that needs the most amount of inactive time (perhaps one of your anchors) and use that downtime to do some nimble prep work. But unless your plan allows for it, there’s no need to do it all in one day.
-
Pack, pack, pack it up. Grab those nice storage containers of yours (see this page for our faves) and put them to work. Label and date them with painter’s tape and a permanent marker.

Food Stylist
SAMANTHA SENEVIRATNE’S
Ready-for-Anything Kitchen
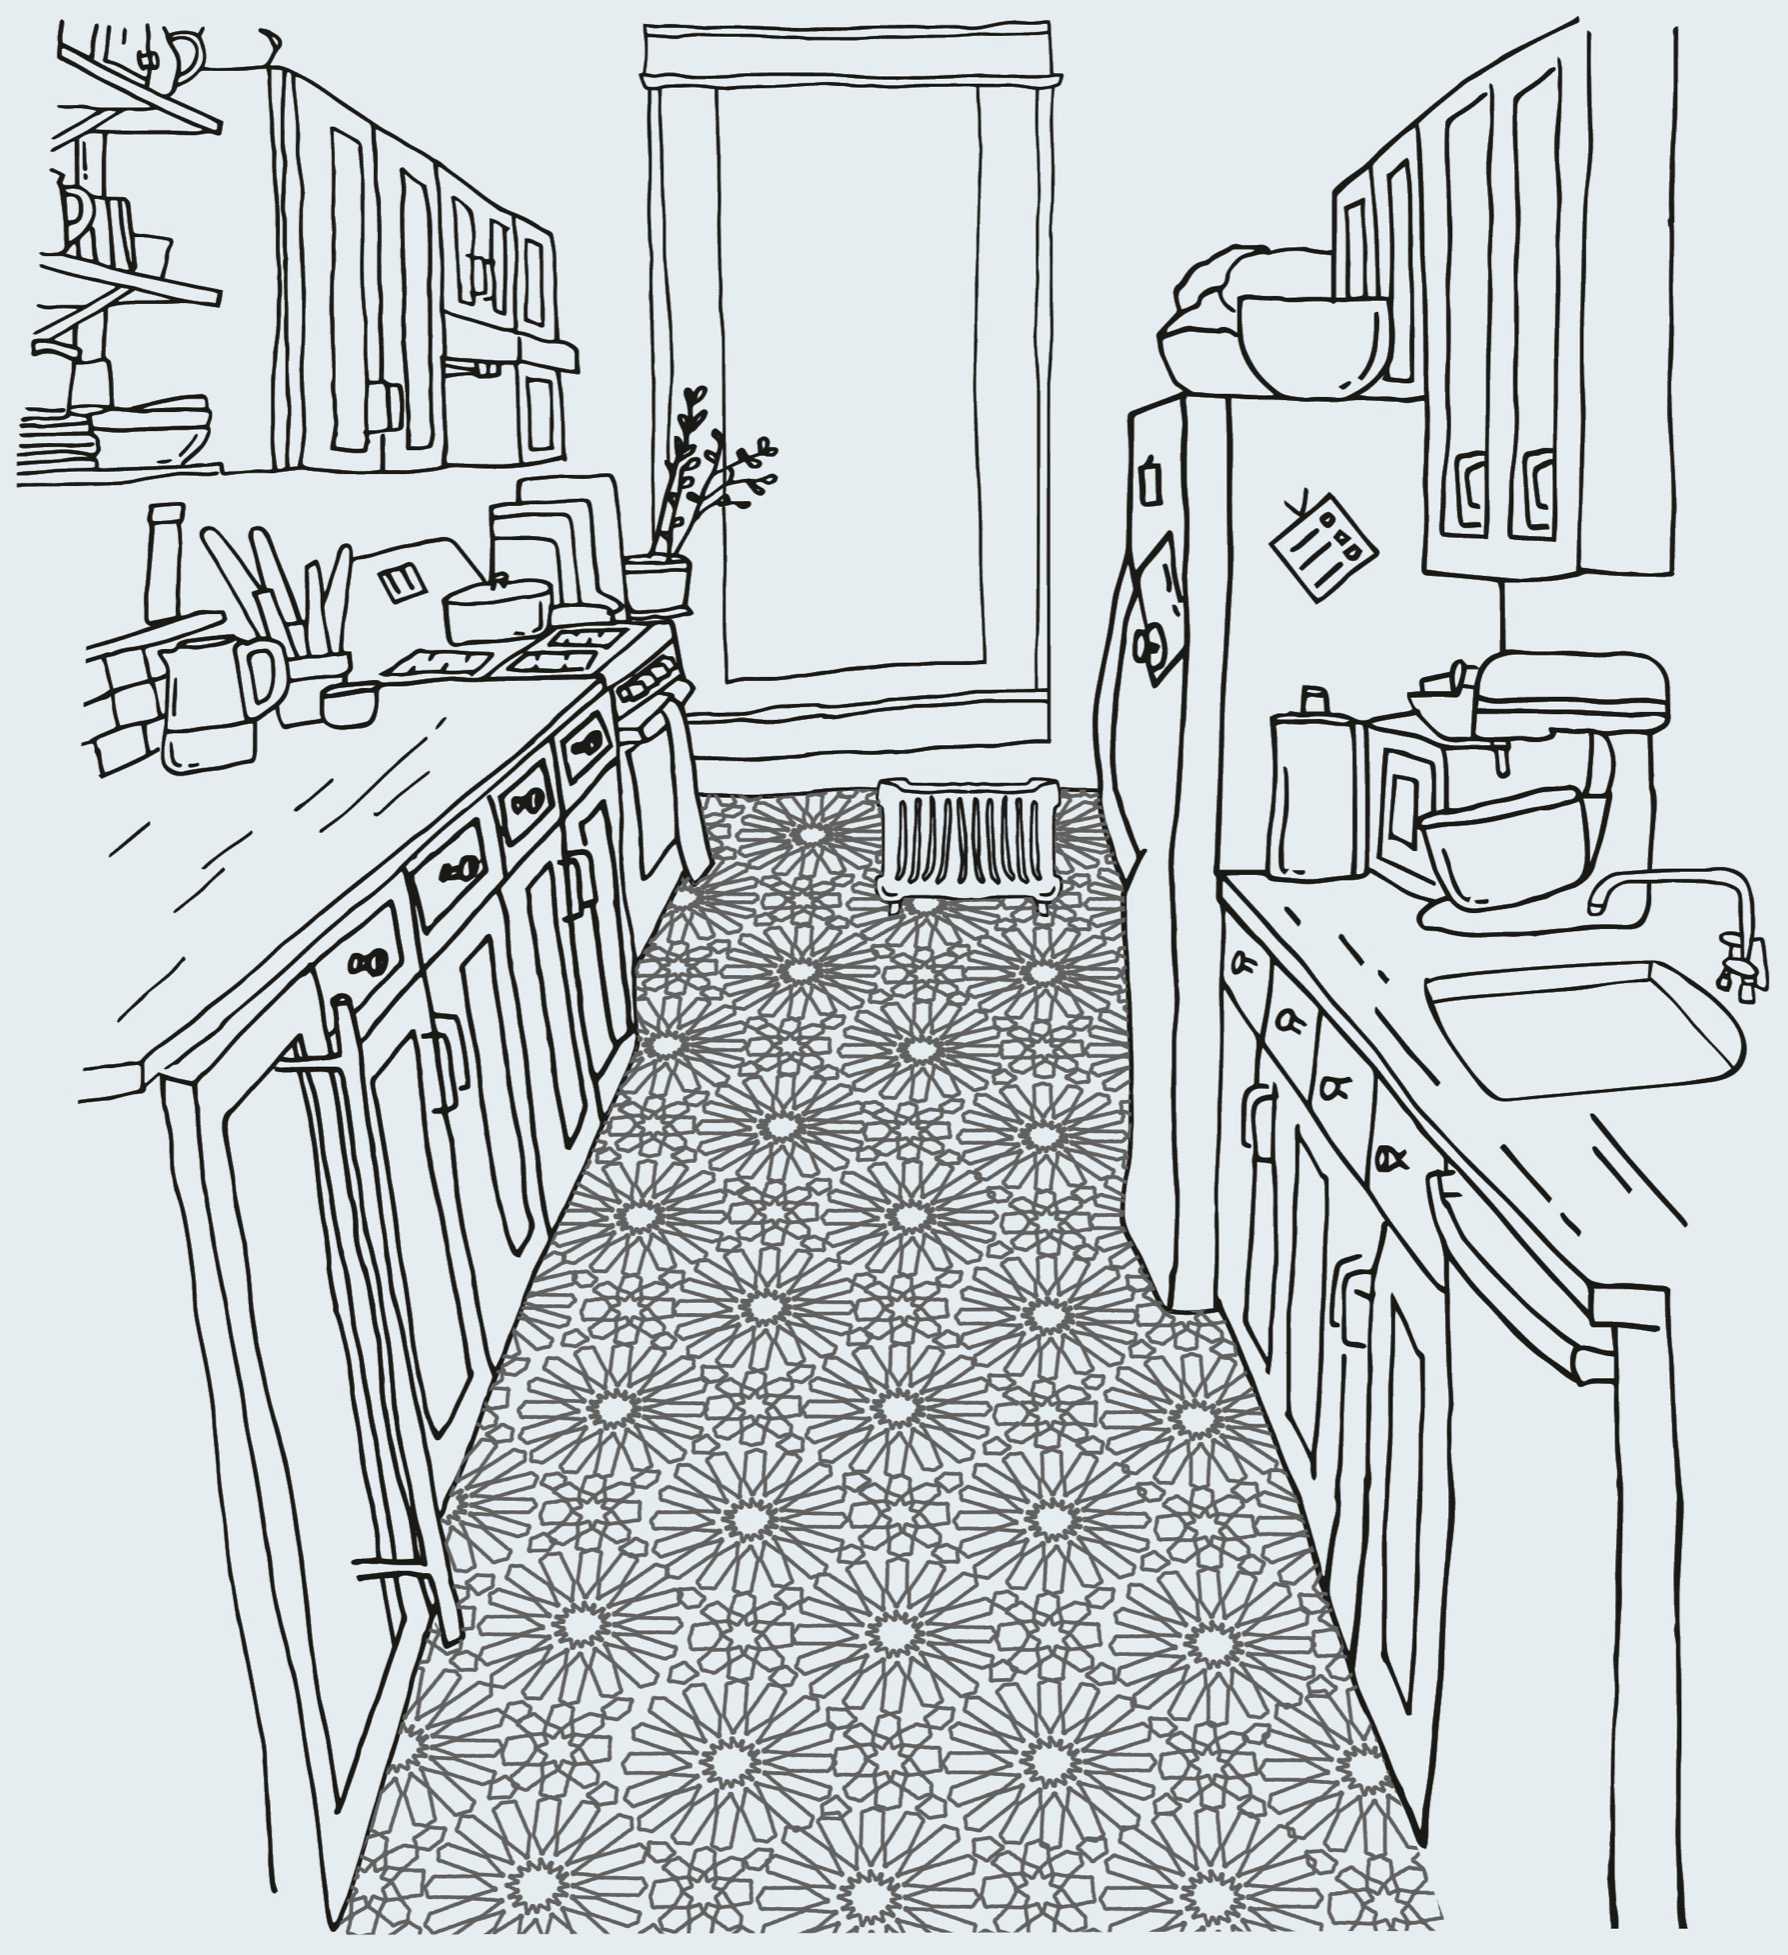
It seems as if there’s nothing Samantha Seneviratne can’t do. She’s written three books (The New Sugar & Spice, Gluten-Free for Good, and The Joys of Baking), brought her expert food styling to our photo studios, and contributed nostalgic recipes we can’t stop making. Sam gave us a look into her lovely home kitchen, where she whips up weeknight meals and spends weekends baking her heart out. The galley-style setup features a roomy work area, generous counter and storage space for cooking tools (like her trusty stand mixer), and a window to let sunshine in.
 My favorite thing about my kitchen is the flooring. The previous owner of my apartment put in these beautiful French tiles that make me feel happy every day. I also love the amount of storage—I have a lot of (too much!?) cooking equipment, and to have space for it all in New York City is exceptional. Last, I love my wine fridge, tucked under one of the counters. I don’t usually keep enough wine to fill it, so I store nuts, coconut flakes, and different flours in there instead.
I make a handful of dishes regularly: beans and rice, veggies and eggs, breaded chicken, quickie paella, chickpea stew—but I’m inspired by what’s available at the Park Slope Food Co-op, which I belong to. The produce selection there is wonderful and nudges me out of my routine.
I’m pretty into my Instant Pot. It cuts down on time significantly, plus, being able to put food on and leave the house is always a win.
I love a cooking project that forces me to slow down and just be in the moment: croissants, Danish pastries, sweet rolls (enriched doughs are my heaven). These recipes energize me and make me truly grateful to cook.

The best kitchen wisdom I’ve ever ever received? It’s just food. I know that feeding people is a tough job—I feel totally deflated when my toddler refuses to eat. But if I take a deep breath and relax, I remember cooking’s a pleasure. And he’ll eat later. And so will I.
