In this chapter:
This chapter introduces a number of recent web technologies and describes how to build a website, build and deploy servlets, create Java Server Pages (JSP), and create and build a JavaBean. In addition, this chapter shows you how to incorporate the CORBA client that you developed in Part III.
This section describes the configuration of those tools so that you can follow through the sample application more easily. You need to have access to the following: a web server, this book uses WebSphere Application Server (WAS) to provide servlet support, WebSphere Studio for the development of your servlets, and NetObjects Fusion or other web page servers to develop your web pages.
When you have successfully installed your web server (for example, IBM HTTP Server), you can create an alias to point your web server at the directory where you have your HTML files. To do this:
Edit the httpd.conf file found in the \Program Files\IBM HTTP Server\conf\ directory and add a directive for a user directory to contain your web pages:
UserDir "C:/userpages"
UserDir may already be defined for your web server.
Set up an alias for /cicsadp. This will redirect requests for http://servername/cicsadp/ to the index.html file in the folder /userpages/cicsadp/index.html:
Alias /cicsadp/ "C:/userpages/ciscadp/"
Use Windows Explorer to create a cicsadp folder under /userpages.
To use WebSphere Studio, you need to set up a project and configure a publishing server so that when you have completed your development work you can transfer the files to a directory on the web server. When WebSphere Studio is successfully installed, create an empty project called KanDoIT; we’ll populate with files from the CD-ROM later. The following instructions guide you through setting up a project:
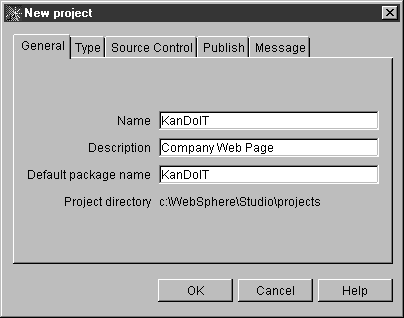
Start WebSphere Studio, and create a new project called KanDoIT. To do this select File and New project, as shown in Figure 9-1. In the New project dialog box, enter details about the project then click OK.
Select the KanDoIT project. Go to the Toolbar and select Options and Publishing Servers… Either edit the local definition or add a new publishing server setup. Figure 9-2 shows the screen.
Select Edit and enter the pathname for your HTML files and classes, for example:
html destination:C:\userpages\cicsadp
classes destination:'C:\WebSphere\AppServer\web\classes'
Select the Browse button and find the directory where you plan to publish your HTML and class files; see Figure 9-3. Then click OK twice.


WebSphere Application Server Version 2.0 provides your web server with support for servlets. Before you can use it with our sample application, you need to add the name of your servlet and create an alias that can be used in the form of the input page later. This will identify the servlet that it should invoke when it is submitted. To add your servlet’s name and create an alias, follow these guidelines:
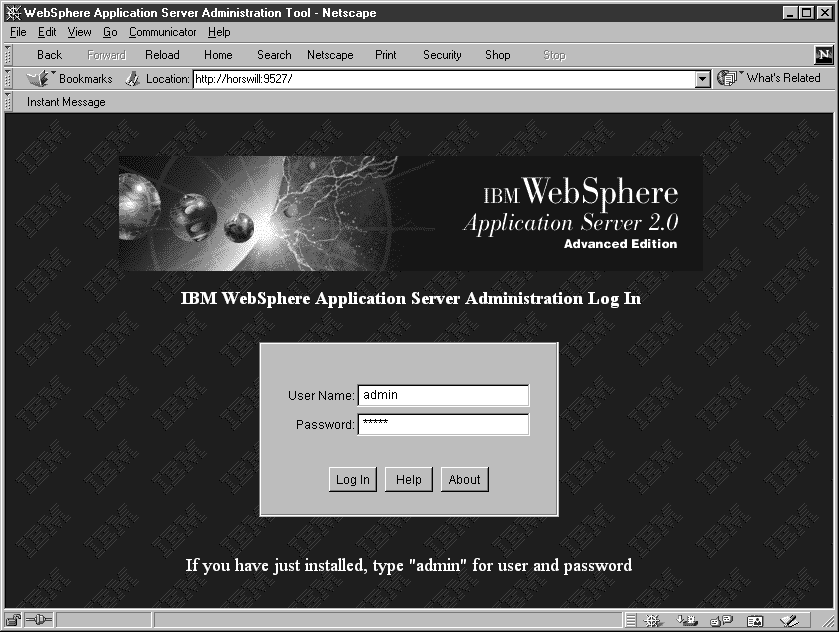
When WebSphere Application Server is successfully installed and sample web pages are deployed, open your web browser and enter the URL http://servername:9527 to bring up the Websphere Application Server administration screen. Alternatively use the Start menu → Programs → IBM WebSphere → Application Server V2.0 → Administration and you’ll see the panel as shown in Figure 9-4.
Log in as administrator (admin and your password) and select Setup followed by Java Engine. This allows you to check that the CLASSPATH environment variable is correctly configured for your system. In this example, we’re using JDK 1.1.8, which is supplied on the CD-ROM in the folder: \Web Component\JDK1.1.8.