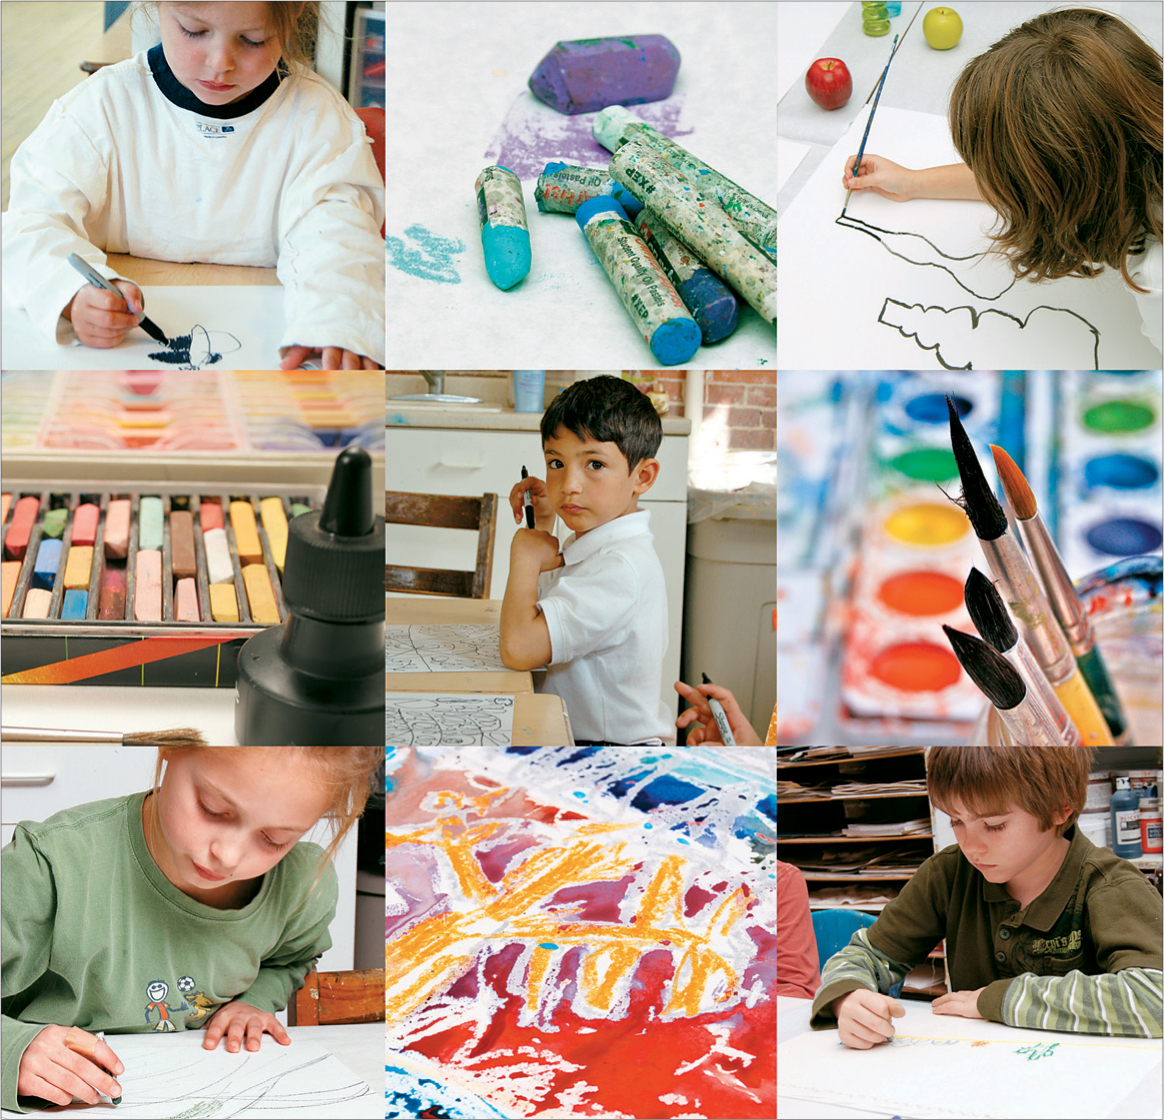
DRAWING IS A FOUNDATION SKILL FOR ALL ART. It can excite or intimidate students, depending on where they are on their artistic journey. This Unit will allow students to explore drawing in ways beyond the pencil and paper. Each Lab encourages fearless markmaking and thoughtful line and volume work. Some Labs incorporate a brush and ink or bright watercolors; others use more traditional media. When practicing drawing, many people find the eraser to be their best friend and their worst enemy. For many years, I didn’t have erasers readily available for my students, because some spent more time erasing lines than drawing them. I found that, through the use of different media, many students found success, where the pencil and eraser had failed them before. It has been my desire to encourage every student through unconventional methods, endless exploration, and allowing chance to be a viable element in their drawing. Remember, this should be fun! Keep the fun part in mind when embarking on any of these Labs—experience is the focus—not perfection.
Think First: Contour drawing is one way to begin any two-dimensional artwork. Arrange your objects so some of them overlap and some have spaces between them. Take a few moments to look at the edges of each of the objects you have placed in your composition. Trace your finger around them in the air to get a feel for their edges. Starting an artwork with a good contour drawing can be very helpful!
Materials
• drawing paper
• permanent black marker, thin or thick point
• soft pencil
• charcoal
• still life made up of simple objects, such as fruit, bottles, bowls, vases, and boxes
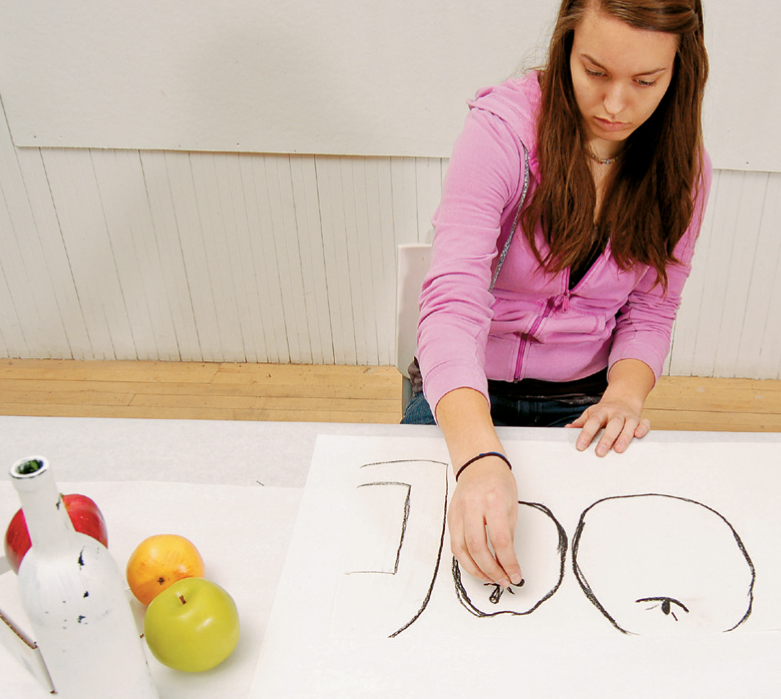
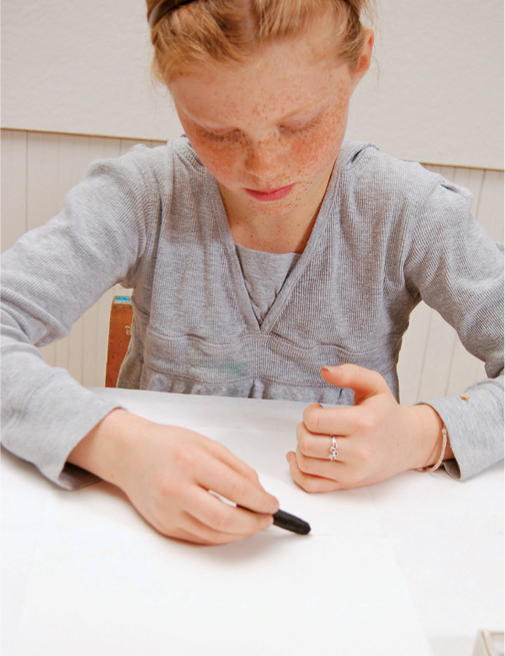
1. After studying the edges of the objects, begin drawing them with the permanent marker, from one side of the composition to the other. Some people like to work from the background to the front. Try both ways to find your favorite (fig. 1).
2. Remember to eliminate all of the extras—just outline the objects.
3. Continue to draw all of the objects until they are all sketched in (fig. 2).
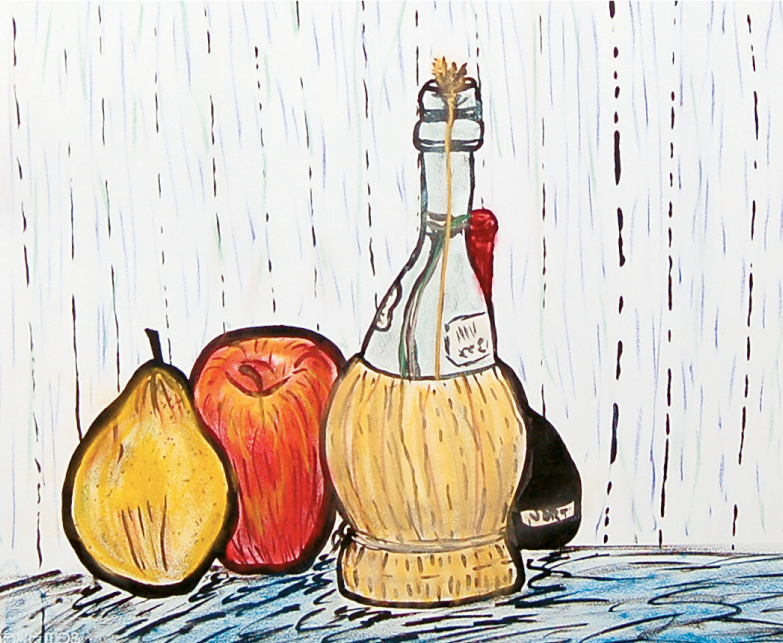
4. Draw the same still life with the soft pencil and then with the charcoal (fig. 3).
5. Enjoy the process of getting to know your composition through contour drawing with three different materials. You can finish off your artwork with color if you desire.
Think First: Arrange the still life in front of your working area. You want to be able to see all of it but still have space for your drawing paper. Make sure the objects are not too far apart from one another—try a few different arrangements until you are happy with it. Have a seat in front of your paper and still life and decide what you would like to include in your artwork. Remember, the paper is large and you will be making the objects larger than life-size, so think about their placement.
Materials
• large piece of drawing or watercolor paper
• black ink
• medium-size watercolor brush
• assorted soft pastels or pan watercolor
• container of water
• paper towels
• newspaper
• still life composed of bottles and fruit sitting on a cloth or large piece of paper
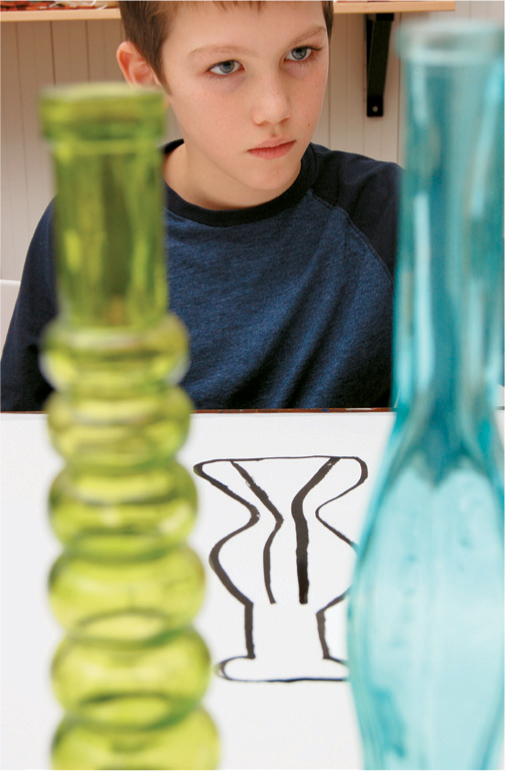
Choose what to draw after setting up your still life.
1. After thinking about what parts of the still life you are going to draw, begin with the objects farthest away from you (fig. 1).
2. Using the ink and the brush, without drawing first with a pencil, might seem scary to begin with, but be brave and make your marks boldly and large!
3. Working from the back to the front, draw the still life with the paintbrush, adding all the details that you want to have in black ink. Watch for overlapping objects, and remember to pick up your brush when you come to an overlapping line. Work from one side to the other to avoid smearing your work with your arm (fig. 2).
4. Shadows can be added with ink or with pastel or watercolor (fig. 3).
5. After the work is dry, add soft pastel for color and for shadows, or use some watercolor if you have used watercolor paper.
6. After you add color, you can go back over your black lines with ink to make them crisp (fig. 4).
Think First: This lesson draws on your ability to let go and scribble. It also engages the part of you that enjoys lying on your back in the grass, looking up at the clouds, and seeing things in the shapes the clouds make. So, relax! Get loose! Imagine things!
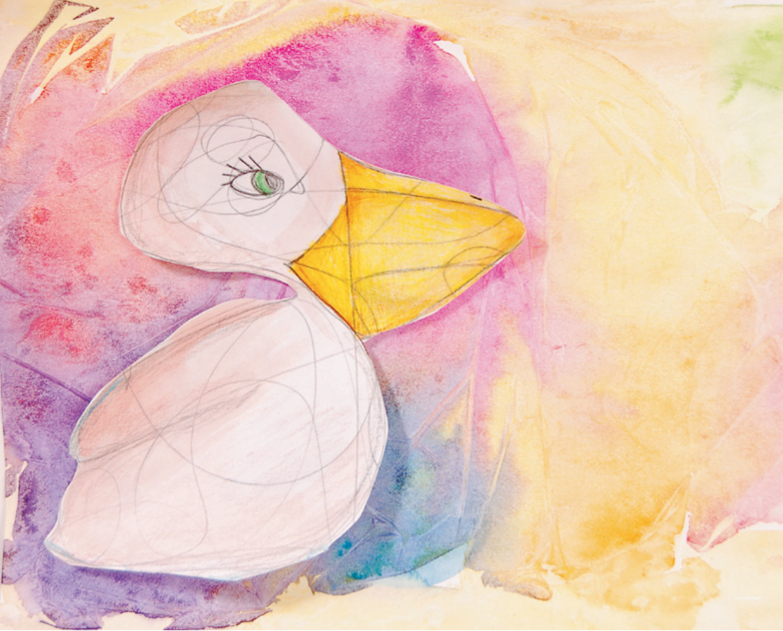
Finished scribble drawing which has been cut out and glued onto a background
Materials
• drawing paper
• pencil
• colored pencils
• optional: watercolors
• scissors
• glue stick for paper
• background papers you have made or bought
• paper towels and newspapers (if using watercolors)
1. Using a pencil, start scribbling in a circular motion, one long line all over your paper (fig. 1).
2. Keep your pencil in contact with the paper at all times, making the scribble in one long motion. Cross often over the lines you have made!
3. Stop when you see there are enough lines on your paper. Do this on at least two pieces of paper.
4. Examine the scribble by holding it up in front of you and turning the paper in all directions. Find objects in the scribble. Outline them with your pencil so they are more apparent (fig. 2). You might not find something in your scribble on your own. If this happens, have a friend take a look at your scribble. She will find something!
5. Using colored pencils, add details and color to the objects you have found (fig. 3).
6. Cut out the objects or add a background, if you prefer (fig. 4).
7. If you cut them out, find a background paper where your scribble drawings could live and glue them onto that paper with a glue stick.
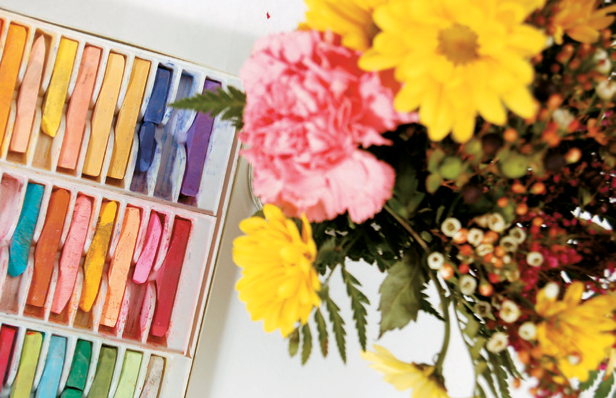
Think First: Set up your still life. Study the flowers. The petals and leaves of each flower have different shapes. Take some time to see each petal and trace it with your finger, first on the flower and then in the air. Is it pointed or rounded? Do the petals have more than one color? Where are they lightest and where are they darkest? Decide if you want to zoom in on a few blooms to fill your page or if you want to draw the entire bouquet. Choosing your composition (what your drawing is going to include and where the objects sit on the paper) now is a good thing.
Materials
• drawing or pastel paper
• soft pastels
• bouquet of flowers (real flowers are great, but silk ones will work, too)
• a vase
• fixative
Deciding on a composition
1. Look at your paper and decide which way it should be oriented: horizontally or vertically. Using the pastels, start drawing the vase. If you are zoomed in very close, begin with the largest bloom.
2. Remember that pastels smudge easily, so keep your hand above the paper as you draw. Press lightly—the color flows easily from soft pastels.
3. Continue working out to the edges of your composition with the pastels.
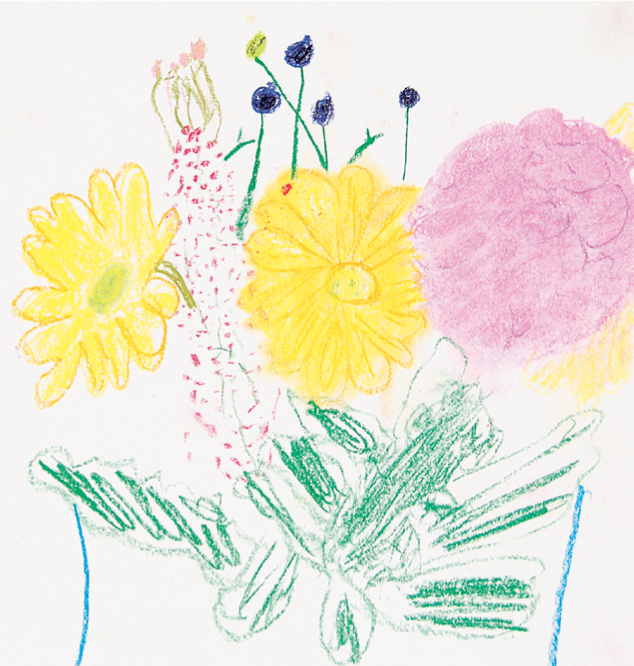
4. Try layering colors, one on top of the other, to get the full range of colors in the petals (fig. 1).
5. Try smudging two colors with your finger to blend them into a new color.
6. Make short marks and long marks for a nice variation in texture (fig. 2).
7. Finish the drawing with a fixative to reduce smudging, as described in Unit 1, page 20.
Think First: Oil pastels are colorful and creamy in texture. If you like the way an oil painting looks, you will love creating your own masterpiece with oil pastels!
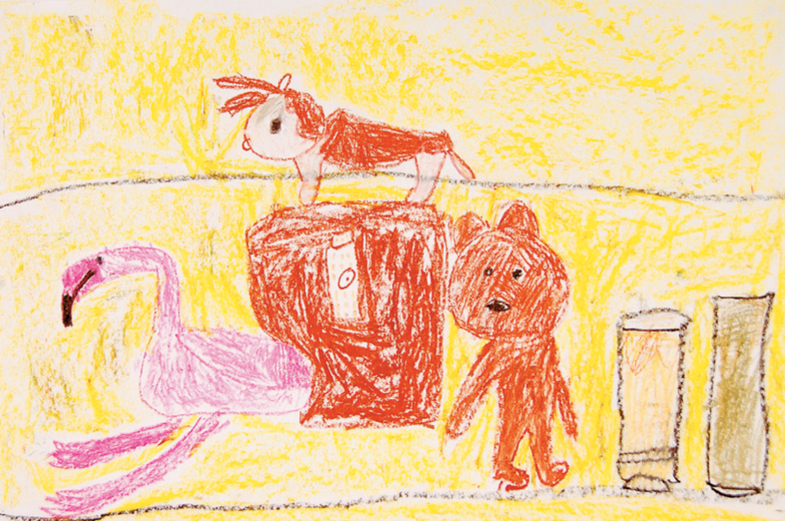
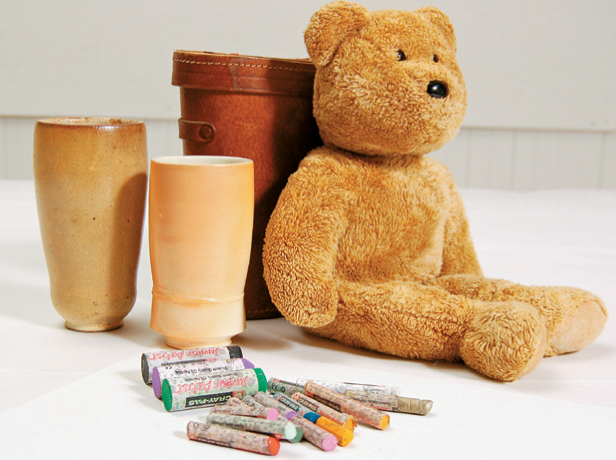
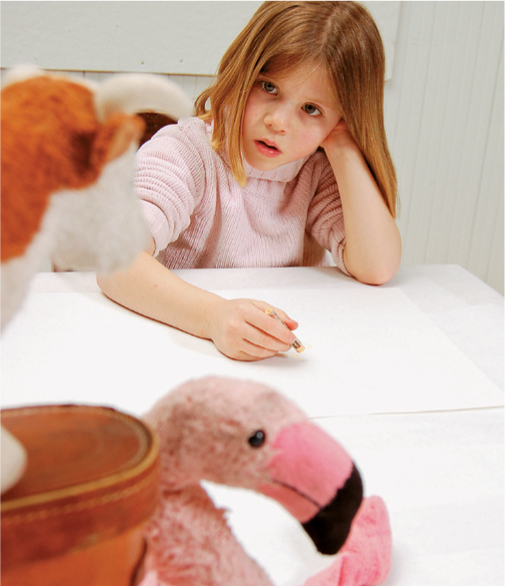
Set up a still life with boxes and some simple (shaped) objects. Make your still life personal by adding of one of your favorite objects, such as fruit, bottles, vases, mugs, rocks, shells, a ball, books, or an interesting houseplant. Things that interest you most are always the best subjects. Smaller objects might be more suitable placed on top of the boxes. Overlap some of the items, and consider spotlighting one of your favorites by placing it farther away from the main grouping. Take a few minutes to really study where the objects are in relation to one another.
Materials
• drawing-weight paper
• oil pastels
• still life objects (think favorite toy: plush, plastic, wooden, doll)
• small box or container to raise up the objects
• cloth to cover the box, if desired
Study the objects
1. Start by deciding where the objects will be placed on the paper. Think about the size of your paper and the parts of the still life you want to show.
2. Choose your oil pastel colors and lightly draw the contours of the objects (fig. 1).
3. Fill in the objects with short or long lines, depending on whether the objects are smooth or textured or whether you want to follow a particular style (for example, an Impressionist painting) or work in your own style (fig. 2).
4. Use the side of the oil pastel to make broad strokes (fig. 3).
5. Use your finger to blend colors, and try to cover all of the white paper with color, just like a painting.
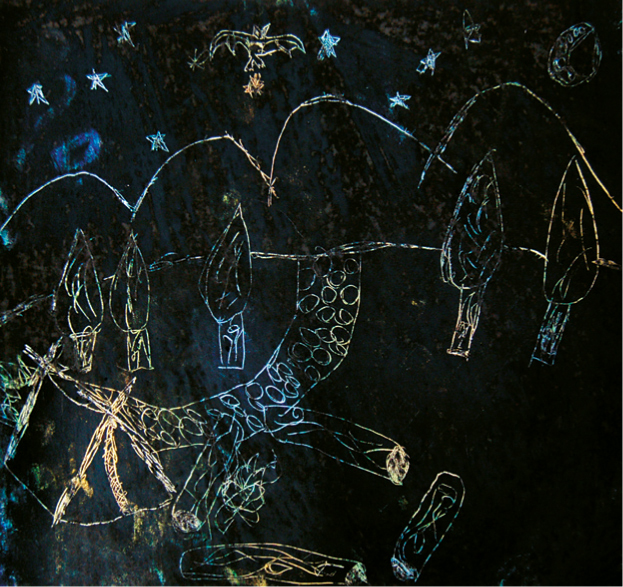
Think First: This process allows scribbling and carefree placement of color as well as well-thought-out planning of the final product. I encourage both with my students by giving them two pieces of cardstock: one for scribbling or patterning with color and one for planning out the final look of the piece. For example, a night landscape with fireworks in the sky will need greens or browns at the base of the page for land and colorful fireworks hues in the upper part, the sky. Because of the black ink background, the overall theme is night or darkness, but you can use your imagination and go beyond that prompt. Think caves, deep sea, or even outer space!
Materials
• white cardstock
• crayons
• liquid dish soap
• soft brush
• small plastic container
• India ink
• newspapers
• a small finishing nail for scratching your design
1. Select a few colors of crayons that suit your idea.
2. Using a firm hand, fill up the cardstock with crayon, laying down the color in small sections, in patterns, or by scribbling. Press hard with the crayons (fig. 1).
3. Mark the back of the page with an arrow, to show which way is up, and sign your name.
4. When the cardstock is fully covered in color, run your hand over it, to make sure it feels waxy everywhere. If not, add another layer of color to coat (fig. 2).
5. Pour a small amount of ink in a small dish, enough to cover the bottom. Add four to six drops of liquid dish soap to the ink and mix it up gently, so you don’t create bubbles. The dish soap helps the ink cover the crayon.
6. Using the paint brush, cover the entire sheet with ink until you can’t see the base color. Let dry overnight (fig. 3).
7. Using your scratching tool, carefully draw your images into the ink. If you make a line you don’t like, you can change your idea, taking it in another direction, or you can simply paint a little ink mixture over the mistake, let it dry, and continue (fig. 4).
Think First: Set up your still life on a plain cloth or white paper, to show shadows clearly. Cover your work area with newspaper to keep it clean. Charcoal is messy, so have a damp cloth nearby to wipe off your fingertips.
Study the still life. Which parts of it are the lightest, with the highest highlights? Where are the darkest parts? Are there any places so dark that you can’t see the outline between objects? Keep these in mind when you are ready to begin.

Materials
• plain newsprint paper, white drawing paper, or gesso-primed canvas
• newspaper
• vine charcoal
• kneaded eraser
• an assortment of white or shiny objects, such as kitchenware, painted bottles, or lightbulbs
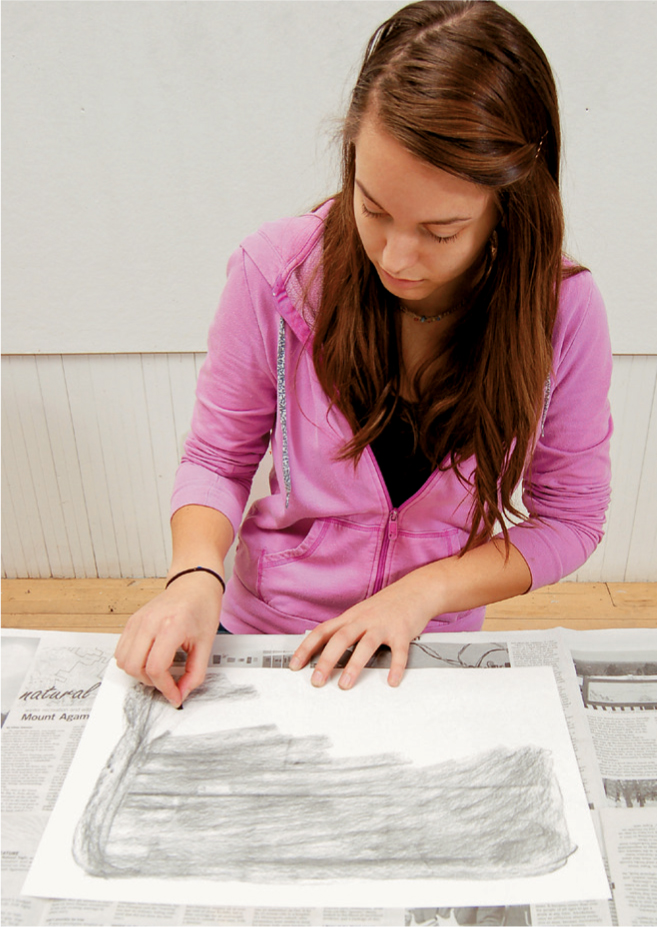
1. Start by covering your paper with charcoal. Holding the charcoal on its side, rub it all over, but leave a border of white paper around the edges (fig. 1).
2. Make a little point with your kneaded eraser and “draw” a faint outline of the objects’ contours (fig. 2).
3. Continue drawing in the details with the eraser to show the highest highlight shapes.
4. When you have all of the objects and the middle tones of the still life drawn in, go back with the charcoal and deepen the darker areas. A wide range of white to dark is what you are aiming for (fig. 3).
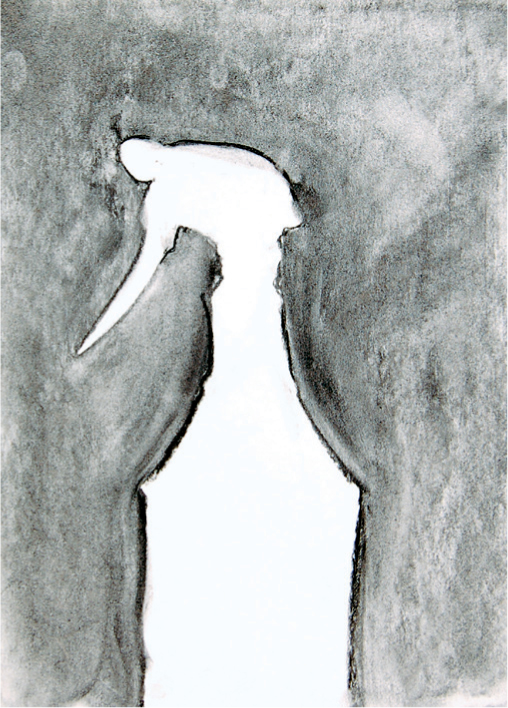
Think First: This exercise is to help you look at drawing in a different way, by drawing the negative space, or what is not there.
Set up the object with a simple background—white paper or something with a simple pattern, such as stripes. When looking at the space around an object, sometimes the easiest things to find are the simple shapes that the space makes. Look for triangles, circles, and rectangles. Try to focus on those, instead of on the contour or edges of the object. Keep your eye on the space.
Materials
• charcoal
• soft pencil
• drawing paper
• objects with interesting profiles
• optional: a box to set the object in, to give it a boundary
1. Set a boundary around the object, either imaginary or with a box. Start at one edge of the paper and draw in toward the object with the side of the charcoal (fig. 1).
2. Keep your mind on the shape of the space (fig. 2).
3. Continue blocking in with the charcoal, until the space becomes too small and you need to use the pencil (fig. 3).
4. Use the combination of the pencil and charcoal to finish your drawing.
5. Practice this with one or two objects in a setting, until you feel comfortable with seeing and drawing the negative space (fig. 4).
Think First: Set up your palette as described in Unit 1, page 20. Keep the rest of your materials close at hand.
Think about your memory place in detail, asking yourself the following questions: What time of day was it? What season was it? What was the weather like? What did the sky look like? Was there a lot of sky and a little land or the opposite?
Materials
• 12" x 18" (30.5 x 45.5 cm) piece of drawing paper or other heavy paper that accepts water media
• oil pastels
• watercolor pan paints
• watercolor brush
• large water containers
• newspaper
• paper towels
• scrap white paper
• a memory of a place outdoors where you have spent time
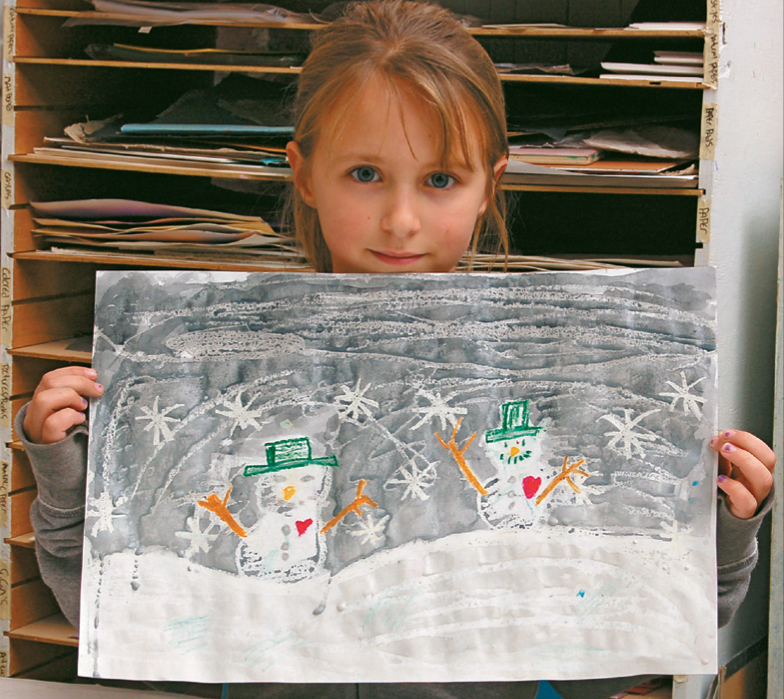
Begin with the oil pastels directly. This bold move, eliminating any pencil lines or erasure, is a good exercise in “just doing it.”
1. Start with finding and drawing the horizon line—the line where where the sky meets the land or the water (fig. 1).
2. Using the oil pastels, draw in details, from the most distant point in the background to the closest point in the foreground (fig. 2). Vary your line length to show visual texture: short lines for spiked grass or longer lines to show wispy clouds or tall trees. Don’t fill in all of the areas with oil pastel. Keep empty spaces between your lines to fill in with watercolor. Large areas such as skies and fields can be mostly paint; details, such as buildings, gardens, and animals, can be mostly oil pastel. White and light-colored pastels make a big impact with dark paint!
3. When you have the entire landscape drawn out with details and texture, you are ready to begin painting. Using a very wet brush, pick up some paint from the watercolor pan by stroking the brush gently, enough times to pick up a rich amount of color. Stroke the color over the sky first and then work from the back to the front of your landscape. Notice how the oil pastel lines are not covered by the watercolor, even when you paint directly over them! The oil pushes the water away and keeps the lines you have drawn clear of paint (fig. 3).
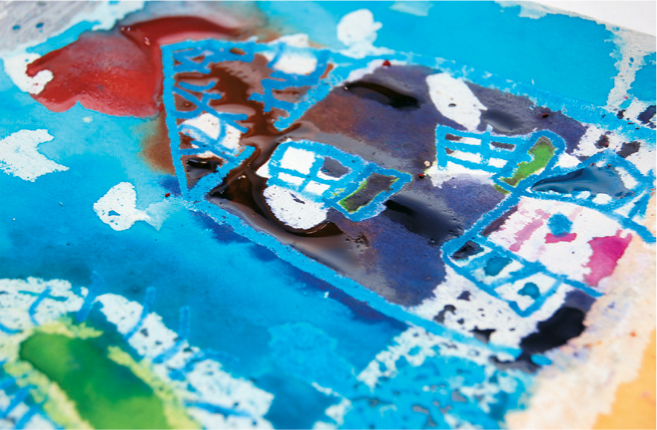
Colors can mix spontaneously for a soft effect and still have a hard line with the oil pastels.
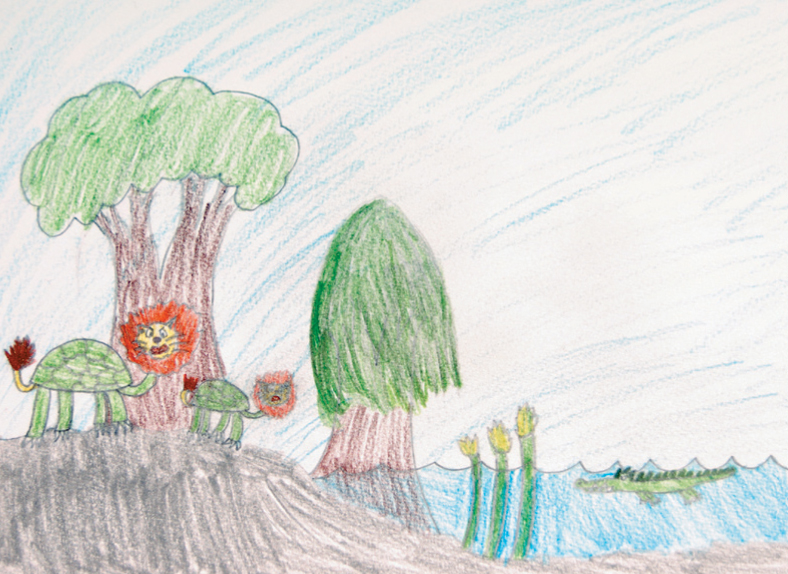
Think First: This is a fantasy drawing, so let your imagination run wild. Look through reference books for images of two animals to combine to make your very own new animal. Combine mammal and insect, reptile and crustacean, bird and fish—the sky is the limit.
Materials
• heavyweight drawing paper
• colored pencils
• graphite pencil
• optional: acrylic paint or watercolors and associated brushes
• reference books of animal drawings or photographs
1. Once you have decided on two animals, decide which parts of each animal are going to go where. Try a few thumbnail (small) sketches of your ideas first if you want to narrow down a lot of ideas (fig. 1).
2. With the graphite pencil, draw your new animal in a setting of your choice (fig. 2).
3. Once you are finished with the basic drawing, start adding color and details with the colored pencil (fig. 3).
4. Add watercolor or acrylic, if you wish, or keep the drawing simple with pencil and colored pencil.