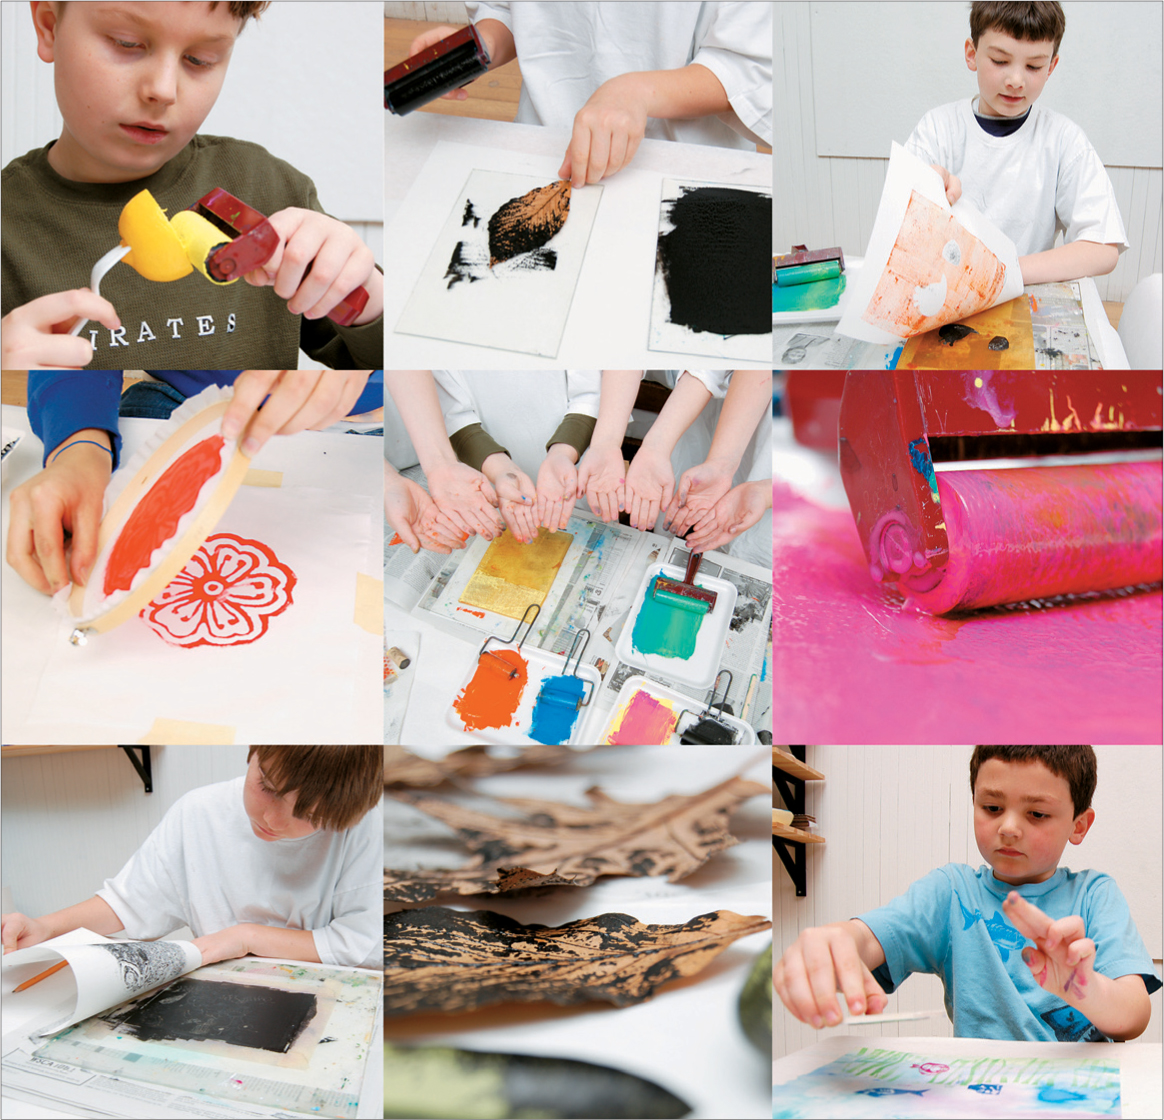
MAKING ART MULTIPLES IS AN ADDICTIVE PROCESS for most people. Printmaking is instant gratification at the most basic level, with the element of chance enhancing the technical process. The ability to create multiples of your artful idea—from a simple fingerprint to a sophisticated multi-plate foam print—is intriguing. This Unit explores many printmaking processes without the use of a press, from singular monotypes to multiple serigraph prints, to help students learn how to think in reverse, or in layers. A variety of papers and methods will produce endless variations on a theme from each Lab.
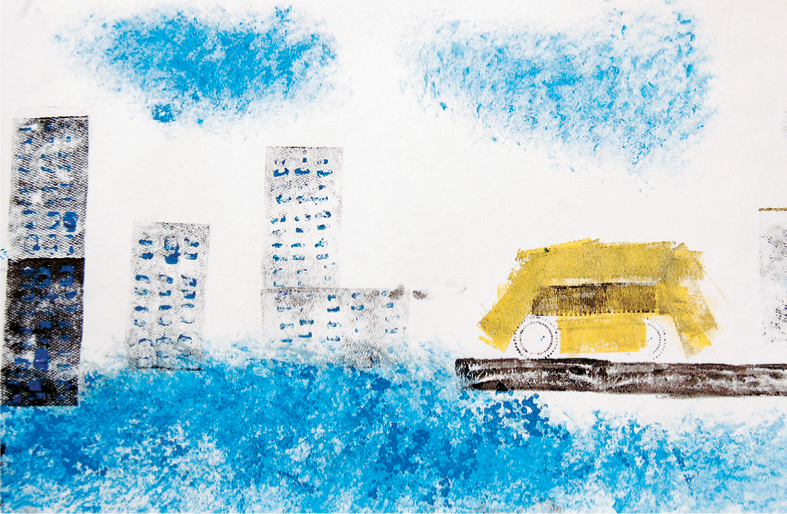
Think First: Study your objects and arrange them on your test paper. Do they make a face or a pattern? On the Plexiglas, roll out a small amount (a 1" [2.5 cm] circle) of any color of ink. Make sure it is somewhat smooth. Using the brayer, apply some ink to the object. Print the object onto the test paper to see the mark it makes. Experiment with the different objects you have chosen, and see what you can build with the marks you print. Try printing with only one “inking,” to make lighter and lighter impressions, or use more or less pressure on the object when printing. Think about what a repeated pattern can do, too!
Materials
• printmaking, sketch, or other smooth, medium-weight paper
• water-based printmaking ink in any color
• Plexiglas palette
• soft brayer(s)
• shallow dish of water
• paper towels
• newspaper
• white test paper
• objects to print, as described in Unit 1, page 17
Prepare your area for printmaking as described on page 23. When you have decided on the subject or pattern you want to print, you are ready to begin.
Test the print that each object makes first to plan your artwork.
1. On the Plexiglas, roll out the other colors you will use (fig. 1).
2. Using the brayer, apply ink in a smooth rolling motion to one side of the object. Dipping objects in the ink can result in too much ink, so try the brayer first. For a crisp, clear print of the object, less ink is better than too much ink (fig. 2).
3. Press the object onto the paper with a firm motion. Continue making your prints, using the brayer to apply the ink, until your piece is finished (fig. 3).
4. Let the print dry for several hours or overnight, either on a flat surface or hanging from a line with a clip.
Think First: Silk screening or serigraph is a stencil method of printmaking. You create a positive image by blocking out the negative space on the screen and pushing the ink through the remaining holes to create an easily repeatable print. You can use a simple design, with medium thick lines, and even text, if you desire. You can print on both paper and fabric, as we did. You can even make your own hand-printed shirts and scarves with this method.
Materials
• white or light-colored fabric
• wax paper
• sketch paper
• printing paper
• pencil
• nonwater-soluble glue (I like Mod Podge)
• acrylic paint
• acrylic textile medium
• newspaper
• paper towels
• Plexiglas palette
• sheer curtain or silk-screening material
• wooden embroidery hoop
• small bristle brush
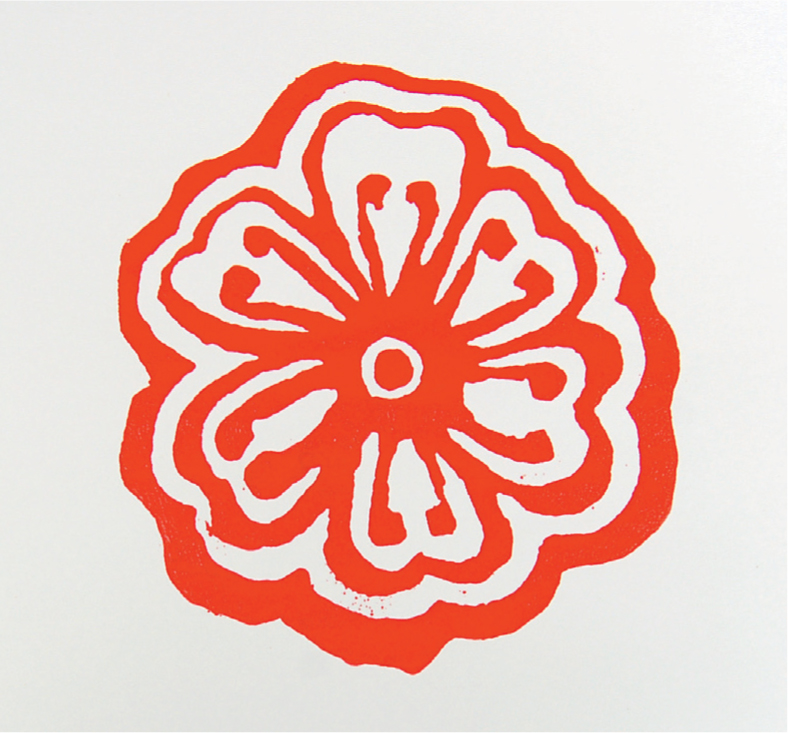
1. Draw your design inside a circle you have traced inside your embroidery hoop. Leave at least a 1" (2.5 cm) border all the way around the edge of your design (fig. 1).
2. Put your curtain or screening fabric in the hoop and tighten it well. Place it directly on the drawing and trace the design (fig. 2).
3. Using a piece of waxed paper underneath the hoop, apply the glue with a small brush. Block out the areas that you do not want to print. Check that all the holes are filled by holding it up to the light. Let the glue dry completely (fig. 3).
4. Mix two parts textile medium to one part acrylic paint. The mixture should be as thick as heavy cream. Lay your hoop on the surface to be printed. Using a bristle brush, paint the mixture with even strokes through your embroidery hoop stencil. Using a back-and-forth stroke gives you the most even print (fig. 4).
5. Lift the hoop when you are sure you have gone over all the areas thoroughly. Clean the screen well with the spray attachment on your sink, until the holes are all clear.
6. Let dry. Use a dry iron to set the print if you have printed on fabric.
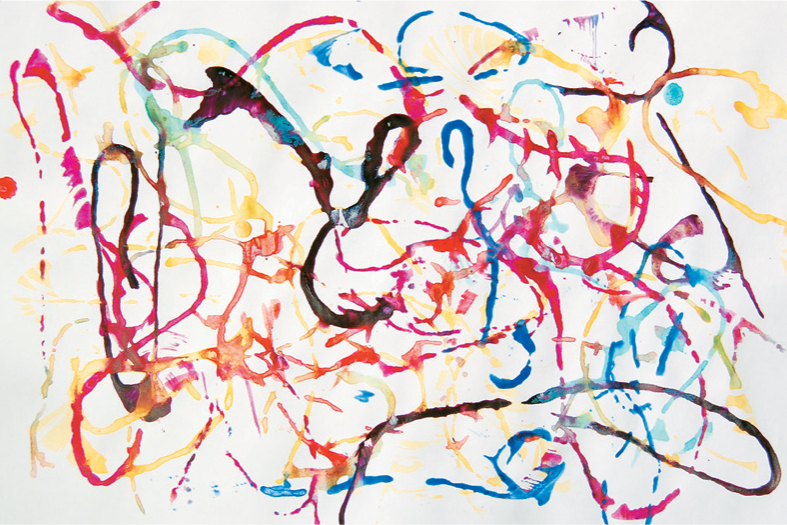
Think First: This is a spontaneous and physical art process. Participants should be standing up if possible and, if the space allows, using full arm motions! Choose your colors ahead of time and cut the string into lengths as long as your forearm.
Materials
• heavyweight drawing paper
• liquid acrylic paint
• paint cups
• cotton string
• scissors
• craft sticks
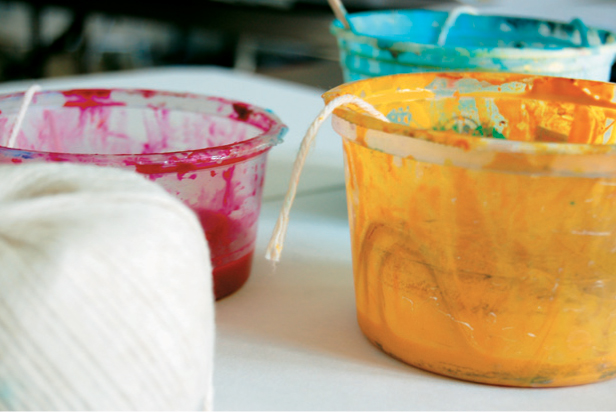
1. Dip your string into the paint (fig. 1).
2. Using a craft stick, immerse and coat the string with the paint (fig. 2).
3. Holding the string above your paper, let your arm drop and let the string go limp onto the paper (fig. 3).
4. Continue with this motion until you are ready to change colors (fig. 4).
5. Use one string per color to avoid mixing.
6. Another method of printing is to drag the string across the paper (fig. 5).
Think First: Printing with polystyrene plates is a relief print process, much like a lino or woodcut print. You carve into the foam to make a line, and, when printed, the carved parts remain the color of the paper. It is easy for anyone to do, because polystyrene is a soft material and is easily carved using any sort of hard point. For this lesson, we will use a pencil or ballpoint pen.
From your imagination, sketch out an idea for a small series of prints. For this example, we made two different designs for our printing plate subjects: a rabbit and a little alien being.
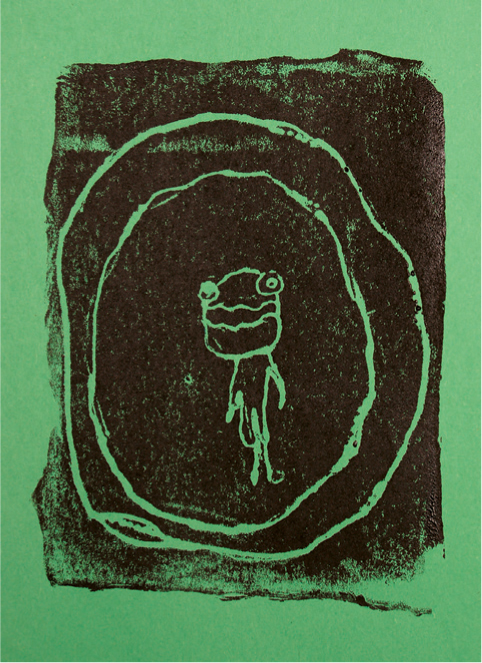
Materials
• thin copy paper
• pencil or ballpoint pen
• polystyrene tray
• water-based printmaking ink any color
• printing paper
• masking tape
• newspaper
• paper towels
• brayer
1. With a pencil, get your idea down on the copy paper. Prepare your printing paper as described in Unit 1, page 23 (fig. 1).
2. Snap or cut off the curved sides of a polystyrene tray to make a flat printing plate (fig. 2).
3. Tape your drawing over the polystyrene plate and, using a ballpoint pen or firm hand on the pencil, retrace your lines to carve into the plate (fig. 3).
4. Lift the paper and check your carving lines. Make sure they are deep enough to be felt easily when you run your finger over them. If not, go over them again without the paper on top.
5. Prepare your ink for printing as described in Unit 1, page 23. Roll the ink onto the printing plate smoothly and evenly.
6. Place the printing paper over the plate or flip the plate over onto the paper (fig. 4).
7. Rub the plate or the paper with your fingertips in a circular motion all over and to the edges (fig. 4). Peel off the paper to reveal your print.
8. Re-ink the plate and repeat with new paper sheets to complete your printing edition. Let dry several hours or overnight.
Think First: Making monotypes can be a spontaneous art form, with the center of the process deeply rooted in play. Mono, meaning “one,” tells you that these are one-of-a-kind prints. There are many ways to make monotypes—this is only one, but it’s a simple, fun way to explore the process. It’s drawing and thinking in reverse, with the elements of chance thrown in. Try to keep the expectations loose, and focus on the fun. Pick a general idea of subject matter to draw from, and plan to make quite a few prints.
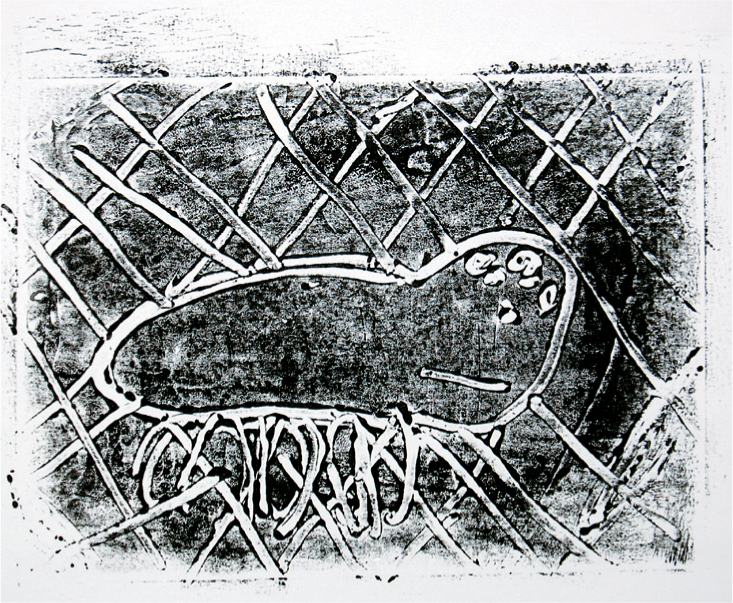
Materials
• polystyrene tray for ink
• Plexiglas
• pencil with an eraser on the end
• water-based printmaking ink
• lightweight printing paper
• newspaper
• wet paper towel
• masking tape
• brayer
1. Begin by taping off an area on the Plexiglas that is a little smaller than your paper size. This will leave a nice border around your image.
2. Roll out your prepared ink on the polystyrene tray as described in Unit 1, page 23. Next, roll the ink within the taped area on your Plexiglas plate (fig. 1).
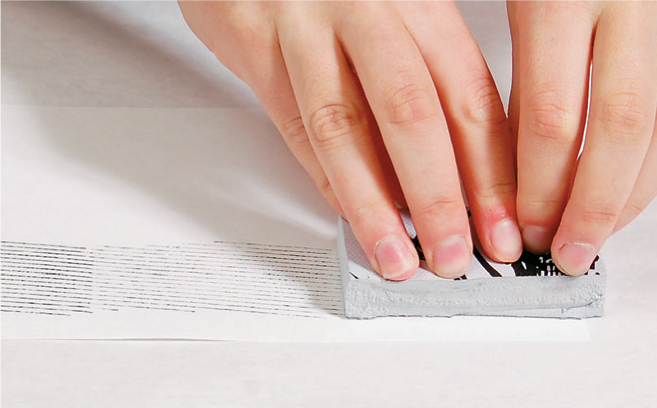
3. Using your pencil and the eraser, draw into the ink. The eraser will make a thick, soft line, the pencil point a thinner one (figs. 2, 3).
4. Center your printing paper over the image and carefully place it onto the plate. Rub the paper all over with your hands, being careful not to move the paper on the plate (fig. 4).
5. Peel off the paper, then sign and number your new monotype!
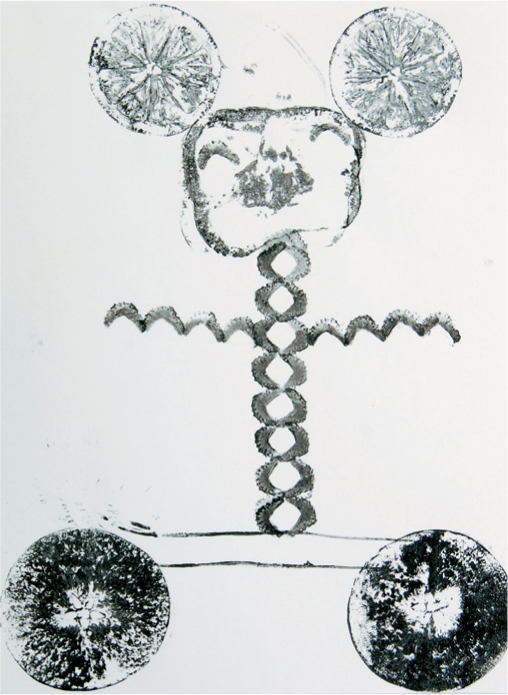
Think First: Cut each fruit or vegetable so it has an even edge for printing. Lettuce is the exception to this rule. Onions make a great print, but they can make some people cry. Try them if you dare! Each piece of produce makes its own distinctive print. Consider combining shapes to make something representational, or make beautiful repeated patterns with the shapes. Using a fork as a handle in the larger fruits makes them easier to hold and print.
Materials
• assorted colors or white printing papers
• block printing ink
• forks for use as handles in the big fruits
• Plexiglas palette
• brayer
• newspaper
• an assortment of produce, such as lemons, mushrooms, peppers, apples, lettuce, and celery
1. Prepare your area for printmaking as described on page 23. Roll some ink onto Plexiglas.
2. Using the brayer, apply ink to the produce (fig. 1).
3. Make your print by pressing the produce firmly onto the paper (fig. 2).
4. Re-ink and keep going (fig. 3)!
5. Let the prints dry for several hours or overnight.
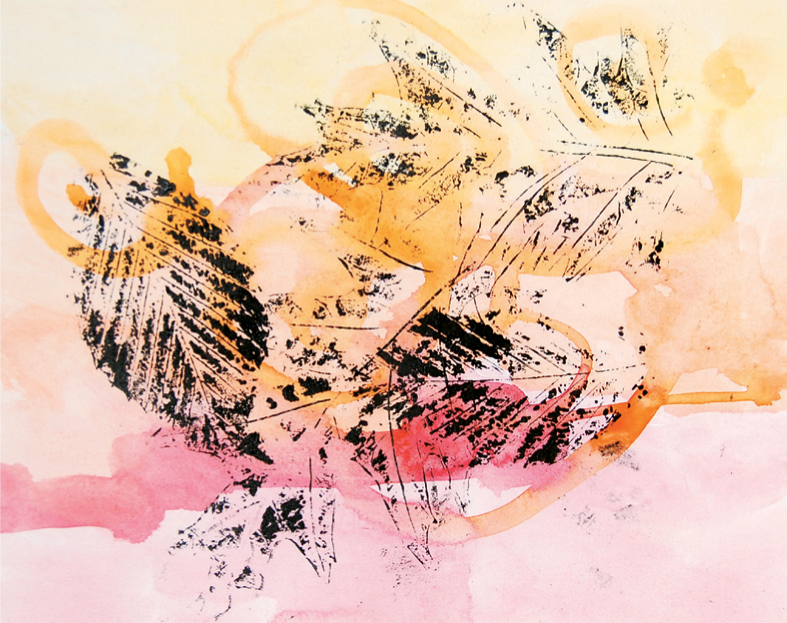
Think First: Collect a selection of leaves in a variety of shapes. You can even try long-needled pine leaves and flat seed pods. Decide on some color themes for your background paper. You can use one color family, such as oranges, reds, and yellows, or paint a rainbow of colors!
Materials
• cardstock
• optional: wax paper
• pan watercolors
• black block-printing ink
• Plexiglas palette
• brayer
• newspaper
• paper towels
• assortment of leaves
1. Paint your cardstock with your choice of colors and patterns (fig. 1).
2. Let the paper dry completely and prepare your ink as described in Unit 1, page 23.
3. With the back side of the leaf up, roll the ink-loaded brayer over the leaf, coating it fully (fig. 2).
4. Print the leaf by placing it on the paper (fig. 3). Rub it gently but firmly, to make a great print. You can use wax paper over the leaf to keep your hands free from ink.
5. Continue printing until you are satisfied with the final piece.
6. Let it dry for several hours or overnight.
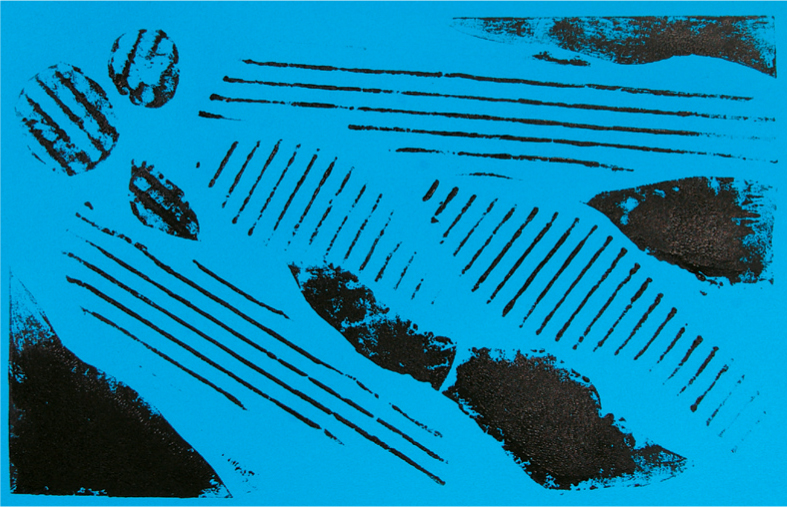
Think First: Sort through the cardboard pieces, and peel back some of the top layers to expose the corrugated part. Decide on a subject matter for your print—abstract is fun to begin with! You can sketch out a few ideas first of shapes you might use, if that helps your creative process.
Materials
• matboard or a strong piece of cardboard
• printing paper
• black block-printing ink
• Plexiglas palette
• brayer
• clear or white glue
• gesso and gesso brush
• an assortment of cardboard pieces
1. Cut out your cardboard shapes. Peel away the top layer of some pieces to expose the corrugated surface; leave some pieces smooth (fig. 1).
2. Lay the pieces out on the matboard and glue them down. This will be your printing plate (fig. 2).
3. Let the glue dry completely, then gesso over the whole plate (fig. 3).
4. Prepare and apply the ink to the printing plate as described in Unit 1, page 23 (fig. 4).
5. Position the printing paper onto the plate and hold it with one hand, while rubbing over the paper in circular motions with the other hand. Peel off the paper to reveal your new print!
6. Continue with your prints to make an edition, as described in Unit 1, page 23.
7. Let them dry for several hours or overnight.
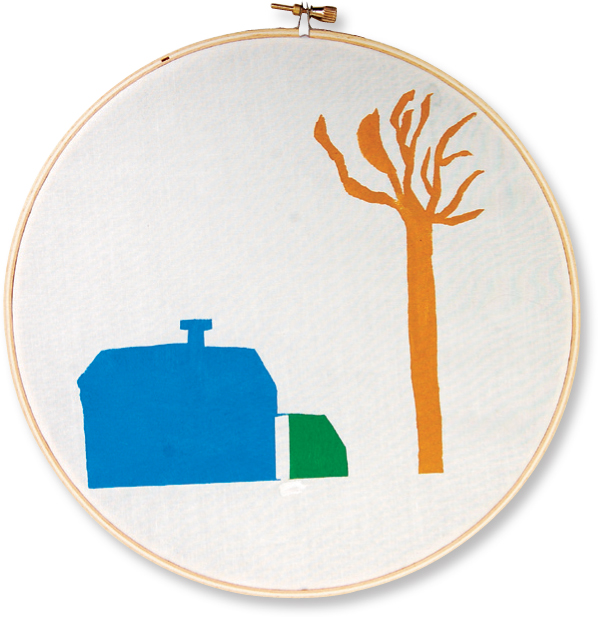
Think First: Stencils are ancient in origin and have been used in a variety of fine art movements throughout the twentieth century—think Warhol and, before that, the posters of the art deco movement. Stencil images can be made over and over with a plastic stencil or, as in this lesson, just once, but very easily, with a paper stencil. All parts of the stencil need to be joined, or you will need a bridge connecting the parts (think of the lowercase letter e with a space being a bridge between the cross part of the e so it doesn’t touch the curved part) or a floating separate piece called an island (think of the letter O as a donut and the island being the “hole”). For this lesson we are using a landscape motif created without islands or bridges.
Materials
• freezer paper
• a piece of white cotton
• acrylic paint
• textile medium
• Plexiglas palette
• small bristle brush
• scissors
• iron
• newspaper
• embroidery hoop for display
1. Draw your image on the non-shiny side of the freezer paper (fig. 1).
2. Cut into the paper in a line from the bottom edge to access the image (fig. 2).
3. When the design is cut out, place the large piece with the hole on your fabric, shiny side down. With a medium-hot iron, press the stencil firmly, right to the edge of the freezer paper. It should adhere fully.
4. Using the iron, seal off the bottom of the image with an additional strip of freezer paper to cover your initial cut into the paper.
5. Mix two parts textile medium to one part acrylic paint until blended.
6. Apply the paint with a bristle brush, starting at the edges of the stencil and working inward (fig. 3).
7. Finish painting all the areas and let dry for several hours or overnight. Peel off the freezer paper to reveal your print (fig. 4).
8. Stretch the fabric in the embroidery hoop and cut off the excess, if necessary.
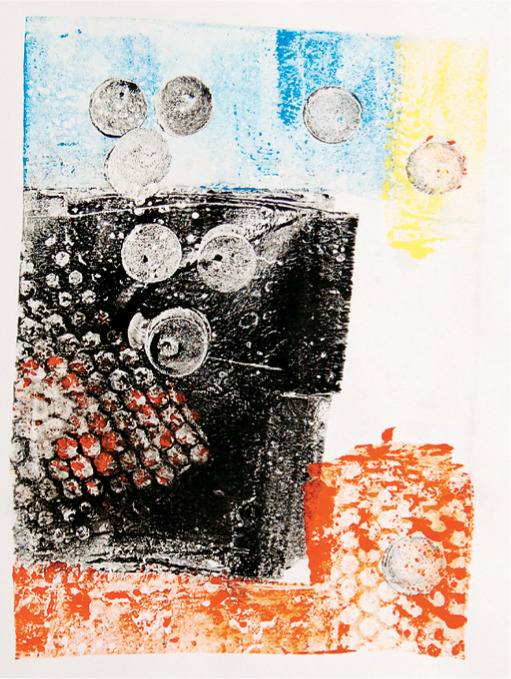
Think First: Gelatin printing is my favorite method for making prints. The ink floats on the surface of the gelatin and can be manipulated gently for a long time, because it keeps the ink moist. It is exciting and contagious, so prepare to have a lot of paper—and time—on hand! It takes a few prints to get the hang of it, but once you do, it’s all fun and games. This method of printmaking has many additional steps to explore, but for this Lab, we will do the simplest forms.
To create your design, use a brush or the eraser on the end of a pencil—it has the most natural feel in your hand. Also, printing from a gelatin plate makes everything backwards—create your design with that in mind. Most important, remember that the plate is just gelatin, so you must be gentle with it.
Materials
• printmaking paper or copy paper to start
• block-printing ink
• brayer
• gelatin plate (see Unit 1, page 23)
• paper towels
• Plexiglas palette
• small soft-bristle brush
• scissors
• scrap paper for stencils
• newspaper
• assortment of found objects (see Unit 1, page 17)
1. Make the gelatin plate as described in Unit 1, page 23.
2. Roll out some ink on your palette. Less is more here! Then roll the ink in a very thin layer onto the gelatin plate (fig. 1).
3. You can use multiple colors of ink on your plate, overlapping or not! Using a brush, gently (remember, it’s just gelatin!) paint away the color to make an image—or add another color to the plate with the brush (fig. 2).
4. If you prefer, you can use found objects (none that will scratch the gelatin) and print onto the plate (fig. 3).
5. When you are satisfied with the surface, place your paper over the gelatin plate and gently smooth the back of the paper with your hands (fig. 4).
6. Peel off the paper to reveal your print! Begin again with the remaining ink, adding to the plate, or wipe gently with a damp paper towel. Make a lot of prints—it takes a while to get used to the process. Store your gelatin plate in the refrigerator for up to one week.