Many of the techniques presented here will work for revamping ripped items as well.
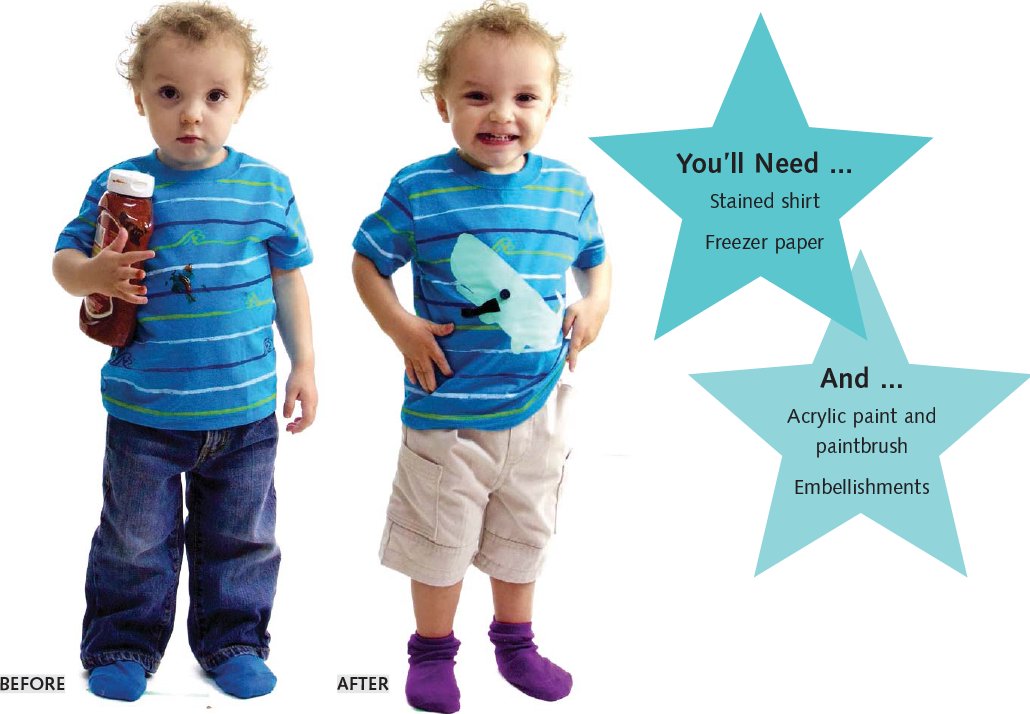
Embellished Freezer-Paper Stenciling
Freezer-paper stenciling (page 15) is lots of fun, but it’s even more fun when you add a little three-dimensional flair! Use ribbon, fabric, sequins, patches, or other embellishments. You could even get your little one involved with the design process.
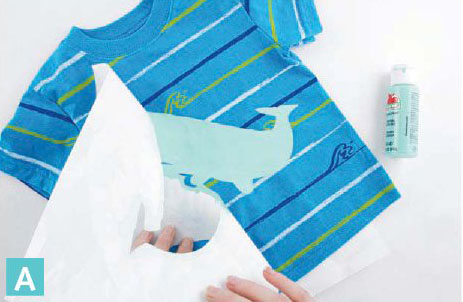
1. Choose a pattern (For all printable patterns or digital content, click here.) and paint the design on using the freezer-paper stenciling technique (page 15). A
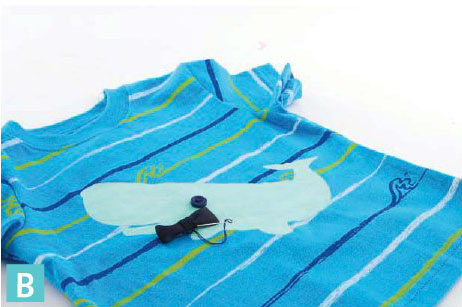
2. Stitch on a little bow or bow tie for a preppy puppy or a dapper whale. B
3. Add sparkle with sequins—they make great raindrops, eyes, stars, or pearl necklaces. C

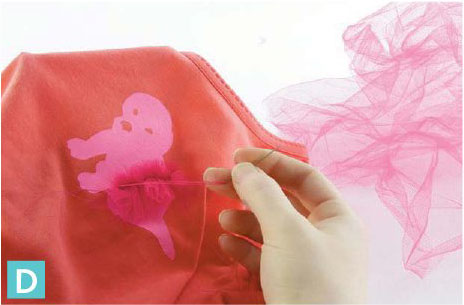
4. Gather (see Sewing a Ruffle, page 11) up some scrap fabric to give a puppy a tulle tutu. D
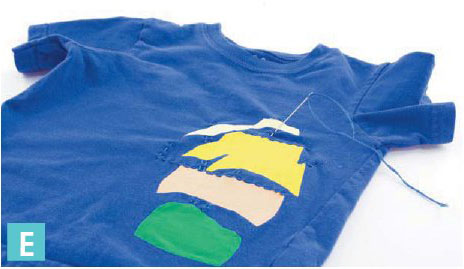
5. Use embroidery thread to stitch detail onto a simple silhouette. Try guitar strings, butterfly wing designs, dalmatian spots, poppy flower stems, or ship masts. E
OTHER FIX-IT OPTIONS
■Reverse Appliqué (page 97)
■T-Shirt Transplant (page 92)
■Polka-Dot Sweater Patches (page 90)

Galaxy Shirt
It’s happened to all of us—the dreaded bleach spot. Just go with it and turn the spot into a fun bleach-stained pattern!
1. Wear old clothing and latex gloves. Fill a spray bottle with bleach and adjust the nozzle halfway between “spray” and “stream.”
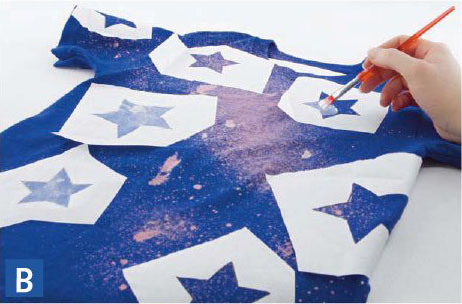
2. Spray the front and back of the shirt. Start with small squirts and then wait a moment to let the bleach activate. See how it looks before adding more. A

3. Use the freezer-paper stenciling technique (page 15) to add small and large star shapes (For all printable patterns or digital content, click here.). B
4. Wash and dry the shirt before letting your young one wear it.
OTHER FIX-IT OPTIONS
■Work-of-Art Shirt (page 117)
■Ruffle-Panel Shirt (page 79)
■Butterfly Cutout Shirt (page 83)
■Embellished Freezer-Paper Stenciling (page 74)
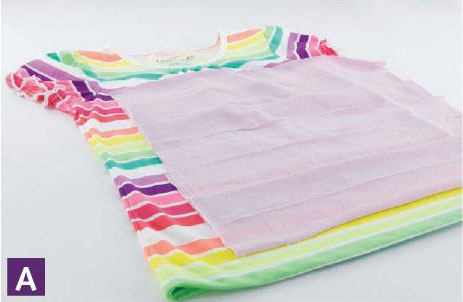
Ruffle-Panel Shirt
Use rows of sweet ruffles to hide spots and stains on the front of a shirt. Try rows in all one color or rainbow ruffles!
1. Cut several strips of fabric. The length of each strip should equal about 1½ times the shirt width you want to cover. The width of each strip is 2˝–4˝, depending on your preference. You’ll need enough strips to cover the front of the shirt, with the strips overlapping by half their width. A
2. Gather each strip using the ruffling technique (see Sewing a Ruffle, page 11). B

3. Pin the gathered strips to the front of the shirt, starting with the bottom ruffle. Overlap the ruffles by half their width. Be sure the ruffles cover the stain or rip completely. C

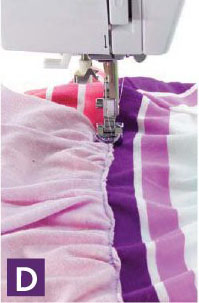
4. Sew the ruffles to the shirt. D
TIP For an even easier version, try cutting out a square or rectangle of preruffled fabric and sewing it to the front of the shirt.
OTHER FIX-IT OPTIONS
■T-Shirt Transplant (page 92)
■Work-of-Art Shirt (page 117)
■Embellished Freezer-Paper Stenciling (page 74)

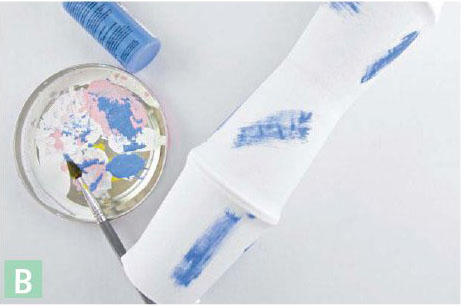
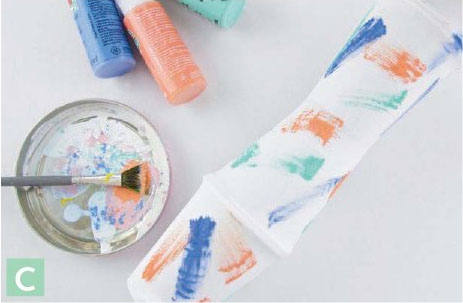
Painted Tights
Cleverly disguise dingy knees with artistic paint swipes for a fun and whimsical look!
1. Push paper cups or rolled-up pieces of poster board into the legs of the tights. A

2. Using a dry paintbrush, brush on strokes of paint, covering the stained areas first. B
3. Add more strokes in various colors until the tights are covered. C
4. Set the paint following the instructions in Freezer-Paper Stenciling (page 15).
TIP Always wash the tights by hand for proper upkeep.
Butterfly Cutout Shirt
Sometimes it’s hard to cover stains when they are in more than one place. A kaleidoscope of butterflies fluttering across the front of a shirt is a great way to hide lots of little stains.
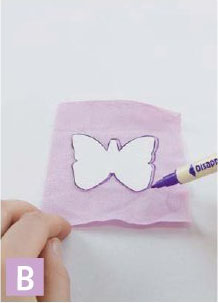
1. Trace the butterfly pattern (For all printable patterns or digital content, click here.) onto paper or template plastic, enlarging or reducing it as needed. Cut out the template. A

2. Trace the butterflies from the template onto scraps of knit fabric with a fabric-marking pen, and cut them out. B
3. Arrange and pin the butterflies on the shirt. C
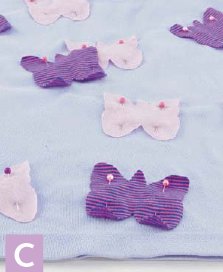
4. Machine or hand stitch 2 lines down the center of each butterfly, allowing the wings to “flap” freely. Use contrasting embroidery thread to accent the centers. D

TIP Mix and match patterns, fabrics, and thread colors to suit your child’s tastes!
OTHER FIX-IT OPTIONS
■Poppy-Scattered Shirt (page 85)
■Faux Plaid Shirt (page 88)
■Polka-Dot Sweater Patches (page 90)
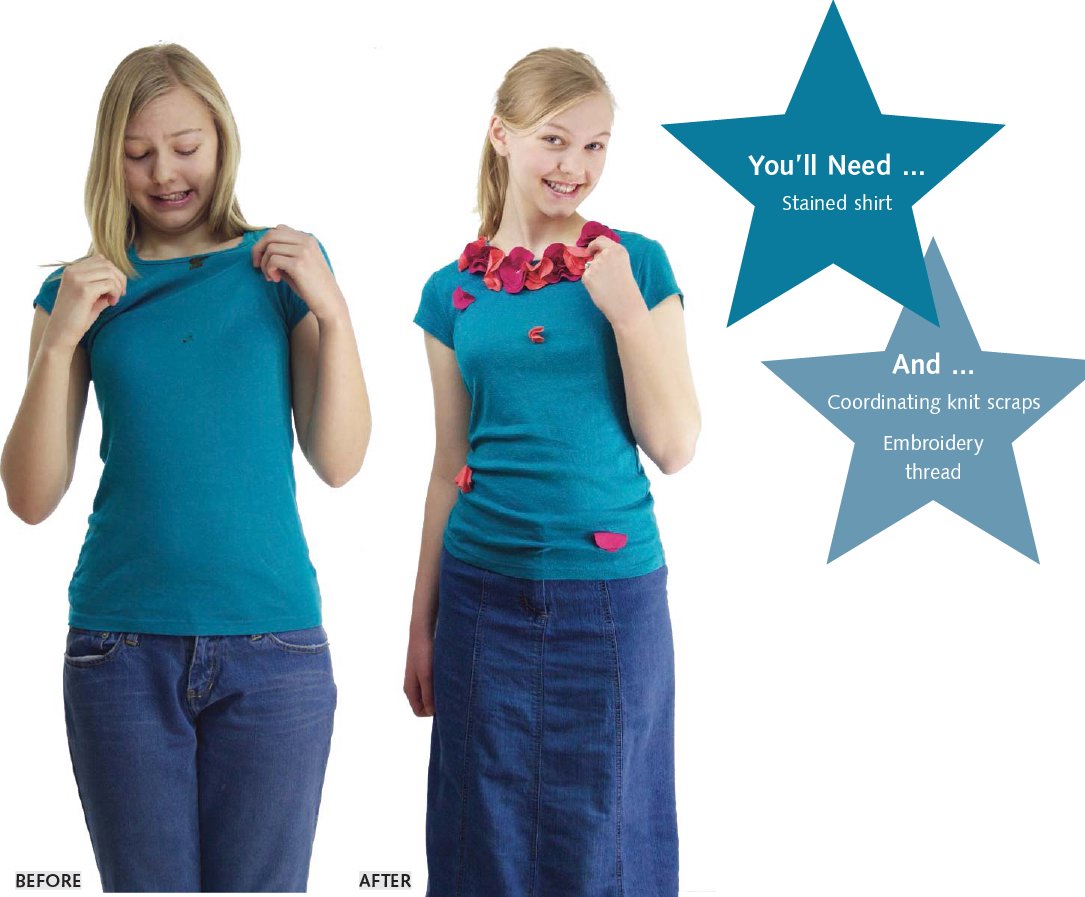
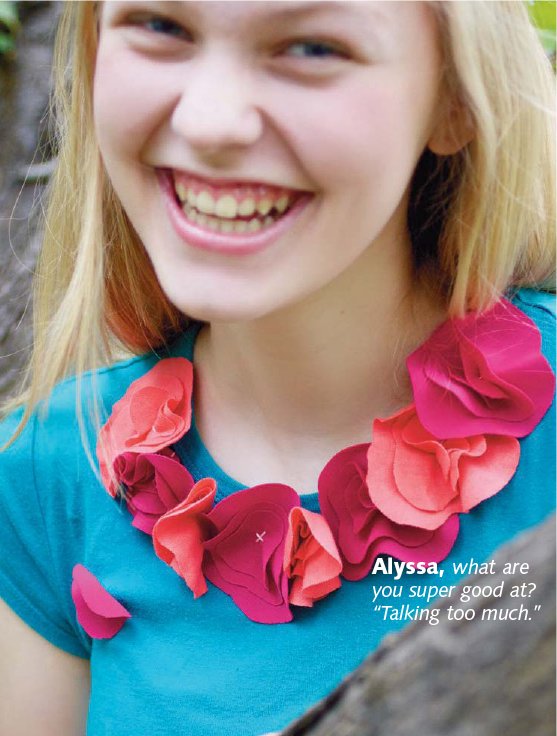
Poppy-Scattered Shirt
Is her shirt stained around the neck? Add a row of beautiful poppies right at the neckline! Are there stains in several places? Let the petals scatter across the entire front of the shirt.
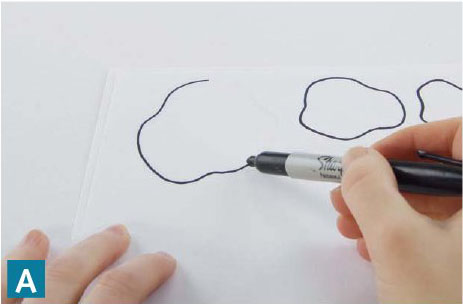
1. Trace large, medium, and small poppy patterns (For all printable patterns or digital content, click here.) onto paper or template plastic. Cut out the templates. A
2. Trace the poppies from the templates onto the knit fabric with a fabric-marking pen. B

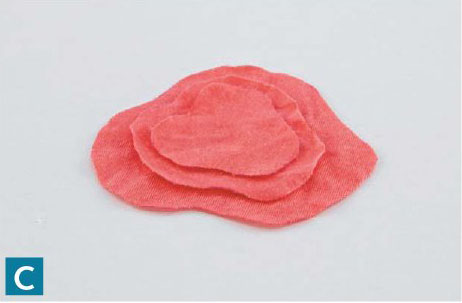
3. Cut out a poppy piece of each size per flower and place them on top of each other, with the smallest piece on top. C
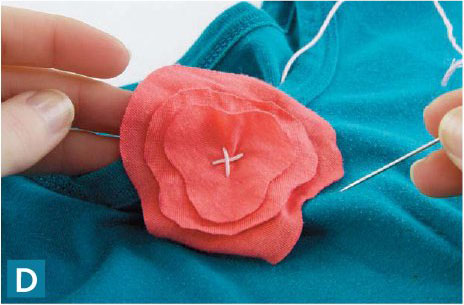
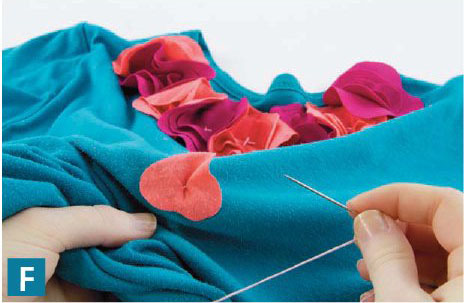
4. Use a needle and thread to stitch a large X in the middle of each flower. D
5. Hand or machine stitch the poppy flowers along the neckline, placing them close enough to each other to push the petals up slightly. E

6. If needed, cover other stains by placing flowers in a scattered pattern. F
TIP For boys’ shirts, try scattering cars, puppies, or simple graphic shapes.
OTHER FIX-IT OPTIONS
■Butterfly Cutout Shirt (page 83)
■Faux Plaid Shirt (page 88)
■Polka-Dot Sweater Patches (page 90)
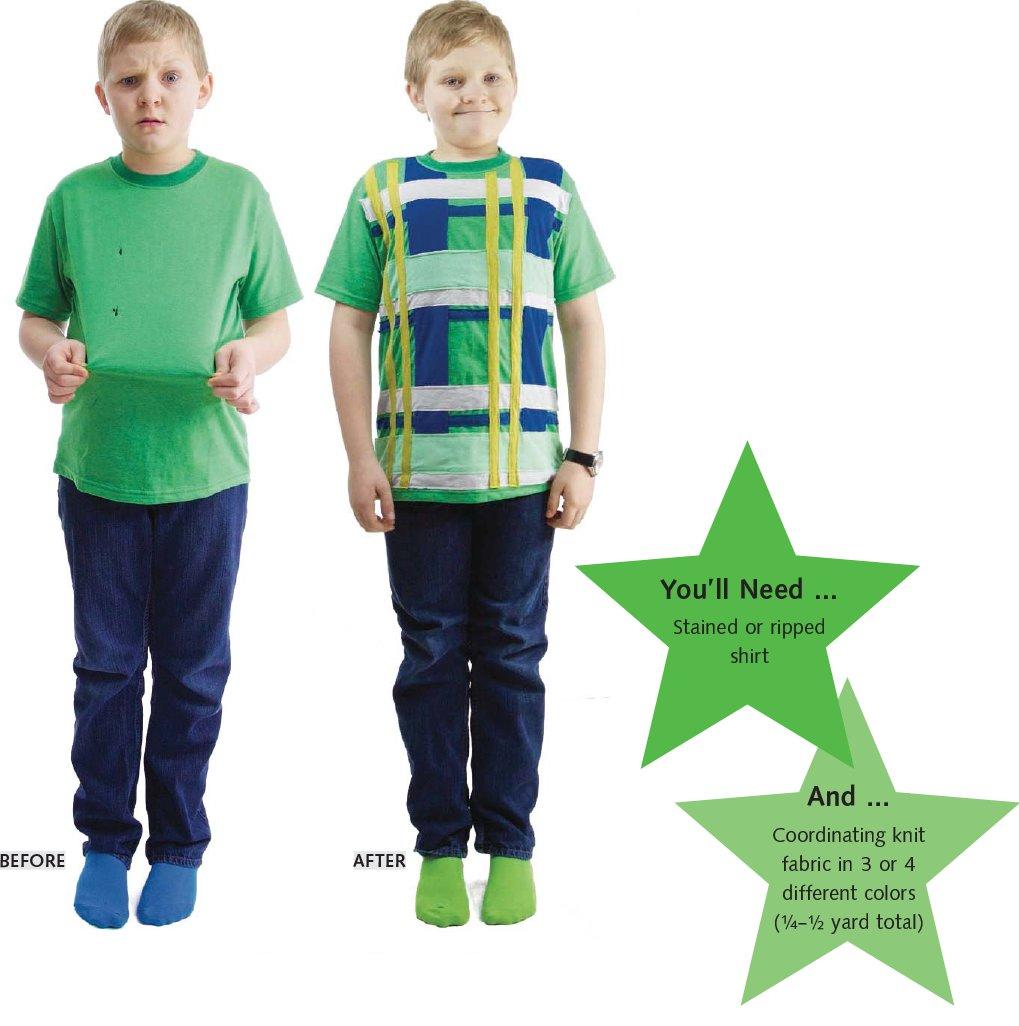
Faux Plaid Shirt
A faux plaid design can hide stains in funny places. Really? There’s a jelly stain under your arm? This is also a fun way to embellish a shirt even if it doesn’t have stains. Just add strips of knit in different colors and directions.
1. Cut 2 wide strips and 4 narrow strips of knit from 2 colors. The length of the strips should equal the length of the shirtfront. A

2. Cut 2 wide strips, 4 medium strips, and 3 narrow strips from 3 colors. The length of these strips should equal the width of the shirtfront. B

3. Pin and sew the strips down, a strip at a time, in this order: narrow horizontal strips, wide vertical strips, medium horizontal strips, wide horizontal strips, and then narrow vertical strips. C

OTHER FIX-IT OPTIONS
■Galaxy Shirt (page 77)
■Embellished Freezer-Paper Stenciling (page 74)
■Poppy-Scattered Shirt (page 85)
■Polka-Dot Sweater Patches (page 90)