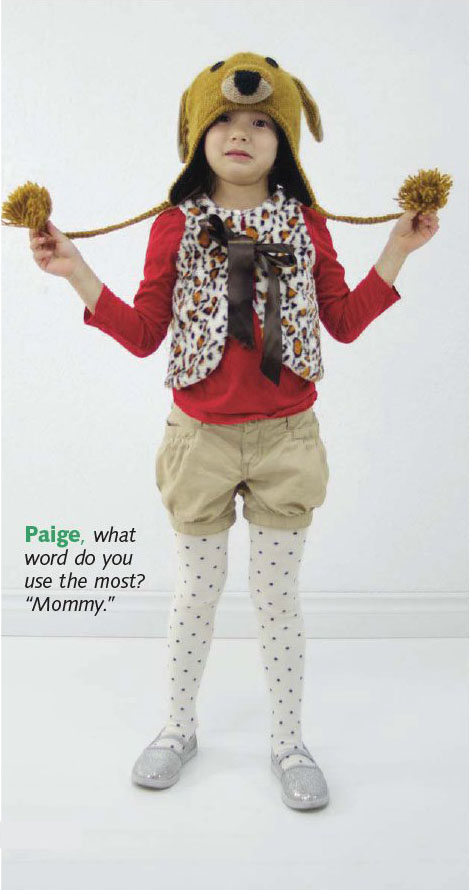
Tank to Fur Vest
Have a tank that fits in the wintertime? Use fleece or faux fur to turn it into a snuggly vest.
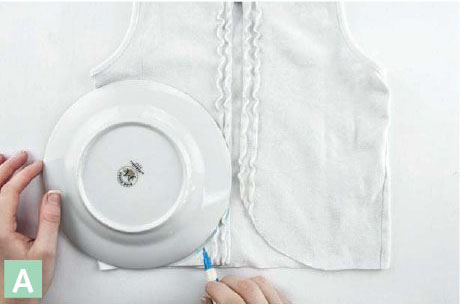
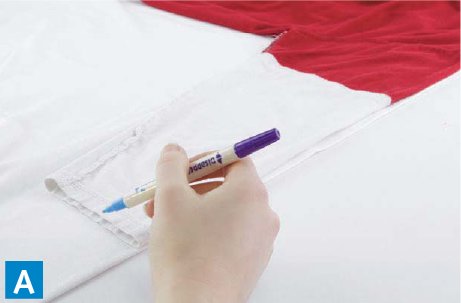
1. Cut a line through the middle of the front of the tank, from neckline to hem. Use a plate to mark and cut round edges for the lower front sections. Trim a little off the bottom if desired. A
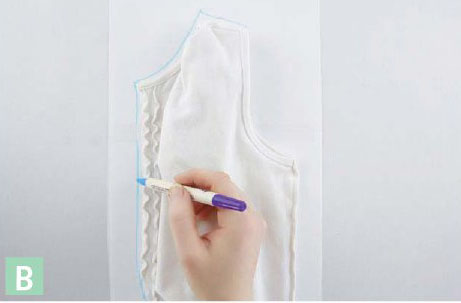
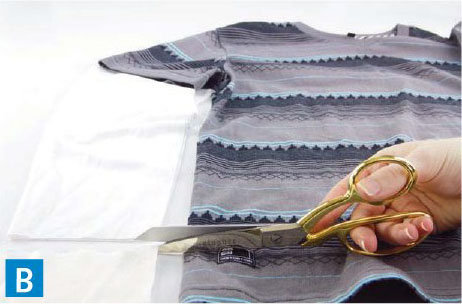
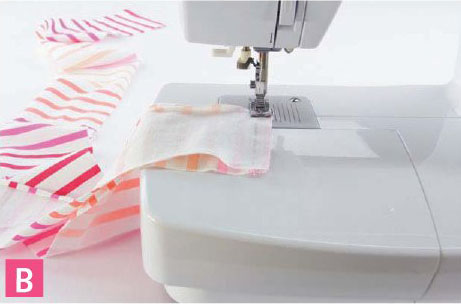
2. Turn the tank inside out and trace the back and both fronts onto paper, adding ½˝ on all sides. B
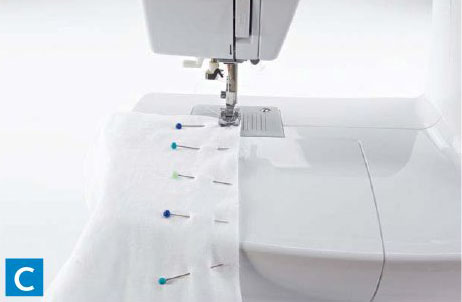
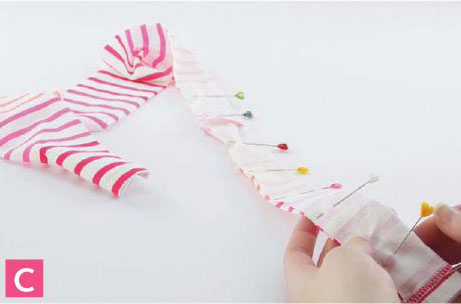
3. Cut out the paper patterns and pin them to the faux fur fabric. Cut out. C

4. Pin the front pieces to the back piece at the sides and shoulders, with right sides facing. Sew together. D

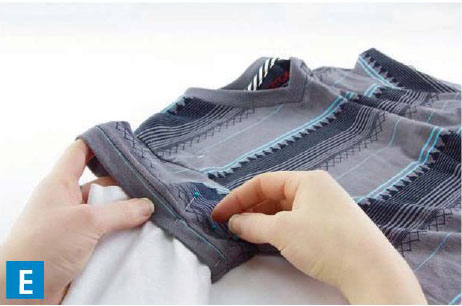
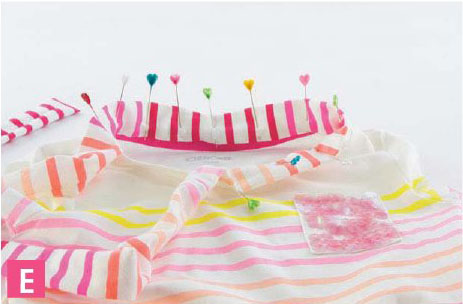
5. Place the fur vest inside the tank top with the right side of the fur vest facing the wrong side of the tank top. Pin the vest and tank together, leaving the neckline and armholes open. E

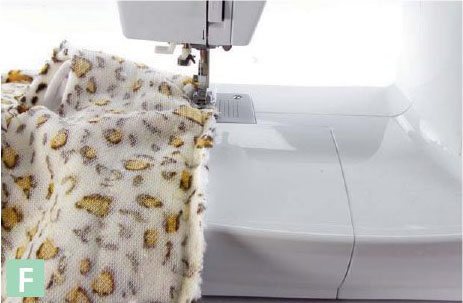
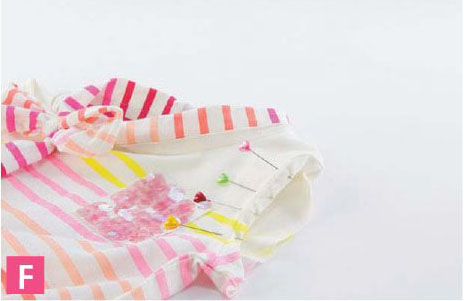
6. Sew along the pinned edges. F
7. Turn right side out. Fold under and pin the fur fabric along the armholes and neckline. Sew along the pinned edges. G

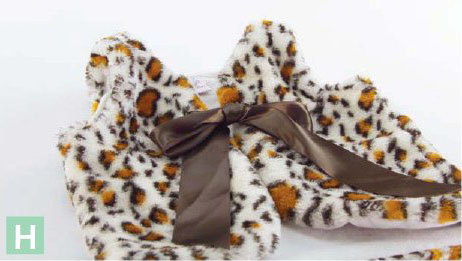
8. Sew a 10˝ length of ribbon to each side of the front of the vest. H
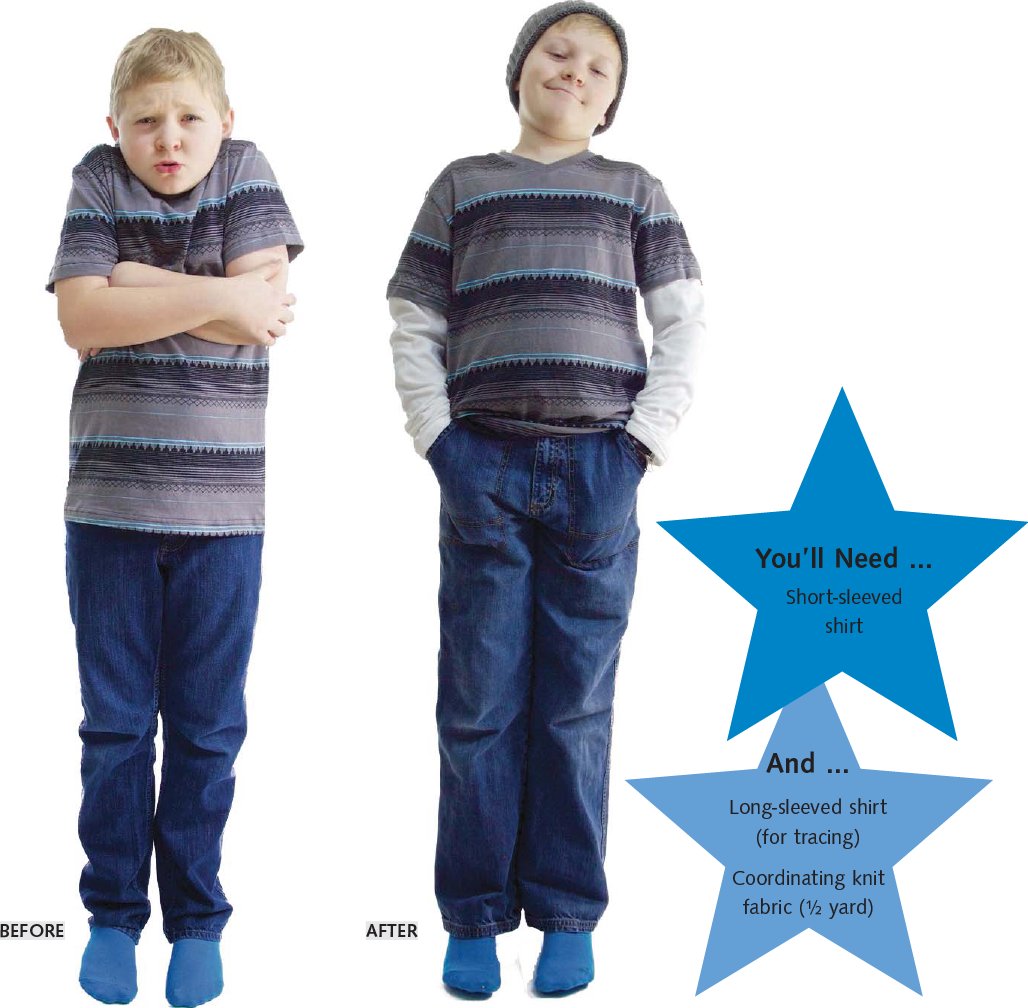
Add Long Sleeves
Add warmth to a short-sleeved shirt and get a layered look without the bulk by adding quick sleeves. If it still fits in the warmer season, just pull out the stitches and enjoy short sleeves again!
1. Place a long sleeve flat on the knit fabric on a lengthwise fold. Trace around the sleeve with a fabric-marking pen, adding ½˝ to the side and 2˝ to the hem. Cut out along the marked lines. Cut another piece exactly the same for the second sleeve. A
2. Lay a sleeve piece down next to the short-sleeved shirt to make sure the widths match up. The long-sleeve piece (folded) should be ½˝ wider than the short sleeve. Repeat for the second sleeve. B
3. Fold the sleeve in half lengthwise with right sides facing. Pin and sew the seam. C
4. Hem the bottom of the new sleeve with 2 rows of stitching. Use a strip of stabilizer inside the hem if desired. D

5. Put the top of the long sleeve inside the short sleeve opening, with right sides facing up. Match the underarm seams and pin. Check the finished length of the sleeve on your child. E
6. Sew the sleeves together, being careful not to catch the body of the shirt in the seam. F

7. Repeat Steps 3–6 for the second sleeve.
TIP For a super-easy version, cut off the legs from some too-small knit pajama pants and use them as sleeves!

Shortening Sleeves— Three Ways
Shortening sleeves is one of the easiest refashions you can do. Go from winter length to summer sleeves three different ways!
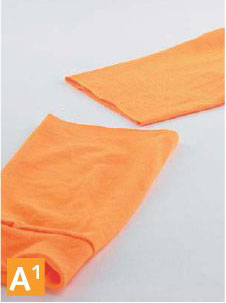
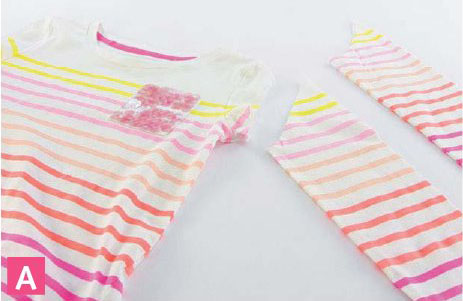
1. Cut the sleeves off 1˝ below the desired finished length. A1
2. Gently stretch the cut edge of the sleeves to create a rolled edge. B1

3. Tack the rolled edge in place with a needle and thread by sewing an X at the underarm and the shoulder edges of the sleeves. Sew short lines every inch or so in between the X’s. C1

Option 2: Folded Edge
1. Cut the sleeves off 2˝ below the desired finished length. A2

2. Fold the edge up 1˝ and iron; then fold up another 1˝. Pin in place. B2

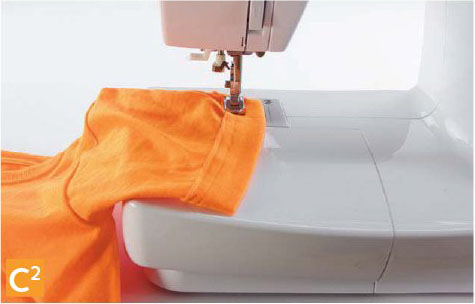
3. Sew 2 parallel rows of straight stitches, or use a double needle to create a professional-looking hem. If you need more stretch in the sleeves, use a zigzag stitch. C2
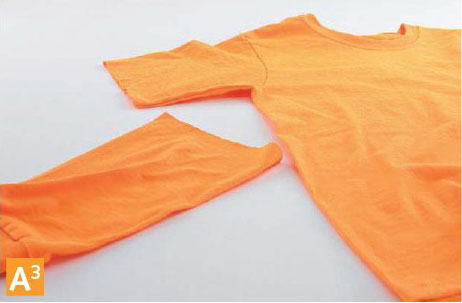
1. Cut off the sleeves at the desired finished length. Measure the sleeve opening all around. A3
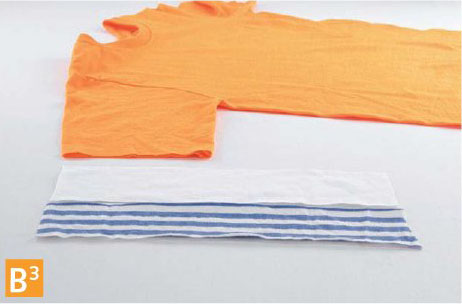
2. Cut 2 strips of contrasting knit with the length equal to the sleeve opening plus 1˝. Cut the bottom strip the width of the desired finished trim (3˝–4˝). Cut the top strip 1˝ narrower. B3
3. Lay the narrower strip on top of the wider strip, right sides facing up. There should be ½˝ of the bottom strip visible on the long sides of the top strip. Fold the strips in half crosswise, right sides facing. Pin and sew the short ends together. Turn right side out. C3

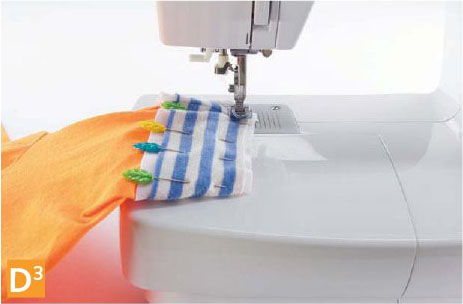
4. Pin the double strip to the sleeves, with the seams matching and right sides facing up. Sew along the top and bottom edges of the top strip. D3
■Bow-Neck Tank (page 114)

Bow-Neck Tank
Another great way to go from winter to summer is to use long sleeves to create a sweet bow accent around the neckline. It looks adorable, and no one will guess that you did it yourself!
1. Cut off the sleeves from the T-shirt or blouse about 1˝ from the armholes. A
2. Cut 2 strips from each sleeve in matching widths. The strips should be as wide and as long as possible. Sew the strip ends together with right sides facing to make a single long strip. B
3. Fold the strip in half lengthwise. Pin together on the long edge and sew. C
4. Turn the strip inside out using the safety pin technique in Turning a Fabric Tube (page 16). Fold the ends toward the inside of the strip and sew closed. D

5. Fold the strip in half crosswise to find the midpoint. Pin the midpoint of the strip to the center back of the neckline. Continue pinning around the neckline, leaving a few inches open in the front. Sew on, leaving the ends of the strip loose for tying. E
6. Turn the edges of the armhole under twice, ½˝ per fold, and hem. The top edge of the hem should match up with the existing armhole seam. F
TIP Want to make the shirt but keep the sleeves? Simply use a coordinating fabric for the bow neck!
ANOTHER FIX-IT OPTION
■Shortening Sleeves–Three Ways (page 110)
Work-of-Art Shirt (Replacing a Design)
Maybe it’s that cute little Easter Bunny shirt you bought that finally fit him in June. Or maybe it’s that shirt with the skull and crossbones that your little princess refuses to wear. No problem! Replace any embellishment with your child’s own work of art for a shirt he or she will be proud to put on!
1. Cut a large square or rectangle out of the shirt, removing the out-of-season design. A

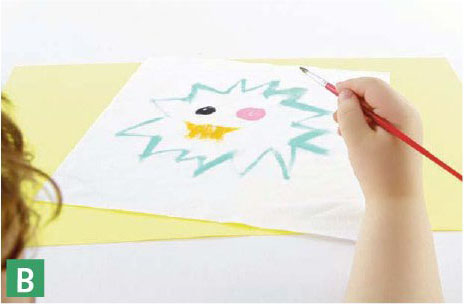
2. Cut a piece of the knit fabric about 1˝ larger on each side than the piece you cut out of the shirt. Let your child decorate the knit fabric with paint or fabric markers. Set the paint following the instructions in Freezer-Paper Stenciling (page 15). B
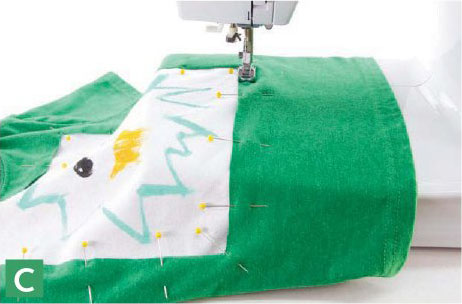
3. Pin the decorated square to the right side of the shirtfront, covering the cut-out area on all sides. Sew together with a zigzag stitch. Be sure the design is facing outward. C
4. Make a “frame” for the artwork by sewing on ribbon, lace, rickrack, or other decorative trimming on the right side of the shirt front. D

TIP If needed, shorten the sleeves using one of the sleeve-shortening techniques (Shortening Sleeves—Three Ways, page 110).
TIP If your child isn’t the artistic type, let him or her pick out a fun cotton print to be framed on the shirt.

Coat to Cropped Jacket
My daughter once had an adorable little plaid trench coat that I simply could not let go when she grew out of it. So I trimmed a little fabric from the bottom and the arms, and she wore her cute little “cropped jacket” for another full year!
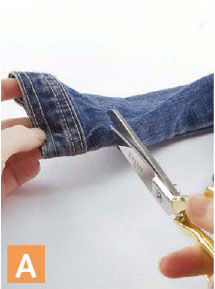
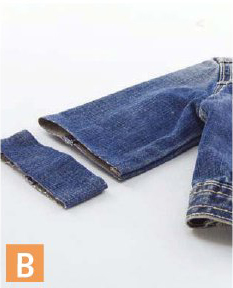
1. Cut the cuffs off the sleeves, leaving ½˝ of fabric above the cuffs. A
2. Trim the sleeves to the desired length plus a ½˝ seam allowance, keeping in mind the length of the cuff you will add back on. B
3. Pin the sleeve cuffs back onto the jacket with right sides facing and raw edges flush. Sew together as close to the cuffs’ seams as possible. C

4. Sew along the raw edges with a zigzag stitch, or trim with pinking shears, to prevent fraying. D

TIP If you’d like to shorten the body of the jacket as well, simply cut off the bottom 2˝ below the desired length and then fold the edge under 1˝, then another 1˝, and sew.