
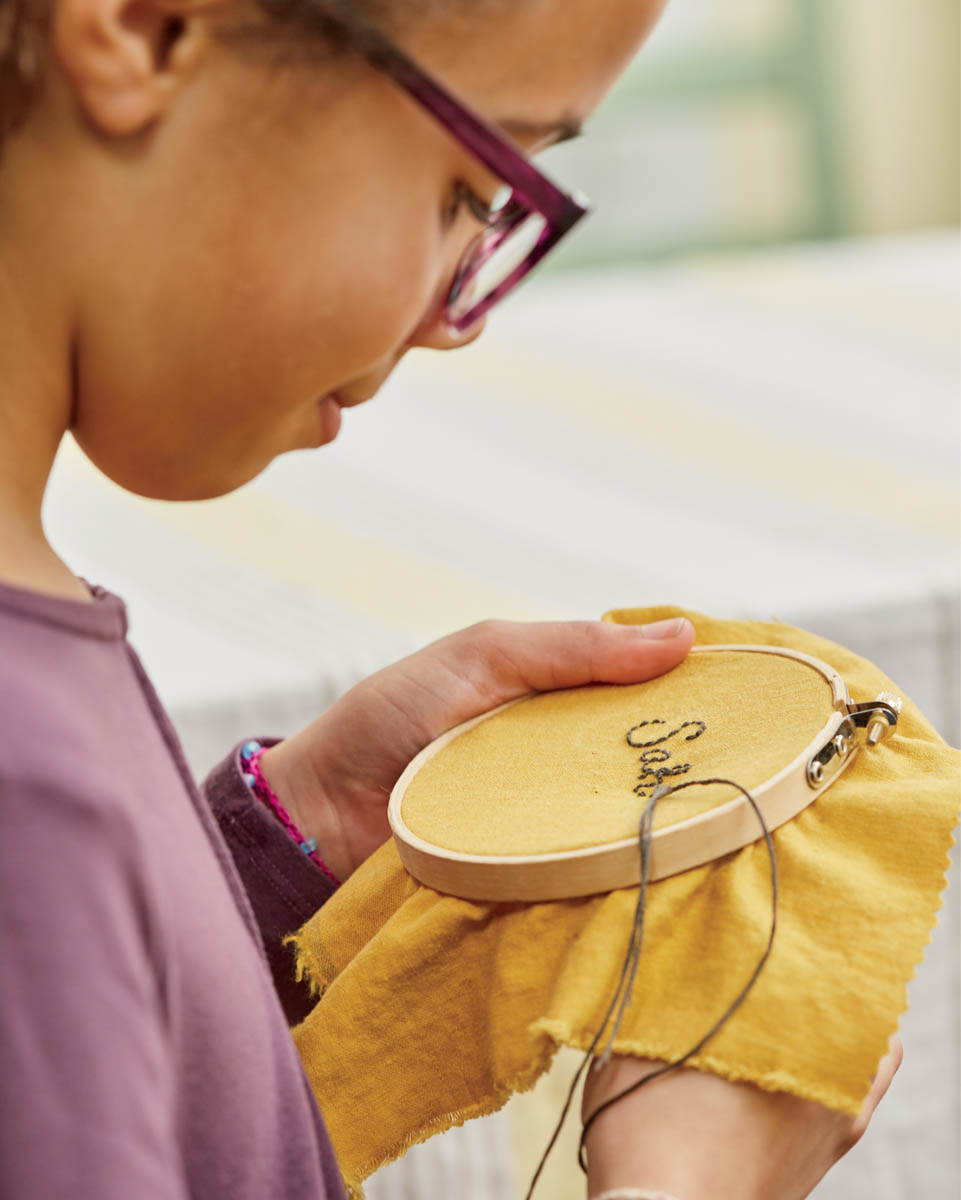
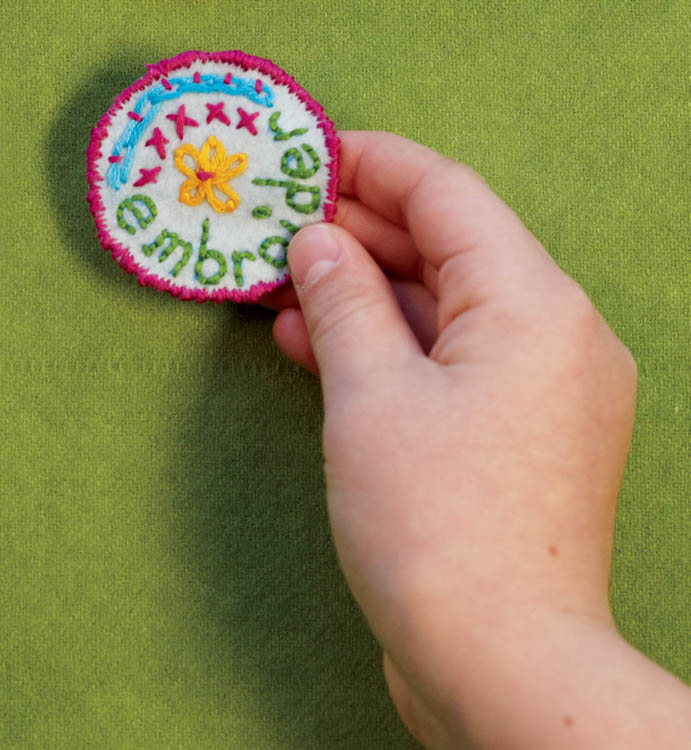
You can’t make something with embroidery, but you sure can decorate with it! Got a plain shirt, dress, apron, dish towel, pillowcase, jacket, bag, or pair of jeans? Think of it as canvas for your stitched art. You’ve already learned a few basic stitches in chapter 1. Now we’re going to teach you a few others so that you can draw and write with a needle and thread.
Embroidery is a great way to fancy up something made of fabric because it’s easy, it’s inexpensive, and it’s a total expression of you: your favorite designs, your own drawings, a saying you love. And, if tomorrow (or next year) you don’t like the result, you can pick out the stitches and start over.
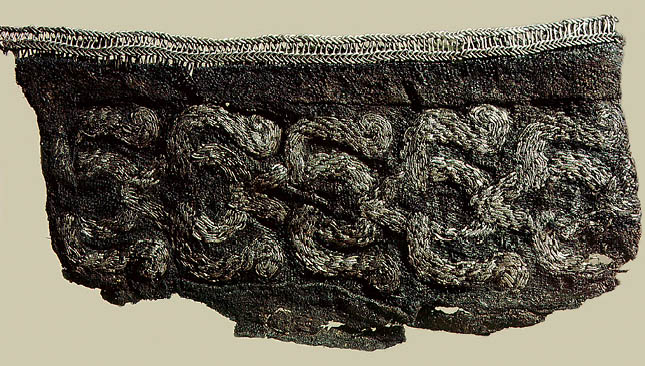
Embroidered with silver, this silk cuff dates from the tenth century and was found in a Viking grave in Sweden.
Of course, soon after people learned to make clothes and mend them using basic sewing techniques, they figured out they could decorate them that way, too. Embroidery is an art that has been used around the world for centuries, with the earliest examples coming from China sometime between the fifth and third centuries BCE. An elaborately stitched piece of clothing from Sweden dates back to somewhere between 300 and 700 CE (that’s more than 1,000 years ago). It includes running stitch, backstitch, stem stitch, buttonhole stitch, and whipstitch, though researchers aren’t sure what, exactly, the stitches were used for: decoration or simply reinforcing the seams? Either way, those are all stitches we still use today!
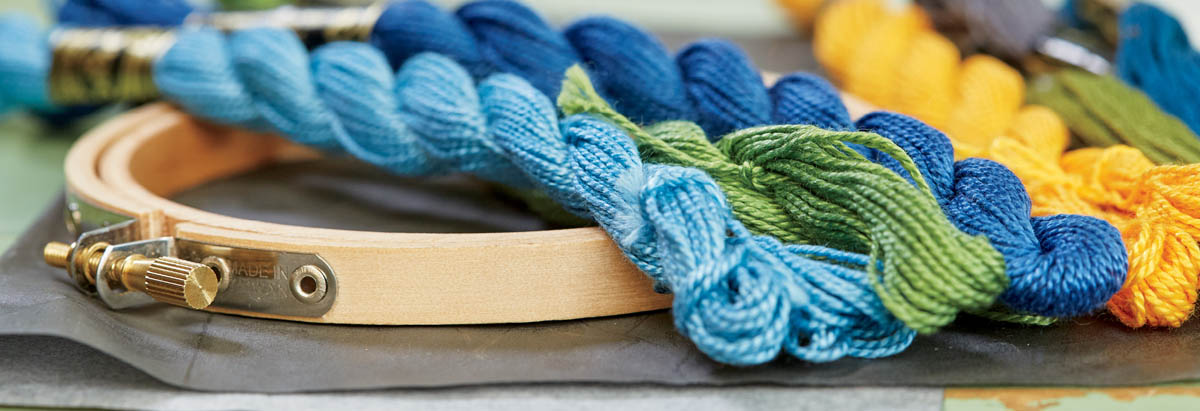
Thread. Regular six-strand embroidery floss, or thread, comes in tons of colors and can be shiny and metallic or cottony and plain. (Sadly, the plain kind is the easiest to work with.) It’s usually fairly inexpensive, so you can try a bunch of different kinds and colors. You can also use perle cotton, which also comes in lots of colors and thicknesses. It’s often sold in cones or tubes, but sometimes comes in loose bundles called hanks. (To prevent the hank from becoming tangled, see Storing Your Embroidery Floss.)
Needle. You’ll need a sharp embroidery or chenille needle with an eye large enough for the floss.
Needle threader. This is an optional, but handy, tool.
Scissors. Tiny sharp ones are great for cutting thread, but whatever scissors you have will get the job done.
Seam ripper. We aren’t pessimistic at all, but this is a handy and inexpensive little tool for picking out your stitches if something happens to go wrong.

Embroidery hoop. This is an inexpensive adjustable wooden or plastic two-piece band used to frame the area you’re working on, pulling the fabric taut so that it’s easier to stitch. Embroidery hoops are readily available at fabric and craft shops and come in different sizes; a 5- or 6-inch hoop is a good, basic size to start with. (You can embroider without a hoop, though, and you might even prefer it! If you can, try it both ways.)
Disappearing-ink fabric marker, chalk, or pencil. Any of these will let you mark the lines of the drawing or writing you want to sew without ruining the fabric or showing through your final stitching.
Carbon transfer paper. This is for copying a complicated drawing or design onto your fabric before embroidering it, and you can get it at a fabric or craft store, where it is sometimes called dressmaker’s carbon. Get darkly colored paper for transferring to light fabrics or white paper for transferring to dark fabrics. If you can’t get access to carbon transfer paper, you can create a version of your own using just a pencil (see How to Transfer Your Drawing).
Something to embroider! Because it won’t stretch much while you’re working on it, woven fabric is easier to embroider than knit fabric — think jeans, tote bags, and pillowcases rather than T-shirts and tank tops. Felt is also a good choice, as it’s sturdy and doesn’t fray.
An embroidery hoop is a two-part frame that stretches your fabric and holds it in place. You don’t need to use one, but it might make your sewing easier. Try it and see.
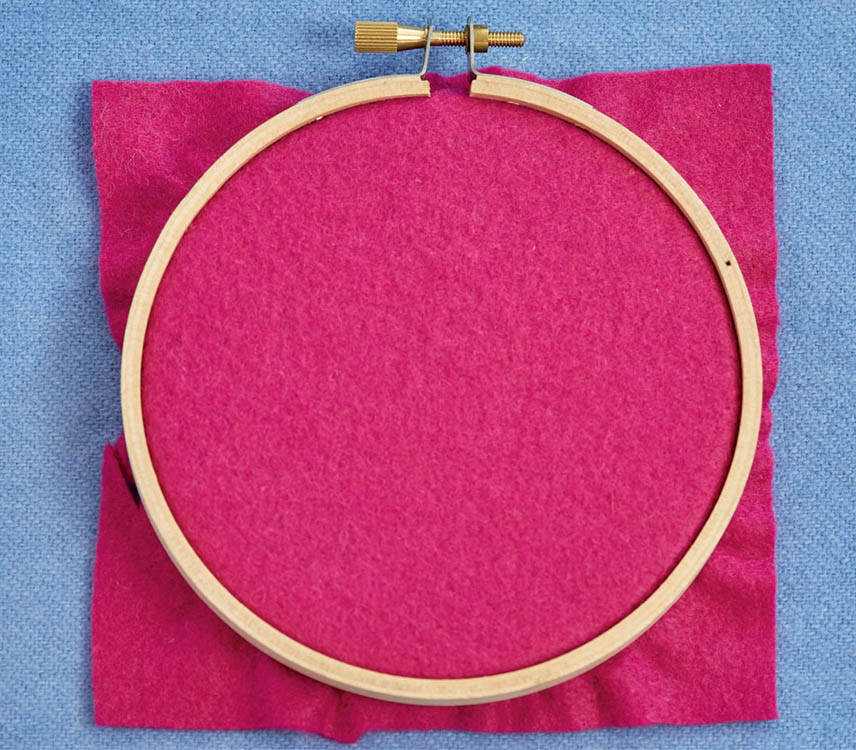
To use the hoop, separate the two rings of the frame; this might require you to loosen the screw on the outer hoop. Lay your fabric across the smaller hoop, then press the adjustable hoop down over it, loosening the screw as necessary to let the hoops fit together. Pull the fabric taut, so that it is stretched tightly and smoothly. Then tighten the screw to hold the adjustable hoop in place.
If your design is bigger than your hoop, don’t worry! You can just move your hoop, and eventually you’ll get to everything in your design.
Tip: If you arrange your design so that the screw is at the top of the hoop while you’re working, your floss will be less likely to catch on it.

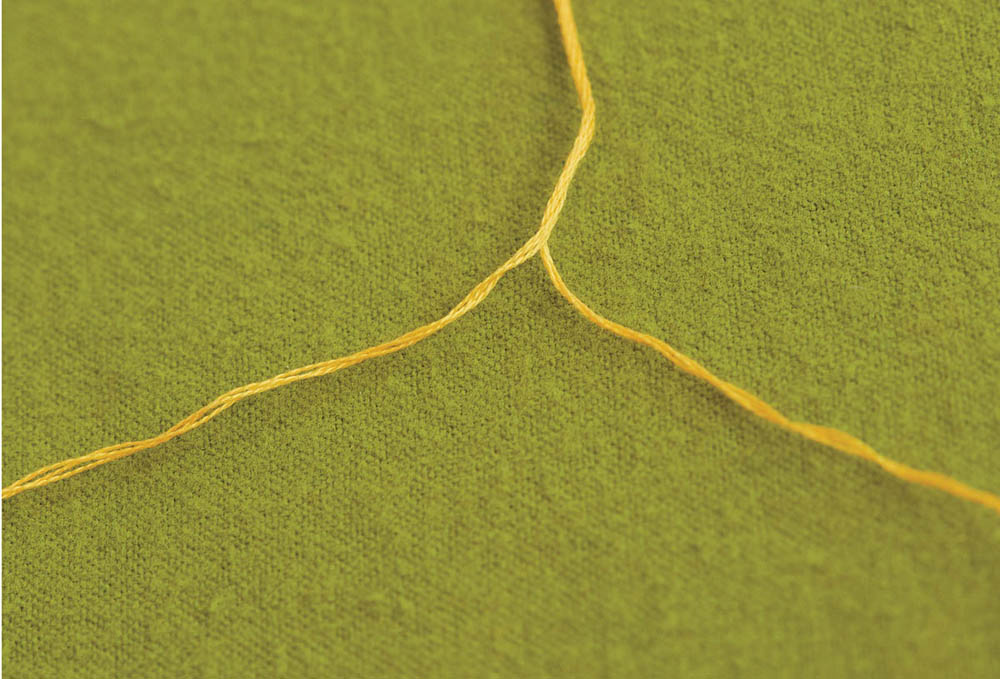
To separate the strands, cut the length of floss you want to use (we like an arm’s length as a basic measure). Now separate the floss at the top into two equal sections of three strands each — or into two sections of two strands and four strands — and start to pull the sections apart gently and patiently.
The floss will spin as it unwinds, but to keep it from tangling, move your fingers down the sections as they separate until they are pulled apart completely.
Here’s the truth: we both keep our embroidery floss in big resealable plastic bags, in colorful clumps and tangles — and that’s okay! Part of starting a project simply involves untangling the color we want to use, unless we’re lucky enough to find a fresh hank of it in the bag.
But there are many neater methods than ours. When you start a new hank of embroidery floss, try taking a few minutes to wind the whole length around something: a rolling pin, a rock, a clothespin, a card-stock gift tag, a wooden craft stick, or a piece of scrap cardboard with a notch cut into it to hold the thread end. You can still keep those in a big plastic bag, but they won’t get tangled up in there.

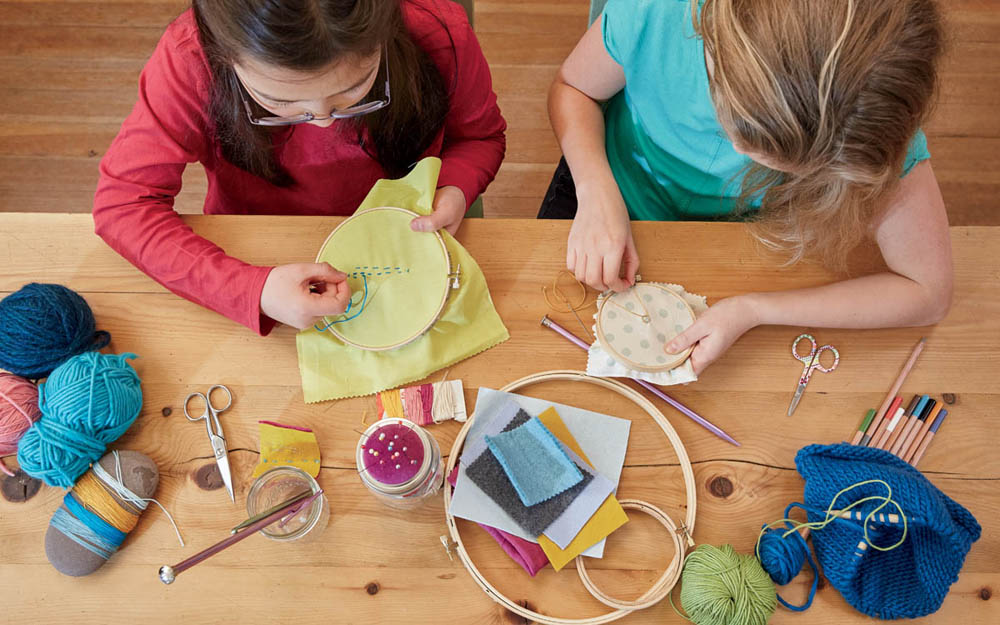
If you were learning embroidery 100 years ago, you’d likely practice your stitches on a traditional sampler, the kind that has the whole alphabet written out in thread, with a flowery border. We love those! But our modern twist is less particular and more fun.
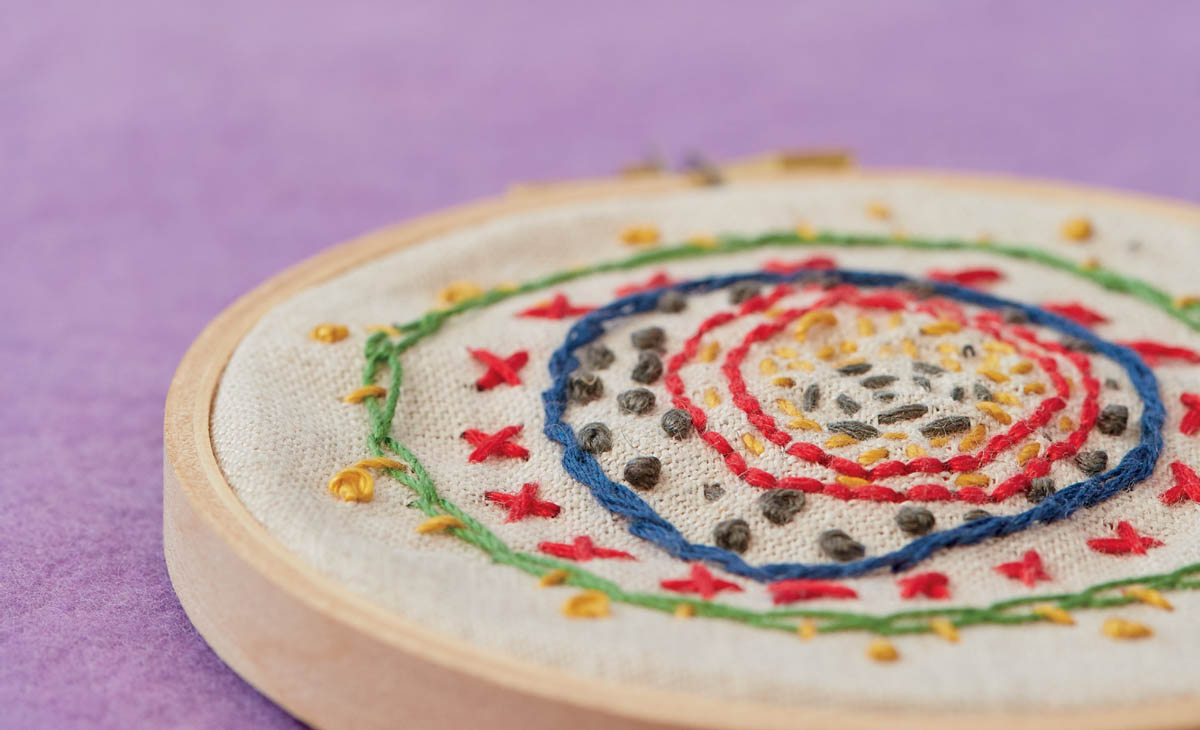
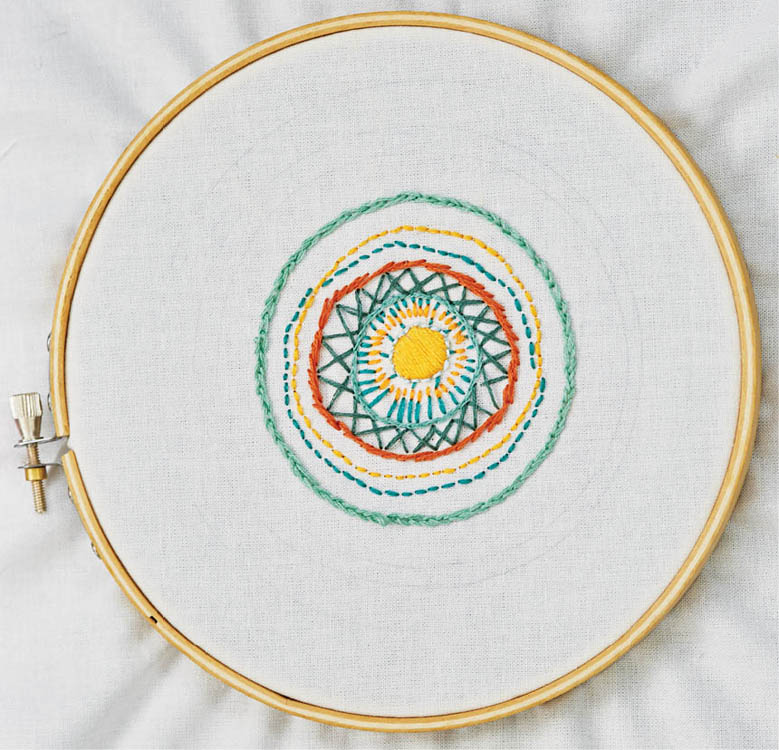
A mandala is a round design — mandala is the Sanskrit word for “circle” — that’s a symbol of the universe. Pretty cool, right? You can use any stitches and colors to make up your pattern. Treat the hoop like a frame, if you like, and hang the whole thing on your wall. Or turn the mandala into a pillow, or stitch it to the back of your jean jacket or the front of a T-shirt.
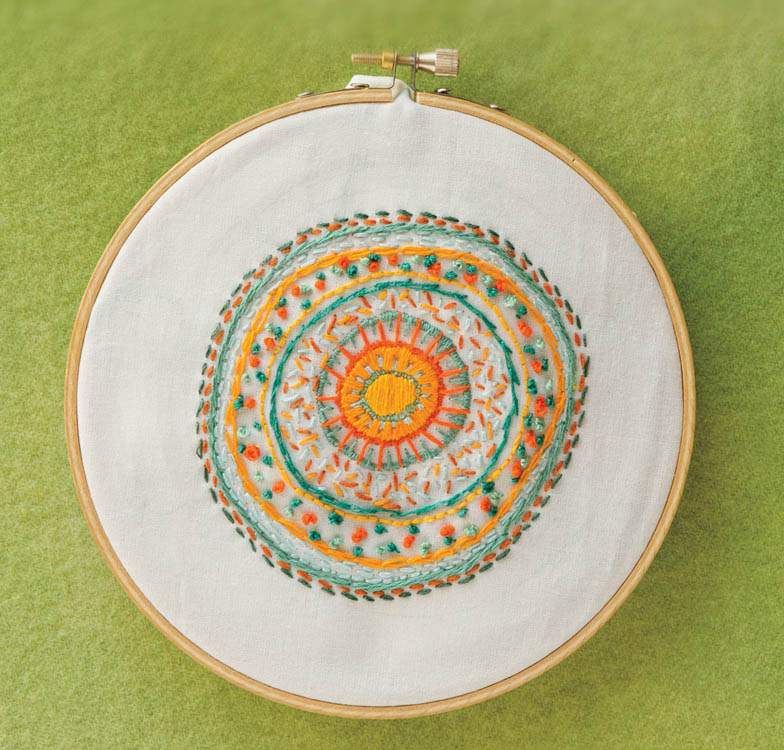
Stretch the fabric across the smaller hoop (see How to Use an Embroidery Hoop), then fit the adjustable hoop on top and tighten the screw.
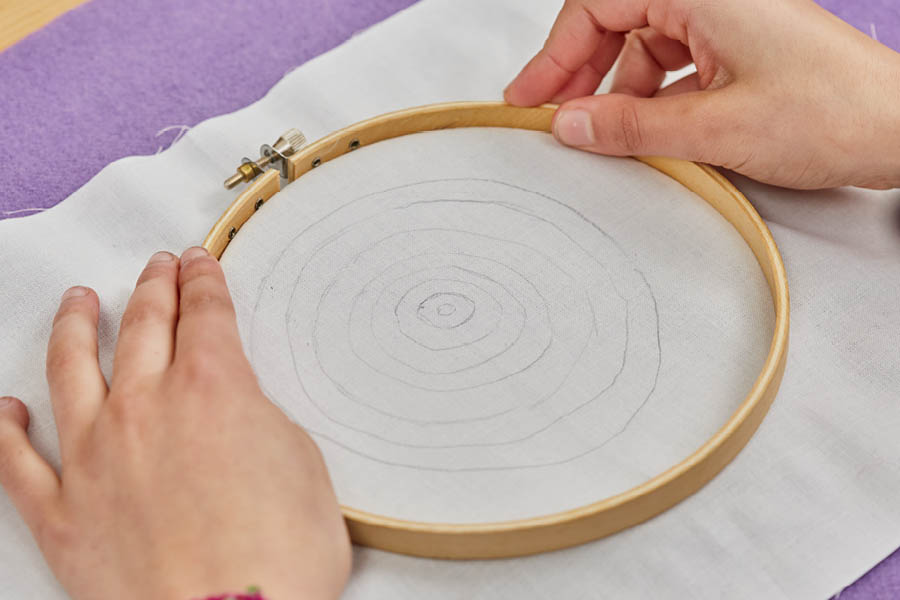
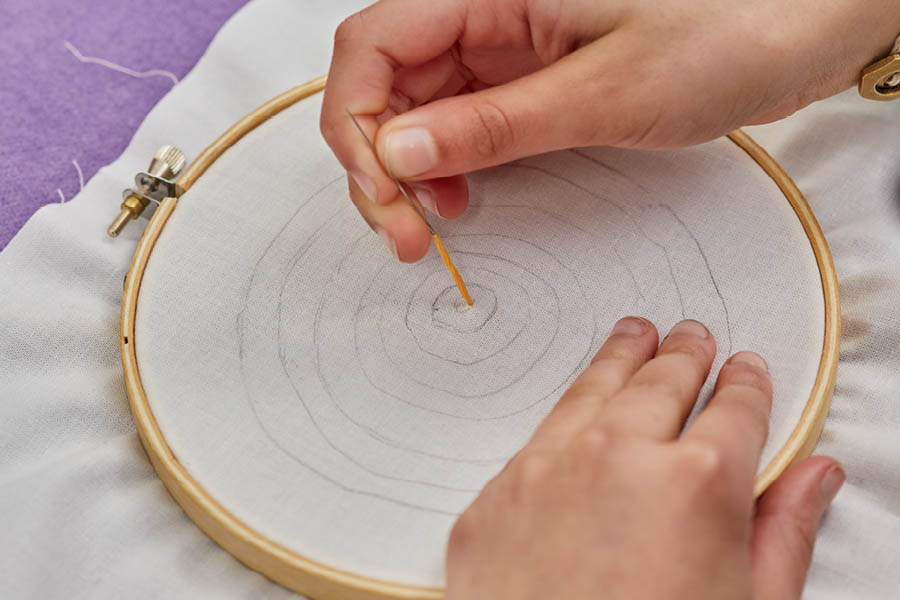
Whatever your design, begin and end your circles on the underside of the fabric, tying off and snipping the thread as you finish. When you are finished, remove the mandala from the hoop. (Or don’t, so that you can hang it on the wall.)
We learned this trick from a great sewer named Natalie Chanin: lick your thumb and pointer finger and run them down the length of your floss a couple of times before you knot, thread, and sew. This makes the floss less inclined to twist back up, which will make it less likely to tangle as you sew, which will make you a lot less frustrated!
These are stitches you could use in any of our projects, not just the Mandala Sampler. You don’t need to learn all of these stitches, just the ones you want to use. And there are many more embroidery stitches, too. If you have a friend or relative who knows embroidery, ask about the fern stitch, herringbone stitch, and bundle stitch — or look up other possibilities in a stitch dictionary or online!
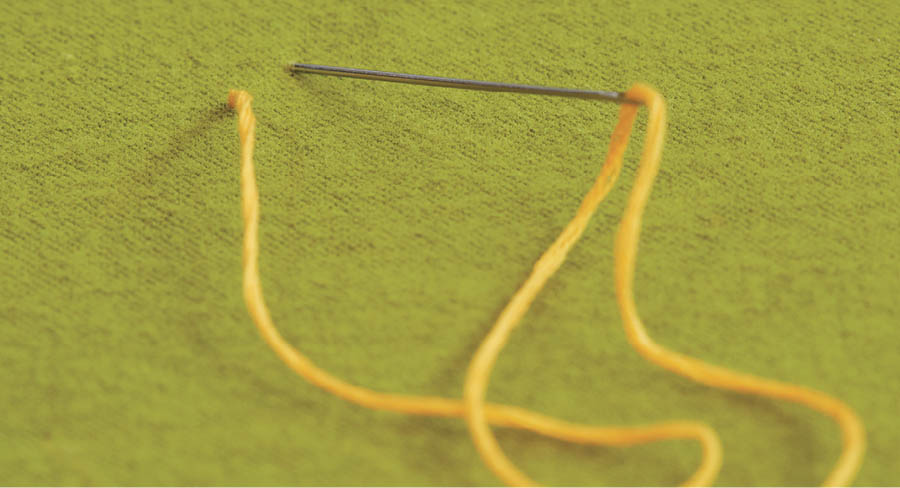
Every stitch starts with the same first step: thread your needle (see Thread Your Needle) and knot your thread (see Knot Your Thread).
This is a pretty stitch to use for outlining your designs. It’s called the split stitch because your needle actually splits the floss as you sew. As with the backstitch, your stitches will do a little backtracking.
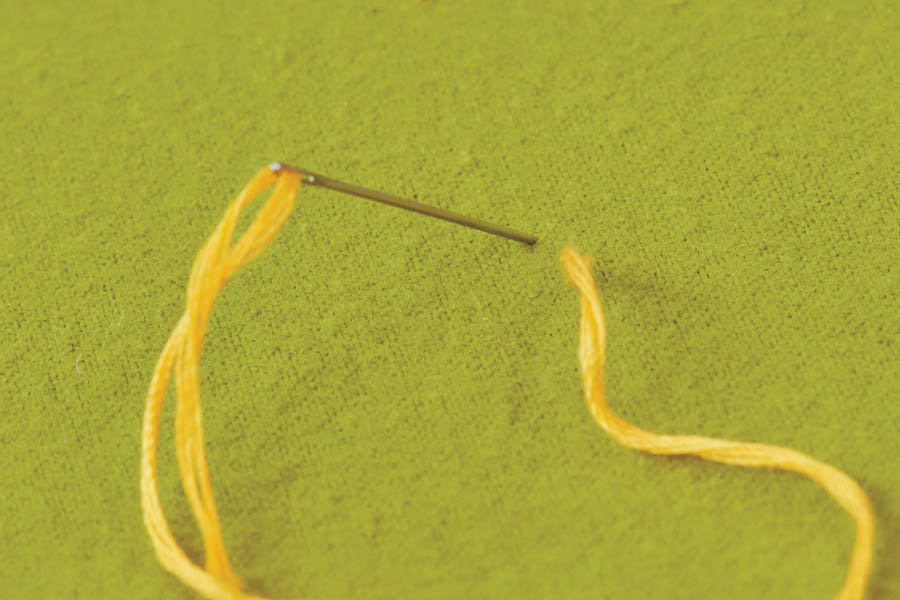

This is called the stem stitch because it’s a classic choice for embroidering — that’s right! — flower stems. It’s similar to the Split Stitch, only instead of pushing the needle back up through the stitch you just made, you will push it up just next to the stitch.
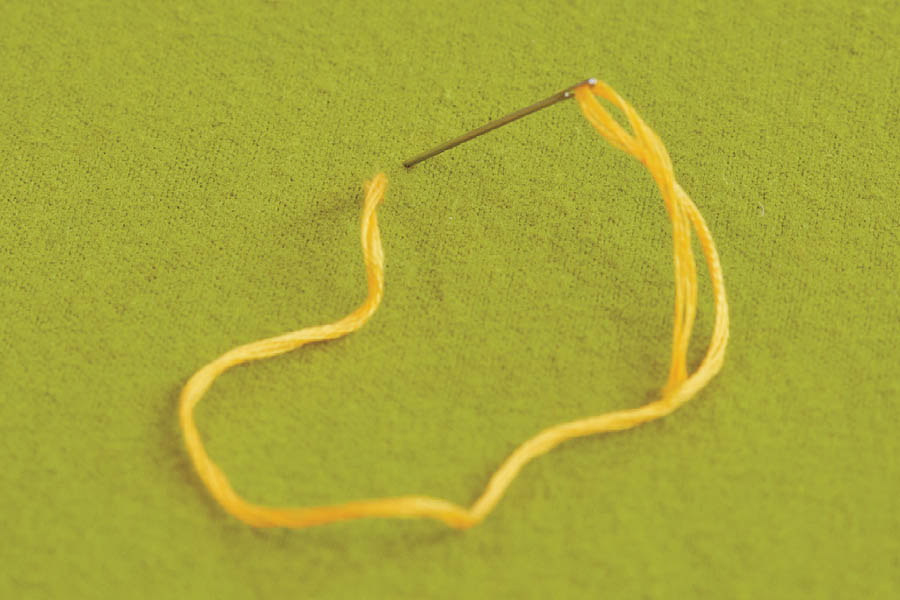
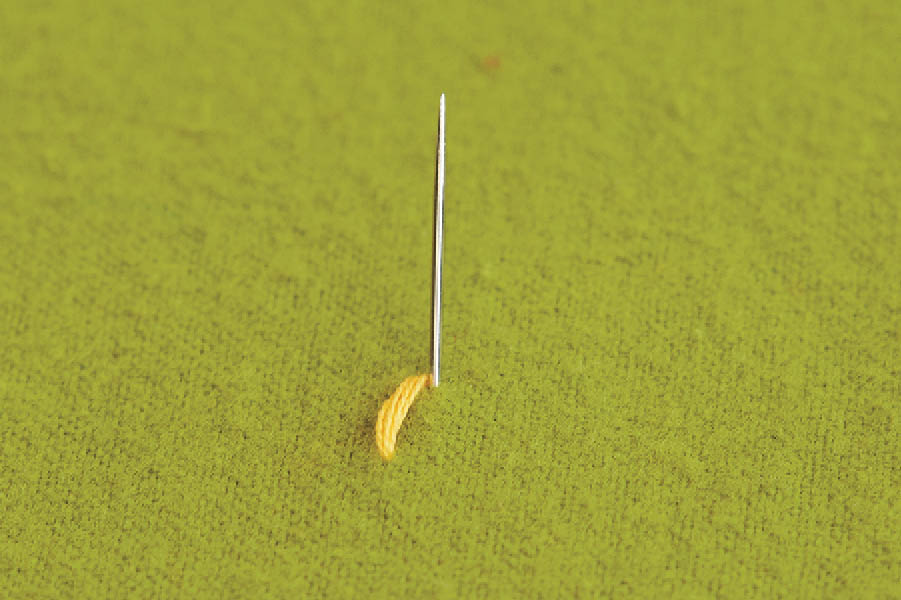
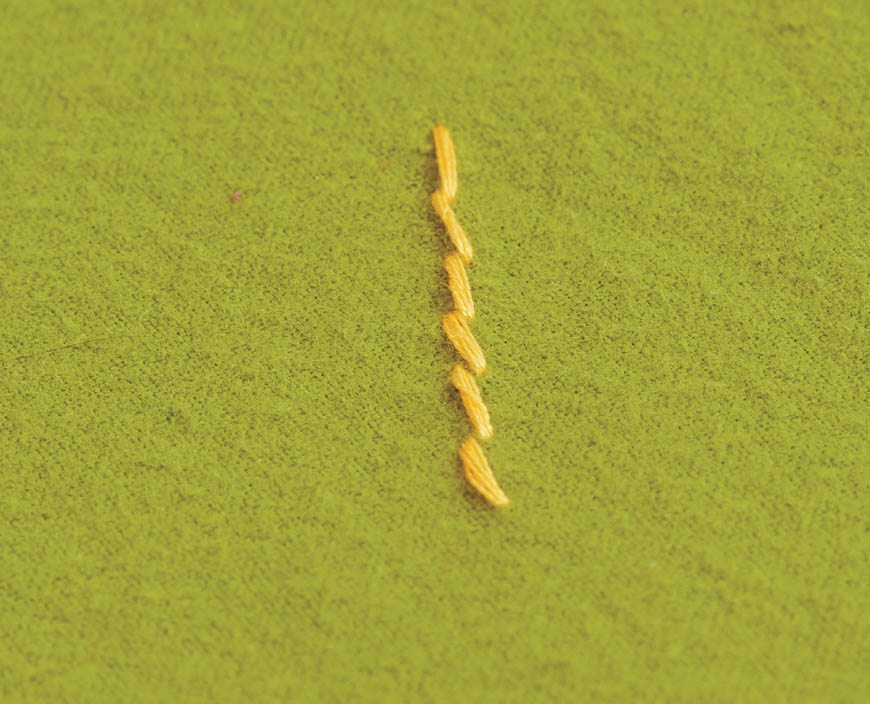
The angle of each individual stitch will affect how thick or thin your whole line of stem stitching looks. For a thin-looking line, make your stitches straighter up and down. For a thicker-looking line, make your individual stitches slightly more horizontal.
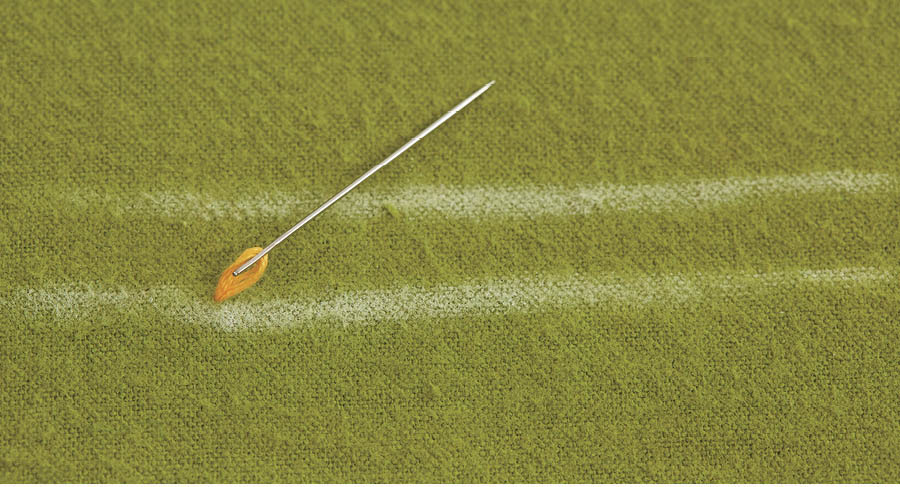
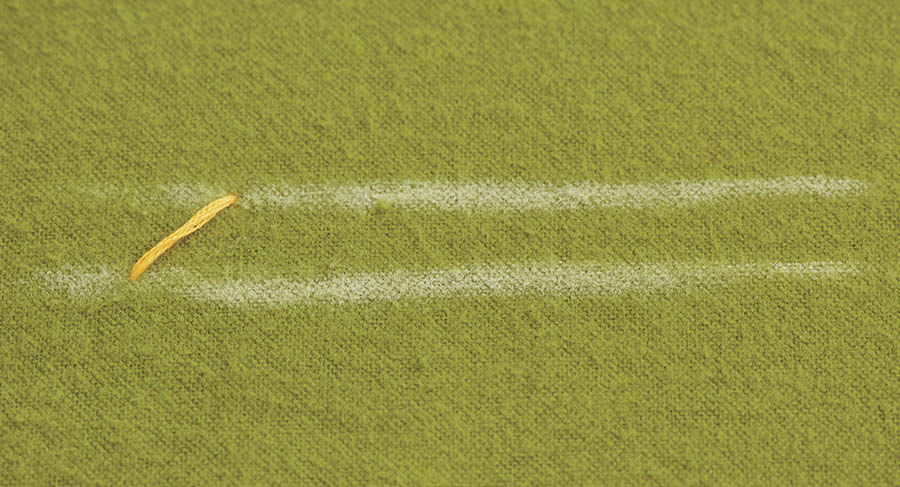
This is the stitch you use to fill in an area. Its close-together solid lines have a satiny look to them (hence the name). The shape you’re filling in will determine the length of your stitches. For example, you’ll fill in a leaf with very small stitches near the pointy ends and longer stitches at the wider middle. If you’re filling in a large area, adjoining rows of shorter stitches often look nicer than a series of super-long stitches.
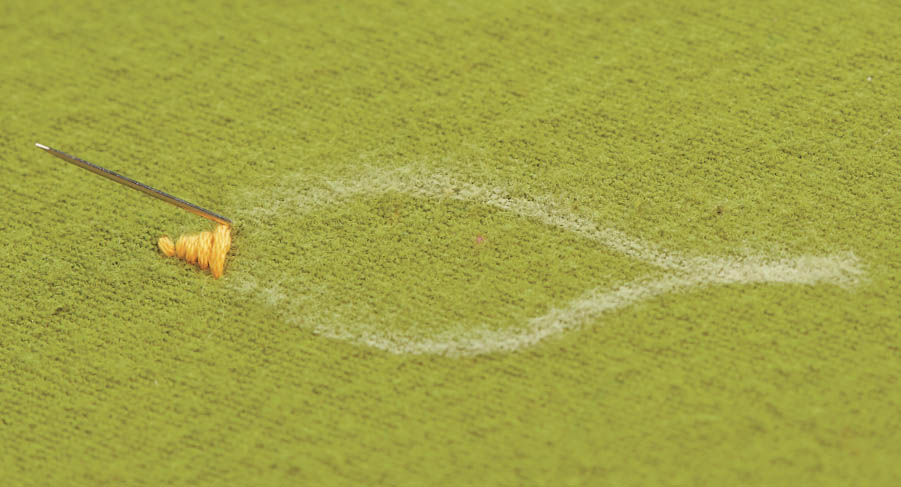
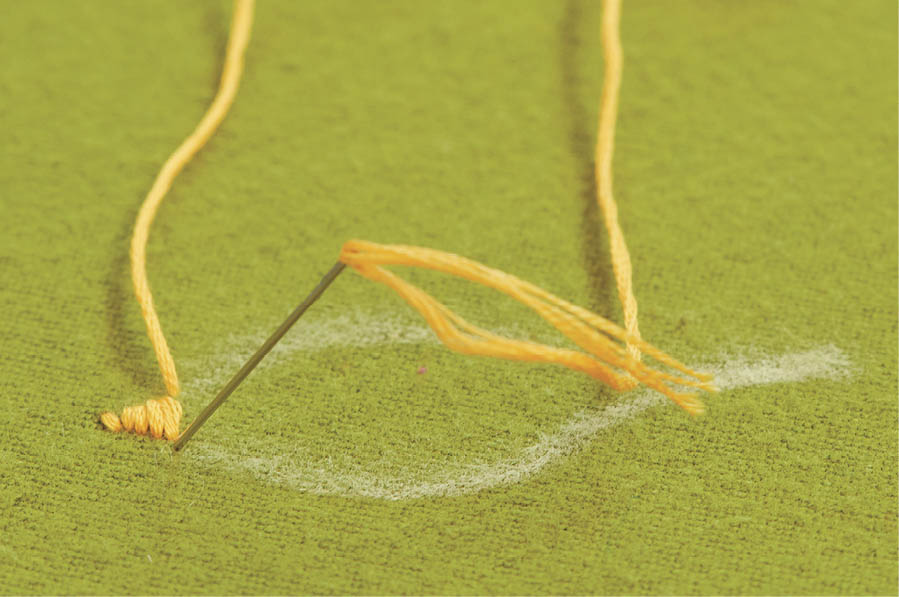
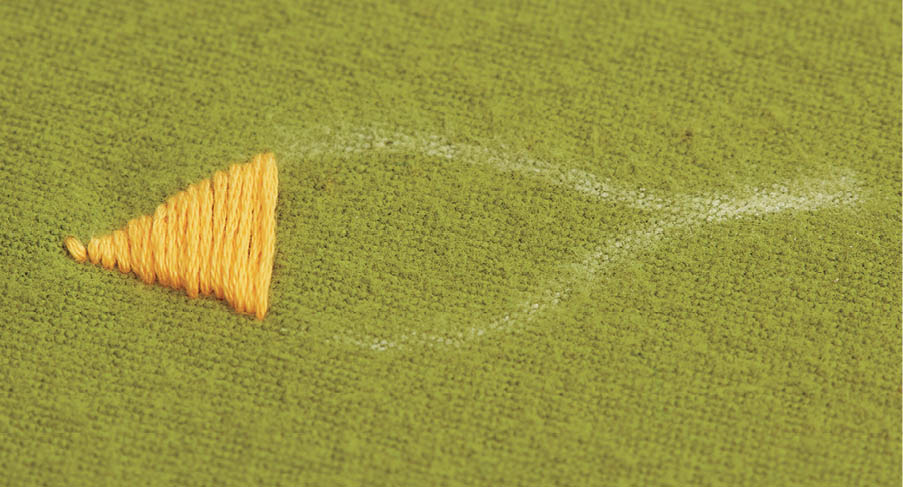
This is basically like punctuation for your embroidery: the perfect period at the end of your sentence (literal punctuation!), sprinkle on your cupcake, dot on your i, eye for your whale, or little polka dot. It’s one of those stitches that might slip away from you occasionally — you might think you get it and then suddenly realize you don’t. Just keep practicing, and you will!
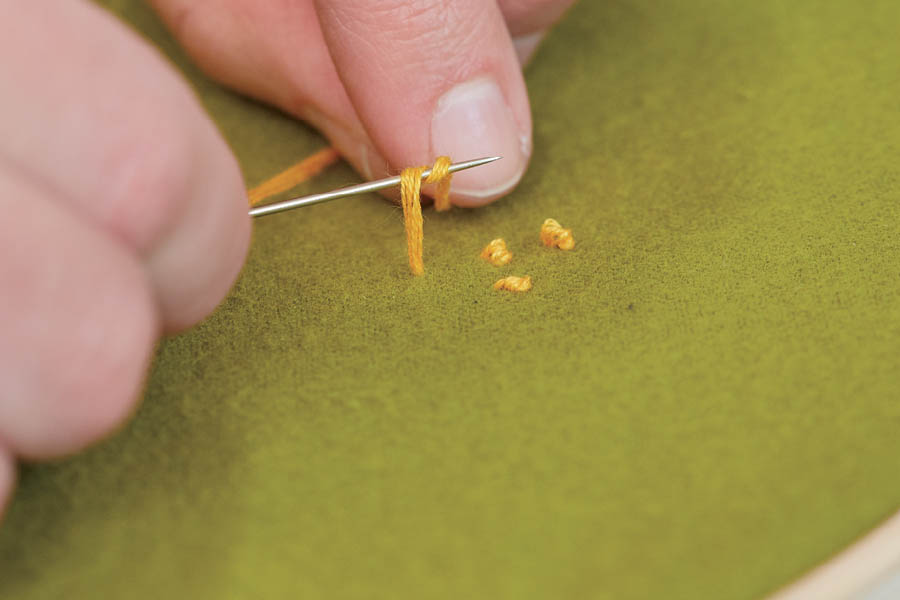

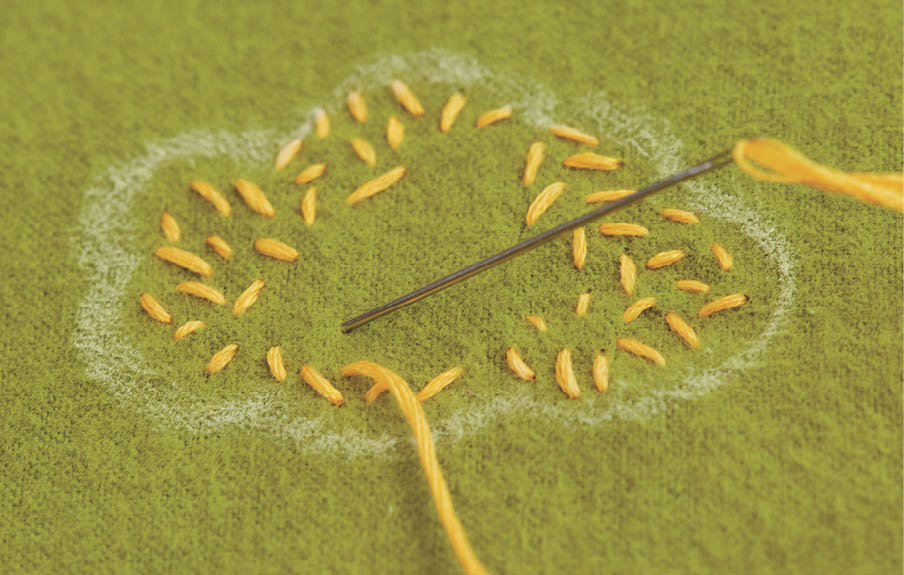
This is another way to fill in an area in your pattern, and it gives the space an interesting texture. It will look like you filled it in with a sprinkle of seeds! If you keep the stitches more or less the same length, that similarity will anchor the randomness of the stitch direction and placement.
Some people embroider entire patterns with only little rows and clusters of cross-shaped stitches. This is called . . . cross-stitching! This fun little X-shaped stitch is a great one to use to decorate or accent your embroidery.

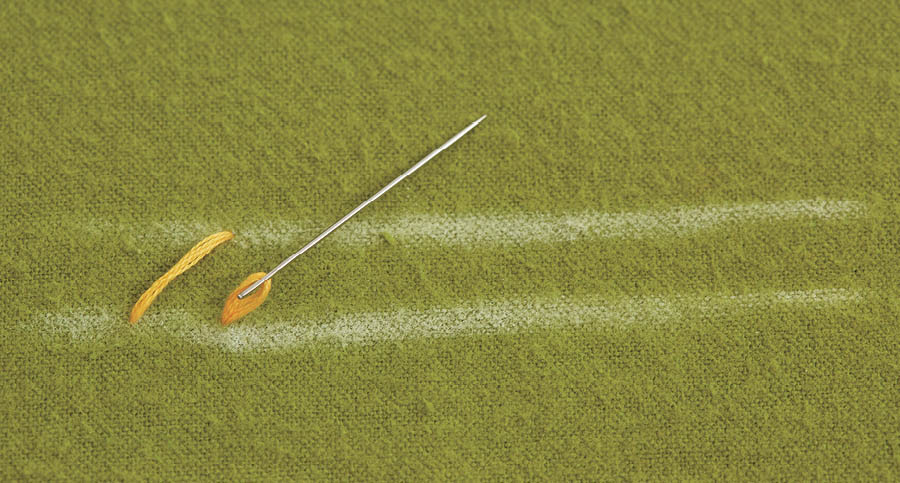
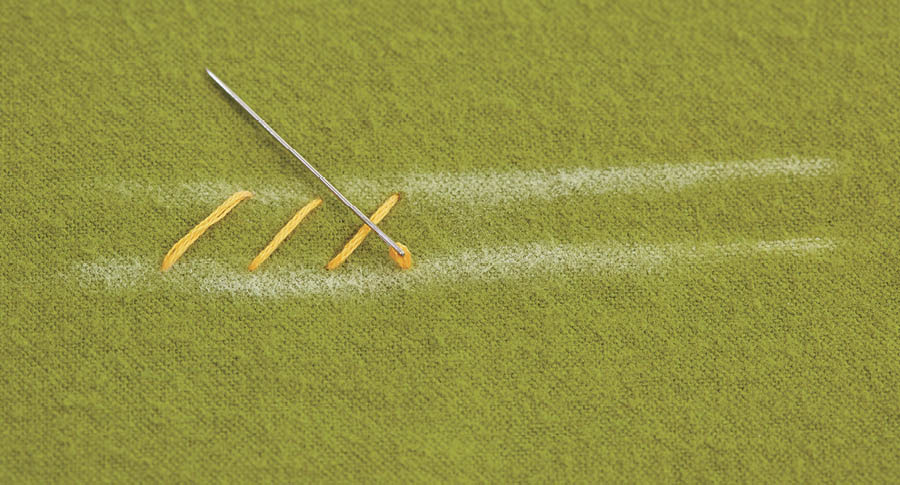
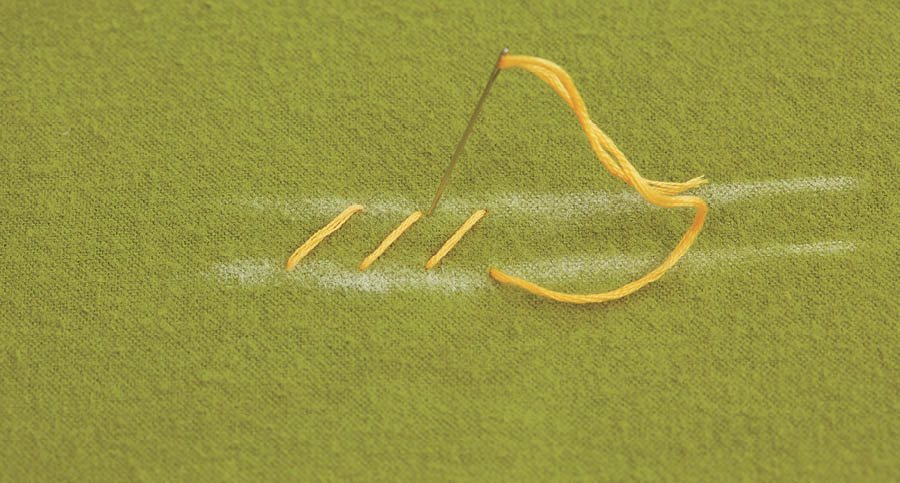
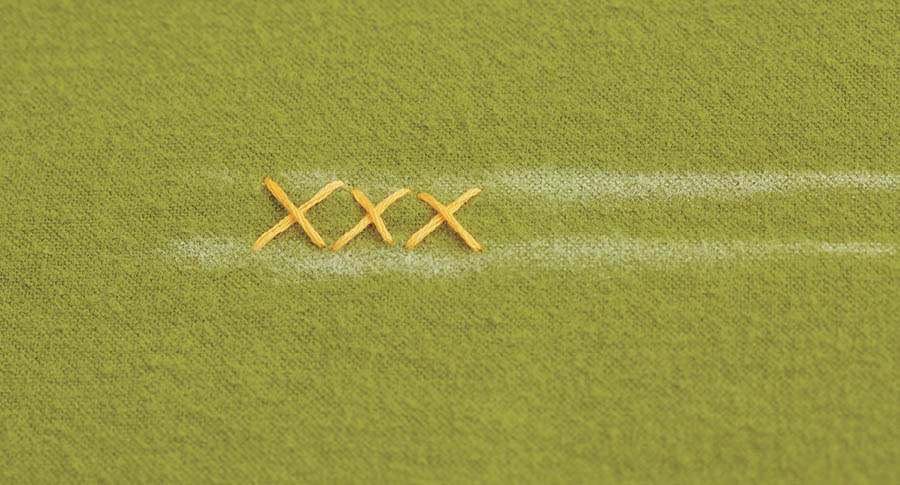
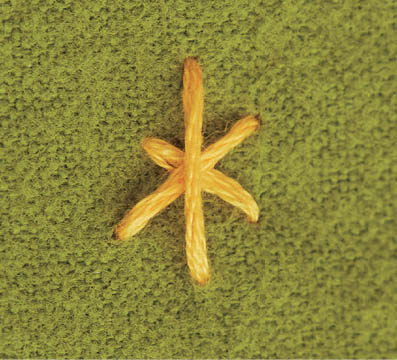
Turn your X into a cute little star by making a third stitch, longer than your first two. Stitch vertically down across the point where the first two lines intersect. You can even add a fourth horizontal stitch, if you like, for an eight-pointed star.
A chain stitch makes a row of linked stitches that looks like a little chain. It’s pretty as a decorative border or as a fancy outline. Most stitches move horizontally, but this one progresses vertically, top to bottom.
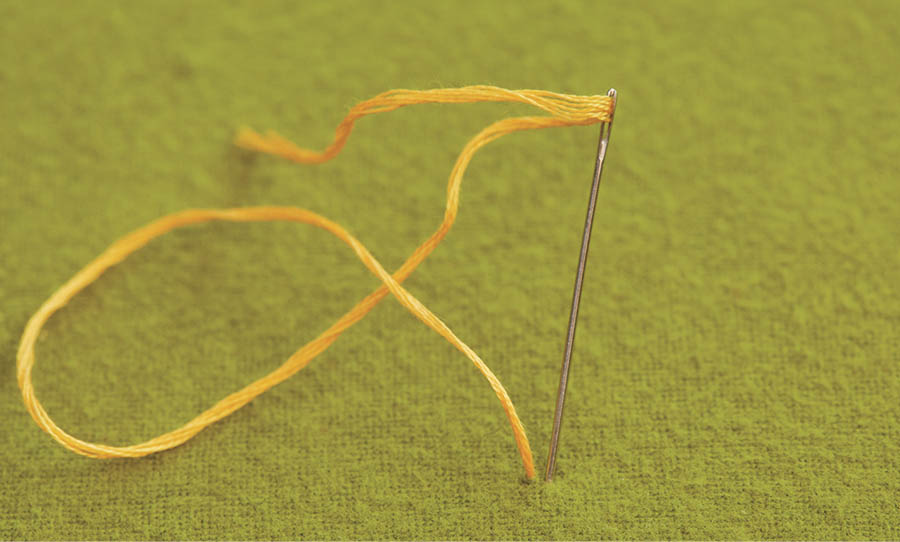
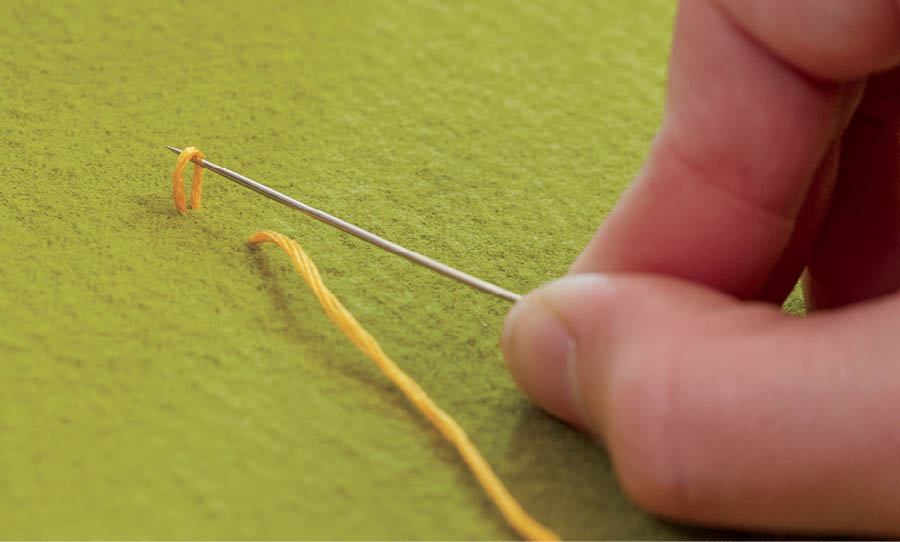
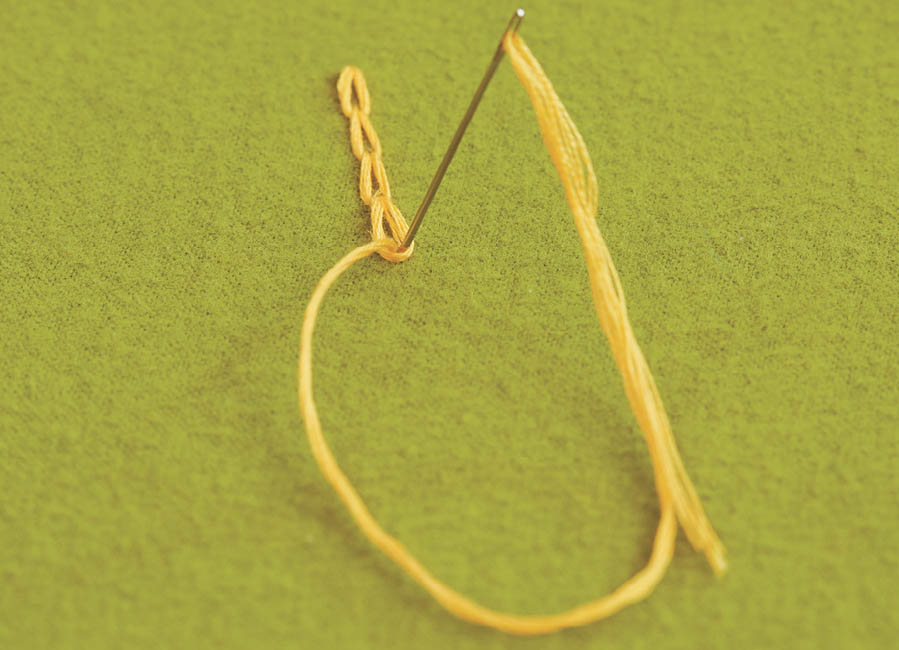
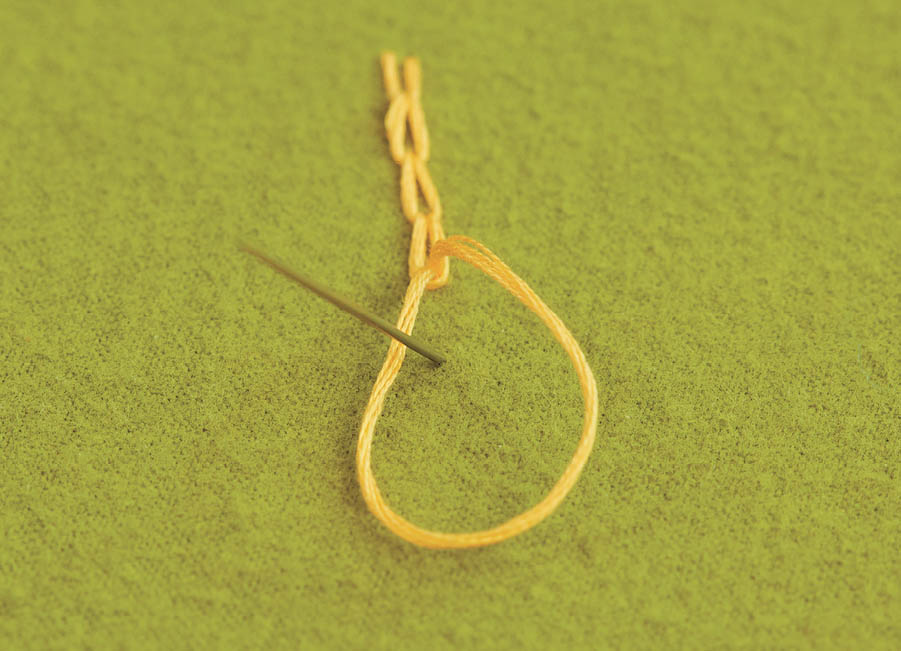
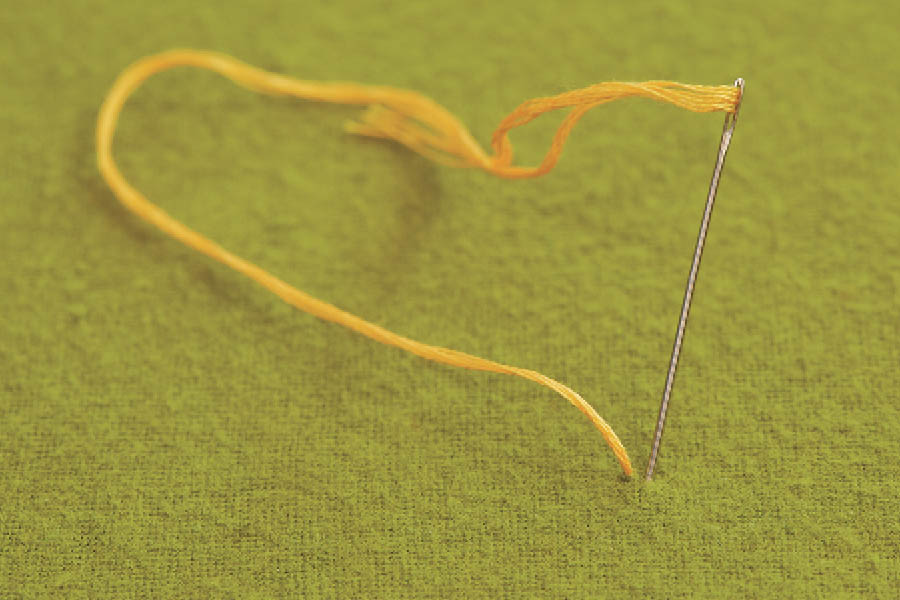
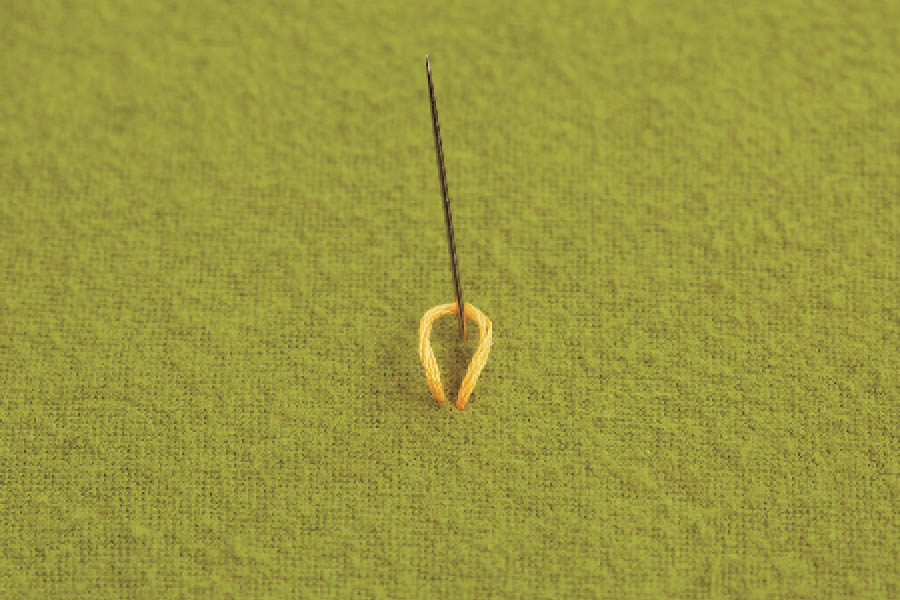
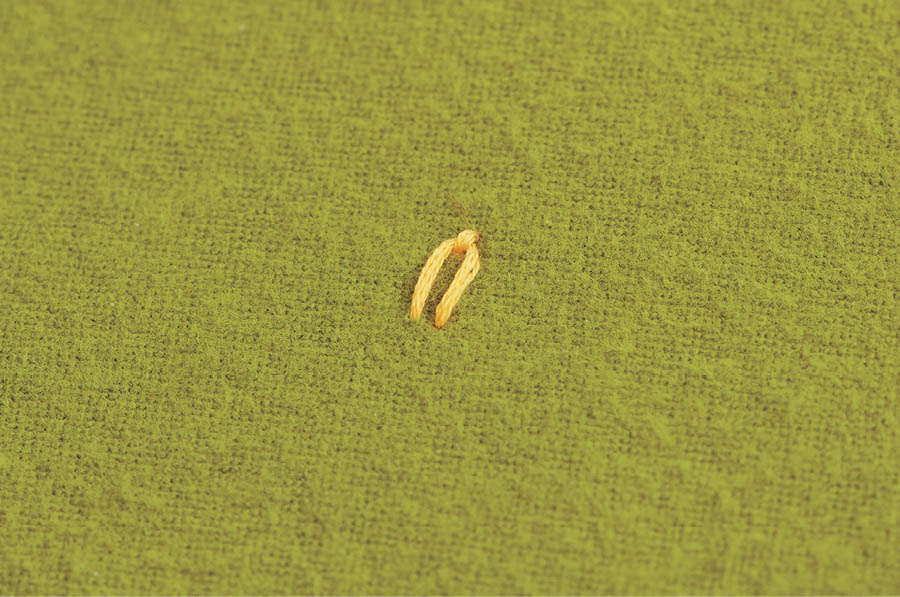
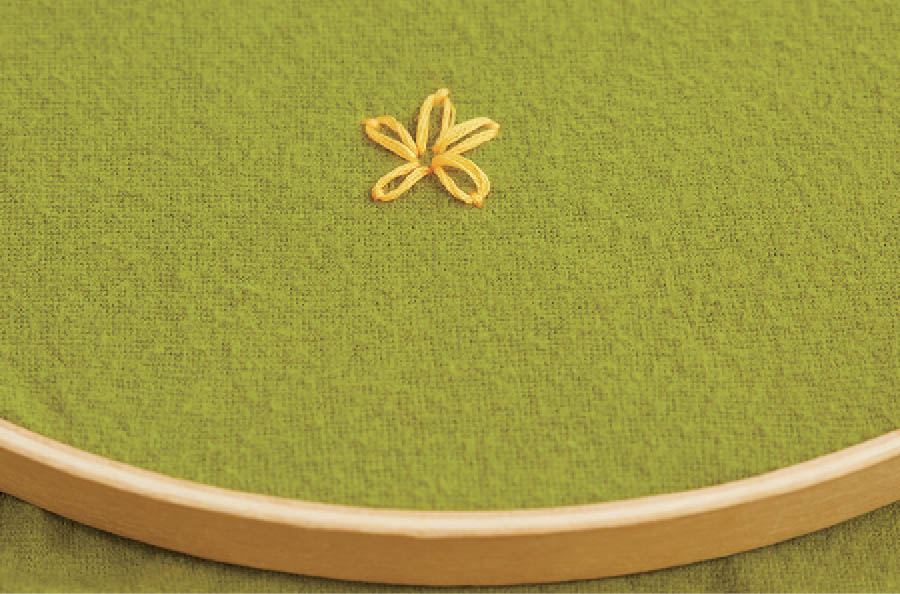
The technique for making daisy stitch is similar to that of a Chain Stitch, but each link of the chain is separate from the others, and we think of them more as petals than links. Depending on how many loops you make and how you arrange them, you’ll end up with a little flower or a butterfly.
