SEVENTY-TWO-HOUR PIZZA DOUGH
MAKES FOUR 10-INCH PIES, THREE 12- TO 14-INCH PIES, OR ONE 18-BY-13-INCH SICILIAN PIE
One of my favorite pizza-dough recipes is Jim Lahey’s no-knead dough, on which this recipe is based. It’s simple, doesn’t require any equipment, and doesn’t make a big mess. (My wife disagrees about the mess; I have a talent for covering the kitchen in flour.) I make this dough at least once a week, sometimes quintupling the recipe and saving the extra balls of dough to use later or for the pizza classes I teach.
Through the years, I have adapted Jim’s original recipe to make it my own. One change is that I use bread flour instead of all-purpose flour, which adds the perfect heft to your crust when the dough is baked at high heat in a home environment. And somewhat ironically, I actually knead the no-knead dough. After I incorporate all the ingredients, I wet my hands and knead the batch for two to three minutes. Without this step, I’ve ended up with dried clumps of flour in the dough. There are worse things in life, but we’re seekers of pizza perfection.
This dough is simple and foolproof, but you do need time. Not hands-on or working time, but twenty-four hours for rising and then forty-eight hours for the cold ferment. That’s seventy-two hours total, in case you don’t have a calculator.
The first twenty-four hours allows the dough to bulk ferment (or rise as one unit before being divided into individual dough portions) at room temperature; just park the dough someplace where it won’t be disturbed. The dough will release a pleasant aroma that will make your kitchen smell like a bakery.
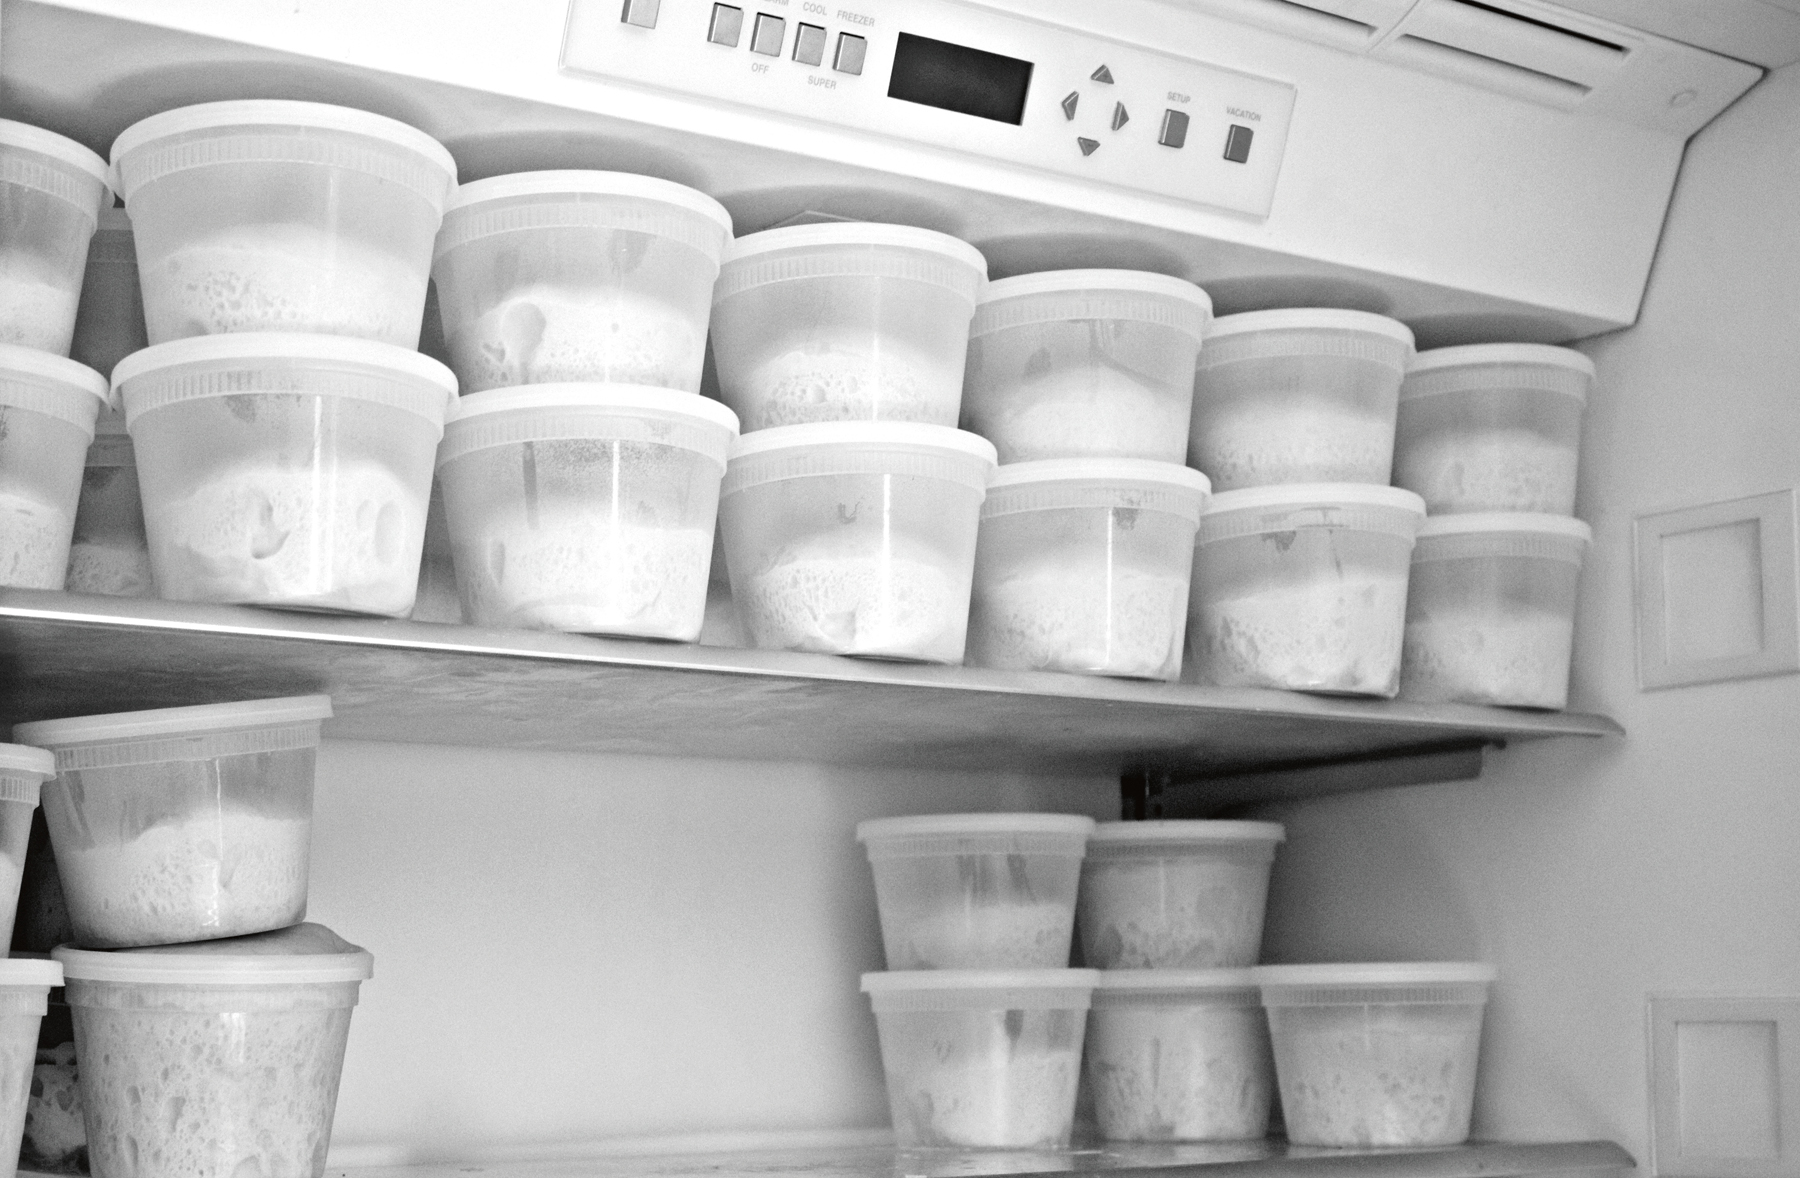
Next, you’ll portion out the dough, ball it up, and store the balls in the refrigerator for a minimum of one day and up to ten. This is when the dough will develop some kick-ass flavor. The process is called cold fermentation, and it slows down the activity of the yeast to produce amazing flavors in your dough. The strike zone for the dough, in terms of optimal texture and flavor, is from day three through day five (or forty-eight to ninety-six hours after the bulk fermentation that occurs in step 4). You can take the dough out of the fridge and make pizza earlier, but the full seventy-two-hour method is what gives it a truly memorable taste and texture.
500 grams (3¾ cups) bread flour
16 grams (1 tablespoon) fine sea salt
1 gram (¼ teaspoon) active dry yeast
1½ cups water, at room temperature
1. In a large bowl, whisk together the bread flour, salt, and yeast.
2. Slowly add the water and mix with a wooden spoon just to combine. Once the mixture is moistened, lightly flour a countertop or large cutting board and remove the dough from the bowl with lightly oiled or wet hands (to discourage sticking). Knead for 2 to 3 minutes to remove clumps. The dough won’t become elastic but should easily form a loose ball.
3. Place the dough in a lightly oiled bowl and cover with a damp, clean kitchen towel or plastic wrap to prevent it from drying out.
4. Place the bowl on the counter and let sit 24 hours at room temperature. It will double in size and you may see bubbles forming on the surface.
5. Lightly flour a large cutting board or your kitchen countertop and place the dough on it. Wet or lightly oil your hands again.
6. Divide dough into 4 equal portions for 10-inch pies or 3 portions if you’re making slightly larger pies. If making Spicy Sicilian Pizza (here), do not divide the dough. With wet or oiled hands, make each portion into a dough ball (see here).
7. Place the dough balls into oiled, cylindrical airtight containers (deli-takeaway containers are ideal), date them, and place in the fridge for 48 to 96 hours.
8. Remove from refrigerator at least 1 hour before use to allow the dough to come to room temperature; this lets the gluten relax and makes the dough malleable.