Mini Apple Pies
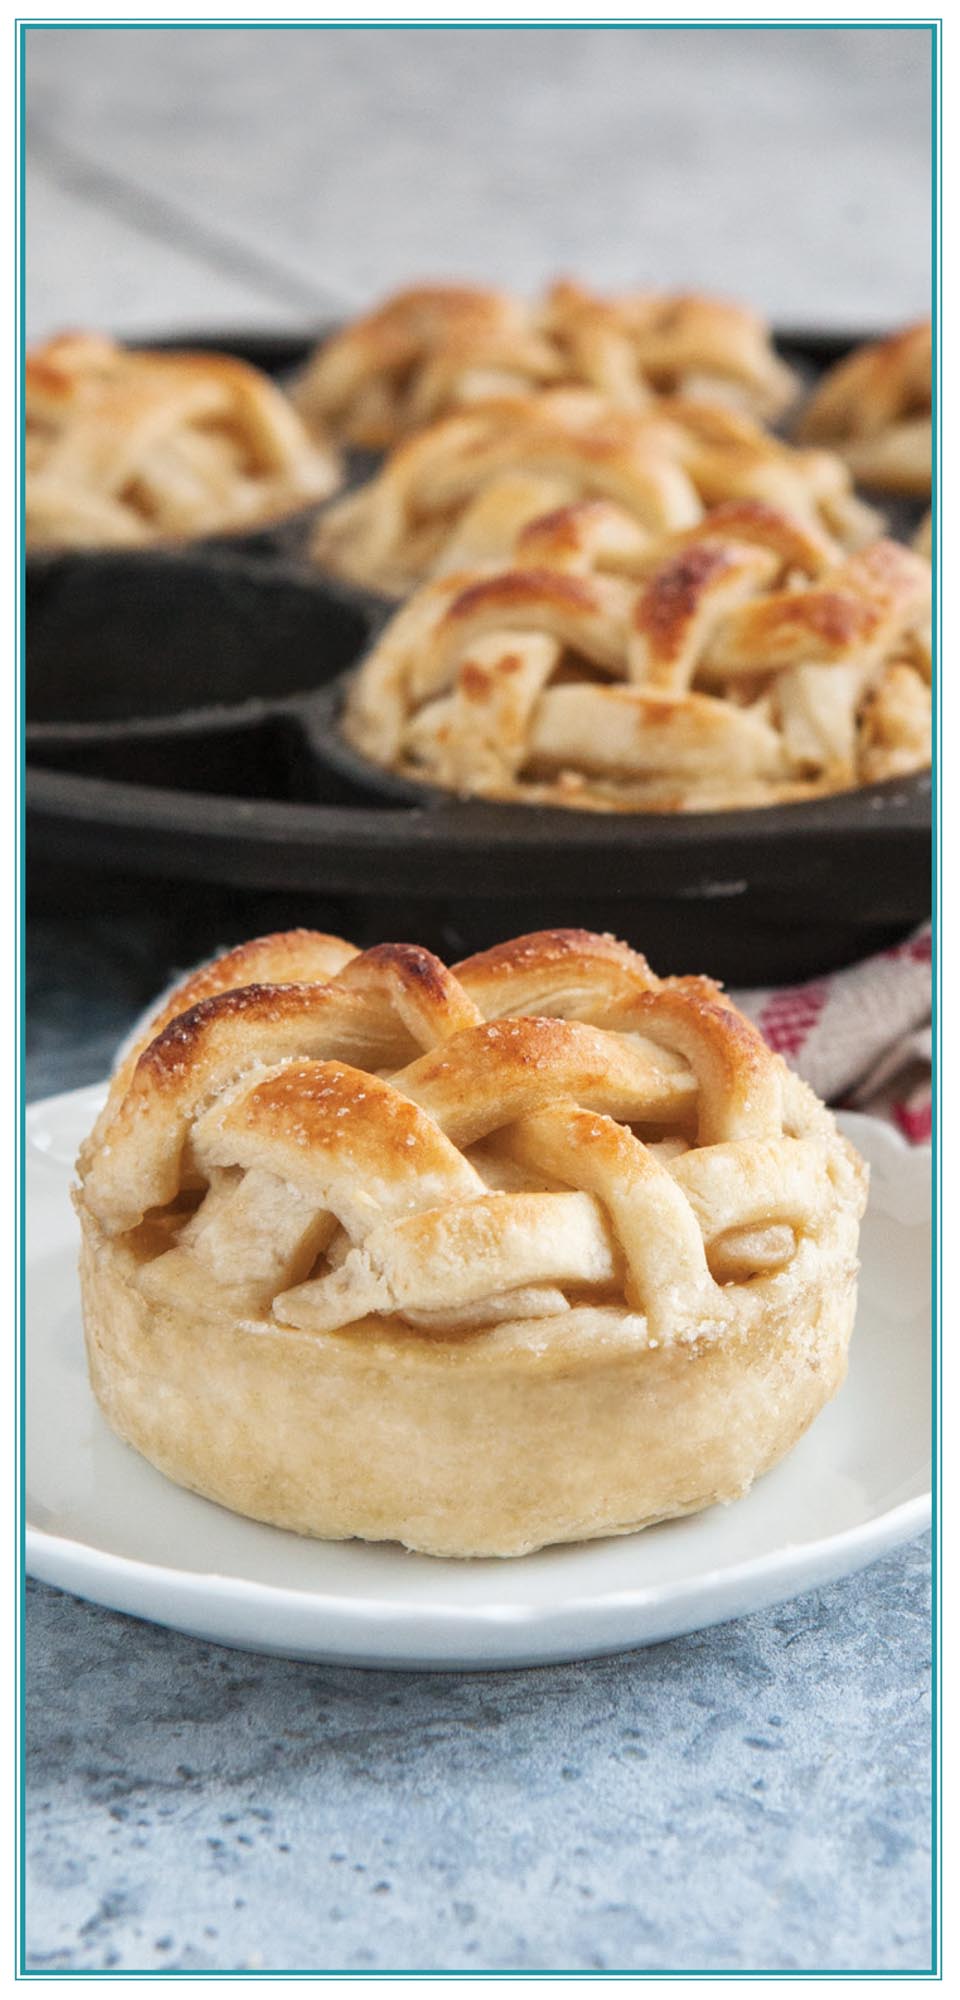
The next time you’re asked to provide tasties for a bake sale, this is your go-to recipe. Everything about these little mini pies speaks not only clever and playful, but Crust with a capital C. You’ll never go back to a normal pie once you eat a serving of apple pie designed to give you a generous helping of crispy crust with every bite, like only cast iron can deliver.
MAKES: 7 MINI PIES
Crust:
Large Butter Cookie Pie Crust
Apple Filling:
1-1/2 lbs Granny Smith apples, peeled, cored, thinly sliced, and cut into 1/2”-wide pieces (about 3 cups)
1/2 cup sugar, plus more for sprinkling tops of pies
1/3 cup flour, plus more for dusting
1/2 t cinnamon
1/4 t nutmeg
1/4 t ground ginger
1/3 cup apple juice
-
Make Large Butter Cookie Pie Crust, as directed.
-
Make apple filling: Add apples to a medium bowl; set aside. In a small bowl, combine sugar, flour, cinnamon, nutmeg, and ginger. Add sugar mixture to apples; mix well.
-
In a small saucepan, bring apple juice to a boil. Pour into apple mixture; mix well. Let stand while rolling out pie crust.
-
Preheat oven to 400°F. Lightly butter cups of cast-iron minicake pan and place on a large baking sheet.
-
On a floured surface roll out one disc of pie crust to 1/8” thickness. Cut pie crust into seven 5” circles. Place one circle in each pan cup and press into the bottom and up the sides.
-
Evenly divide apple filling between pan cavities, reserving about 1 T liquid for tops of pies.
-
On a floured surface, roll second disc of pie crust into a 12” square. Cut into strips of varying widths. Remove every other strip from square and weave them through remaining strips in the opposite direction to form a lattice. Gently press down on lattice to help hold it together. Cut lattice into seven 3” circles and transfer one circle to the top of each pie. Press around the edges of each pie to seal. Brush tops with reserved juice from filling and sprinkle with sugar.
-
Bake for 25 minutes, cover top of pan with foil to prevent over-browning, and bake an additional 20 minutes. Serve warm or cold. To easily remove pies from pan, run a thin-bladed knife around the inside of the cups.
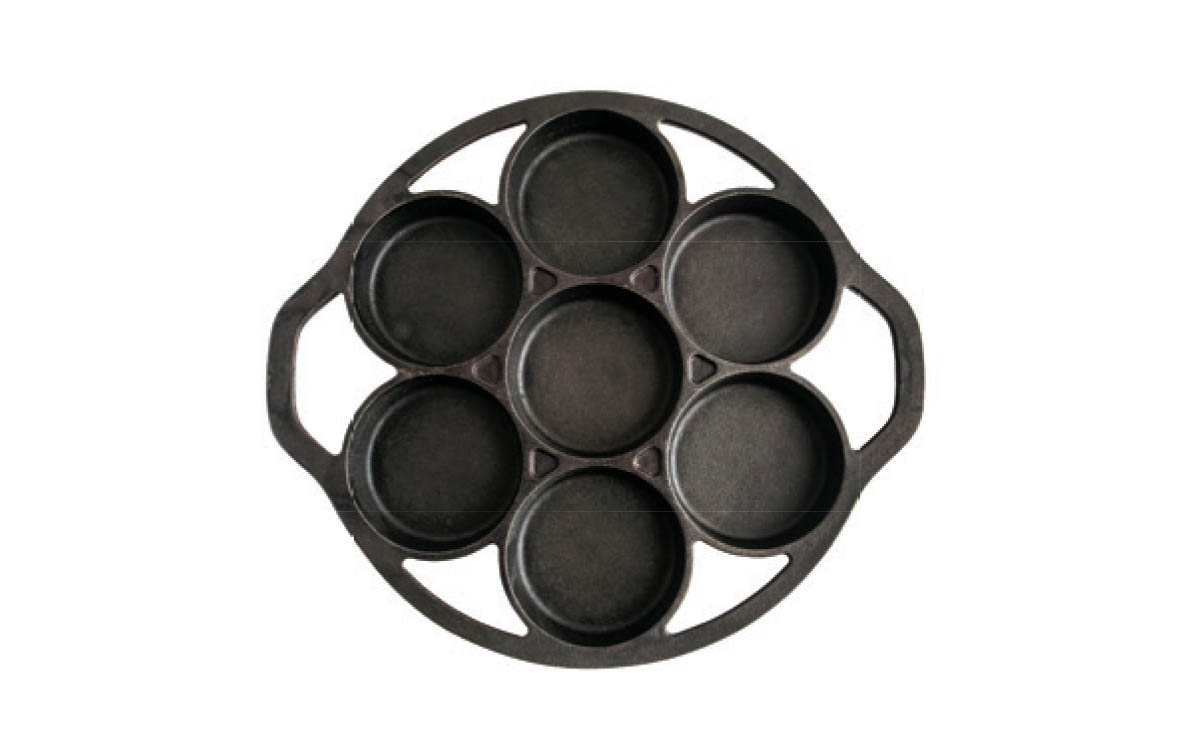
Cast-Iron Mini-Cake Pan

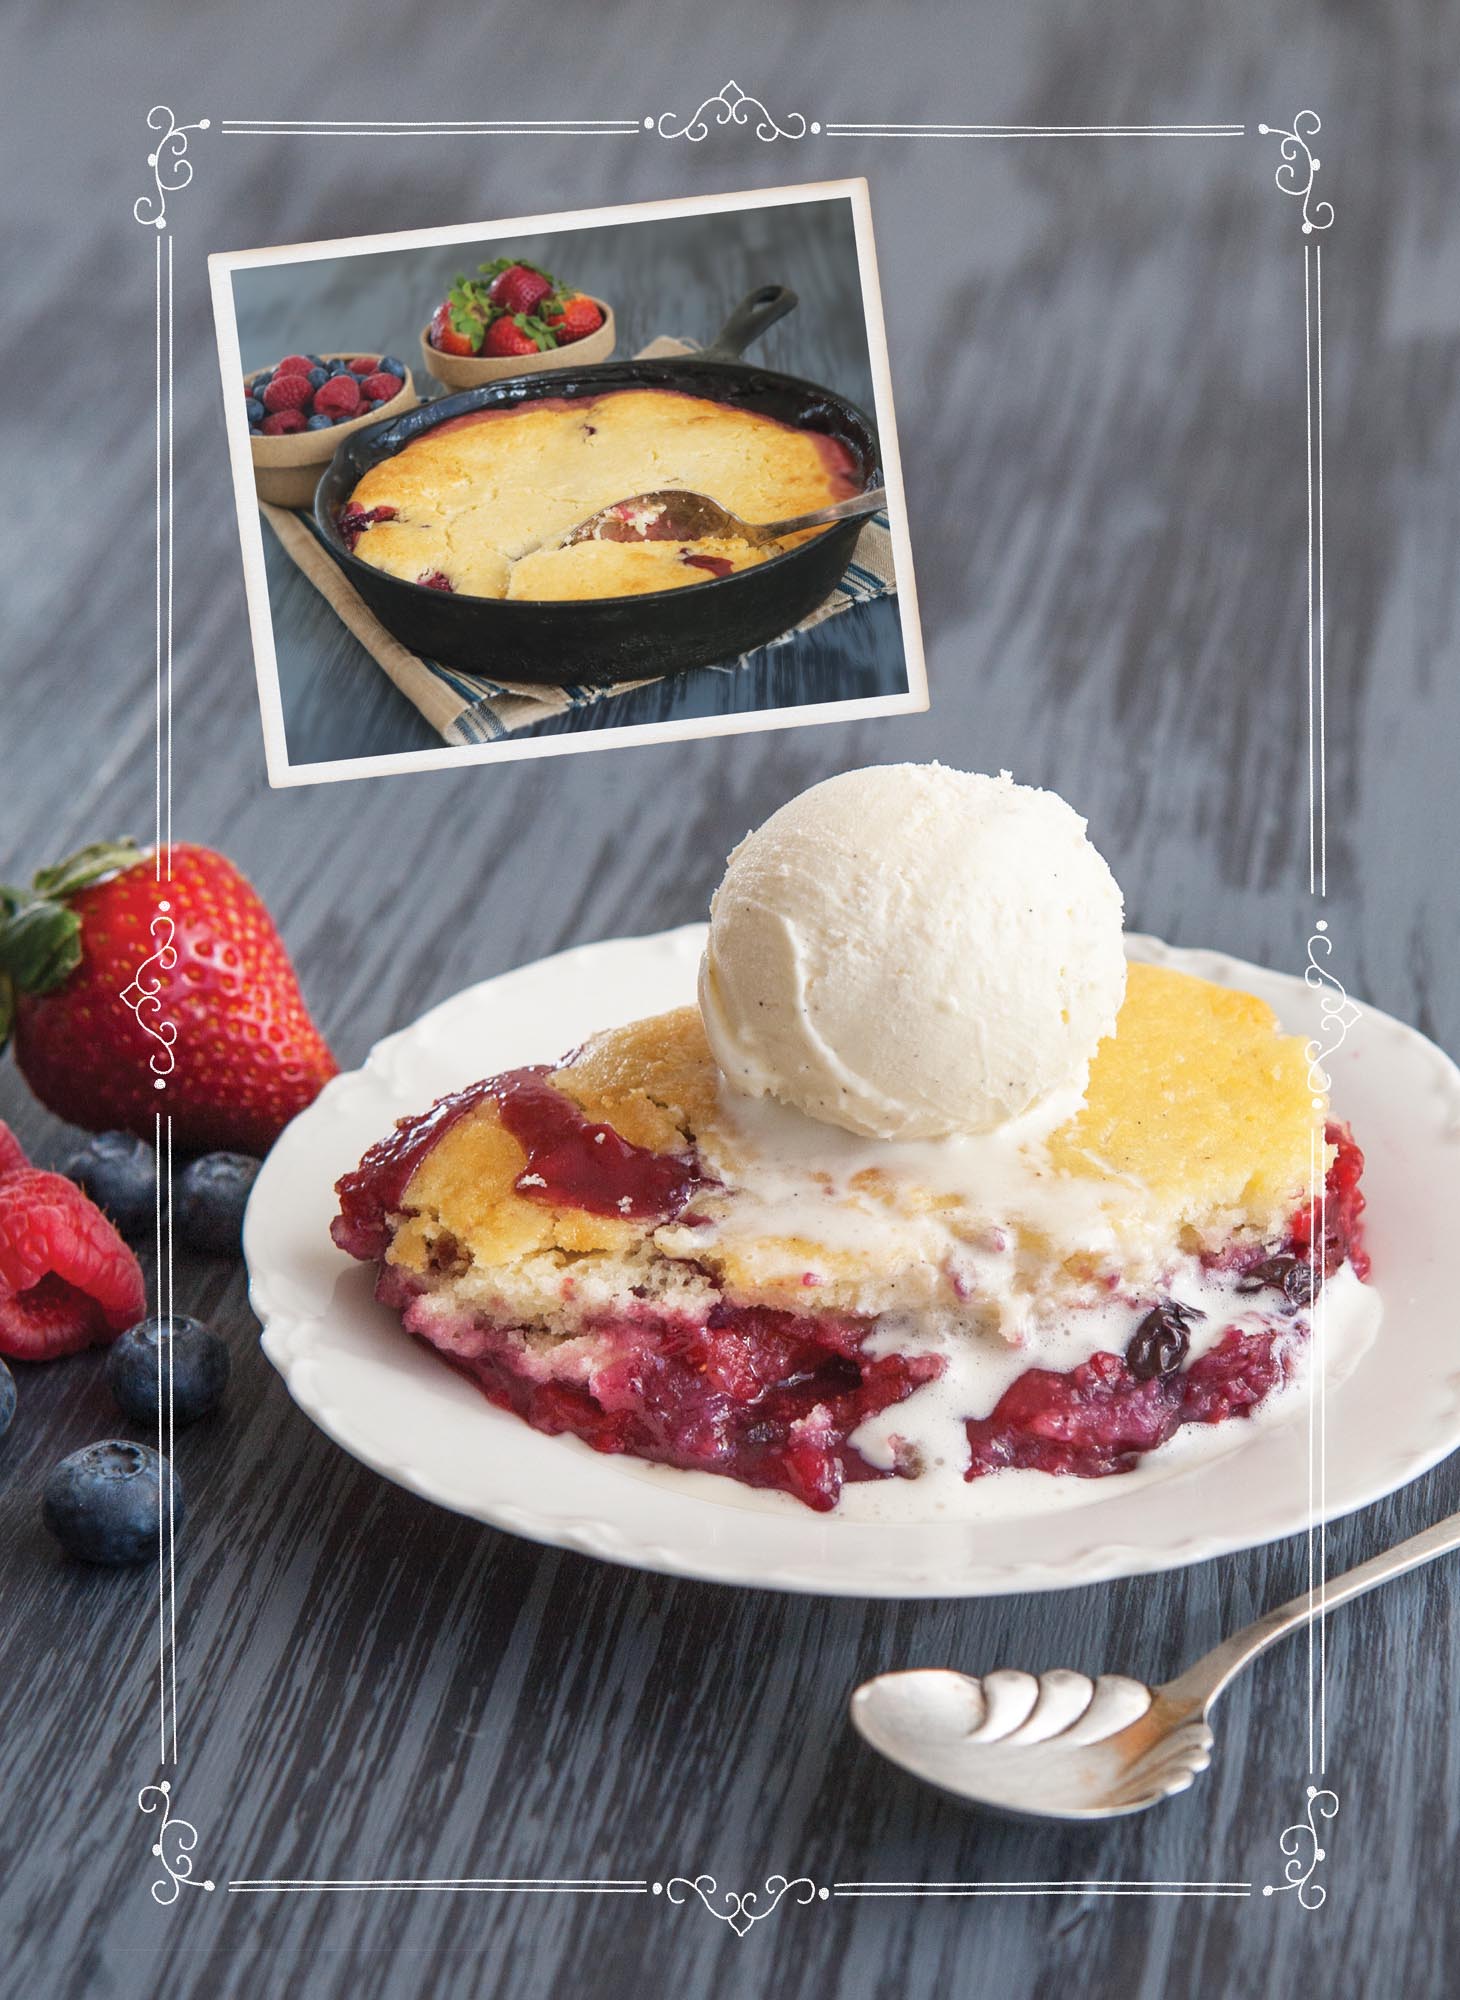
Triple-Berry Cobbler
When I see my grandgirls come in from the garden, all rosy-cheeked and berry-stained, carrying buckets of strawberries, raspberries, and blueberries, I know I’ve done something right. Topped off with a serving of ice cream from one of my cows that my grandgirls helped milk the day before … well, it doesn’t get any better than that.
MAKES: 6 SERVINGS
Berry Filling:
12 ozs strawberries, hulled and sliced (about 3 cups)
8 ozs raspberries (about 1-1/2 cups)
4 ozs blueberries (about 1 cup)
3/4 cup sugar
3 T cornstarch
Cobbler Topping:
1-1/4 cups flour
1/2 t baking powder
1/4 t baking soda
1/4 t salt
1/4 cup butter
2/3 cup sugar
1 egg
1/2 t vanilla extract
3/4 cup buttermilk
-
Preheat oven to 350°F.
-
In a large bowl, combine all ingredients for berry filling. Pour into a 10-1/4” cast-iron skillet; set aside.
-
Make topping: In a medium bowl, combine flour, baking powder, baking soda, and salt; set aside.
-
In a large bowl or stand mixer, blend butter and sugar until combined. Add egg and vanilla, blend until combined.
-
Add half of the flour mixture to the butter mixture; blend until combined. Add buttermilk; blend until combined. Add remaining flour mixture; blend until combined.
-
Pour batter over berries in skillet. Bake for 55–60 minutes, or until topping is golden brown and a toothpick inserted into the center comes out clean.
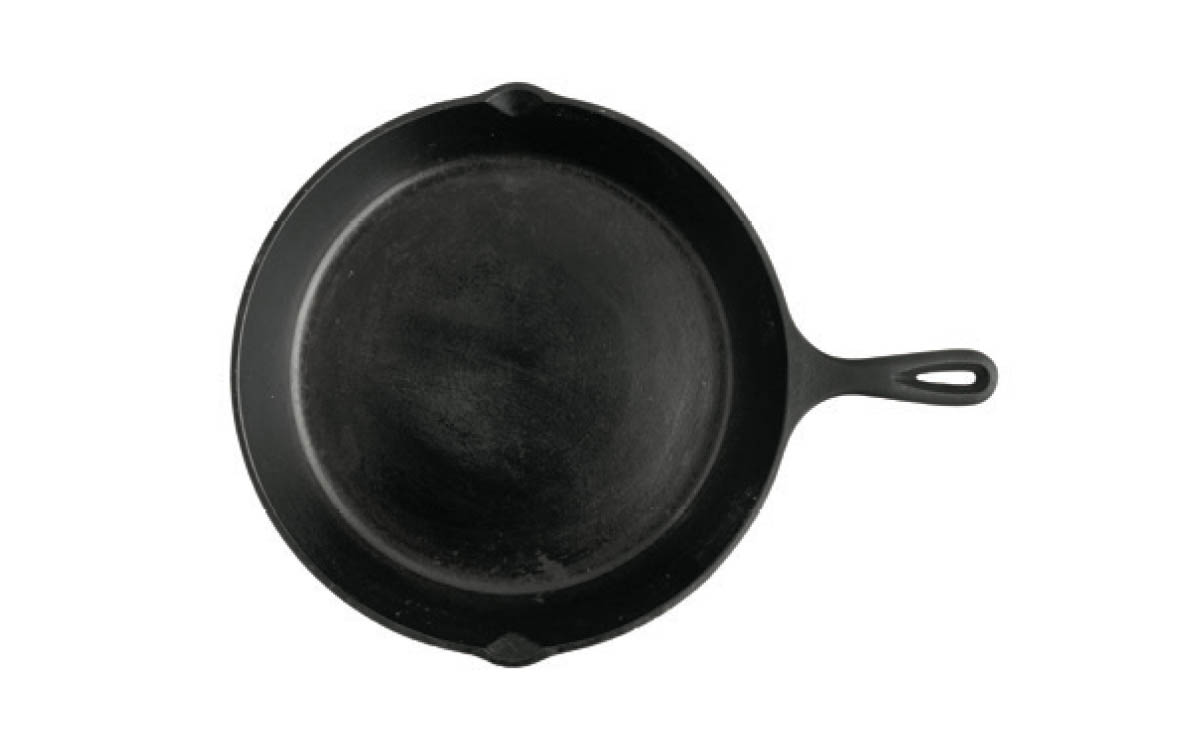
10-1/4” Cast-Iron Skillet

Make it gluten free: Replace flour in recipe with 1 cup white rice flour and 1/4 cup tapioca flour.
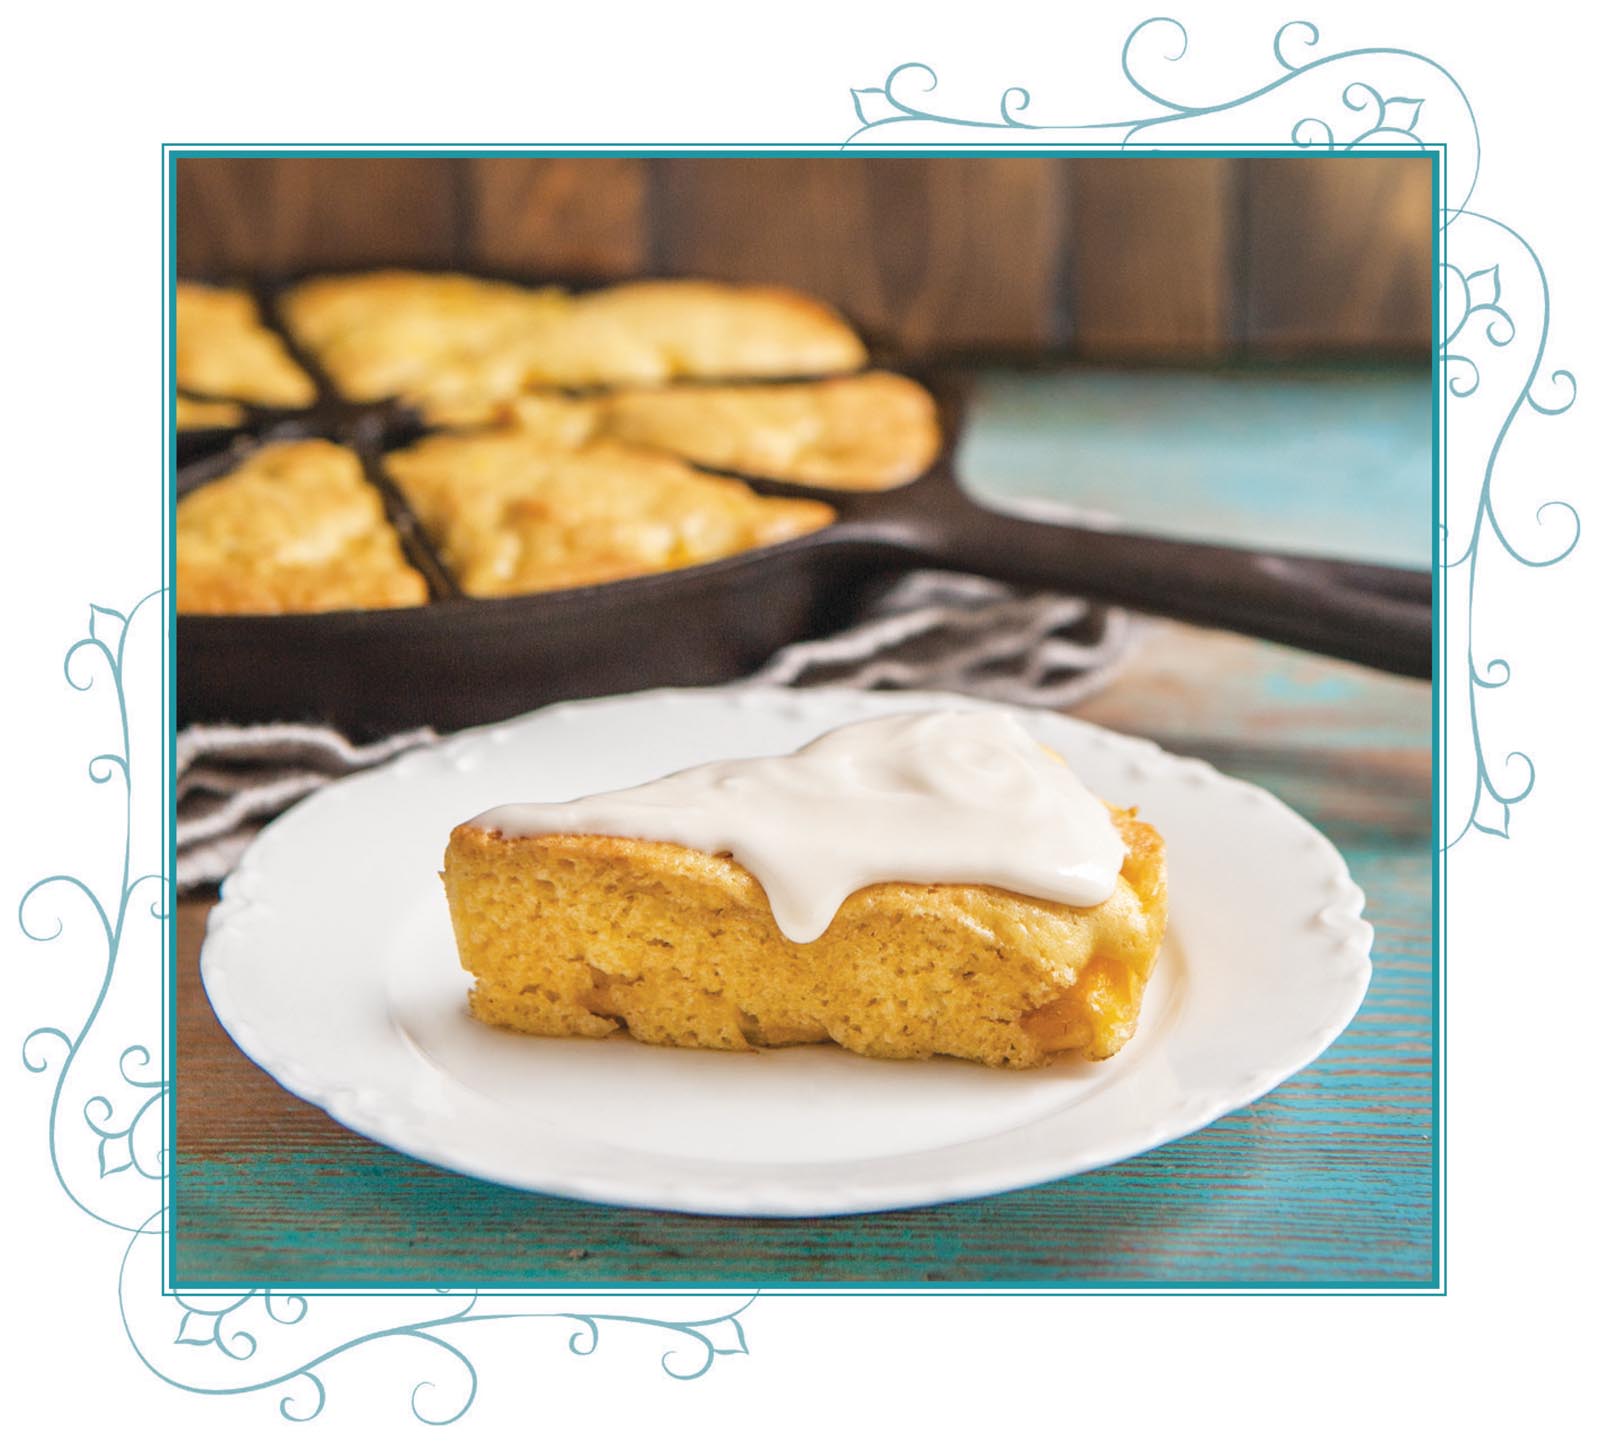
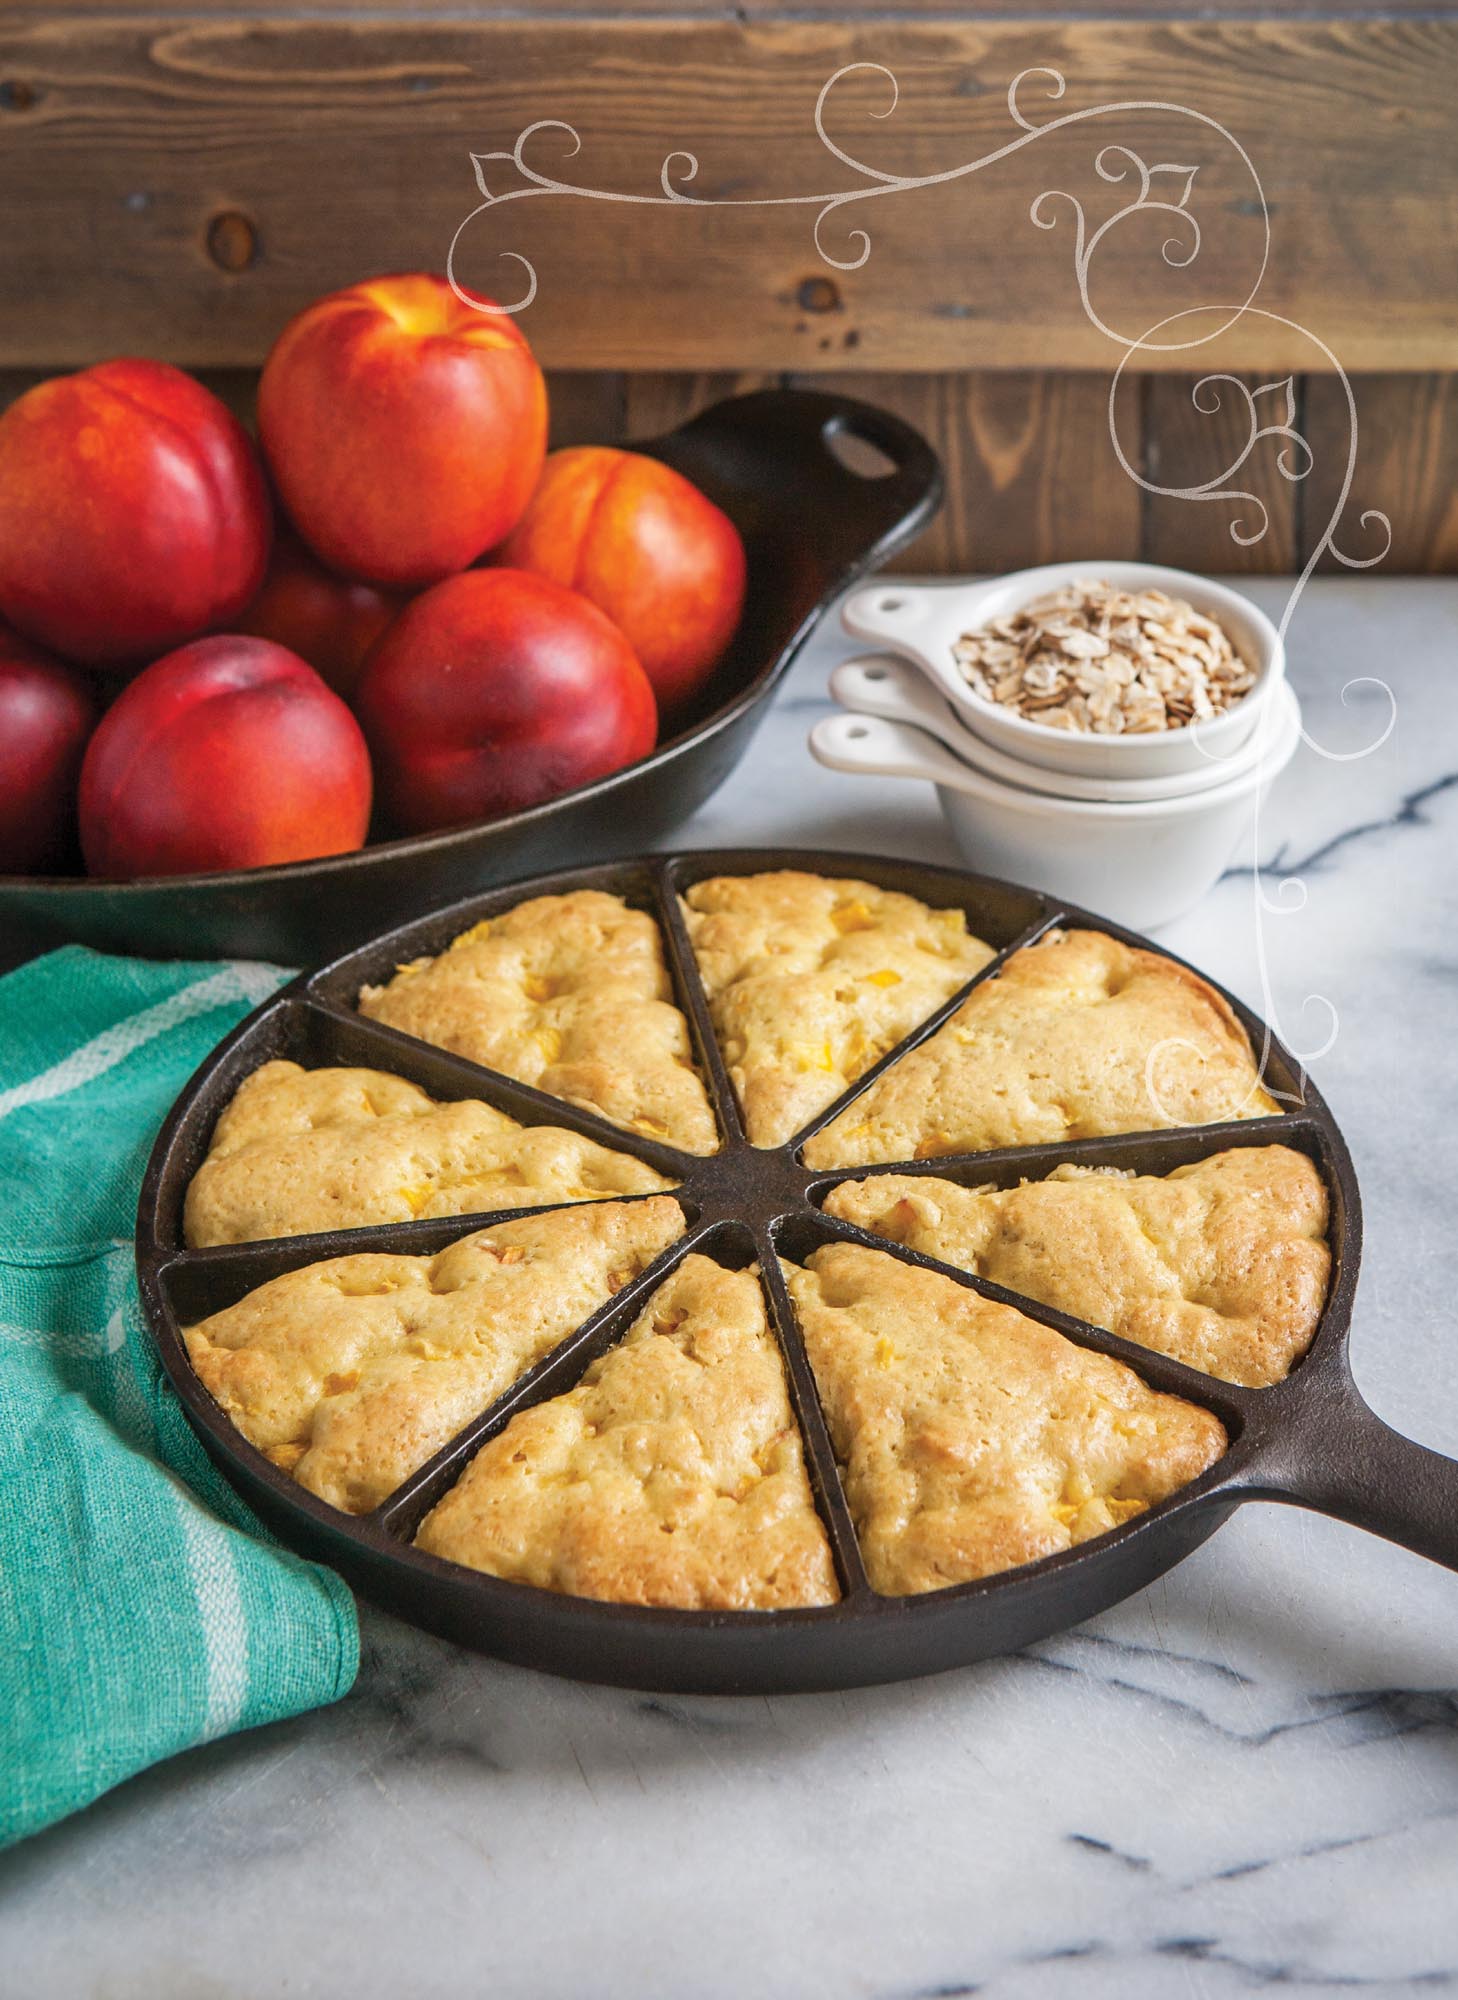
Nectarine & Sour-Cream Wedge Cake
Aromatic summer stone fruits make such a lovely addition to baked goods, and thanks to my cast-iron wedge pan, I can bake up this nectarine-speckled cake in perfectly portioned slices. I love how the edges of each wedge turn out slightly crispy.
MAKES: 8 SERVINGS
Cake:
2 T butter, softened
1/3 cup sugar
1/4 cup sour cream
1 egg
1/2 t vanilla extract
2/3 cup flour
1/4 t baking soda
1/4 t baking powder
1/8 t salt
1 nectarine, peeled, pitted, and diced (about 1/2 cup)
Icing:
2 T sour cream
1/2 cup powdered sugar
-
Preheat oven to 350°F. Butter a cast-iron wedge pan; set aside.
-
In a medium bowl or stand mixer, cream butter, sugar, and sour cream together. Add egg and vanilla; mix until blended, scraping bowl as needed.
-
In a small bowl, combine flour, baking soda, baking powder, and salt. Add to sour-cream mixture and mix until smooth.
-
Stir in diced nectarine and divide batter evenly among wedge pan cavities. Bake for 20–22 minutes, or until a toothpick inserted into the center comes out clean. Remove from oven and cool completely.
-
Once cake is cool, make icing: In a small bowl, combine sour cream and powdered sugar; mix until smooth. Evenly divide icing among cake wedges.
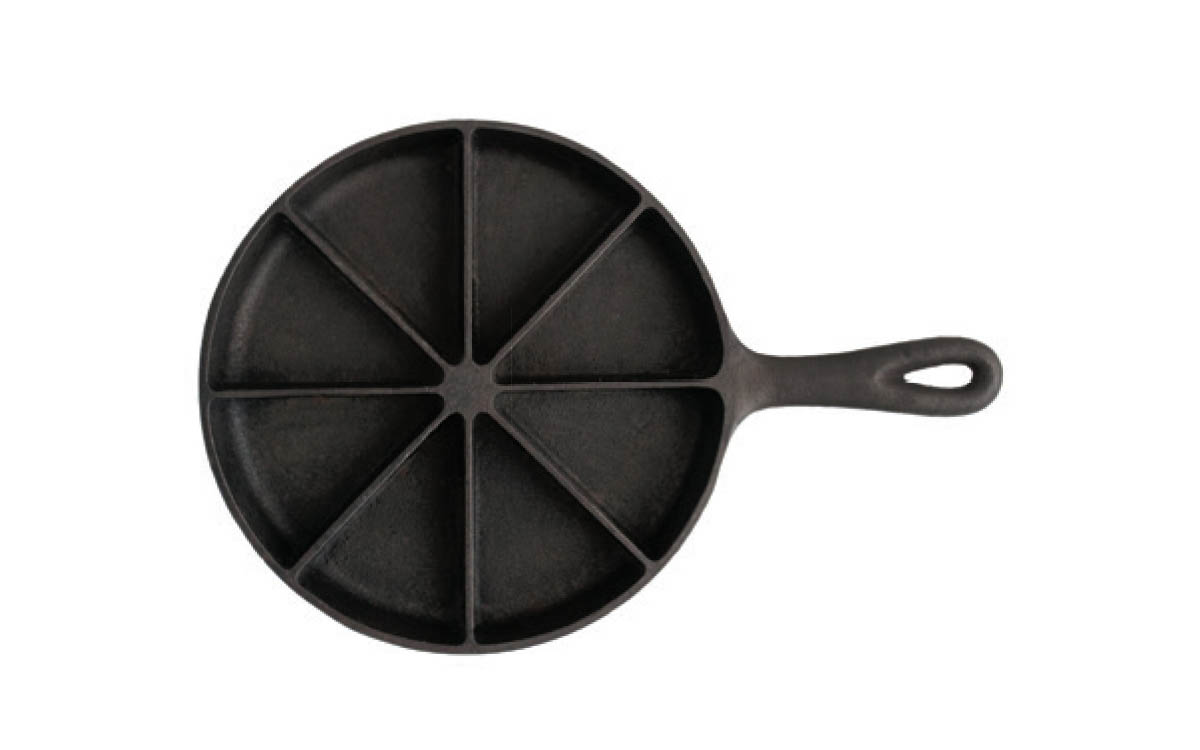
Cast-Iron Wedge Pan

Make it gluten free: Replace flour in recipe with 1/3 cup white rice flour and 1/4 cup tapioca flour.
Plum Pound Cake
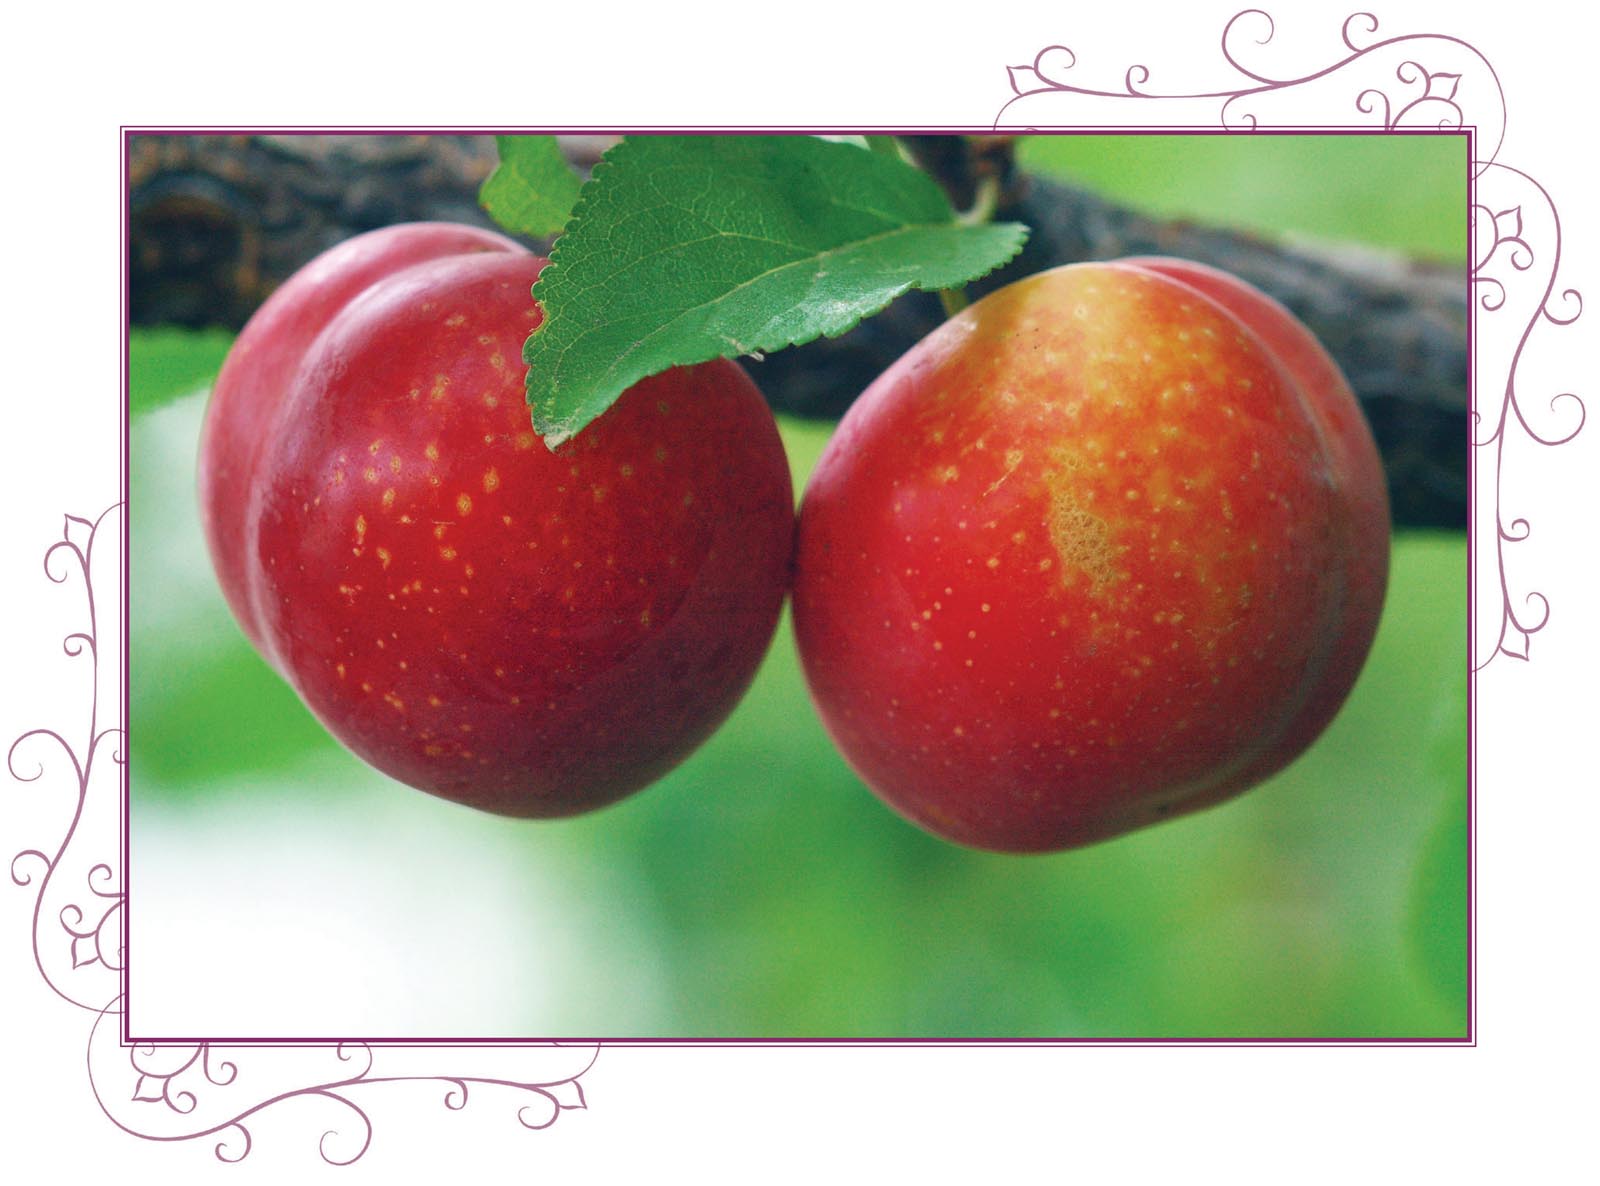
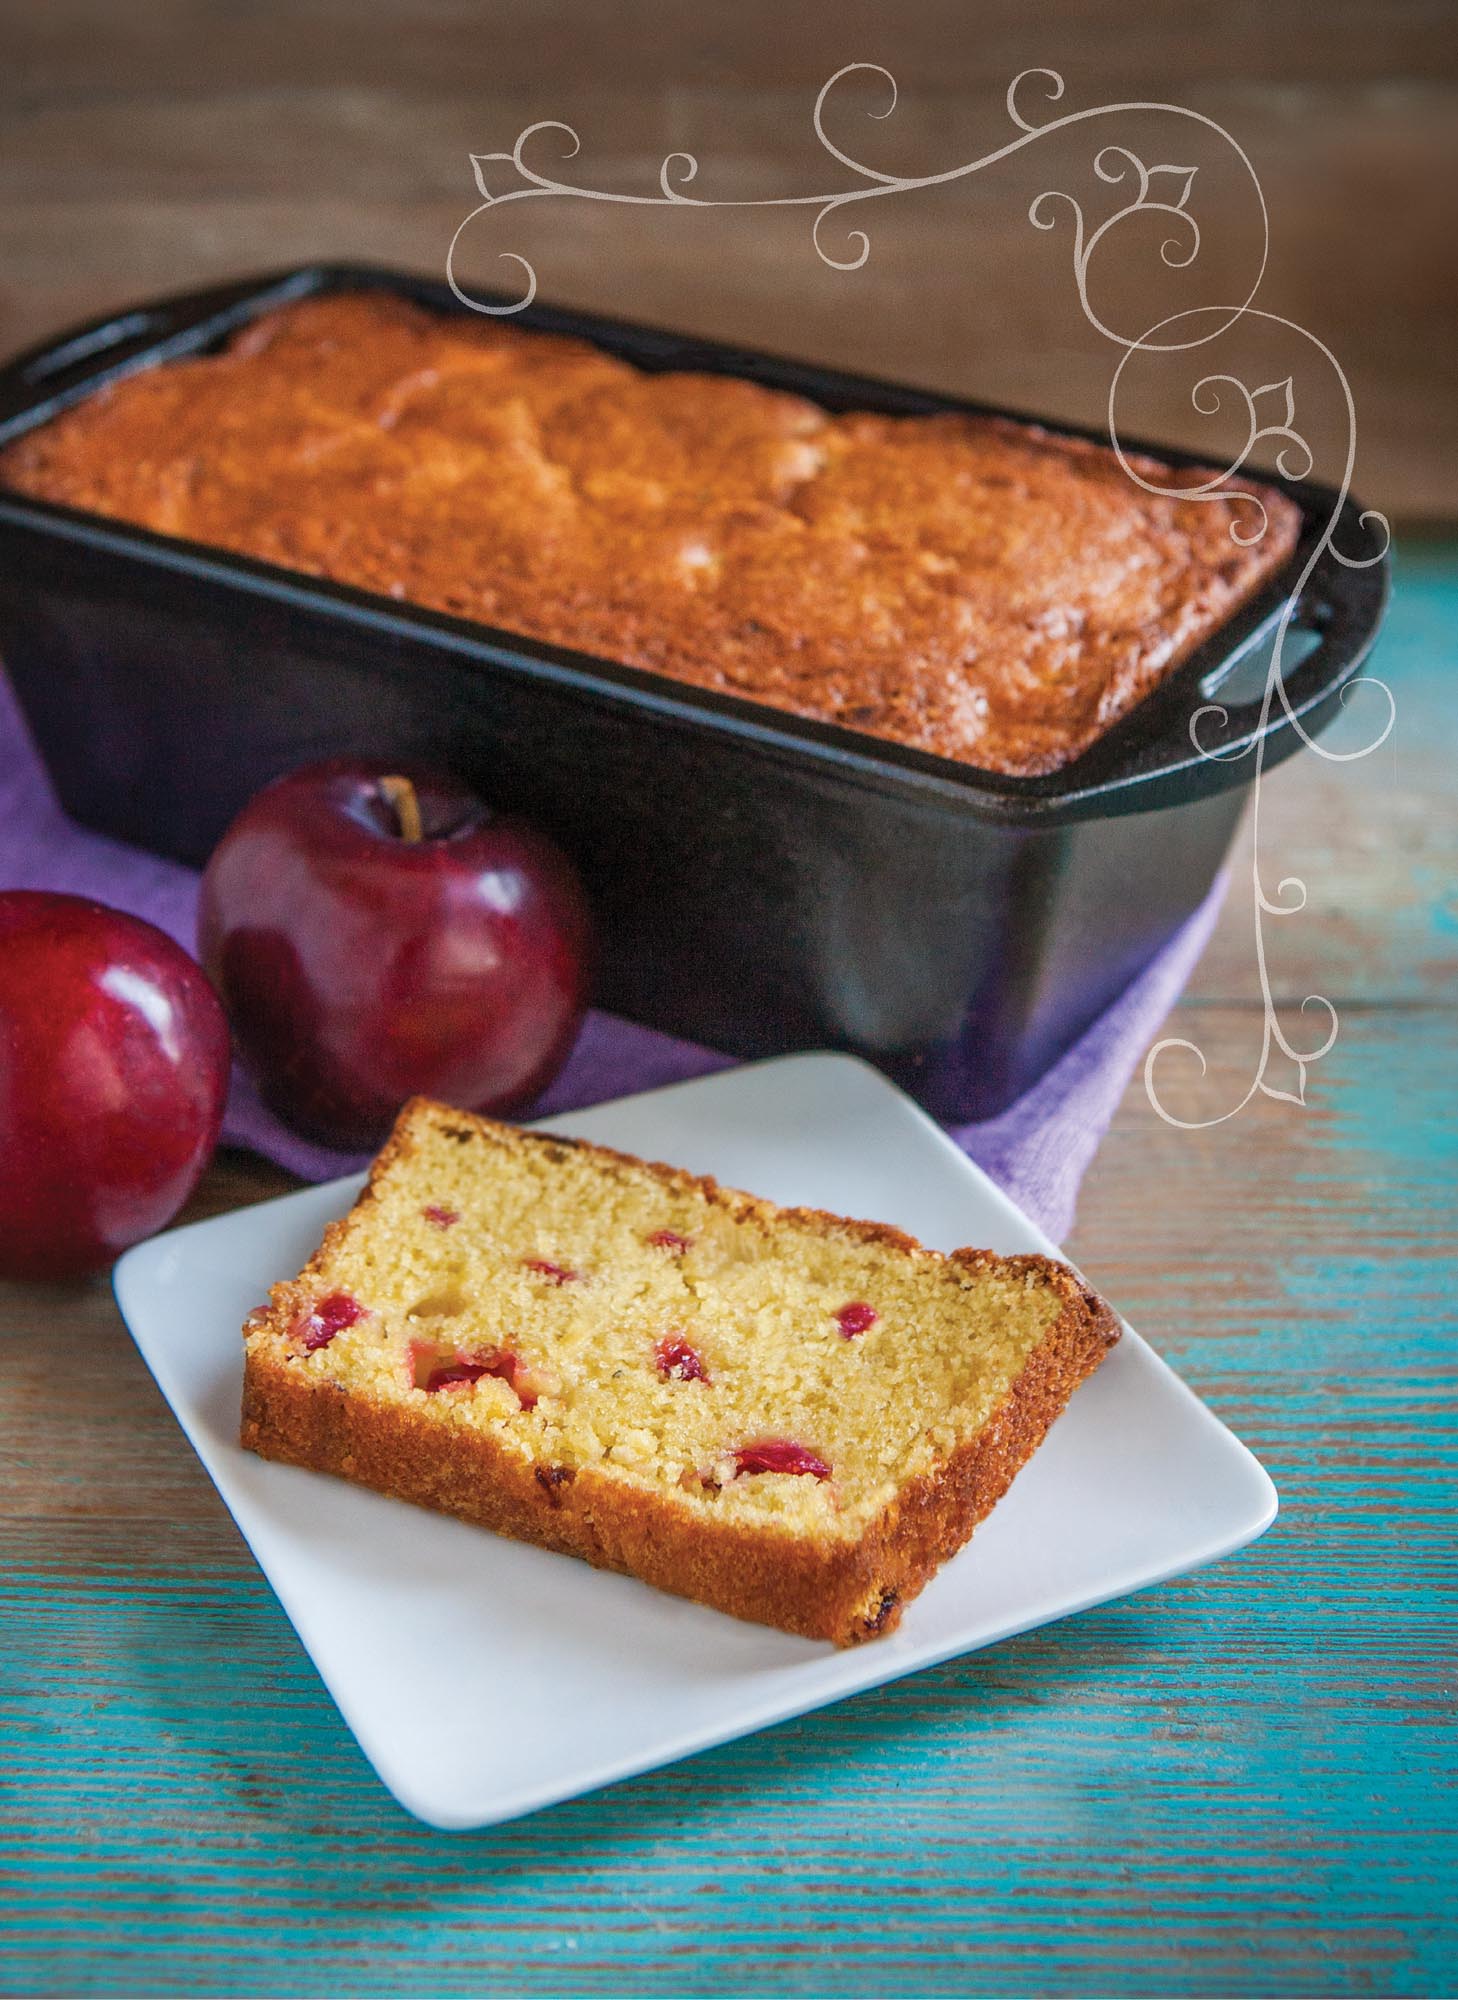
Classic pound cake is hard to beat, but the addition of tart-sweet plums and spicy-sweet cardamom makes it even better. My farm is home to many thriving plum trees, and in the early fall, we can’t get enough of the prolific, sweet, juicy fruit the trees bear.
MAKES: 1 LOAF
1/2 cup butter, softened
1 cup sugar
2 eggs
1/4 cup buttermilk
1/2 t vanilla extract
1-1/4 cups flour
3/4 t baking soda
1/4 t salt
1/8 t pulverized cardamom seeds (about 1 pod)
1/2 lb plums, pitted and diced (about 1 cup)
-
Preheat oven to 350°F. Generously butter a cast-iron loaf pan.
-
In a large bowl or stand mixer, cream butter and sugar together. Add eggs one at a time, mixing well after each addition and scraping bowl as needed. Mix in buttermilk and vanilla.
-
In a medium bowl, combine flour, baking soda, salt, and cardamom. Add flour mixture to butter mixture and mix until smooth.
-
Add plums to batter and mix well. Add batter to prepared loaf pan. Bake for 55–60 minutes, or until a toothpick inserted into the center comes out clean.
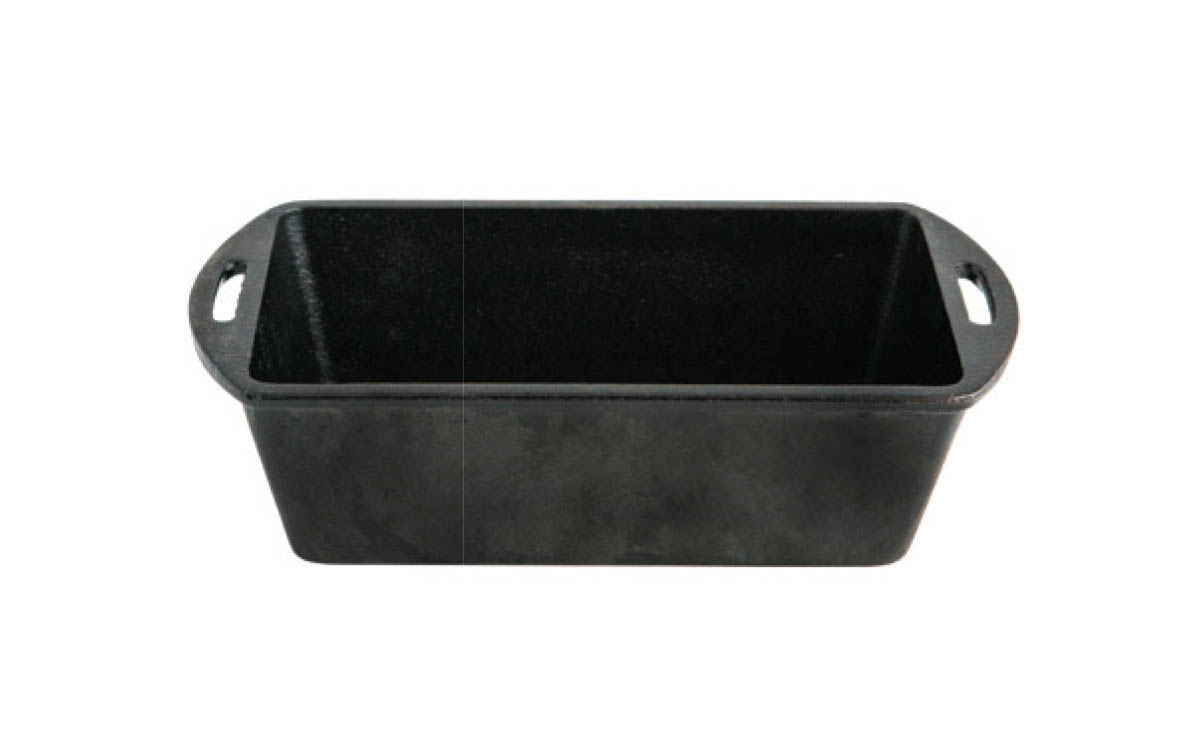
Cast-Iron Loaf Pan
Maple Sticky Buns
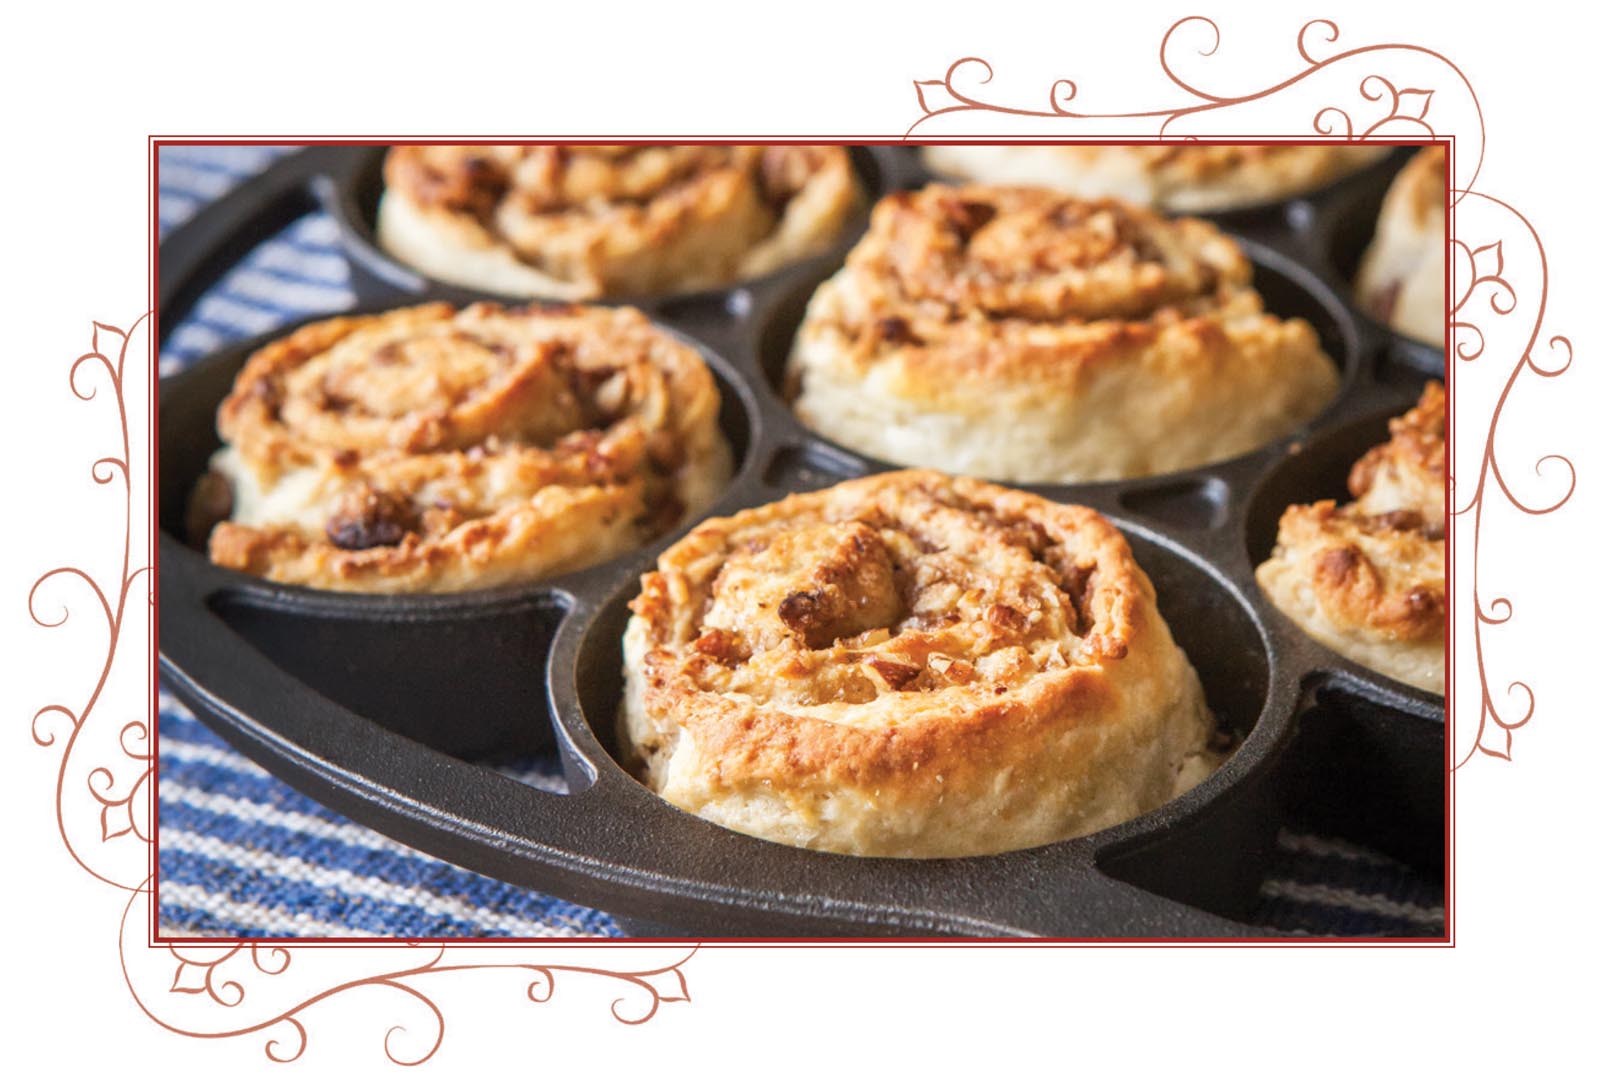
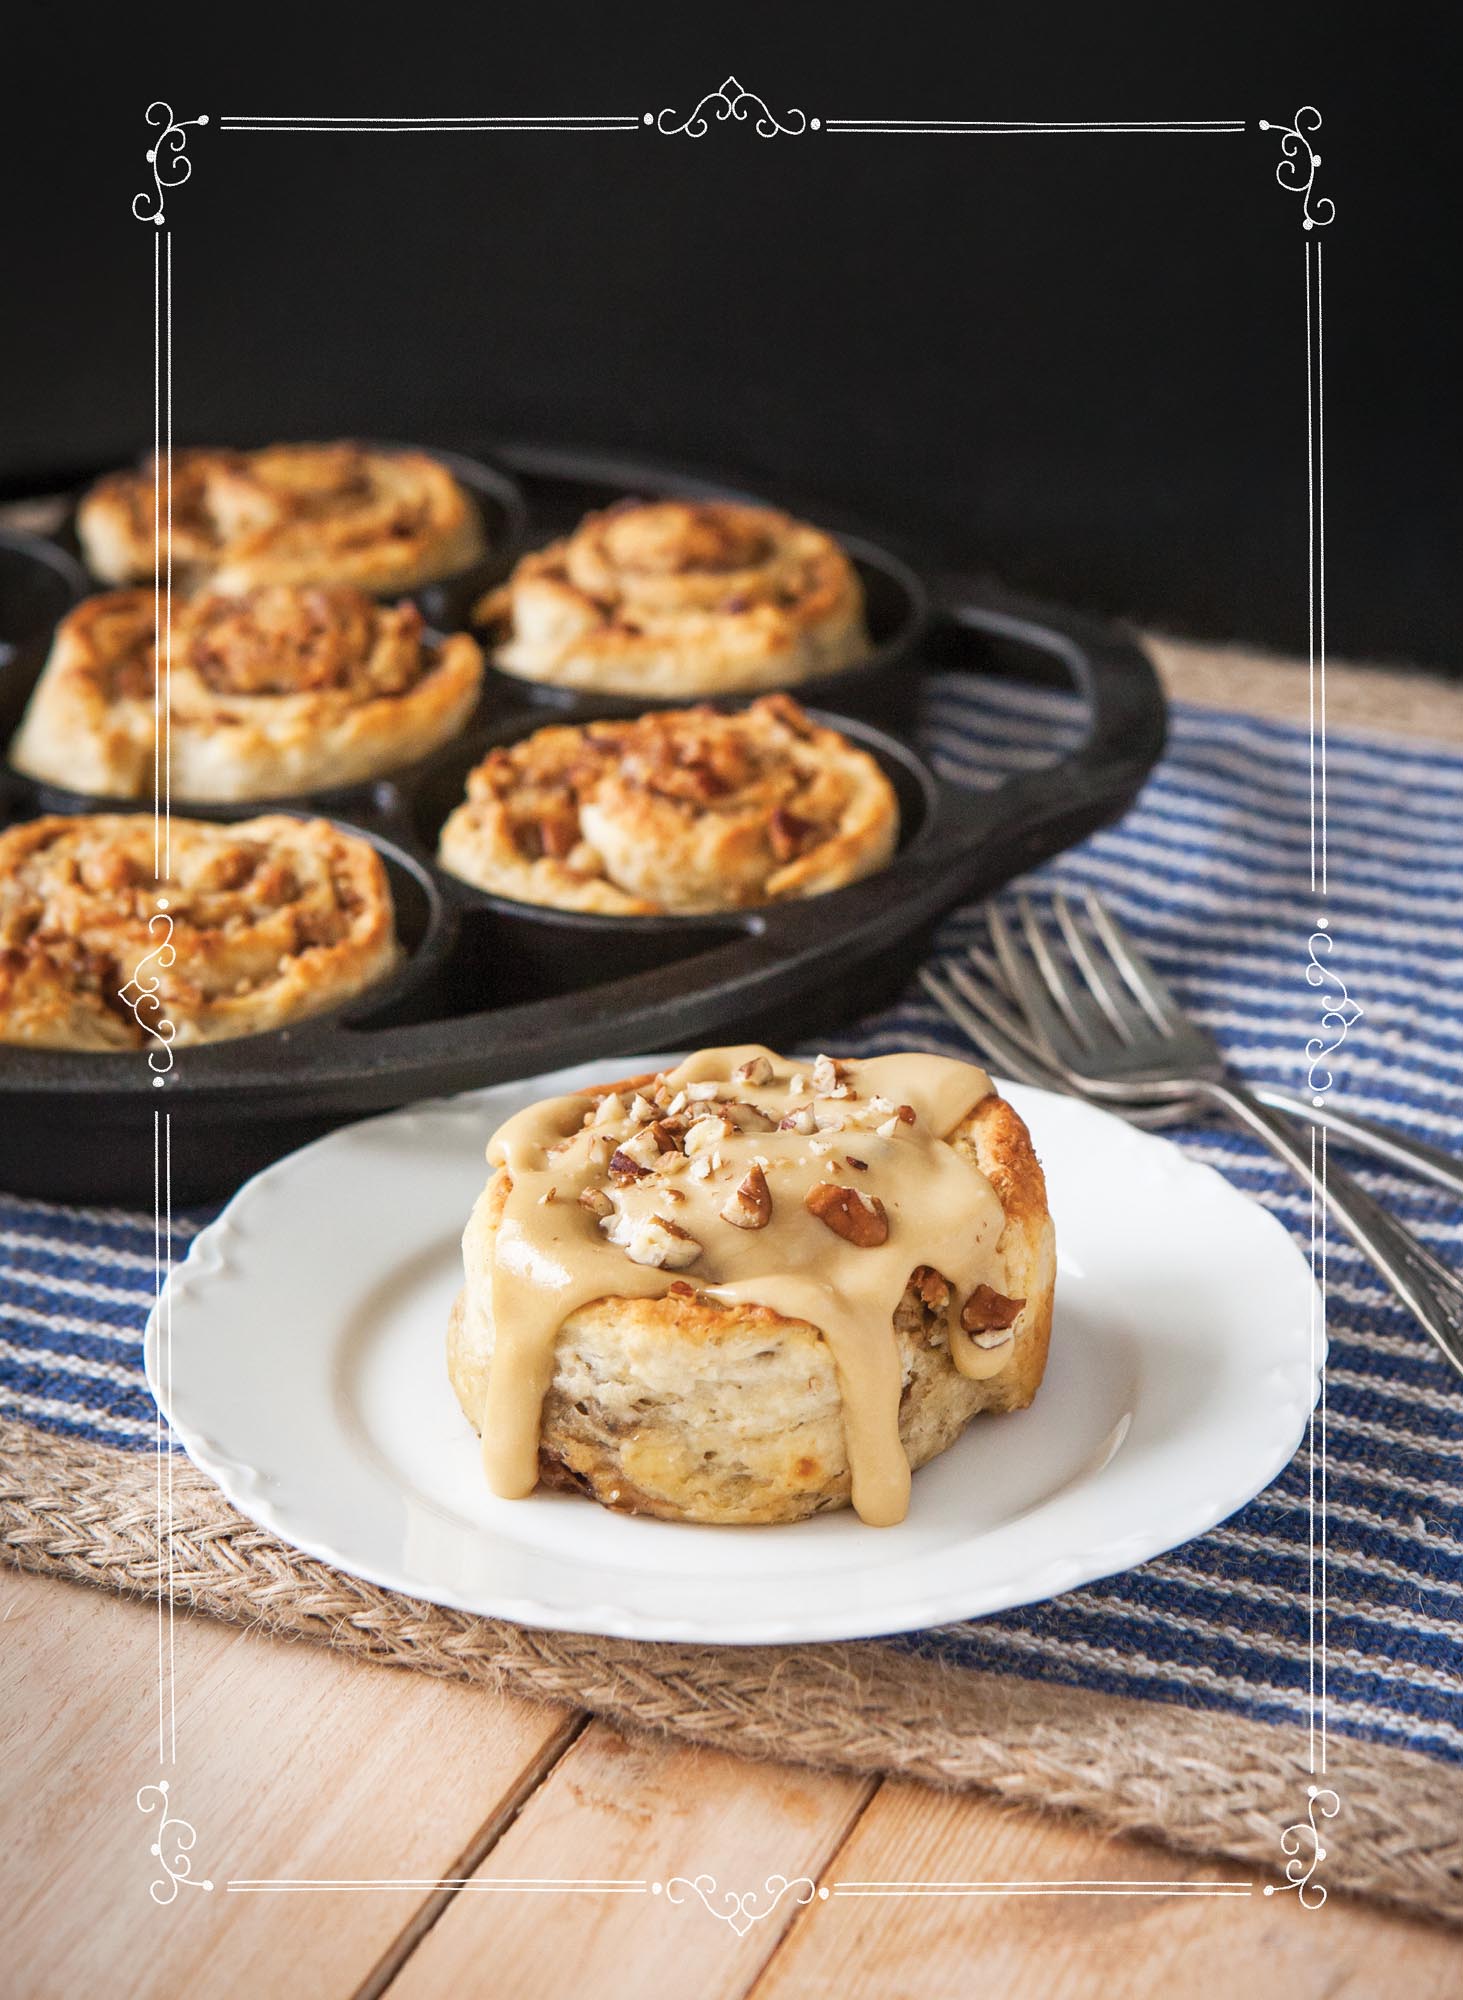
You could consider these sticky buns a shortcut to cinnamon rolls. The quick buttermilk dough is dressed up with pecans, brown sugar, and spices. Then, it’s rolled up jelly-roll style and cut into seven slices, each of which fits rather perfectly in my cast-iron mini-cake pan. After baking, they’re topped with a rich, creamy maple glaze.
MAKES: 7 STICKY BUNS
Dough:
1-1/2 cups flour, plus more for dusting
1 t baking powder
1/2 t baking soda
1/4 t salt
1-1/2 T brown sugar
4 T cold butter, cut into pieces
3/4 cup buttermilk
Filling:
3/4 cup pecans, chopped
1/3 cup brown sugar
2 T butter, melted
1/2 t cinnamon
1/2 t nutmeg
Maple Glaze:
1 T butter, melted
2 T maple syrup
1/3 cup powdered sugar
1/4 cup pecans, chopped
-
Preheat oven to 425°F. Lightly butter cups of a cast-iron mini-cake pan.
-
Make dough: In a medium bowl, combine flour, baking powder, baking soda, salt, and brown sugar. Cut in butter using a pastry blender or fork until mixture resembles coarse crumbs. Add buttermilk and mix just until dough forms.
-
Dust a clean work surface with flour, place dough on surface, dust with more flour, and roll dough into a 12” x 15” rectangle.
-
Make filling: In a small bowl, combine pecans, brown sugar, butter, cinnamon, and nutmeg.
-
Spread filling over dough. Starting from a 12” side, roll dough up jellyroll style. Cut roll into 7 slices and place a slice in each prepared mini-cake pan cup.
-
Bake for 15–18 minutes, or until golden brown. Cool in pan for 30 minutes.
-
Make maple glaze: In a small bowl, combine melted butter, maple syrup, and powdered sugar; mix until smooth. Evenly divide glaze between sticky buns and sprinkle with chopped pecans. You may serve immediately, or wait for the glaze to firm up (about 15 minutes).

Cast-Iron Mini-Cake Pan
Cinnamon Sugar Knots
Whenever my mom baked a pie, she would cut the extra dough into strips, dip them in cinnamon and sugar, twist them up, and bake them. This recipe embodies that same concept, only with soft, yeasted buttermilk dough.
MAKES: 8 KNOTS
Dough:
1-1/4 cups buttermilk
1 T honey
1/4 t salt
1 package active dry yeast (about 2-1/4 t)
2-1/2 cups flour, plus more for dusting
1 egg
Cinnamon Sugar Filling:
1/2 cup butter, melted
1 cup sugar
4 t cinnamon
-
Make dough: In a small saucepan, combine buttermilk, honey, and salt. Over medium-low heat, whisk mixture until honey is dissolved (mixture shouldn’t feel hot on the inside of your wrist). Remove from heat, whisk in yeast, and set aside.
-
Add flour to a stand mixer fitted with a dough hook. Make a depression in the center of the flour to receive the liquid; add buttermilk mixture and egg to flour.
-
Mix until dough forms, and continue to mix until dough is smooth and pliable (5–8 minutes).
-
Lightly butter a medium bowl. Dust hands and dough with flour and shape into a ball (dough will be tacky). Place in prepared bowl, cover with plastic wrap, and let rise in a warm place for 1-1/2 hours, or until doubled in bulk.
-
Prepare filling: Add melted butter to a small bowl. In a pie plate, combine sugar and cinnamon; set aside.
-
Preheat oven to 400°F. Lightly butter a 14” cast-iron griddle.
-
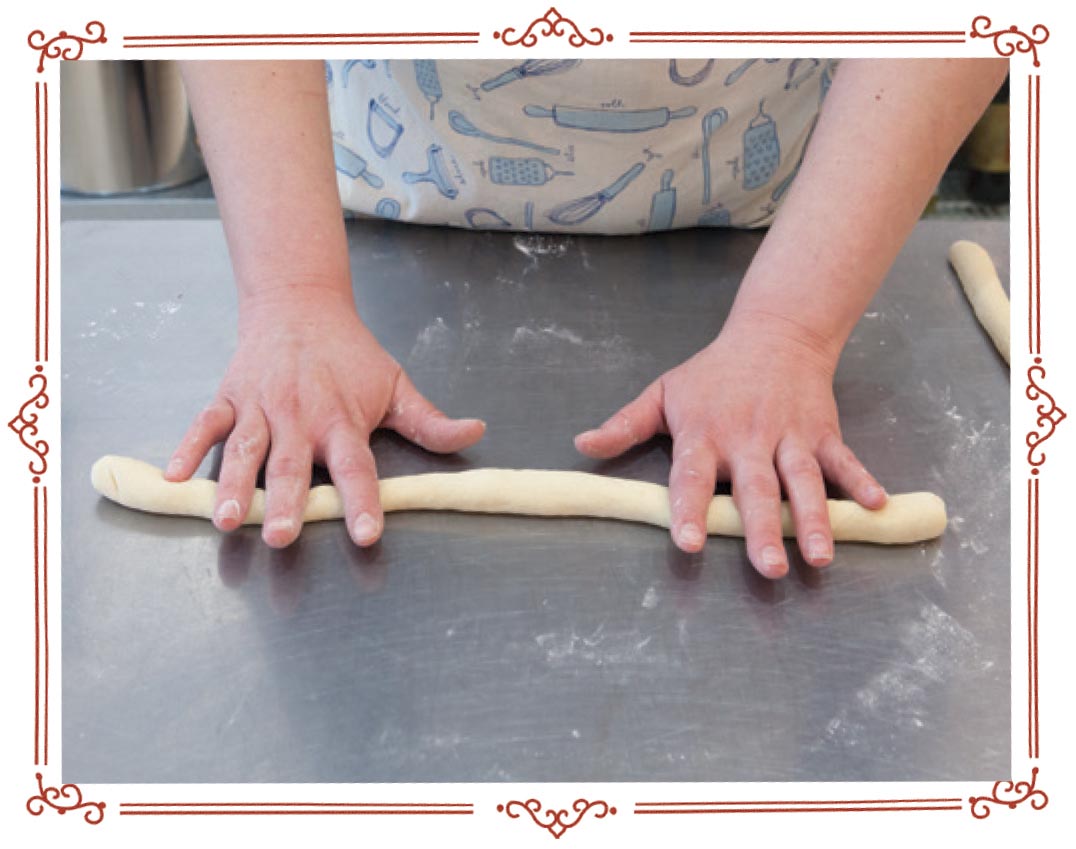
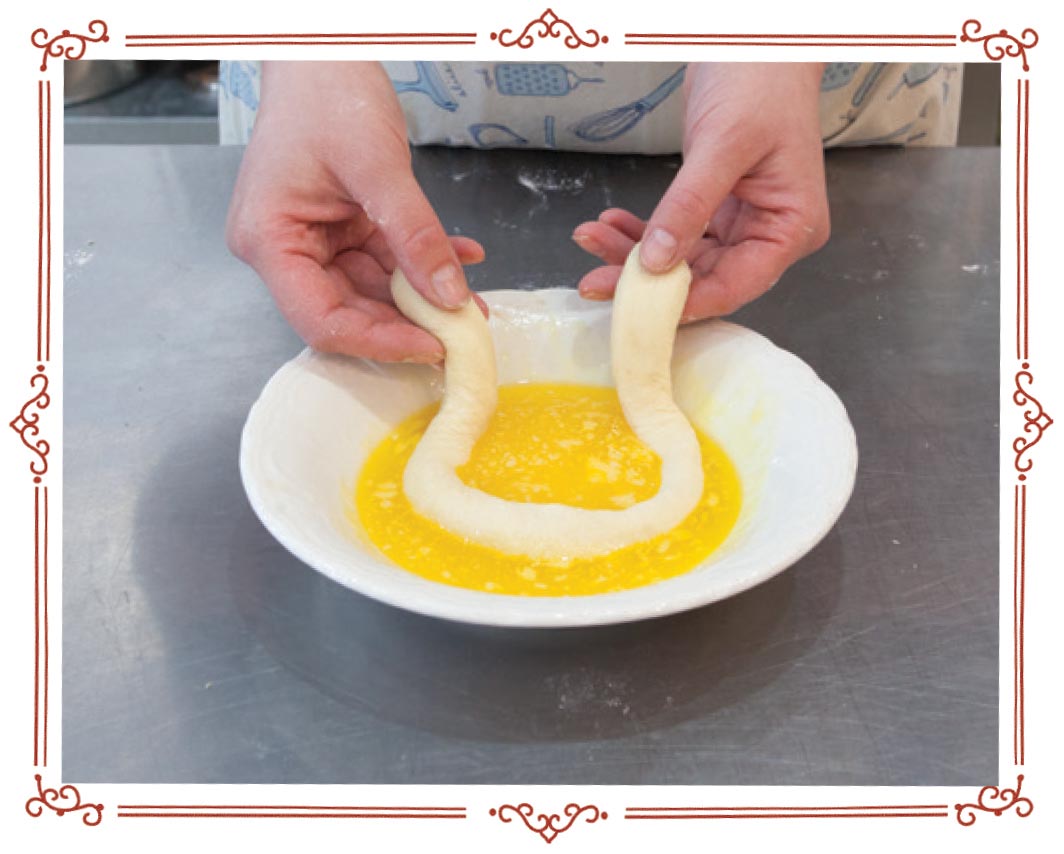
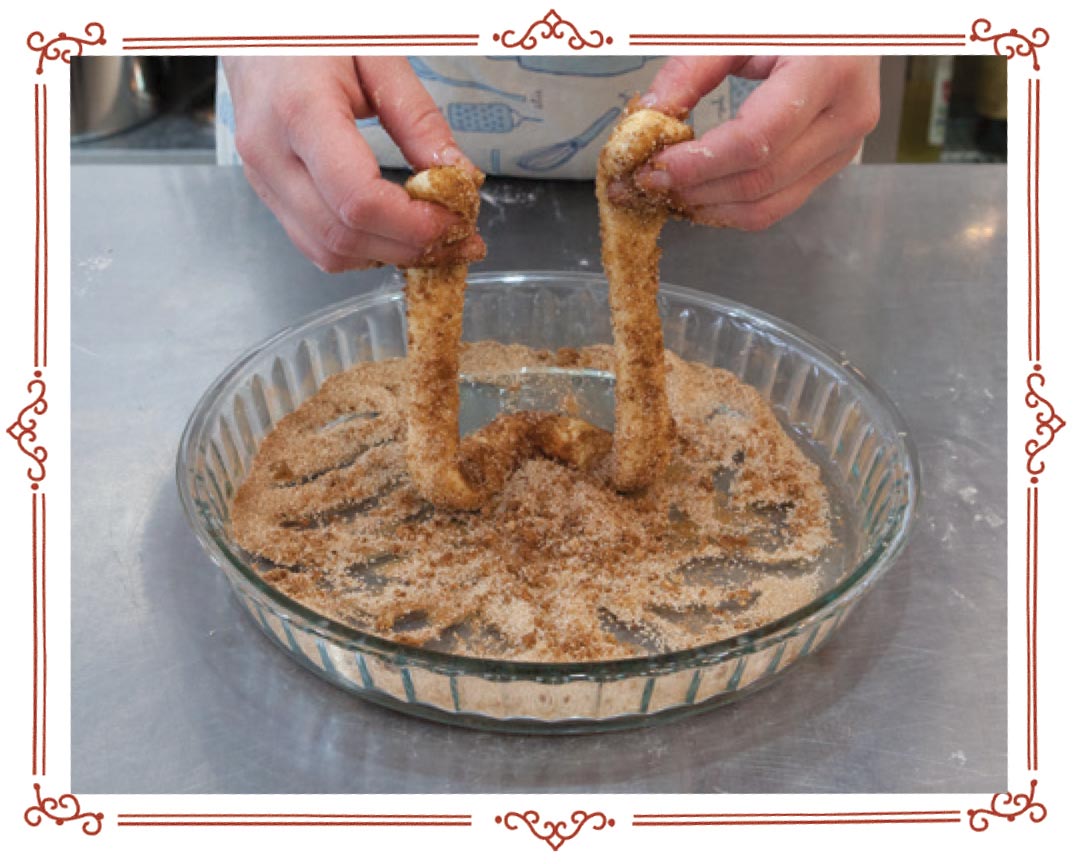
Divide dough into 8 portions. On a lightly floured surface, roll each portion into a 16”-long rope. Dip each rope in butter, and then dip in cinnamon-sugar mixture, turning to completely coat.
-
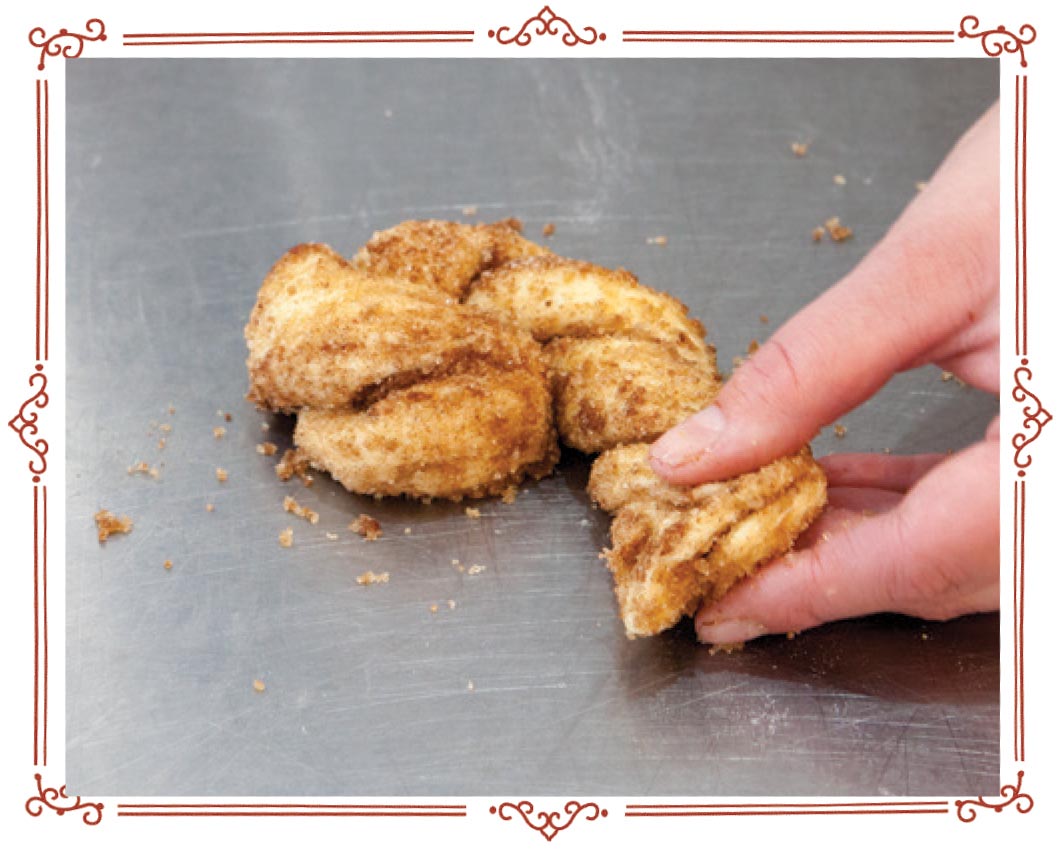
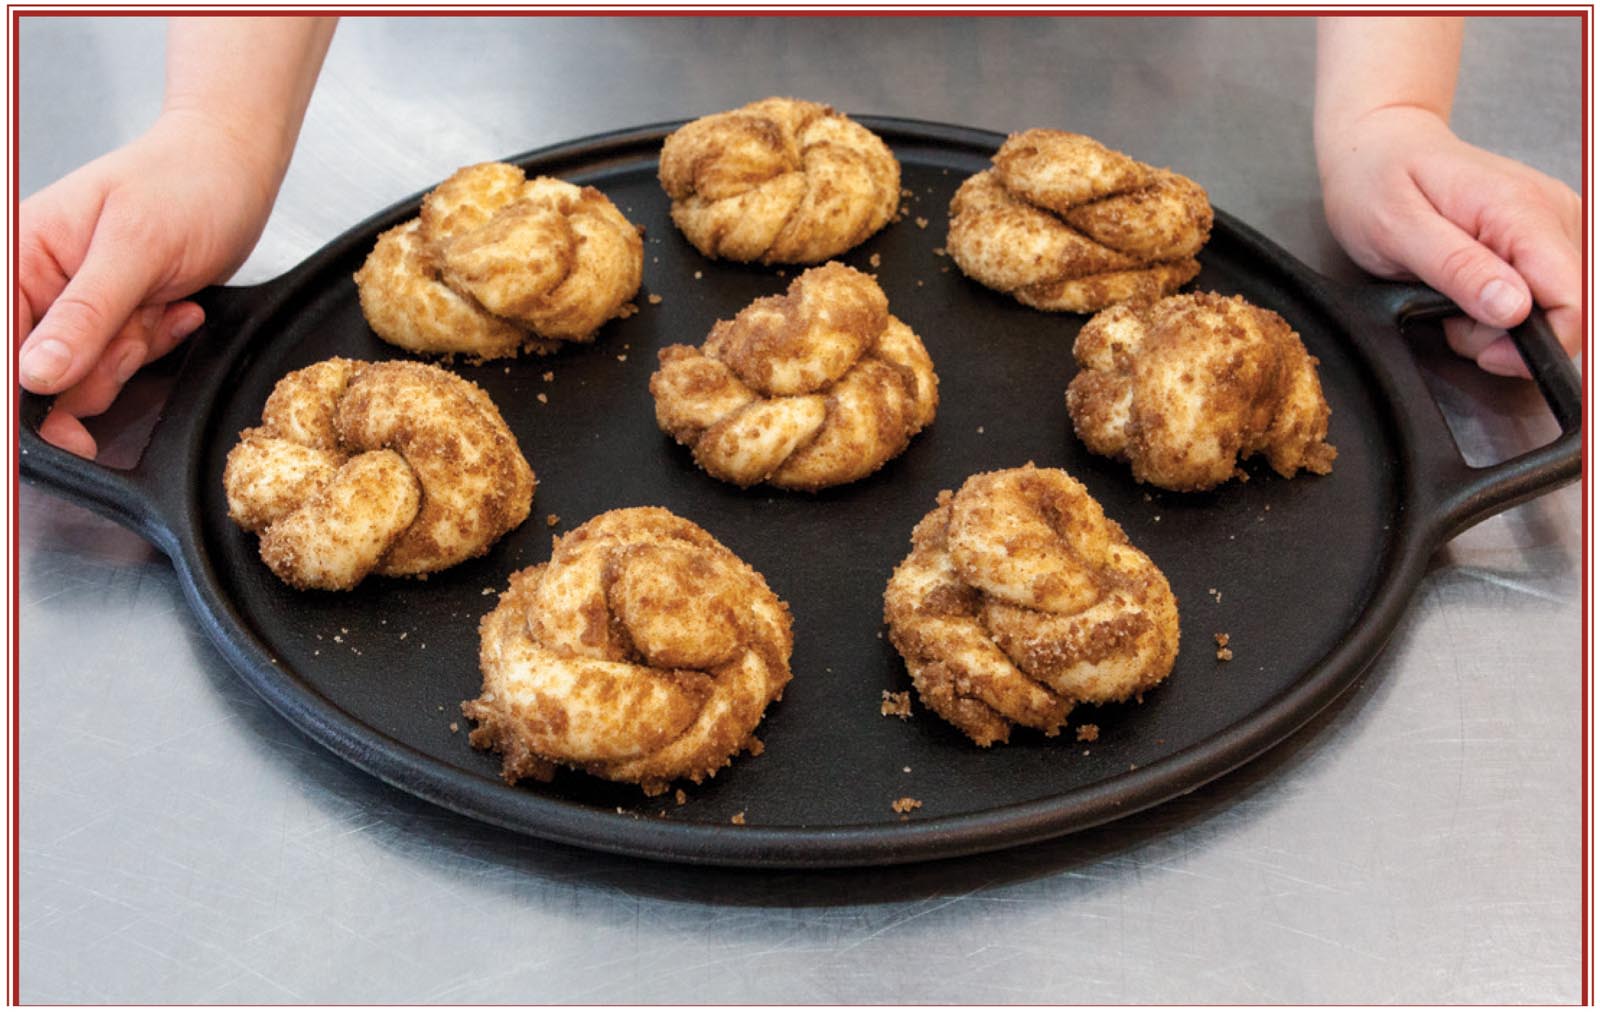
Fold rope in half; twist into a spiral. Roll spiral into a coiled circle and place on prepared griddle. Repeat with remaining ropes.
-
Bake for 15 minutes.
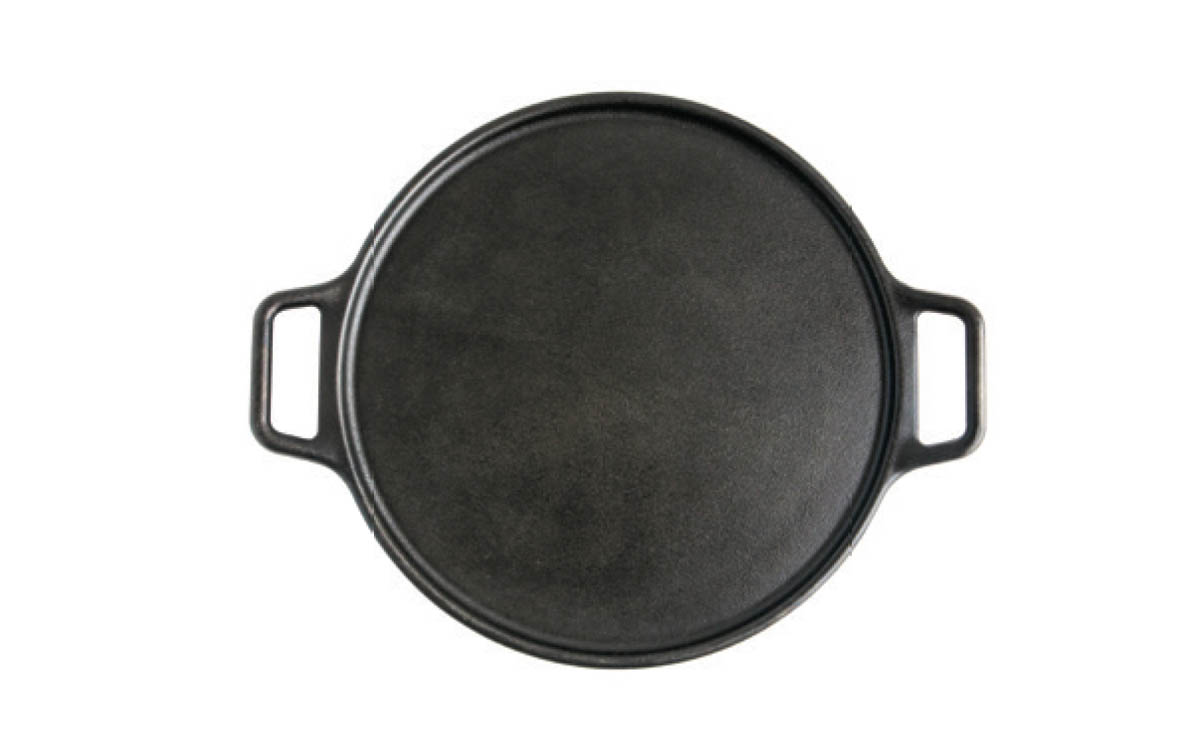
14” Cast-Iron Baking Pan

Crispy Sugar Bowls
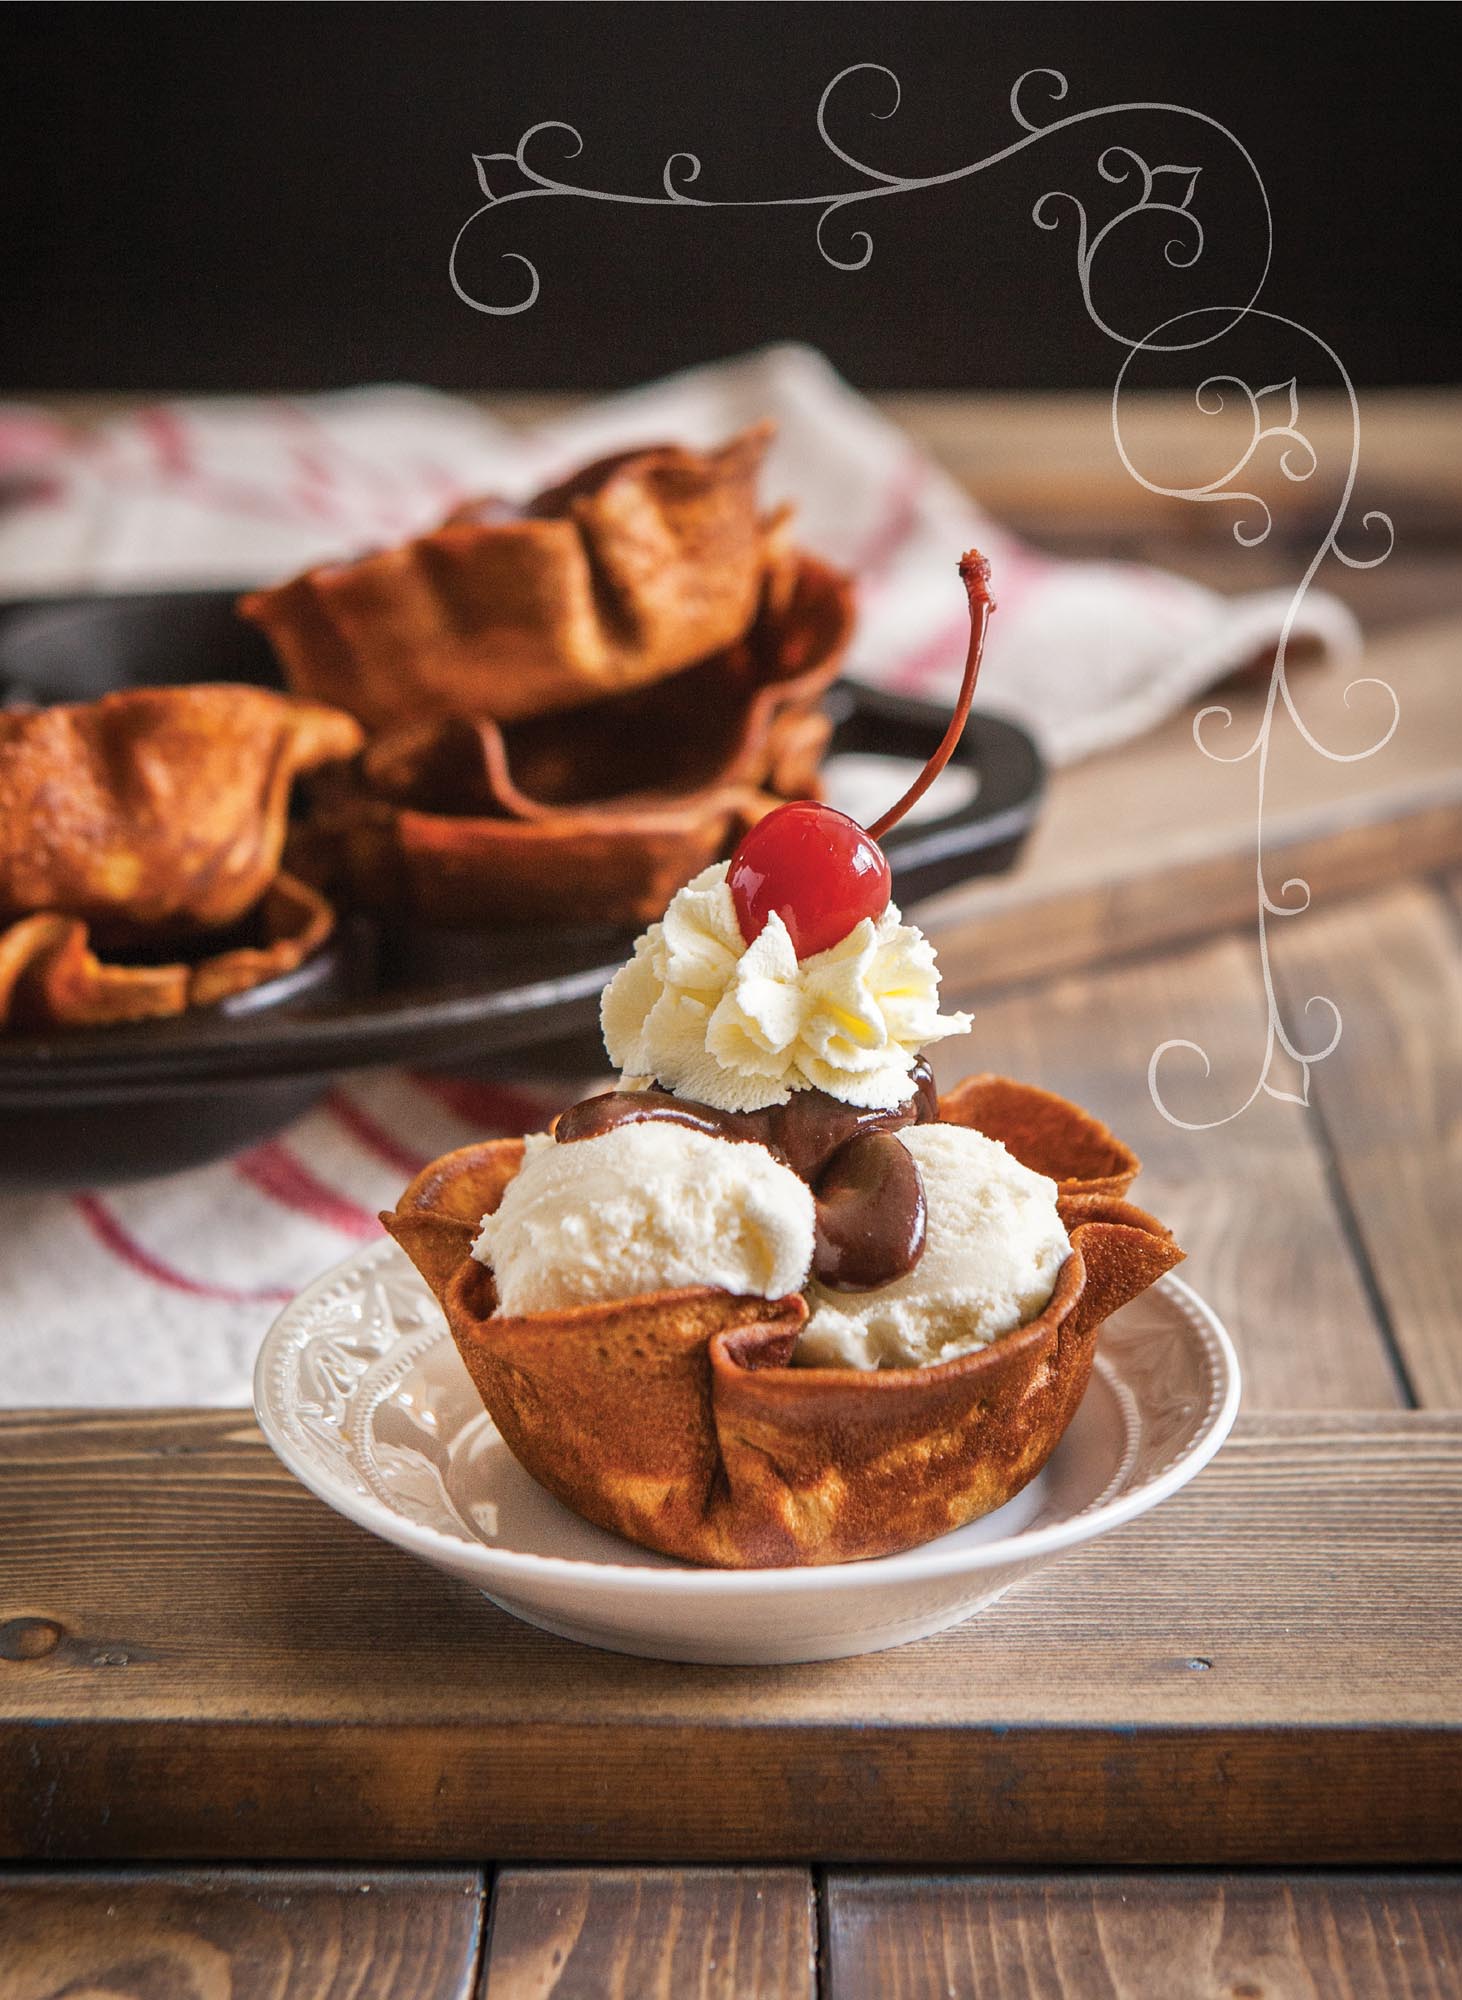
Okay, this is probably one of the more unique desserts I’ve ever tasted. One part sugar-ice-cream cone, and one part sundae, it speaks presentation, but it shouts, “Dig in!” Go ahead, pretend you’re a kid again.
MAKES: 7 BOWLS
1/4 cup sugar
1 egg
1/3 cup milk
3 T butter, melted
1 T molasses
1/4 t vanilla extract
1/4 cup flour
ice cream and toppings for serving
-
In a small bowl, combine sugar, egg, milk, butter, molasses, and vanilla.
-
Add flour and mix well. Let the batter rest for about 10 minutes, stirring occasionally.
-
Preheat a 10-1/2” cast-iron griddle over medium-low heat. Add 2 T of batter to center of pan and evenly spread batter into a 6” circle. Cook for 3 minutes, flip over, and cover with a round cast-iron grill press. Cook for 2 minutes, remove press, flip over, and cook an additional 2 minutes, or until deep golden brown (if disc is not deep golden brown on both sides, continue flipping and cooking until both sides are evenly browned).
-
To shape discs into bowls, center a hot disc over a single cup in a cast-iron mini-cake pan and press into the cup with the bottom of a glass. Cool completely.
-
Repeat with remaining batter. Serve filled with ice cream, topped with your favorite toppings, or store in an airtight container for up to 3 days.

Cast-Iron Mini-Cake Pan
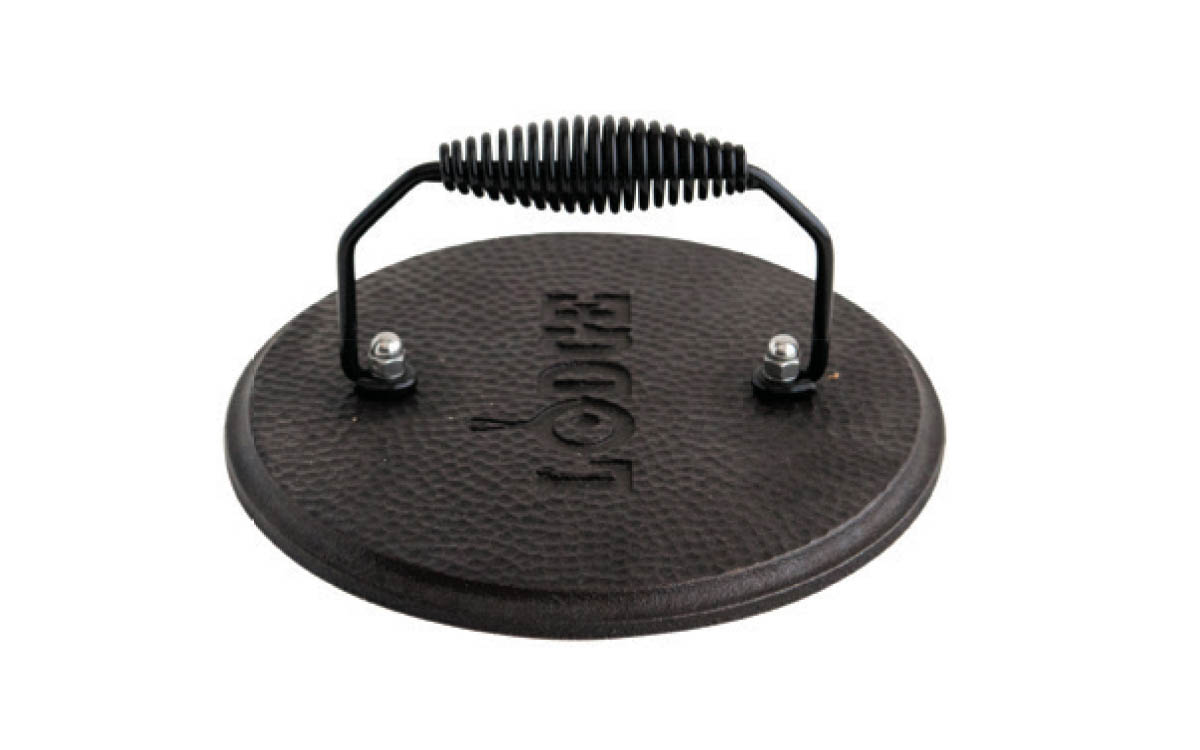
7-1/2” Round Cast-Iron Grill Press
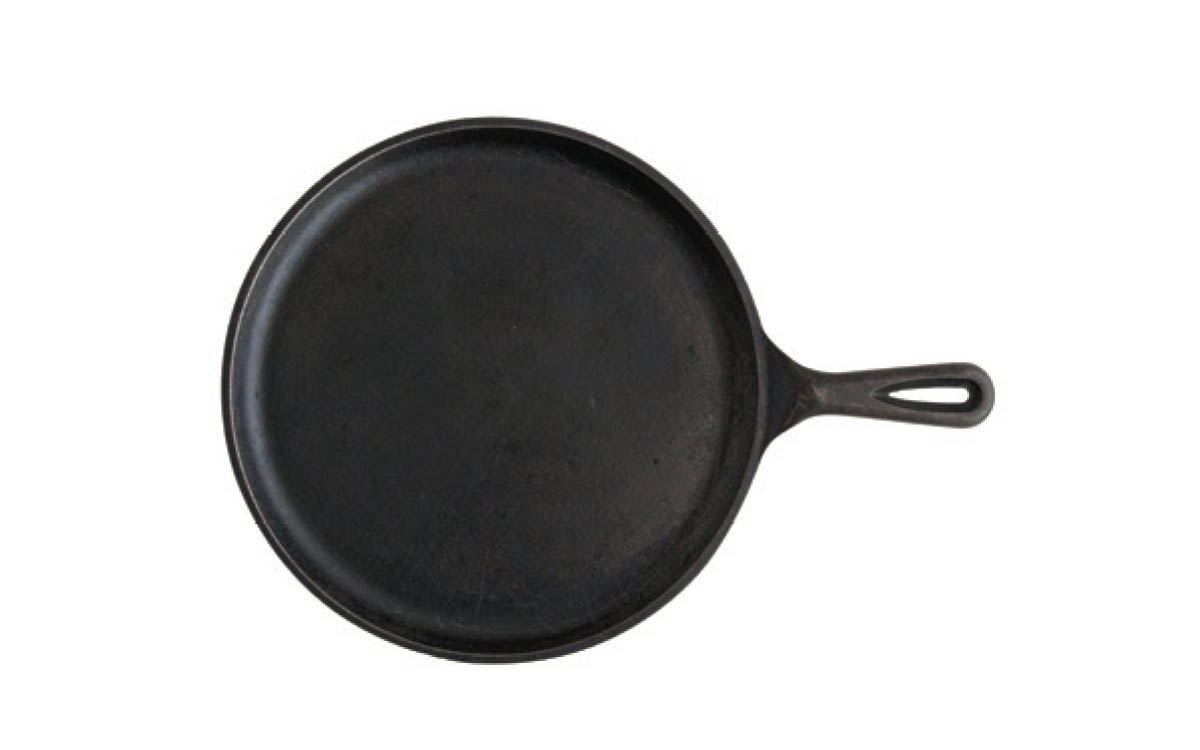
10-1/2” Cast-Iron Griddle

Make it gluten free: Replace flour with white rice flour.

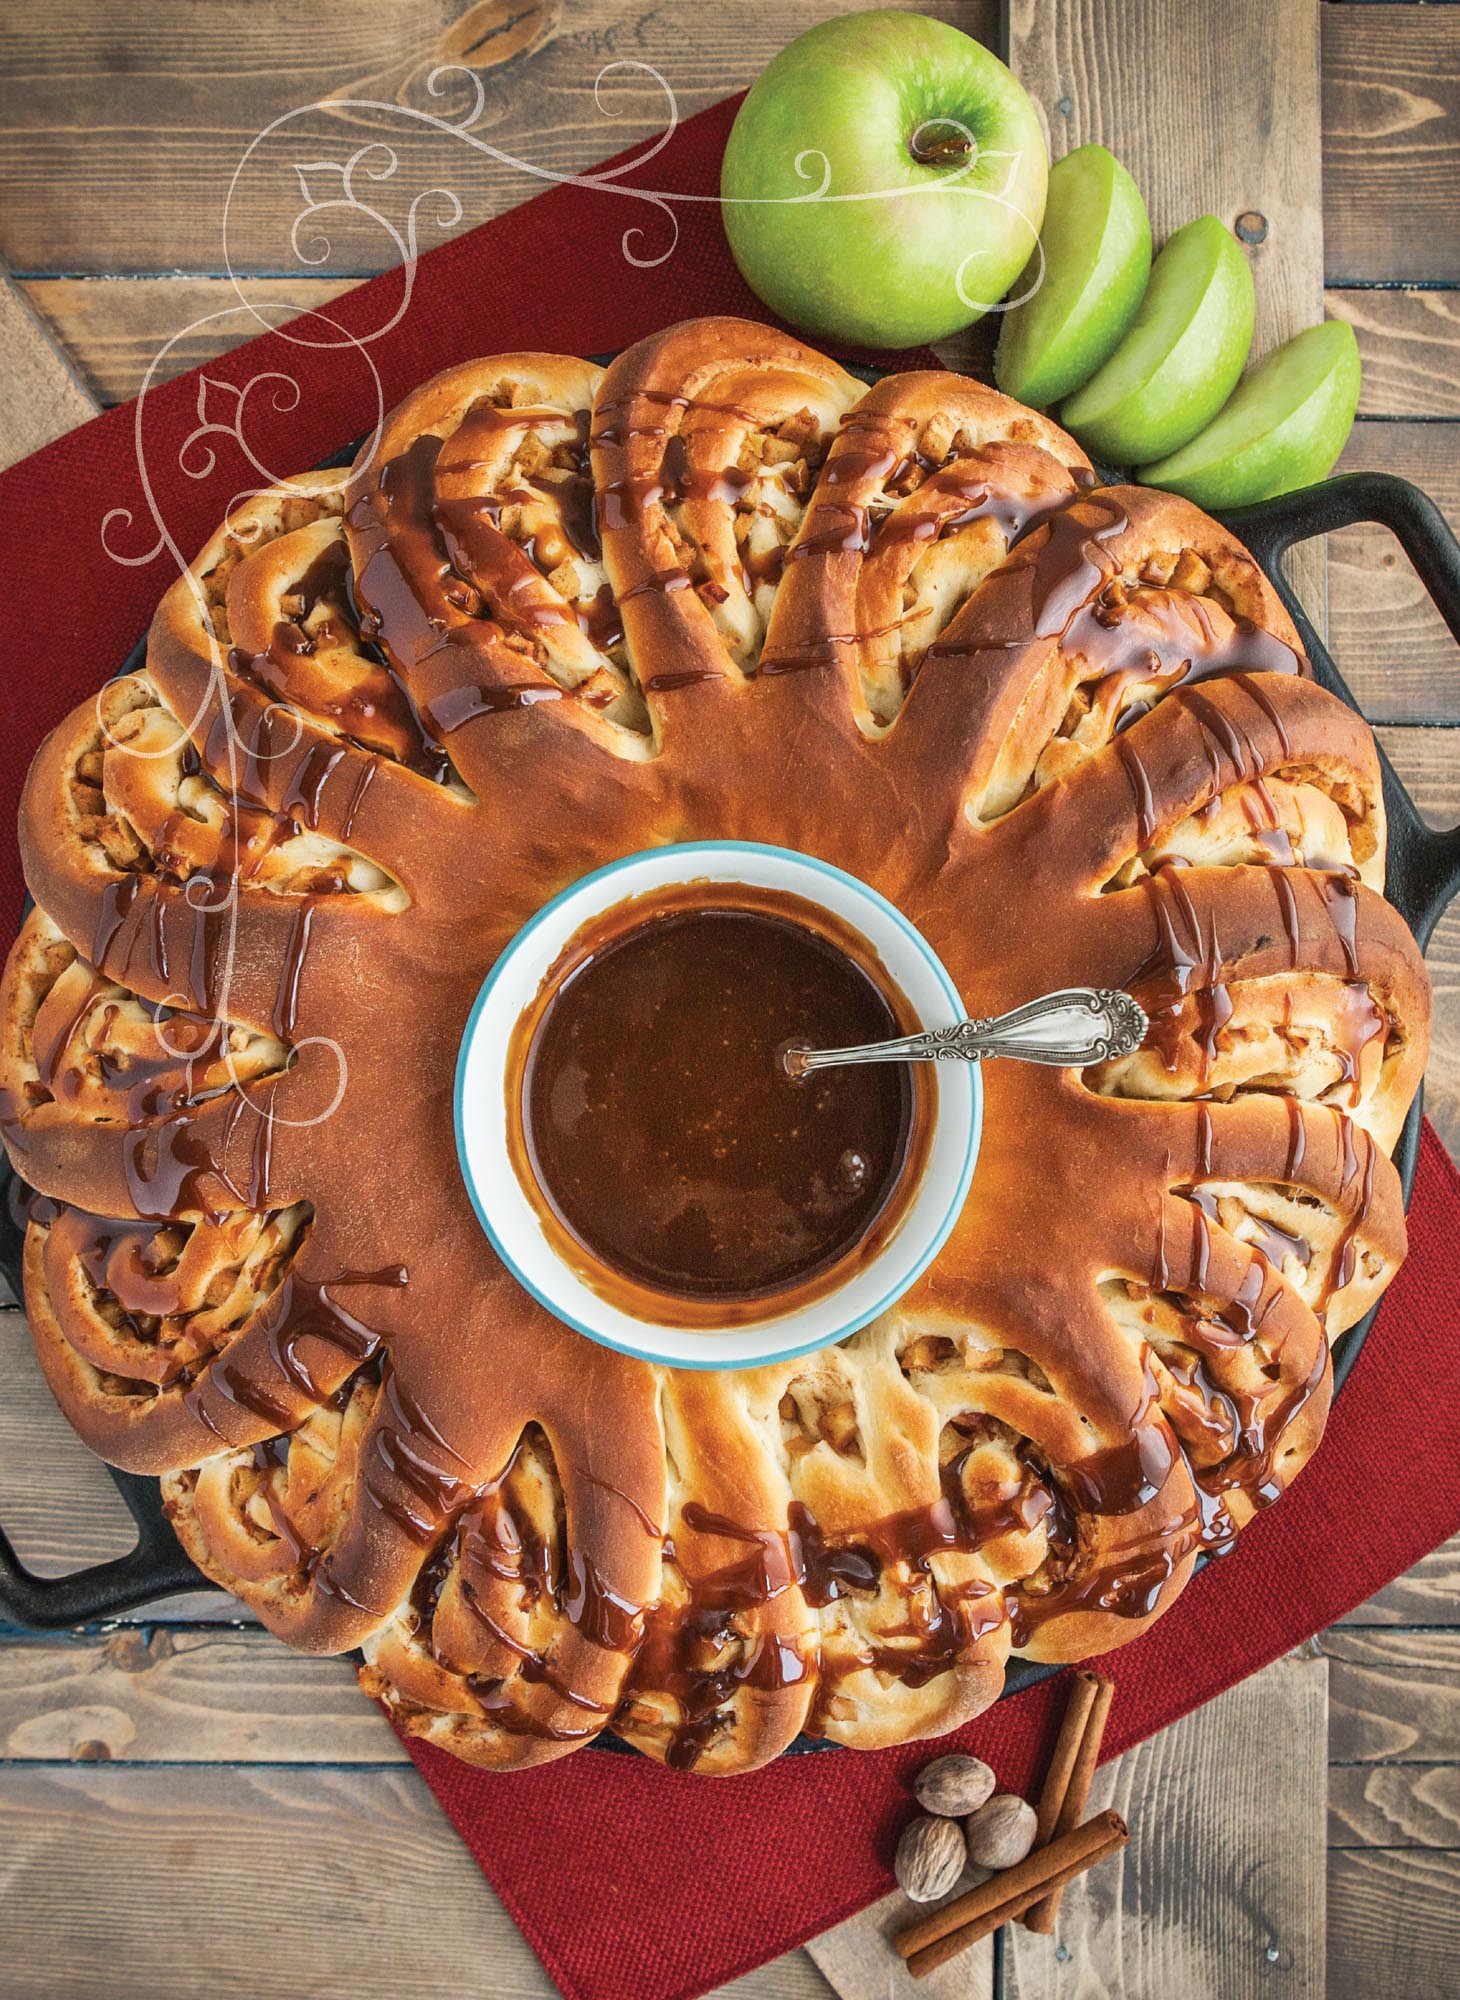
Caramel-Apple Cinnamon-Roll Wreath
If you want to make a dessert that shouts, “Look at me, look at me!” this one is for you. Don’t be deterred by the wreath concept—it’s actually quite easy to shape. After spreading filling over the dough and rolling it, bring the two ends together to form a ring. Then, cut the top of the ring into slices while leaving the back of the ring intact, turn the slices 90°, and voila—a wreath!
MAKES: 16–18 CINNAMON ROLLS
Dough:
1-2/3 cups buttermilk
1/4 cup honey
1 t salt
1 T active dry yeast
5 cups flour, plus more for dusting
2 eggs
4 T butter, softened and cut into pieces
Filling:
2 firm baking apples (like Granny Smith or Pink Lady), peeled, cored, and finely diced (about 3 cups)
4 T butter, cut into pieces
2 T honey
1 t cinnamon
1/2 t nutmeg
Caramel Sauce:
1/2 cup brown sugar
1/4 cup sugar
2 T butter
1/2 cup heavy cream
3/4 t salt
1/2 t vanilla extract
-
Make dough: In a medium saucepan over low heat, combine buttermilk, honey, and salt. Cook just until warm and honey is dissolved (mixture shouldn’t feel hot on the inside of your wrist). Remove from heat, whisk in yeast, and let stand until frothy (about 5 minutes).
-
Meanwhile, add flour and eggs to a stand mixer fitted with a dough hook. Add yeast mixture and mix well. With mixer running, add butter, one piece at a time. Knead for 5–8 minutes, until dough is smooth and elastic. Place in a bowl, cover with plastic wrap, and let rise in a warm place for 1-1/2 hours.
-
Prepare filling: In a medium skillet over medium heat, combine apples, butter, and honey. Cook until apples are soft (about 12 minutes); mix in cinnamon and nutmeg.
-
Preheat oven to 400°F. Generously butter a round 14” cast-iron baking pan.
-
After dough has risen, press down to deflate. Dust a clean work surface with flour and roll dough into a 16” x 20” rectangle; spread filling over dough. Beginning from the longest edge, roll dough up into a cylinder.
-
Transfer cylinder to prepared baking pan and form into a ring, joining the two ends together. Using kitchen shears, cut dough into 1-1/2”-thick slices, while leaving the ring intact in the back. After the ring has been cut, turn the pieces upward to see the inner rings of the cinnamon roll. Cover with plastic wrap and let rise for 30 minutes. After rising, remove plastic wrap and bake for 25 minutes, or until light golden brown.
-
Prepare caramel sauce: In a medium cast-iron skillet over medium-low heat, combine sugars. Whisking frequently, cook until sugar melts (this should start happening within 5 minutes, but watch closely so it doesn’t burn).
-
Once sugar is melted, add butter and whisk until melted. Whisk in cream, salt, and vanilla. Cool slightly and serve with cinnamon roll wreath.

14” Cast-Iron Baking Pan
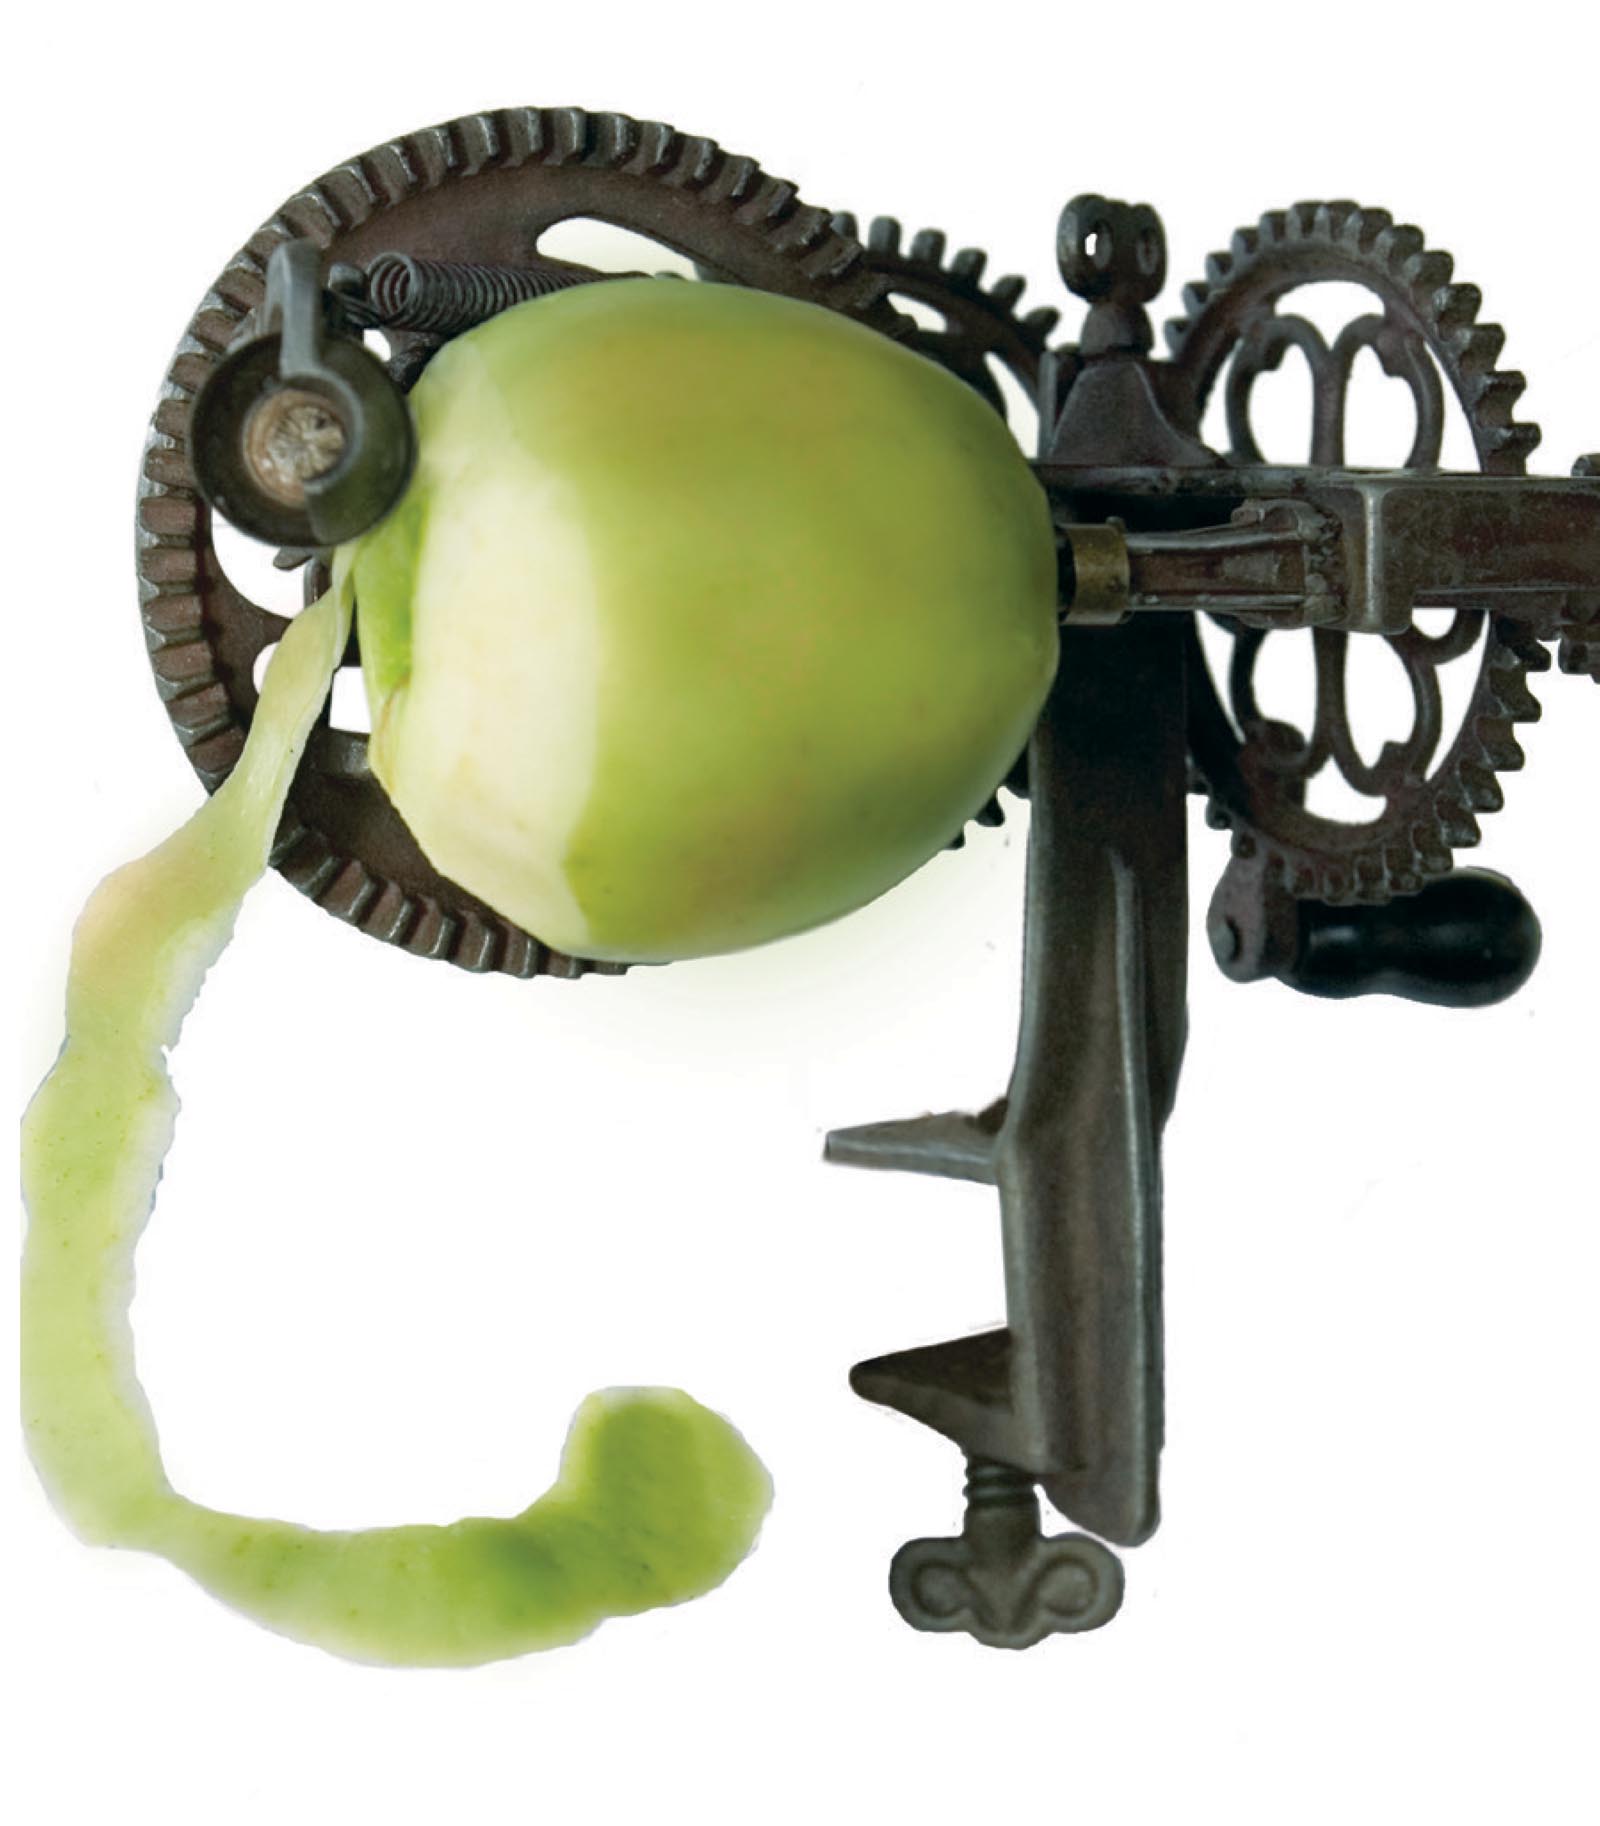
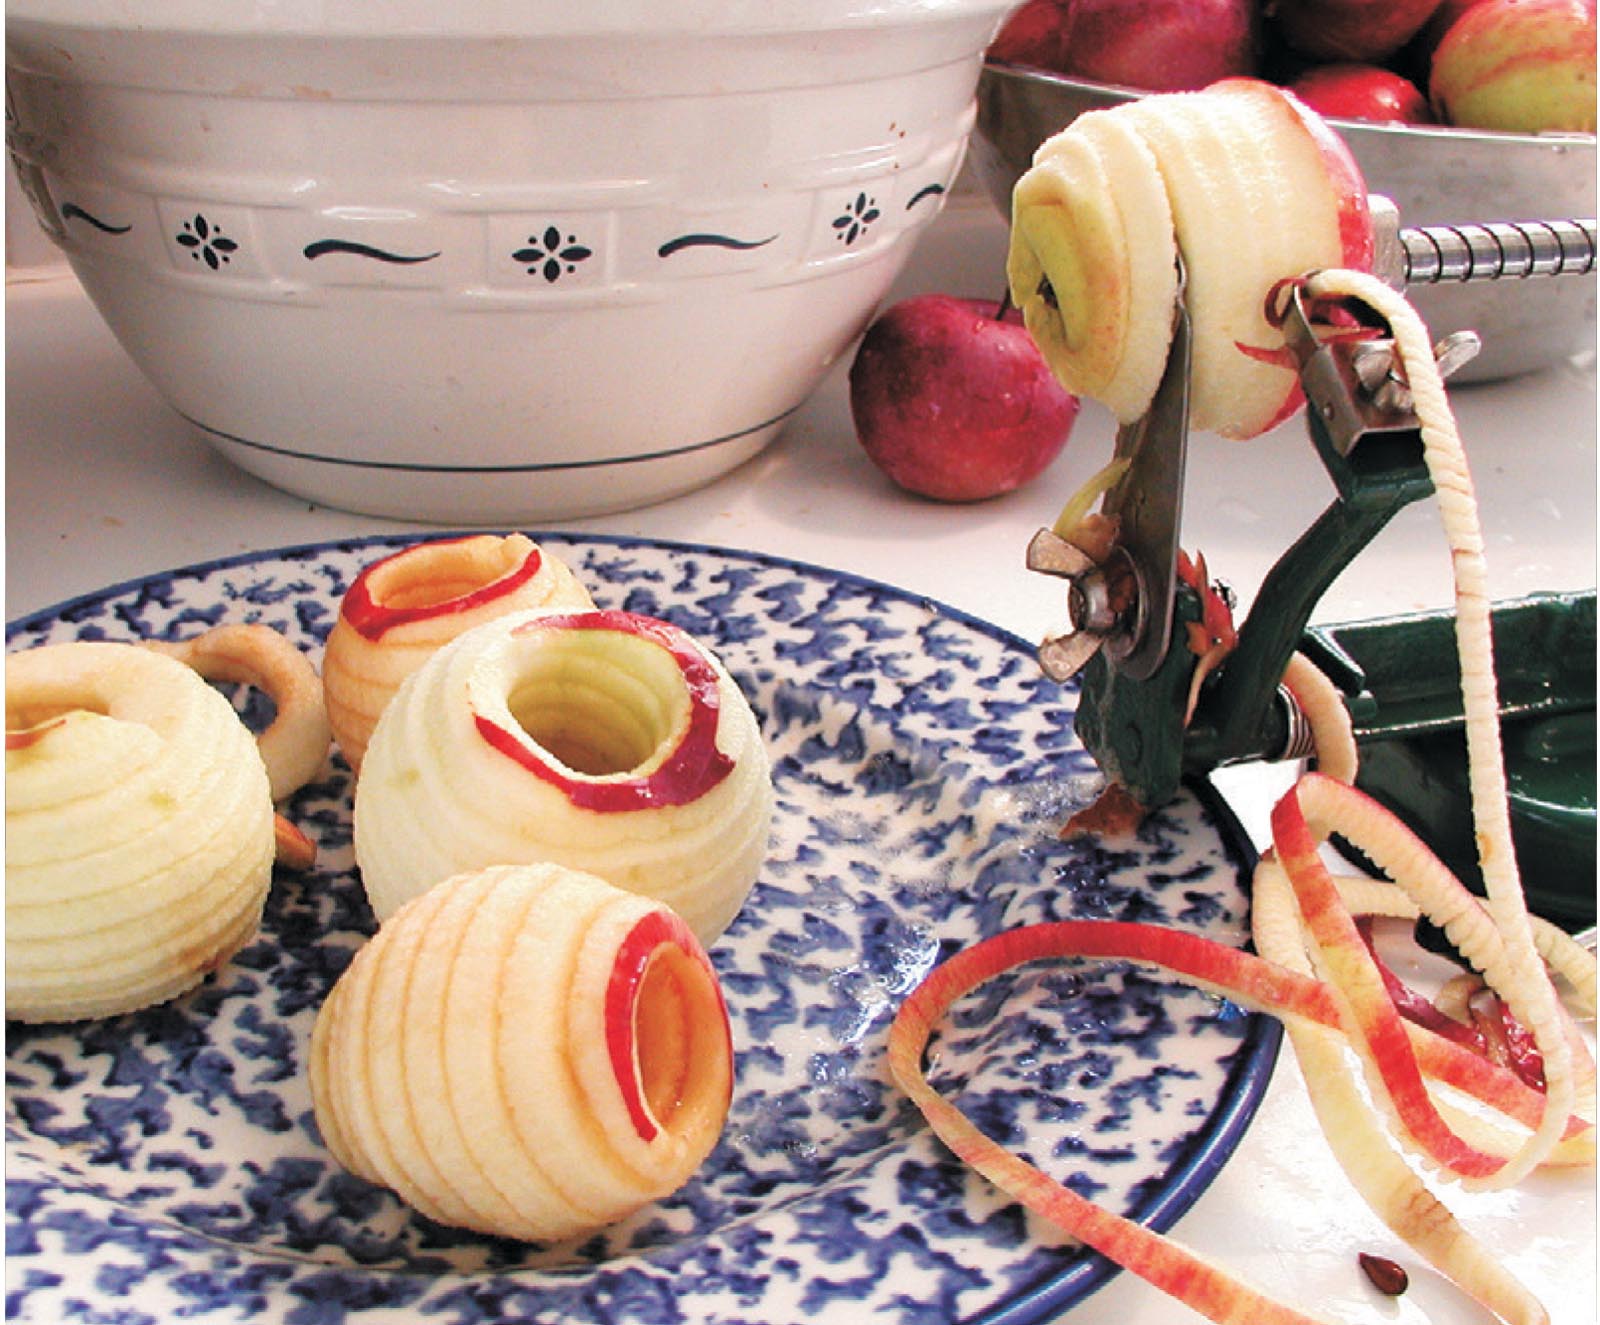
Vintage Cast-Iron Apple Peeler
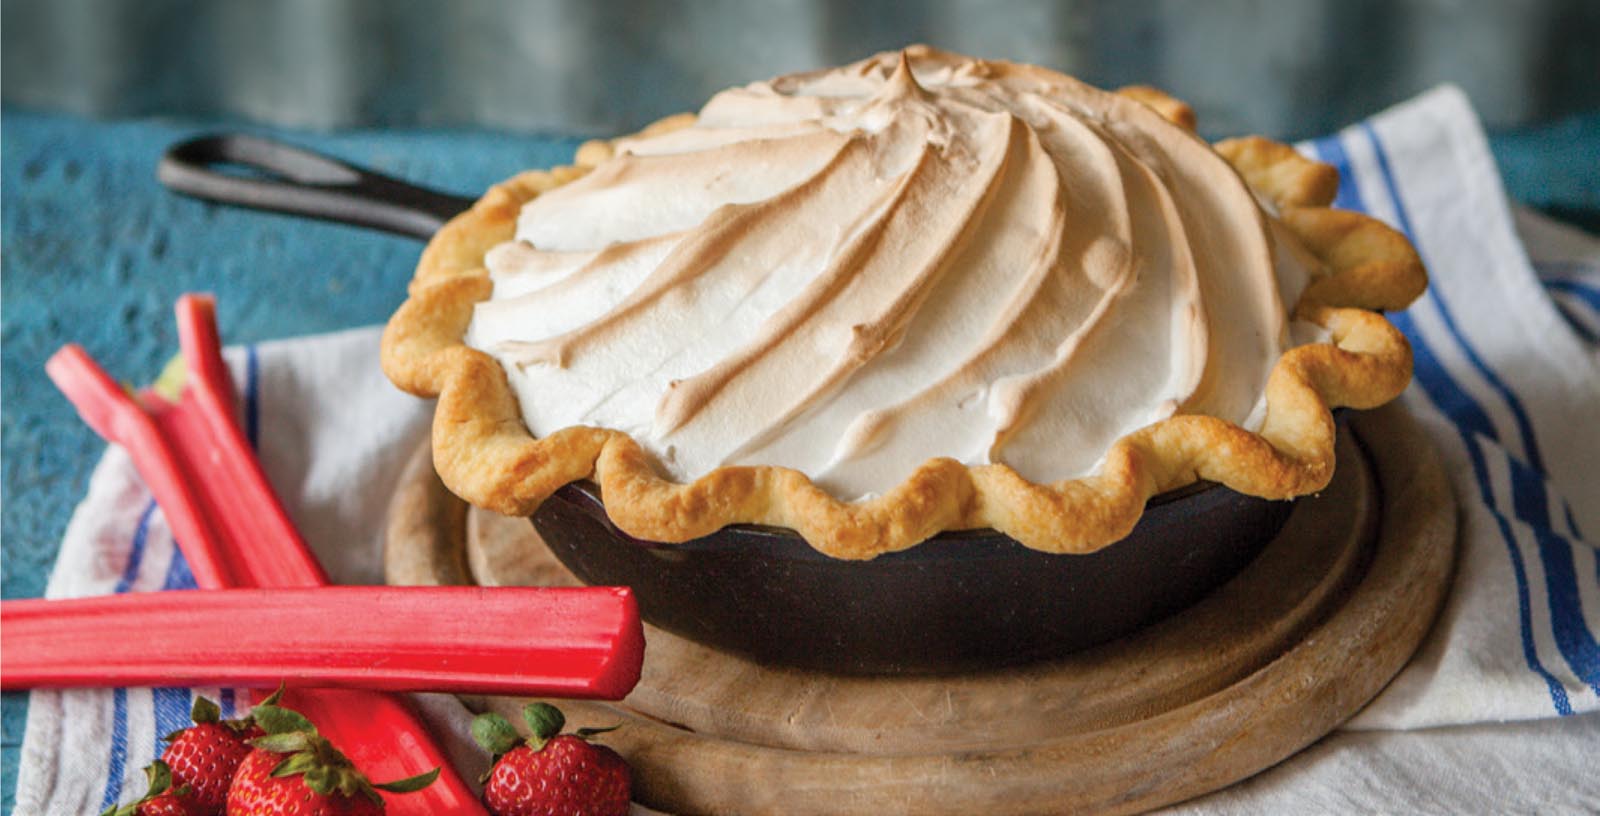
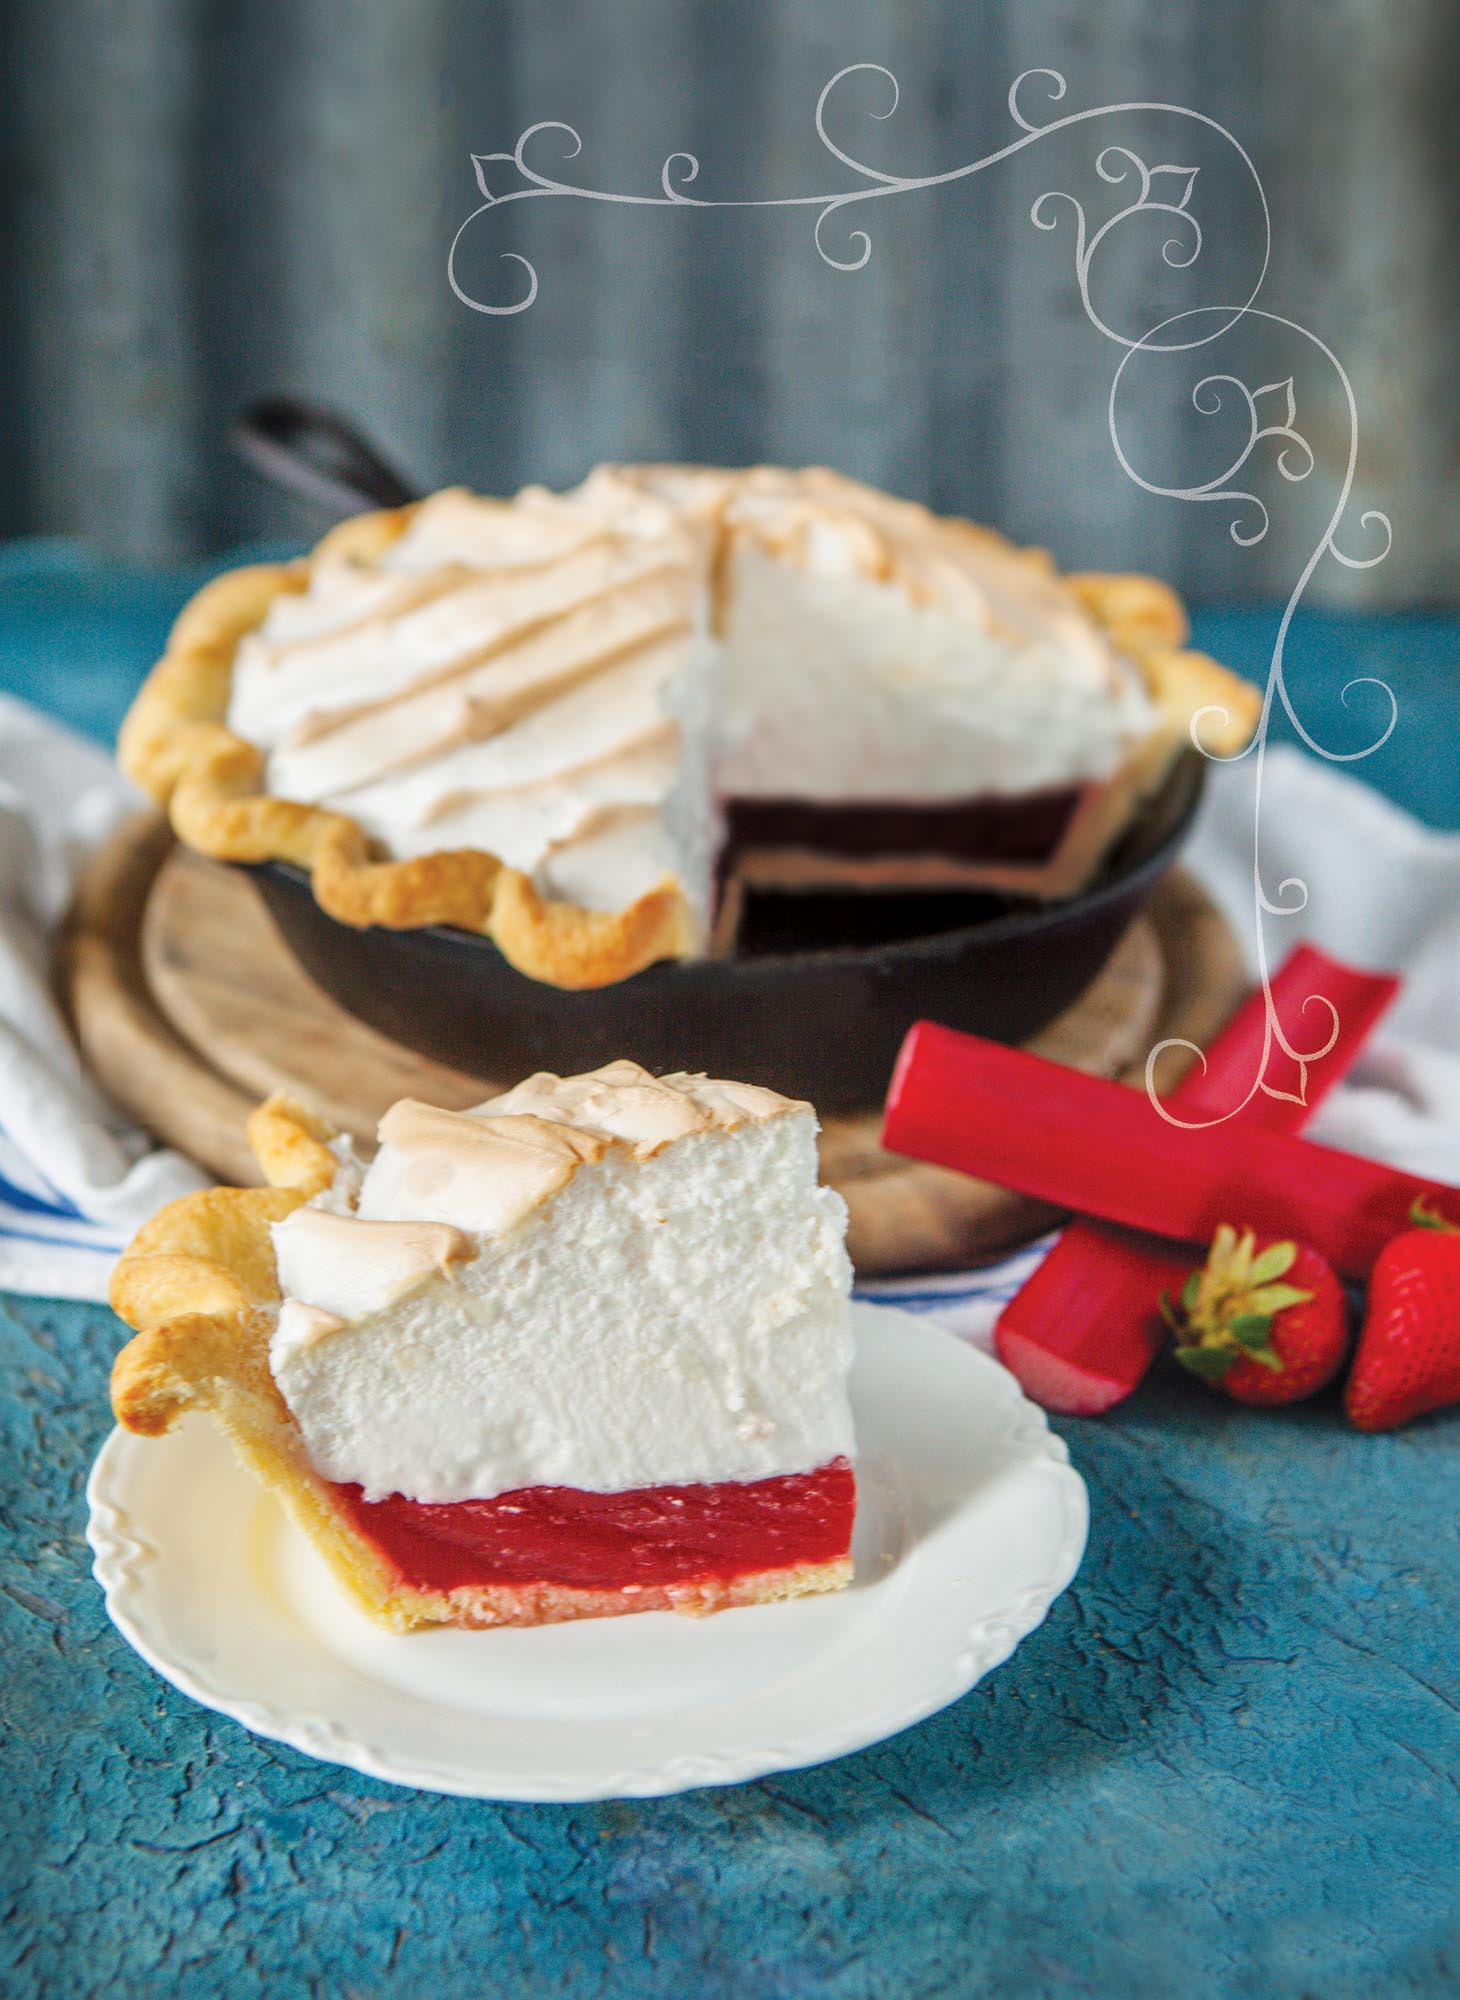
Strawberry Rhubarb Pie With Italian Meringue
Have you ever made a meringue pie and baked it to golden-brown perfection, only to find that the center is still gooey? I’ve been there. The beauty of Italian meringue is that, since you drizzle hot syrup into the egg whites, they’re partially cooked before they go into the oven, reducing the chance that you’ll have a troublesome meringue on your hands.
MAKES: ONE 8” PIE
Crust:
Medium Butter Cookie Pie Crust
Filling:
12 ozs strawberries, hulled and quartered (about 3 cups)
8 ozs rhubarb, thickly sliced (about 2 cups)
1-3/4 cups water
1/3 cup sugar
1 t MaryJane’s ChillOver Powder (MaryJanesFarm.org)
Italian Meringue:
2/3 cup sugar
1/3 cup water
3 egg whites, at room temperature
1/4 t cream of tartar
1/4 t salt
-
Make Medium Butter Cookie Pie Crust, as directed.
-
Preheat oven to 400°F. Lightly butter an 8” cast-iron skillet.
-
Roll pie crust out onto a lightly floured surface; let rest for 5 minutes (helps prevent crust from slipping and shrinking while baking). Transfer to prepared skillet. Poke holes in the bottom of crust with a fork, line with foil, add pie weights, and bake for 20 minutes. Cool while making filling.
-
Make filling: In a large saucepan over medium heat, bring strawberries, rhubarb, and water to a boil; simmer for 10 minutes. Strain the juice and discard pulp. You should have 2 cups juice (if you have less, add water to make 2 cups).
-
In a medium saucepan over medium heat, bring juice and sugar to a boil. Whisk in ChillOver powder, boil an additional 3 minutes; cool slightly, and pour into baked pie crust. Cool until set, about 2 hours, or overnight.
-
Preheat oven to 375°F.
-
Make meringue: In a small saucepan over medium heat, combine sugar and water, stirring just until sugar is dissolved. Without stirring, cook until syrup reaches 240°F on a candy thermometer.
-
Meanwhile, whip egg whites until foamy. Add cream of tartar and salt; whip egg whites into soft peaks. While mixing, pour syrup into egg whites in a slow, steady stream. Once all syrup is added, whip into stiff, glossy peaks.
-
Spoon meringue onto pie and form into desired shape; bake for 10–12 minutes, or until golden. Cool completely and serve.

8” Cast-Iron Skillet
Butter-Cookie Pie Crust
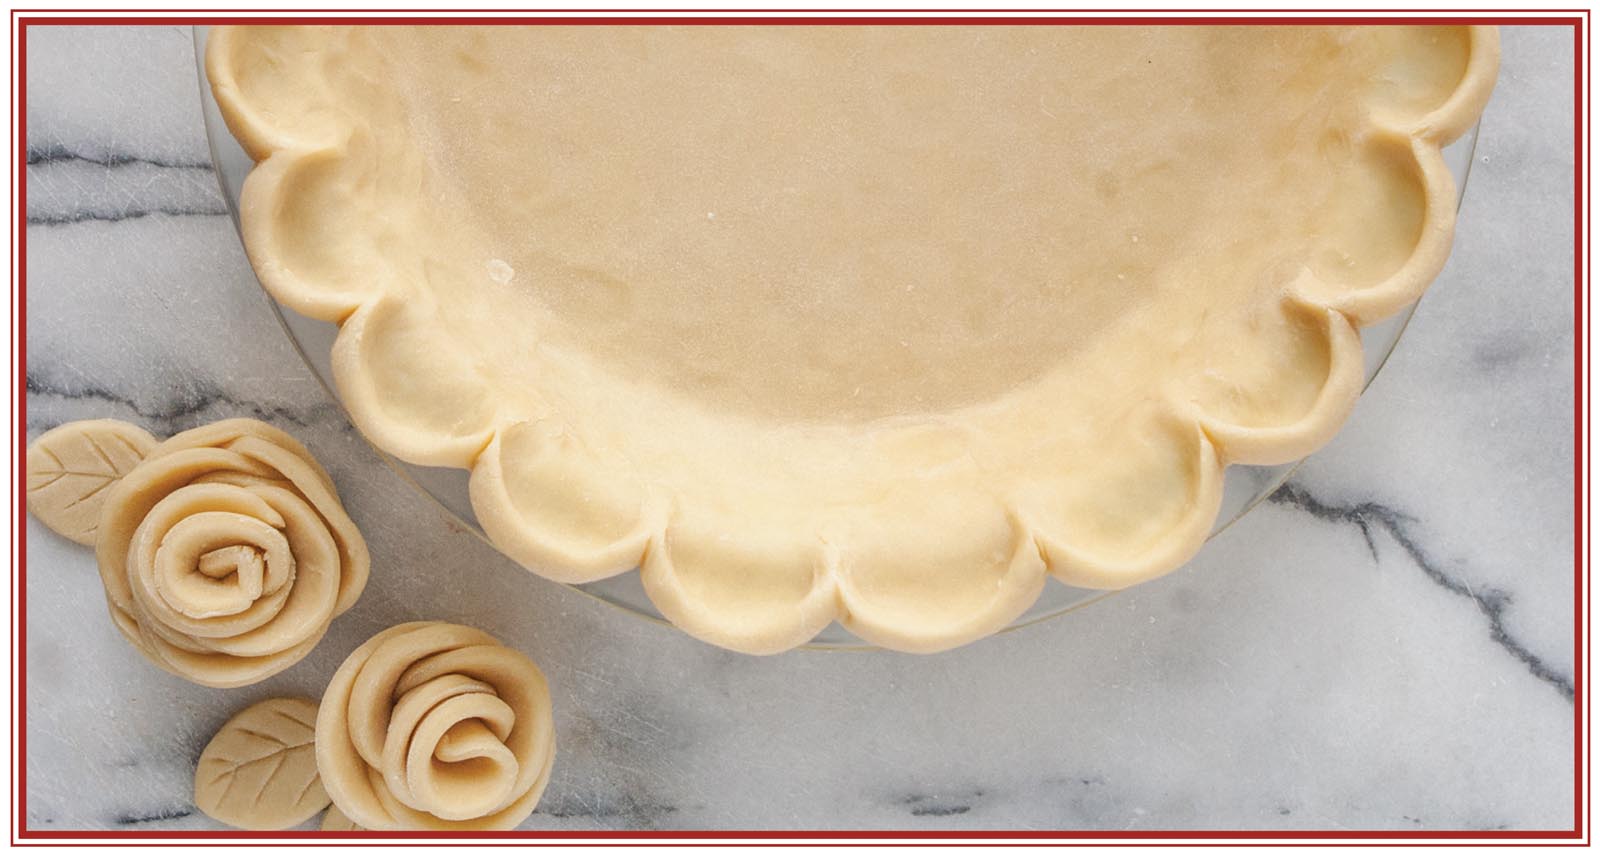
Over the years, I’ve learned that there’s a particular finesse to working with pie crust. Contrary to my original views, it takes a firm hand to shape a pie crust and bend it to your will. Not only that, but while most pie-crust recipes have similar ingredients, they’re not equal. The right balance between fat, flour, and moisture produces the perfect pie crust.
MAKES: ONE CRUST
Small Pie Crust:
1-1/4 cups flour
1/2 t sugar
1/4 t salt
1/2 cup cold butter, cut into pieces
2-1/2 T cold water
Medium Pie Crust:
1-3/4 cups flour
3/4 t sugar
1/4 t salt
10 T cold butter, cut into pieces
1/4 cup cold water
Large Pie Crust:
2-1/2 cups flour
1 t sugar
1/2 t salt
1 cup cold butter, cut into pieces
5 T cold water
Note: This recipe is for pie crust only. For complete rolling and baking instructions, see Mini Apple Pies, Rhubarb Raspberry Pandowdy, or Strawberry Rhubarb Pie.
-
Combine flour, sugar, and salt in a food processor. Cut in butter until mixture resembles coarse meal. With food processor running, slowly add water. Shape into one disc if making recipe for small or medium crusts and two discs if making recipe for large crust. Wrap in plastic wrap, and chill for 1 hour, and then use in desired recipe.
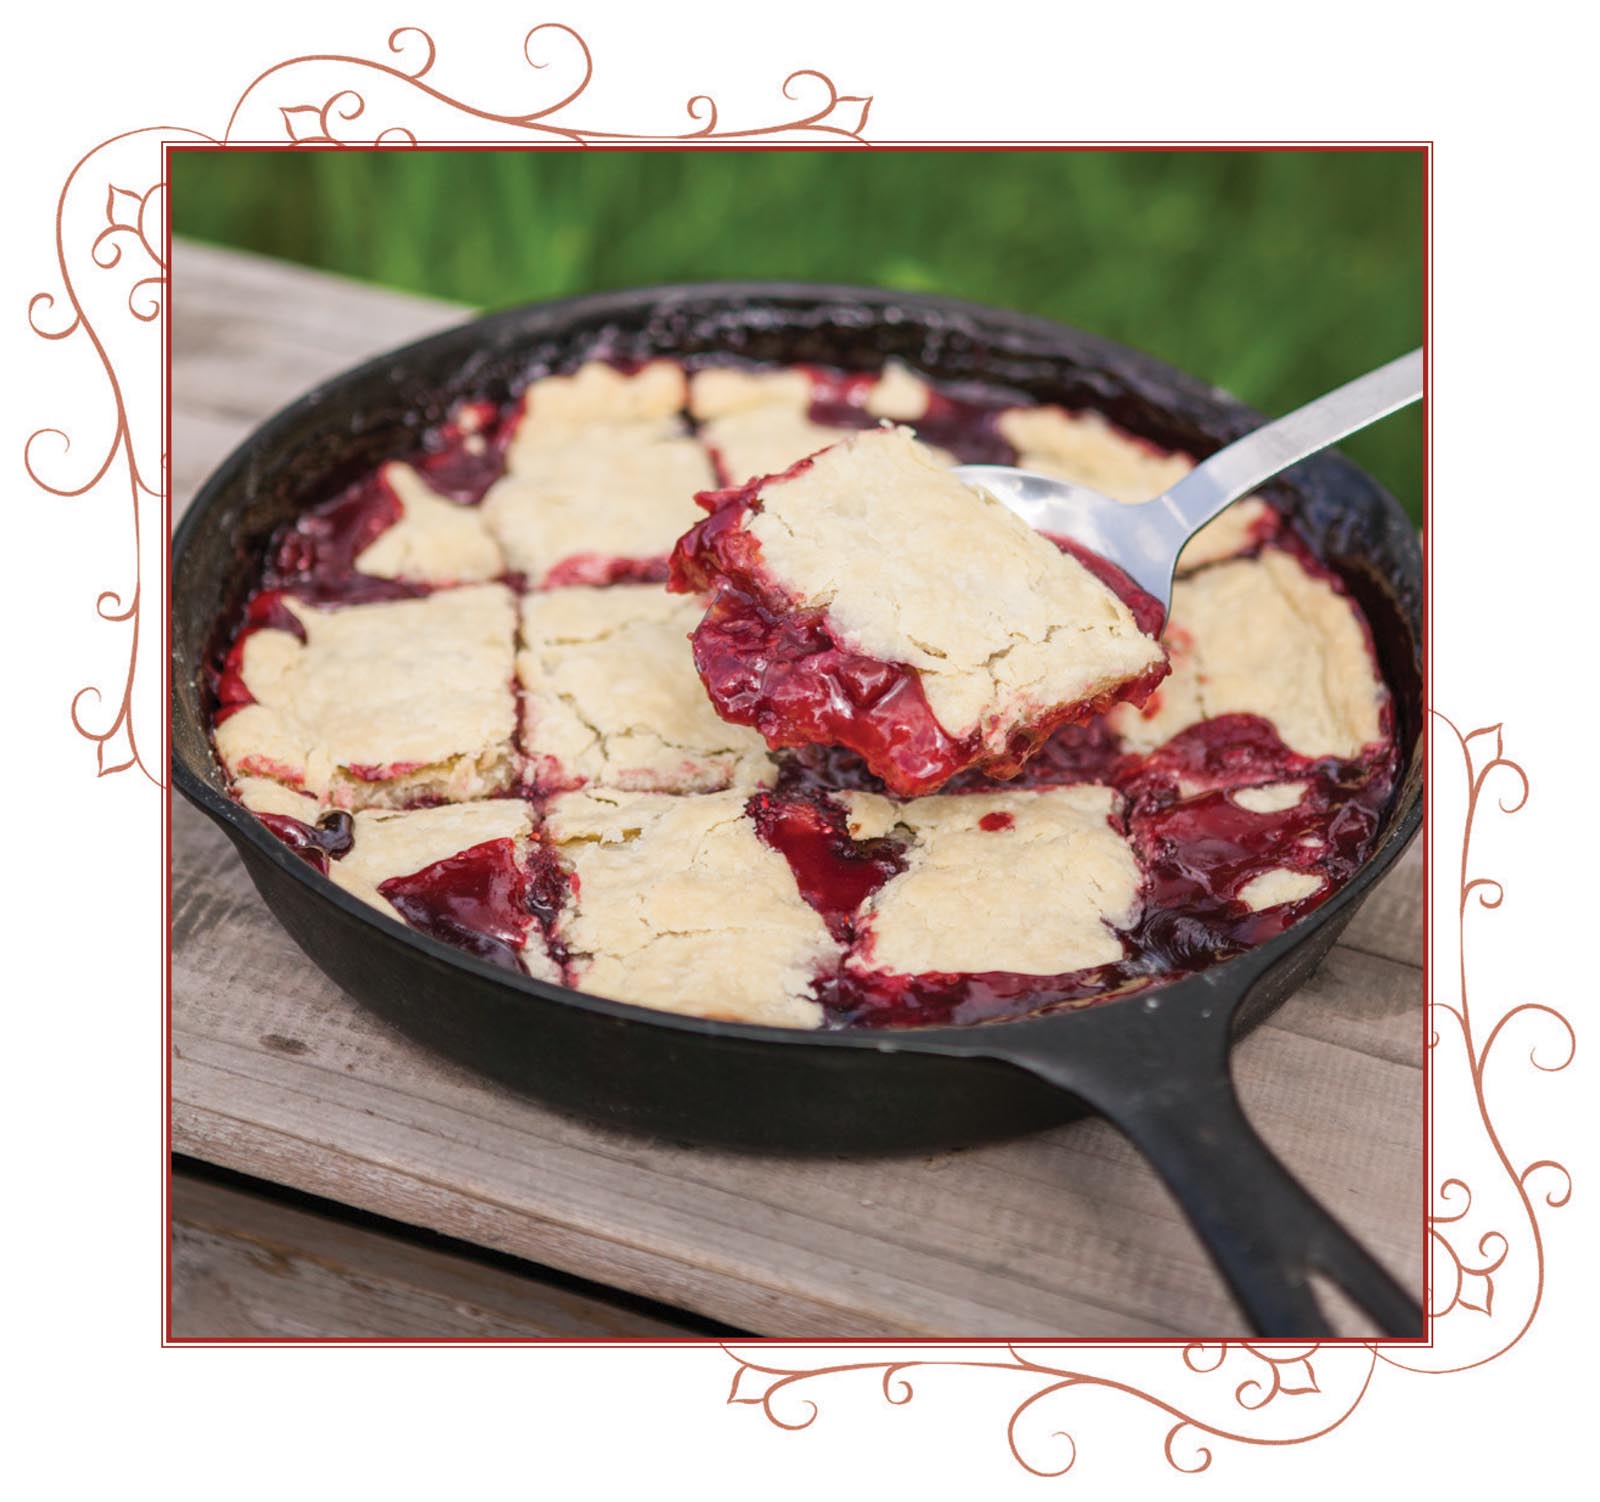
Rhubarb Raspberry Pandowdy
Pandowdy is an early American cooked fruit dish with a biscuit or pie-crust top, originally eaten for breakfast because it was easily cooked on hot coals left over from the night before. It was most commonly made with apples, but the recipe passed down by word of mouth using whatever ingredients were available or common to an area.
MAKES: 8 SERVINGS
Crust:
Medium Butter Cookie Pie Crust
Filling:
1 lb raspberries, fresh or frozen, but not thawed (about 3 cups)
2 cups rhubarb, finely chopped
3/4 cup sugar
1/4 cup flour
1/2 t cinnamon
1/4 t grated nutmeg
1/4 t salt
2 T butter, cut into pieces
whipped cream or vanilla ice cream for serving
-
Make Medium Butter Cookie Pie Crust, as directed.
-
Preheat oven to 400˚F.
-
Combine all filling ingredients except butter in a large bowl and toss until fruit is coated. Put fruit into a buttered 10-1/4” cast-iron skillet. Dot with butter.
-
Roll pie crust out onto a lightly floured surface and transfer to skillet. Tuck the edges of dough in, pressing on the fruit.
-
Bake for 30 minutes. Reduce heat to 350˚F and continue to bake for 15 more minutes. Pull the skillet out and slice the pie crust into squares (like you would a bar cookie), and return skillet to oven for 10 more minutes. The crust then submerges partially into the fruit juices—the trademark of a ‘pandowdy’! Serve warm by the big spoonful with some freshly whipped cream or a scoop of vanilla ice cream.

10-1/4” Cast-Iron Skillet
Peanut-Butter Skillet Brownies
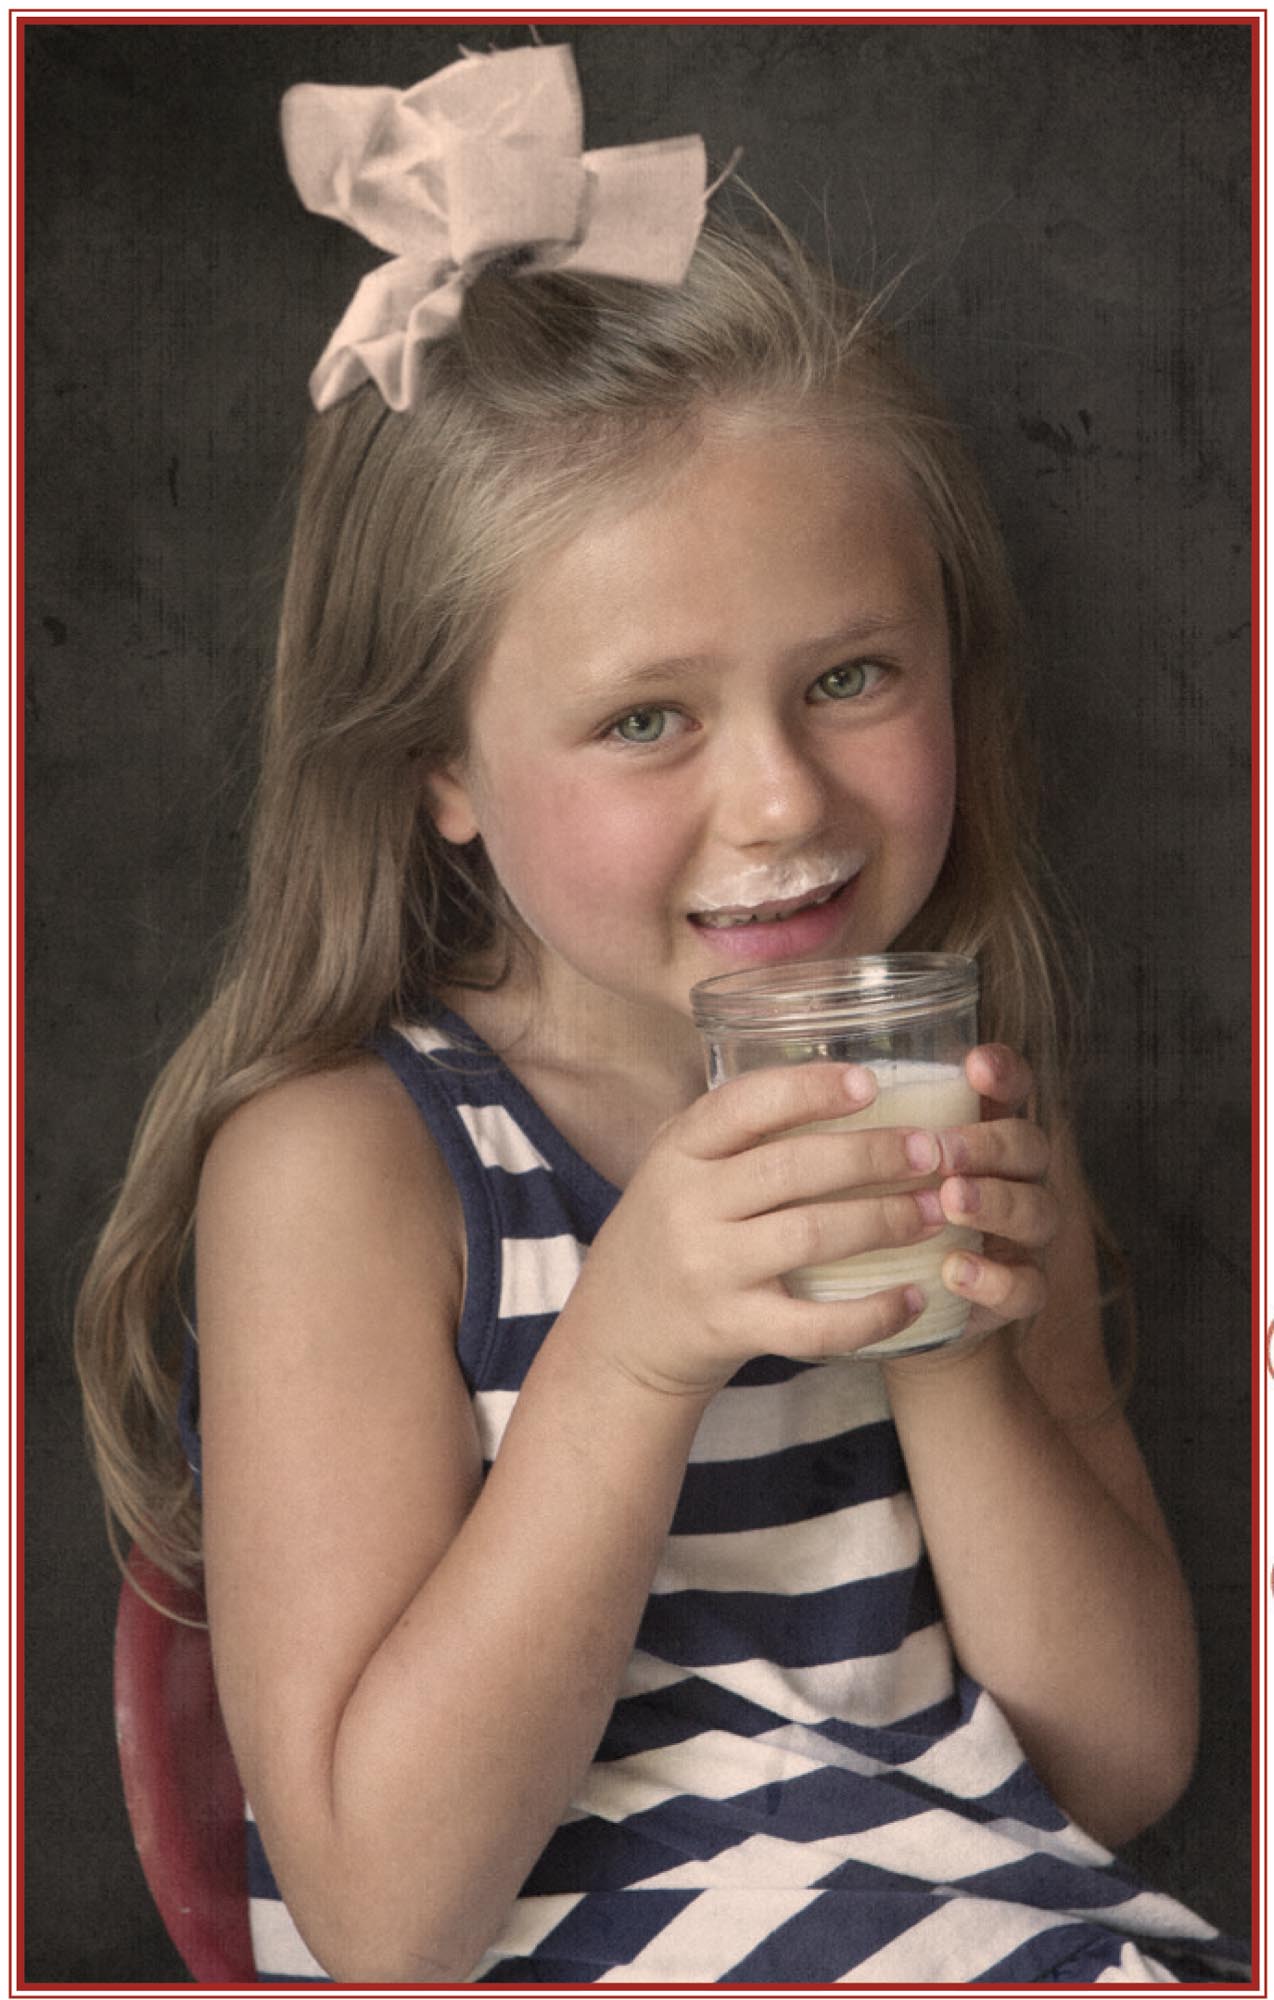
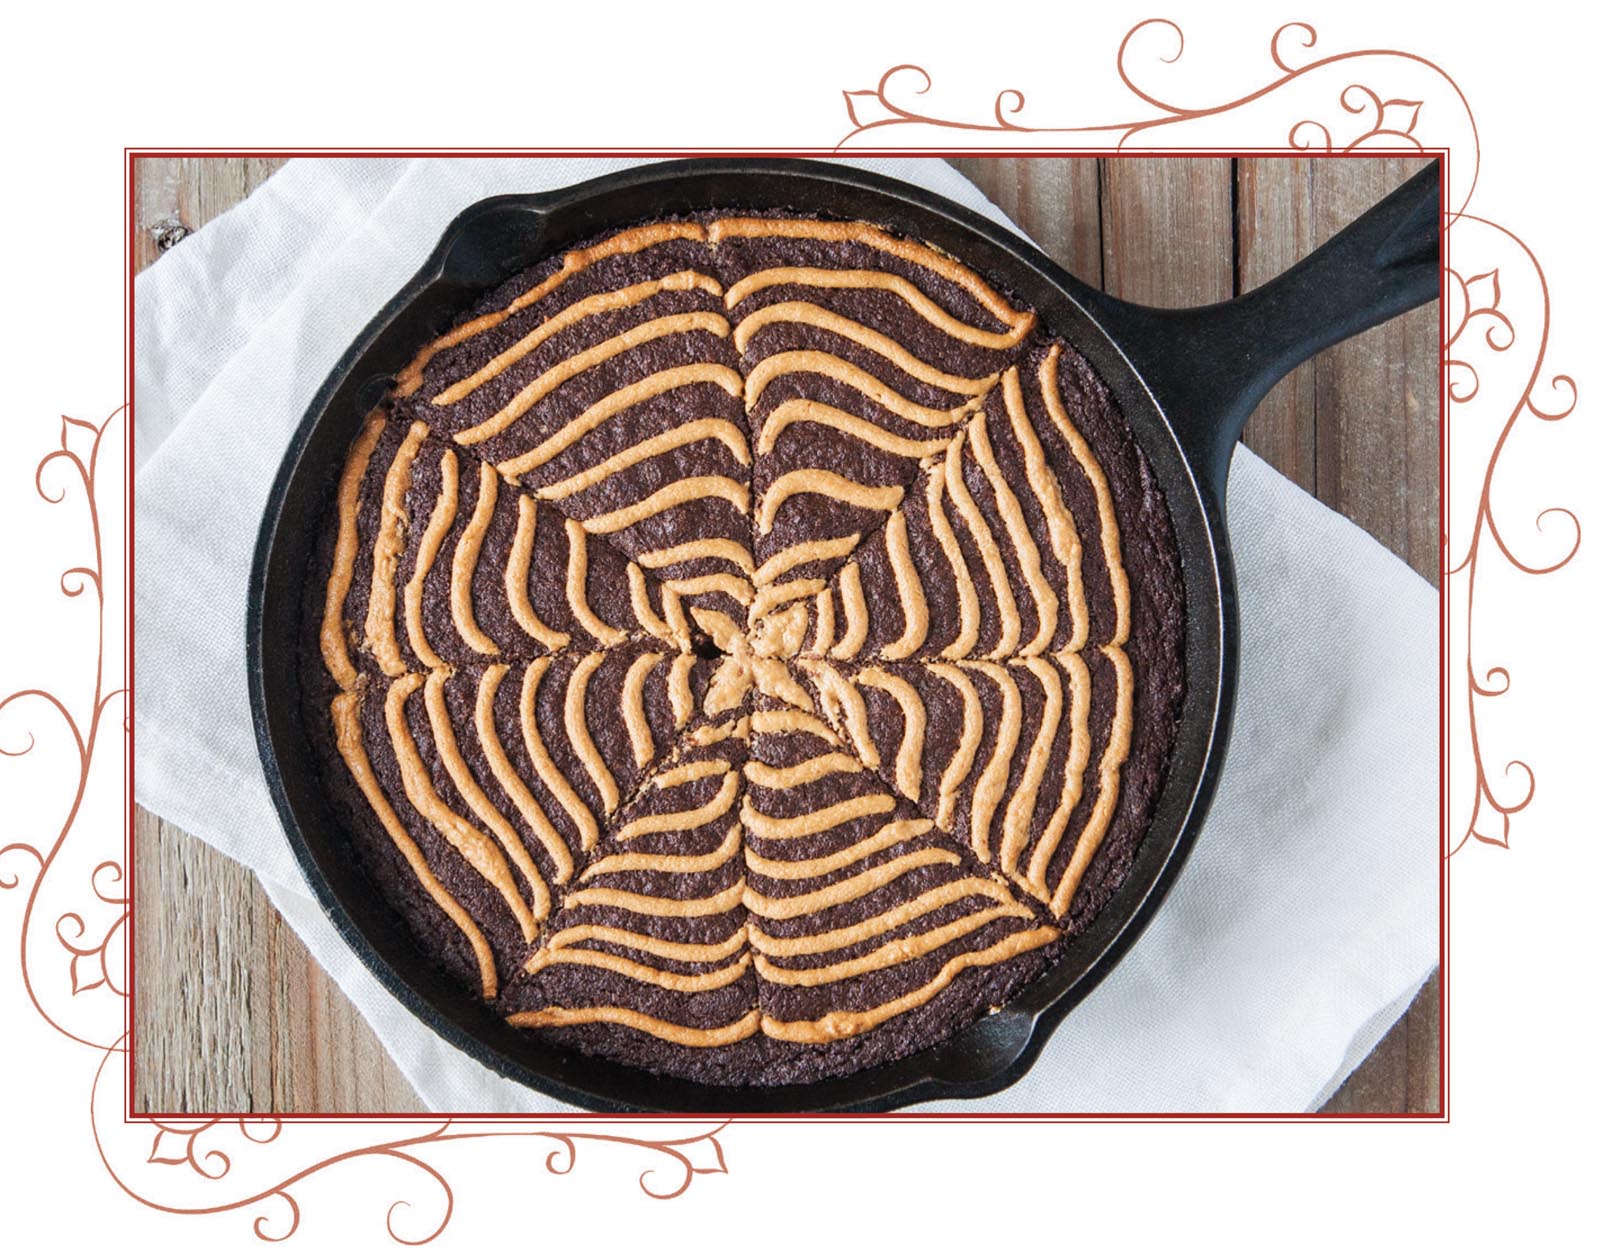
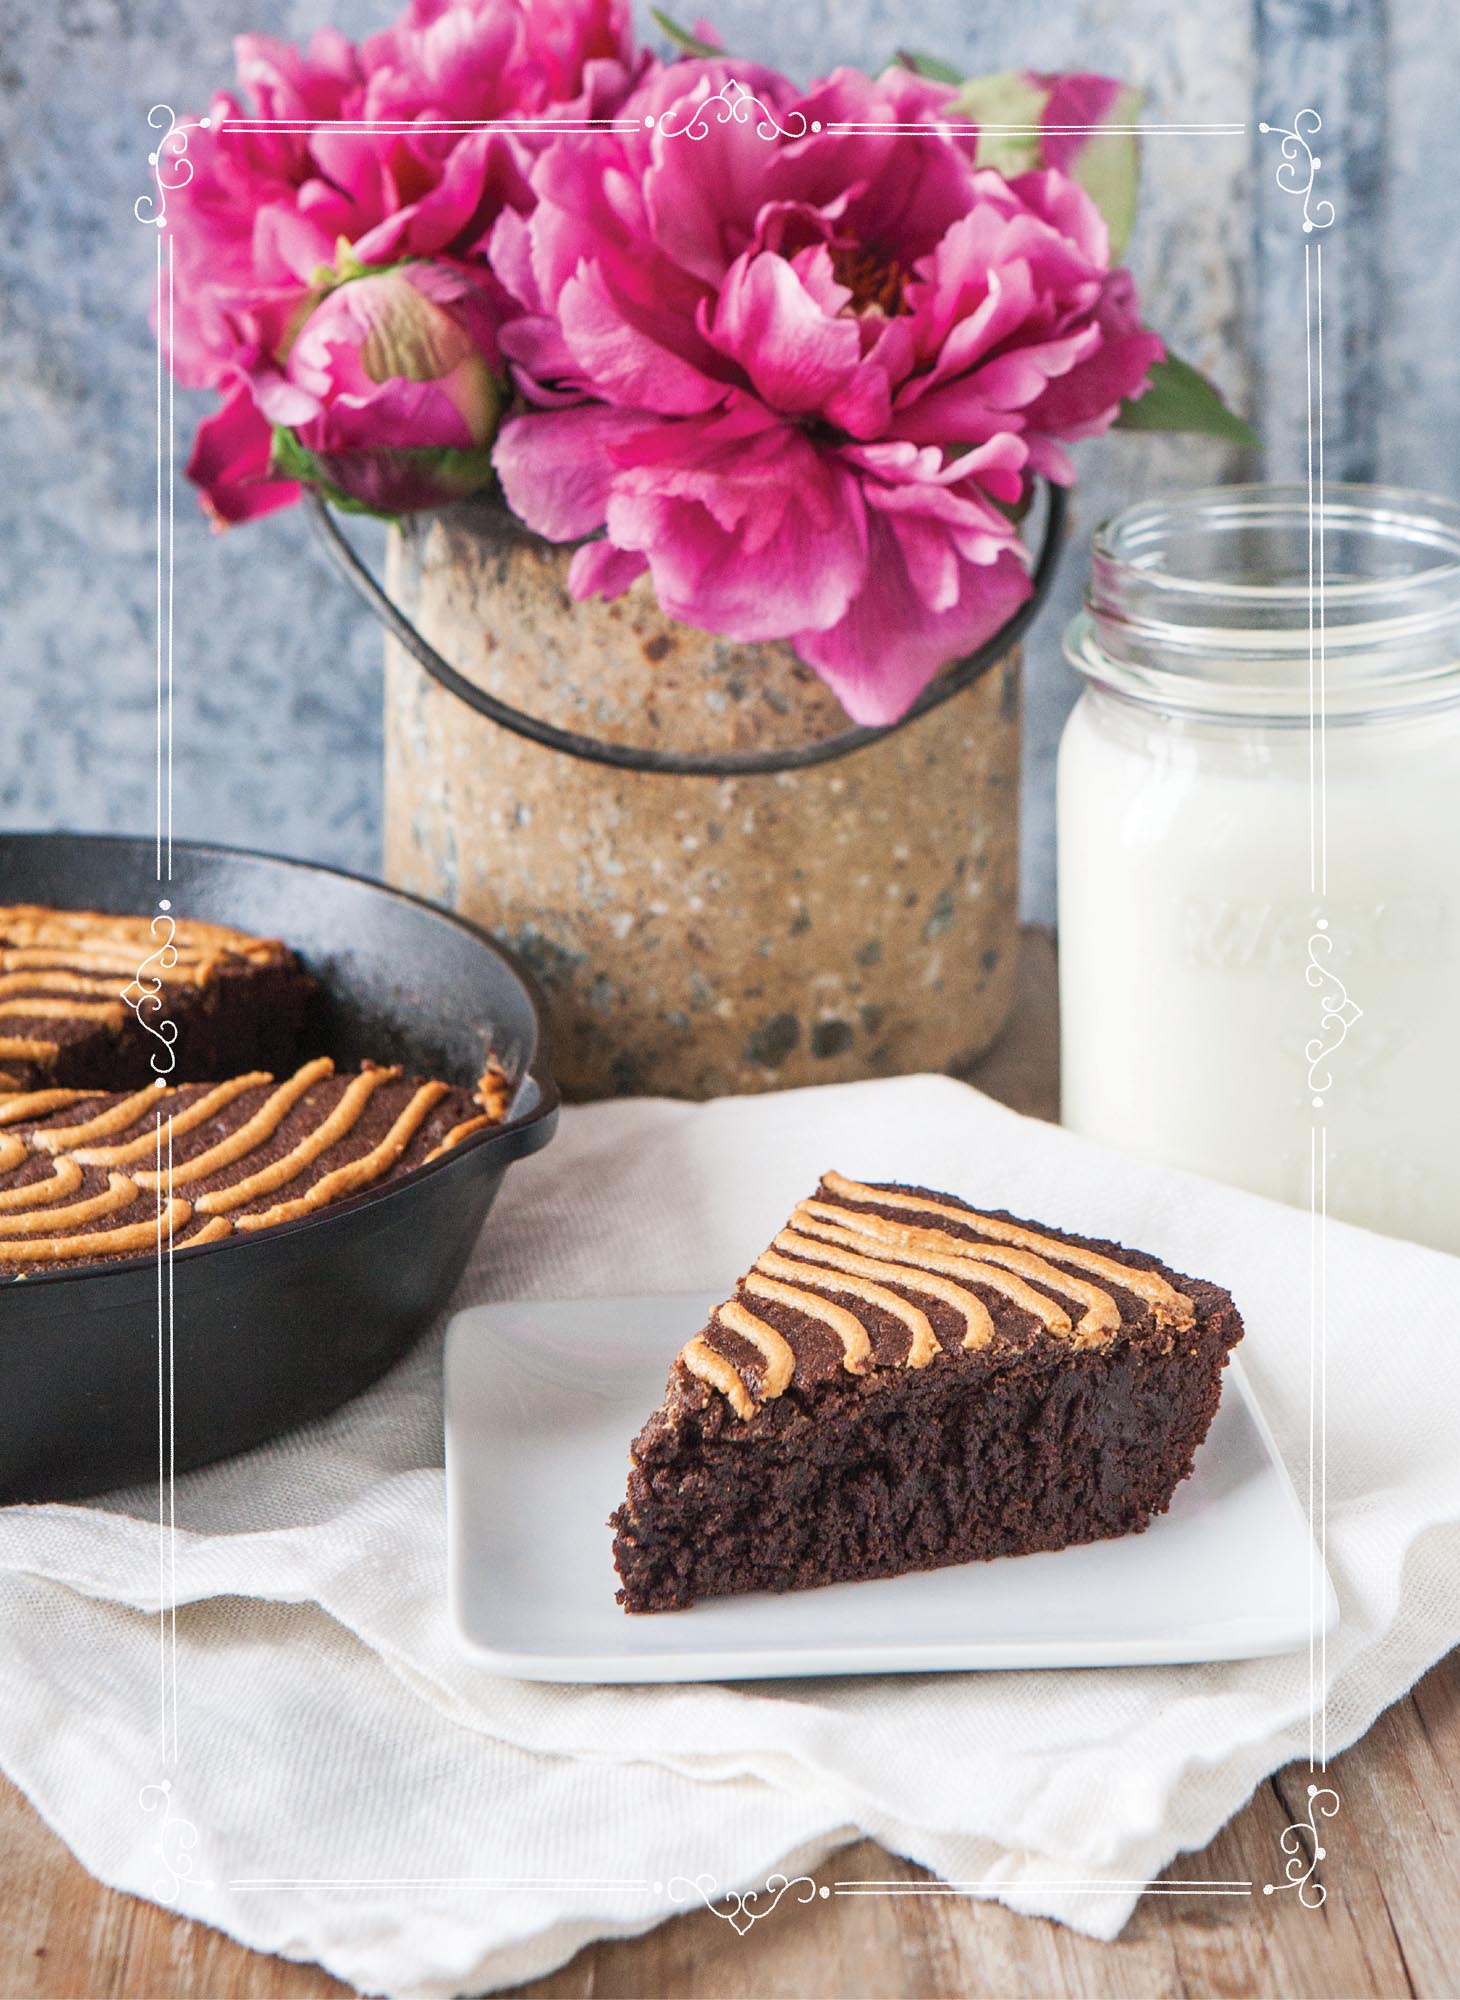
There are two qualities I think every brownie should have: a rich, moist, chocolate center and a chewy, slightly crisp edge. This brownie recipe has both, and the peanut-butter topping is a wonderful addition. Enjoy with a cold glass of milk.
MAKES: 8 SERVINGS
2 /3 cup white rice flour
1/2 cup cocoa powder
1/2 t baking powder
1/4 t salt
1 cup sugar
1/2 cup butter
1/2 cup semi-sweet chocolate chips
2 eggs
2 t vanilla extract
1/4 cup peanut butter
1 T powdered sugar
Special Equipment: pastry bag, Wilton #7 round piping tip
-
Preheat oven to 350°F. Lightly butter an 8” cast-iron skillet.
-
In a medium bowl, combine rice flour, cocoa powder, baking powder, and salt; mix in sugar and set aside.
-
In a medium saucepan over medium-low heat, melt butter and chocolate together, whisking frequently. Once melted, remove from heat and whisk in eggs and vanilla.
-
Add flour mixture to chocolate mixture and mix well. Pour into prepared skillet, smooth out top, and set aside.
-
In a small bowl, combine peanut butter and powdered sugar. Spoon into a pastry bag fitted with a Wilton #7 round piping tip. Make several rings of peanut butter mixture over the brownie batter. With the tip of a toothpick or a thin-bladed knife, make four lines in the peanut butter, starting from the outer edge and moving toward the center. Make four lines in between the first four, this time starting in the center and moving toward the edge.
-
Bake for 35–40 minutes, or until a toothpick inserted into the center comes out clean. Cool completely and enjoy!

8” Cast-Iron Skillet

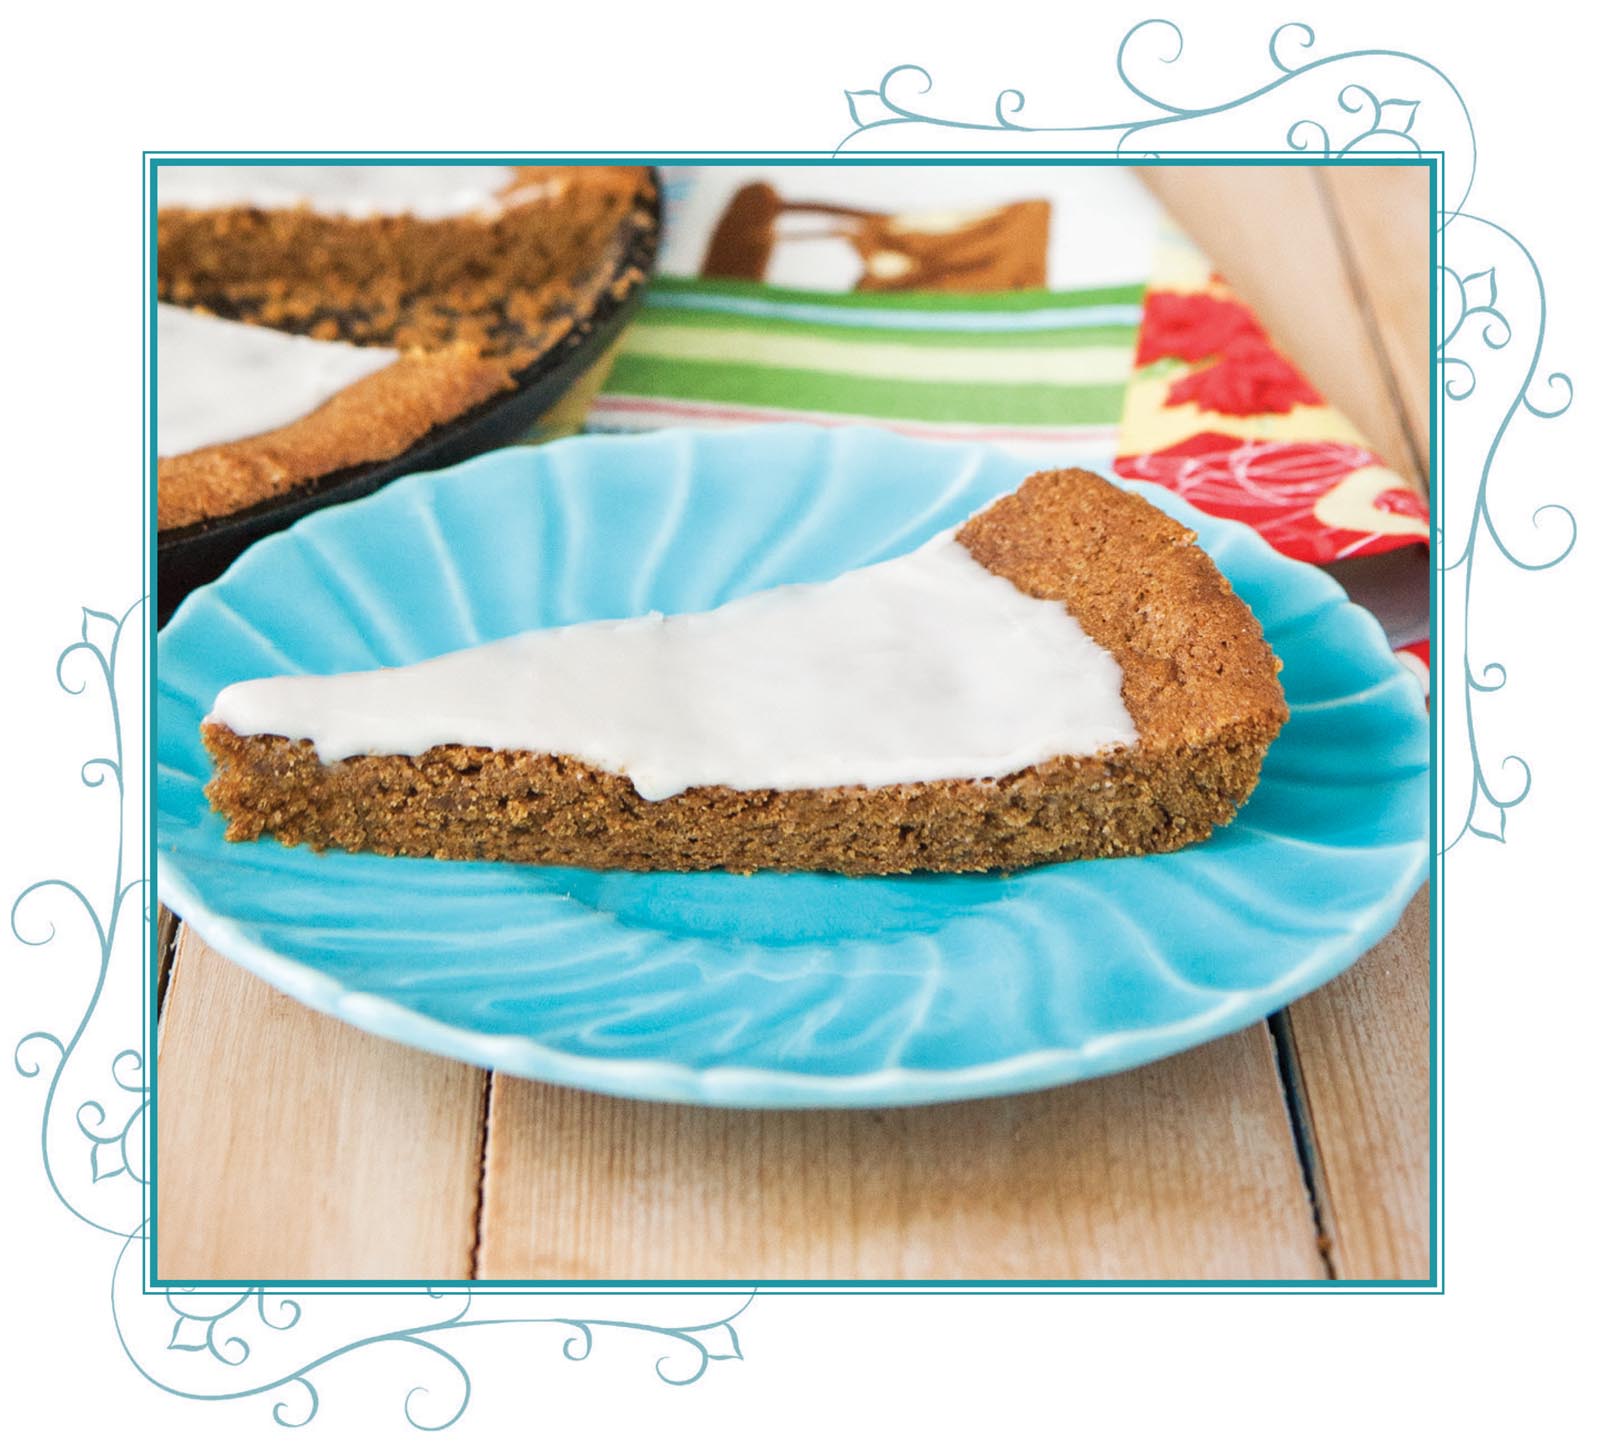
Griddle Ginger Cookie
My multi-purpose cast-iron griddle makes a mean cookie. After baking and cooling, this cookie slices up into moist, chewy, delicious cookie wedges.
MAKES: ONE 10-1/2” COOKIE
Cookie:
1 cup flour
1/4 t baking powder
1/4 t baking soda
1/4 t salt
1-1/2 t ground ginger
1/2 cup butter, softened
1/4 cup sugar
1/4 cup dark brown sugar
1 egg
1 T molasses
1 t vanilla extract
Icing:
2/3 cup powdered sugar
5 t milk
-
Preheat oven to 325°F. Generously butter a 10-1/2” cast-iron griddle.
-
Make cookie: In a small bowl, combine flour, baking powder, baking soda, salt, and ground ginger; set aside.
-
In a medium bowl or stand mixer, cream butter, sugar, and brown sugar together, scraping bowl occasionally. Add egg, molasses, and vanilla; continue mixing until smooth.
-
Add flour mixture to butter mixture and mix until smooth. Spoon mixture onto prepared griddle pan. Lightly butter hands and flatten mixture so that it touches the edges of the pan. Bake cookie for 25 minutes. Cool completely in pan.
-
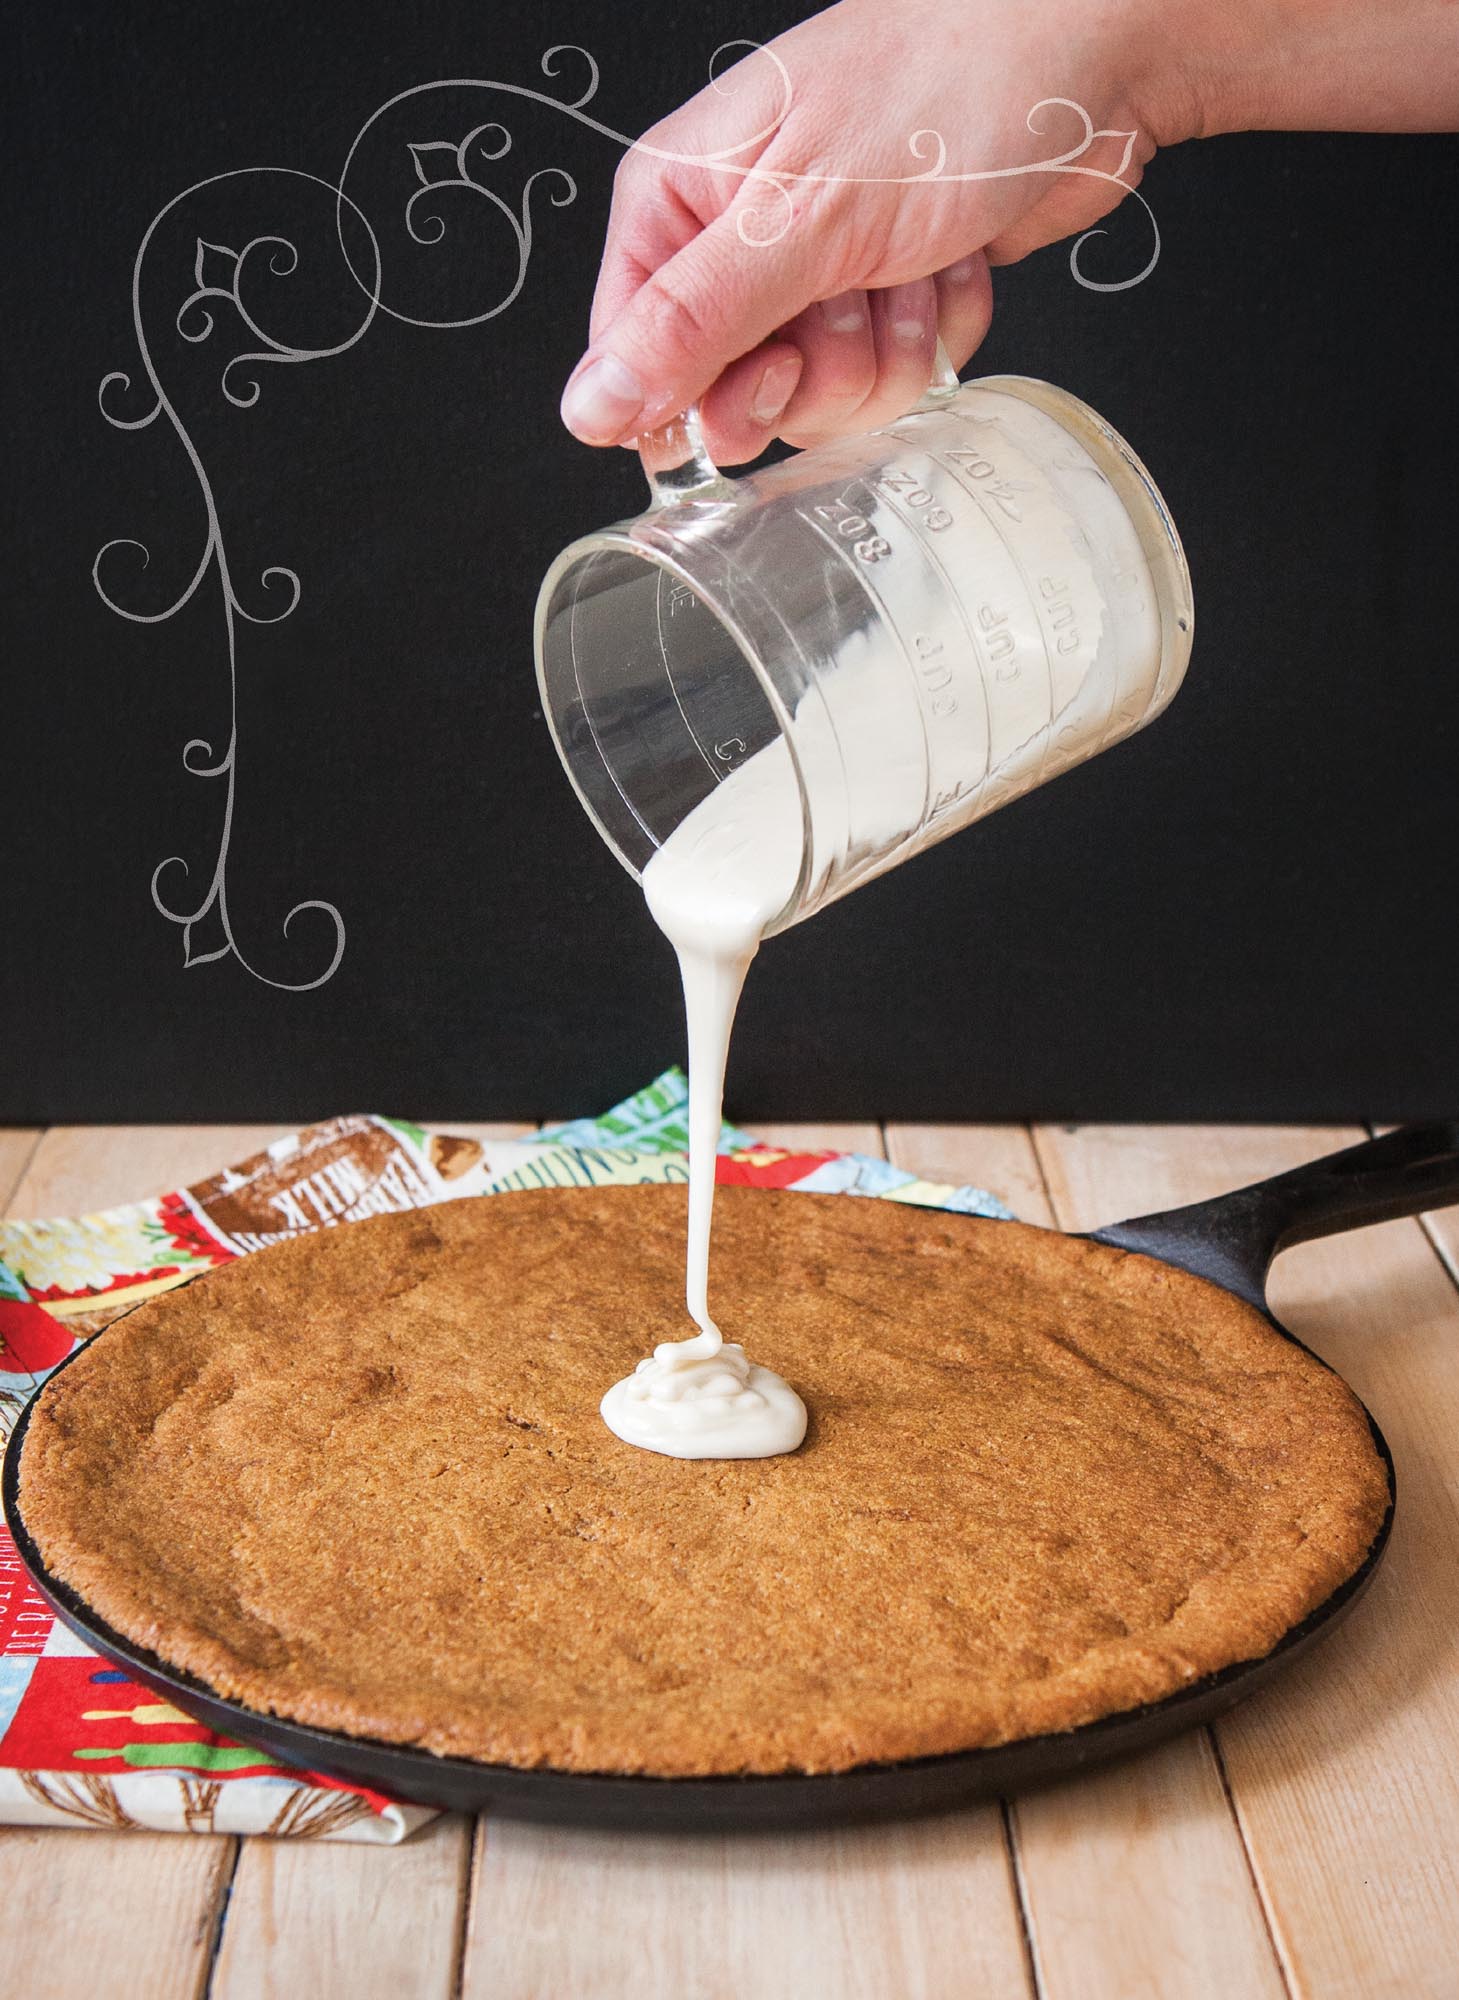
Once cookie is cool, prepare icing: In a small bowl, combine powdered sugar and milk; mix until smooth. Drizzle mixture over center of cookie. Using the back of a spoon, spread icing out in a smooth layer. Let dry for 10 minutes and enjoy.

10ó” Cast-Iron Griddle

Make it gluten free: Replace flour in recipe with 2 /3 cup white rice flour, 1/3 cup tapioca flour, and 1/2 t xanthan gum.
Baked Peaches
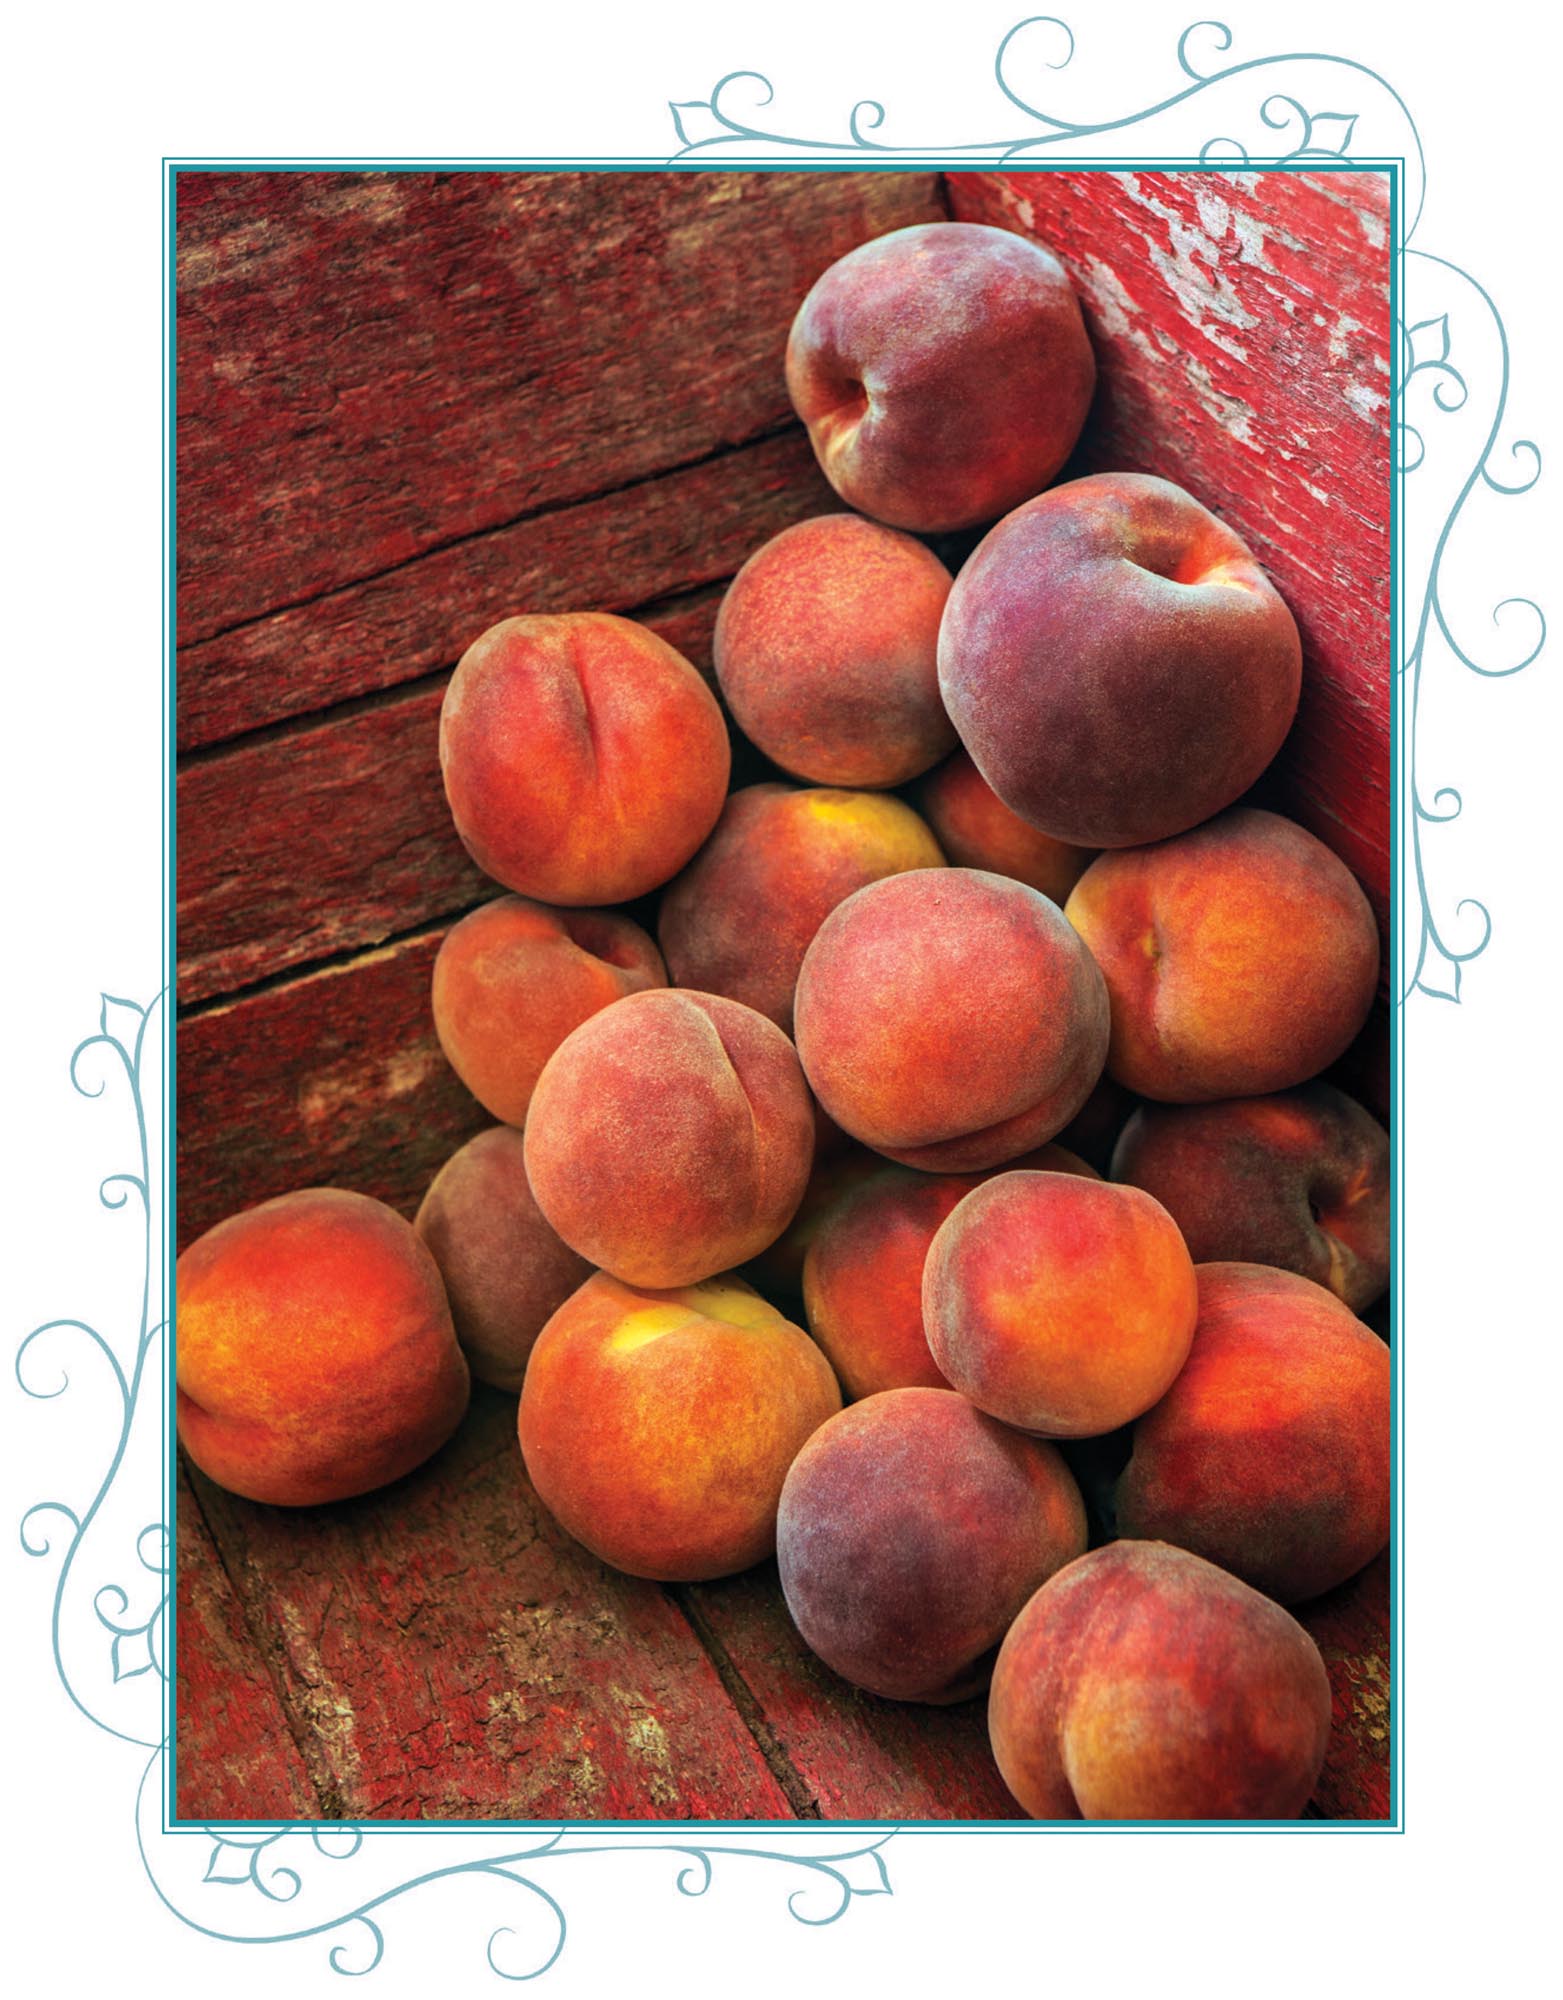
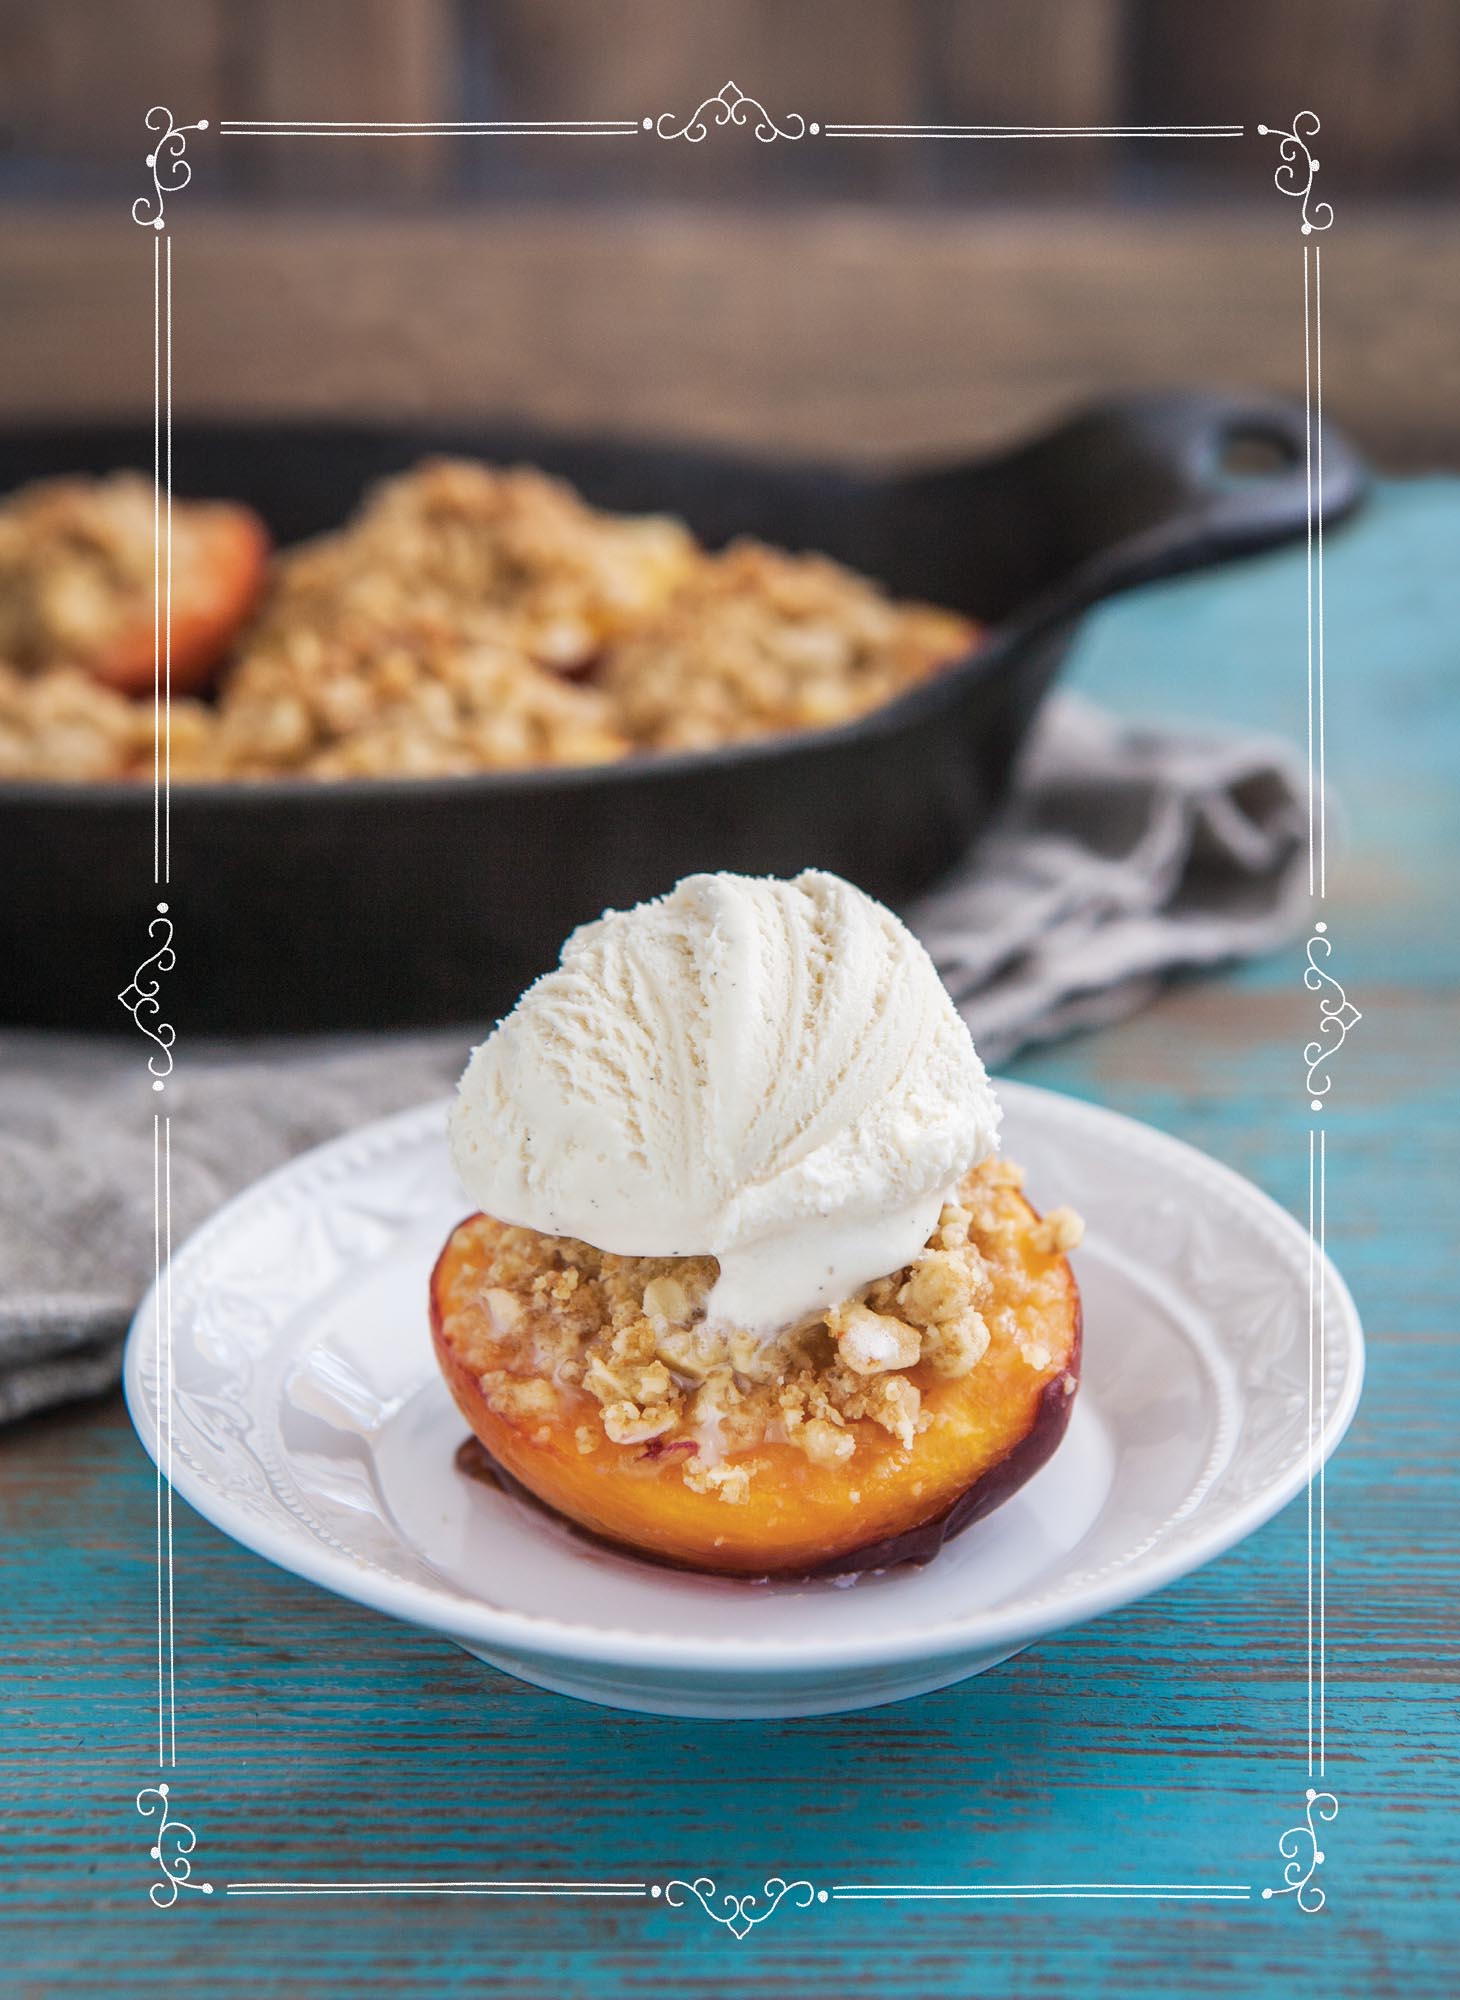
These baked peaches are proof that there’s beauty in simplicity. For an easy summer dessert, just mix up a little crumb topping, spoon onto halved peaches, and bake. Be sure to top it all off with a scoop of vanilla ice cream.
MAKES: 6 SERVINGS
3 peaches, halved and pitted
1/4 cup flour
2 T thick-cut rolled oats
2 T brown sugar
2 T butter, melted
vanilla ice cream for serving
-
Preheat oven to 350°F.
-
Arrange peaches cut side up in cast-iron baking dish.
-
In a small bowl, combine flour, oats, and brown sugar; mix in melted butter.
-
Evenly divide oat mixture among peaches. Bake for 25–30 minutes, until oat mixture is golden brown and peaches are tender. Cool slightly and serve with vanilla ice cream.
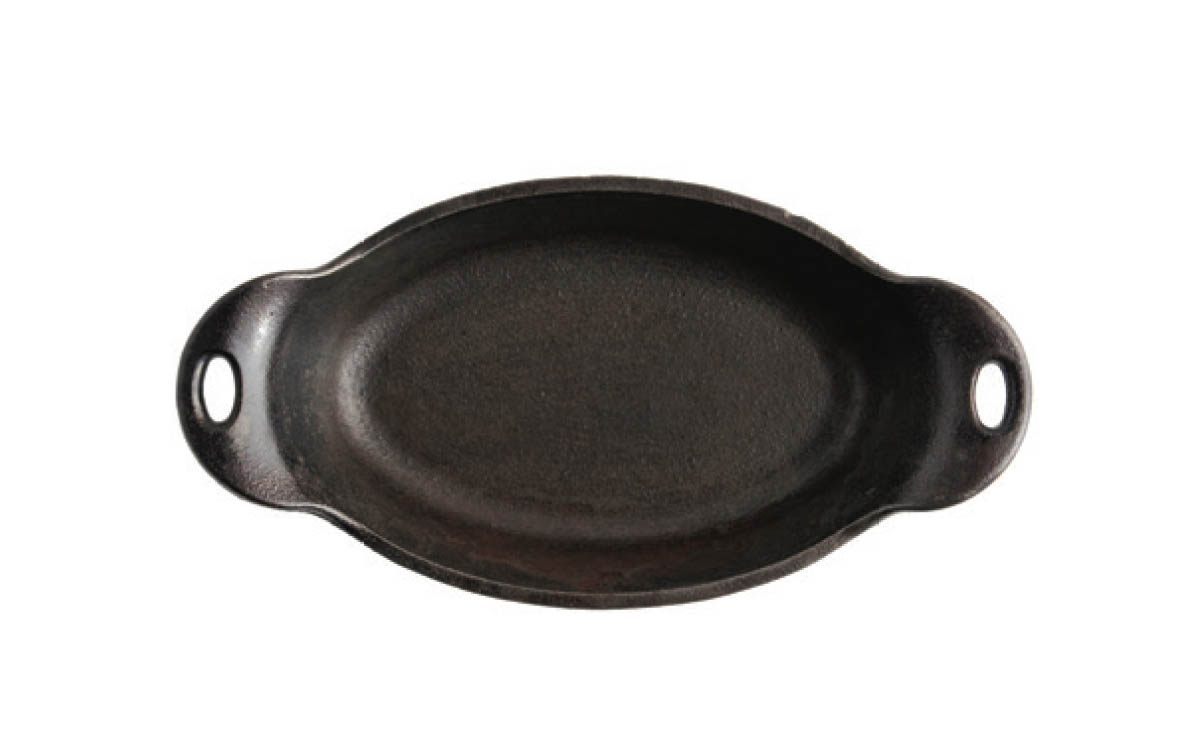
36-oz Cast-Iron Oval Serving Dish
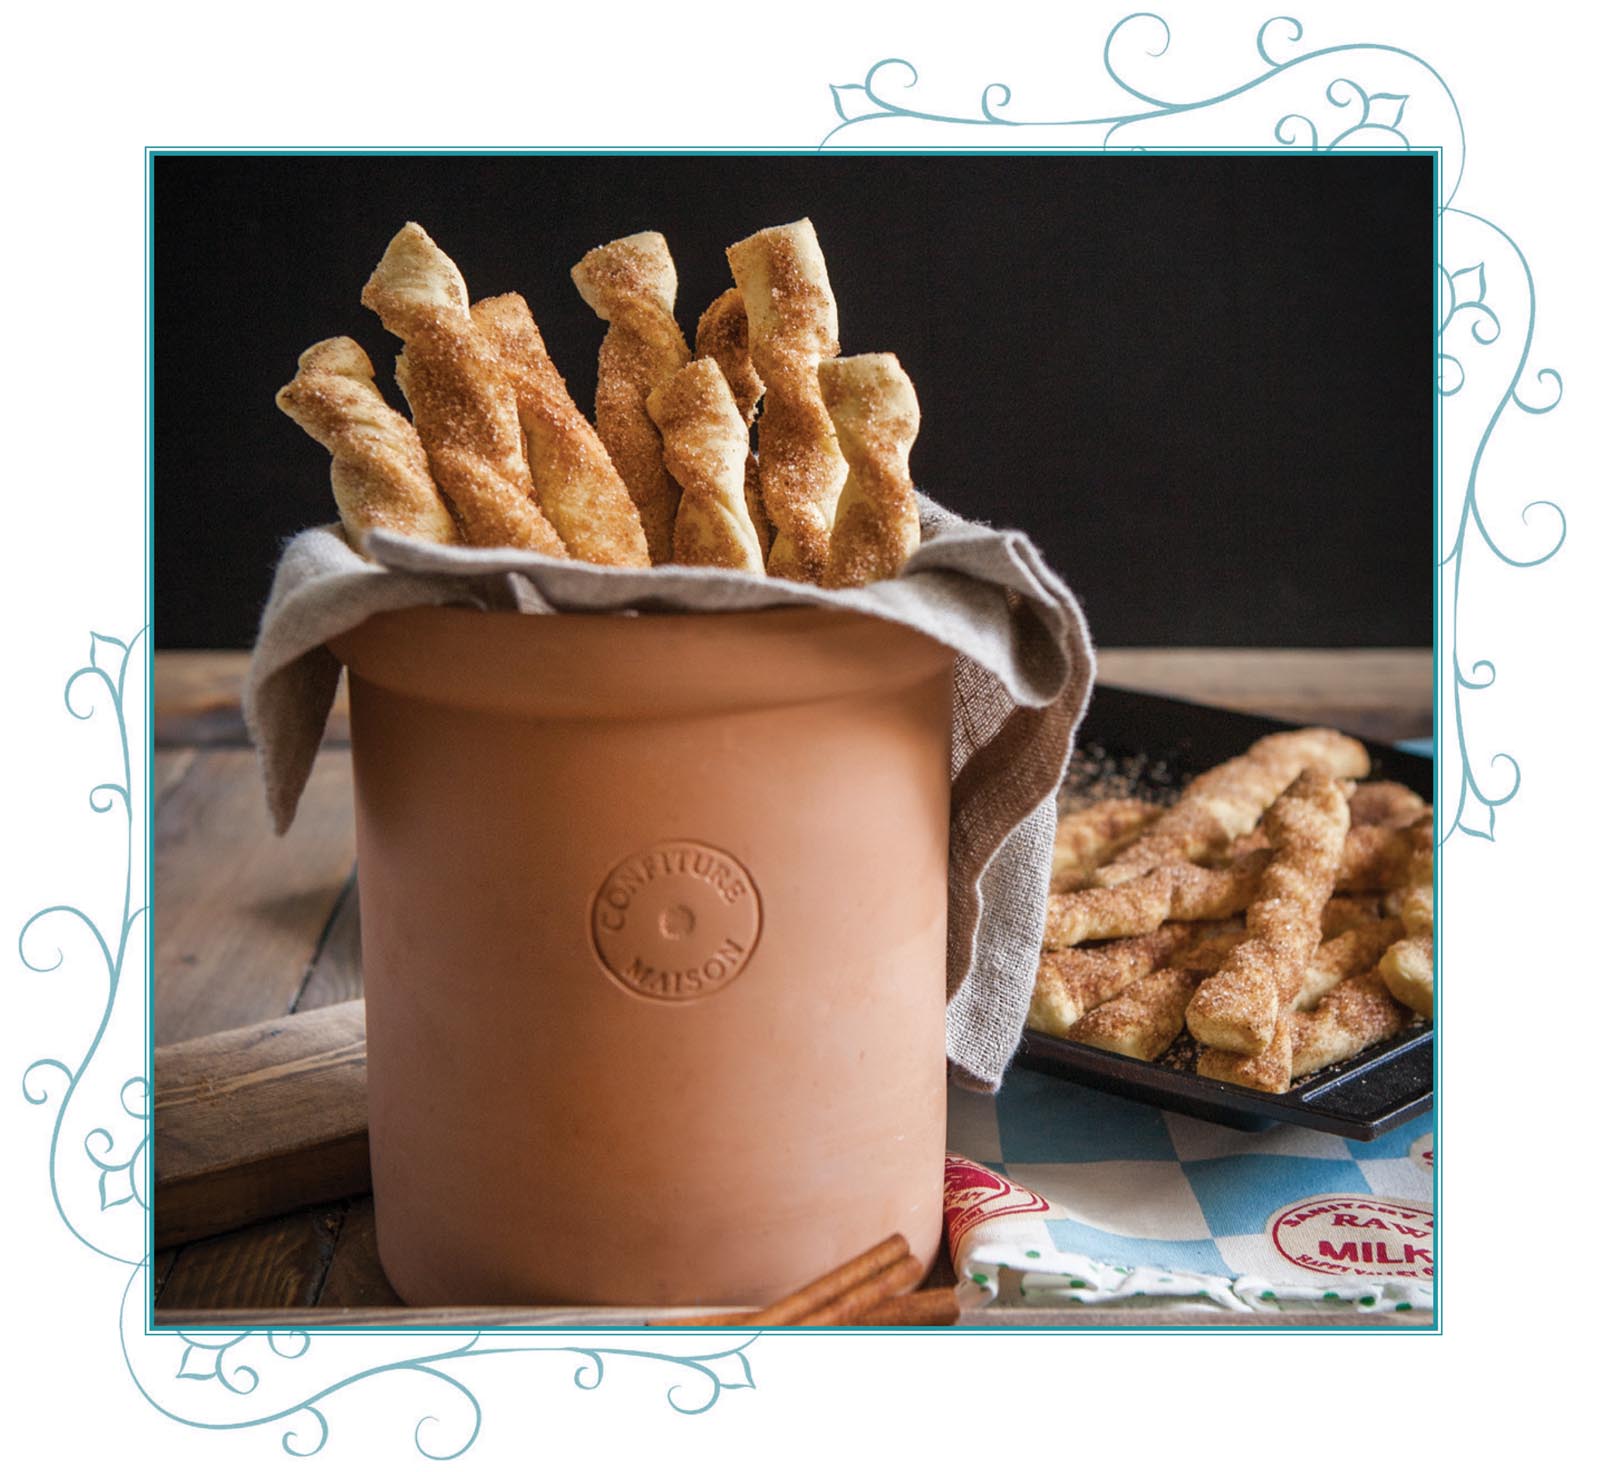
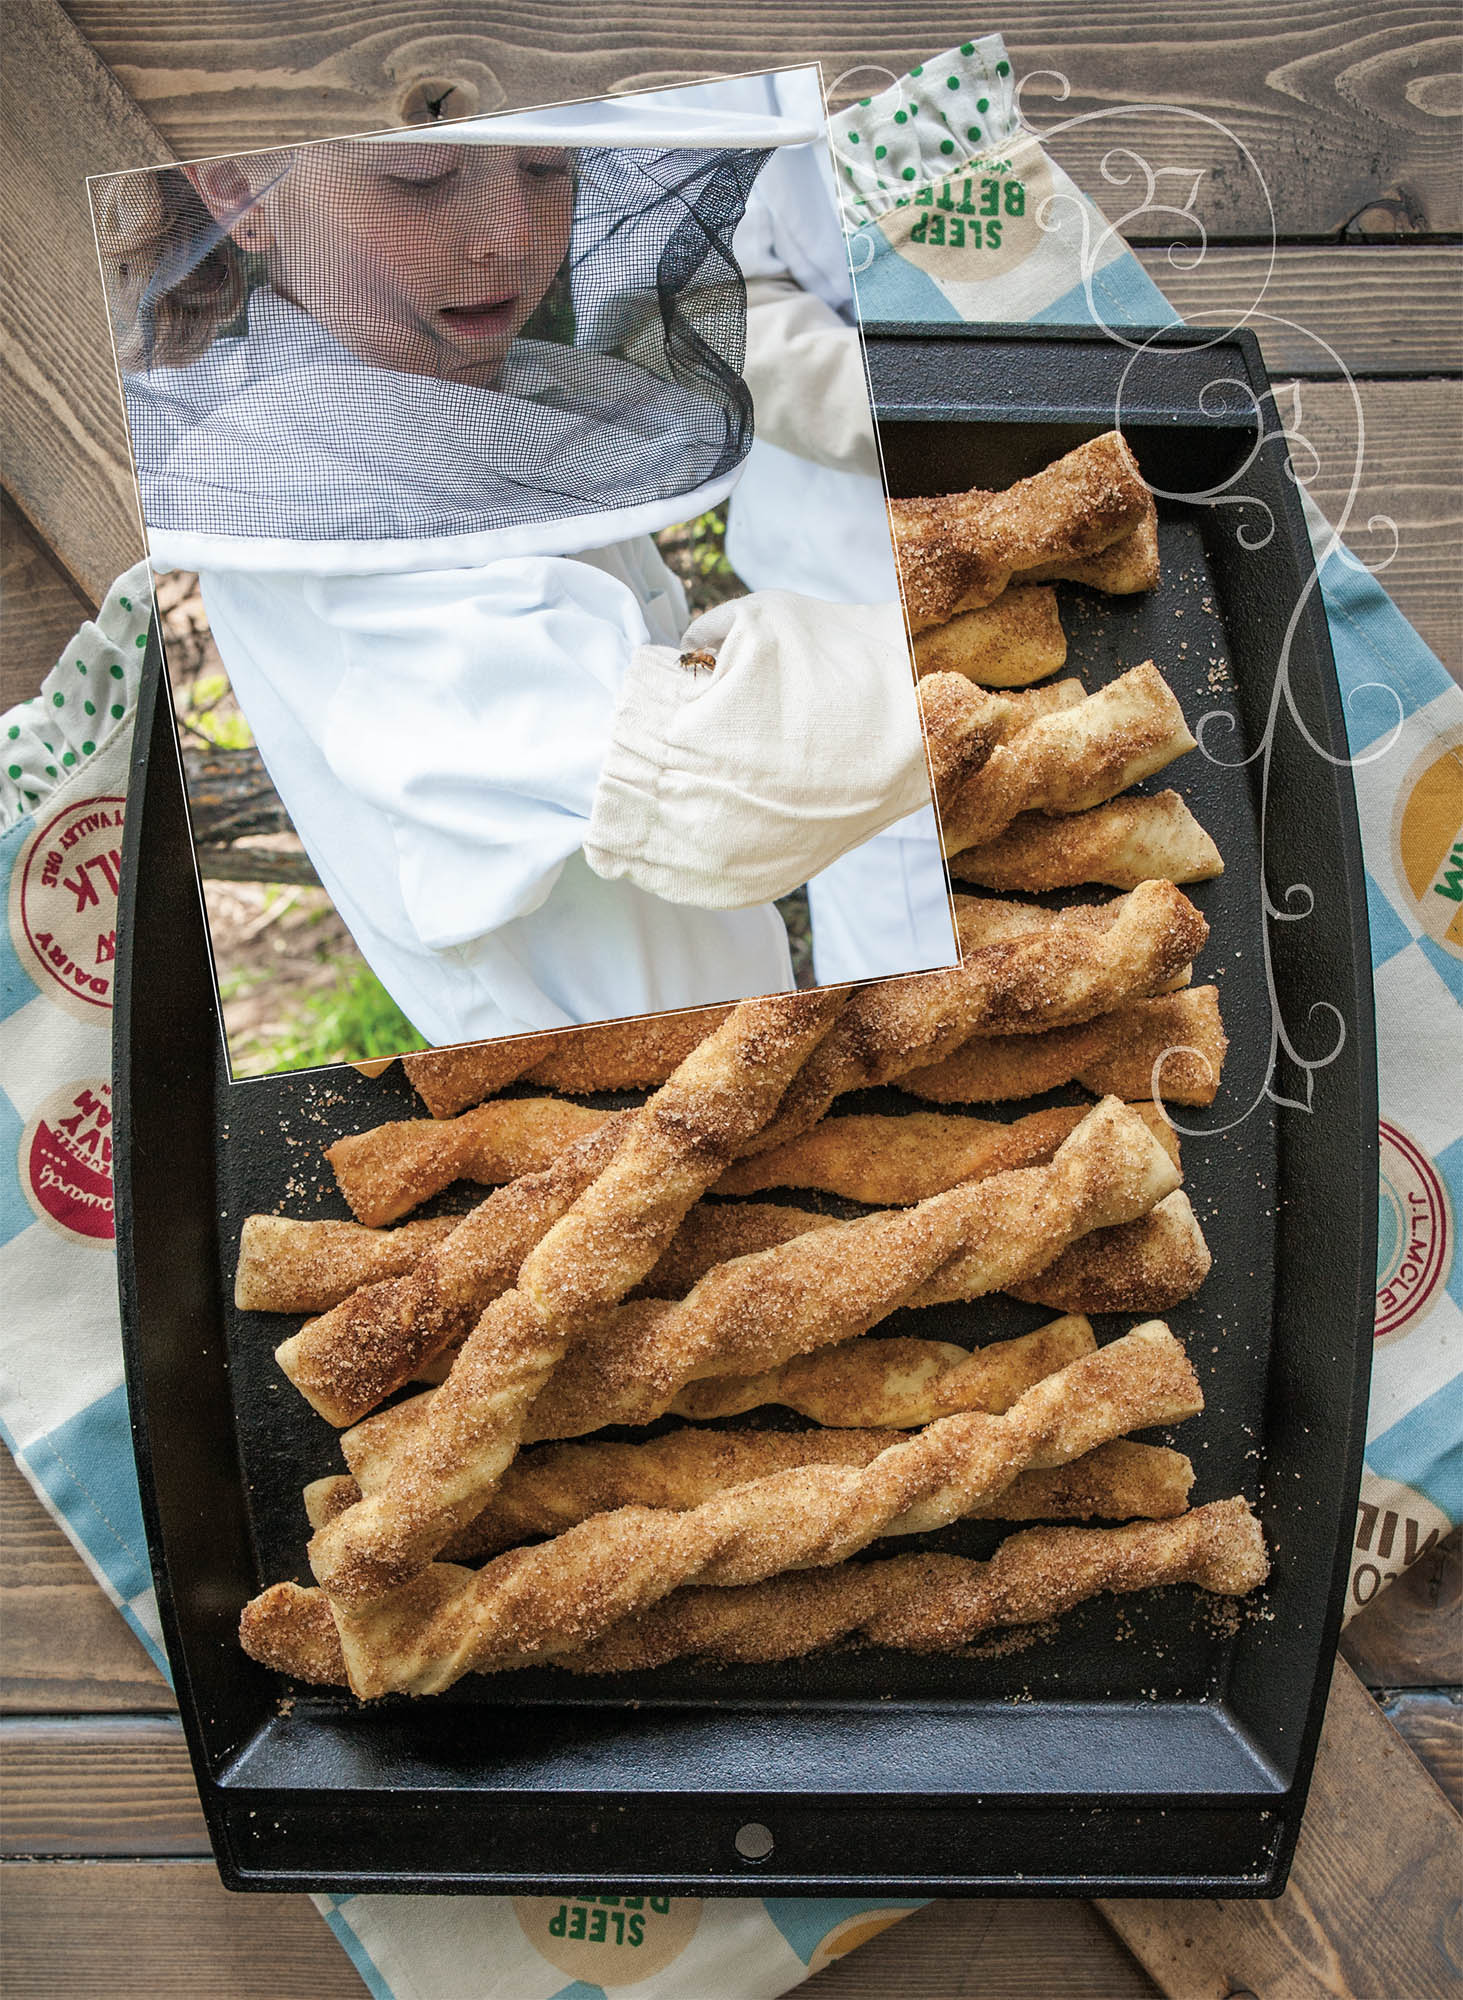
Baked Churros
Craving something sweet, but short on time? These churros are ready to satisfy your sweet tooth without making you wait in hungry anticipation.
MAKES: 24 CHURROS
Churros:
2 cups flour, plus more for dusting
1-1/2 t baking powder
1/2 t baking soda
1/2 t salt
1/4 cup butter, softened
2 T honey
1 egg
1/2 t vanilla extract
1/2 cup milk
Topping:
1/2 cup sugar
2 t cinnamon
3 T butter, melted
Preheat oven to 400°F.
-
Make churros: In a small bowl, combine flour, baking powder, baking soda, and salt; set aside. In a medium bowl or stand mixer, blend butter and honey until combined. Add egg and vanilla; mix well.
-
Alternately add the flour mixture and milk to the butter mixture, beginning and ending with flour.
-
Dust a clean surface with flour and roll dough to 1/8” thickness. Cut dough into 1” x 8” strips, twist each to form a spiral, and place on a 15” x 12-1/4” cast-iron griddle (you will be able to fit about 8 churros on the griddle at a time). Bake for 8–10 minutes, or until churros start to turn golden brown.
-
Make topping: While churros are baking, combine sugar and cinnamon in a small bowl. Pour onto a plate and set aside.
-
Remove churros from oven, brush with butter, and roll in cinnamon and sugar mixture. Repeat process with remaining dough.
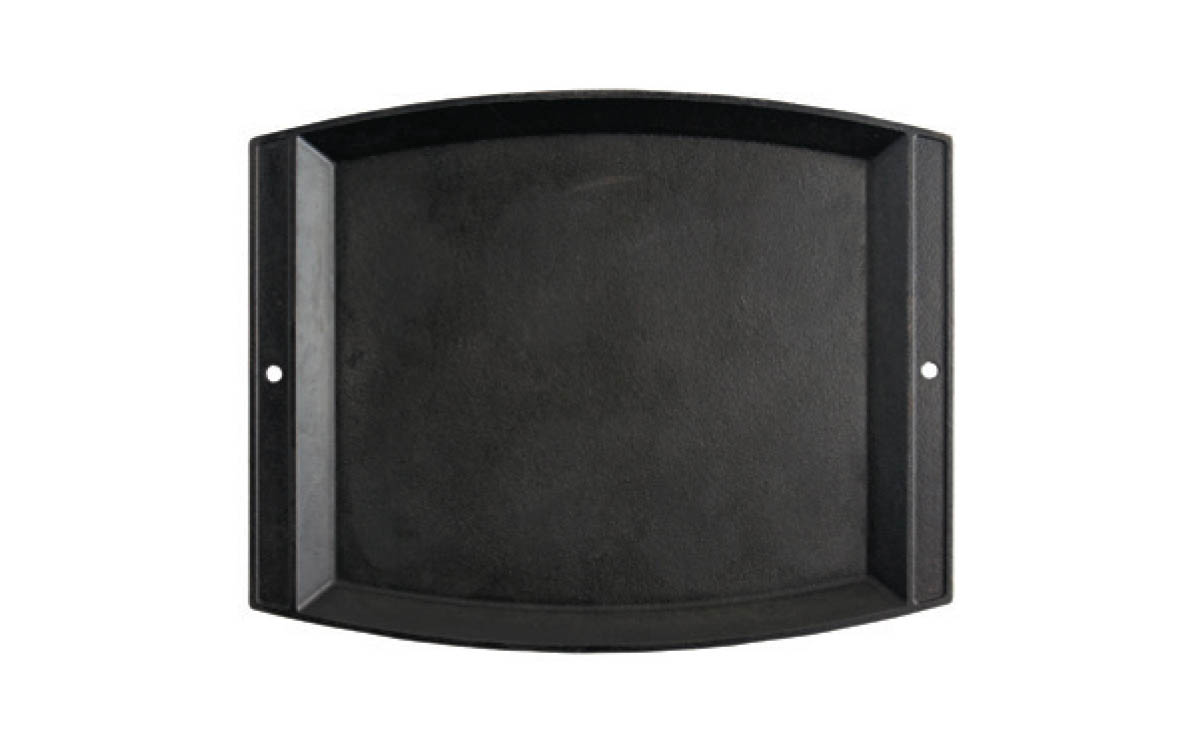
15” x 12-1/4” Cast-Iron Rectangular Griddle
Skillet S’mores
S’mores without a campfire, you ask? Why, of course! The steady heat of your cast-iron skillet is just what you need to make delicious, gooey s’mores right in your oven, even in the middle of winter, if you’re so inclined.
MAKES: 8 SERVING
1-1/4 cups bittersweet chocolate chips (about 8 ozs)
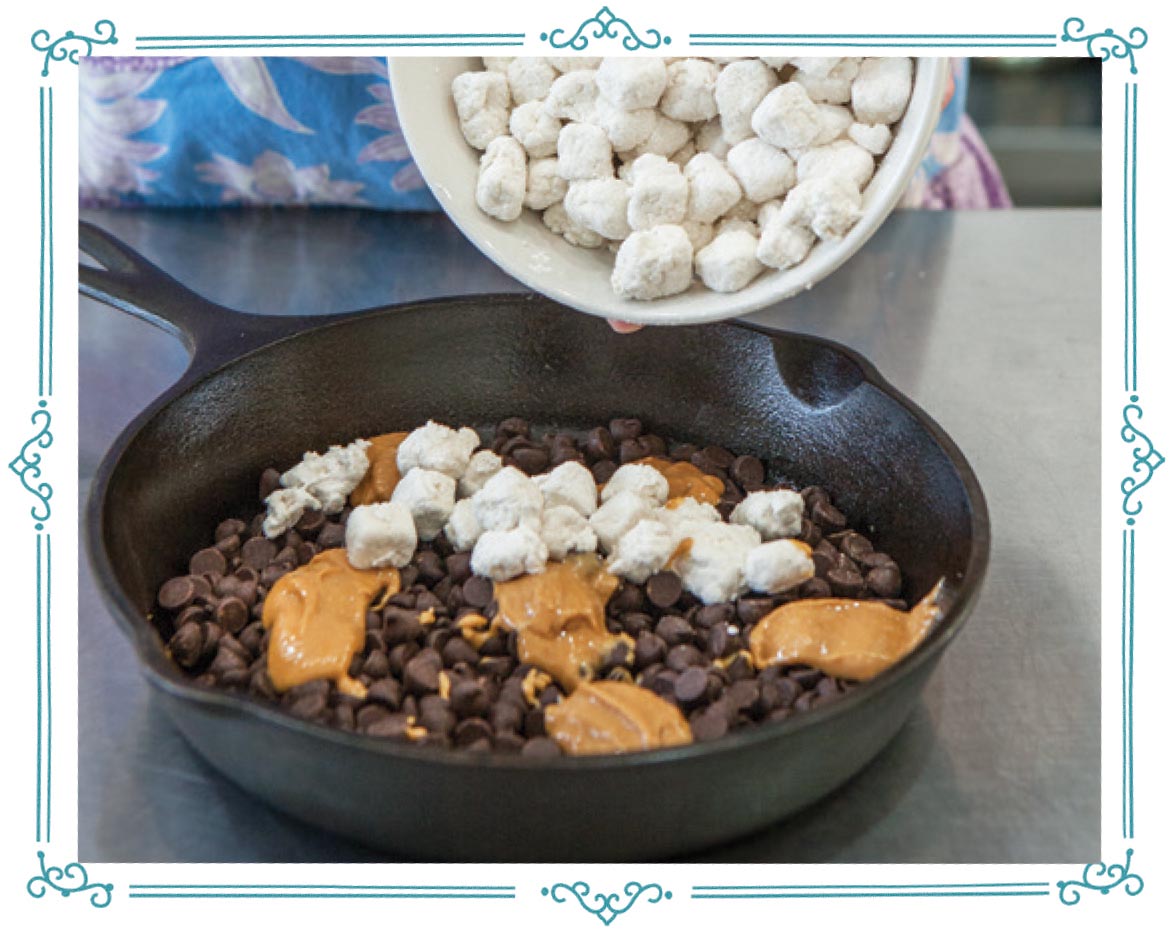
1/4 cup peanut butter
8 ozs marshmallows, cut into 1/2” cubes (about 2 cups) (for our homemade recipe, see RaisingJane.org/journal/57468)
graham crackers for serving
-
Preheat oven to 400°F.
-
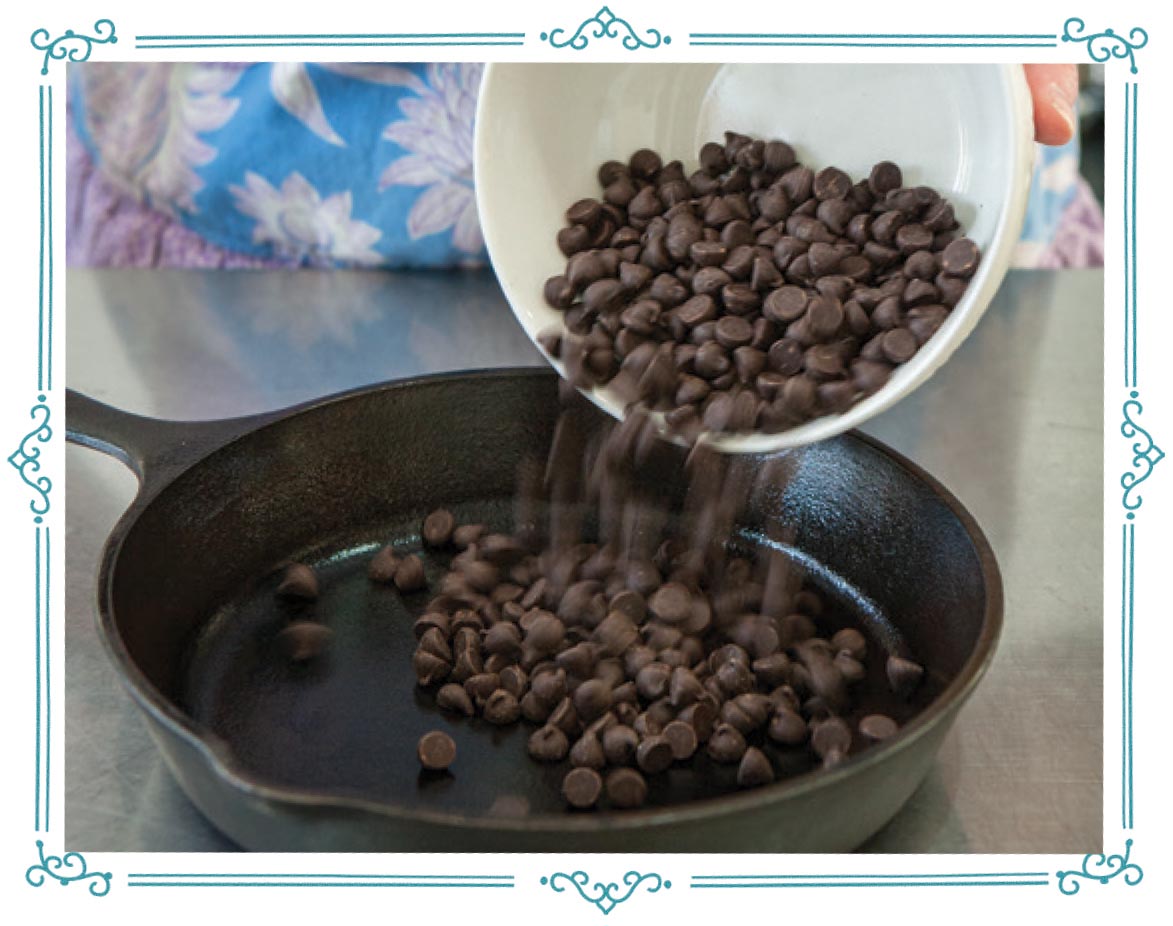
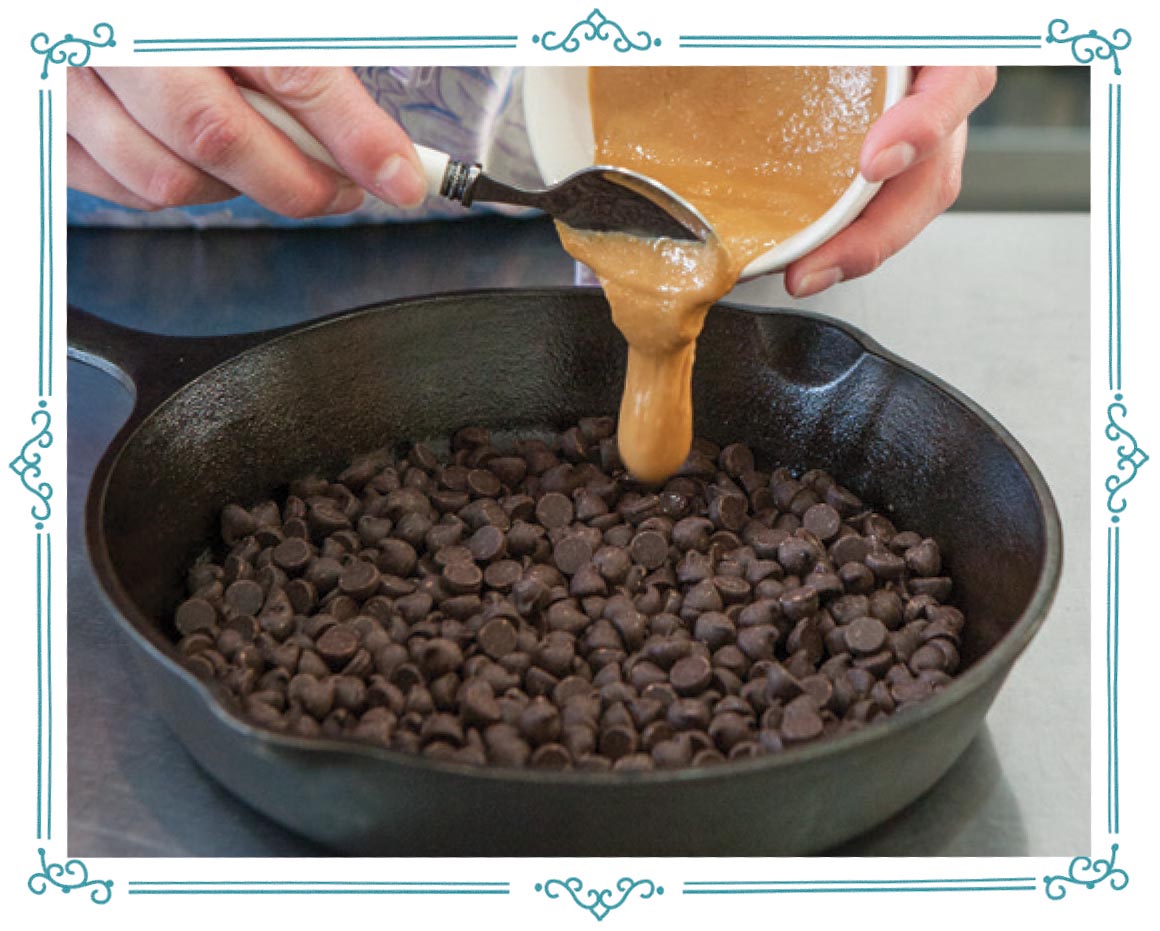
Add chocolate chips to an 8” cast-iron skillet. Spoon peanut butter over chocolate chips and top with marshmallows.
-
Bake for 10 minutes, then turn broiler on to toast tops of marshmallows. Serve with graham crackers.

8” Cast-Iron Skillet


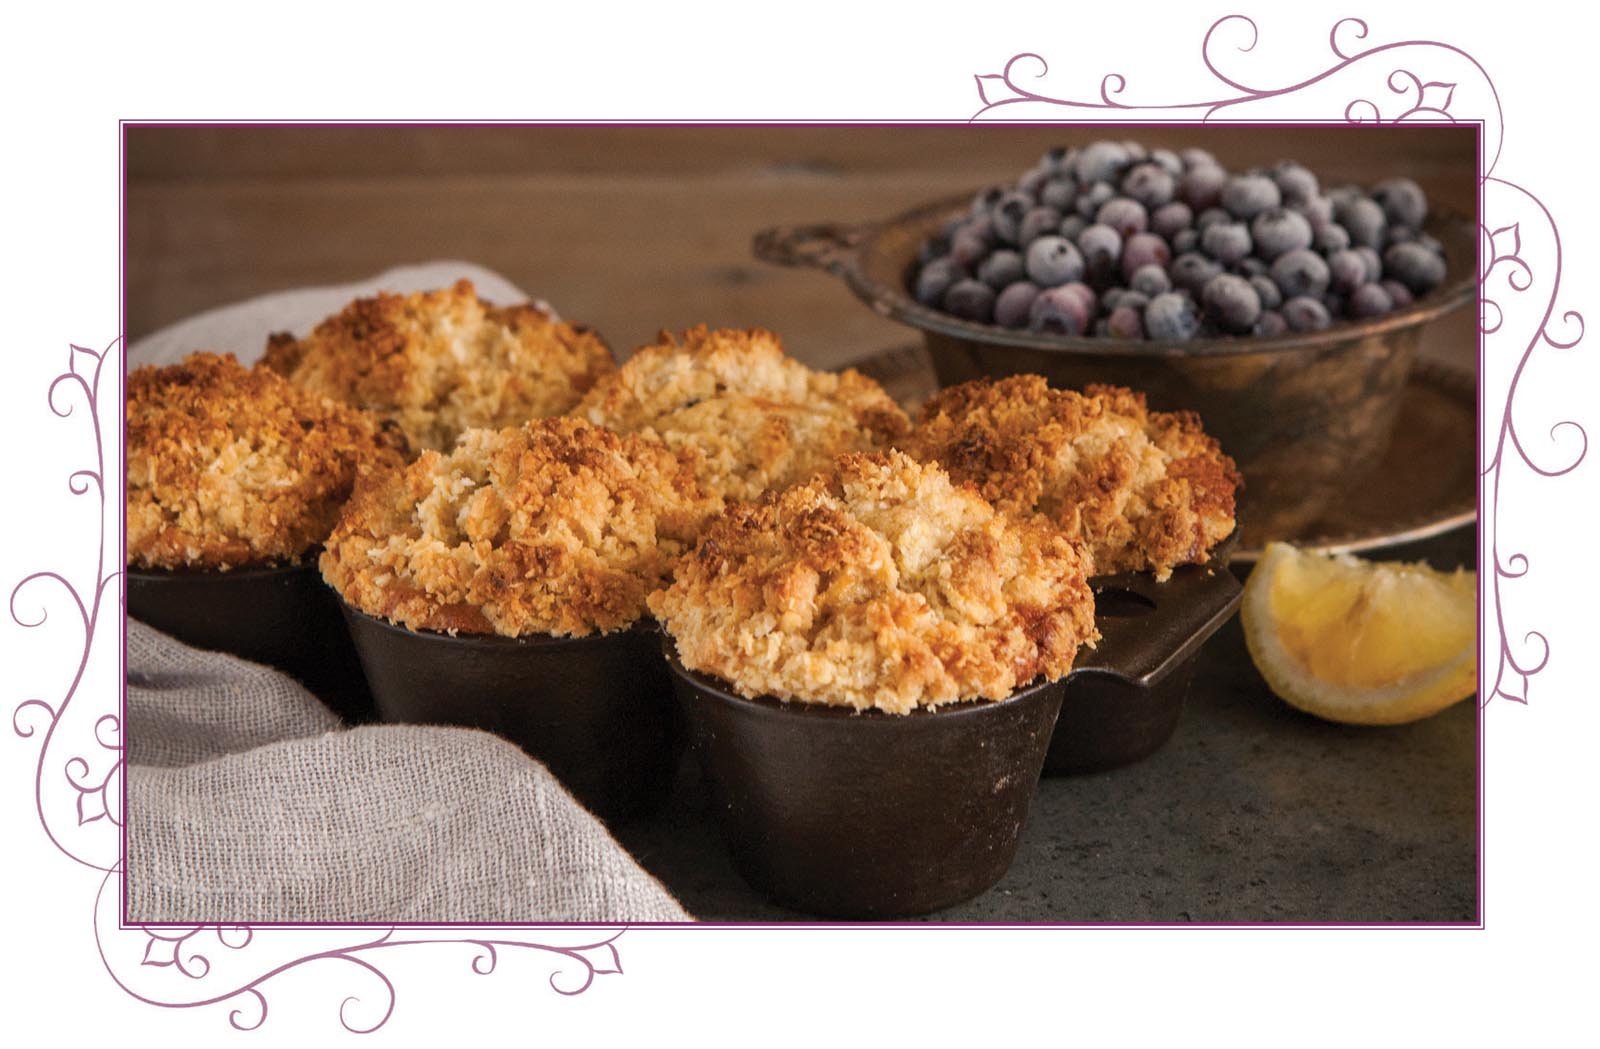
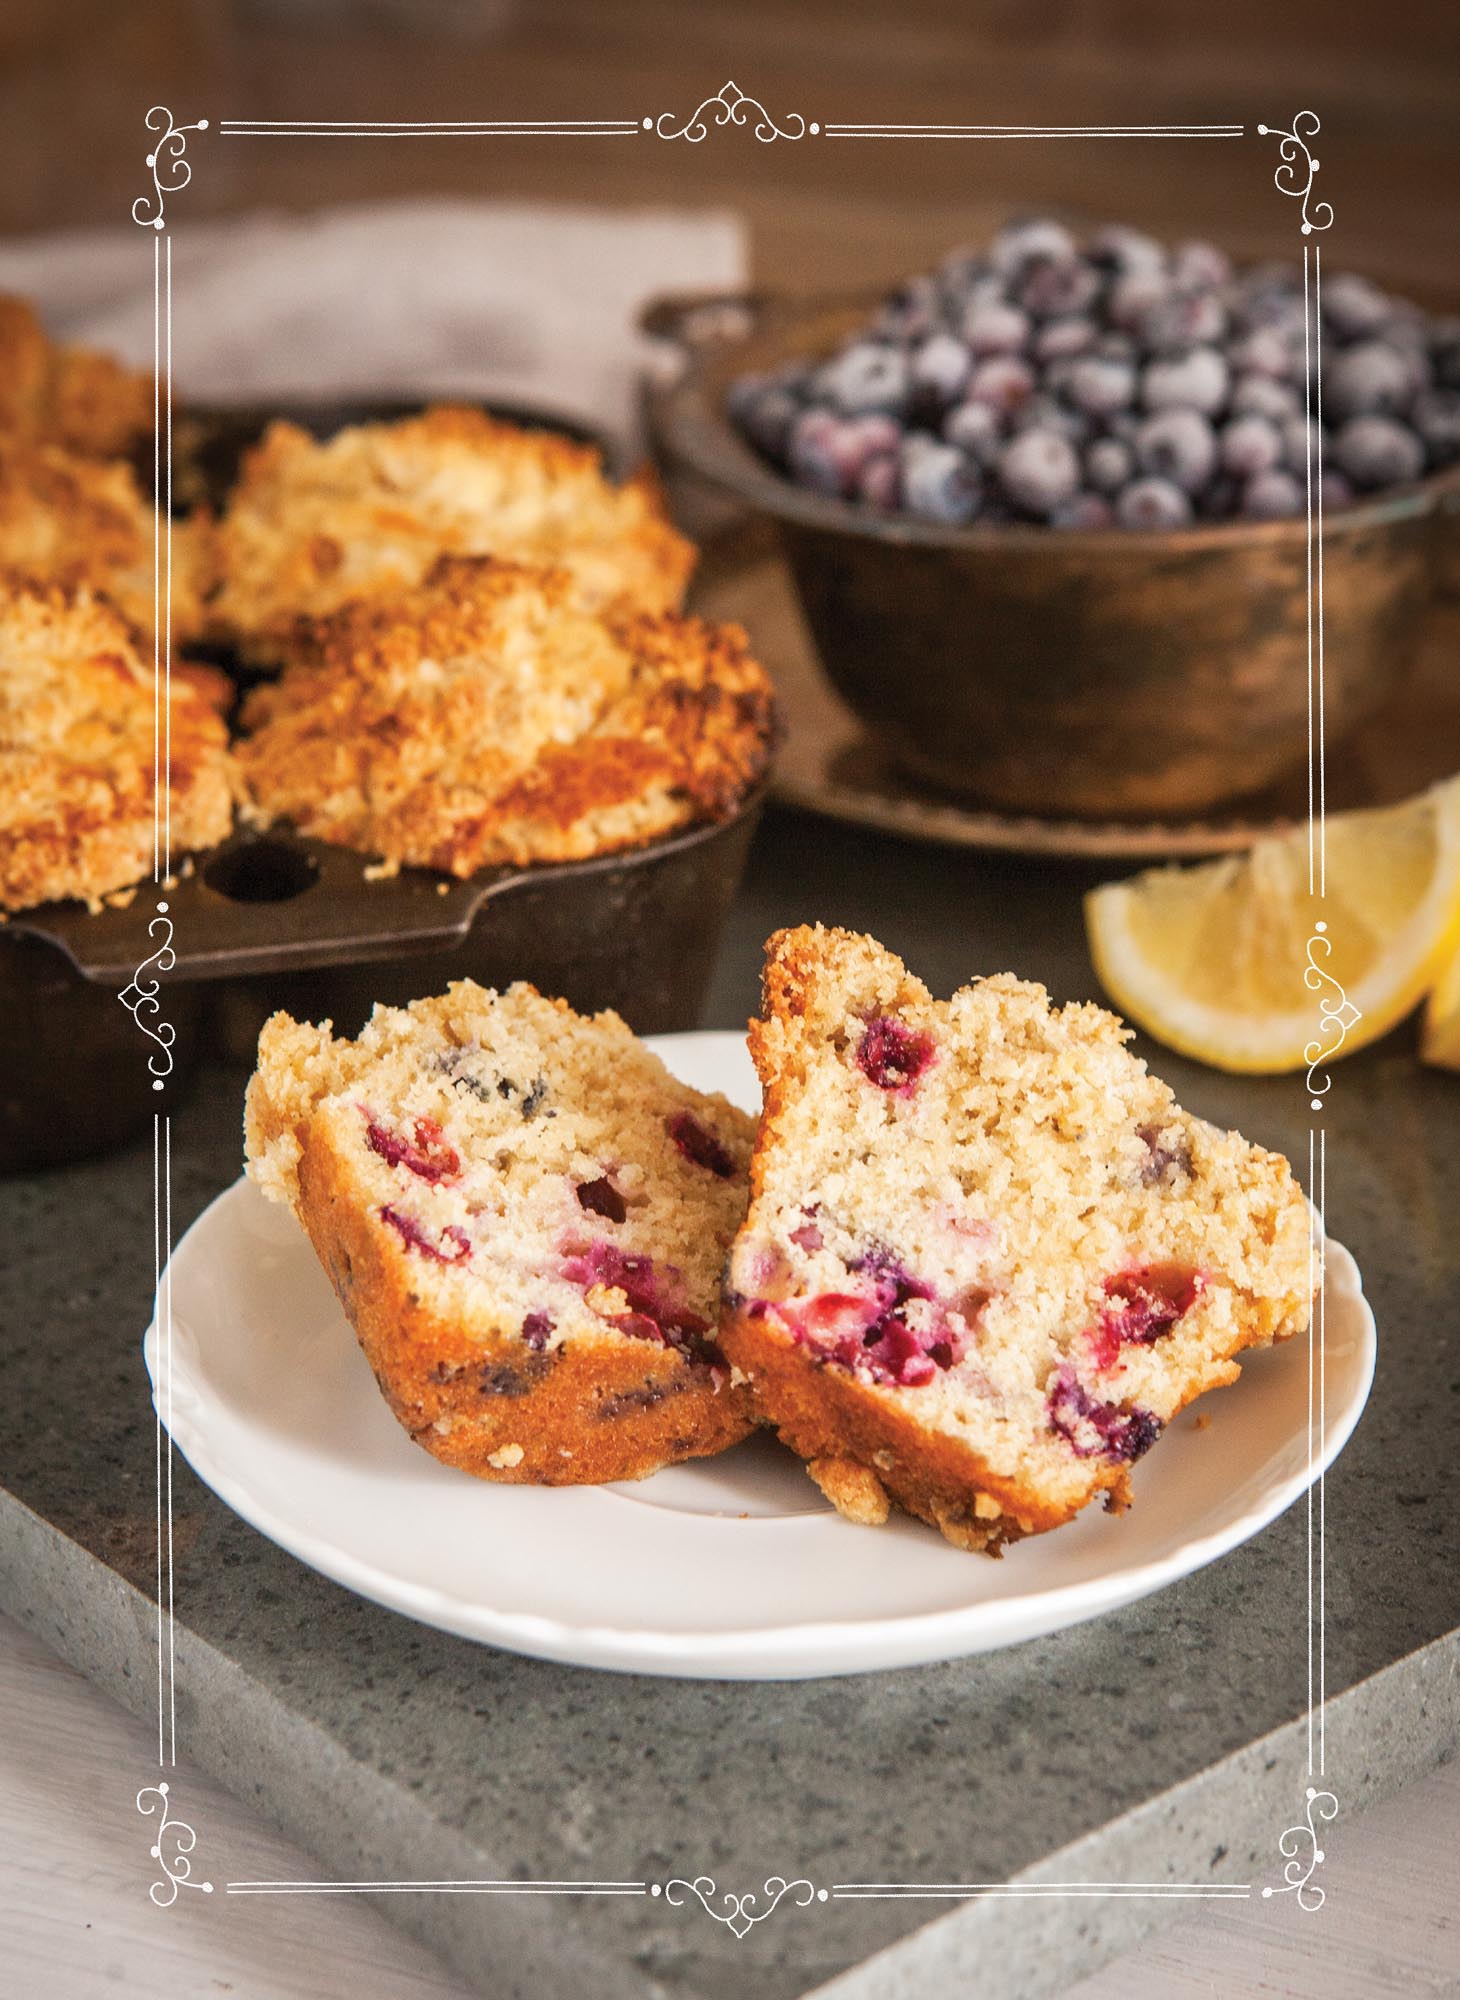
Blueberry Muffins With Coconut Lemon Topping
I often feel that muffins are cupcakes masquerading as something a little more healthful. With that being said, this combination of blueberries, coconut, and lemon makes me a little weak in the knees. Let’s just say I’ve eaten more than my fair share of these muffins.
MAKES: 6 MUFFINS
Coconut Lemon Topping:
1/3 cup flour
1/4 cup finely shredded coconut
1/4 cup honey crystals
3 T butter, softened
1 T lemon zest
1/8 t salt
Blueberry-Muffin Batter:
3/4 cup flour
1/2 t baking powder
1/4 t baking soda
1/8 t salt
1/4 cup butter, softened
1/2 cup honey crystals
1 egg
1 t vanilla extract
1/3 cup milk
3 ozs fresh or frozen blueberries (about 3/4 cup)
-
Make topping: combine all ingredients in a medium bowl, and blend with a pastry blender until mixture resembles coarse crumbs; set aside.
-
Preheat oven to 400°F. Lightly butter a 6-cavity cast-iron muffin pan.
-
Make muffin batter: In a small bowl, combine flour, baking powder, baking soda, and salt; set aside. In a medium bowl or stand mixer, beat butter and honey crystals until smooth. Add egg and vanilla; mix well.
-
Add about half of the flour mixture to butter mixture and mix well. Add milk and mix well. Add remaining flour and mix well. Stir in blueberries.
-
Divide batter evenly between muffin cups, then divide topping evenly between muffin cups.
-
Bake for 15 minutes, cover with aluminum foil (to prevent topping from burning), and bake an additional 15–20 minutes, or until a toothpick inserted into the center of a muffin comes out clean.
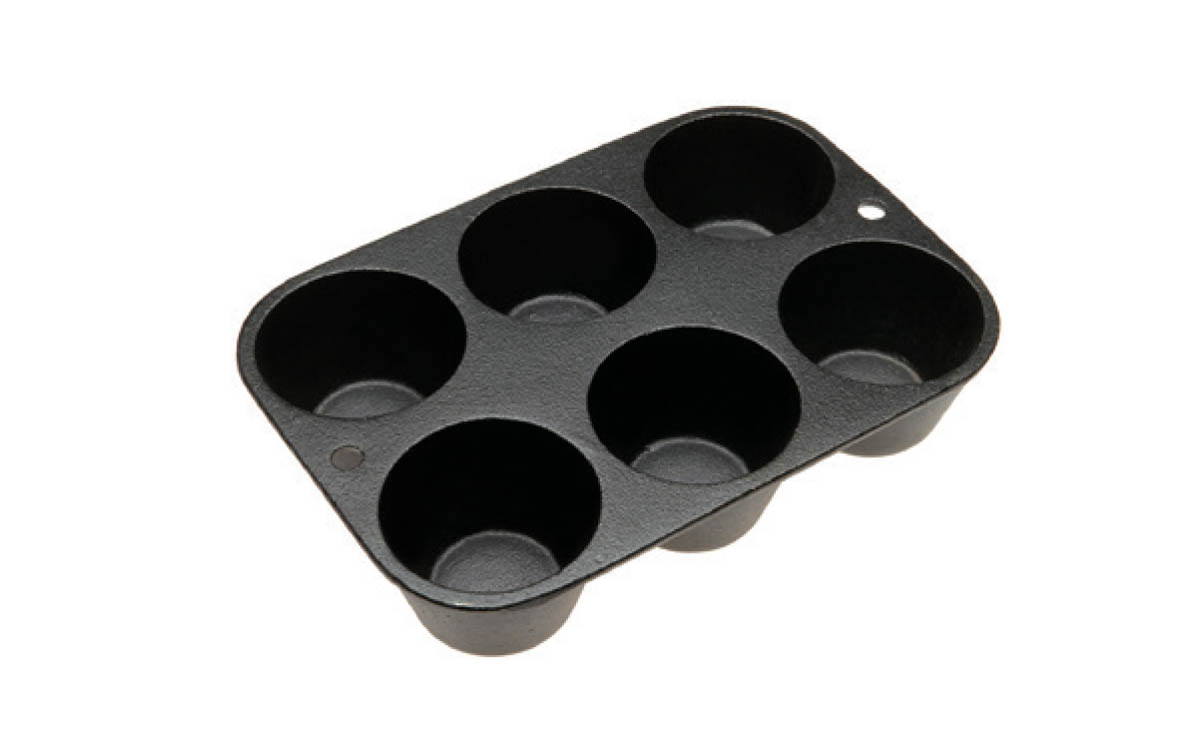
6-Cavity Cast-Iron Muffin Pan
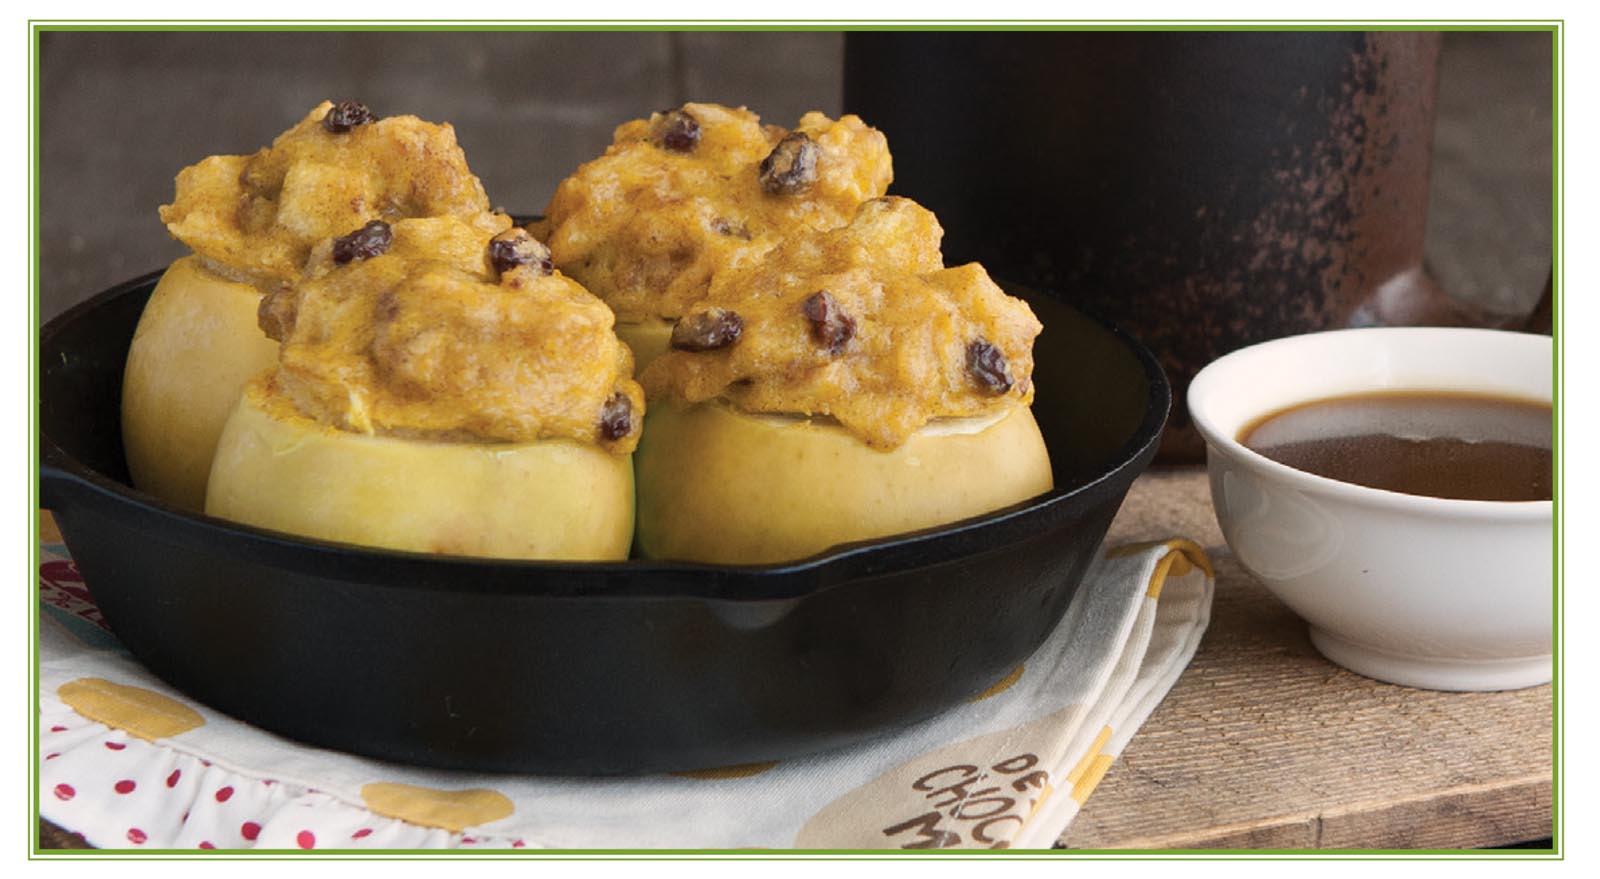
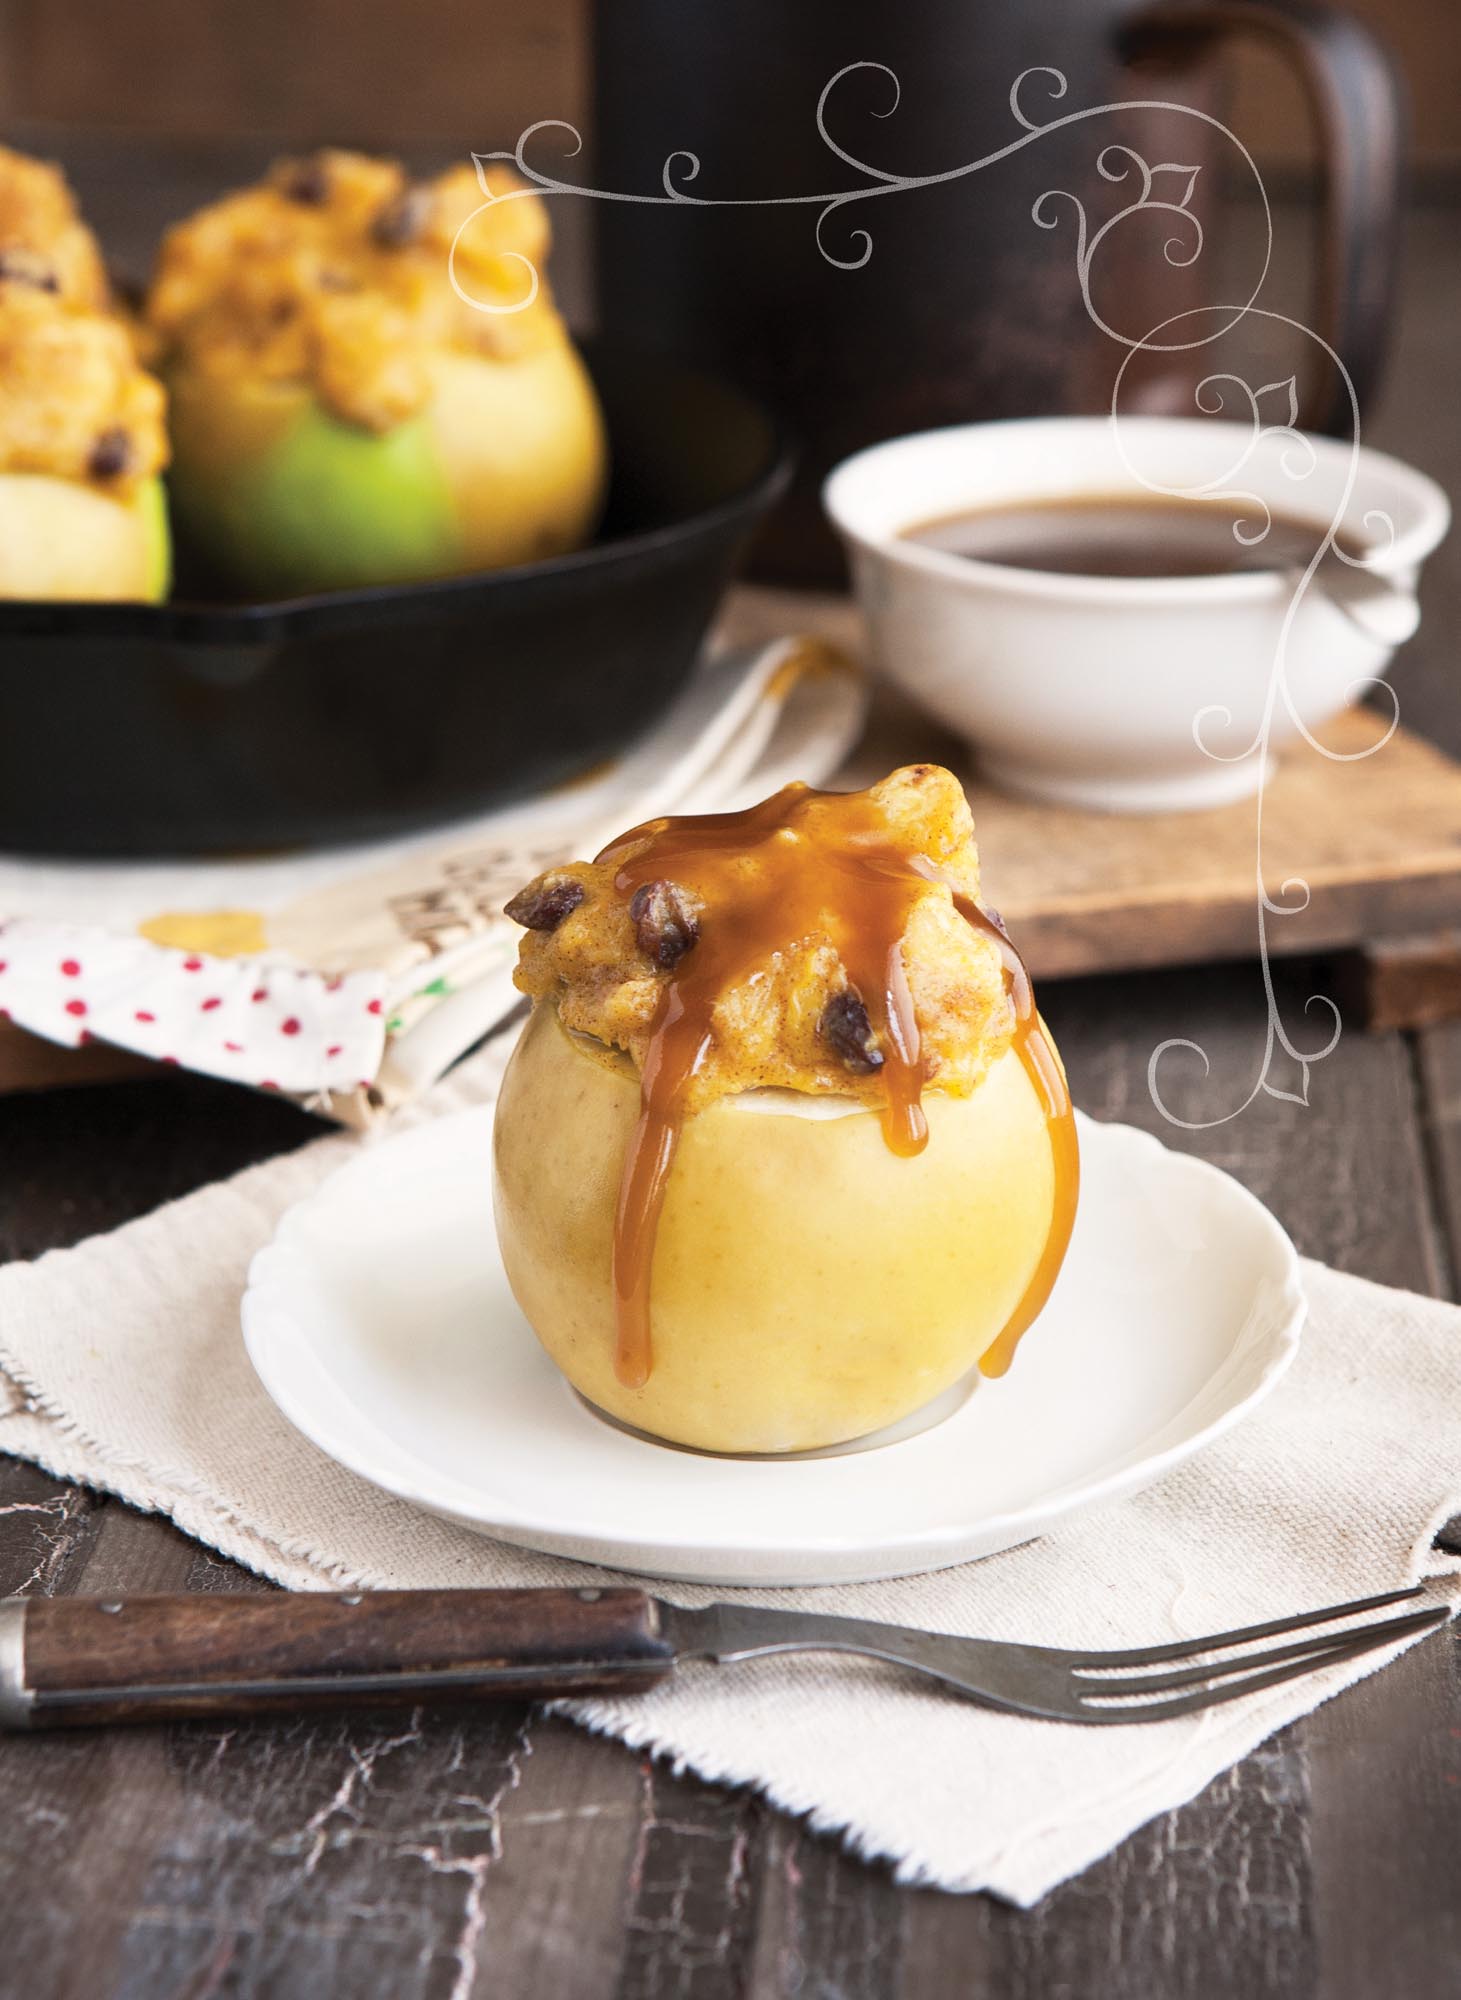
Baked Bread-Pudding Apples
Maybe I’m alone in this, but I’ve always considered bread pudding to be an incomplete dessert. I need a dessert with texture and substance, and bread pudding always fell short. But hollowed-out apples stuffed with bread pudding and topped with caramel sauce? I’m in!
MAKES: 4 APPLES
Bread-Pudding Apples:
1/4 cup sugar
1 t cornstarch
1-1/2 cups milk
2 egg yolks, whisked
1/2 t vanilla extract
4 cups 1/2” brioche bread cubes (crusts removed)
2 T butter, melted
1/2 t cinnamon
2 T raisins
4 Granny Smith apples
1 lemon wedge
Caramel Sauce:
6 T butter
1/4 cup maple syrup
1/4 cup brown sugar
1/4 t vanilla extract
2 T heavy cream
-
Preheat oven to 350°F.
-
Make filling: In a medium saucepan, combine sugar and cornstarch; whisk in milk. Cook over medium heat just until steam rises from the milk. Pour a little hot milk into the whisked egg yolks to temper, then pour egg yolks into the saucepan, whisking well. Cook over medium-low heat until thickened (about 3 minutes). Remove custard from heat, stir in vanilla, and set aside.
-
Add bread cubes to a medium bowl. Add butter, cinnamon, and raisins. Toss to combine and set aside.
-
Cut off the tops of the apples and rub with a lemon wedge. Draw a circle 1/4” from the edge of the apple with the tip of a knife. Using the drawn circle as a guide, hollow out each apple with a melon baller, leaving about 1/4” of thickness at the bottom. Arrange apples in an 8” cast-iron skillet.
-
Combine the bread cubes and custard and spoon mixture into each apple, piling the filling up at the top. Bake for 20 minutes, or until the apples are fork-tender.
-
Make caramel sauce: In a small saucepan, combine butter, maple syrup, and brown sugar. Bring to a simmer over medium heat, stirring constantly. Simmer for 2 minutes; remove from heat. Stir in vanilla and cream. Serve over baked apples.

8” Cast-Iron Skillet
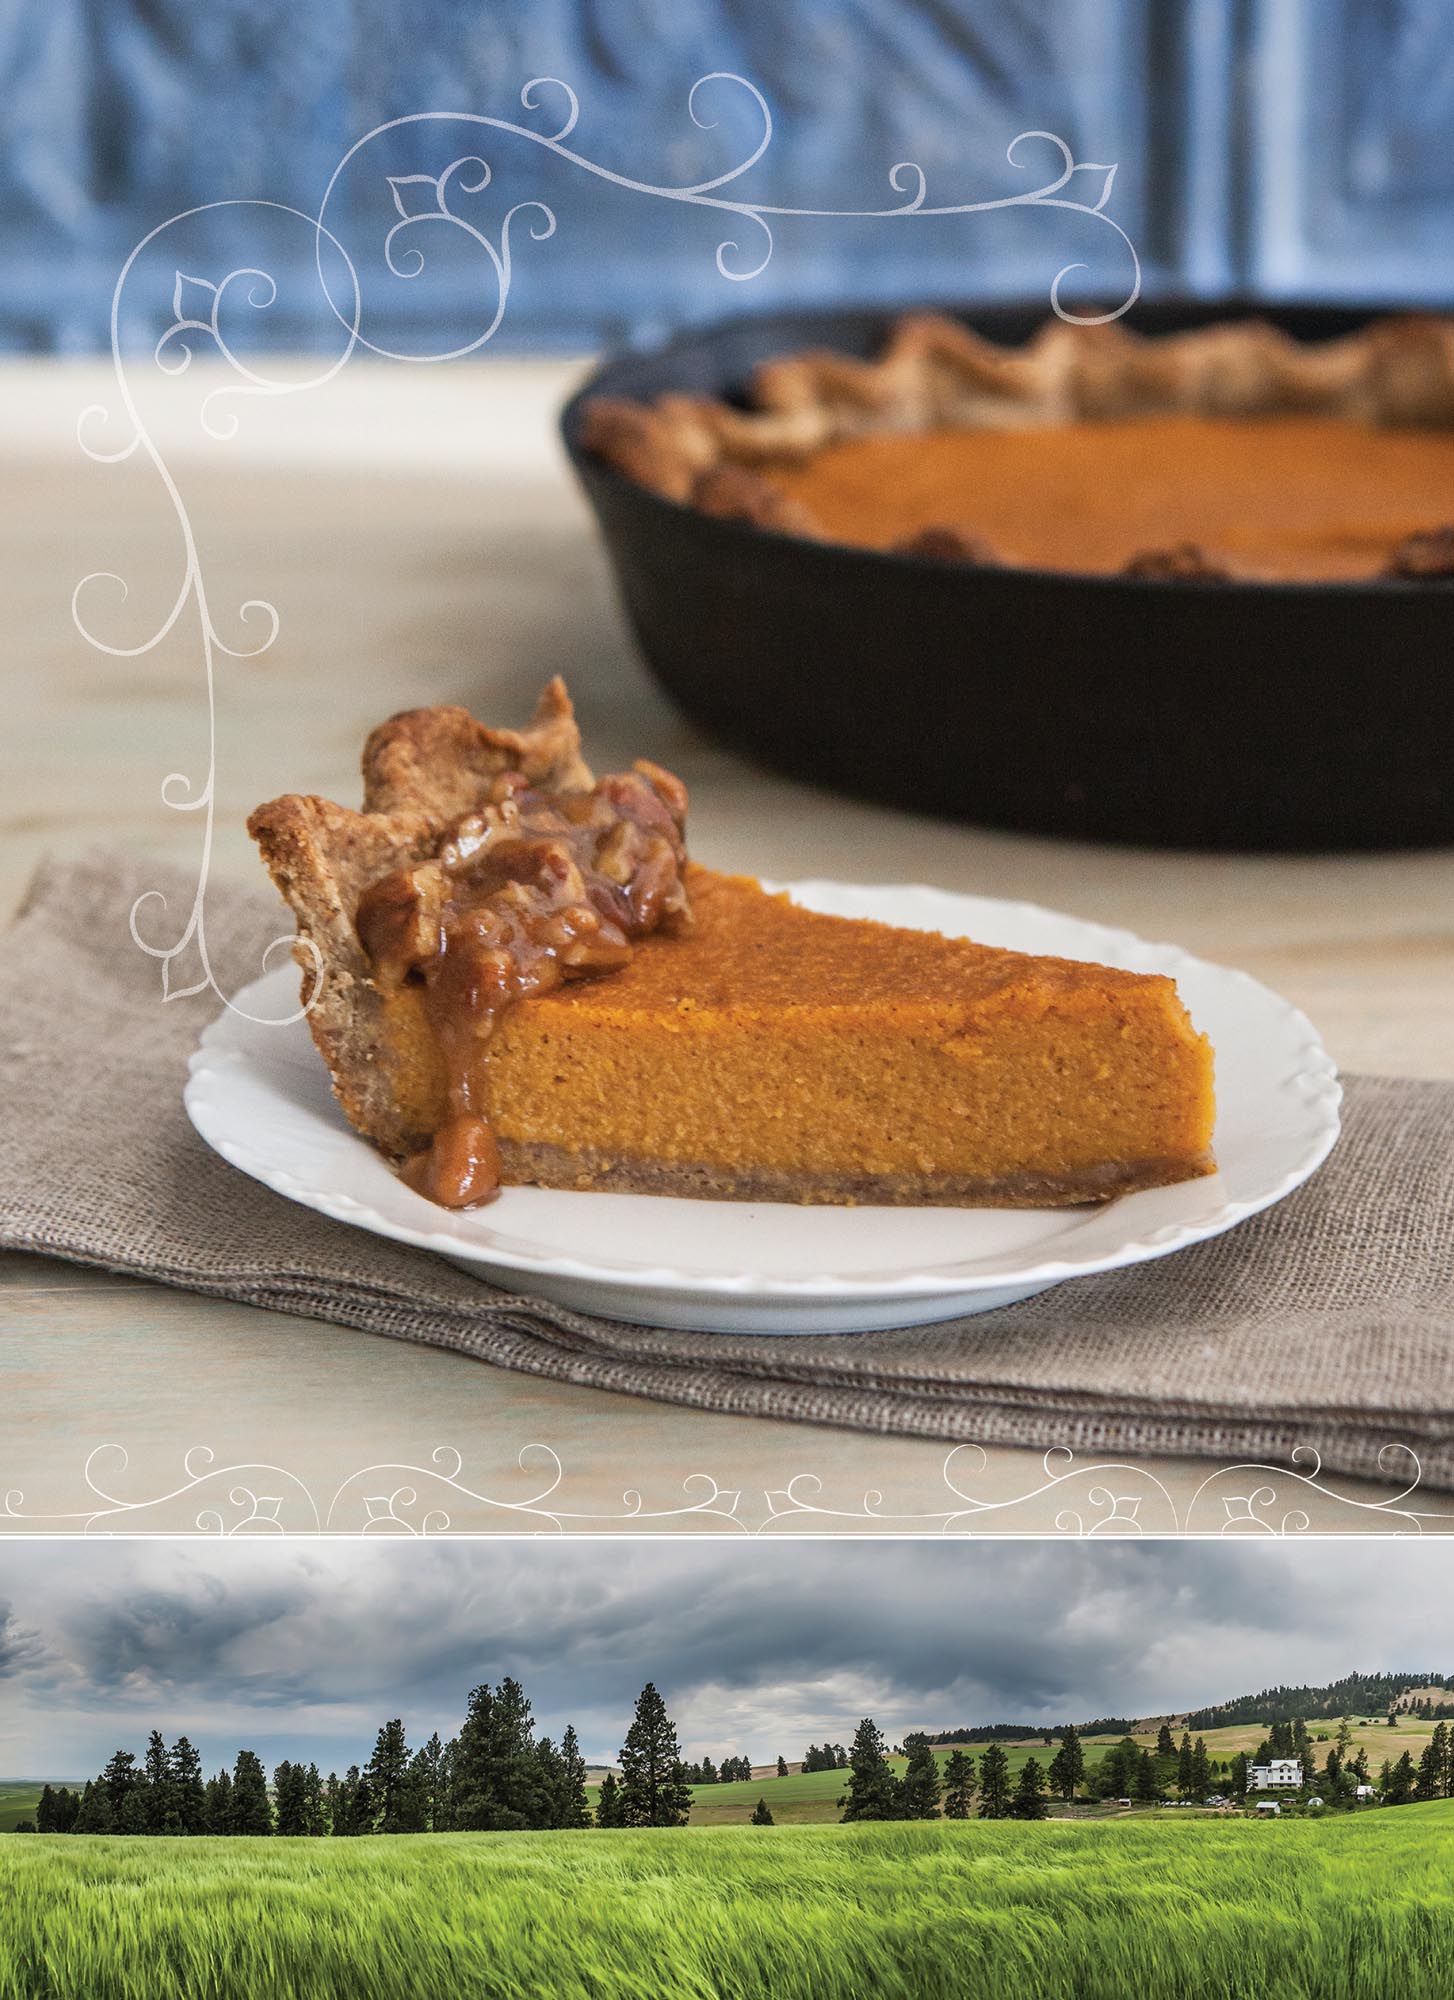
Pecan Crust Sweet-Potato Pie
Every Thanksgiving, my son, Brian, enthusiastically requests this pie. In fact, he often makes it himself and proudly comes to dinner bearing his creation. The pecan crust is wonderful with the filling, but it can be a bit soft and fragile. As you work, don’t be afraid to dust with extra flour as needed.
MAKES: ONE 10-1/4” PIE
Crust:
3/4 cup pecans
1 cup flour, plus more for dusting
1/4 cup brown sugar
1/4 t salt
1/2 cup cold butter, cut into pieces
3 T cold water
Filling:
2 sweet potatoes, peeled and cooked
1/2 cup milk
1/2 cup butter, melted
3 eggs
3/4 cup brown sugar
1 t vanilla extract
1 t cinnamon
1/4 t nutmeg
Caramel Pecan Topping:
4 T butter
1/4 cup brown sugar
1/4 cup maple syrup
1/2 cup pecans, chopped
1/2 t vanilla extract
-
Make crust: Add pecans, flour, sugar, and salt to a food processor; pulse until pecans are ground. Add butter and pulse until mixture resembles coarse crumbs. Sprinkle in water; pulse until dough forms. Wrap in plastic wrap and chill for 45 minutes.
-
Preheat oven to 375°F.
-
Roll dough out onto a lightly floured surface and transfer to a 10-1/4” cast-iron skillet. Line crust with foil, weigh down with pie weights, and bake for 12 minutes.
-
Make filling: Add all filling ingredients to a food processor and pulse until smooth. Pour filling into crust and bake for 50 minutes. Let pie cool for 50 minutes or chill overnight, then prepare caramel.
-
Make topping: In a small saucepan over medium heat, combine butter, sugar, and syrup. Stirring frequently, bring to a simmer. Stop stirring and continue to simmer for 3 minutes. Mix in pecans and vanilla. Serve warm over pie.

10-1/4” Cast-Iron Skillet

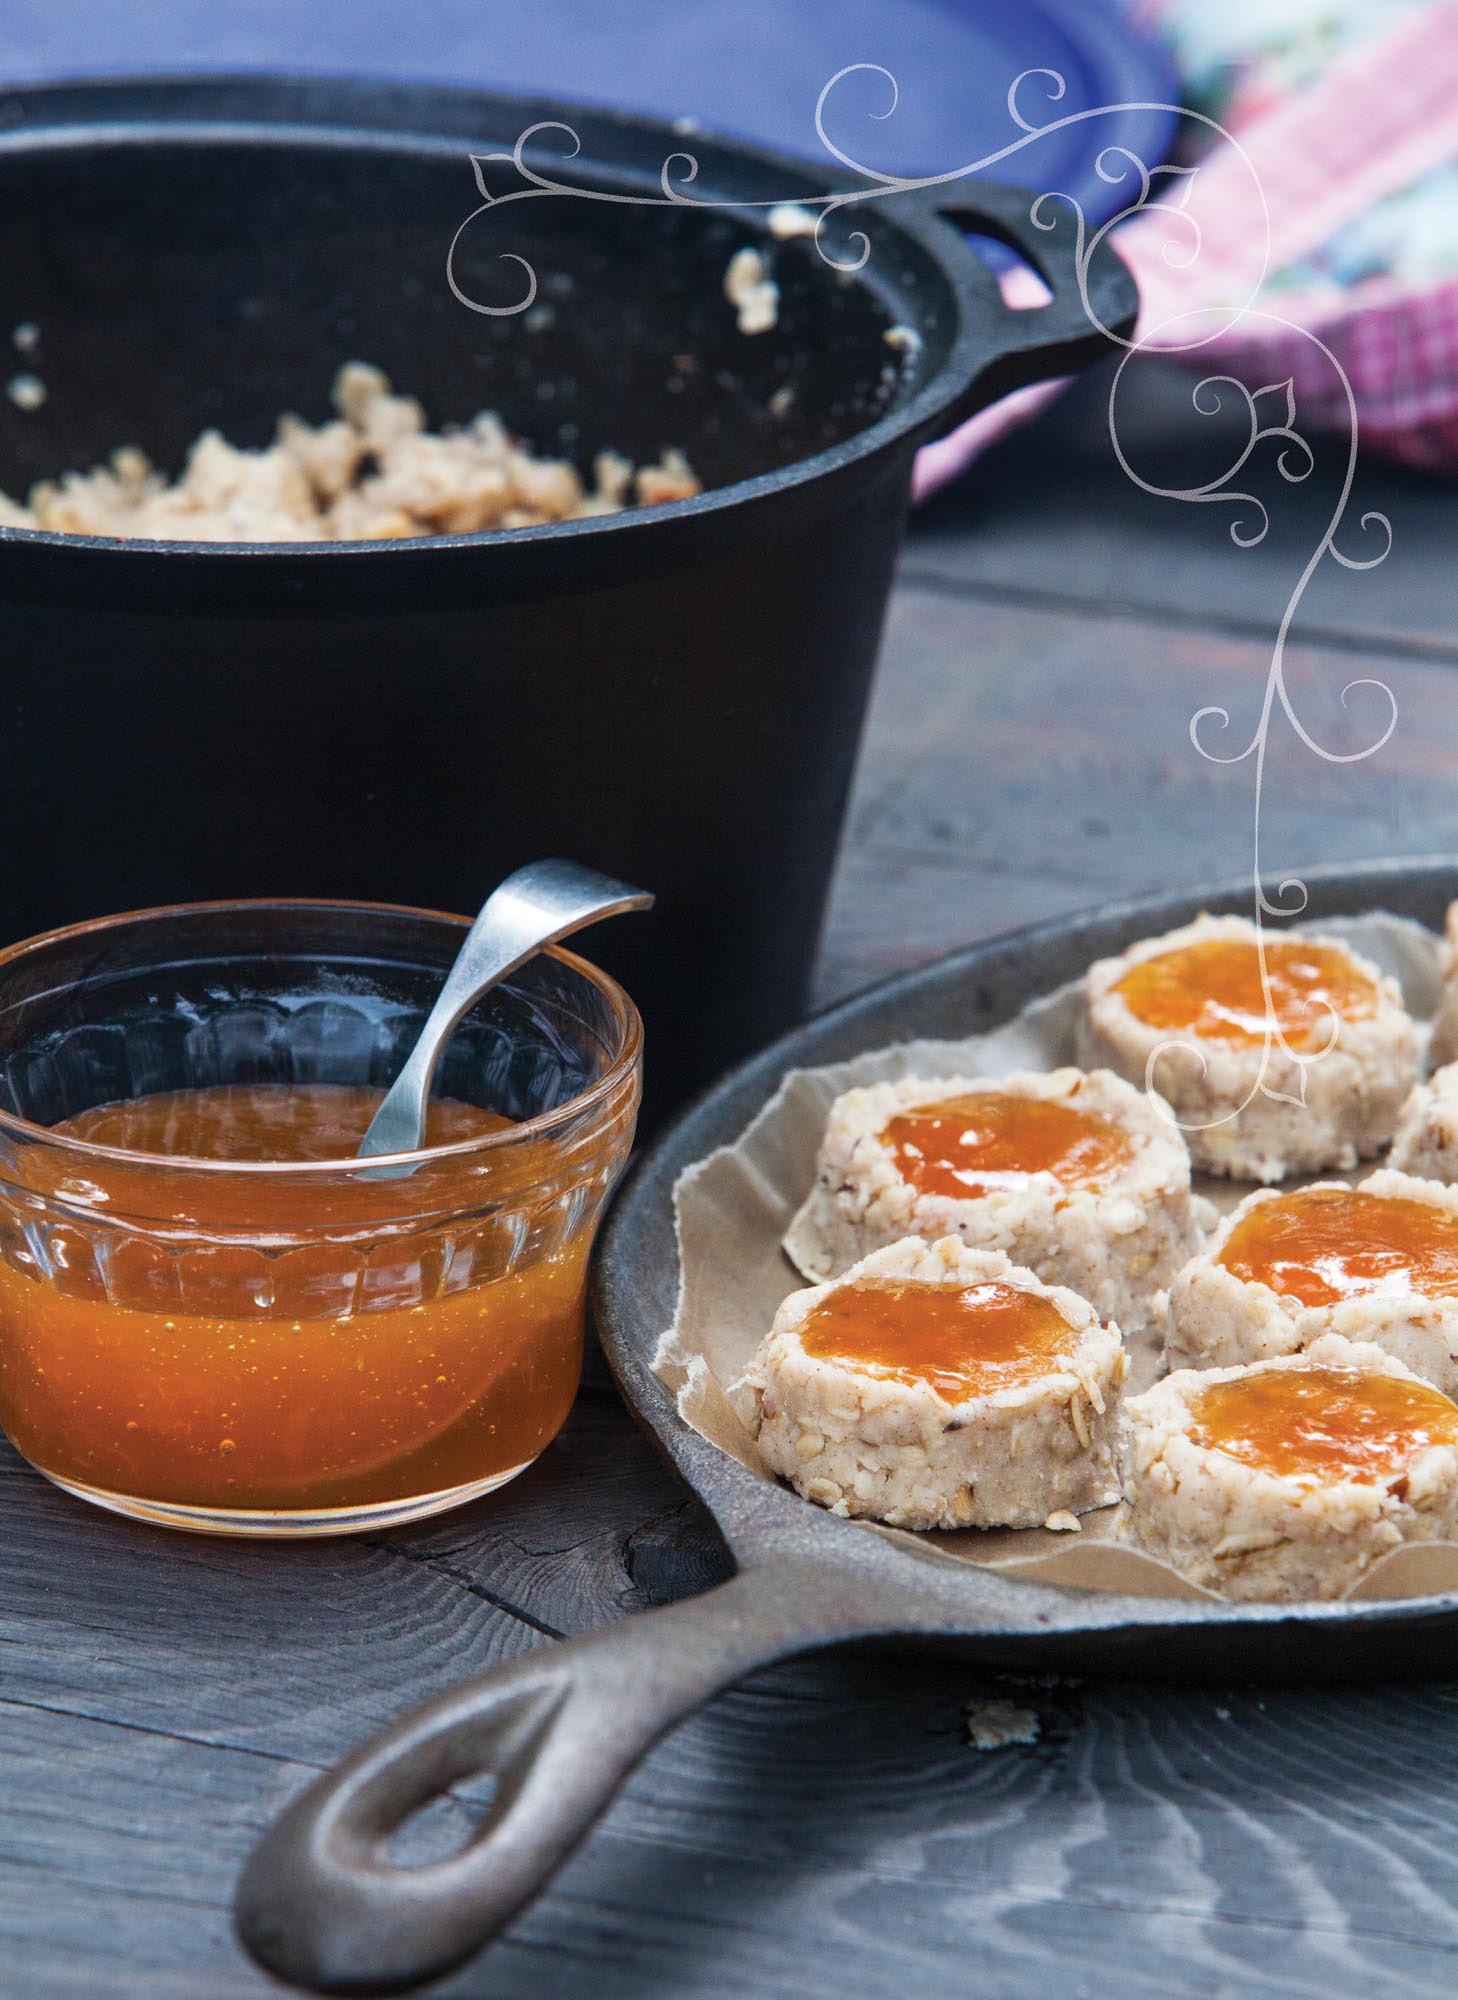
No-Bake Apricot Almond Thumbprints
No recipe arsenal would be complete without a great no-bake cookie recipe. And do I have a recipe for you! The oats, white chocolate, and apricot preserves are amazing together. I dare you to eat just one.
MAKES: 24 COOKIES
6 T butter
2 cups white chocolate chips
2 T almond butter
1 T honey
1-1/2 cups thick-rolled oats,
1/4 cup sliced almonds, chopped
1/4 t almond extract
1/3 cup apricot preserves
-
In a 2-qt cast-iron saucepan, combine butter, white chocolate chips, almond butter, and honey over low heat, stirring constantly. Once all ingredients are melted together, stir in oats, almonds, and almond extract.
-
Drop tablespoonfuls of mixture onto wax paper and shape into discs, creating a depression in the center of each.
-
Spoon apricot preserves into the depressions, and cool for 30 minutes.
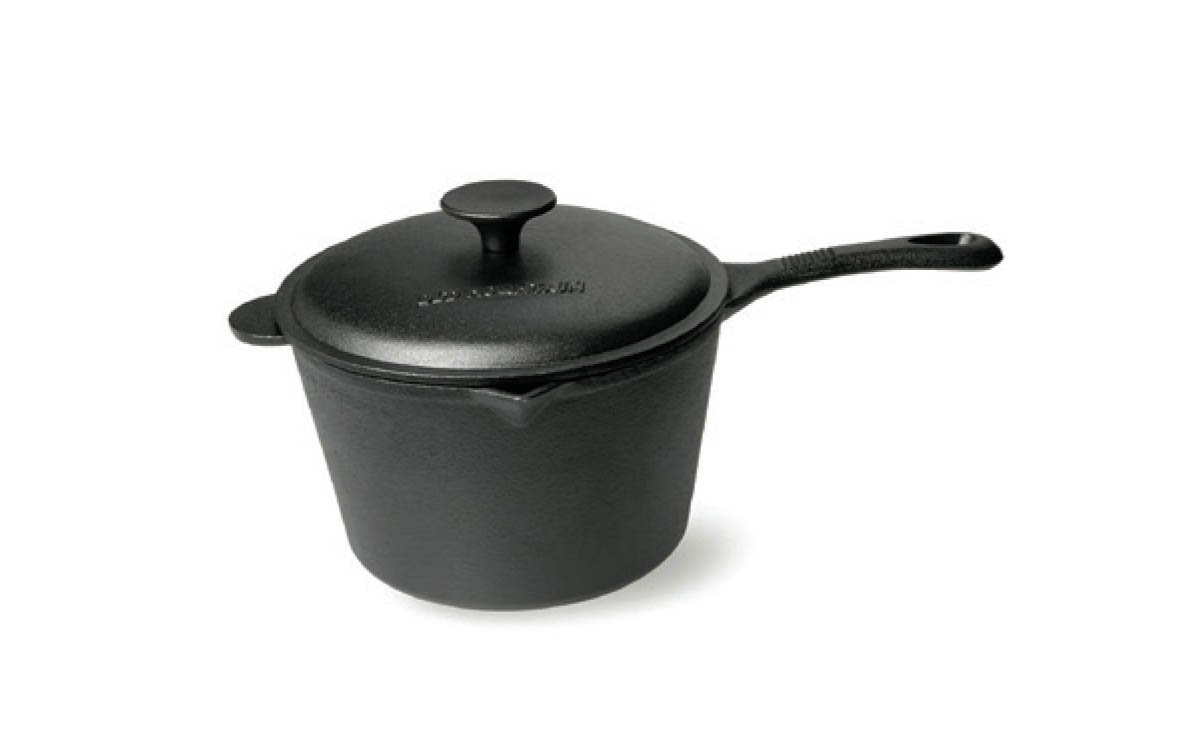
2-qt Cast-Iron Saucepan

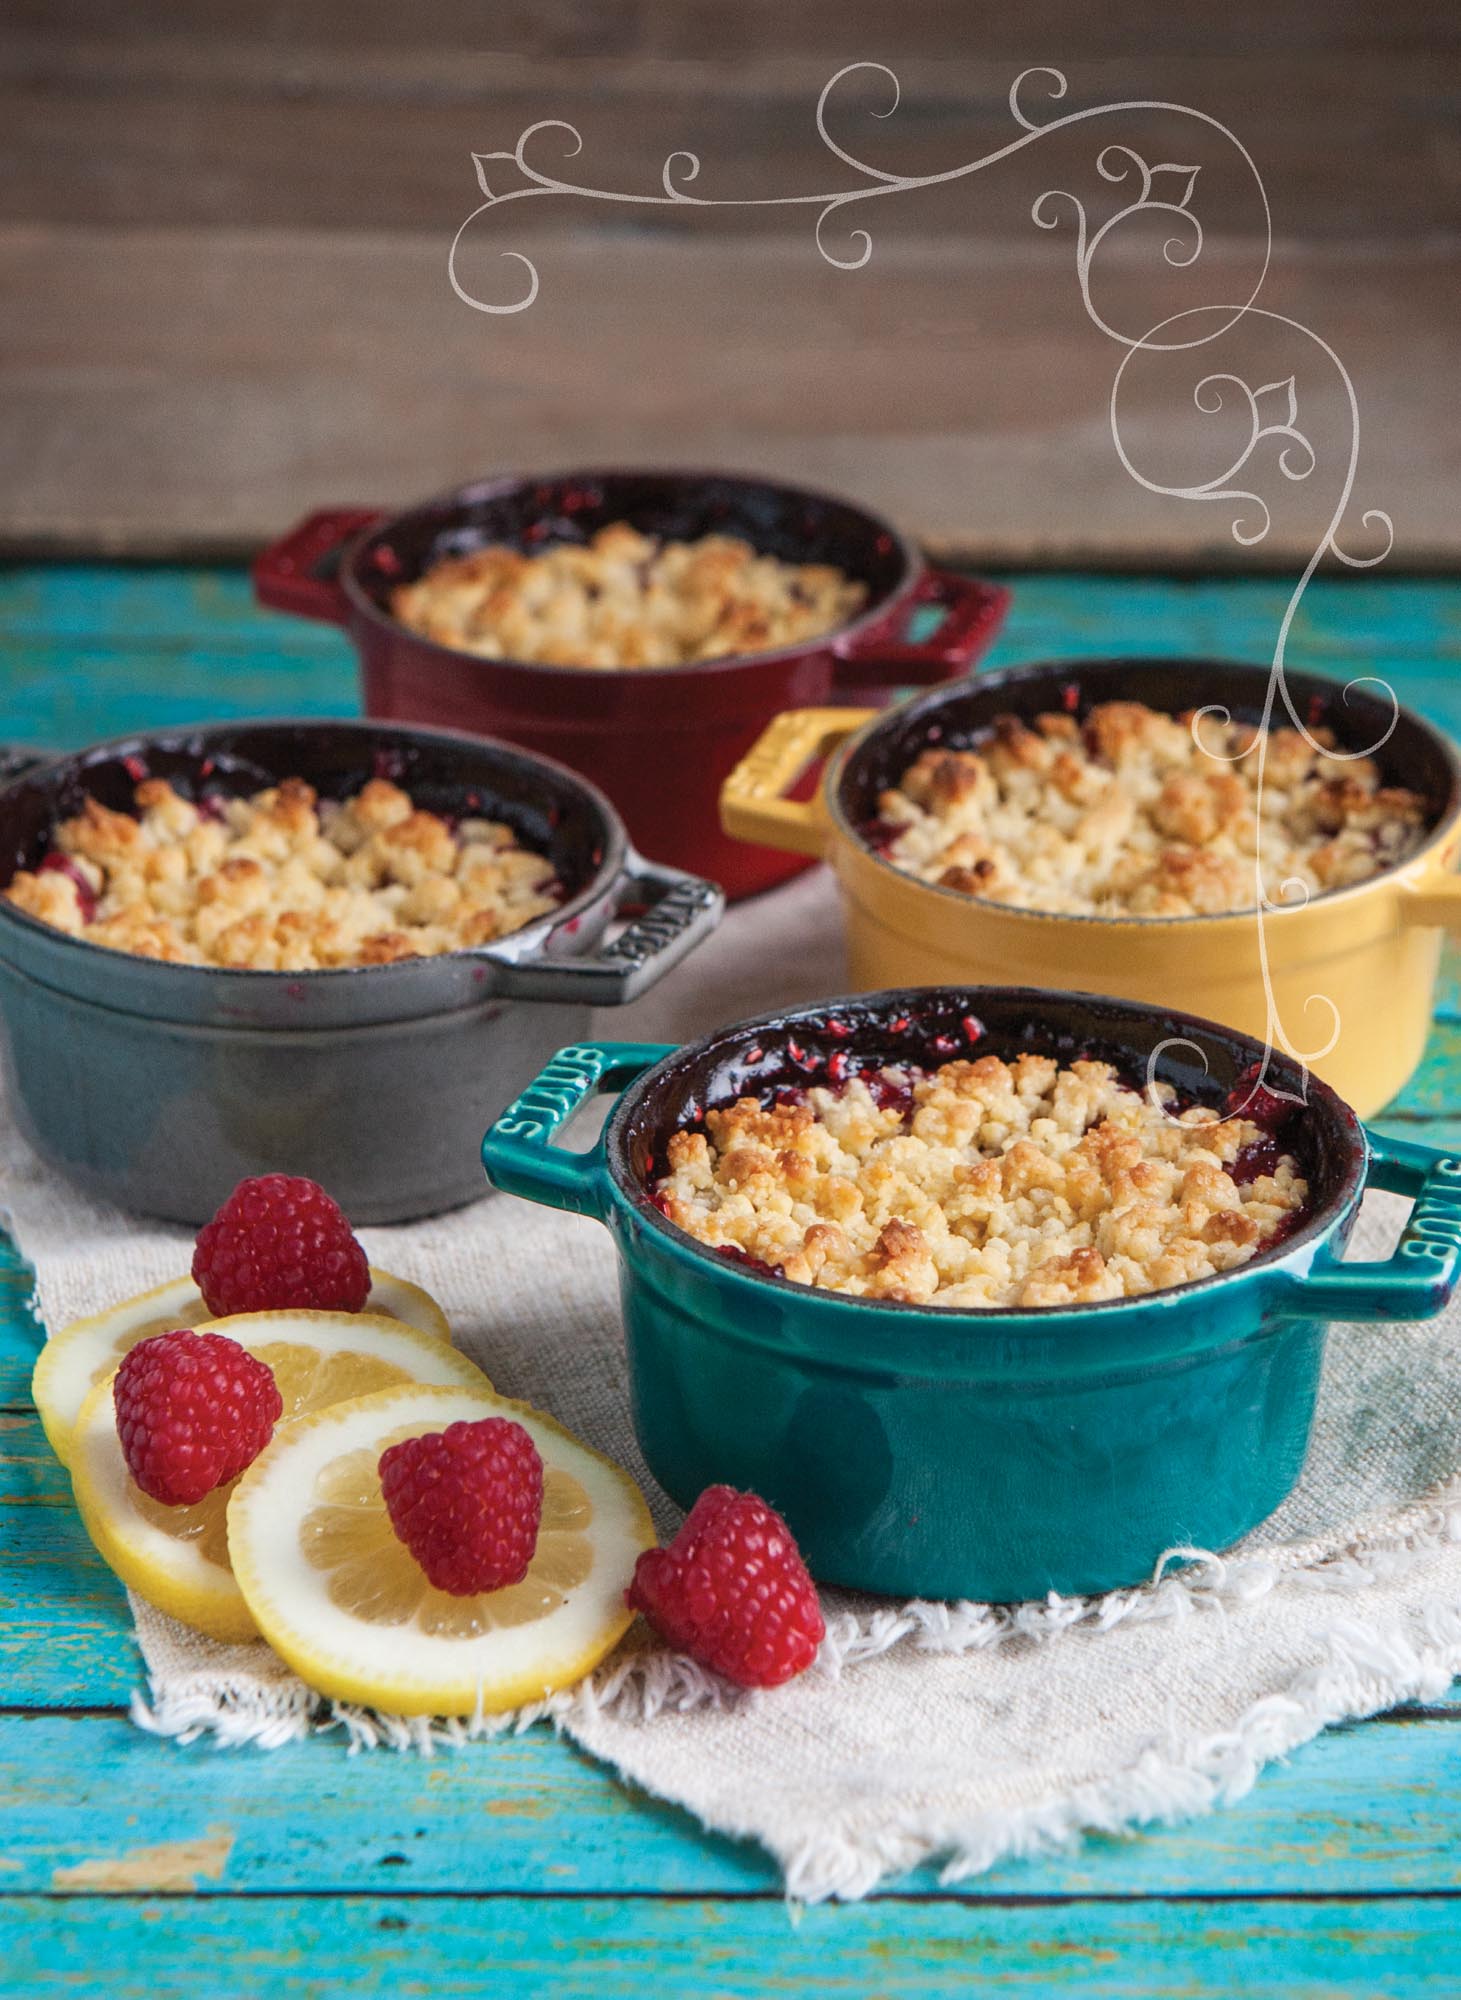
Raspberry Lemon Single-Serve Crisp
The first time I tasted a crisp, I thought it was the best dessert I’d ever had. I marveled at the crumbly topping and thought that it surely had to be complicated to make. Once I started to tinker in the kitchen and figured out just how easy it was to whip up a crumb topping, I was positively delighted.
MAKES: 4 MINI CRISPS
Crumb Topping:
1 cup flour
1 T lemon zest
1/3 cup sugar
2 T lemon juice (about 1 lemon)
3 T butter, melted
Filling:
1-1/4 lbs fresh raspberries (about 3-3/4 cups)
3 T cornstarch
1 cup sugar
1/4 cup fresh lemon juice (about 2 lemons)
-
Preheat oven to 375°F. Lightly butter four enameled cast-iron mini round cocottes. Line a large baking sheet with parchment paper.
-
Make topping: In a medium bowl, combine all topping ingredients.
-
Make filling: In a medium saucepan, combine all filling ingredients. Cook over medium heat, stirring occasionally, until thickened.
-
Divide filling evenly between prepared cocottes; top with crumb topping.
-
Place cocottes on a large baking sheet and bake for 25–30 minutes, or until topping is golden brown.
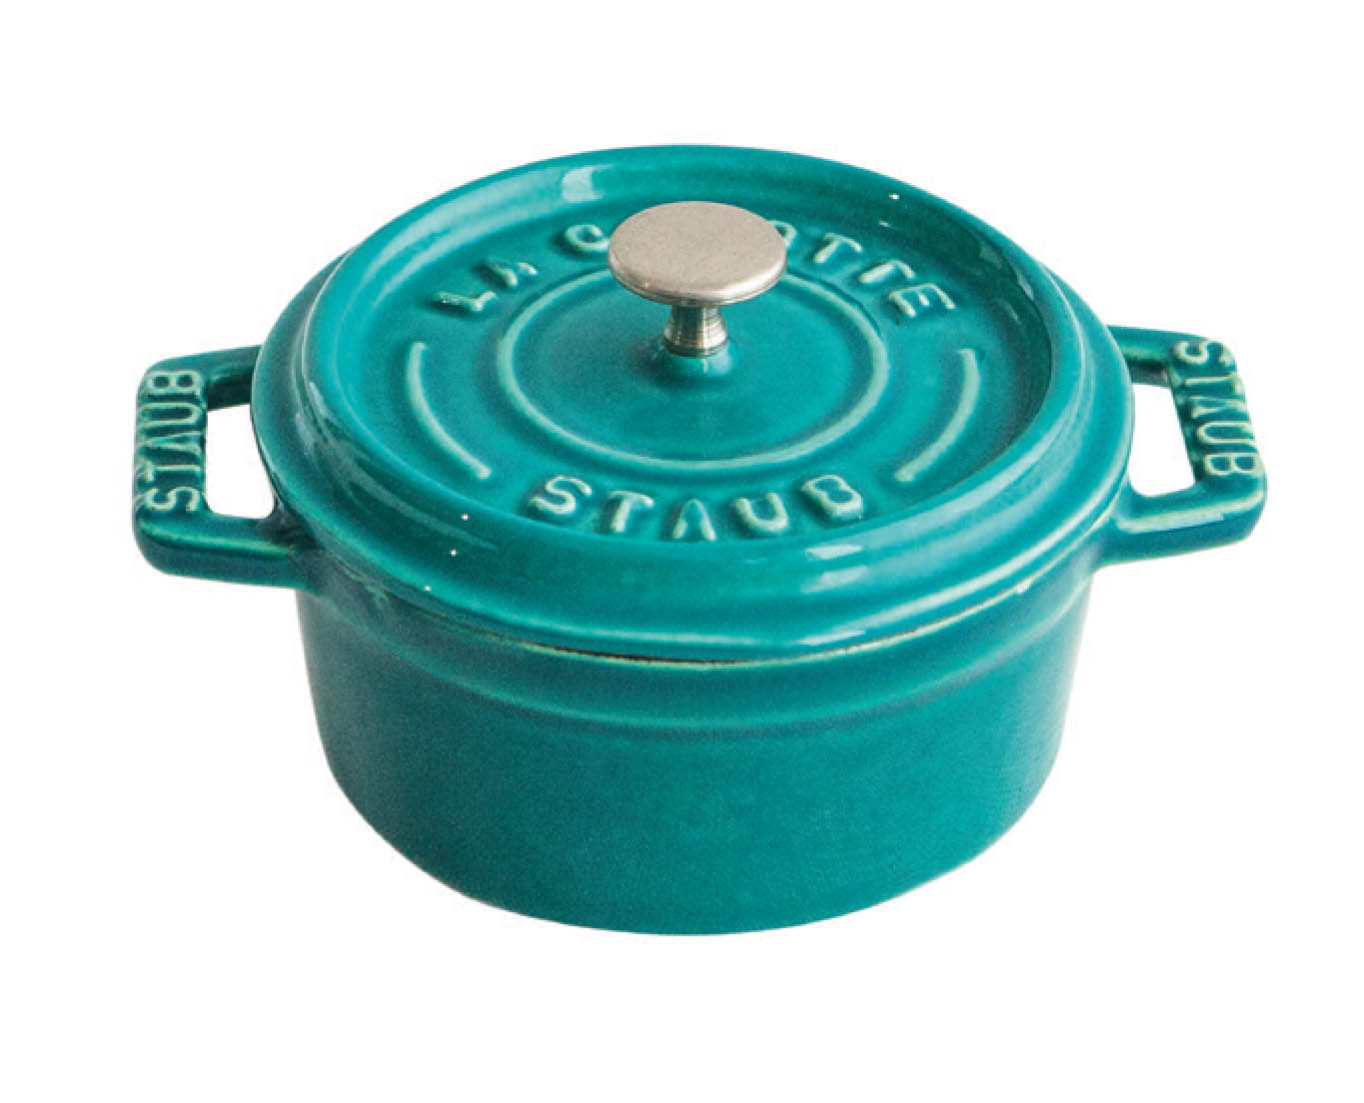
Enameled Cast-Iron Mini Round Cocotte
(Note: This recipe calls for 4 cocottes)
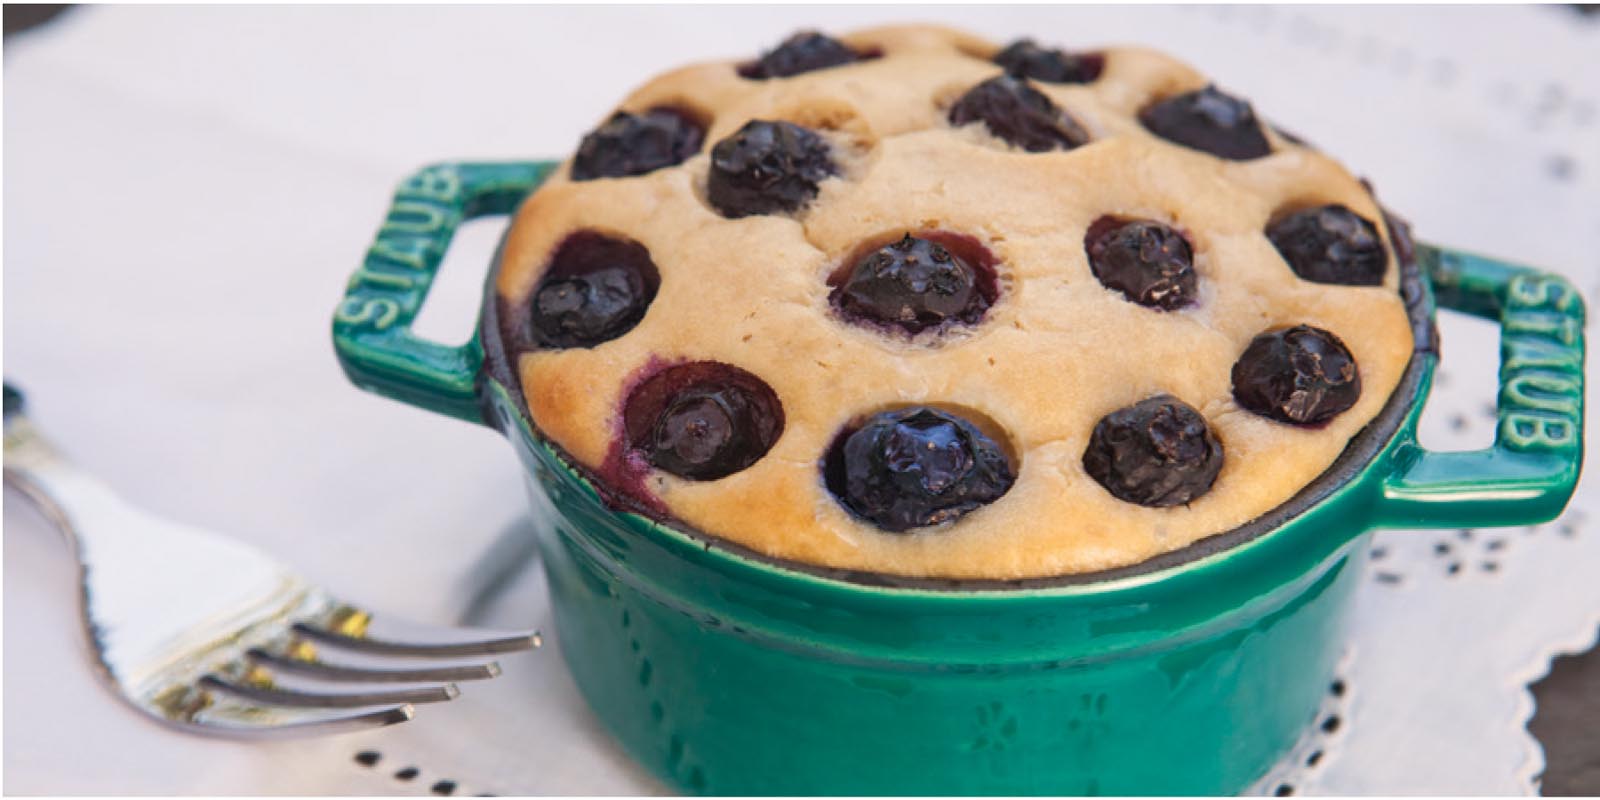
Pineapple Blueberry Single-Serve Cobbler
MAKES: 4 MINI COBBLERS
Topping:
3/4 cup flour
1/4 t salt
1/2 t baking powder
1/2 cup sour cream
1/2 cup sugar
1 egg
1/4 cup milk
2 ozs fresh blueberries (about 1/2 cup)
Filling:
2 cups pineapple, cut into tidbits
1 cup blueberries
2 t cornstarch
1/2 cup brown sugar
-
Preheat oven to 350°F. Lightly butter four enameled cast-iron mini round cocottes.
-
Make topping: In a small bowl, combine flour, salt, and baking powder. In a medium bowl, combine sour cream, sugar, and egg. Pour a portion of the flour mixture into the sour cream mixture, then add a little milk, alternating until all have been combined.
-
Make filling: Combine filling ingredients in a medium bowl. Divide filling evenly among cocottes; top with the batter. Press remaining blueberries into the batter.
-
Place cocottes on a large baking sheet and bake for 25–30 minutes, or until a toothpick inserted into the center of one of the cobblers comes out clean.

Enameled Cast-Iron Mini Round Cocotte
(Note: this recipe calls for 4 cocottes)
Buttermilk-Biscuit Apple Pie
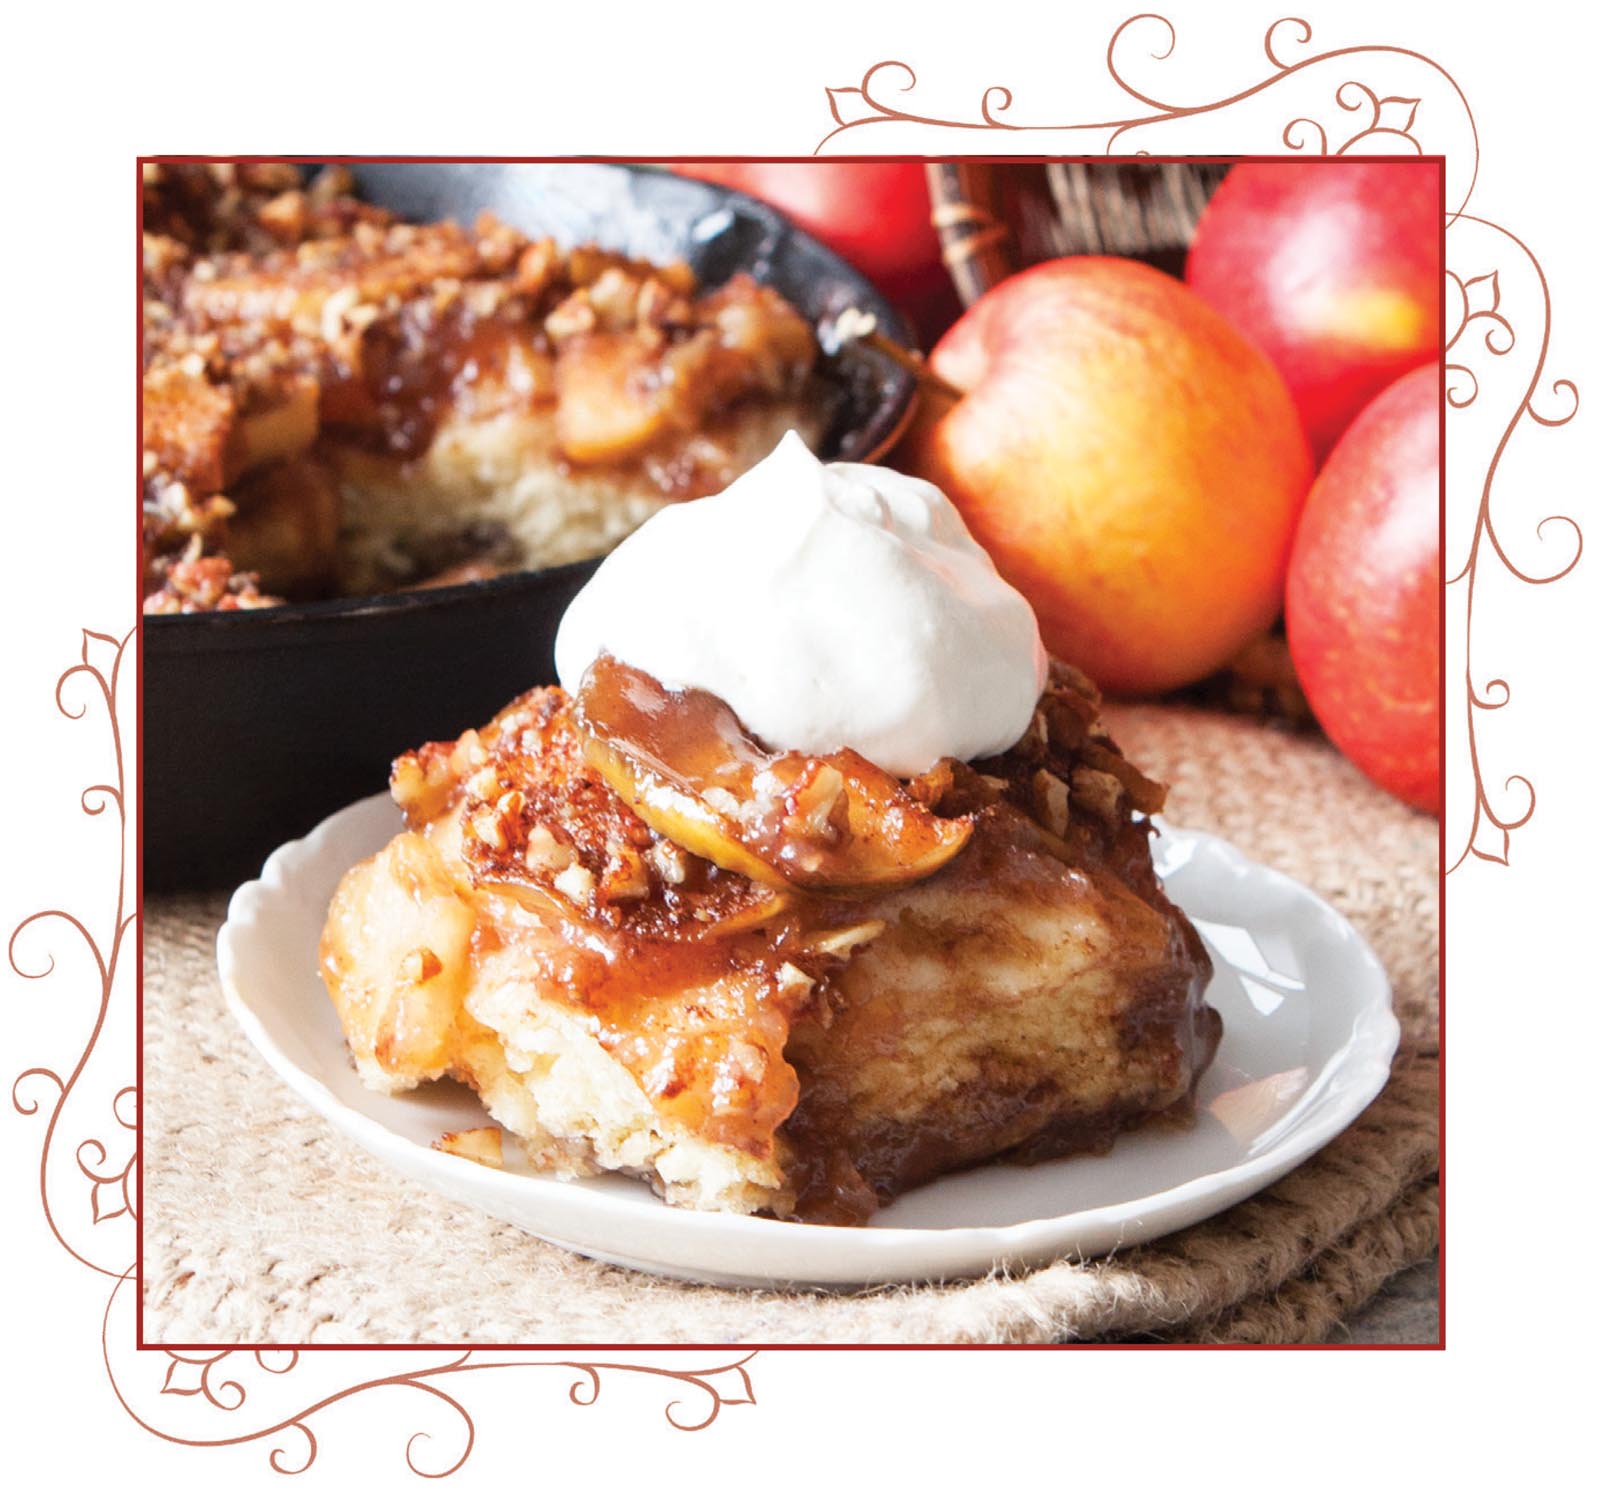
This recipe came to me shortly after my daughter, Meg, gave me a jar of her homemade apple-pie filling for Christmas. I wondered what would happen if I made a mess of buttermilk biscuits, placed them in my cast-iron skillet, and poured the pie filling over the whole thing. My biggest question as I watched the pie bake was if the biscuits would cook through. I pulled it out of the oven, and lo and behold, the biscuits were cooked to perfection.
MAKES: 6 SERVINGS
Biscuits:
1 half batch Buttermilk Biscuits
Apple Pie:
1/2 cup brown sugar
2 t cinnamon
1/2 t nutmeg
1/4 t ginger
6 T butter, melted
1 qt Apple Pie Filling
1/3 cup pecans, finely chopped
whipped cream for serving (optional)
-
Preheat oven to 375°F. Generously butter a 10-1/4” cast-iron skillet.
-
Prep a half batch of Buttermilk-Biscuit dough. Set aside after cutting six 3” biscuits from the dough.
-
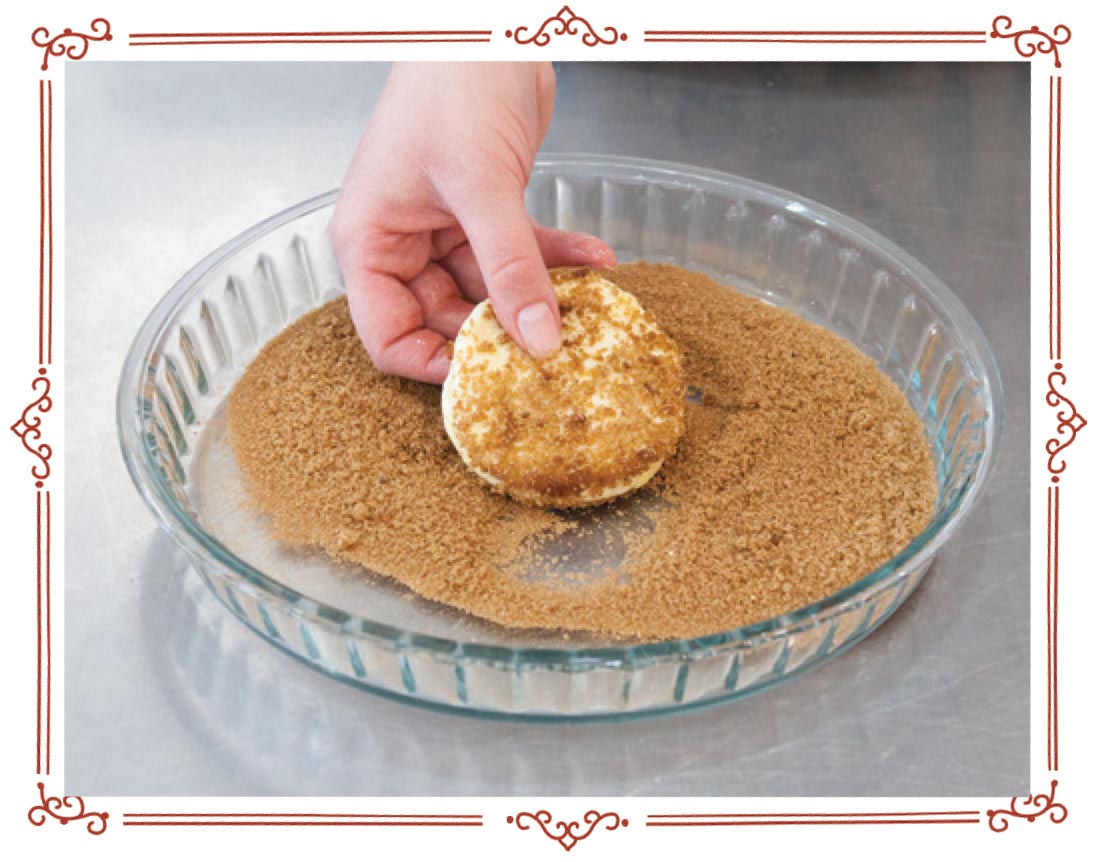
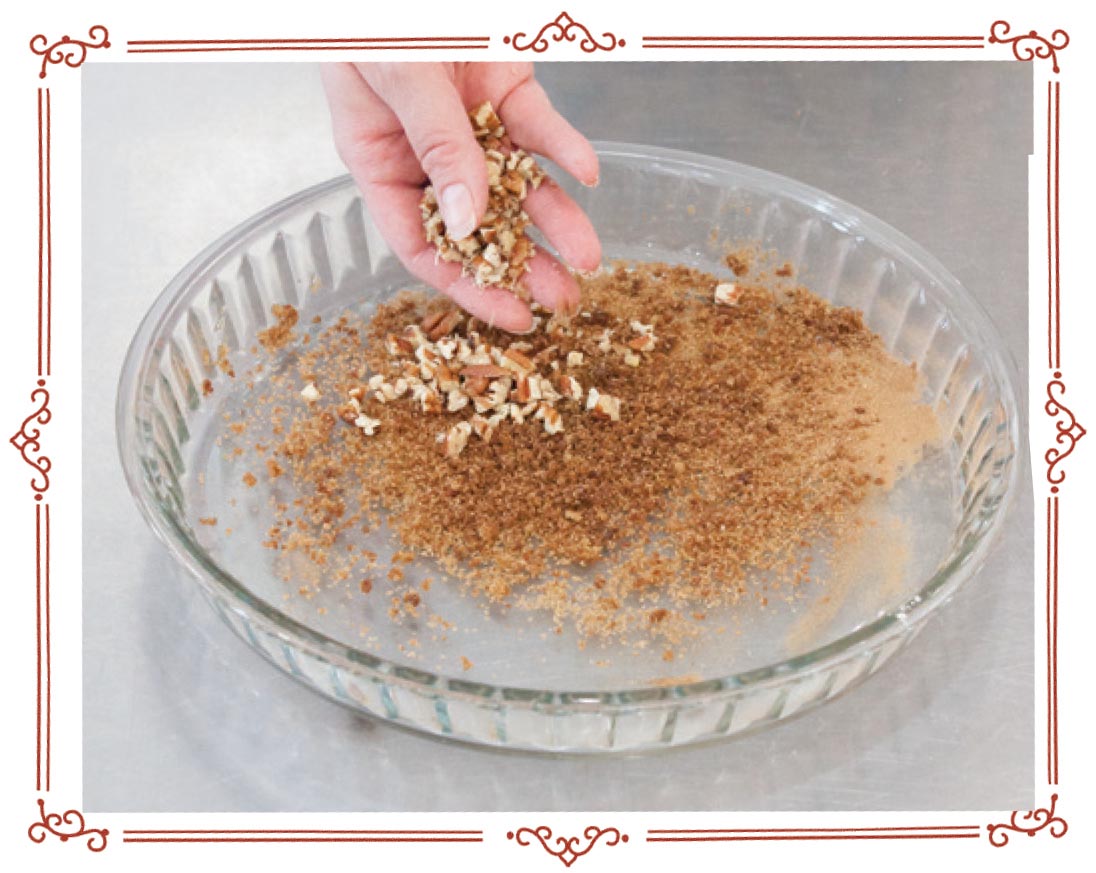
In a shallow bowl or pie plate, combine brown sugar, cinnamon, nutmeg, and ginger. Dip each unbaked biscuit in butter and coat in brown sugar mixture. Arrange biscuits in bottom of prepared skillet.
-
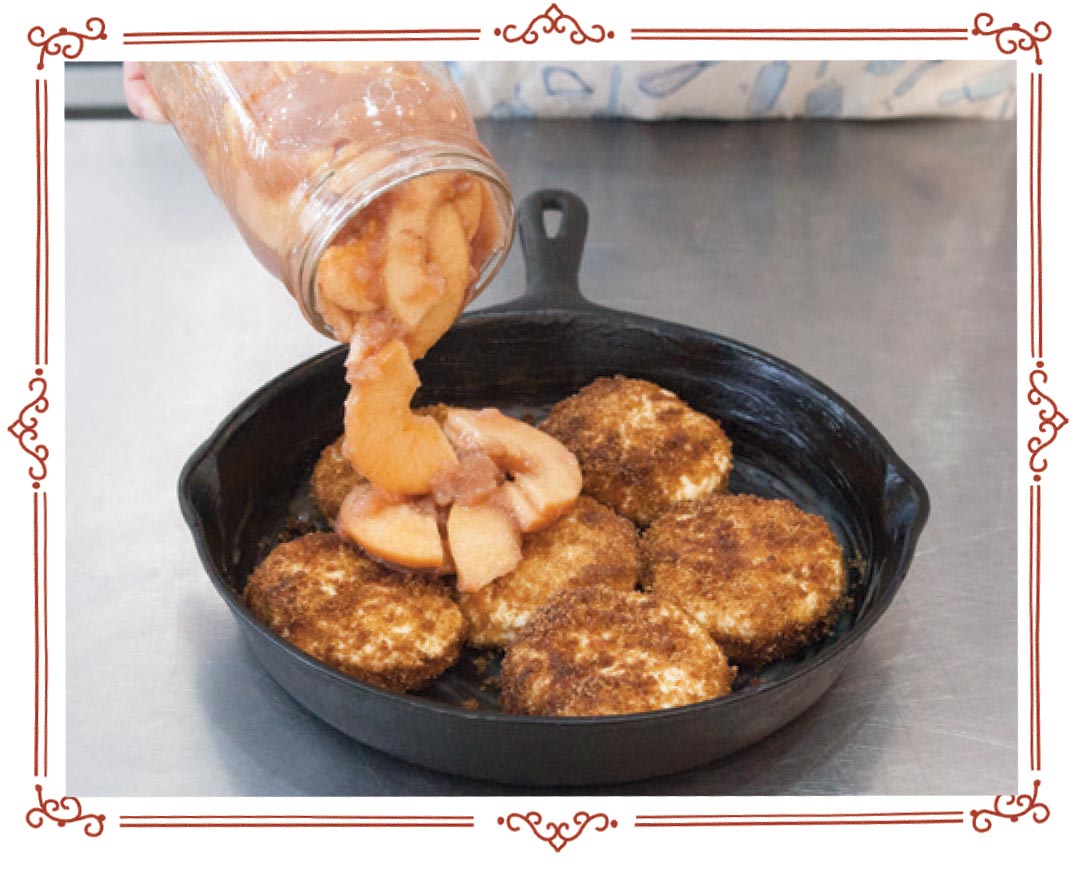
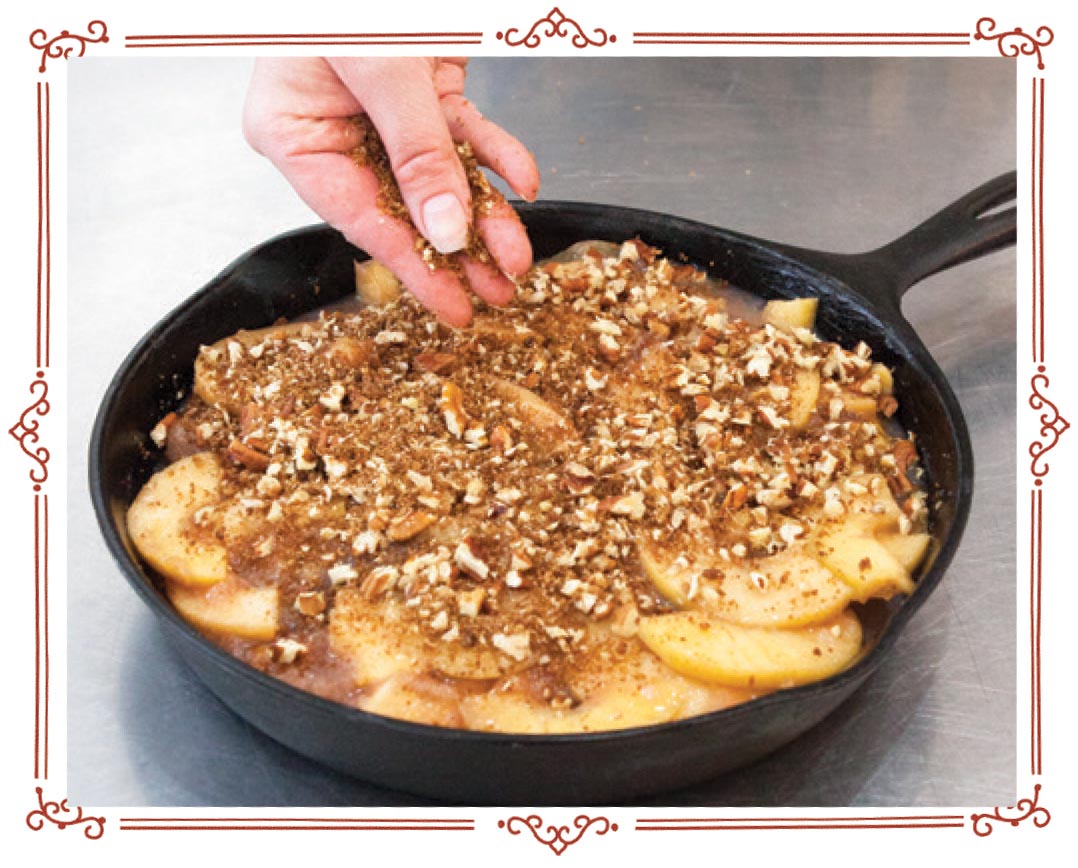
Pour Apple-Pie Filling over biscuits. Add pecans to remaining sugar mixture and spread evenly over apple pie filling.
-
Place skillet on a large baking sheet and bake for 40–45 minutes. Cool slightly and serve warm. If desired, top with whipped cream.

10-1/4” Cast-Iron Skillet
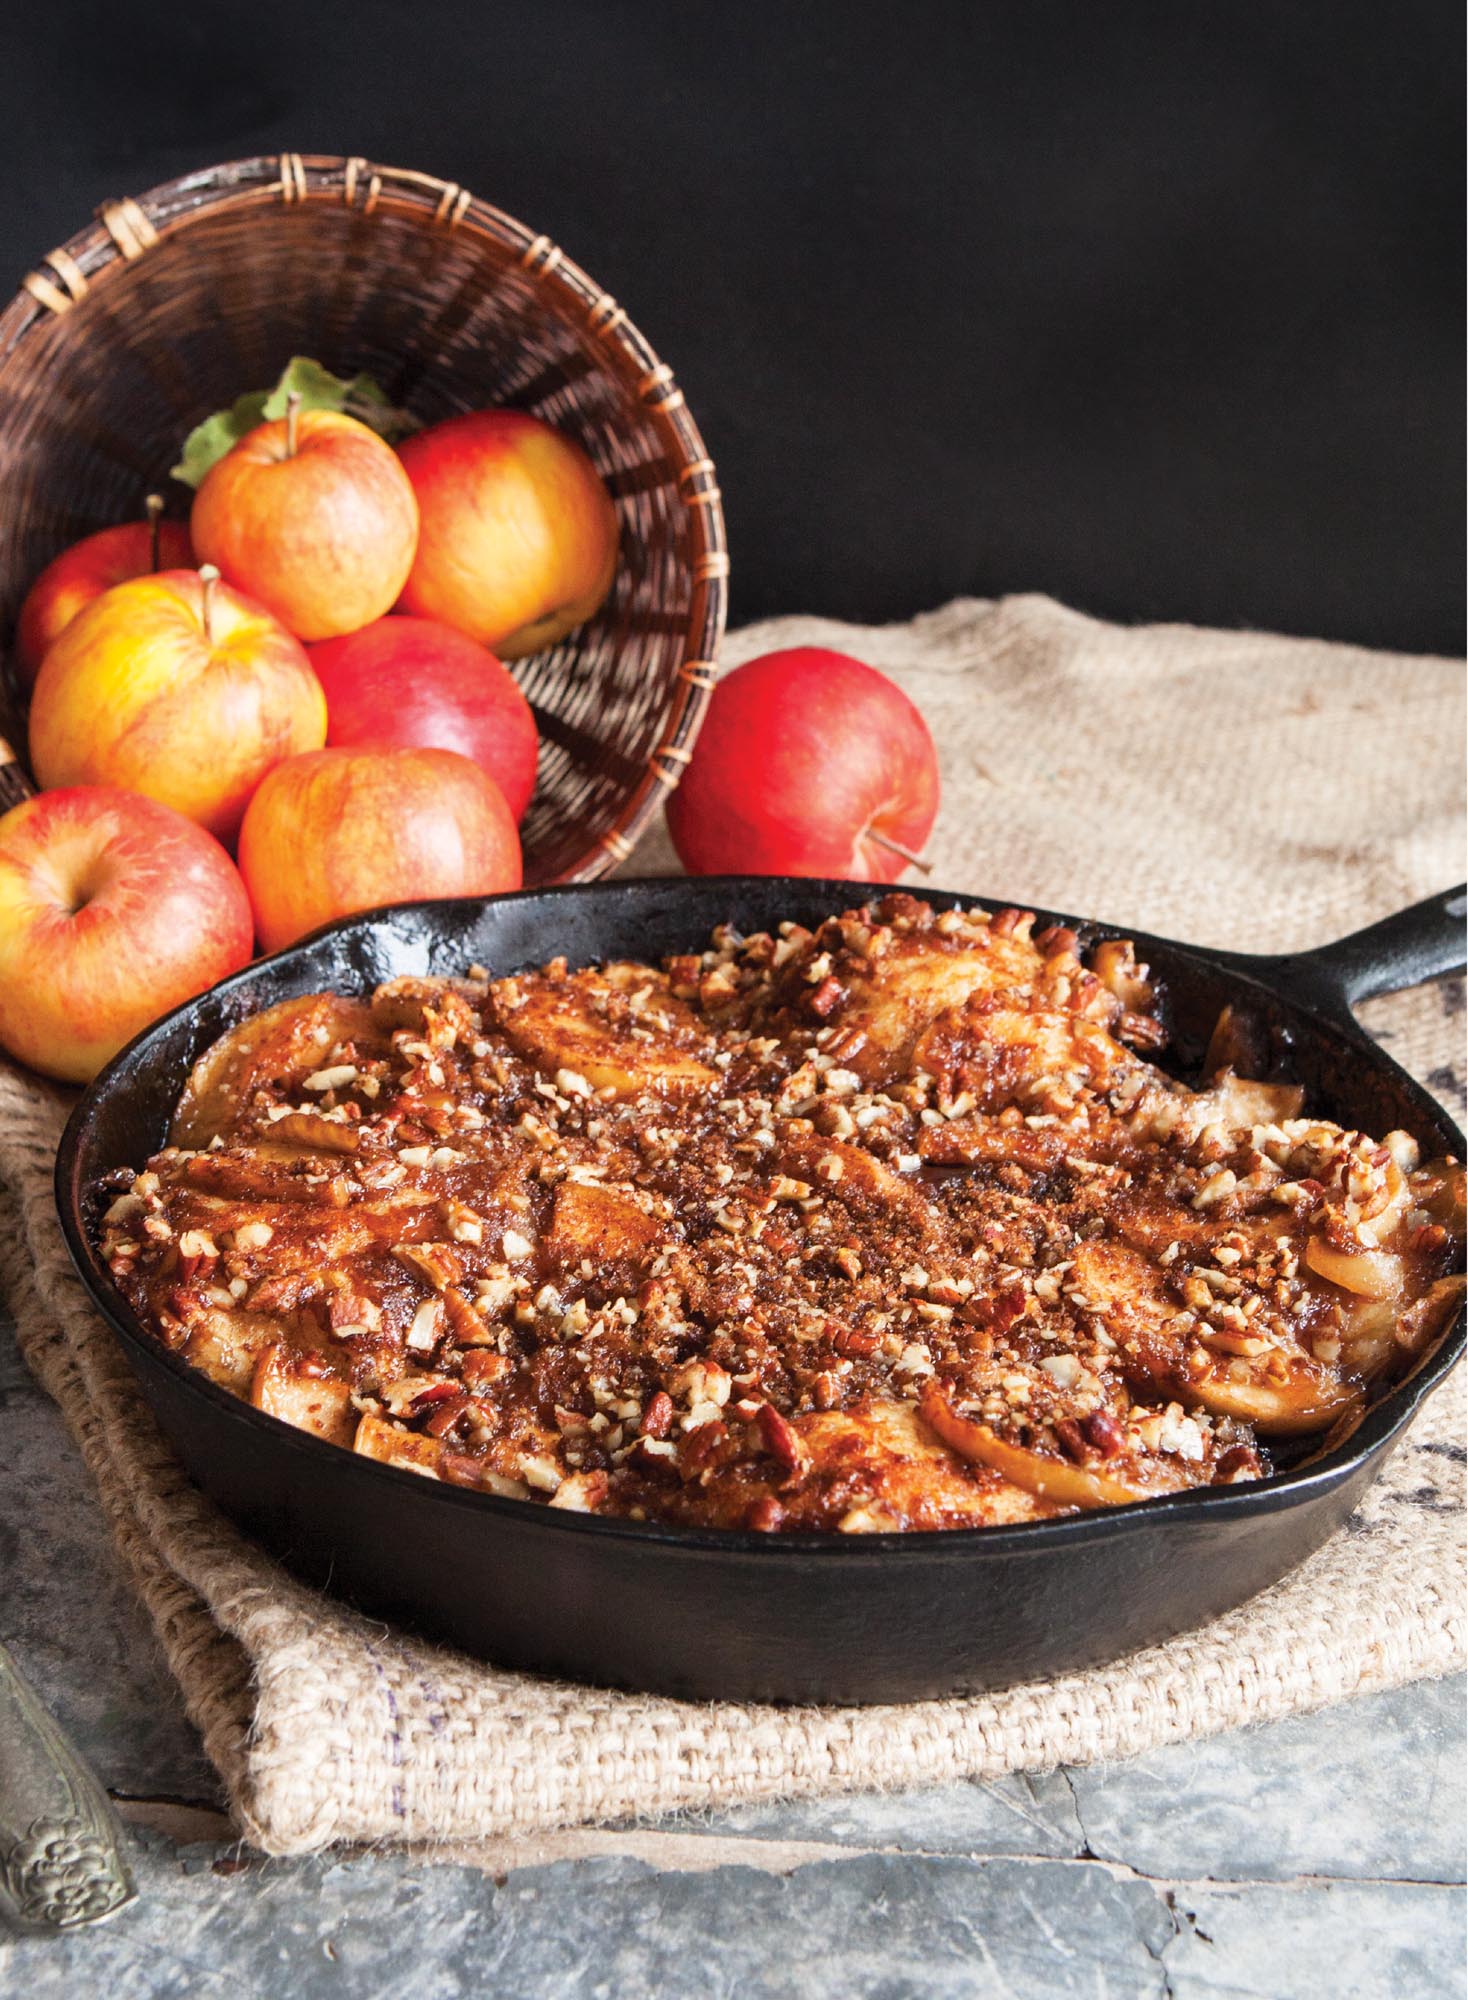
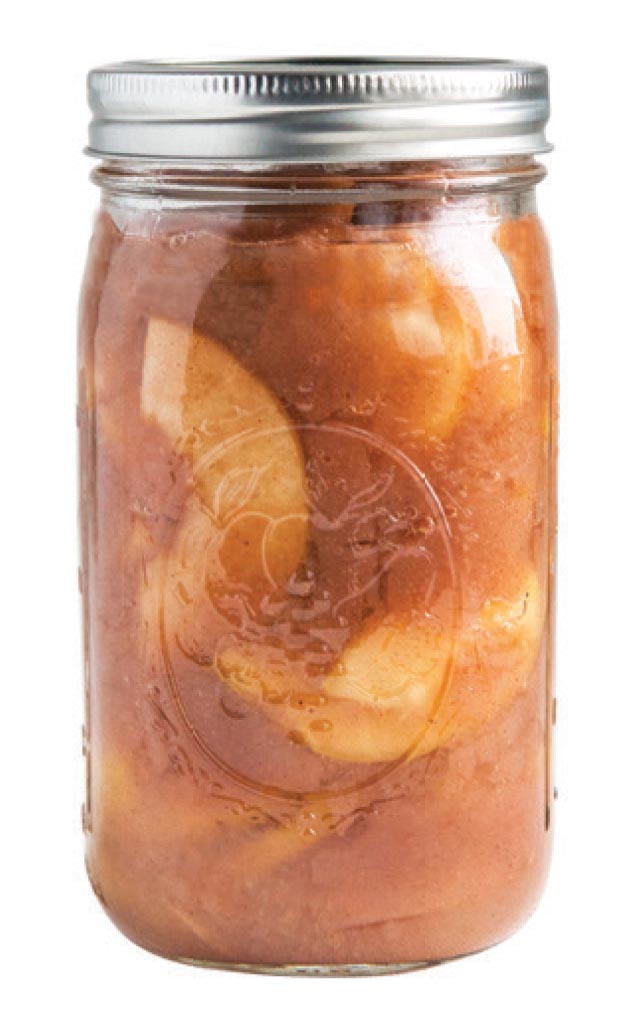
Apple-Pie Filling
MAKES: SEVEN QUART JARS
18 lbs (approx.) apples such as Cameo, Gala, Winesap, Braeburn, or Jonagold
4-1/2 cups sugar
1 cup corn or rice starch
2 T ground cinnamon
1 t salt
1/2 t ground nutmeg
10 cups water
6 T fresh lemon juice (about 3 lemons), divided
-
Wash apples, then peel, core, and slice. As you work, fill three large bowls with apples. Fill each bowl with enough cold water to cover. Add 1 T lemon juice per bowl to prevent them from browning.
-
In a large pot, combine sugar, starch, cinnamon, salt, nutmeg, and water. Bring to a boil, stirring constantly for approximately 15 minutes or until thick and caramel-colored. Remove from heat and stir in remaining 3 T lemon juice.
-
Ladle apples into sterilized quart jars. Ladle the hot liquid over the apples leaving 1/2” headspace. Refer to a canning manual for complete canning instructions.
