NEXT-LEVEL TECHNIQUE: CARBONATING COCKTAILS
Our passion for all things bubbly has led us to explore a variety of techniques to help make drinks as effervescent as possible, making them even more delicious thanks to carbonation’s impact on aroma and flavor. When you bring a bubbly drink to your nose, the bursting bubbles of carbon dioxide (CO2) lift the drink’s aromatic molecules, elevating your perception of flavor. As you take your first sip, the bubbles tickle your tongue. And as you consume the drink, the presence of CO2 plays with your perception of acidity, making the drink seem more refreshing.
Carbonation can occur naturally or be introduced. While there are many excellent, high-quality carbonated mixers, sometimes we want to make our own—or carbonate an entire cocktail. Technology to the rescue! Using some inexpensive gear, we use a system that can make almost any drink effervescent. But before we tell you about that, let’s look at how carbonation works and how best to accomplish it.

SOME BASIC PRINCIPLES OF CARBONATION
Carbonation is the presence of dissolved CO2 in a liquid. When attempting to force CO2 into solution in a liquid, it’s important to keep three key variables in mind: clarity, temperature, and time.
Generally, transparent liquids are preferable for carbonation. Cloudiness yields less stable carbonation because any particles floating in a liquid, such as citrus pulp, create an escape route for bubbles, which attach to them and float to the surface of the liquid, where the CO2 bubbles off. Therefore, we prefer to work with clear liquids, clarifying them before carbonating if need be. (See “Next-Level Technique: Clarifying,” on this page.)
The temperature of liquid also has a huge bearing on carbonation. Ever opened a warm bottle of soda? It probably fizzed everywhere because the higher the temperature of a liquid, the less CO2 it can hold. A cold soda, on the other hand, will barely fizz when it’s opened and will stay bubbly for longer. So before carbonating, we ensure that our ingredients are as cold as possible, and we keep them chilled after they’ve been carbonated.
Finally, there’s no escaping time. Even when CO2 is injected into very cold, clear liquid, the gas needs a bit of time to fully dissolve. We’ve noticed that our house carbonated cocktails have finer, tighter bubbles when they’re allowed to rest for at least a day.
WHEN (AND WHEN NOT) TO CARBONATE
Just because a liquid is clear doesn’t mean it’s a good choice for carbonation. Not long ago, enthusiastic bartenders were carbonating everything in sight (guilty as charged!), including spirituous cocktails. And while there are few things in the world we love more than a Negroni and bubbles, separately, it really isn’t appropriate to put them together. Here are some compelling reasons to steer clear of carbonating boozy cocktails.
Carbonated drinks are said to get drinkers tipsy more quickly. Although this hasn’t been conclusively proven, we have found that people tend to drink effervescent cocktails far more quickly. Therefore, we gravitate toward carbonating cocktails that pack a lighter punch than other drinks.
Then, reflect back on how carbonation influences the drinker’s experience of a liquid, altering its aroma, texture, and flavor. A cocktail such as a Negroni embodies a delicate balance of strong, sweet, and bitter, built from ingredients that have intense personalities. Carbonation would shift that balance, increasing the aromatic intensity of the Campari and vermouth, the perception of acidity, and the presence of alcohol on the palate. Ultimately, a carbonated Negroni isn’t very tasty, and the drink certainly isn’t improved by the process.
CARBONATION METHODS AND TOOLS
Shortly, we’ll set forth three methods for home carbonation: using a soda siphon, building your own rig for carbonating bottled liquids (our favored method), or building a similar rig for carbonating entire kegs of cocktails. (Another option is the branded Perlini system, which utilizes a specialized shaker and either CO2 cartridges or a CO2 pressure tank.) You may wonder why you can’t just use a SodaStream or other similar devices to carbonate cocktails. Perhaps you could, but we highly recommend against it. For one, using a SodaStream to carbonate cocktails will void the unit’s warranty. Also, a SodaStream doesn’t allow you to control the amount of pressure added to the liquid. We err on the side of control.
GENERAL NOTES ON PREPARING INGREDIENTS FOR CARBONATION
-
Prepare the ingredients: Filter and clarify (see this page) any cloudy juices, infusions, or syrups.
-
Chill the ingredients: Place any spirits (40% ABV and above) in the freezer for at least 12 hours. Lower-proof ingredients (such as vermouth, still wine, and liqueurs) shouldn’t be frozen; instead, refrigerate them or, for best results, chill in an ice bath for at least 1 hour. Syrups and juices should be refrigerated long enough that the liquid is thoroughly chilled but not so long that the juice oxidizes, ideally 1 to 4 hours.
-
Prepare your space and tools: Clean and assemble your carbonation rig (see following). If using an insulated soda siphon canister, place it in the freezer until it’s cold. (Everything must be cold!) Set out a gram scale, bar towel, and measuring cup so you’ll have them handy when it’s time to start assembling the cocktail.
-
Prepare any auxiliary ingredients: In addition to the more voluminous ingredients that are chilled, your cocktail recipe may call for small amounts of other ingredients, such as bitters, flavor extracts, acid solutions, and so on. Make sure you have those handy.
-
Be smart with dilution: When carbonating a homemade cocktail, you’re creating a finished drink, and you’ll want it to be diluted similarly to the stirred or shaken version of that drink. We get our best results when we dilute the batch using very cold seltzer. Though the exact amount depends on the other ingredients in the cocktail, we tend to dilute carbonated cocktails so that 20 percent of the total volume of the batch is water.
-
Assemble the batch: One at a time, remove the ingredients from the freezer, refrigerator, or ice bath. Measure each and pour it into the vessel you’re using for mixing, working quickly to keep everything cold. Now you’re ready to carbonate using one of the methods described in detail below.
CARBONATED FRUIT
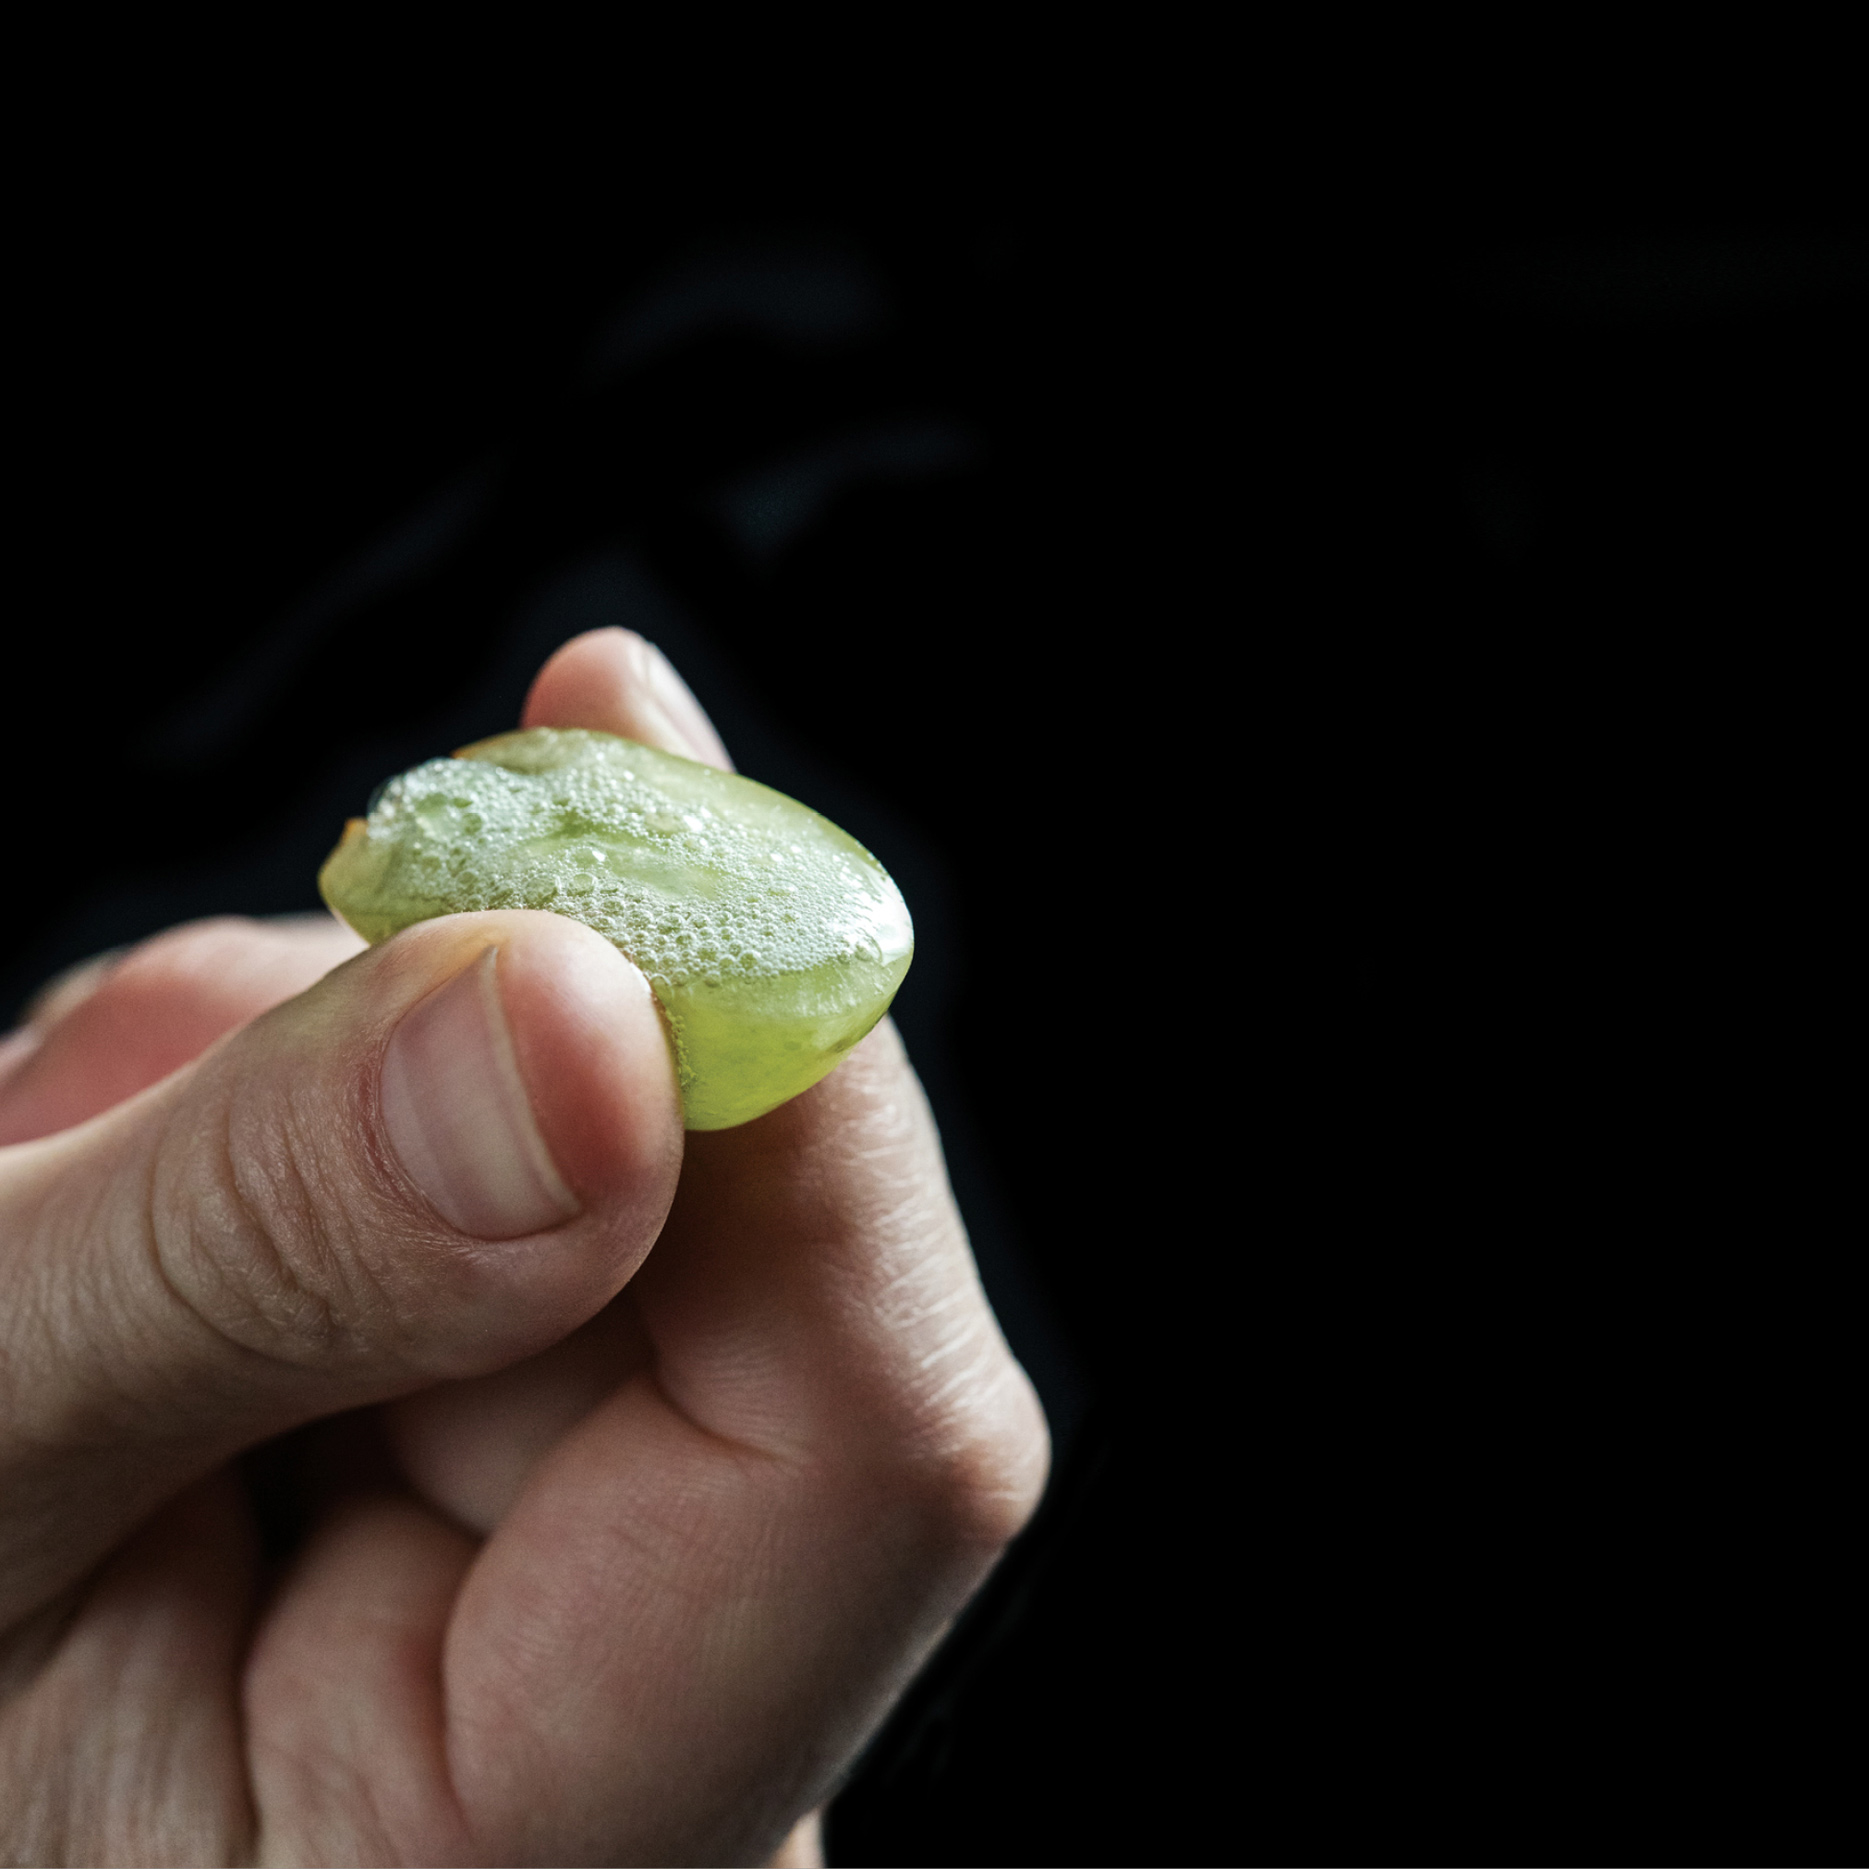
Carbon dioxide can also be used to introduce effervescence into solid ingredients to create unique garnishes. Using an iSi whipper (not the soda siphon), any fruit or vegetable that contains water (essentially, all of them) can be carbonated. The process is similar to what happens in a carbonated cocktail (or carbonated water, for that matter). When CO2 and fruit are combined in a pressurized environment, the CO2 will pass through the fruit’s outer membrane and dissolve into the liquid within the fruit. What results is fruit with the unexpected sensation of a slight tingle on the tongue.
Because the opening of the whipper is small, one of the easiest fruits to use is grapes—a favorite of ours. Berries are too delicate and will break apart. Larger fruits will need to be cut into pieces; for citrus, we generally cut each segment into four pieces. Add the fruit to the whipper, filling it no higher than the “Max” line. Seal the top and charge with a CO2 cartridge while holding the release valve open. This will purge the ambient gas from the canister. Then, with the valve closed, change the cartridge and charge with CO2.
Place the whipper in an ice bath to chill the ingredients; the colder the liquid in the fruit, the more CO2 it can hold. Let sit for at least an hour. The longer the fruit remains in the whipper, the more fizzy it will become—letting it sit overnight will result in very fizzy fruit.
If using whole fruits such as grapes, this process will probably burst the fruit, as the pressure of the gas exceeds the strength of the skin. One solution is to cut small fruits in half before carbonating them. Another is to add a complementary liquid to the whipper so the liquid will buffer the interaction and support the fruit’s cell walls. With grapes, we use verjus; the result is carbonated grapes infused with the bright, acidic flavors of verjus.
One final note on fizzy fruit: It can be a mental trip. Our brains are hardwired at a very deep, animal level to interpret fizzy fruits as being fermented and therefore possibly decayed and dangerous. For some people, this reaction can be hard to overcome. For that reason, we often carbonate whole fruit using complementary liquids, as we do with grapes and verjus. This will reinforce the fresh qualities of the fruit, resulting in a pleasant and unique garnish.
SODA SIPHON
Soda siphons are thick-walled canisters made specifically for carbonating liquids. Our favorite is made by the iSi company (which also sells the N2O cream whippers we use for rapid pressured infusions, discussed on this page). To carbonate using a soda siphon, add liquid to the canister, being careful to fill it no higher than the “Max” line; this is important for both safety and optimum carbonation. Also, be sure to screw the lid on very tightly. Charge with one CO2 cartridge, then shake vigorously. (Though the manufacturer doesn’t recommend it, we always charge with a second charger and shake again for maximum effervescence.) Then refrigerate the canister or, for more rapid cooling, place it in an ice bath. Either way, let the siphon chill for at least 2 hours and preferably 6 hours, which will allow even more time for the CO2 to go into solution.
The soda siphon is an inexpensive and versatile tool, but it has three major drawbacks. The first is that you can’t remove the ambient air from the canister without wasting a full charger. The second is that you can’t adjust the amount of pressure applied to the liquid, so you can’t control the intensity of bubbles in the final drink. Third, there are the costs and environmental impacts of all those little canisters. That alone makes soda siphons a less that sustainable method, especially for a busy bar. That said, they can be a good off-the-shelf option for starting to explore home carbonation of cocktails.
DIY CARBONATION OF BOTTLED LIQUIDS
By far our favorite carbonation method, both at our bars and at home, is using a rig cobbled together from homebrew supplies, popularized by cocktail wizard Dave Arnold and Portland-based bartender Jeffrey Morganthaler. Luckily, this kind of rig is now popular enough that you probably won’t need to search through a homebrew supply shop for the right parts while a confused shop clerk looks on. (Of course, these supplies are also available online should you not be fortunate enough to have a local homebrew shop.)
What we love most about this system is that, after a small upfront cost, making carbonated cocktails (or just having an endless supply of seltzer at home) becomes phenomenally cheap.
WHAT TO BUY FOR A HOME CARBONATION RIG
• CO2 tank: Purchase a 5-pound tank (about 14 inches tall by 5 inches wide) with a standard fitting or, if you’re ambitious, a 20-pound tank, which will last for hundreds and hundreds of carbonations. Either way, once the tank is empty, you can swap it out for a full one for a small fee.
• Primary CO2 regulator: This attaches to the coupler on the side of the CO2 tank. Purchase a unit that has indicator dials for both the pressure (shown in PSI, or pounds per square inch) and the tank level, as well as a shutoff valve on the gas line. Ensure that the regulator can easily be adjusted either by a dial on the front or a screw, and that it will accommodate pressures up to 60 PSI. We prefer the regulators made by Micro Matic.
• Hoses: You’ll need 5 feet of 5⁄16-inch ID gas hosing (ID stands for “internal dimension”—in other words, the internal width of the hose). The commonly available red, flexible hoses will work, but we favor the thick-walled braided tubing available from Micro Matic because it’s made to withstand the higher pressure we use when carbonating drinks. (Beer systems usually don’t exceed 20 PSI.)
• Gas ball lock connector: This tiny plastic or stainless steel component connects the hose to the carbonation cap.
• Worm clips: You’ll need at least two worm clips to secure the hose to the regulator and the gas ball lock connector. Buy extras!
• Carbonation cap: This is a one-way valve that connects the gas ball lock connector to a plastic bottle.
• Plastic bottles: This is the vessel in which you’ll carbonate your cocktails. It’s fine to use repurposed 1- to 3-liter PET seltzer or soda bottles, but if reusing a soda bottle, be sure to clean it thoroughly to remove any lingering flavors.

HOW TO CARBONATE BOTTLED LIQUIDS
-
Prepare your ingredients and ensure that they are all as cold as possible.
-
Funnel the ingredients into the plastic bottle, filling it no more than four-fifths full of liquid. Leaving some headspace provides space for the gas to interact with the liquid; if you fill it all the way to the top, you’ll end up with a flat cocktail.
-
Squeeze the bottle in the middle to remove as much air as possible, then attach the carbonation cap and seal. Make sure the cap is tight—but not so tight that you won’t be able to open it. (If carbonating multiple bottles, or if its ingredients aren’t yet cold, refrigerate the bottle or put it in an ice bath.)
-
Turn on the gas and set the pressure on the primary regulator to 45 PSI.
-
Attach the gas ball lock connector to the carbonation cap, pressing until it locks into place. The bottle will expand within seconds as CO2 rushes in.
-
Shake the bottle for 10 seconds while it’s still attached to the tank, then disconnect the gas hose from the carbonation cap.
-
Place the bottle in the refrigerator or an ice bath for at least 2 hours before using.
-
For optimum results, consider carbonating the cocktail a second time. To do so, open the bottle after it has rested for 1 hour. Squeeze out the excess air and reseal, then repeat steps 4 through 7. Refrigerate or chill in an ice bath for another hour.
-
When you’re ready to serve the cocktail, hold the bottle upright and carefully open the carbonation cap. It will make a loud hissing noise as the built-up CO2 escapes. Serve quickly to preserve the bubbles.

DIY CARBONATION OF KEGGED LIQUIDS
A method similar to that for carbonating bottled cocktails can be used to carbonate an entire keg of cocktails. This just requires using a bigger setup, but because the volume is larger, a couple of additional steps are important for ensuring maximum carbonation.
Keg cocktails have become trendy in the cocktail world, and for good reason: by preparing a large batch of drinks in advance, a bartender can serve unique carbonated cocktails at incredible speed. The format can also open the door to manipulating cocktails in new ways; when they’re batched in larger quantities, it’s easier to make small adjustments that simply aren’t possible in single cocktails. Just one word of caution: In a commercial establishment, serving liquor out of anything other than its original bottle may violate local laws, so be sure to check what’s allowed in your region.
Through years of building these systems at our bars, we’ve made some key discoveries. Chief among them is that retrofitting a beer system for keg cocktails won’t work in the long run. Traditional beer lines aren’t designed to handle liquids like cocktails, which are more acidic and higher in proof. Plus, if you retrofit a beer system for cocktails, you’ll quickly flavor the lines, which are a nightmare to clean or replace.
Keg cocktails are not just for bars; they can also be a great way to make a large volume of cocktails for a party, then let guests serve themselves. Are we lazy hosts? Yup! The same process we follow at our bars can be applied for home use, but instead of large 5-gallon kegs, we suggest purchasing a smaller 2½-gallon keg.
WHAT TO BUY FOR A KEG COCKTAIL RIG
• You’ll need everything for the bottle rig (this page) except the carbonation cap and plastic bottles.
• Ball lock cornelius keg: These kegs are available new or used from homebrew stores and various online sources, most commonly in the 5-gallon size, though smaller and larger ones are available. For professional bars, we recommend 5-gallon kegs; for home consumers, we recommend the more manageable 2¹⁄₂-gallon keg. Ensure that all the gaskets are clean and new and that the ball lock connectors are in good working order. It’s very easy for the top opening to get bent during shipping, which will make it challenging to get a good seal and lead to poorly carbonated or uncarbonated cocktails. We prefer the stackable Torpedo kegs from Morebeer.com, which have sturdy handles that protect the connections from being jostled.
• Carbonating lid: This special top for cornelius kegs has a tube attached, with a carbonating stone at the end of the tube. When the top is secured onto the keg, the tube and carbonating stone are submerged in the liquid. The stone has tiny perforations that disperse CO2 throughout the liquid in a more uniform way, speeding carbonation. (If you do a little research, you could modify a keg’s gas-in connector to have an attached carbonating stone and save the expense of buying an additional lid.)
• Tap for dispensing liquid: A homebrew store can probably help you rig up a ball lock liquid connector to a hose and simple faucet, or there are many resources online: search for “beer faucet, cornelius ball lock disconnect.”
HOW TO CARBONATE A KEG
-
Prepare your ingredients and ensure that they are all as cold as possible.
-
Prepare the keg by cleaning both the interior and the exterior well. Make sure all O-rings are in good condition and attached. (There’s a large O-ring on the lid, and smaller O-rings on the ball lock connectors.)
-
Pour the cold ingredients into the keg, leaving enough room for dilution—it should be about half full.
-
Dilute your batch with very cold seltzer at the very last stage before the keg is sealed and carbonated—this gets us ahead of the game by having half of the batch already carbonated, while ensuring precision with measurement. Do not fill the keg more than four-fifths full. Leaving some headspace provides space for the gas to interact with the liquid; if you fill it all the way to the top, you’ll end up with a flat cocktail.
-
Turn on the gas and set the regulator to 45 PSI.
-
Attach the gas-to-gas connector on the carbonating lid. This is the one in the middle of the lid, not the gas line to the side of the keg. Though you could carbonate using the connector on the side of the keg, in tandem with a standard lid (rather than a carbonating lid), it will take much longer to achieve full carbonation.
-
Allow the gas to disperse into the liquid for 1 minute.
-
Pull the release valve located on the lid for about 2 seconds to vent oxygen from the keg’s headspace and replace it with CO2. You’ll hear the CO2 injecting into the liquid.
-
If the line from your regulator to the keg allows, set the keg on its side and roll it back and forth for 5 minutes. Because the keg is taller than it is wide, laying it on its side increases the surface area of the gas-liquid interface, and keeping the liquid in motion speeds the rate at which the gas dissolves. If you want to carbonate very quickly, roll the keg back and forth for longer.
-
Let the keg rest. Ideally, it would remain attached to the carbonating line overnight to ensure maximum effervescence, but more importantly, it must be kept cold. If space allows, put the keg and carbonation rig into a refrigerator and let it rest under pressure. If space doesn’t allow or you want to serve the cocktail sooner, put the keg in a bucket and completely surround it with ice, then add water to create an ice bath.
-
Just before dispensing, remove the gas line.
HOW TO DISPENSE A KEGGED COCKTAIL
-
Disconnect the gas line from the keg.
-
Pull the release valve on the lid. There will be a noticeably loud hissing sound. Don’t worry! This only vents the gas built up in the keg’s headspace, not what’s dissolved into the cocktail—unless you hold it open for a long time. So, hold it open for about 10 seconds, until the hissing becomes minimal and steady, then close the release valve.
-
At this stage, you can replace the carbonating lid with the keg’s standard lid, but there’s no need to do so unless you want to use the carbonating lid for another keg.
-
Change the pressure on the primary regulator to 5 PSI. Attach the gas ball lock connector to the keg—not the carbonating lid ball lock connector that you used to carbonate the cocktail—and turn on the gas.
-
Vent the release valve one more time, again for about 10 seconds.
-
Attach a tap to the keg, making sure the liquid ball lock connector is in the closed position.
-
Carefully draw some liquid from the tap. If it’s coming out slowly, increase the PSI in tiny increments until the liquid flows evenly without foaming. Conversely, if it’s coming out too fast and foamy, decrease the PSI in tiny increments. The key is to take it slow, making only small adjustments to the pressure.
-
We advise keeping the keg on ice while serving—just like you did in college!