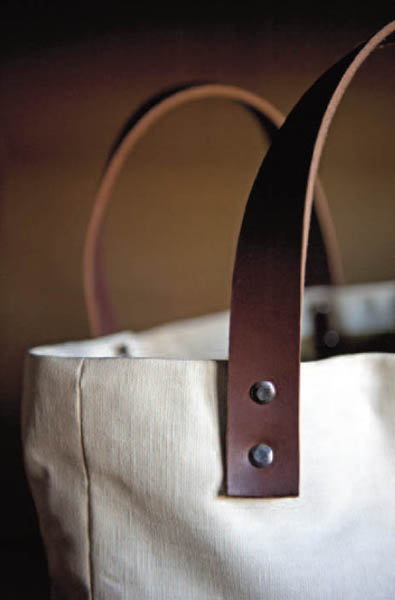
This industrious bag is designed to be made in a heavyweight luggage fabric. We used an oiled heavyweight hemp canvas and lined it with a 12 oz duck canvas. We like a stiff solid bag so the bag base has been stiffened with a plastic mesh. Our tote has two thick leather bag handles, riveted into place for some serious hauling. For an alternative look, it works well in muted colors and is especially cosmopolitan in a good weighty denim.

Rivets add a work-wear style look to this project.
1. Following the measurements given in Fig 1, mark and cut out the main bag pieces from the heavyweight luggage fabric.
Fig 1
2. Following the measurements given in Fig 2, mark and cut out the lining pieces from the canvas fabric.
Fig 2
3. Cut the plastic mesh to measure 31/2 in/9 cm by 143/4 in/37cm. Using a Stanley knife and a metal ruler, cut the leather strip into six pieces as follows:
Two 213/4 in/55 cm by the full width of the leather strip;
Four 2 in/5 cm by half the width of the leather strip. Draw the knife over the cut line several times to make the cuts rather than in one single cut.
1. With right sides together, pin the gusset to the long side of one of the main bag pieces taking a 5/8-in/1.5-cm seam allowance, stopping exactly 5/8 in/1.5 cm from the bottom edge of the main bag; reverse stitch to secure the stitching (Fig 3).
Fig 3
2. Lift the presser foot and raise the needle out of the fabric; snip the gusset to the end of the stitching using a sharp pair of scissors (Fig 4).
Fig 4
3. Put the needle back into the fabric at the same place, turn the bag 45 degrees and continue sewing; remember to backstitch to reinforce the corner and make sure you move the gusset fabric out of the way before you start sewing (Fig 5).
Fig 5
4. Repeat for the second corner (Fig 6); if the gusset finishes too long or too short you haven’t taken exactly 5/8 in/1.5 cm at the corners. Attach the gusset to the other side of the main bag in the same way.
Fig 6
1. Prepare the main fabric pocket piece and attach to the middle of the lining front placing it 41/2 in/11.5 cm from the bottom edge (see Duffel Bag, page 149, Steps 1–4 for more instruction on making a pocket). Sew together the lining gusset first to one side of the lining then to the other as described for the main bag, but this time leave an 8-in/20-cm opening at the bottom edge of one side of the lining (Fig. 7).
Fig 7

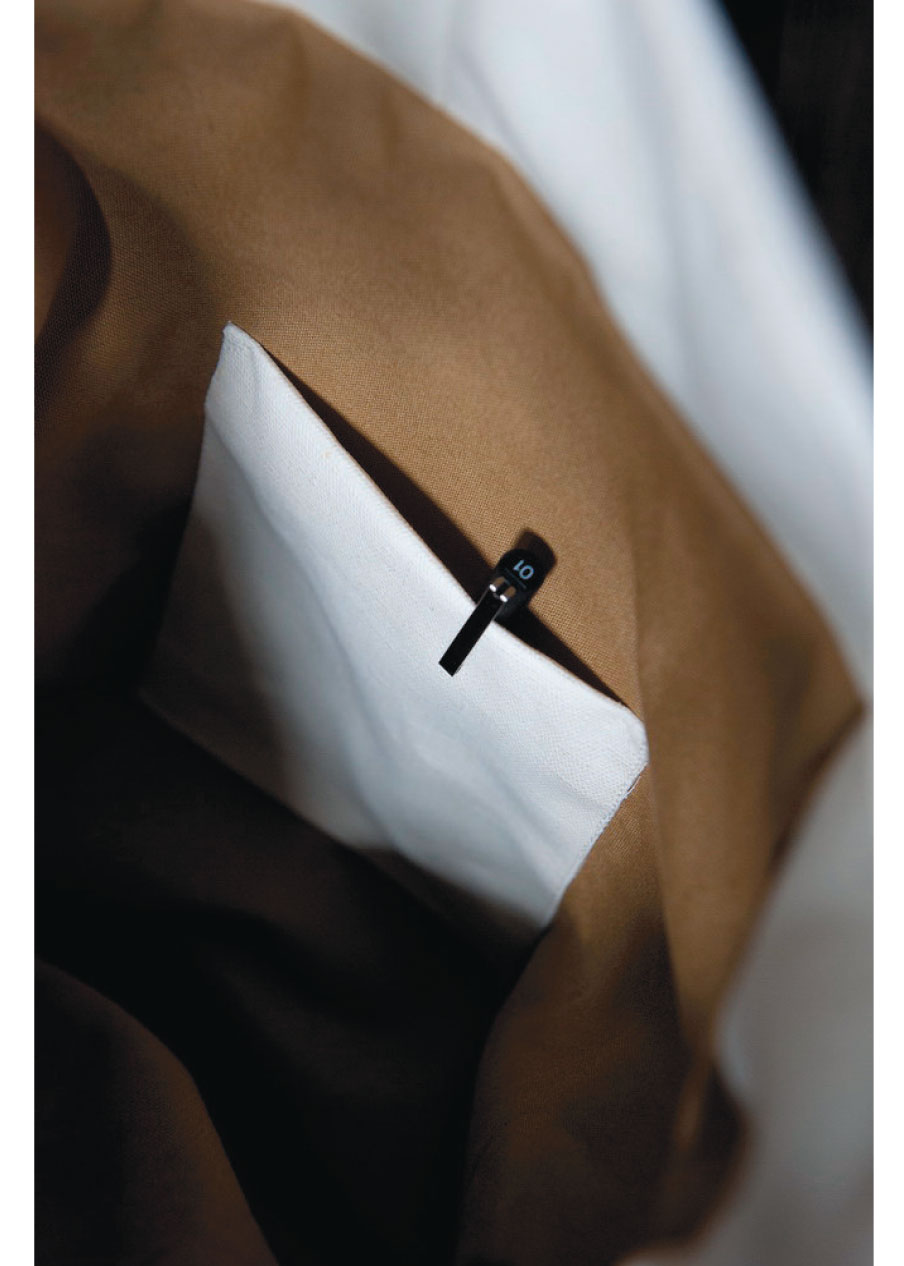
The tote bag features a handy inside pocket.
1. Sew the facing piece together along its short edges taking a 8/8-in/1.5-cm seam allowance. With right sides together, pin and sew the facing to the top of the main bag, making sure all the seams are open and flat (Fig 8).
Fig 8
2. Under stitch all the way around the facing (Fig 9a): Press the seams open then press over to the facing side; edge stitch along the facing side (Fig 9b). The under stitching will only show on the inside facing and not on the front of the bag, and it will help to keep the facing in place on the inside of the bag once the bag is completed (Fig 9c).
Fig 9a
Fig 9b
Fig 9c
3. Turn the main bag inside out and the lining right side out. Put the lining inside the main bag so that the right sides are together (Fig 10). Pin and sew the tops together making sure that all seams match and remain open and flat.
Fig 10
4. To make the bag bottom, take the lining base pieces and sew together, right sides facing, leaving one short edge open (Fig 11a). Trim the corners, turn right side out and slip the plastic mesh inside (Fig 11b). Turn in the 5/8-in/1.5-cm seam allowance on the open edge and slip stitch closed (Fig 11c).
Fig 11a
Fig 11b
Fig 11c
1. Measure and mark the rivet positions onto the main bag: working 31/2 in/9 cm from each gusset seam, make a mark 3/4 in/2 cm and 2 in/5 cm from the bag top (Fig 12).
Fig 12
2. Now measure and mark the rivet positions onto the leather handle straps and reinforcing tabs: working on the center line of each handle strap, make a mark 3/8 in/1 cm and 11/2 in/4 cm from each end. Mark the reinforcing tabs to match (Fig 13).
Fig 13
3. Using the revolving hole punch, punch out the holes on the leather handles and reinforcing tabs. Using a small pair of sharp scissors (or a tailor’s awl if you have one), pierce the holes in the bag. Matching the holes, push the rivets through the handle, the bag and the reinforcing tab, making sure that your handles remain vertical. Hammer closed (Fig 14).
Fig 14