Use strong encryption to protect your email when using a Mac.
“Encrypt Your Email with Thunderbird” [Hack #42] shows how to set up GPG with Mozilla’s Thunderbird by using the Enigmail extension. While Thunderbird is cross-platform and will run under Mac OS X, it might not be your cup of tea. This hack shows how to set up GPG with Apple’s Mail.app, the default mail application included with Mac OS X.
The first thing to do is to install a copy of
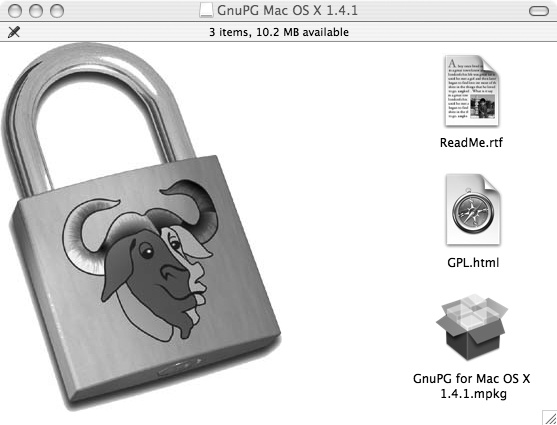
GPG, a program that uses strong public-key encryption to protect your data. Simply download Mac GPG from http://macgpg.sourceforge.net and open the disk image. You should see the window shown in Figure 3-18.
Launch the installer by double-clicking on the .mpkg file. Follow the prompts, and be sure to choose your boot volume when presented with the choice of where to install GnuPG.
Before installing GPGMail, you’ll need to create a public and private key pair, if you don’t have one already. The public key is what others use to send encrypted email to you. Public keys can be decrypted with your private key. Likewise, you can sign an email by encrypting it with your private key, so that others can decrypt it only with your public key. Since only you know your private key, this assures the receiver that the email is truly from you.
You can do this by running the following command from the command line, which can be accessed by opening Terminal.app:
$ gpg --gen-key
Then, just follow the prompts. The default choices should generally be okay.
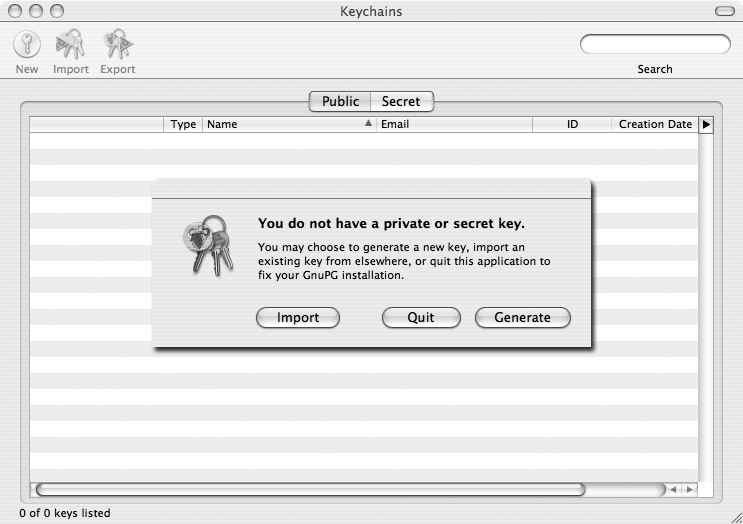
Alternatively, you can create a GPG key using GPG Keychain Access, which is available from the Mac GPG site. Just download it and launch the application bundle. You’ll be presented with a dialog like the one shown in Figure 3-19.
When you click the Generate button, Mac GPG will walk you through the rest of the process.
Now that you have a key, you can install GPGMail. Download it from http://www.sente.ch/software/GPGMail/ and open the disk image file. Then, double-click the Install GPGMail icon. This AppleScript will copy the GPGMail.mailbundle file to the Library/Mail/Bundles folder in your home directory and then enable plug-in support for Mail.app.
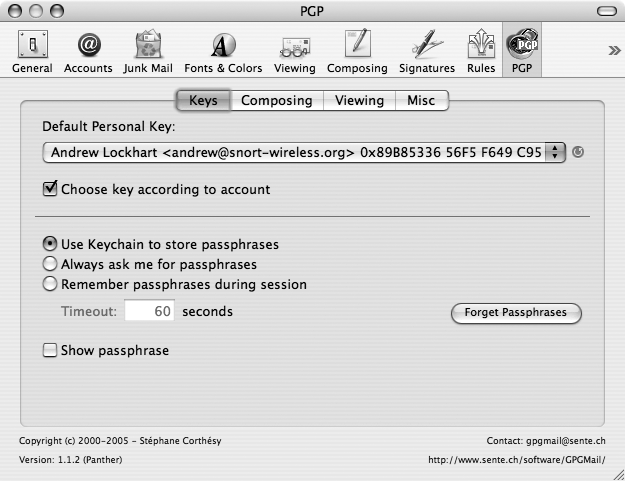
The next time you launch Mail.app, you should see a new section called PGP in its Preferences panel, as shown in Figure 3-20.
Make sure that the key that you created appears in the drop-down list. For everything else, the default configuration should work fine. Now, find a friend with a GPG or PGP key to exchange encrypted email with, so that you can test it out.
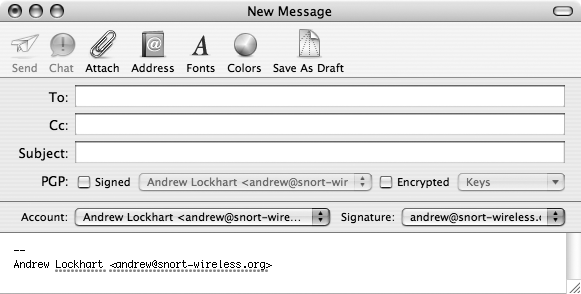
When composing messages, you’ll now see two additional checkboxes, one for signing the message and another for encrypting it, as shown in Figure 3-21.
The drop-down boxes next to the checkboxes should automatically select the appropriate key for you.
When receiving encrypted mail, all you need to do is click on the message and Mail.app will prompt you for your private key’s password. Then it will display the unencrypted message for you.


