Use WiFiDog to loosely control access to your wireless network.
Having a secure wireless network is important not only for the protection of your network infrastructure, but also to ensure against being liable for attacks on other networks perpetrated through your own by malicious wireless users. This is easy if you’re using strong authentication mechanisms, but what if you want to share your wireless network with guests and neighbors?
One way to do this is to employ a captive portal, which allows you to keep tabs on who’s using your wireless network without anything like a WEP key or password to authenticate with it. Instead, users who try to access the Internet through your network are redirected to a web page where they can register for an account that is linked to an email address. Once they register and receive their confirmation emails, users can activate their accounts.
One incredibly flexible portal is WiFiDog (http://wifidog.org), which consists of a central authentication server and a gateway component that can be deployed on an AP running OpenWRT [Hack #76].
Before
you begin, make sure you have set up a PostgreSQL (http://www.postgresql.org) database server. This doesn’t need to be on the same machine as your web server, but it can be. You’ll need PHP 5.x (http://www.php.net) installed on your web server as well.
After you’ve met these two conditions, you can install the authentication server. Begin by checking out the source code from the project’s Subversion repository:
$ svn checkout https://dev.wifidog.org/svn/trunk/wifidog-auth
Once the checkout has finished, change into the directory that it created and move the contents of the wifidog directory along with the sql directory to an area on your web server capable of executing PHP scripts.
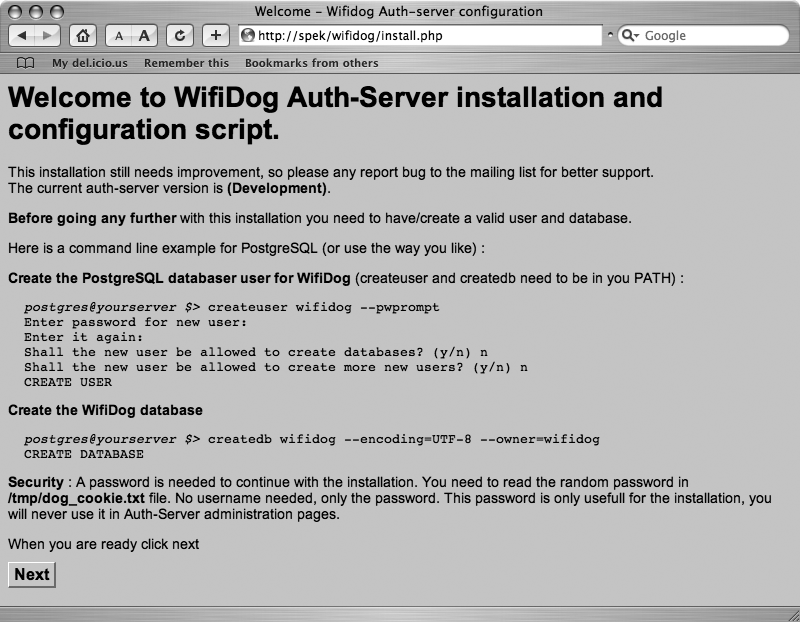
After you’ve done that, browse to the URL corresponding to where you put the files. You should see a page similar to Figure 7-2.
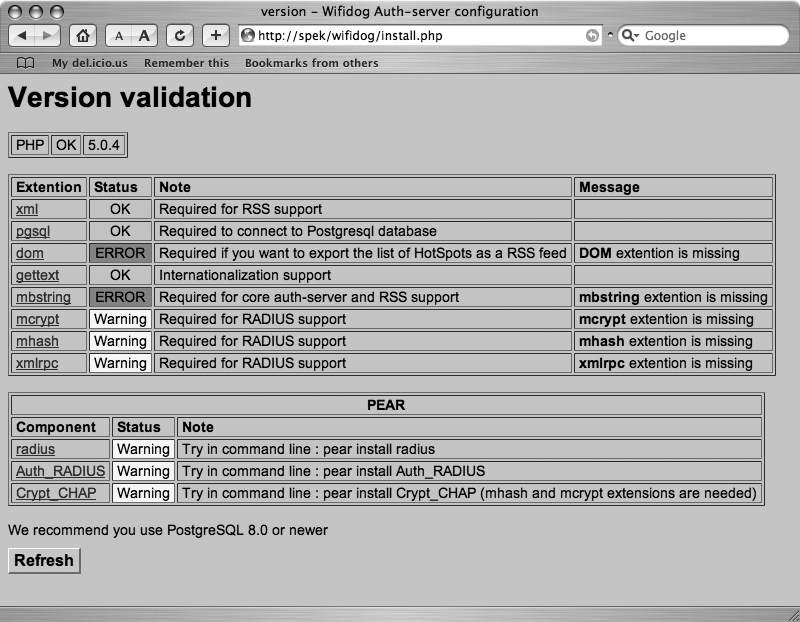
Follow the instructions on the page to create the PostgreSQL database. After you’ve created the database and a user to access it, click Next. In order to proceed, you’ll need to enter the password found in /tmp/dog_cookie.txt on your web server. After the next page has loaded, you should see something similar to Figure 7-3.
Install any prerequisites with ERROR listed next to them, and refresh the page. The missing prerequisites should now have OK next to them.
Tip
You might need to restart your web server for the changes to take effect.
The rest of the installation process is pretty straightforward. The wizard will make sure directory permissions are correct, allow you to automatically install optional software packages, and configure access to the database that you created. In addition, you’ll be prompted to create an administrator account.
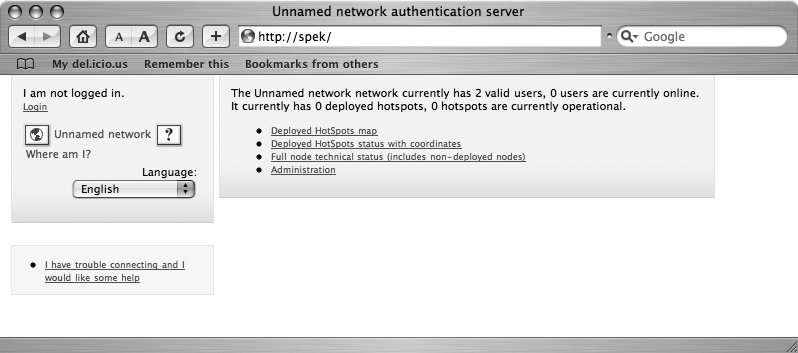
Once you’ve completed all the steps in the installation wizard, you can browse to the authentication server’s home page, shown in Figure 7-4.
Here, you can log in with your administrator account and configure every aspect of your portals. But first, let’s set up the gateway component.
Installing the
gateway component is incredibly easy, thanks to the availability of prebuilt packages for OpenWRT. Log into your OpenWRT-based AP, download the WiFiDog gateway package from http://www.ilesansfil.org/dist/wifidog/bin/openwrt/, and run the following commands:
#cd /tmp#wget http://www.ilesansfil.org/dist/wifidog/bin/openwrt/whiterussian-rc3/wifidog_1.1.3_beta2-1_mipsel.ipk
Then, install it:
# ipkg install wifidog_1.1.3_beta2-1_mipsel.ipk
This command also downloads any missing packages that WiFiDog depends on. Make sure you also have the libgcc package installed:
# ipkg list_installed | grep gcc
libgcc - 3.4.4-8 - GCC support library
If you don’t get any output from the previous command, you can install the libgcc package by running ipkg install libgcc.
Now, edit /etc/wifidog.conf, following the instructions in the file. At the very minimum, you’ll need to tell it where to find the authentication server you’ve set up. You can do this with an AuthServer statement, like so:
AuthServer {
  Hostname spek.nnc
  Path /
}
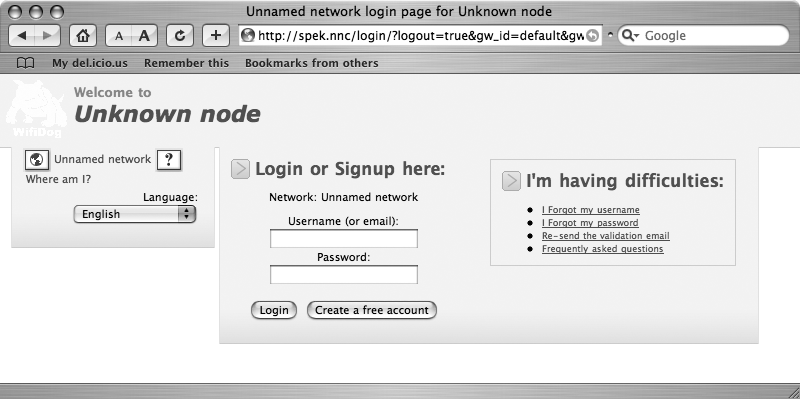
Once you’ve finished editing the configuration file, reboot your AP. After it finishes booting, associate a wireless client with it and try to browse to a web site. You should be automatically redirected to a page that looks like Figure 7-5, your authentication server’s login page.
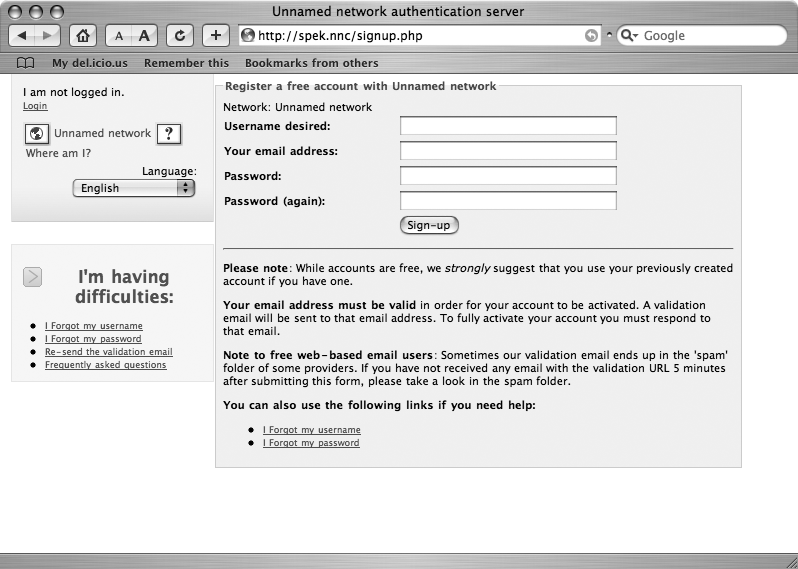
If you log in with your administrator account, you’ll be given access to the Internet and the rest of the network. You can also create a regular user account by clicking the Create Free Account button. If you decide to do this, you’ll see a page like Figure 7-6.
Once you’ve filled in and submitted the form, you’ll be given access for a short period of time, so that you can check your email for the validation message. When you check your email, you should receive a message that looks similar to this:
Hello,
Please follow the link below to validate your account.
http://spek.nnc/validate.php?user_id=b1ffadf3826c1a6ad1fdb494f212a419&token=949baa02b3b3921bc4bd949c6f963400

Thank you,
The Team.
Go to the URL in the email, and the account will be given access without a time limit.
Nearly every aspect of WiFiDog is configurable. Be sure to log into the authentication server with your administrator account and take a look at all of the options available to you. The user interface is friendly and easy to use.
