Tools & Materials 
Continuity tester
Screwdriver
Multimeter
Needlenose pliers
Cotton swab
Rubbing alcohol
Replacement doorbell switch (if needed)
Masking tape
Replacement chime unit (if needed)
Protective equipment
Most doorbell problems are caused by loose wire connections or worn-out switches. Reconnecting loose wires or replacing a switch requires only a few minutes. Doorbell problems also can occur if the chime unit becomes dirty or worn, or if the low-voltage transformer burns out. Both parts are easy to replace. Because doorbells operate at low voltage, the switches and the chime unit can be serviced without turning off power to the system. However, when replacing a transformer, always turn off the power at the main service panel.
Most houses have other low-voltage transformers in addition to the doorbell transformer. These transformers control heating and air-conditioning thermostats (page 459 to 462), or other low-voltage systems. When testing and repairing a doorbell system, it is important to identify the correct transformer. A doorbell transformer has a voltage rating of 24 volts or less. This rating is printed on the face of the transformer. A doorbell transformer often is located near the main service panel and in some homes is attached directly to the service panel. The transformer that controls a heating/air-conditioning thermostat system is located near the furnace and has a voltage rating of 24 volts or more.
Occasionally, a doorbell problem is caused by a broken low-voltage wire somewhere in the system. You can test for wire breaks with a battery-operated multitester. If the test indicates a break, new low-voltage wires must be installed between the transformer and the switches, or between the switches and chime unit. Replacing low-voltage wires is not a difficult job, but it can be time-consuming. You may choose to have an electrician do this work.

A home doorbell system is powered by a transformer that reduces 120-volt current to low-voltage current of 24 volts or less. Current flows from the transformer to one or more push-button switches. When pushed, the switch activates a magnetic coil inside the chime unit, causing a plunger to strike a musical tuning bar.
 HOW TO TEST A NONFUNCTIONAL DOORBELL SYSTEM
Remove the mounting screws holding the doorbell switch to the siding.
Carefully pull the switch away from the wall.
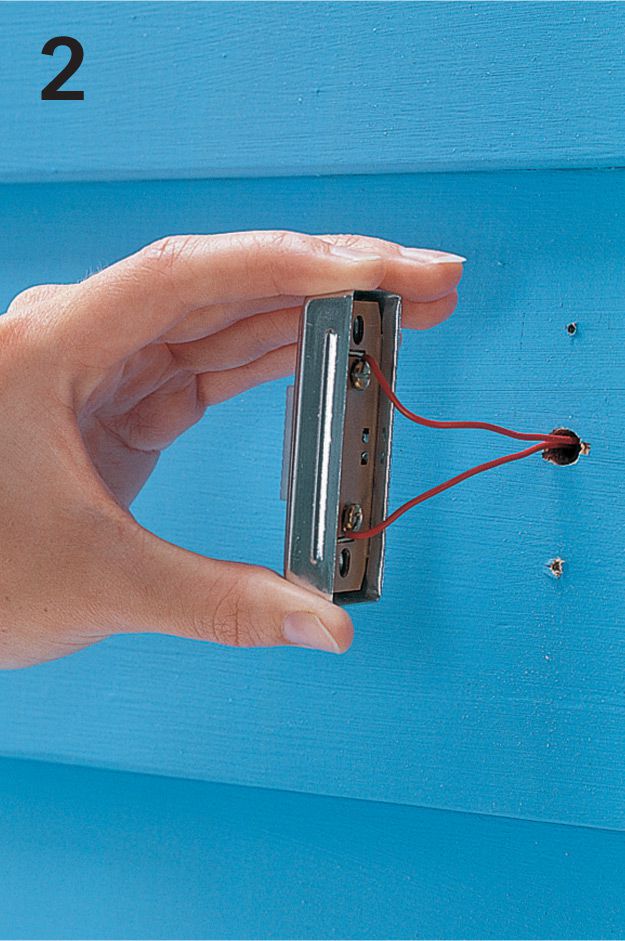
Inspect wire connections on the switch. If wires are loose, reconnect them to the screw terminals. Test the doorbell by pressing the button. If the doorbell still does not work, disconnect the switch and test it with a continuity tester.
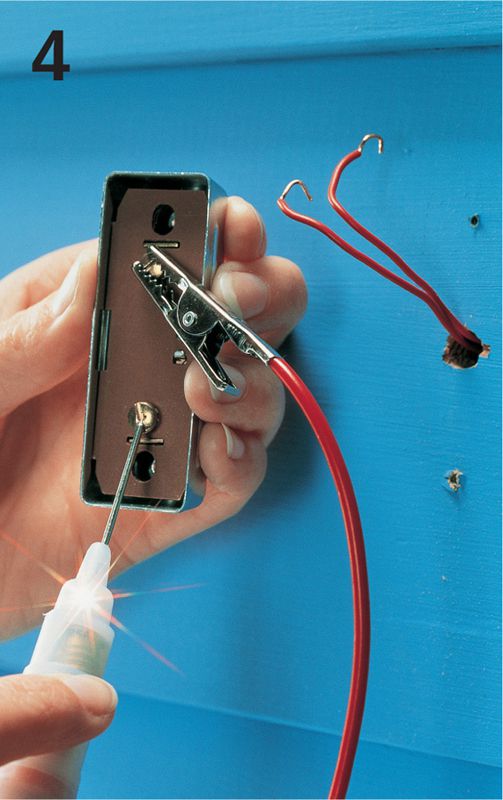
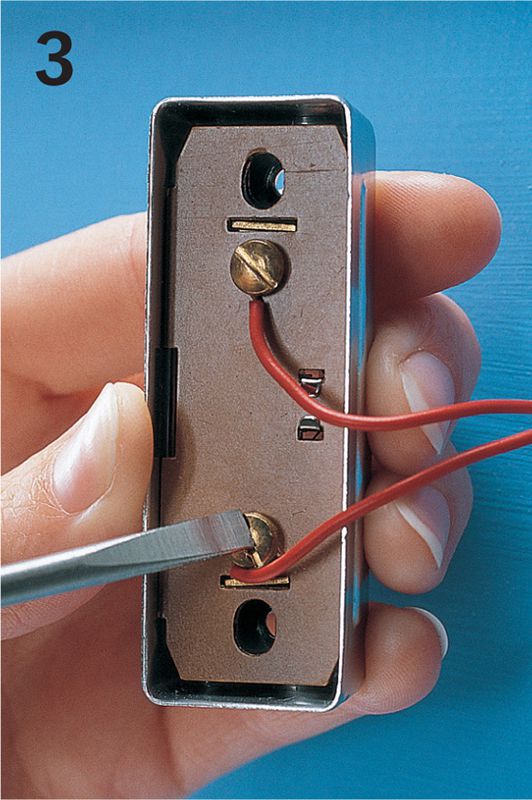
Attach the clip of a continuity tester to one screw terminal and touch the probe to the other screw terminal. Press the switch button. Tester should glow. If not, then the switch is faulty and must be replaced.
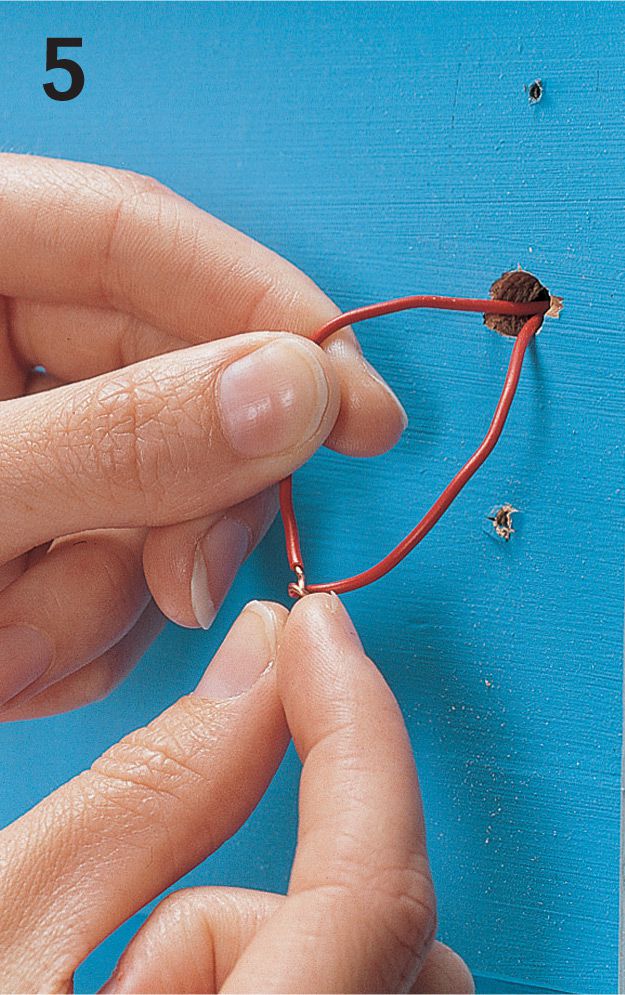
Twist the doorbell switch wires together temporarily to test the other parts of the doorbell system.
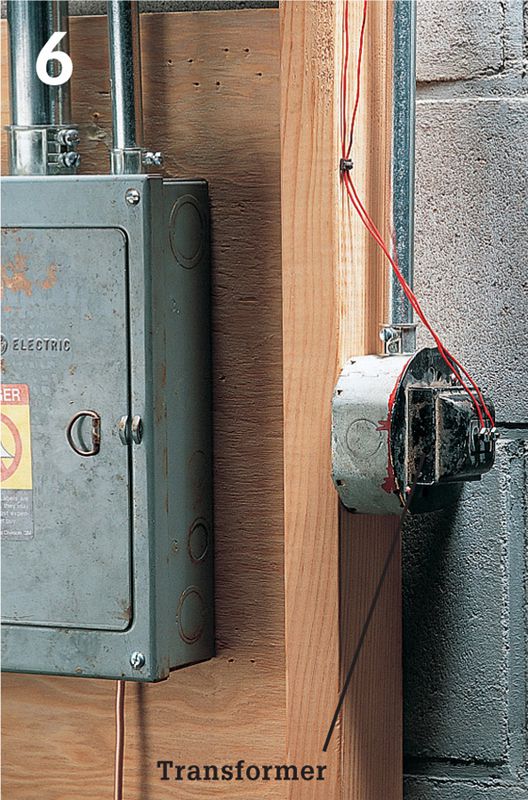
Locate the doorbell transformer, often found near the main service panel. Transformer may be attached to an electrical box, or may be attached directly to the side of the service panel.
Identify the doorbell transformer by reading its voltage rating. Doorbell transformers have a voltage rating of 24 volts or less. Turn off power to the transformer at main service panel. Remove cover on electrical box, and test wires for power. Reconnect any loose wires. Replace taped connections with wire connectors.
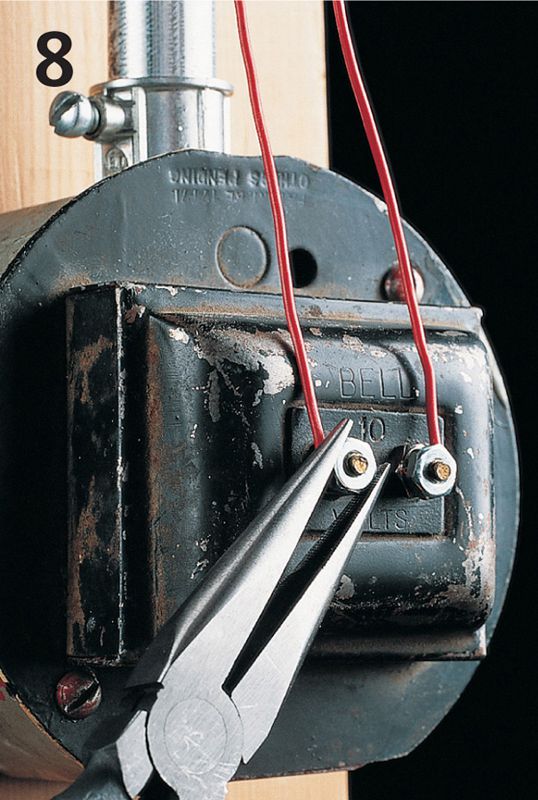
Reattach cover plate. Inspect the low-voltage wire connections, and reconnect any loose wires using needlenose pliers or a screwdriver. Turn on power to the transformer at the main service panel.
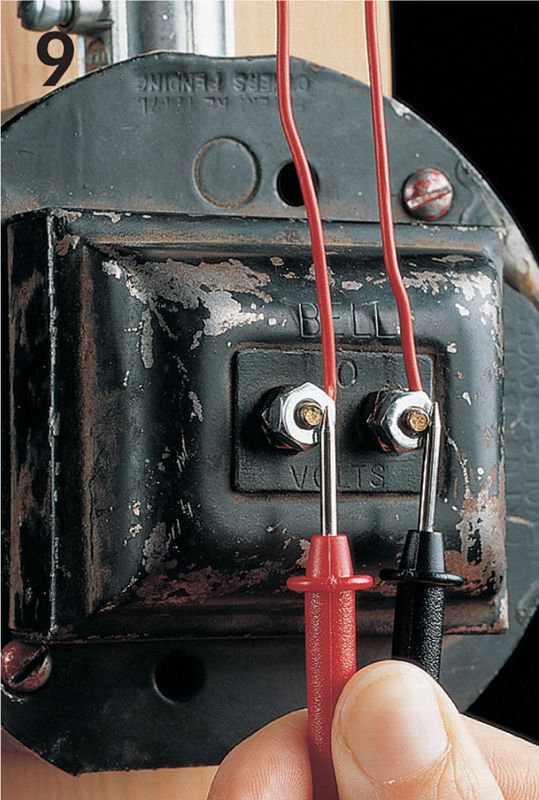
Touch the probes of the multitester to the low-voltage screw terminals on the transformer. If transformer is operating properly, the meter will detect power within 2 volts of transformer’s rating. If not, the transformer is faulty and must be replaced.
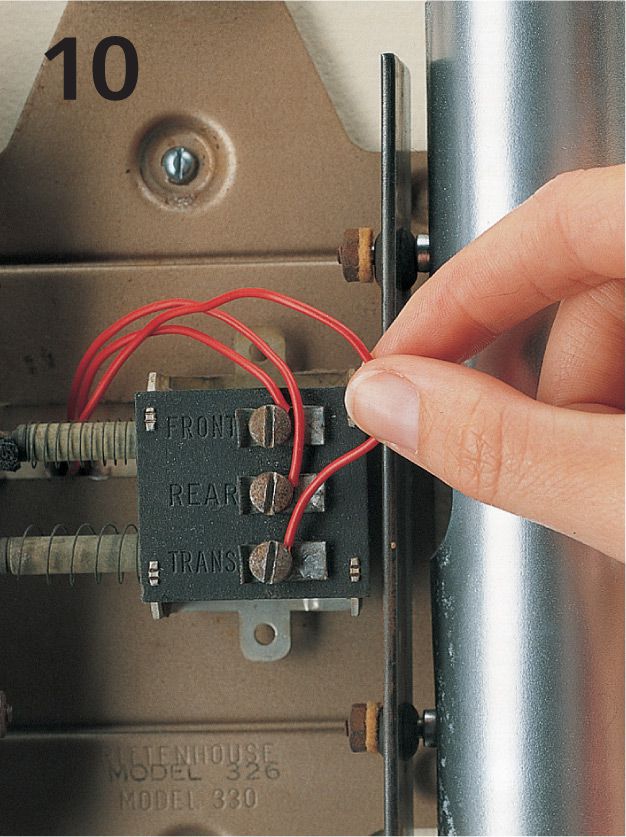
Test the chime unit. Remove the cover plate on the doorbell chime unit. Inspect the low-voltage wire connections, and reconnect any loose wires.
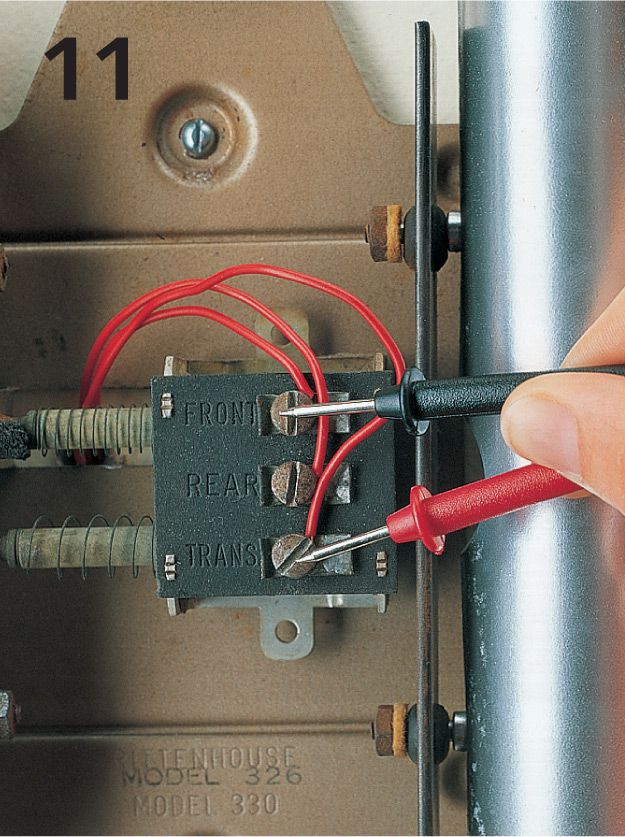
Test that the chime unit is receiving current. Touch probes of a multimeter to screw terminals. If the multimeter detects power within 2 volts of the transformer rating, then the unit is receiving proper current. If it detects no power or very low power, there is a break in the low-voltage wiring and new wires must be installed.
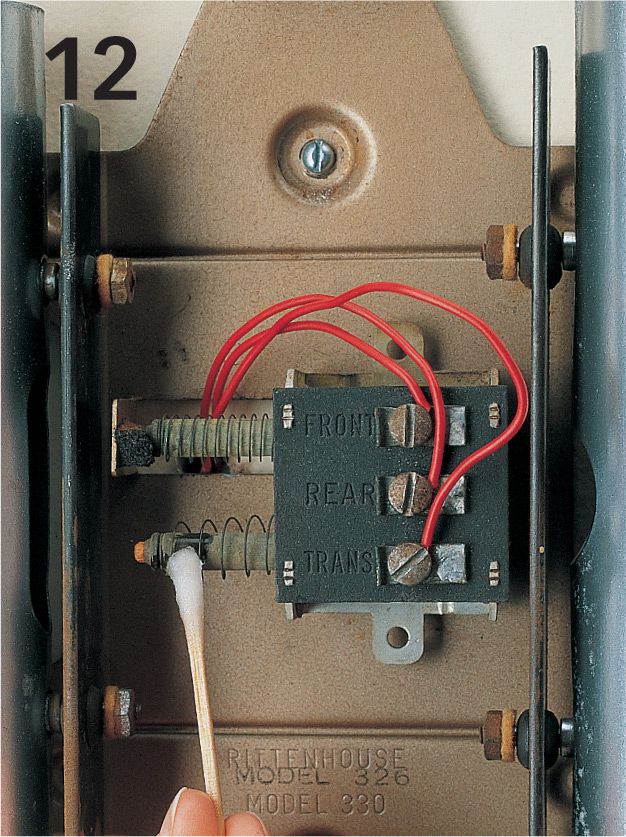
Clean the chime plungers (some models) with a cotton swab dipped in rubbing alcohol. Reassemble doorbell switches, then test the system by pushing one of the switches. If doorbell still does not work, then the chime unit is faulty and must be replaced (page 84).
 HOW TO REPLACE A DOORBELL SWITCH
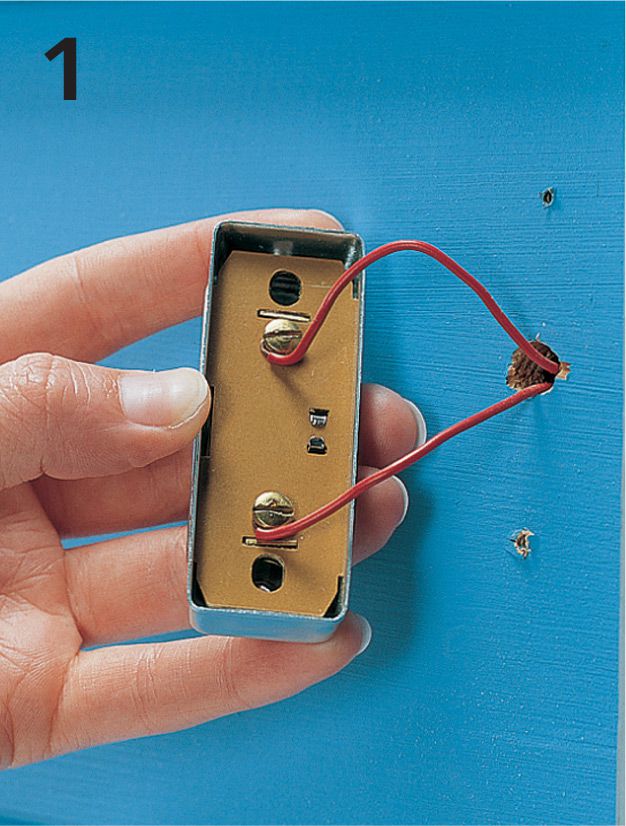
Remove the doorbell switch mounting screws, and carefully pull the switch away from the wall.
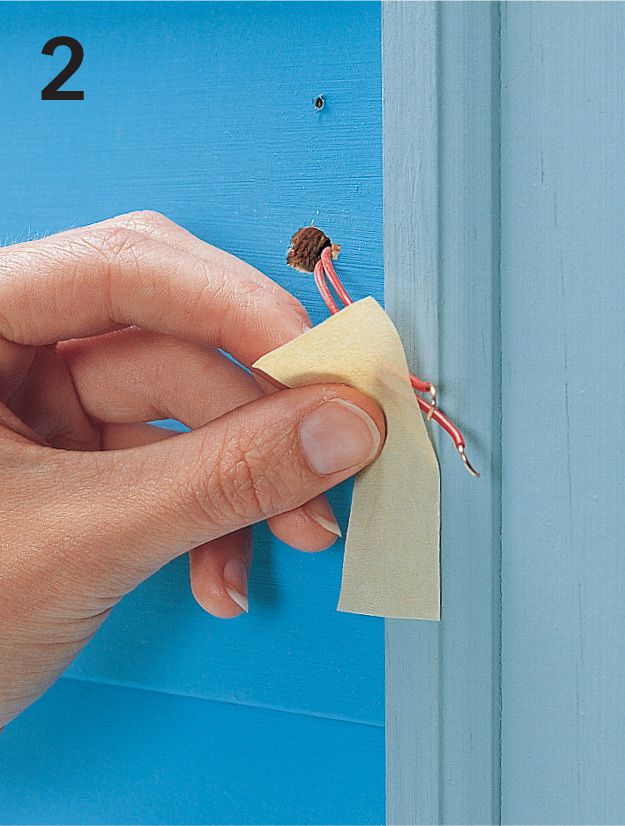
Disconnect wires from the switch. Tape wires to the wall to prevent them from slipping into the wall cavity.
Purchase a new chime unit that matches the voltage rating of the old unit. Thread the low-voltage wires through the base of the new chime unit. Attach the chime unit to the wall using the mounting screws included with the installation kit.
 HOW TO REPLACE A DOORBELL CHIME UNIT
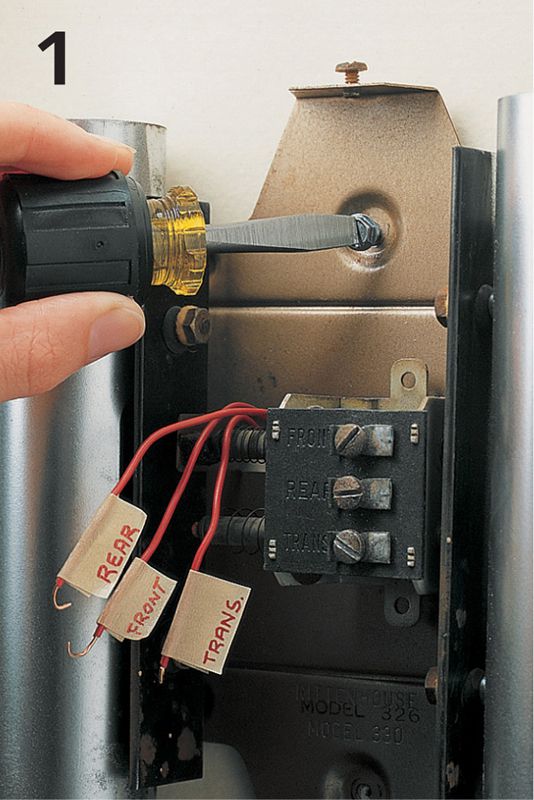
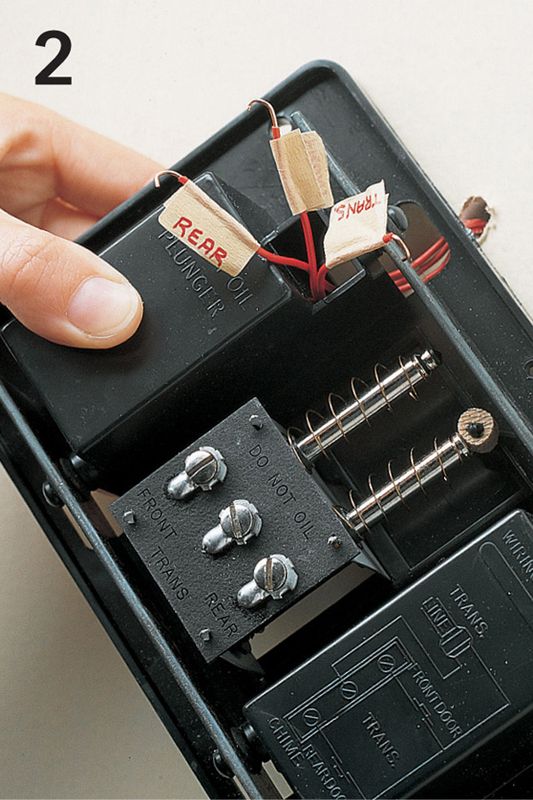
Turn off power to the doorbell at the main panel. Remove the cover plate from the old chime. Label the low-voltage wires FRONT, REAR, or TRANS to identify their screw terminal locations. Disconnect the wires. Remove the old chime unit.
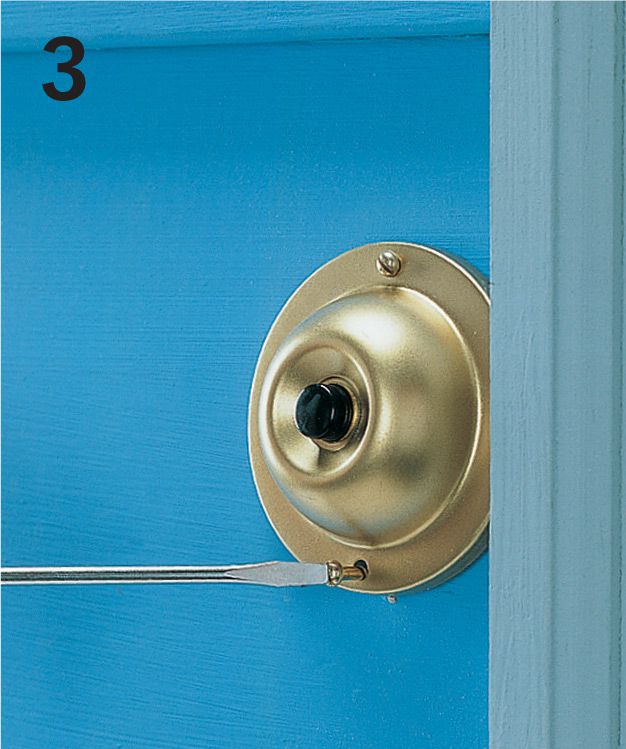
Purchase a new doorbell switch, and connect wires to screw terminals on new switch. (Wires are interchangeable and can be connected to either terminal.) Anchor the switch to the wall.
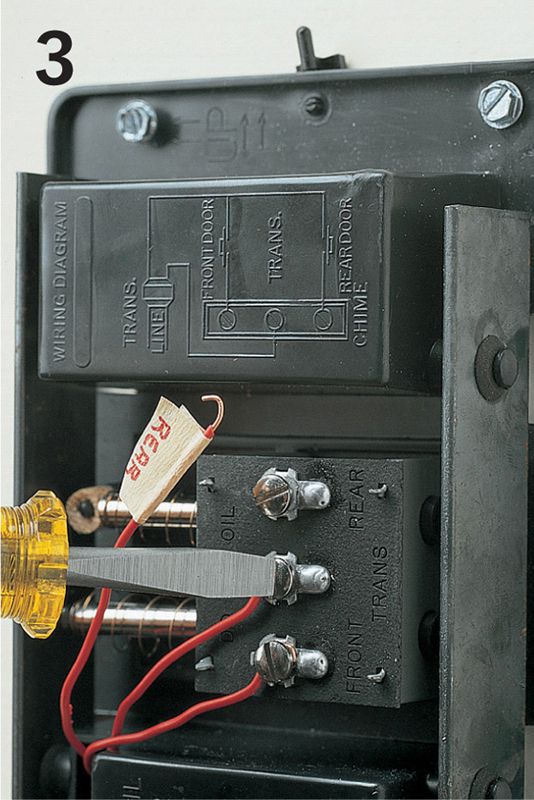
Connect the low-voltage wires to the screw terminals on the new chime unit. Attach the cover plate and turn on the power at the main service panel.