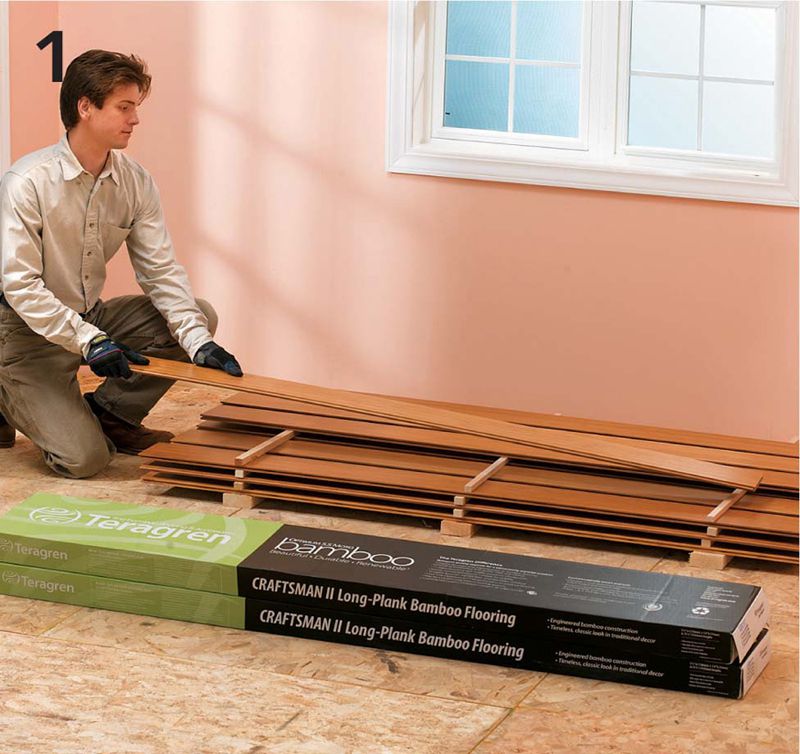
Acclimate the flooring by stacking planks in the installation room. Separate the rows of flooring with wood scraps. Allow the material to rest in the space for several days, or as directed by the manufacturer’s instructions. Tip: Inspect your wood flooring as soon as it arrives. Look for any major defects such as knots, cracks, and damaged, warped, or bowed boards. It’s easier to replace inadequate boards during the acclimation period than in mid-installation.

Install a layer of rosin paper over the entire subfloor, stapling it down and overlapping the edges by 4”. The purpose of this layer is mostly to eliminate noise caused by the floorboards scraping or pressing on the wood underlayment, which should be installed and leveled before the flooring installation begins (see pages 184 to 189).
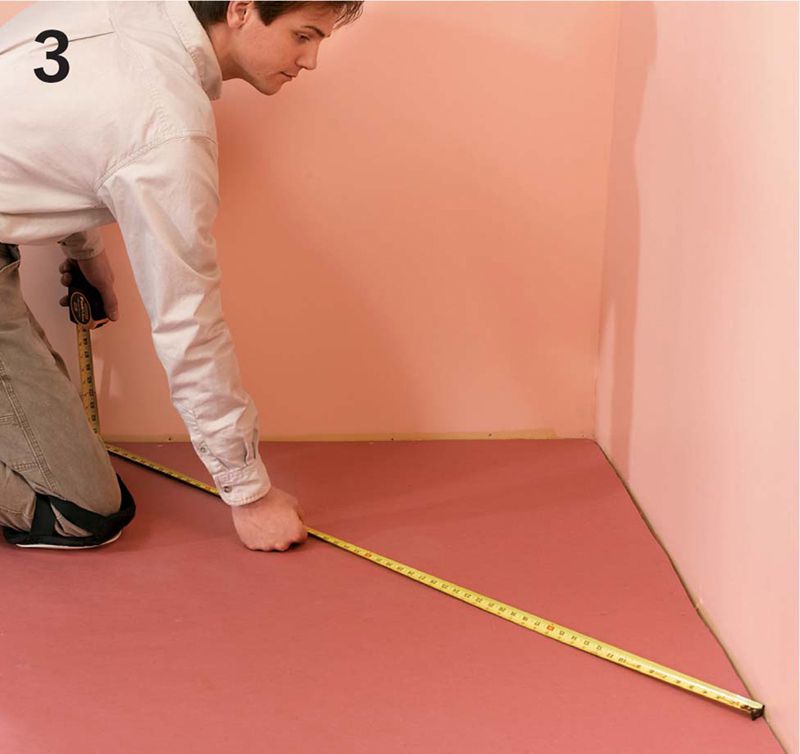
Check that the room is square using the 3-4-5 rule (measure out 3 ft. from a corner in one direction and 4 ft. in the other direction—the distance between the marks should be exactly 5 ft.). If the room is out of square, you’ll have to decide which wall (usually the longest) to follow as a baseline for laying the flooring.
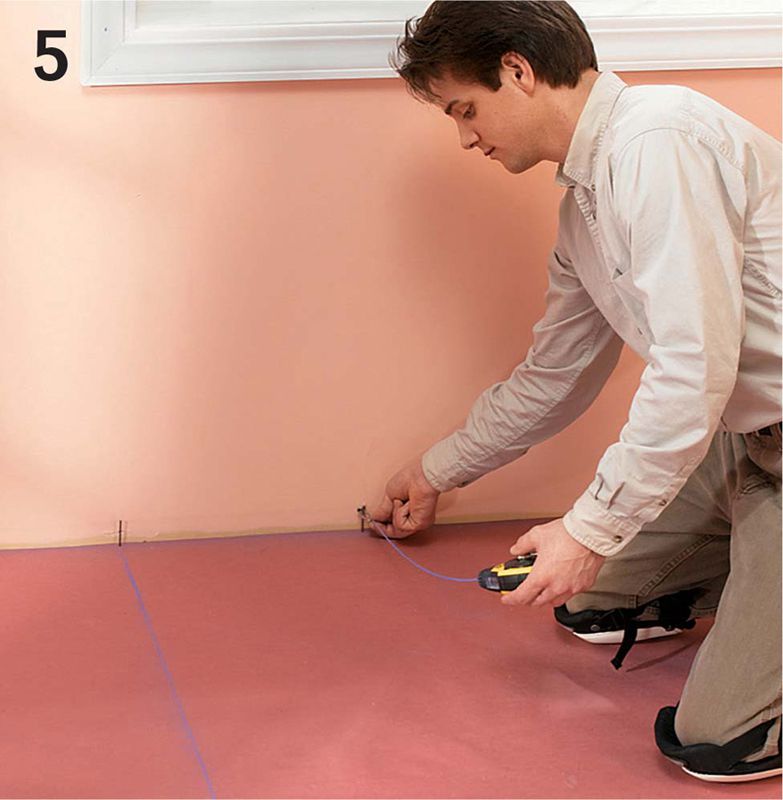
Determine the location of the floor joists and drive a nail in at each end, centered on the joists. Snap chalk lines along the centerlines of each joist, connecting the nails. Use these as a reference for installing floorboards.
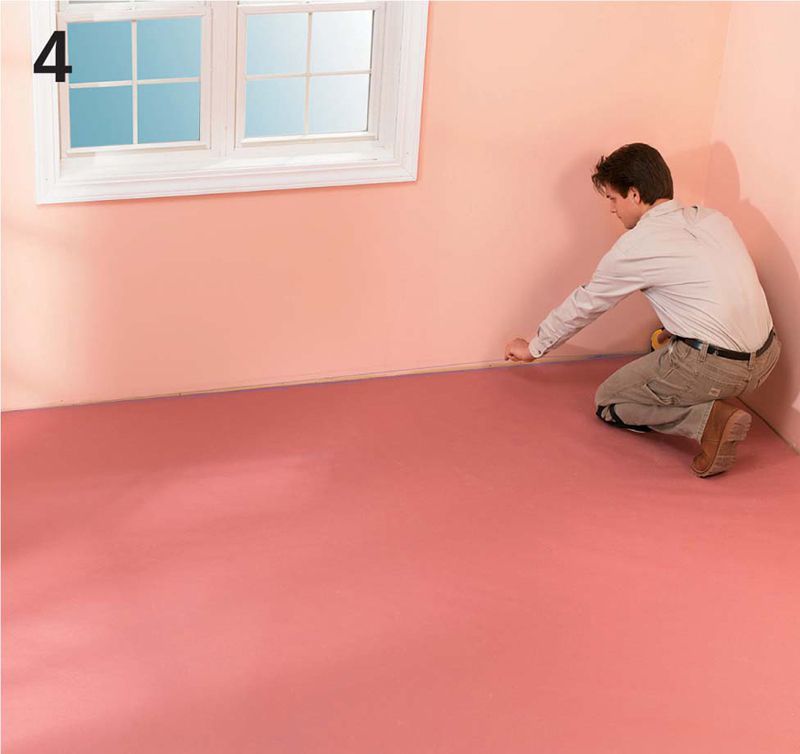
Snap a starter line. Measure 3/4" out from the longest wall, perpendicular to the floor joists, to allow for an expansion gap. Drive a nail at each end, and snap a chalk line parallel to the wall.
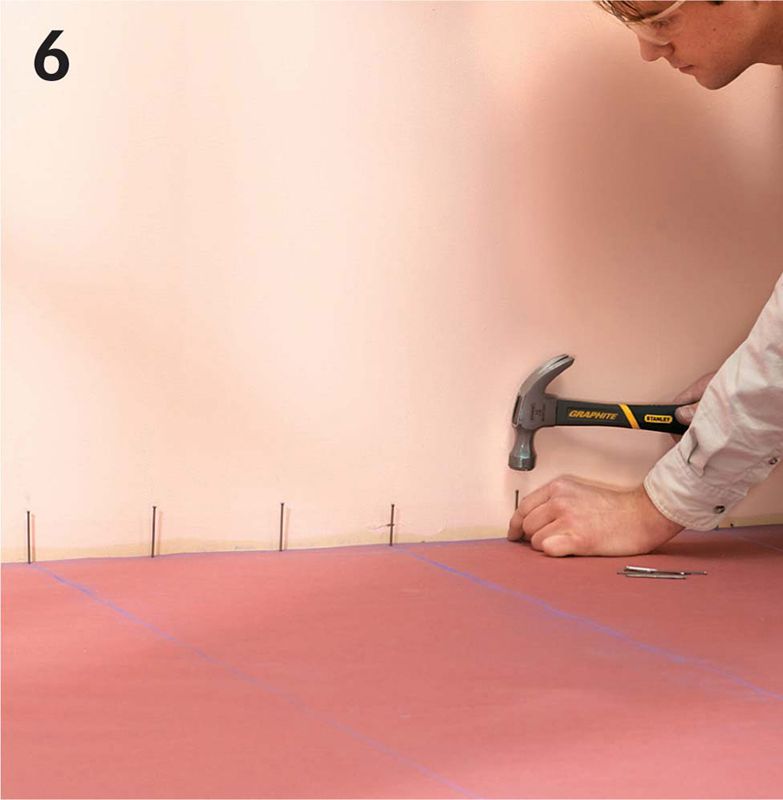
Drive spacer nails, such as 8d finish nails, every 4 to 5" along the chalk line, as a guide for placement of the first row of planks. Drive the nails in far enough to be stable, but with enough of the nail protruding to serve as a bumper for the flooring (and to make the nail easier to remove later).
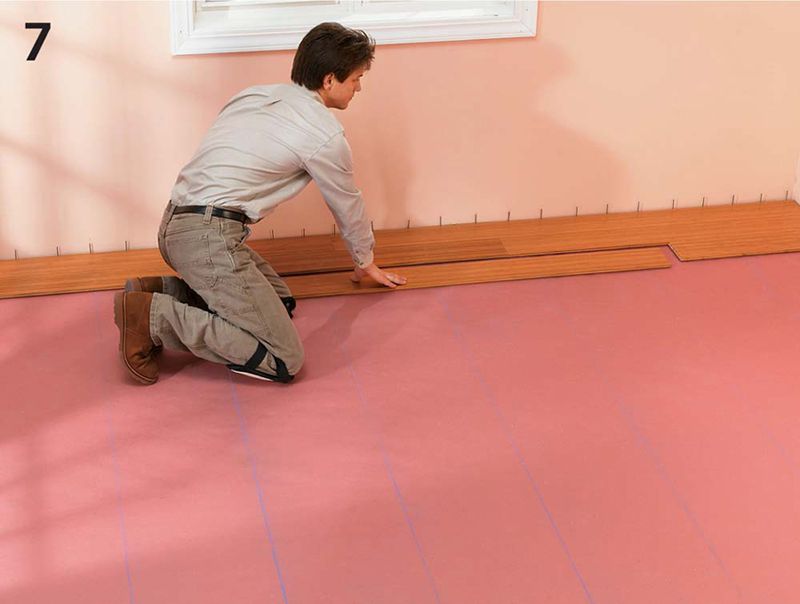
Lay down a dry run for the first two or three rows to determine plank positions for best appearance. Mark the backs of planks with a pencil to keep them in your preferred order and remove them from the work area.
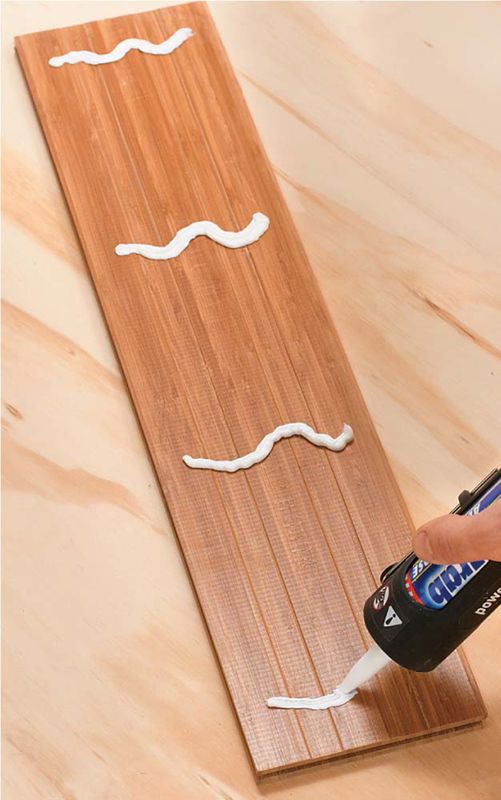
Variation: Some manufacturers recommend that you apply a bead of flooring adhesive to the backs of wider planks prior to nailing them. Use the recommended adhesive and lay beads across the width of the plank; keep adhesive at least 1/2" from the edges and 1 1/2" from the ends.
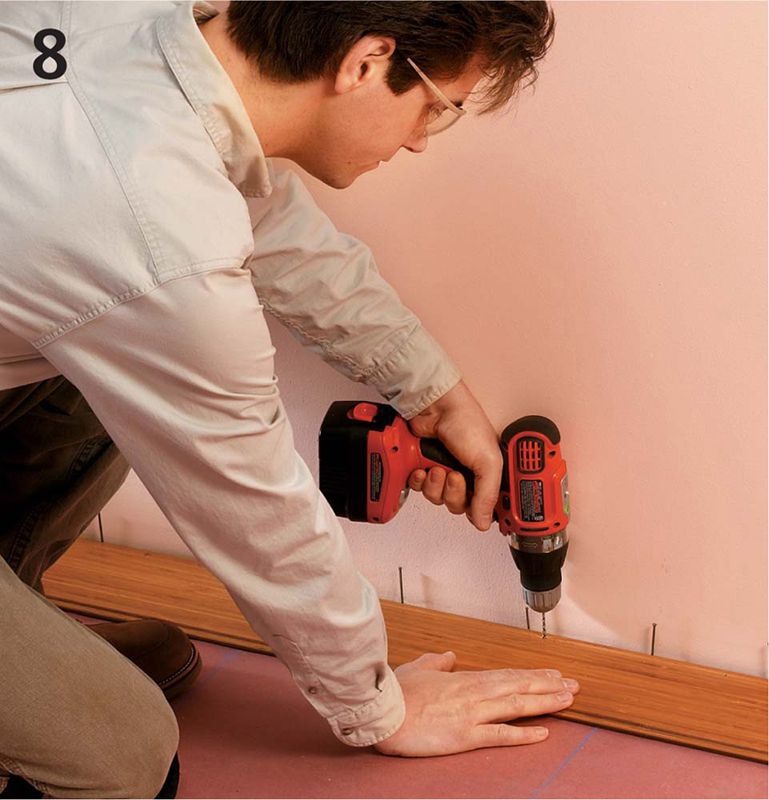
Install the first row. Choose the longest planks available for this row. Lay the planks in place and drill holes every 8" for face nailing along the wall edge. Locate the holes 1/4 to 1/2" in from the edge, where they’ll be covered up by the base molding and shoe.
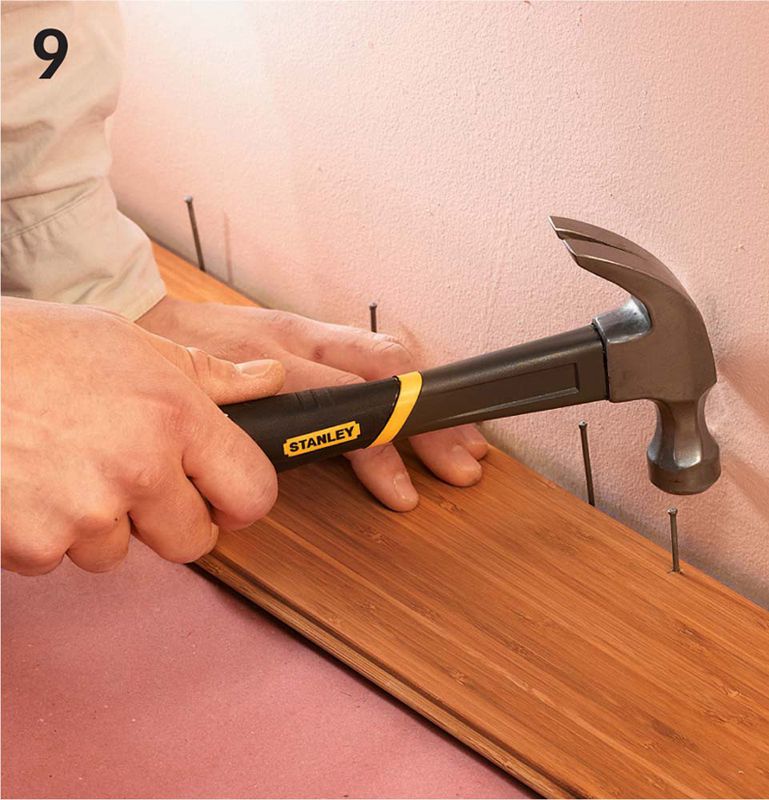
Attach the first floorboards by facenailing 8d finish nails into the pilot holes along the wall edge. Sink the nail heads with a nail set.
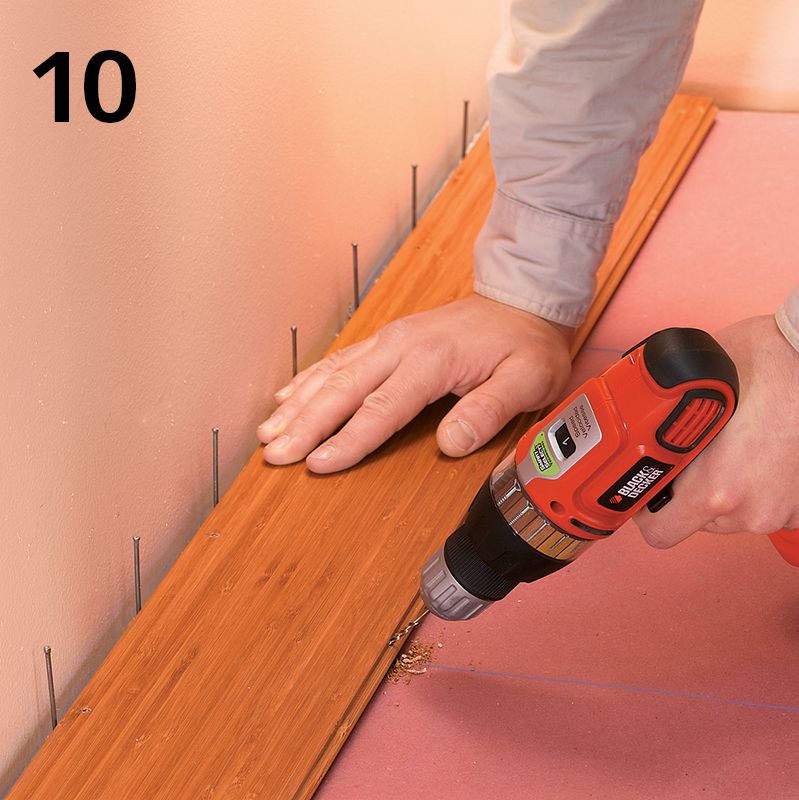
Predrill pilot holes through the tongues of the first row planks and blind-nail 8d finish or flooring nails. Make sure the heads of the nails do not stick up through the tops of the tongues, where they would interfere with the tongue-and-groove joint.
Plugging Counterbores 
Wider plank floors frequently require that you fasten the ends of floorboards by screwing down through the board and into the subfloor. This is most commonly needed when you are installing wood flooring that does not have tongue-and-groove ends. In such cases, drill counterbored pilot holes for the screws, making sure the counterbores are deep enough to accept a wood plug. After the floorboards are installed, check to make sure the screws are tight (but be careful not to overdrive them) and then glue a wood plug into each counterbore. Wood plugs should be the same species as the flooring (or, if that’s not available, make them a contrasting species). Sand the plugs so the tops are even with surrounding floor and finish them at the same time. Note: If you are using matching plugs, orient them in the counterbores with the wood grain running parallel to the floorboards; if you are using contrasting plugs, make the grains perpendicular.

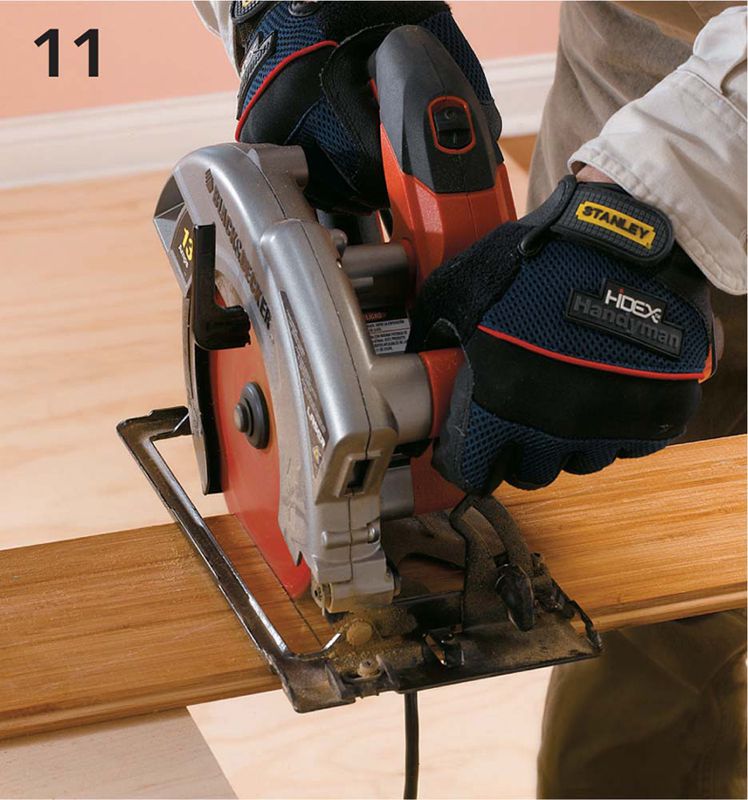
Cut the end planks for each row to length, so that the butt end faces the wall. In other words, try and preserve the tongue-and-groove profiles if your flooring has them on the ends. Saw the planks with a fine-tooth blade, making sure to orient the workpiece so you’ll be cutting into the face, minimizing tearout on the surface.
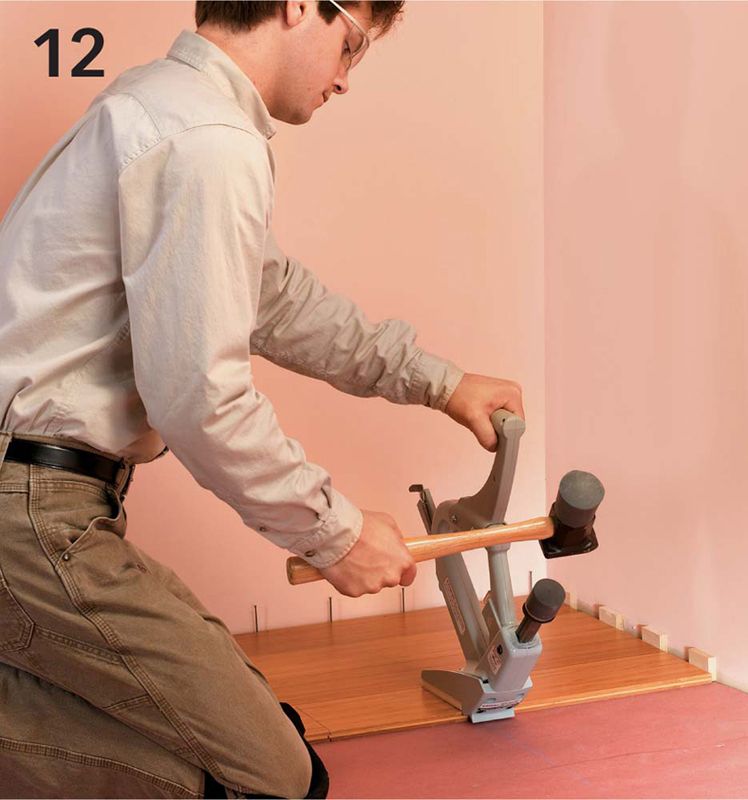
After the second row, use a flooring nailer to blind-nail the tongues of each plank. Flooring nailers are struck with a mallet to drive and set the flooring nails through the floorboard tongues. They can be rented at most home centers or rental centers. Note: You can continue to hand-nail if you choose, but be sure to continue pre-drilling pilot holes as well to avoid damaging the tongues.
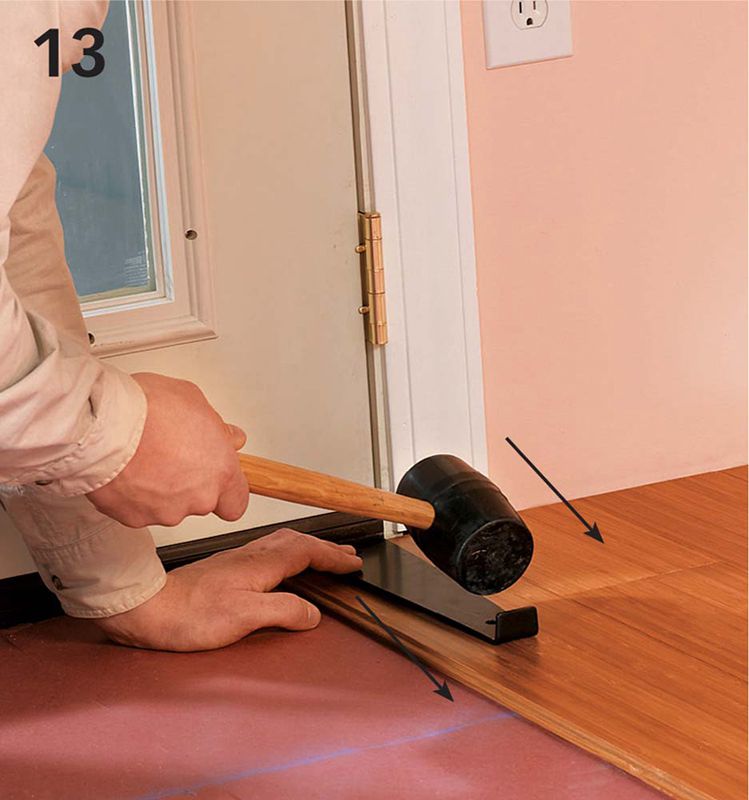
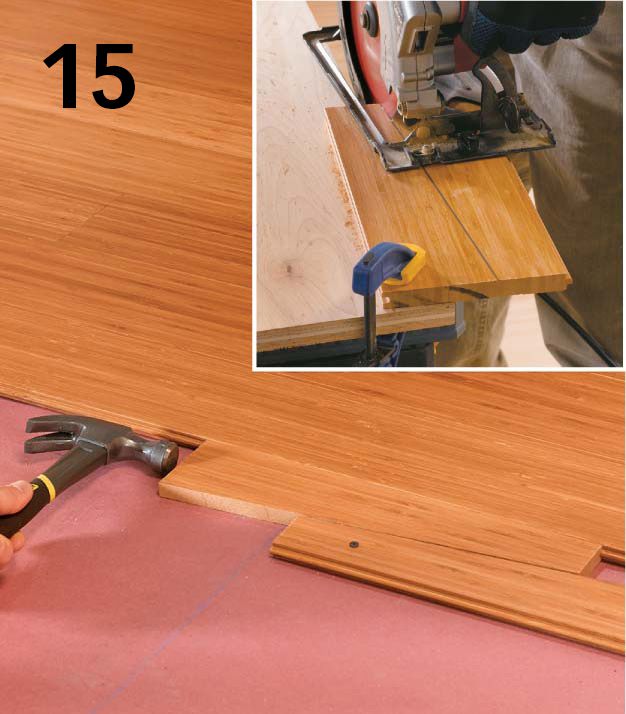
Keep joints tight. As you install each successive plank in a row, use a flooring pull bar at the open end of the plank. Drive the end of the board toward the joint by rapping on the pull bar with a mallet.
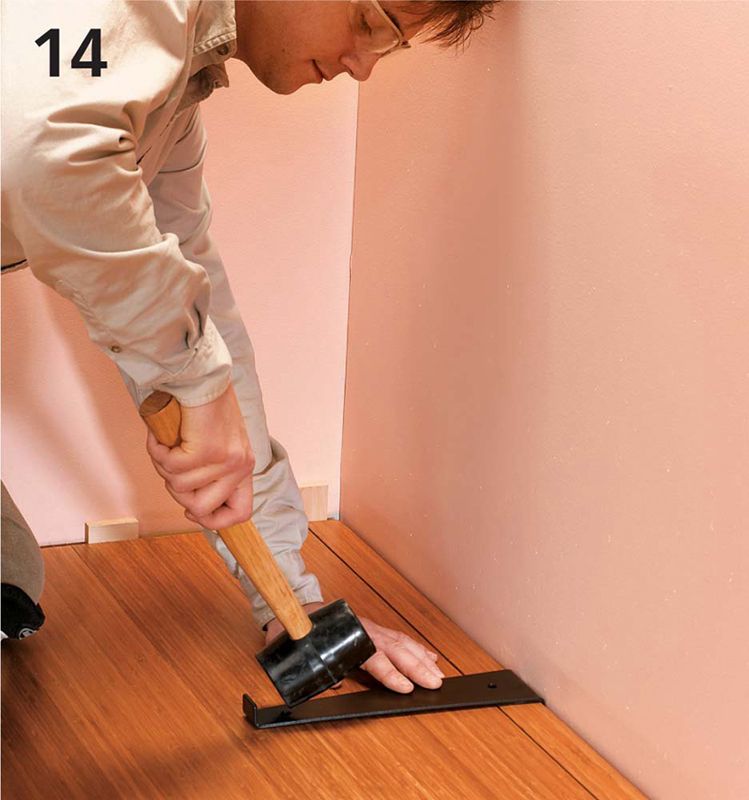
At the end of rows and along walls, use a pull bar to seat the boards. For the last row, rip the planks as necessary, use the pull bar to seat them, and facenail along the edge as you did with the first row.
If a plank is slightly bowed, cut fitting wedges to force the wayward board into position before nailing it. Make wedges by cutting two triangles from a 1 ft. or longer scrap of flooring (inset). Attach one half of the wedge pair with the outside edge parallel to the bowed plank. Slide the groove of the other wedge piece onto the tongue of the bowed plank, and hammer until the plank sits flush against its neighbor. Nail the plank into place. Remove the wedge parts.
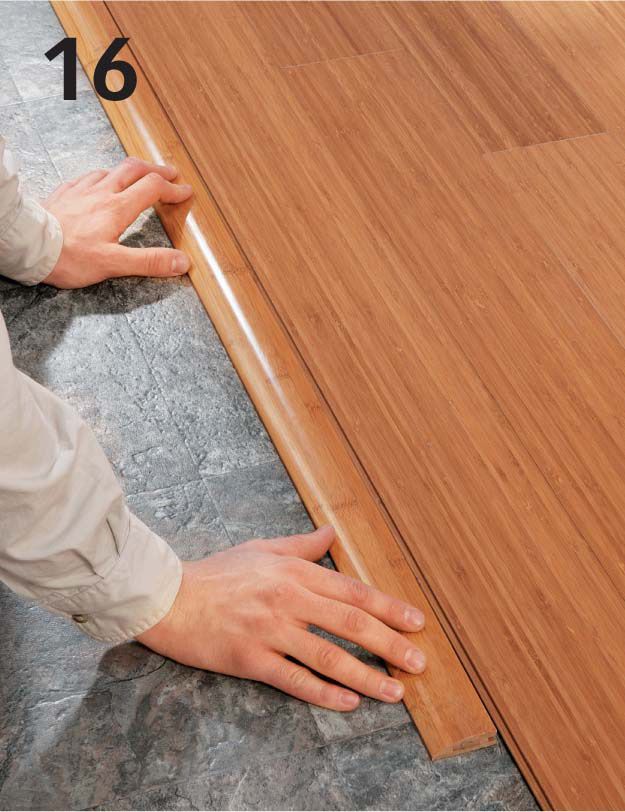
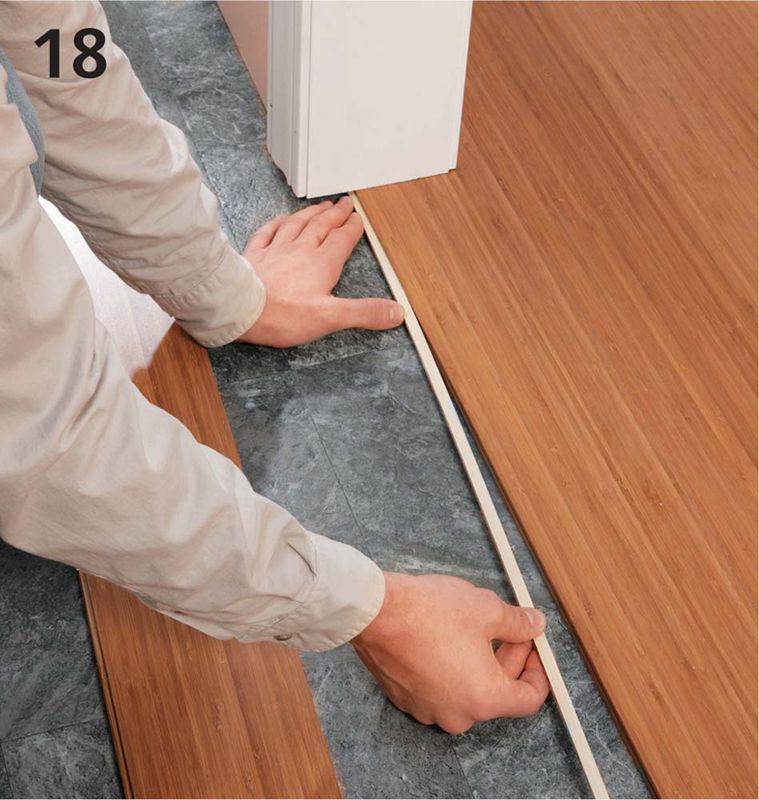
Install a reducer strip or other transition as needed between the plank floor and adjoining rooms. Cut the strip to size and fit the strip’s groove over the plank’s tongue. Drill pilot holes and facenail the strip with 8d finishing nails. Sink the nails with a nail set, putty, and sand smooth.
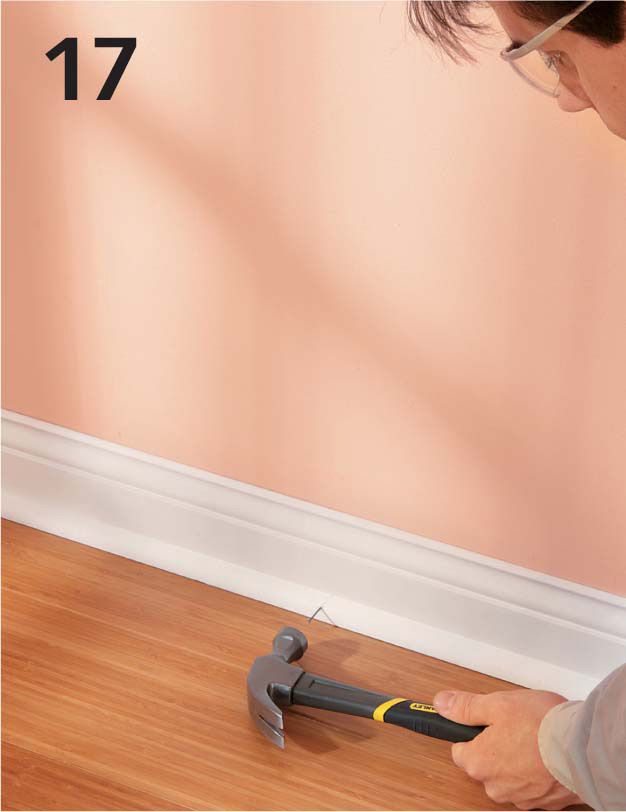
Install a quarter-round shoe molding to cover all the expansion gaps between the floor and walls at the edge of the floor. Paint, stain, or finish the molding before installing.
To reverse the direction of the tongue and groove at doorways or other openings, glue a spline into the groove of the plank. Fit the groove of the following board onto the spline and nail into place as before.
Finishing Unfinished Planks 
Standard strip floors are normally finished with clear or amber polyurethane finish, but the unusual look of a plank floor makes it worth considering other finishing options.
Wax is an age-old wood floor finish, one that protects the surface but needs to be renewed regularly. Wax is labor intensive, but not tricky to apply. The finish emphasizes variations in grain—a plus for many of the woods used in plank floors. It also gives the wood a deep rich glow that emphasizes the character of the species used.
Tung oil and linseed oil don’t protect as well as wax, although they can be supplemented with hardeners, sealers, and other agents for a tougher finish in a range of sheens. They don’t have the plastic look of polyurethane that some wood enthusiasts object to.