

Cover the exterior walls with housewrap so the stud marks fall on the studs (see pages 241 to 242). Starting at the lowest corner of the house, snap a level line at the bottom of the wall where the siding will begin. The siding should cover the sill plate but stay above grade and concrete surfaces.

Install a corner trim board flush with the outside wall and flush with the chalk line at the bottom. Keep nails 1" from each end and 3/4" from the edges. Drive two nails every 16". Overlap a second trim board on the adjacent side, aligning the edge with the face of the first board, and nail in place.
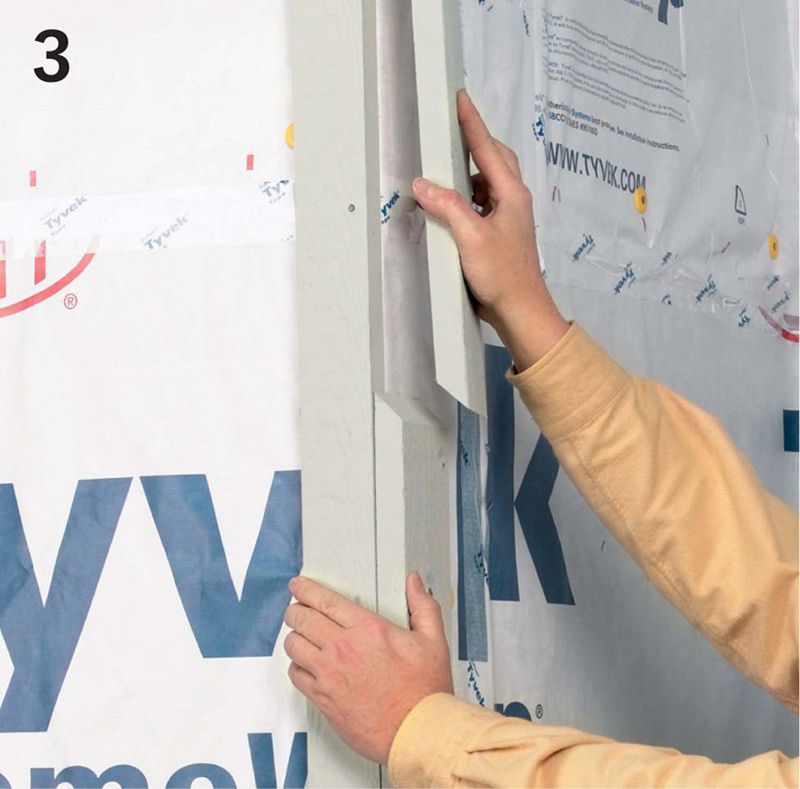
When two or more corner trim pieces are needed to complete a wall, cut a 45° bevel on the end of each board. Apply primer to the cut ends. Install the first board so the bevel faces away from the house. Place the top piece over the first board, aligning the bevels. Stagger seams between adjacent sides.
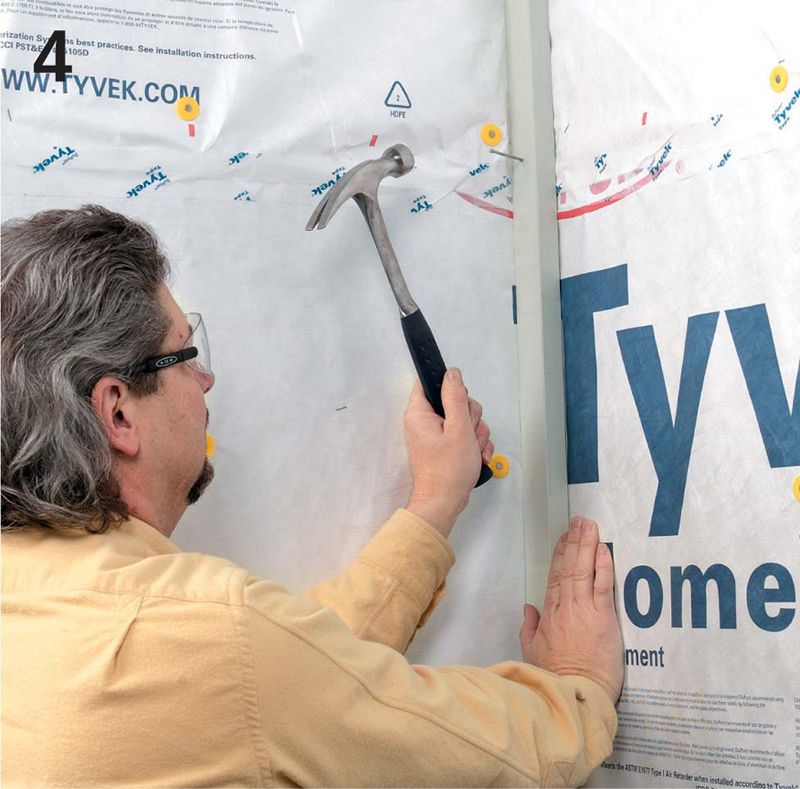
Place a corner trim board in an inside corner. Drive nails every 16".
Measure and cut trim to fit around a window. Install trim along the bottom of the window first, then measure and cut trim to fit along the sides, flush with the bottom edge of the first trim piece and 1/8" above the top of the drip cap. Measure and cut trim to fit over the window, flush with the outside edges of the side trim. Drive two nails in the trim pieces every 16". Repeat for each window and door.
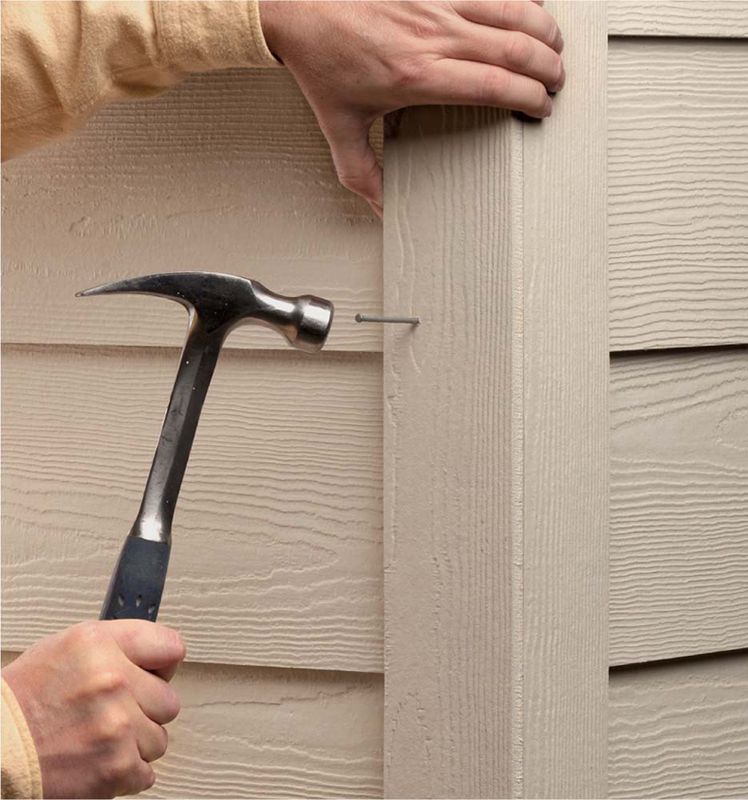
Option: Rather than install the trim first, wait until after the siding is in place. Then, nail the trim directly over the siding. Make sure the nails are long enough to penetrate through the siding and sheathing and into the studs by at least 1".

On horizontal eaves, install frieze boards directly under the soffits. Butt the frieze boards against the corner trim, and drive two nails every 16" into studs.
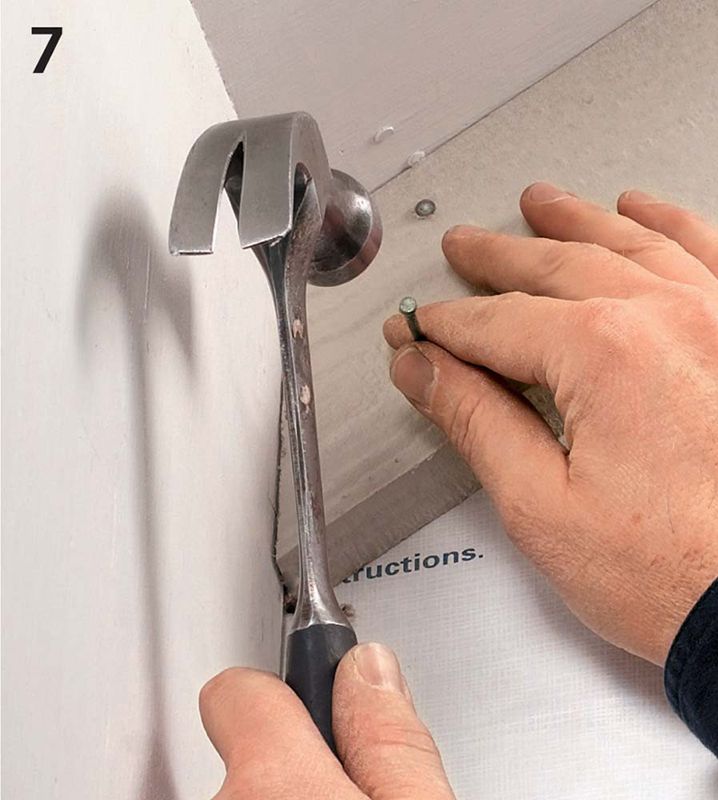
Use a T-bevel to determine the angle on the gable end of the house. Cut this angle on the end of a frieze board, and install under the soffits.
Install wood lath along the base of the walls. Align the bottom edge of the lath with the chalk line and nail in place using 6d nails. Keep the lath 1/8" from the corner trim. Tip: Rather than buying lath, rip panels of wood or fiber-cement siding to 1 1/2"-wide strips, and use them as lath.
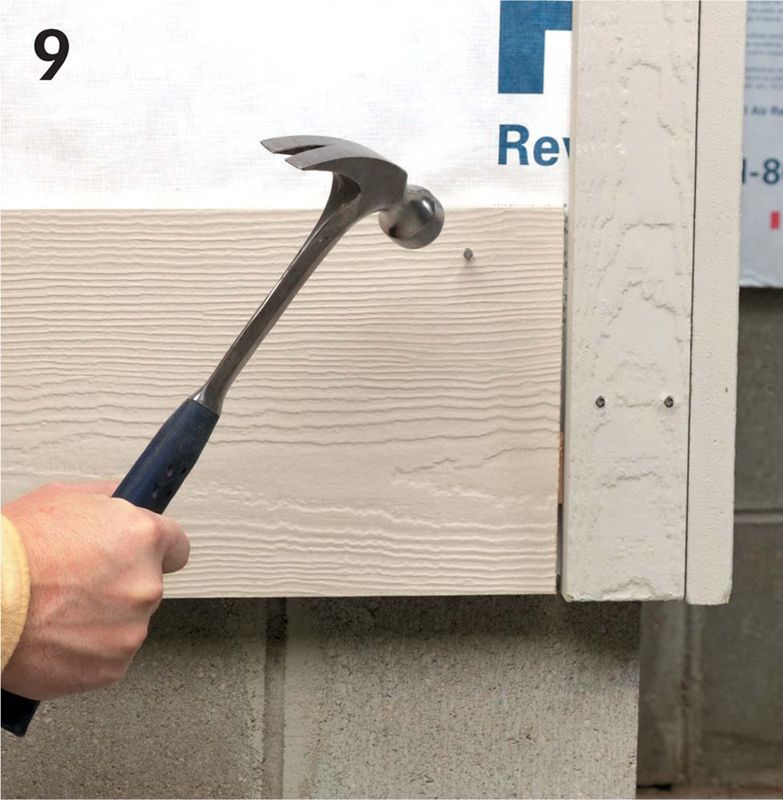
Cut the first siding panel so it ends halfway over a stud when the other end is placed 1/8" from a corner trim board. Apply primer to the cut end. Align the siding with the bottom edge of the lath. Keep a 1/8" gap between the siding and corner trim. Nail the panel at each stud location 1" from the top edge using siding nails.
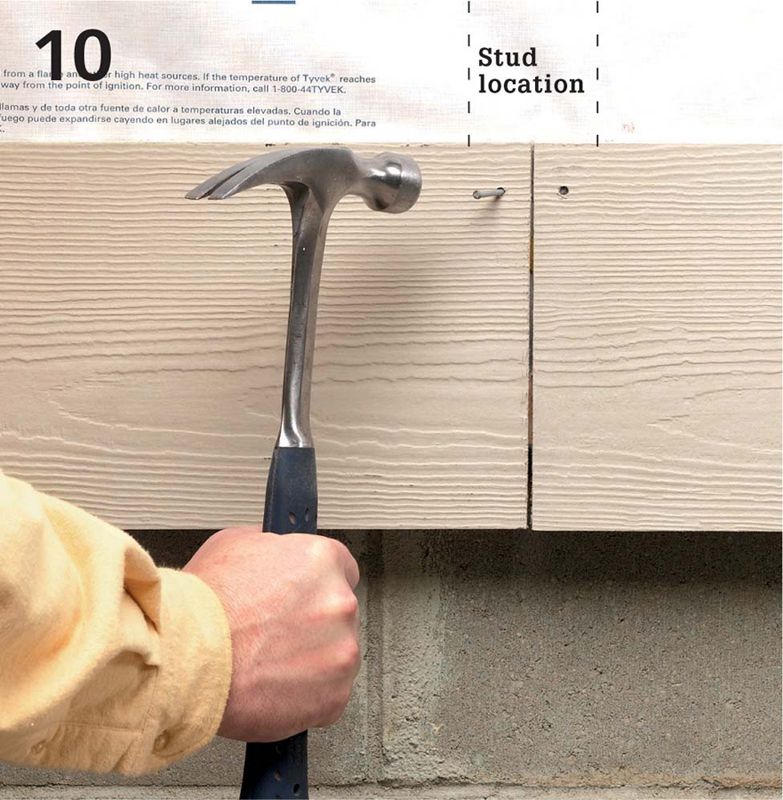
Measure and cut the next panel so it reaches the opposite corner or falls at the midpoint of a stud. Set the panel over the lath, keeping a 1/8" gap between the first panel and the second panel. Nail the panel 3/8" from the seam edge and at every stud.

Set the measuring gauge (inset photo) to give the panels a minimum of 1 1/4" overlap. Place the second row of panels over the first, using the measuring gauge to set the amount of overlap. Offset seams by at least one stud. Repeat this procedure for subsequent rows. Check every five or six rows for level. Make adjustments in small increments. Cut or notch panels as necessary to fit around protrusions in the walls.
For windows, slide the siding panel against the bottom window trim. Mark the panel 1/8" from the outside edges of the side trim. Place a scrap piece of siding next to the window trim at the proper overlap. Mark the depth of the cut 1/8" below the bottom trim. Transfer the measurement to the siding panel and cut it to fit. Install the cutout panel around the window. Do the same at the top of the window.
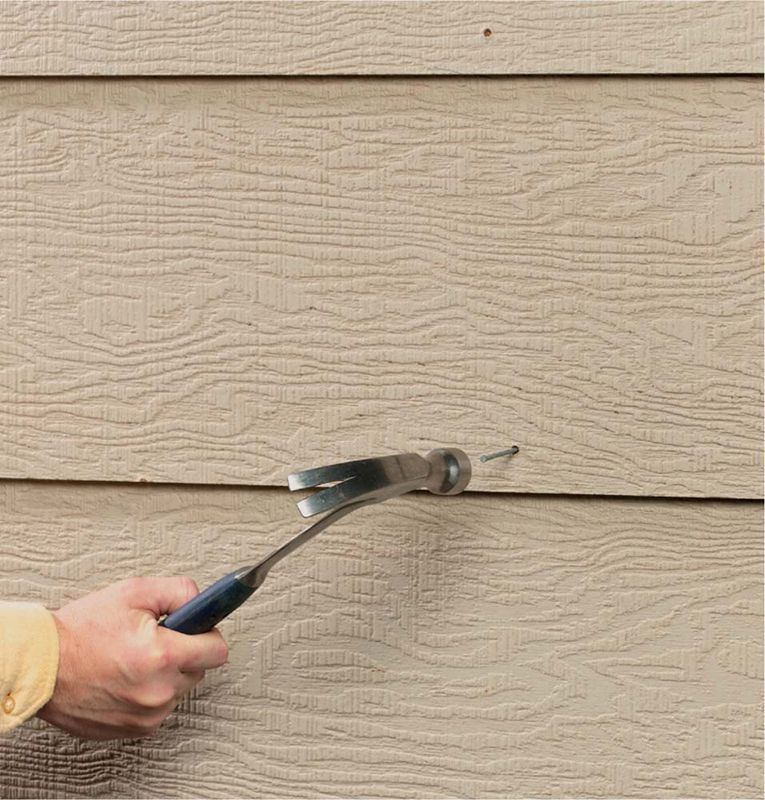
Option: Siding 12" or wider, or siding nailed 24" on center, needs to be facenailed. The siding is overlapped a minimum of 1 1/4" and nailed 3/4 to 1" from the bottom. Drive the nail through both planks of siding into the stud using corrosion-resistant siding nails.
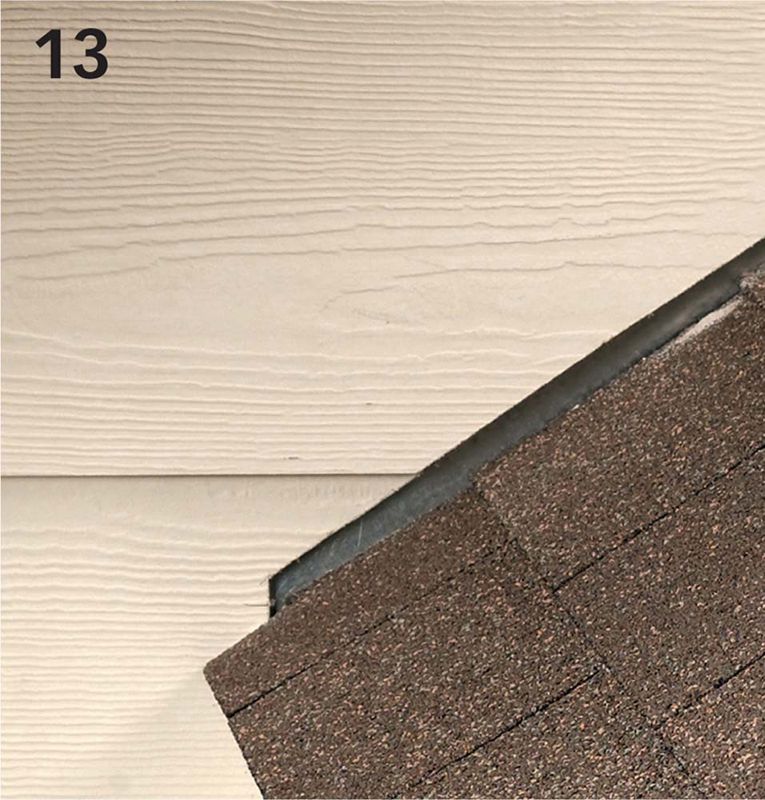
When installing the siding over a roof line, keep the panels 1 to 2" above the roofing. Use a T-bevel to determine the angle of the roof line, and transfer the angle to the siding. Cut the panels to fit. Place the bottom edge of the siding over the roof flashing, and nail the panel in place.
Rip the last row of panels to fit 1/8" below the frieze boards under the horizontal eaves. Nail the panels in place.
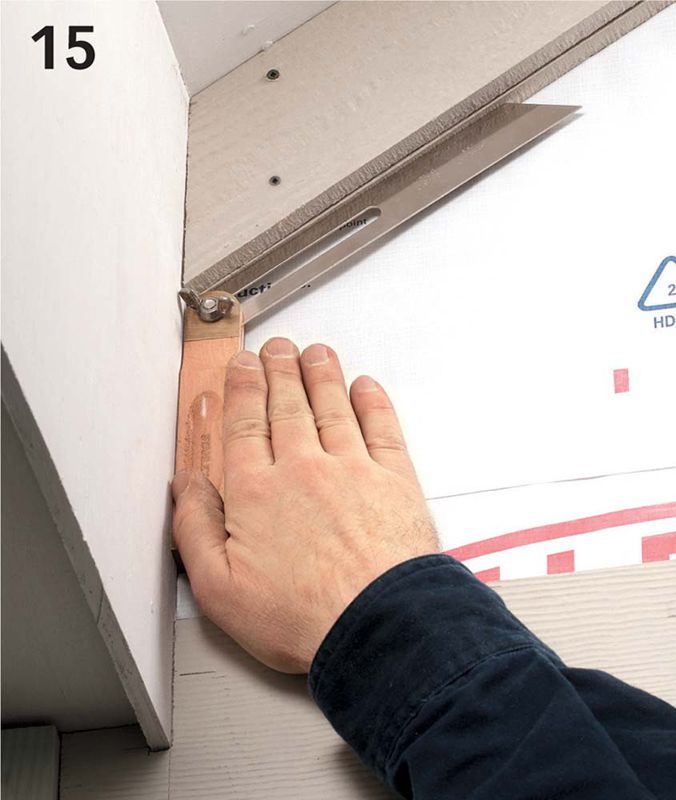
Use a T-bevel to determine the angle of the roof line on the gable ends of the house. Transfer the angle to the panels, and cut them to fit.
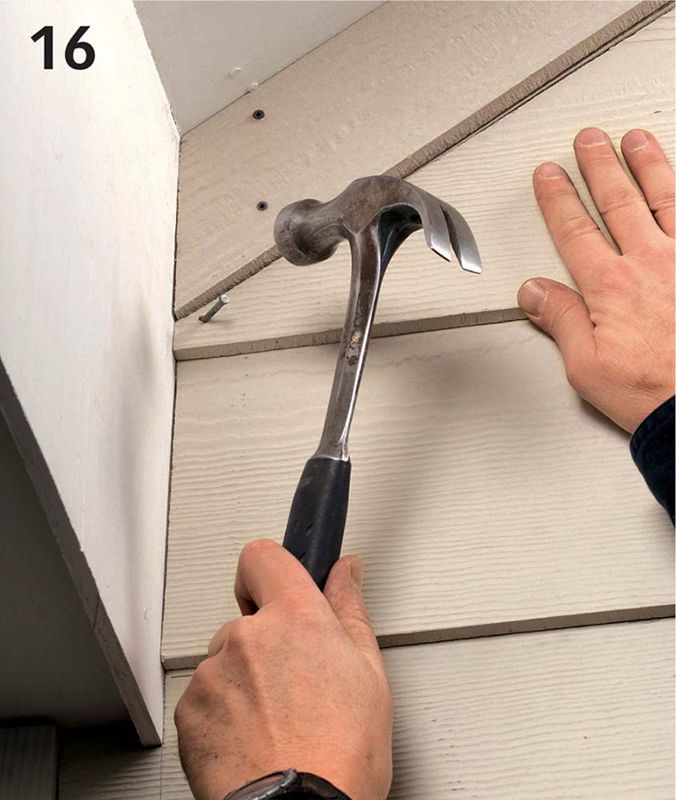
Keep the panels 1/8" from the rake boards, and nail them in place along the gable end.
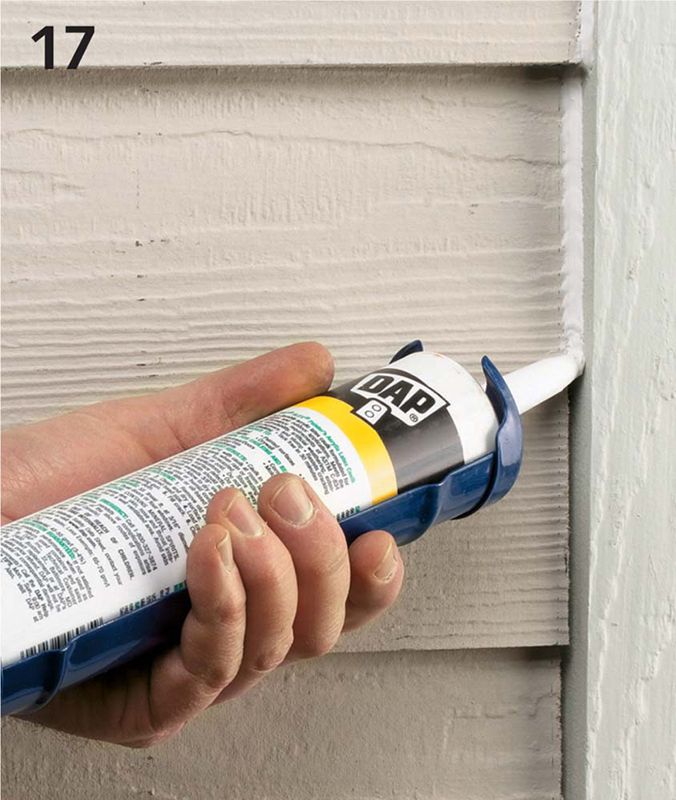
Fill all gaps between panels and trim with flexible, paintable caulk. Paint the siding as desired (see Painting & Staining Siding, beginning on page 298).