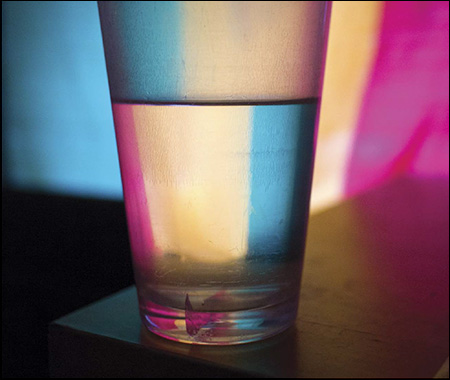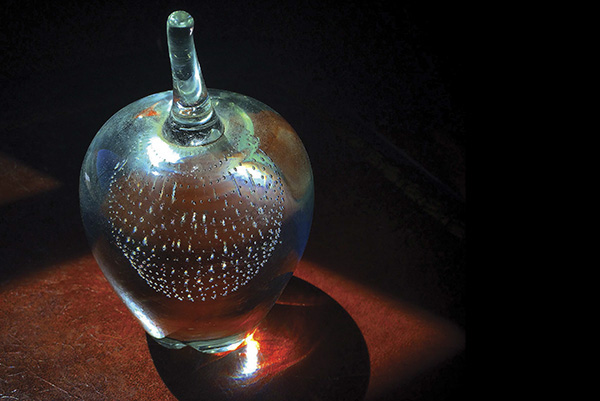
Figure 1.1 Light and shadow dance around and through this glass apple. I often make quick shots when I am moved by the light I see.
HOW YOU SEE VS. HOW YOUR CAMERA SEES
Speedliting is about far more than knowing how to push buttons and turn dials. Speedliting is about vision and light. It’s about knowing how to see the light around you and then, if needed, using your gear to create the light for the image you want.
The most important skill you can develop as a Speedliter is the ability to light with intent.
In order to light with intent, you must start by truly seeing the light around you. You have to understand a bit about where light comes from in our world and a bit about how it behaves. Most importantly, you need to know that you should be evaluating the light around you all the time.
Figure 1.1 Light and shadow dance around and through this glass apple. I often make quick shots when I am moved by the light I see.
Light shimmers. Light dances. Light falls, skips, bashes, and blinds. Light lifts us up. Light beats us down. In the end, some have said, it is toward the light we go.
Regardless of the type of photographer you are or the type of photographer you want to become, you must always be a student of light. Eventually, once you gain a keen perception of and deep appreciation for light, you’ll also be a connoisseur. Even then, you’ll want to remain a student and continue to learn to see light’s broad and subtle role in our lives.
Look at the light around you right now. I am not saying, “Look at the things around you.” I am saying, “Look at the light.” What surrounds you really does not matter. It’s the light I want you to look at.
Now, what words describe the light around you? Is the light bright or dim, soft or hard, warm or cold, comforting or depressing, calm or energetic?
Decode the light you see. Think about why the shadows are the shape they are and point the direction they do. Think about how the light accentuates or flattens the shape of objects. Think about where the light is coming from and what it is bouncing off of.
As the harvesters of light, we photographers are both blessed and cursed. We are blessed to be on the front line of light’s majesty, beauty, and power. To the same degree, we are cursed by our limited means to capture and portray what we see.
For it is always through some bit of technology that we must transport and eventually display our captured light on paper or screen.
Look at light just as you open your eyes in the morning and just before you close your eyes at night. Beauty and emotion is found in the merger of light and dark. Learn to decode the light you see.
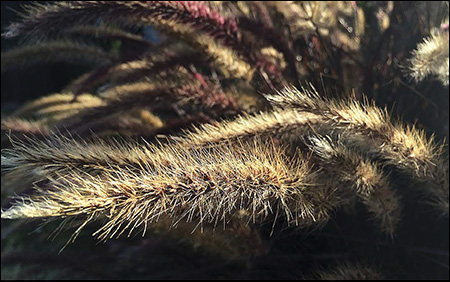
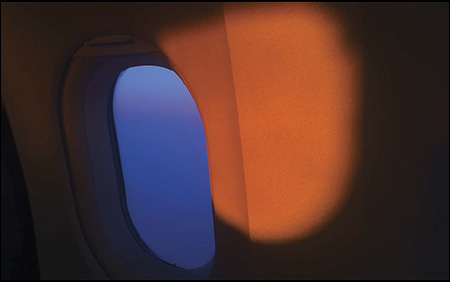
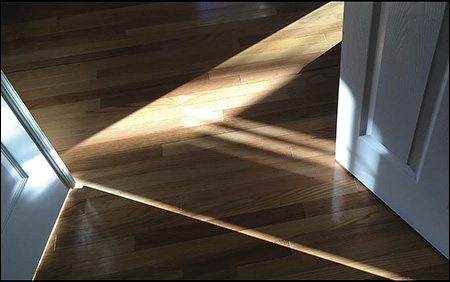
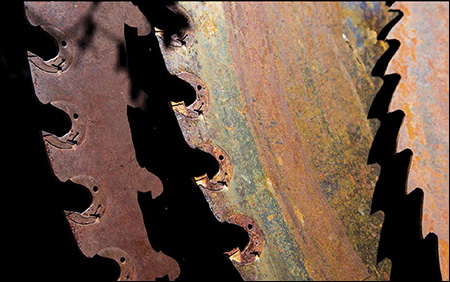
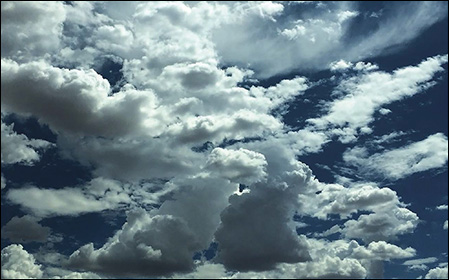
When learning how to look at light, remain open to lessons coming at any moment. You will see light that strikes you in a way that you can’t explain. When those moments arrive, snap a photo—as I did for the images on these two pages.
Along the way, you’ll also need to develop a vocabulary so that you can catalog what you see and then communicate it to others. Don’t worry that the reasons behind many of the concepts listed below are not explained here. For now, we’re just concerned with learning how to see them. Throughout the rest of the Handbook , we’ll explore how you can craft many different styles of light.
Look at how much light is falling on the various objects or people on your set. Is the intensity bright or dim? A long exposure with dim light can make the scene look bright, or it can capture light in a way that you can’t even see. Likewise, a very fast exposure under bright light can accentuate the intensity of the shadows.
Consider where the light is coming from and the angle at which it hits your subject. Does it come from the right or left, front or back, above or below? Is its angle of approach steep or shallow?
Does the light hit the subject directly, or is it reflected? Reflected light is usually less intense and softer than direct light. Often, a Speedliter will bounce light off a card or reflector as fill light to reveal details that would otherwise drop to black in the shadows.
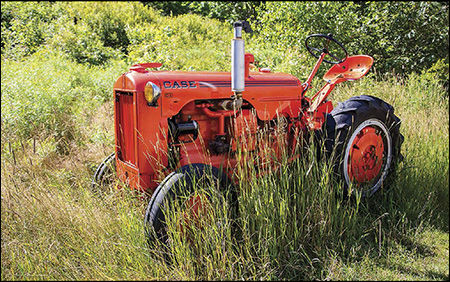
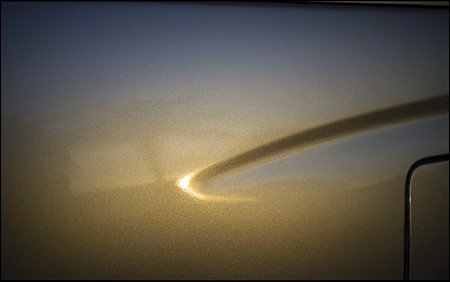
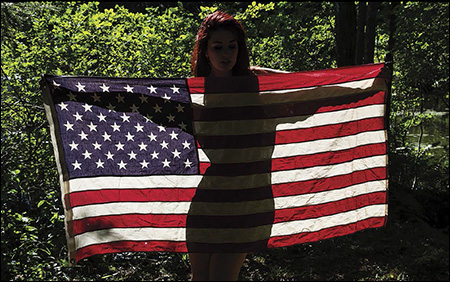
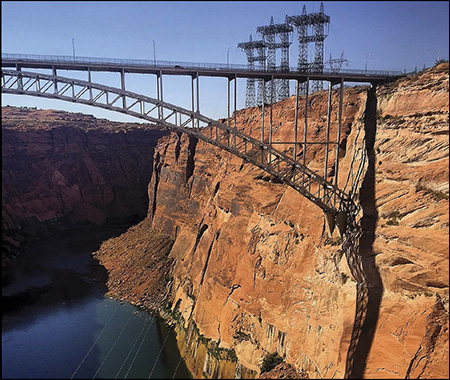
Figures 1.6–1.12 I’m fond of taking snapshots of light when it stirs something inside me. Here is a small collection of some of my favorites.
We know that sunlight looks different at sunrise and sunset than it does during the middle of the day. We say that yellowish light is warm and bluish light is cool.
Look at the edges of the shadows. Are they sharply defined or blurry? Hard light hits the subject from a single direction and creates shadows with defined edges. Soft light hits the subject from multiple directions and creates shadows with blurry edges.
Look at the range of light between the brightest brights and the darkest darks. In a high-contrast scene—such as a white car parked on black asphalt at high noon—there is a huge difference between the two. In a low-contrast scene, there is a narrow difference between the brights and the darks.
Is the range of light on your subject even? Sunlight streaming through an open window is even. Sunlight streaming through a lace curtain will appear dappled. Also consider whether the range of light is steady or changing.
Look at the brightest parts of the scene. Specular highlights are seen as small dots and lines of light that help define details—such as a glint of light from a diamond. Glare occurs when the highlights are broad and detail is blocked—such as an unwanted reflection in eyeglasses.
The drama of light is often determined by how it transitions into darkness. In a scene with a high degree of chiaroscuro, the light transitions from bright to dark quickly. A portrait of a woman sitting by a window where the hair and clothing quickly merge into the shadows is filled with chiaroscuro.
Many photographers seldom consider how their vision differs from that of their cameras. Yet every photographer has made a photograph and afterward thought, “That doesn’t look like what I saw.” The difference between the experience and the photograph is often due to the difference between the photographer’s vision and the camera’s vision.
I know this sounds obvious, but many photographers take our stereoscopic vision for granted. The separation of our eyes is what enables us to see depth.
To get a sense of what your camera sees, close one eye and watch how the world flattens. Geometry (the patterns in a frame) and lighting (the shadows in the frame) are the two ways that a photographer can add depth back into a scene.
Shadows give us a tremendous amount of information about shape and depth.
If you want a strong shadow, use a hard light. If you want a subtle shadow, use a soft light.
Beyond lighting, relative size and converging lines provide clues about position and shape. If two items appear to be the same but one is smaller, you know intuitively that the smaller one is farther away. Yet, your camera records this relationship as shape and light alone. The photograph is flat. You decode depth partially by light/shadow and partially by shape/position.
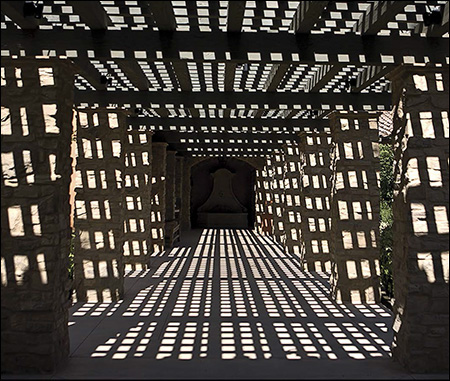
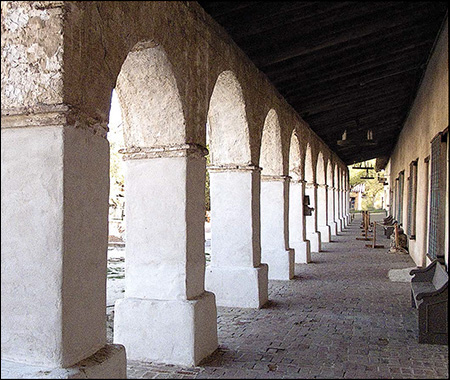
Figure 1.13 By reducing the lattice, pillars, and shadow to a flat, geometric pattern, the camera stripped away the sense of depth I experienced on location.
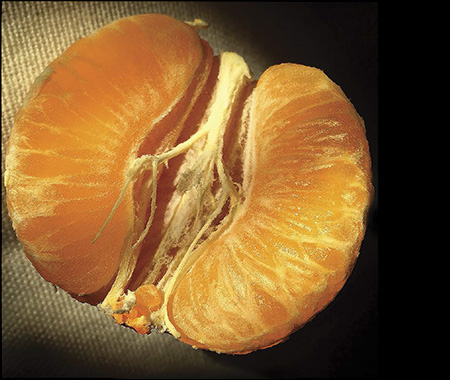
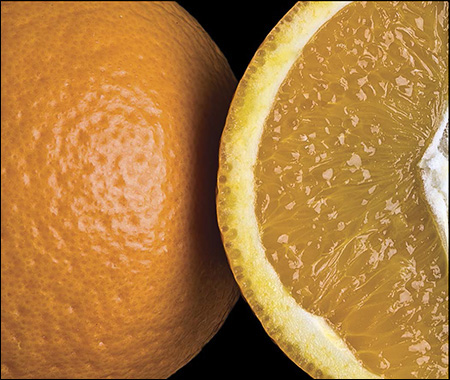
Figure 1.15 Even though you know from personal experience that oranges are round, it is the subtle shadow and highlight that render the orange as a sphere in this photo.
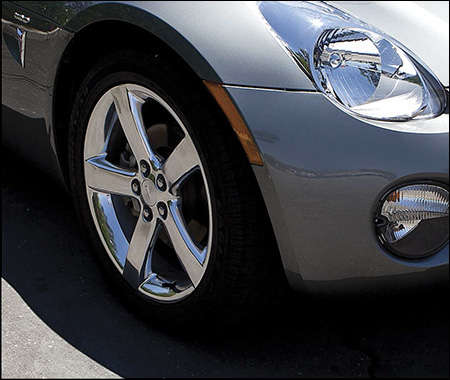
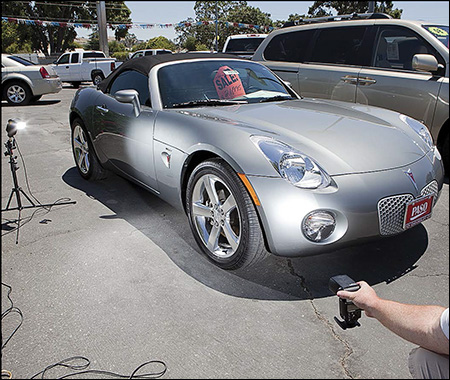
Go out at high noon and look at a parked car on the street. You can see details in the highlights on the fenders. You can also see details in the shadows around the wheels and on the asphalt underneath. Now point your camera at the same car and take a picture. What happens?
It’s likely that the brightest part of the fenders will be blown out (go to white and lack any detail). It’s also likely that the tires will be hard to distinguish from the wheel wells and that the grooves in the tread and detail in the asphalt will merge into black.
It’s important to understand that we can see a much broader range of tonality than even the most technologically advanced cameras. The maximum range of bright and dark that a camera can record is its dynamic range.
If the dynamic range of your scene is more than your camera can record (or put another way, if the contrast of your scene is too wide), your camera will either blow out (over-expose) the highlights, compress the deep shadow details into black, or do a bit of both. You can see this in Figure 1.16 . The detail that I could see in the tire tread and asphalt has been recorded by the camera as black.
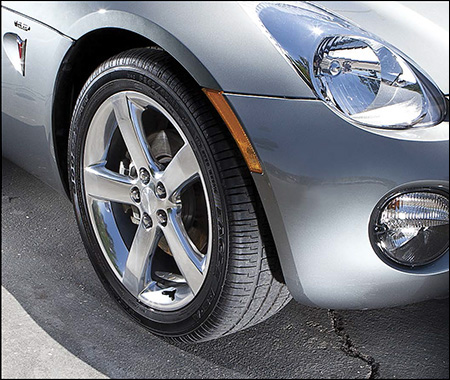
As a Speedliter, you can bring the contrast range of the scene back within the limits of your camera through lighting. Specifically, you can add fill light to the shadow areas and expose for the highlights. In Figure 1.17 , you can see how the addition of two Speedlites has enabled me to capture detail in the wheel that was previously lost. Notice also that the sunlit part of the fender and headlight is virtually the same in the two shots. The difference is the addition of fill light from a pair of Speedlites.
Figure 1.17 The use of two Speedlites brought the contrast range within the capabilities of the camera.
Figure 1.18 The set shot shows where I positioned the two Speedlites. The master flash is on the left.
Those of us who came of age during the film era will remember that our choice of film greatly affected the look of our photos. If you used Kodachrome, you’d get rich, warm tones and saturated reds. If you used Ektachrome, you’d get deep, cool tones that favored the greens and blues. We understood that film did not capture the full range of colors that we saw. This detail has been largely forgotten in the digital era.
The fact remains that we can see a far wider range of color than our digital cameras can record. The problem continues with our monitors, the vast majority of which cannot display the full range of colors recorded by our cameras. The color funnel continues to get smaller. You should know also that when you look at a beautifully saturated image onscreen, you will not get the full range of color that you see out of most printers. The good news is that each generation of monitors and printers continues to expand the gamut of color that they can display/print.
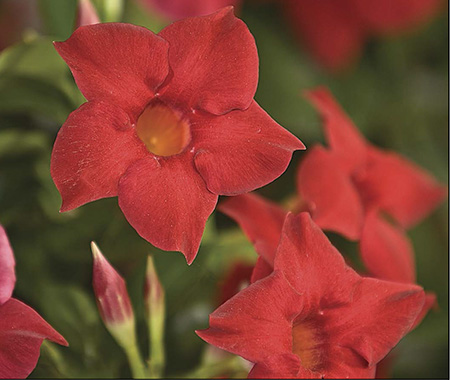
An understanding of this limited color gamut can inform how we light. Shooting a deep red dress or flower? Light it with a hard light that casts shadows across the surface. The shadows add contrast and a sense of texture or depth. If the fabric or petals are translucent, then also try backlighting as a way to bring out a greater sense of depth.
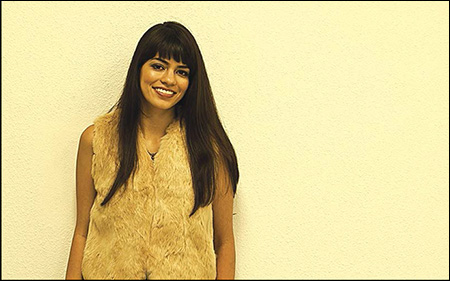
Figure 1.19 There are many saturated colors that the camera cannot record. In the case of this mandavilla blossom, there were many shades of red that I could see that the camera could not record. This shot, made in open shade, appears flat because the range of reds is very limited.
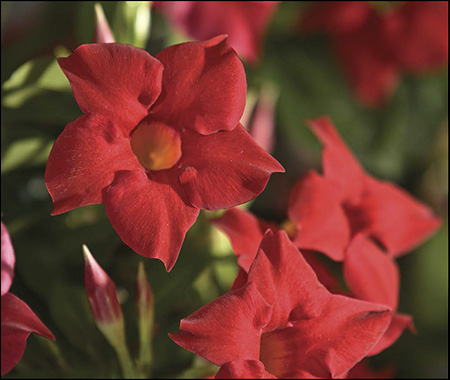
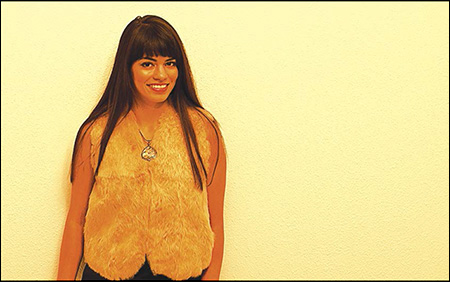
Figure 1.20 Firing a Speedlite through a small diffuser from camera-right adds depth by creating shadows. Note that the shadows are shades of red.
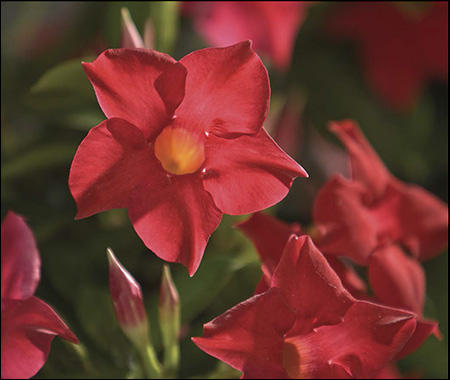
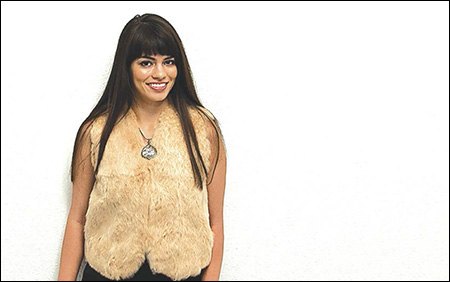
Figure 1.21 Another option—firing the Speedlite through the petals—creates a different sense of depth and adds a bit of rim light.
All light is not white. We just think that it is because our brains adjust it automatically. In the days of film, photographers had to match their film to the predominant source of light. Tungsten (incandescent) lights are really orange. So tungsten film has a strong blue bias to offset the orange cast of the light. Use tungsten film outdoors under the midday sun and the whole scene goes very blue. Digital cameras are the same—except that the white balance settings are inside the circuits.
Speedlites are balanced to the color of sunlight at midday. If you mix your Speedlite with other types of light—such as using your flash for fill light in a room lit with incandescent lamps—you’d best cover your flash with an amber-colored gel (known as a “CTO”). Otherwise, the portion of the scene lit with your flash will have a blue cast. As described in Chapter 21 : Gelling For Effect , these differences in white balance can be played to great theatrical effect as well.
Figure 1.22 This is how the camera records warm fluorescent light (using Daylight as the camera’s white balance).
Figure 1.23 When the white balance of the camera is switched to Warm Fluorescent, it records the scene with a neutral tint.
Figure 1.24 When the scene is relit with tungsten (incandescent) light and the camera is set to Daylight white balance, it records the tungsten light with a distinctive amber cast.