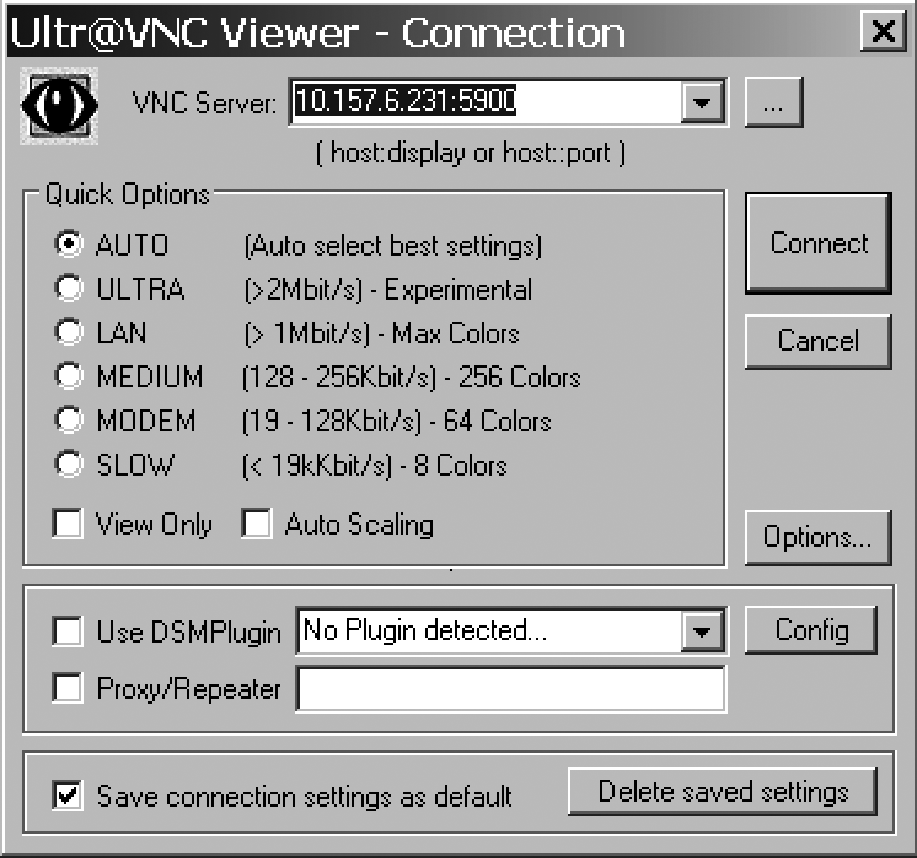
From your Start menu, select UltraVNC → UltraVNC Viewer. This displays a Connection window in order to select which server to connect to, as shown in Figure 11-3.
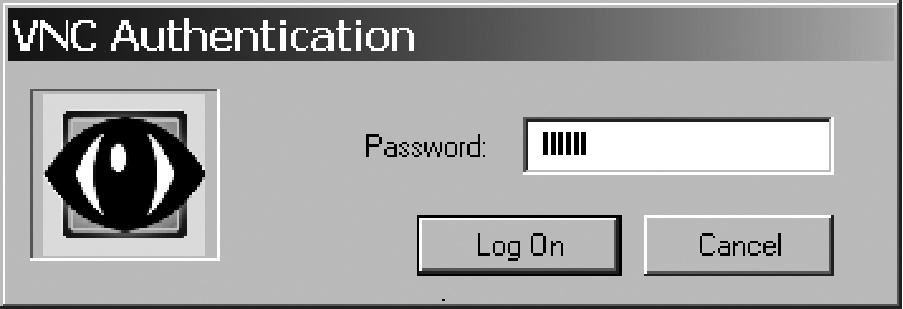
Enter the IP address or hostname and reconfigured port, separated by a colon, into the VNC Server input box in the Connection window. You should be able to leave the rest of the settings alone if you configured your server as discussed in Creating and Packaging a VNC Backdoor. Click the Connect button. If everything's configured correctly and your server is running, you'll be presented with the VNC Authentication dialog, as shown in Figure 11-4.
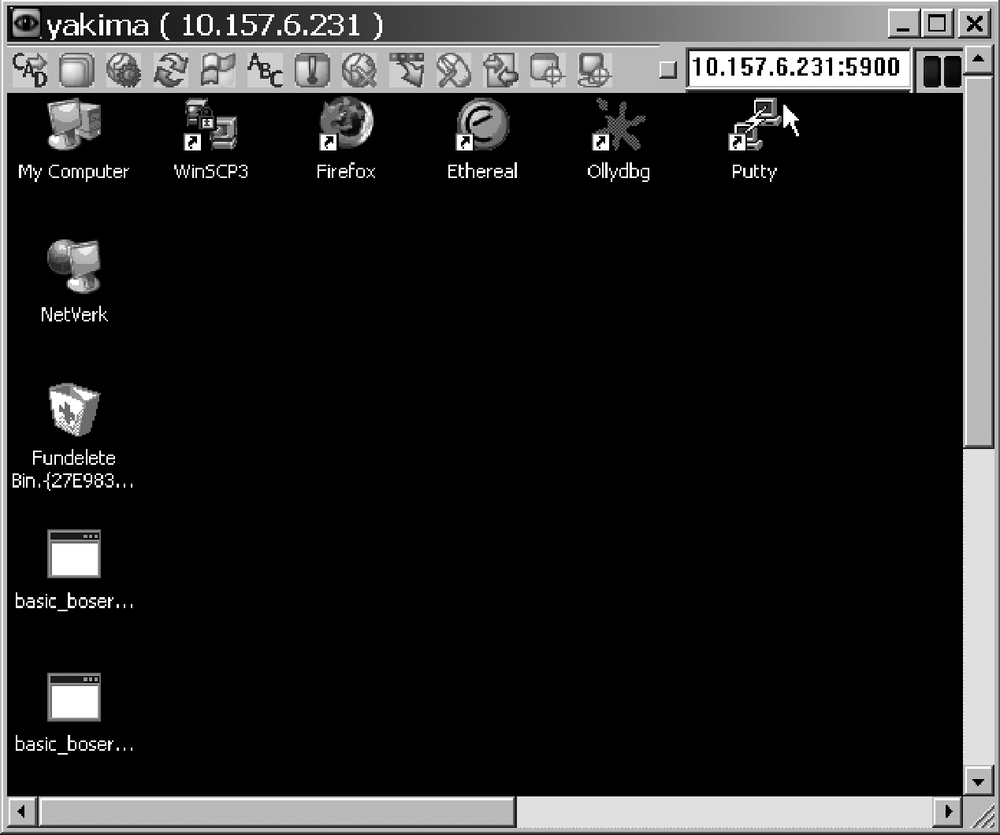
Enter your password and click the Log On button. If by chance you failed to reach the Authentication dialog, then it is unlikely that your server's running on the port you specified (and might not be running at all). If the connection fails after the Authentication dialog, there's been a mistake in configuring your password and exporting the registry. Repeat the steps described in Creating and Packaging a VNC Backdoor. When everything is working, you receive a replica of the backdoored server's desktop to play with, as shown in Figure 11-5. This is about as fancy and full-featured as backdoors get.
Now that you've infected your own desktop by testing the procedure, let's remove the backdoor. To stop the service, enter:
C:\>net stop winvncTo unregister the WinVNC service from Windows, use this command in the directory containing the winvnc.exe that you installed:
C:\VNC\backdoor>winvnc.exe -removeBe careful with this command when using it in a situation when you do not want to alert the server's user that any hijinx were going on in the background. Upon running, it creates a pop-up window confirming that the WinVNC service was removed from the system. To remove the backdoor stealthily, stop the service as noted, but don't unregister the service; rather, delete the files using the original command channel used to get the backdoor started in the first place.


