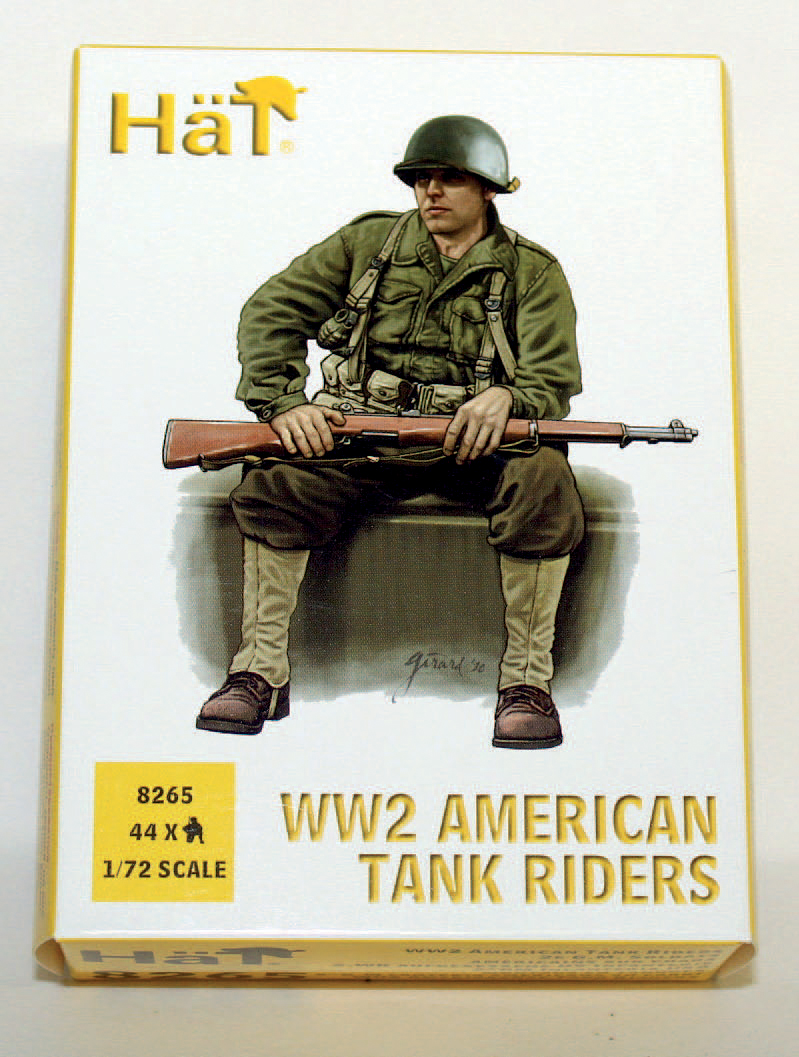
US Army figures by HaT Toys.
| 8 | Working with Soft Plastic Soldiers and Basing Figures |
SO FAR THIS BOOK has covered metal and hard polystyrene (PS) figures, which are currently the two most common materials from which wargames figures are made. Metal is fairly straightforward to work with and because it does not require the large industrial machinery needed to produce hard polystyrene figures, it is often the preferred material for smaller companies, especially wargaming manufacturers. Hard polystyrene is used in the production of kits, such as those manufactured by Airfix. It is fairly easy to work with and gives greater scope for conversion work when desired. PS figures are also light, which makes the task of transporting them much easier than their metal counterparts.
Soft plastic soldiers are made from a type of polyethylene (PE) or polypropylene (PP) and are mass produced. They are softer and bend easily, which is a feature of the material from which they are made. There are pros and cons to wargaming with these figures. They are inexpensive compared to even their hard polystyrene cousins (working out at about one-fifth of the price) and as such are perfect for the newcomer to the hobby who has limited means. They are also easily converted and the poses can be altered slightly, which makes them more versatile than metal figures. However, one of the drawbacks is that the PE or PP does not take paint very well, in fact, paint can and will peel off unless you are first prepared to undertake a fair amount of work. Nonetheless these figures, which have been around since the 1970s, are readily available in most model and toy shops and are still a large part of the hobby today.
I started WWII wargaming with a set of Esci plastic American infantry in 1984, and I still have them, although they no longer get used. They are still in very good condition and the paint is fully intact after all these years, because even then I prepared them properly.
The variety of ranges available is now vast, with even more choice than when I started. There are sets for nearly every nation that fought during WWII so the wargamer is faced with an almost endless variety and choice. These are available from companies such as Airfix, Italeri, Caesar and Orion. Some have now switched to a less pliable plastic that aids with the adhesion of paint, but good preparation is still required so that long-lasting results are achieved.
When you purchase a box of figures, you will see that they are attached to runners. It is best to leave these on as they help in the first stages of preparation. For this example I have chosen a set of American tank riders made by HaT, one of the many companies that now produce figures in plastic.
One other reason for keeping the figures on their frame is that it will make the process of painting them much easier. As they are tank riders they do not have a base, so painting them while still on the frame makes sense. This way the frame can be held and not the figure, making for a better finish.

US Army figures by HaT Toys.
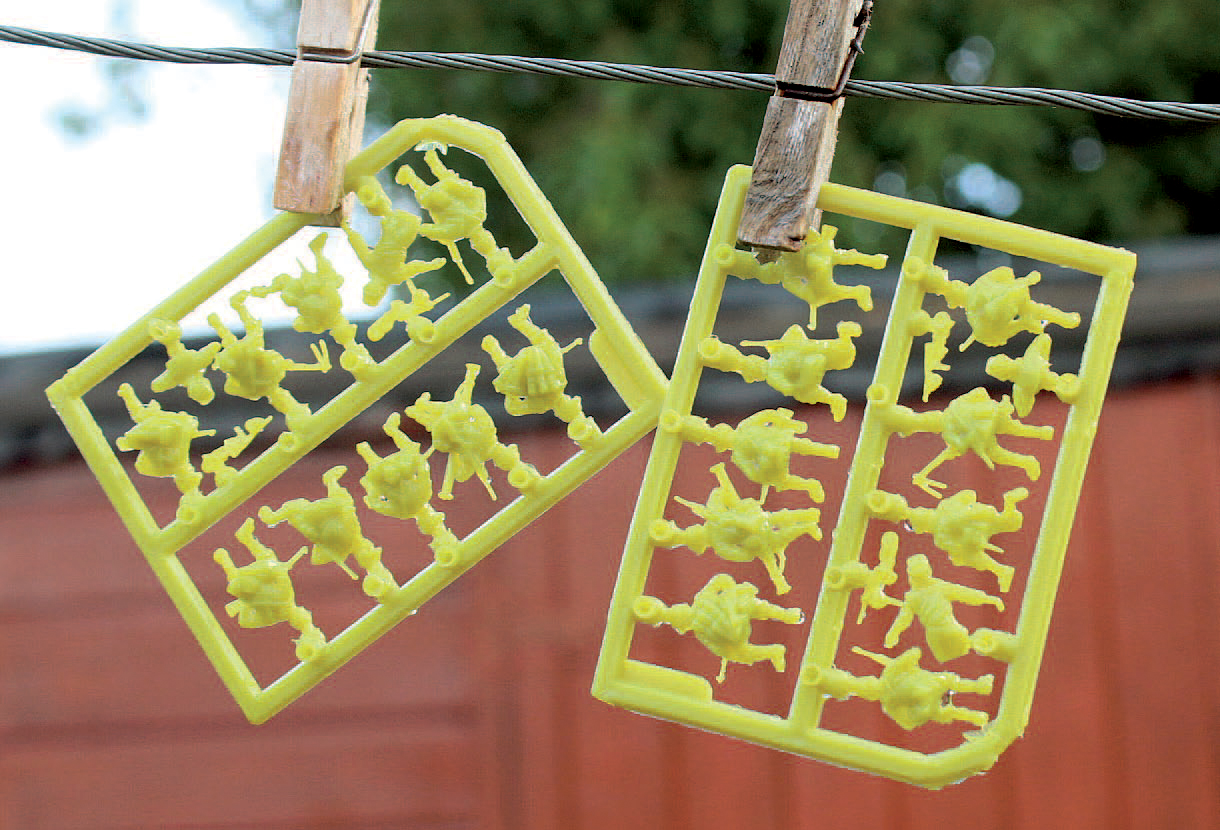
After washing allow the figures to dry.
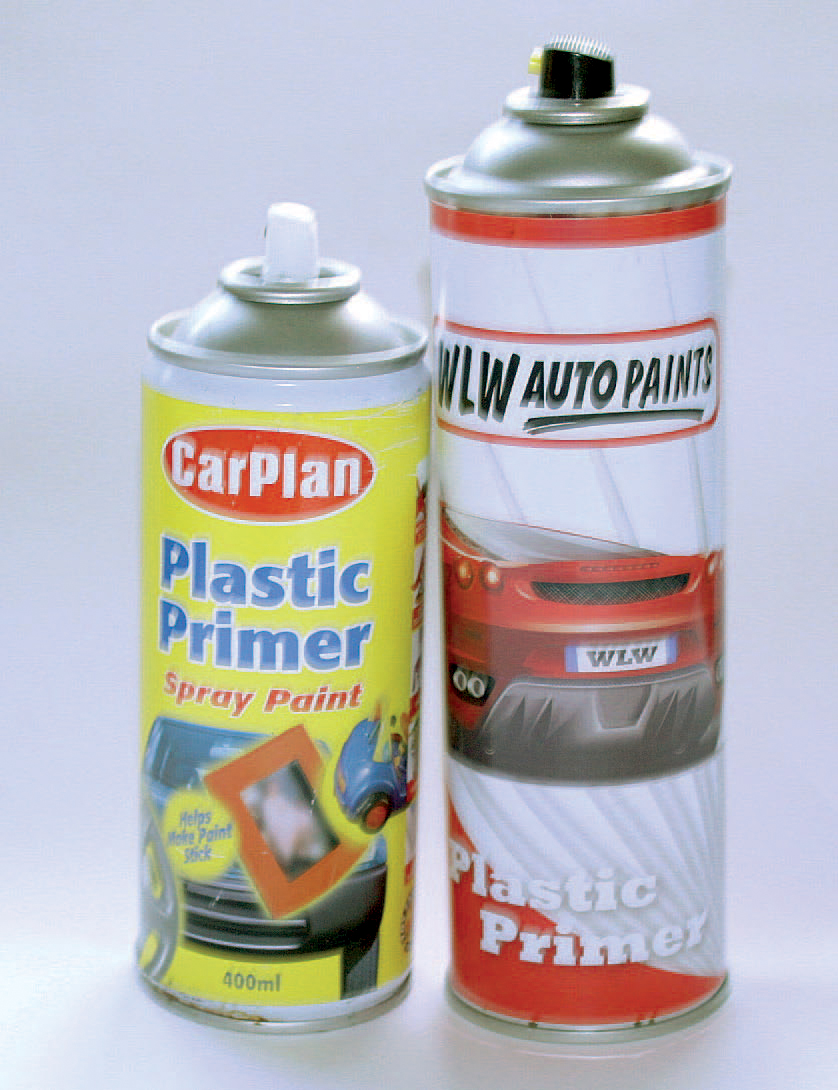
Several brands of plastic primer are available.
Step 1. Using washing up liquid added to warm, not hot, water, wash the figures and then allow to dry.
Step 2. Painting these plastic figures is really not that different from painting any other wargame figure made from either metal or hard plastic, but a little more preparation is needed to achieve good results. When painting these figures, preparation is the key. Proper preparation now will pay dividends later when painting.
Several techniques can be used to prevent the paint from coming off, but the most reliable is using a light coat of plastic primer. This is available from car accessory retailers and it comes as either a clear lacquer or as a grey paint, both of which will work perfectly well. Once the primer is dry, apply a second light coat and leave this to dry for a couple of hours. If clear lacquer has been used and a neutral base is preferred, a coat of standard primer can be applied once the lacquer is dry.
Step 3. Now paint the figure as normal, and the hard work put in will stay where it should and not peel. These models are going to depict GIs taking part in the Normandy breakout at the end of July 1944. Details of the colours to use and the procedure for painting infantry for this campaign will be found in Chapter 5. Once painted, apply a coat of gloss varnish.
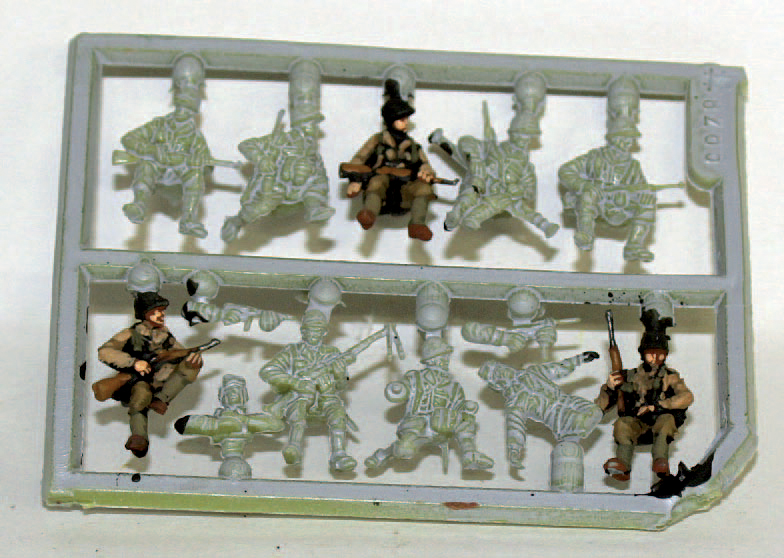
This picture shows the figures we are painting still attached to the mounting frame, which helps when painting plastic vehicle crew figures. When painted, carefully remove the required figures with a sharp knife.
When this is dry apply two coats of matt varnish. After allowing time to dry, remove the chosen figures from the frame using a scalpel fitted with a new blade. Any unpainted areas that were attached to the frame can then be touched in with the appropriate colour.
Preparing a plastic figure in this way is not as difficult as it first appears. The results can be very pleasing as well as long lasting.
A few tricks can be used when it comes to changing poses. Very hot, not boiling, water has been used for decades by both modellers and wargamers to help get the desired pose. Although this method has its limitations, it can also be used to cure any weapons that have been ‘bent’. The trick when using this method is to dip the re-posed figure into cold water straightaway, as this then fixes the new pose.
The subject of basing figures and models has been mentioned during the course of the previous chapters, but what is a base, and what is its purpose? A base has many functions, the main one being to provide stability to a figure. Wargames figures come with a small cast-on base and need something larger to enable them to stand freely without falling over at the slightest tremor. Bases can also provide protection to both figures and models. This is especially true for vehicles with wheels, which can be very vulnerable to damage during use. A well-presented base will enhance the look of a figure or model and help bring it to life. Basing is a simple and effective way of finishing a figure or model.
It is recommended that all wheeled vehicles should be based, but tanks or half-tracks can be based according to preference. If a tank or half-track features as part of a diorama or towing something such as a gun, it would need to be based, as a base will provide both durability and support. The requirements for basing any figure or model are dried builder’s sand, which is a cheap material available from any builder’s merchant or DIY shop, and PVA glue. The acrylic paint used to paint bases can be bought from art suppliers. The rough texture of the sand will ruin more expensive brushes, so using a less expensive alternative is best.
The M2 Half-track (see Chapter 4) has been chosen as an example of how to base a model, but this time it will be towing a 57mm anti-tank gun.
Step 1. Cut out the base from 40 thou plasticard and then glue the half-track in position, followed by the gun. Add some reinforcing strips of the same plasticard to strengthen the area under the gun. An alternative way would be to use a thicker base, but experience has shown that this type of plastic is fine for basing models like this.
Step 2. Next paint the base in an appropriate colour. In this example light brown has been chosen to represent a dry country. Leave to dry.
Step 3. When the paint is completely dry, take a dark sand colour that is lighter than the base colour and lightly brush this over the original paint, while still leaving some of this to show through. Add a little white paint to the sand colour and highlight the base by brushing this over it very lightly. This should give a pleasant 3D effect.
Step 4. Applying the same pigments that were used to weather the model, in this case starting with MIG P038 ‘Africa Earth’ and then P030 ‘Beach Sand’, blend both pigments in as this M2 Half-track is shown in the Sicilian summer and needs to look dusty. There should also be some grass, so a few tufts of greenery and dried scrub will look the part.
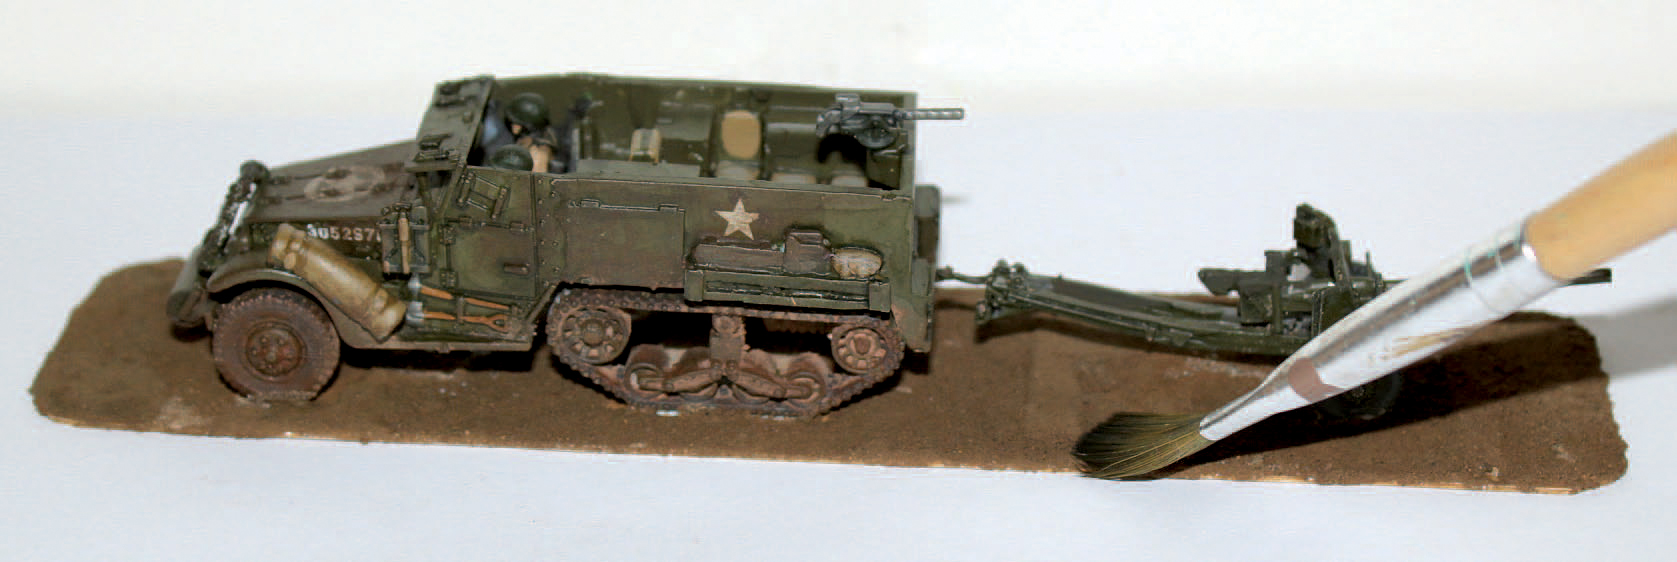
Paint the base and then leave it to dry thoroughly, preferably overnight.
Brushing over the first colour will provide the base colours for the pigments. This needs to be done in a subtle way so the effect is gradual.
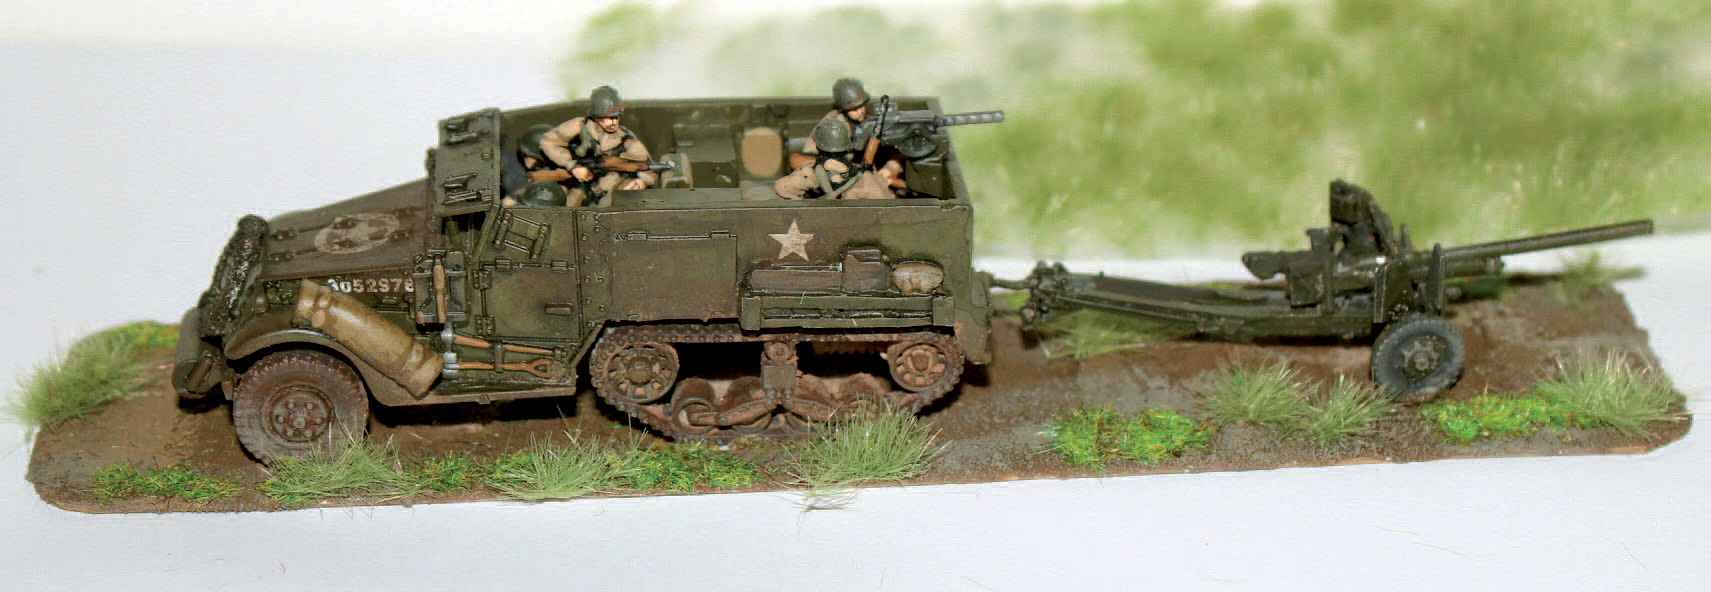
When using weathering pigments, always start from dark to light, and work them in well with a rough brush that will remove excess pigments effectively without damaging the paintwork of the model.
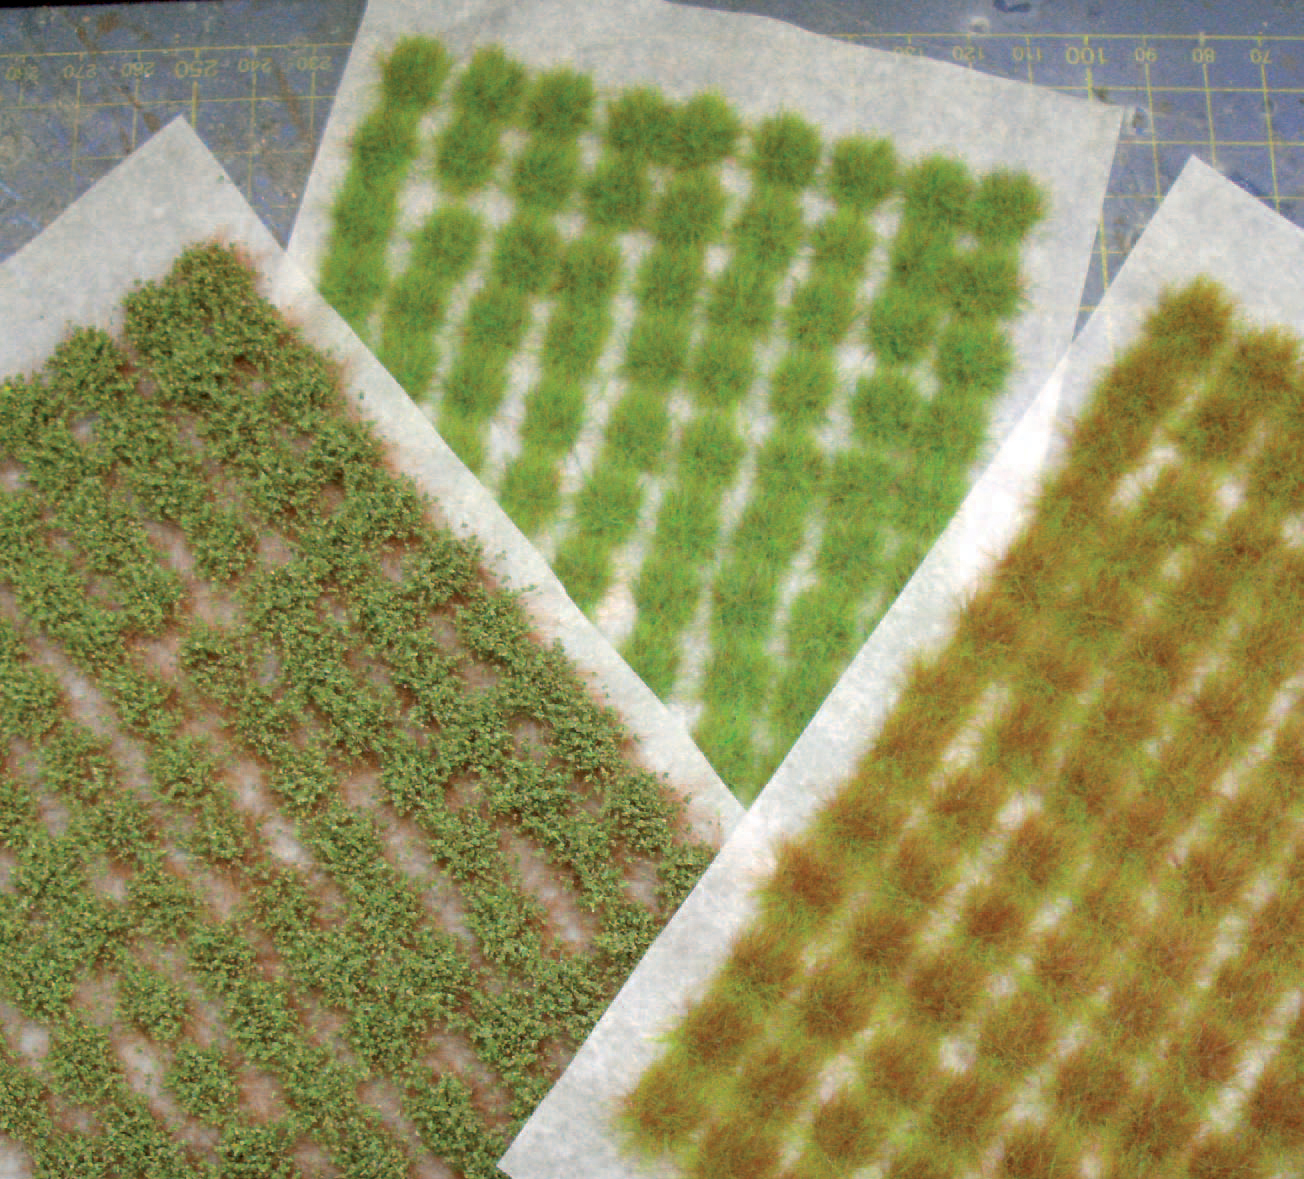
Tufts come in many colours as well as height. They are really useful when working on bases of any size.
READY-MADE BASES
Commercially available, ready-made bases come in several shapes and sizes, as well as in materials such as plastic and MDF. They can be used to mount figures as well as guns and vehicles.
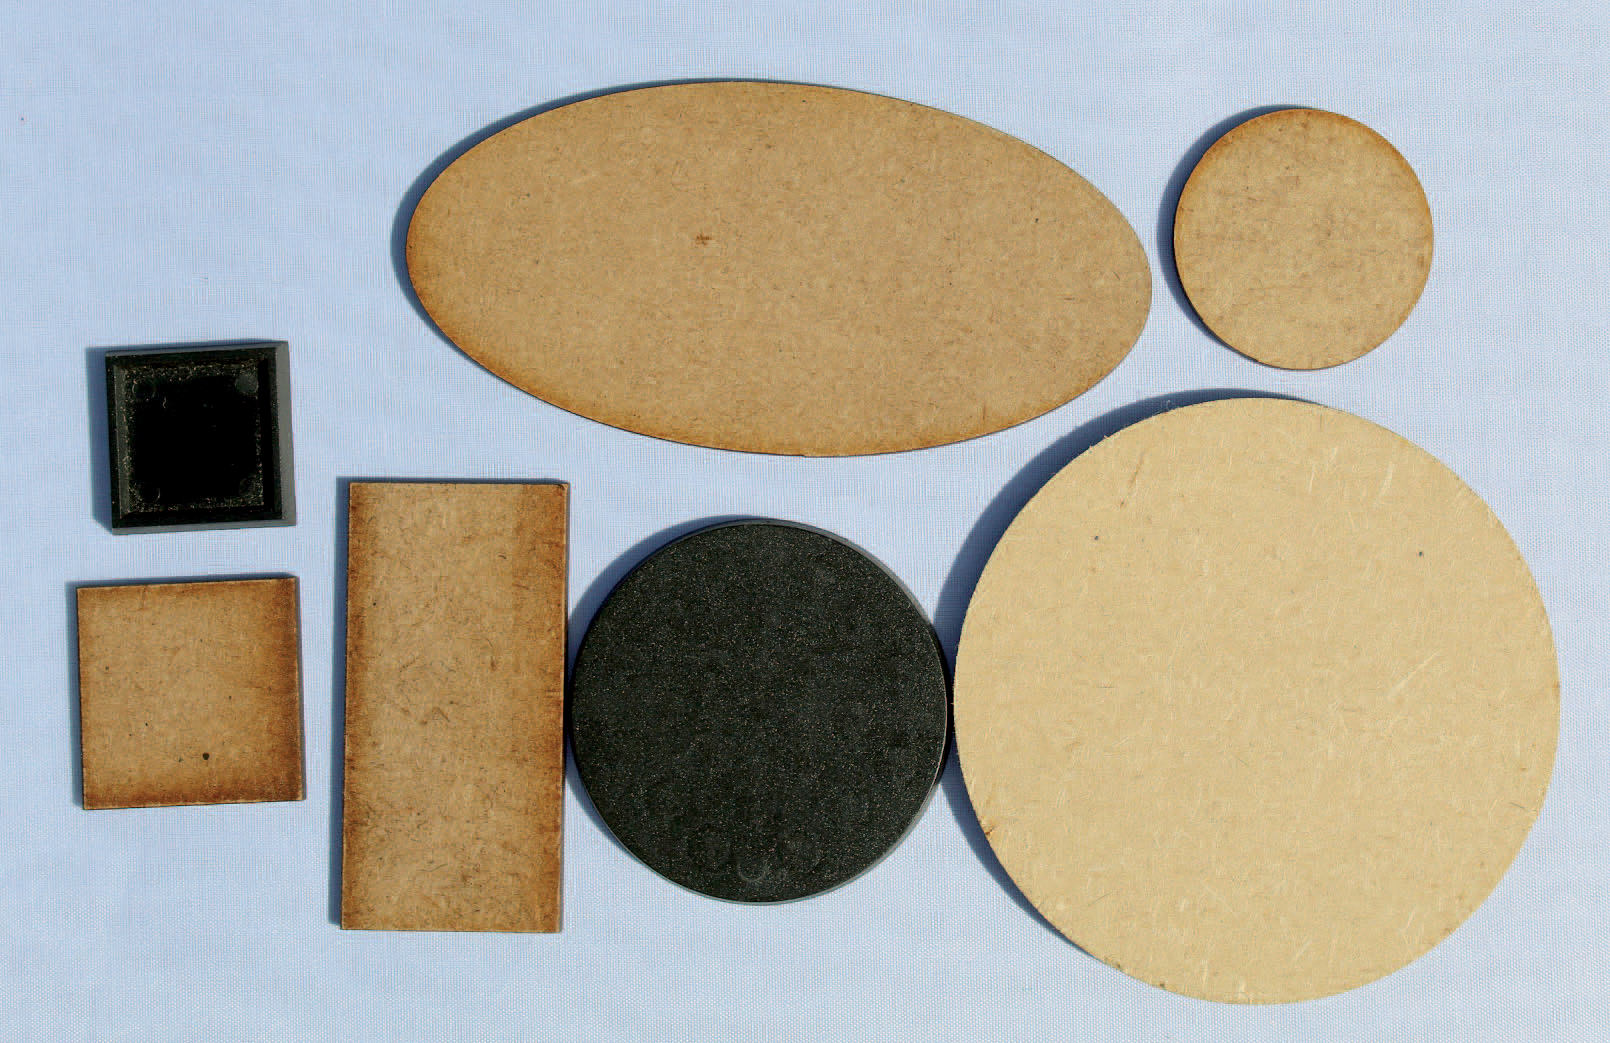
A selection of commercially available bases.
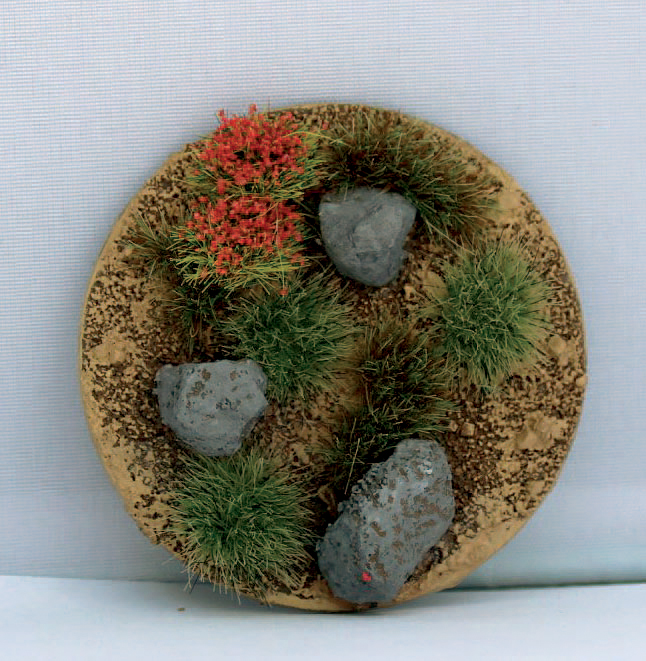
A completed base.