stems
and
stalks
—
Interesting flavours and exceptional textures lurk in plants grown for their edible stalks and stems. Kohl rabi and fennel earn their place here, as their bulb-like swellings are, botanically speaking, swollen stems.

Celery
Apium graveolens
The celeries are biennial, marsh plants in origin, grown mainly for the distinct flavour and crisp texture of their stems. The stems of some types, mainly the classic ‘trench celery’ are blanched to make them paler, crisper and sweeter. The strong-flavoured leaves are used for seasoning and garnishing, both fresh and dried. The seeds are also used in flavouring. There are several closely related kinds, of varying hardiness.
–––––
General cultivation
The celeries are all cool-season crops, requiring fertile, moisture-retentive soil that is rich in organic matter, and preferably neutral or slightly alkaline. Very acid soils are unsuitable. All types need generous watering and mulching to conserve moisture, and generally benefit from supplementary feeding.
Celery seed germinates at 10–15°C/50–59°F. The seed is small, so it is normally sown in seed trays or modules, in a heated propagator if necessary. It requires light to germinate, so sow on the surface or just covered lightly with sand or fine vermiculite. Keep the surface damp until germination. Prick out seedlings as soon as they are large enough to handle. Plant them at the five-to-six-leaf stage after hardening them off well. Seedlings may bolt prematurely if, after germinating, they are subjected to temperatures below 10°F/50°C for more than about twelve hours, so try and keep them at an even temperature. If cold threatens while they are hardening off, give them extra protection.
–––––
Pests and diseases
Slugs Can be very damaging to young plants and mature stems. For protective measures and control see here.
Celery fly/leaf miner Tiny maggots tunnel into leaves, causing brown, dried patches. Discard any blistered seedlings, remove mined leaves on mature plants by hand and burn infested foliage. Growing under fine nets helps prevent attacks.
Celery leaf spot Pinprick brown spots appear on leaves and stems. There are no organic remedies, but rotation, growing plants healthily and removing old plant debris all help prevent the disease.
–––––
Leaf celery (cutting celery, soup celery) Apium graveolens
This is the hardiest and least demanding type of celery, closely related to wild celery. It can survive -12°C/10°F, so can be a source of glossy green leaves all year round. It is a branching, bushy plant, 30–45cm/12–18in high, but in northern Europe it is also grown as fine-stemmed cut-and-come-again seedlings for use in salads and soup. It is naturally vigorous and responds to cut-and-come-again treatment at every stage. Varieties such as ‘Fine Dutch’ were developed for this purpose, but are no longer easily obtained. ‘Parcel’ is a distinct variety introduced to the West from Eastern Germany. It has crisp, shiny, deeply curled leaves with a strong celery flavour – a most decorative edging plant for a winter potager. ‘Red Soup’ is a variety with reddish stems.
Cultivation For single plants, sow as described above throughout the growing season, indoors, or, when soil conditions are suitable, in situ outdoors. Space plants 23–30cm/9–12in apart. You can space them closer initially, then remove alternate plants and leave the remainder to grow larger. Make the first cuts within about four weeks of planting. Pot up a few plants in late summer and bring them under cover for winter. Leaf celery often perpetuates itself if one or two plants are left to seed in spring: seedlings pop up everywhere!
For cut-and-come-again seedlings, make successive sowings outdoors. You can make earlier and later sowings under cover. Cut seedlings as required when 10–12cm/4–5in high. You can obtain nice fine-stemmed clumps by multi-sowing up to eight seeds per module and planting the clumps 20cm/8in apart.
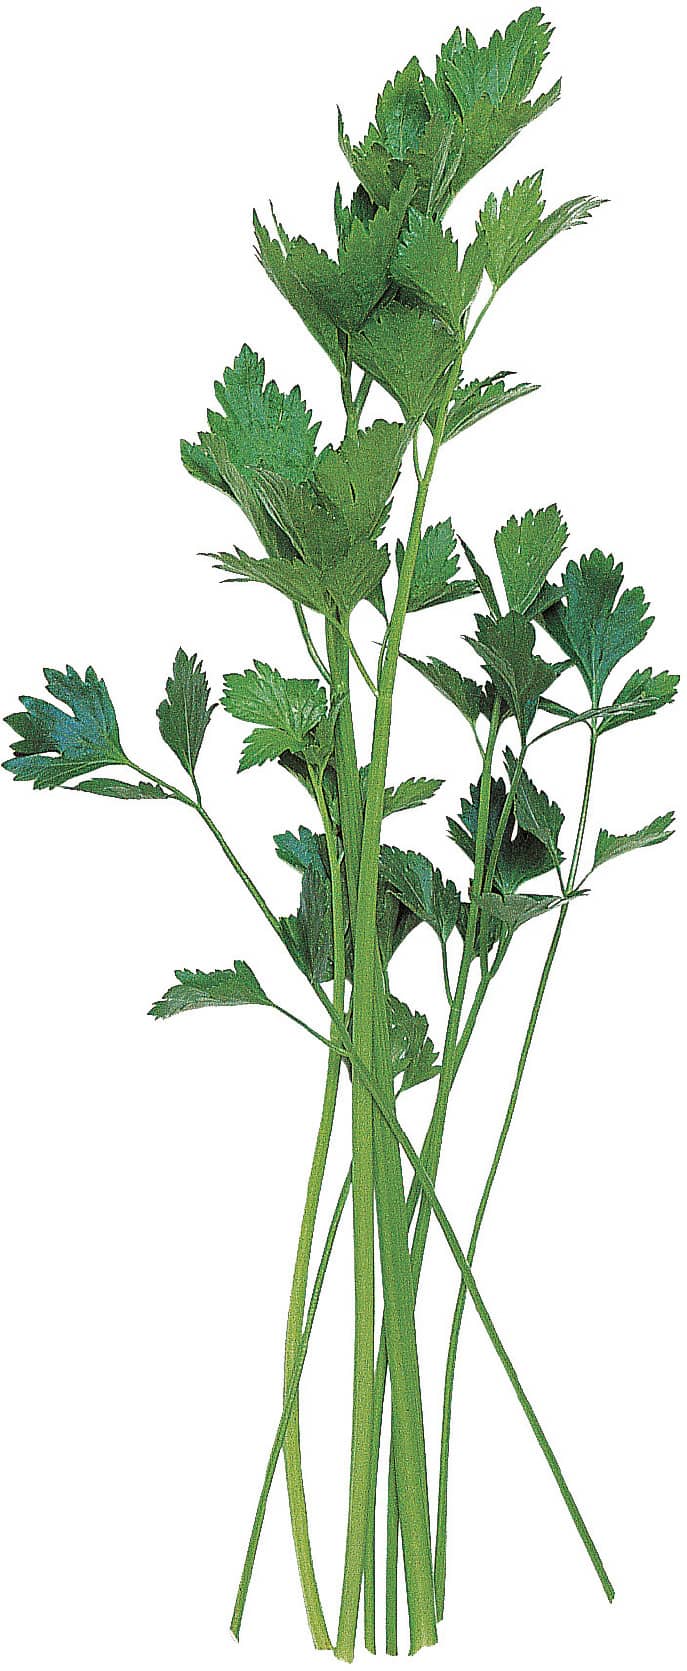
Standard leaf celery
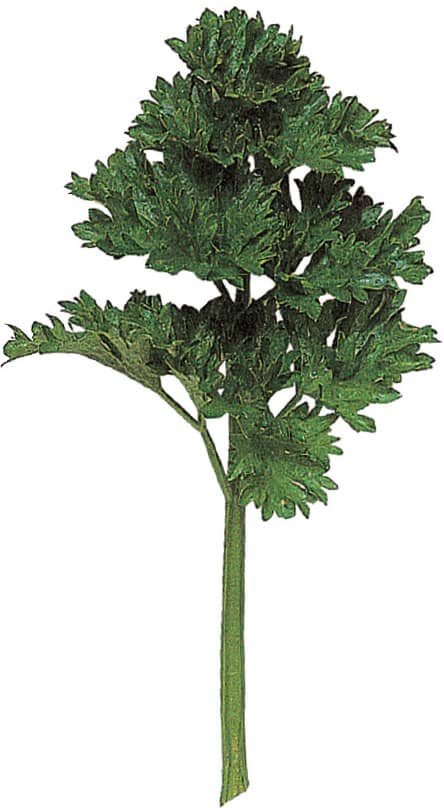
Leaf celery ‘Parcel’
–––––
Self-blanching celery Apium graveolens var. dulce
These long-stemmed plants, about 45cm/18in high, are the most widely grown type of celery today. The standard type, once called ‘Gold’, have cream to yellow stems; planting them close will enhance their paleness and make them whiter, crisper and possibly sweeter. The ‘American’ and ‘Green’ varieties have green stems, are considered naturally better flavoured and do not need supplementary blanching.
Now these are joined by a new, and increasingly popular group, the ‘Apple Green’ varieties. They are midway between the traditional green trench celery and the original self blanching types, and are considered better flavoured.
There are also beautiful varieties with a pink flush to the stem. Purists consider self-blanching celery less flavoured than traditional ‘trench’ celery but it is far easier to grow. It is not frost hardy, so is used mainly as a summer crop.
Cultivation Sow as described here in spring in gentle heat in a propagator. Plant at even spacing in a block formation, to get the blanching effect. Do not plant too deeply. Space plants 15–27cm/6–11in apart: the wider apart they are, the heavier the plants and the thicker the stems will be. If you plant them close, you can cut intermediate plants when they are small, allowing the remainder to grow larger. For a late crop under cover, sow in late spring and plant under cover in late summer. This will crop until frost affects it.
Take precautions against slugs in the early stages (see here). Keep plants well watered to prevent premature bolting and ‘stringiness’. Feed weekly with a liquid feed from early summer onwards. If you are growing standard varieties, tuck straw between the plants in mid-summer to increase the blanching effect.
Start cutting before the outer stems become pithy. You can dig up plants by the roots before the first frost and store them for several weeks in cellars or cool sheds. Traditionally plants were transplanted into frames and covered with dried leaves or straw.
Varieties Standard: ‘Celebrity’, ‘Lathom Self-Blanching’, ‘Galaxy’, ‘Loretta’
‘Apple green’ type: ‘Octavius’ F1, ‘Tango’ F1, ‘Victoria’ F1
Dark green: ‘Monterey’, ‘Green Sleeves’
Pink: ‘Pink Blush’

Green self-blanching celery
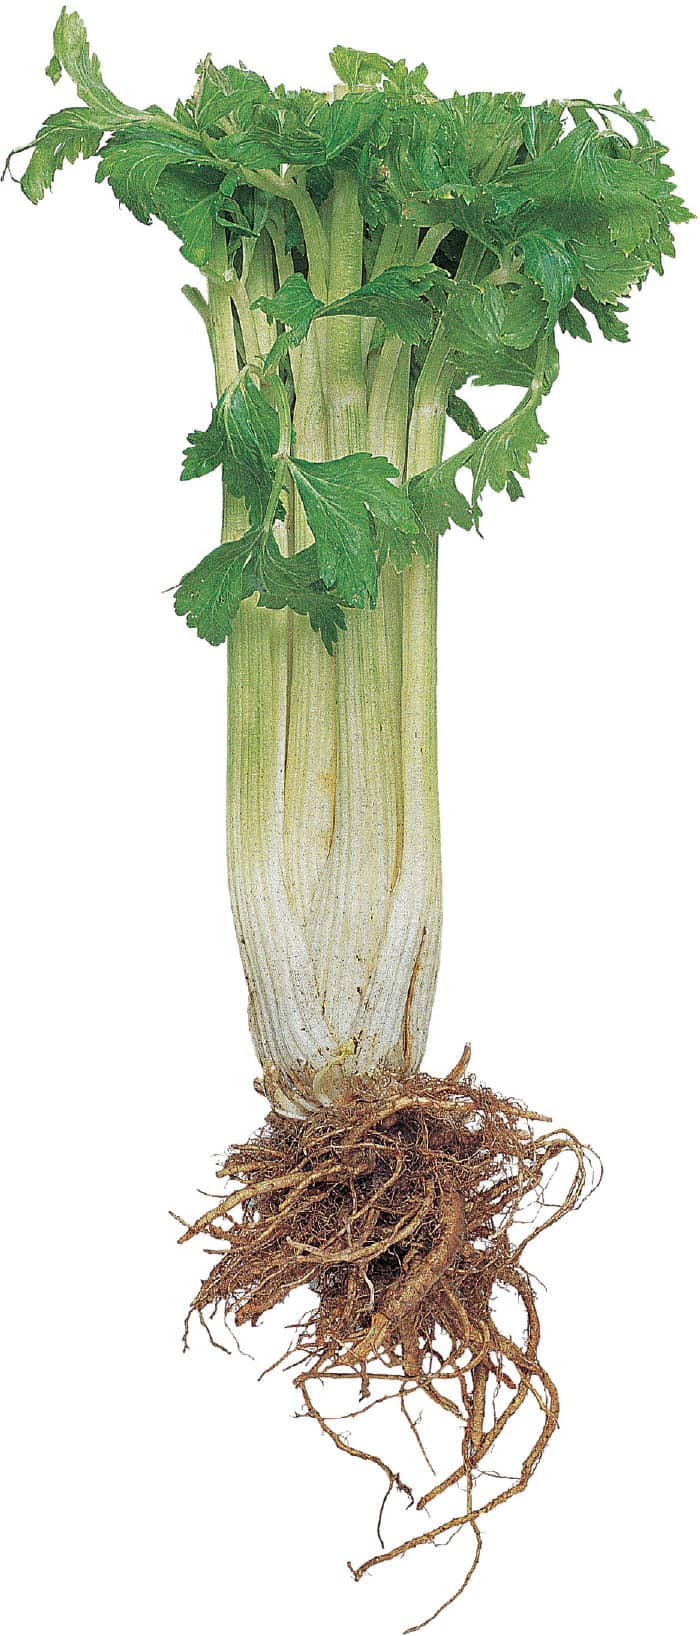
Golden self-blanching celery
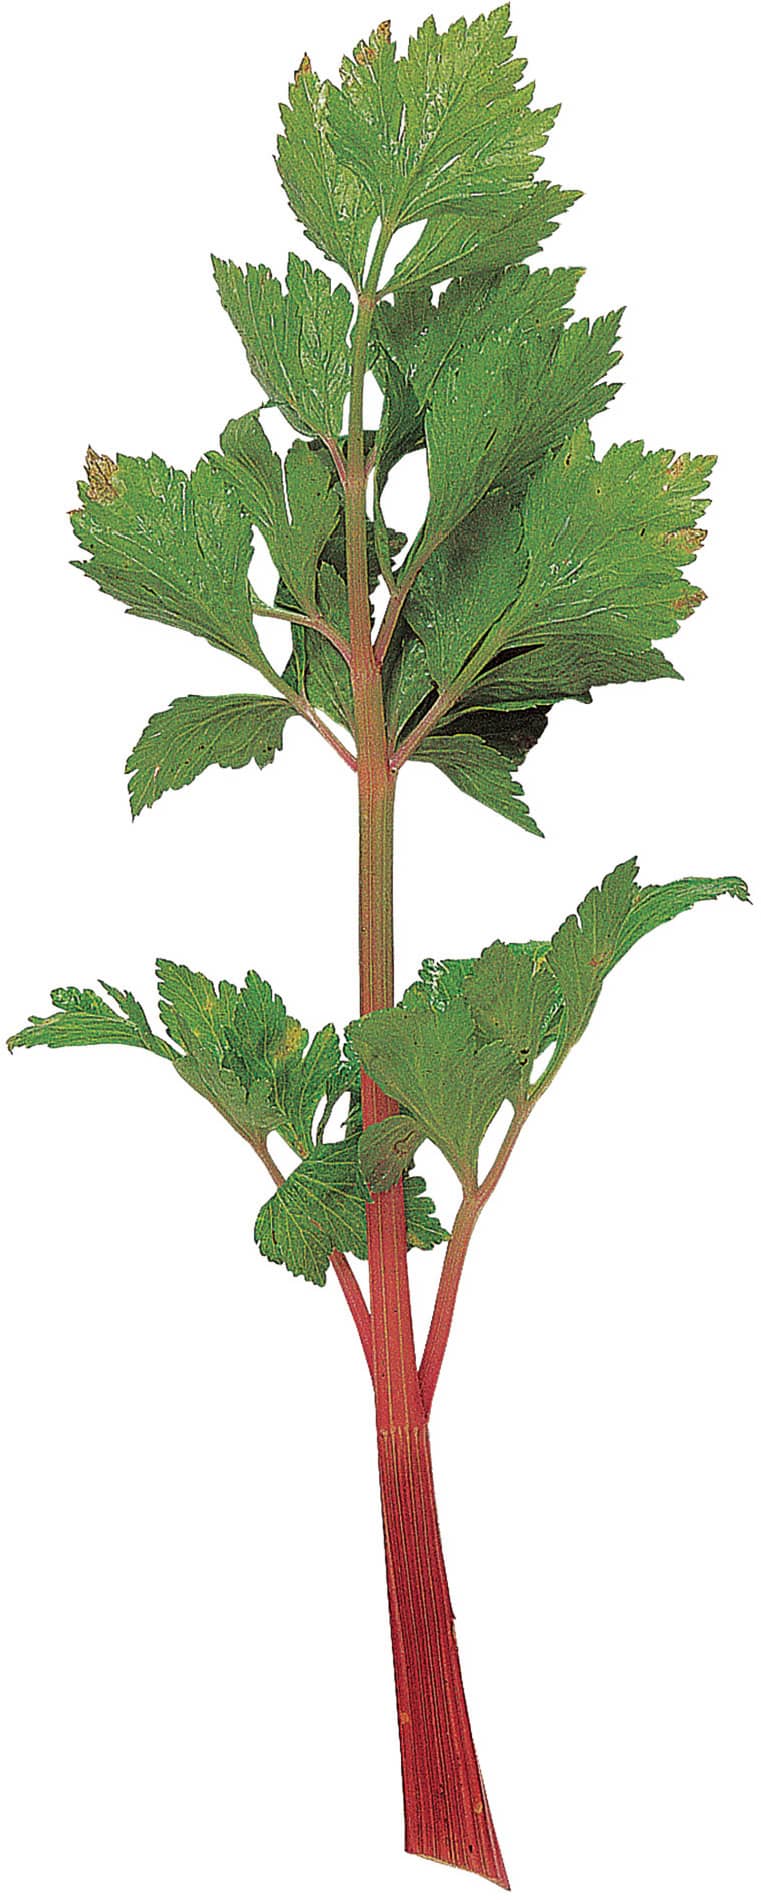
Self-blanching celery ‘Pink Blush’
–––––
Trench celery Apium graveolens var. dulce
This is the classic English celery. The long white or pink stems are crisp, superbly flavoured and handsome, but have to be blanched to attain their full flavour and texture – a labour-intensive procedure. Trench celery is mainly grown today for exhibition purposes.
Cultivation In essence, raise plants as described here and plant in a single row, spaced 30–45cm/12–18in apart. You can use various blanching methods, depending on whether planted on the flat or in trenches.
On heavy soils, plant at ground level. Blanch in stages by wrapping purpose-made collars, heavy lightproof paper, or black fillm around the stems. Wrap them fairly loosely to allow for expansion, leaving one-third of the stem exposed each time.
In light soils, plant in trenches at least 38cm/15in wide and 30cm/12in deep. Tie plants loosely to keep them upright, and blanch in stages by filling in the trench initially, then spading soil up around the stems, each time up to the level of the lowest leaves, until only the tops are exposed.
Cut from early winter onwards. Trench celery will not stand much frost unless protected with straw or bracken. The red and pink varieties are slightly hardier and can be used later.
Varieties White: ‘Giant White’
Pink: ‘Mammoth Pink’/‘Giant Pink’, ‘Red Martine’, ‘Starburst’ F1 (pink tinge)
Celeriac
(turnip-rooted celery) Apium graveolens var. rapaceum
Celeriac is a bushy plant, grown for the knobbly ‘bulb’ that develops at ground level. It has a delicious, mild celery flavour, is an excellent winter vegetable, cooked or as soup, and is good in salads grated raw or cooked and cold. Its strongly flavoured leaves can be used sparingly in salads or for flavouring cooked dishes. It is less prone to disease and much hardier than stem celery.

Celeriac
–––––
Cultivation
Celeriac tolerates light shade, provided the soil is moist and fertile. The secret to growing large bulbs (essential, as much is lost in peeling) is a long, steady growing season. Raise plants as described here, sowing in gentle heat in mid-spring. Germination is often erratic: be patient! Celeriac needs to be hardened off before planting out, but don’t start moving seedlings outside until the weather is warm. Celeriac is notoriously prone to premature bolting later in its life cycle if subjected to sudden drops in temperature as young plants. If there’s a risk of this happening, it is better to harden them off indoors, using the ‘stroke’ method (see here).
Plant in late spring or early summer 30–38cm/12–15in apart, with the base of the stem at soil level – no deeper. Celeriac normally benefits from feeding, every two weeks or so, with a liquid feed.
Plants stand at least -10°C/14°F, but tuck a thick layer of straw or bracken around them in late autumn for extra protection and to make lifting easier in frost. They can be lifted and stored, but their flavour and texture are better if they remain in the ground though there is risk of slug damage. A few leaves may stay green all winter, which are useful for flavouring and garnish.
–––––
Varieties
‘Kojak’, ‘Monarch’, ‘Prinz’, ‘Rowena’ F1 – among many good varieties
Sea kale
Crambe maritima
This handsome hardy perennial, with its glaucous, blue grey leaves, is a native of the seashore. It has long been cultivated for its deliciously flavoured young leaf stalks. These are usually eaten raw after blanching, though some people find the natural young stems very palatable as they are.
–––––
Cultivation
Establish a sea kale bed in good, light, well-drained soil in a sunny position: lime acid soil to about pH7. They make excellent ground cover plants, if undisturbed often lasting at least seven years. Raise them by sowing fresh seed (seed loses its viability rapidly) in spring, in situ, in a seedbed or in modules for transplanting. Alternatively, buy young plants or rooted cuttings (‘thongs’) for planting in spring or autumn. Space plants 30–45cm/12–18in apart. They die right back in winter.
In its third season plants are strong enough to force into early growth. In late winter/early spring, cover the bare crowns with 71/2cm/3in of dry leaves and a traditional clay blanching pot, or any light-excluding pot or bucket at least 30cm/12in high (see here). The shoots may take three months to develop. Cut them when they are about 20cm/8in long, then leave the plants uncovered to grow normally. Give them an annual dressing of manure or seaweed feed. You can also lift plants and force indoors at 16–21°C/60–70°F. They will be ready within weeks, but the plants will be weakened and must be discarded afterwards.
Kohl rabi
Brassica oleracea Gongylodes Group
Kohl rabi is a beautiful but strange-looking vegetable, growing about 30cm/12in high. The edible part is the graceful bulb, 5–71/2cm/2–3in diameter, which develops in the stem, virtually suspended just clear of the ground. There are purple and green (‘white’) forms, the purple possibly sweeter but more inclined to be fibrous. Kohl rabi has a delicate turnip flavour. Normally cooked, it is also grated or sliced raw into salads; young leaves are also edible. It is fast-growing, withstands drought and heat well, and is less prone to pests and disease, clubroot included, than most brassicas. It is rich in protein, calcium and vitamin C. The old ‘Vienna’ varieties quickly became fibrous on maturity, but much-improved modern varieties stand well.
Kohl rabi grows best in light, sandy soil, with plenty of moisture, but tolerates heavier soil. It stands low temperatures, but grows fastest, and so is most tender, at 18–25°C/64–77°F, the optimum being 22°C/72°F. For salads, it should be grown fast, or grown as ‘mini kohl rabi’. Rotate it within the brassica group.
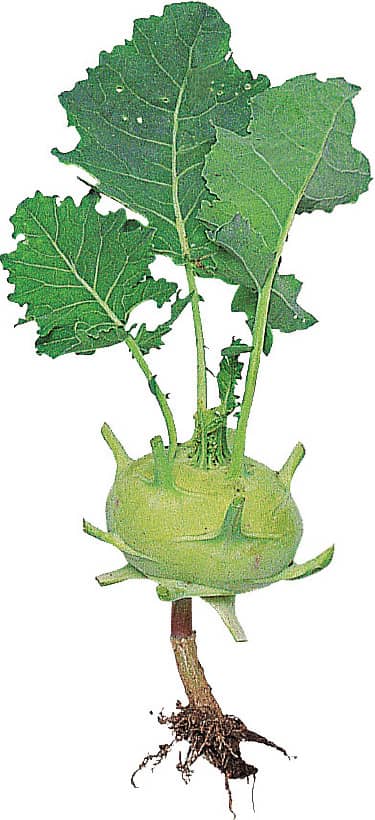
Green kohl rabi
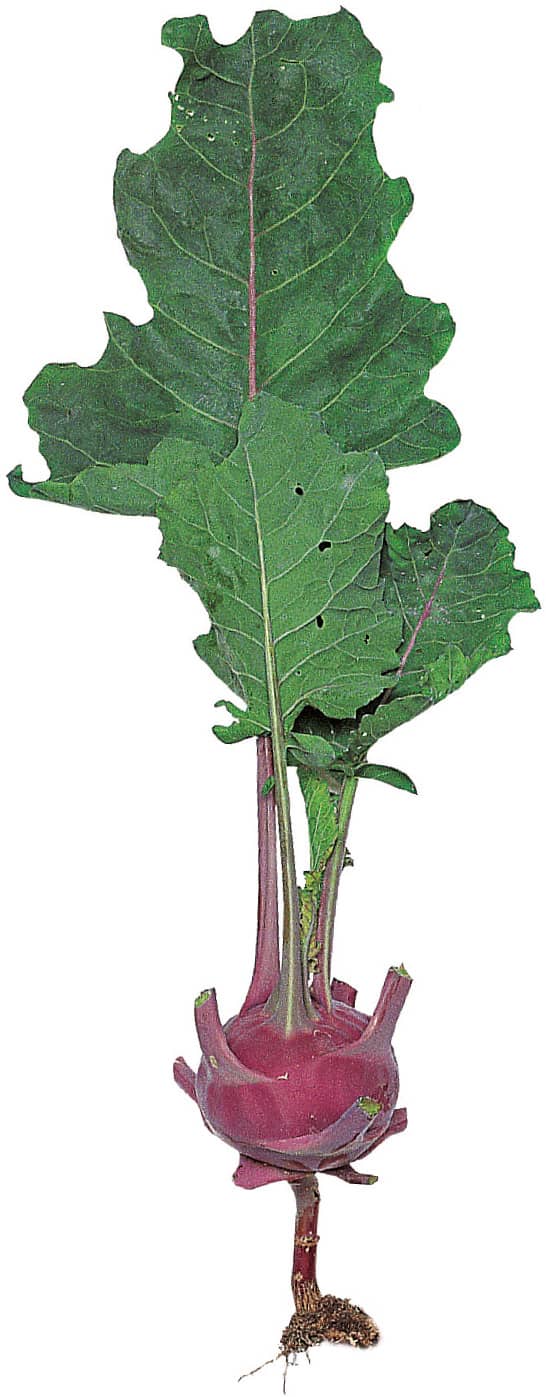
Purple kohl rabi
–––––
Cultivation
For the main crop, sow from spring to late summer in situ outdoors. Soil temperature should be at least 10°C/50°F, or early sowings may bolt prematurely. Thin in stages to 25–30cm/10–12in apart. Alternatively sow in modules and transplant. You can multi-sow with three or four seedlings per module, and plant as one.
For an earlier summer crop, sow in mid-winter/early spring in gentle heat; for an early winter crop under cover, sow indoors in late summer/early autumn. For mini kohl rabi, sow in situ from late spring to late summer in drills 15cm/6in apart and thin to 21/2cm/1in apart. Use recommended varieties. Harvest at ping-pong-ball size, normally within eight weeks of sowing. Take precautions against flea beetle in the early stages (see here).
–––––
Varieties
Purple ‘Azur Star’ F1, ‘Kolibri’ F1
Green ‘Korist’ F1, ‘Lanro’, ‘Quickstar’ F1, ‘Rapidstar’ F1
For mini kohl rabi ‘Korist’ F1, ‘Kolibri’
Florence fennel
(sweet fennel, finocchio) Foeniculum vulgare var. dulce
Florence fennel is a beautiful annual with feathery, shimmering green foliage, growing about 45cm/18in high. It is cultivated for its swollen leaf bases, which overlap to form a crisp-textured, aniseed-flavoured ‘bulb’ just above ground level.
Fennel does best in fertile, light, sandy soil, well drained and rich in organic matter, but will grow in heavier soil. A Mediterranean marsh plant, it needs plenty of moisture throughout growth and a warm climate. Sudden drops in temperature or dry spells can trigger premature bolting without it forming a decent bulb. This tendency is exacerbated by transplanting and early sowing. Some new varieties have improved bolting resistance, but are not infallible.
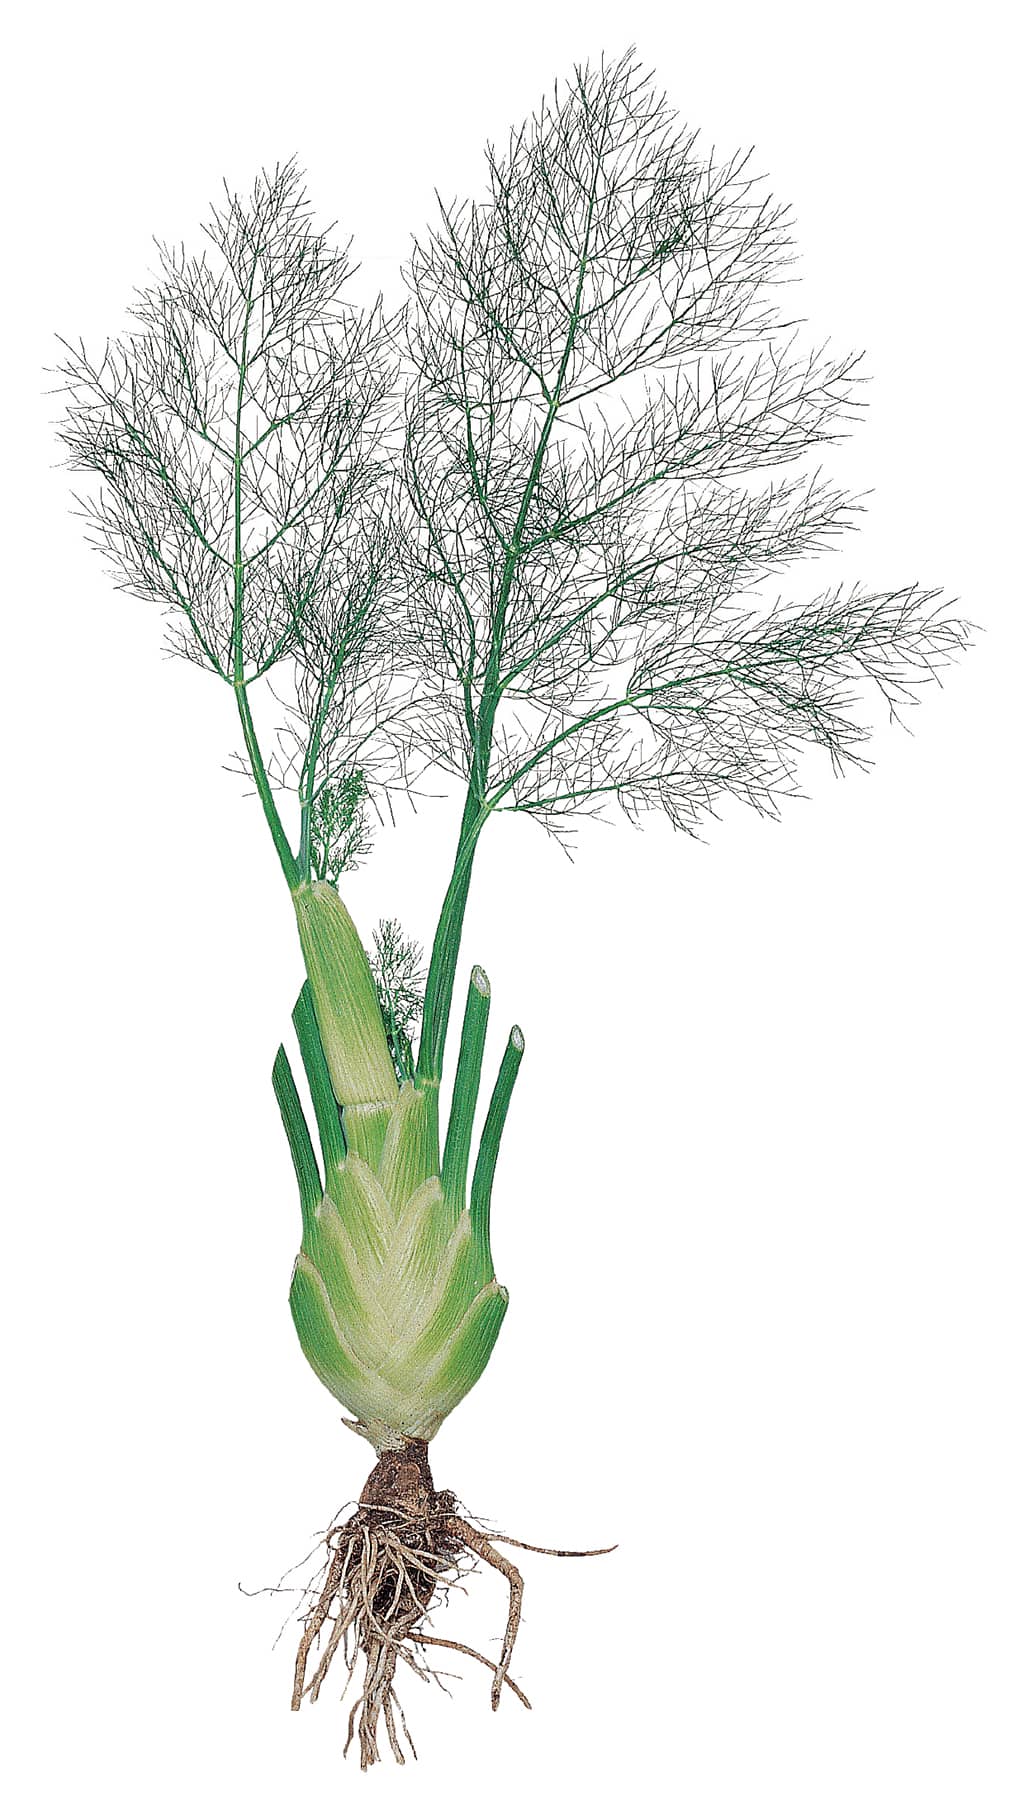
Florence fennel
–––––
Cultivation
Fennel should be grown fast. To minimize the risk of bolting, preferably sow in modules and delay sowing until mid-summer, unless you are using bolt-resistant varieties. Otherwise sow in seed trays, prick out the seedlings when they are very small, and transplant them at the four-to-five-leaf stage. Space plants 30–35cm/12–14in apart. For an early summer outdoor crop, sow in mid- to late spring using bolt-resistant varieties, at a soil temperature of at least 10°C/50°F. For a main summer crop, sow in early summer. For an autumn crop that can also be planted under cover, sow in late summer or even early autumn.
Watch for slugs in the early stages (for control, see here); keep plants watered and mulched. Occasional feeding with a seaweed-based fertilizer is beneficial.
In good growing conditions, fennel is ready eight to twelve weeks after sowing. When it reaches a usable size, cut bulbs just above ground level. Useful secondary shoots develop which are tasty and decorative in salads. Mature plants tolerate light frost, but plants that have previously been cut back survive lower temperatures. Late plantings under cover may not develop large succulent bulbs, but the leaf bases can be sliced finely into salad, and the tender ‘fern’ often lasts well into winter.
Annual fennel is also being used to grow fine stemmed seedling leaves for garnish or what chefs are calling ‘pencil fennel’, a fairly accurate description of their size. These are used in salads. CN seeds told me that by sowing on the surface in small modules (2–21/2cm/3/4–1in), seeds are sown evenly and there is no need to thin out which disrupts the delicate roots. The module trays are then put on the soil, so the roots grow out into the soil, making it easier to water them without a check, which may cause bolting. They reach the pencil size in five to six weeks.
–––––
Varieties
Standard ‘Perfection’, ‘Sirio’
Bolt resistant ‘Zefa Fino’
For baby leaf ‘Di Firenze’/ ‘Sweet Florence’
For herb fennel Foeniculum vulgare, see here