Every project in this book has basic sewing steps. During the sewing process, it’s also important to “make it yours” by sewing on notions and trims. You might get some ideas from the pictures in this book, or you might dream up something completely new.
Craft stores are filled with all kinds of notions such as buttons, beads, googly eyes, ribbons, trims, pompoms, patches, and other fun stuff that you can add to your project. Most notions can be easily sewn on, but some can also be glued. Be sure to use craft glue made for fabric (see the Resource Guide for more information).
Here are some ways you can turn an ordinary sewing project into something that’s one of a kind.
 Use iron-on patches made for mending to create a special design. Cut shapes out of the patches with scissors. Then ask a grown-up to help with the ironing.
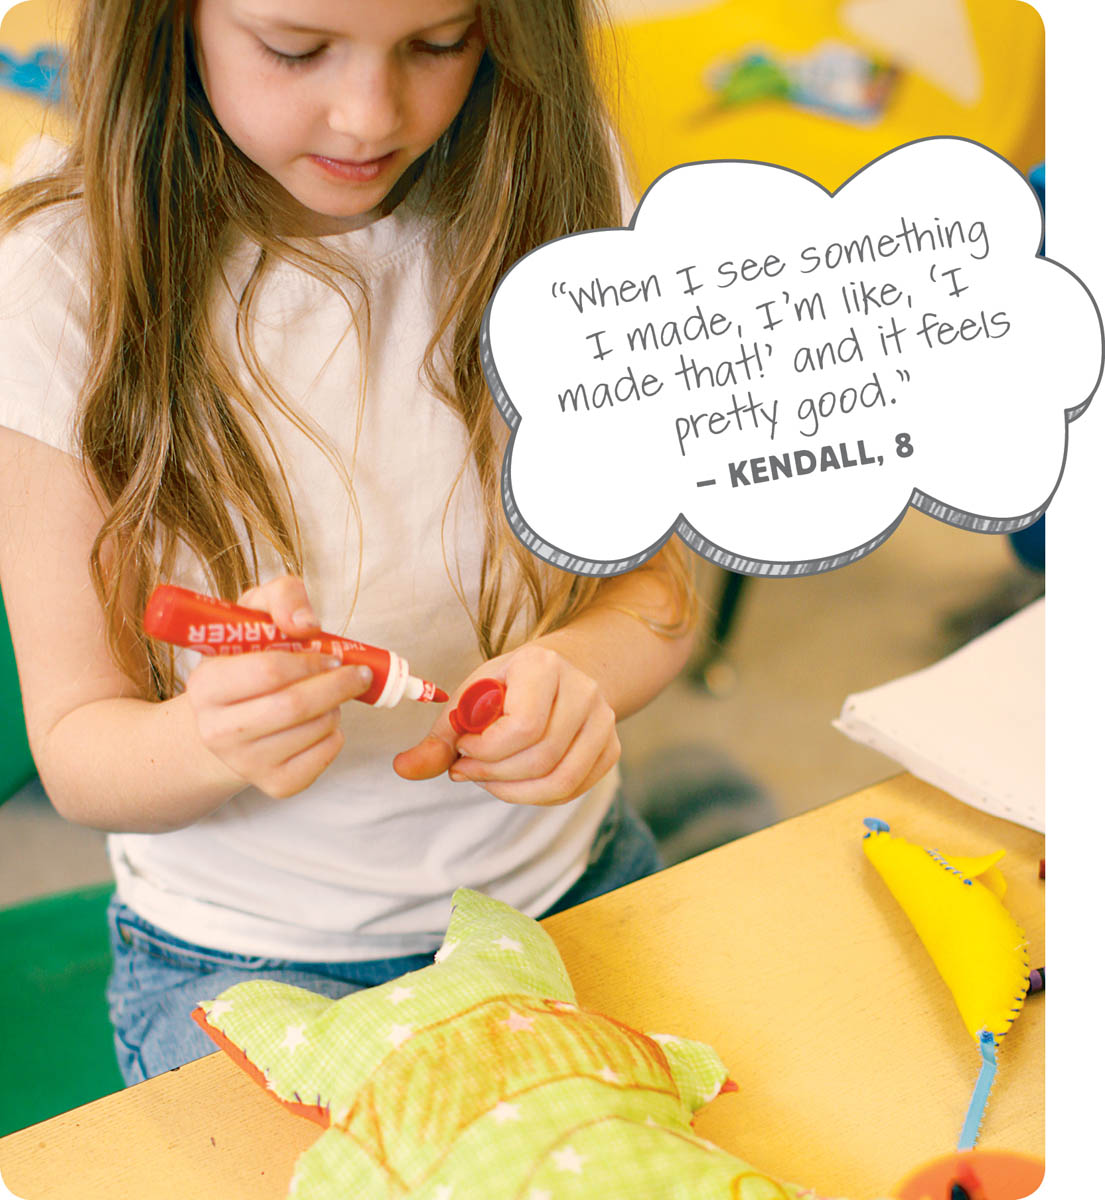
Personalize your project with press-on letters, fabric markers, or crayons. Show off with your name, or draw a portrait directly on the fabric. If you’re using crayons, you’ll need to set your image into the fabric afterward. Ask an adult to help you with this! You’ll need to turn the iron to a high setting and then carefully place your work on the ironing board. Make sure the fabric is smooth. Cover it with a blank sheet of paper. Iron the paper for a few seconds, until the heat of the iron melts the crayon wax into the fabric. Let the fabric cool before you use it!
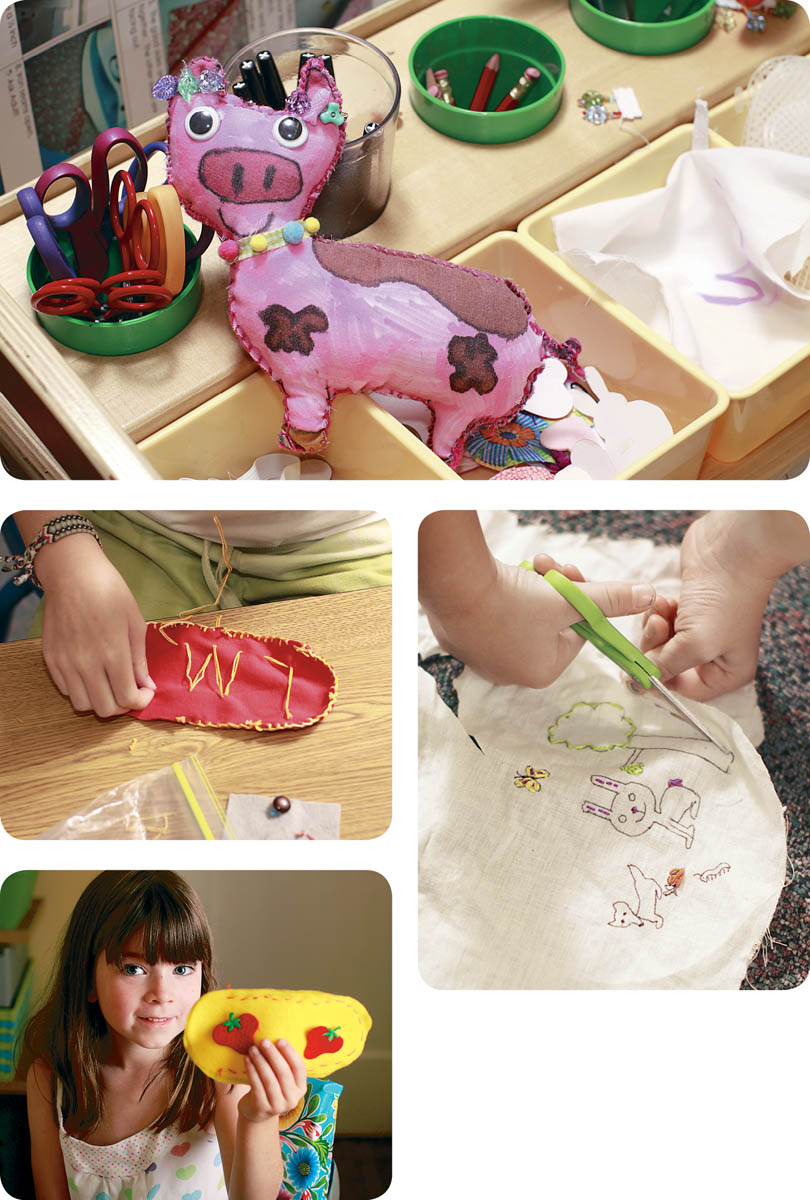
Use buttons, ribbons, rickrack, fabric scraps, and other notions to make a face and a tail for projects like Your Little Friend or Quiet Mouse. Give some personality to your project! Make it smile or frown. Follow the instructions for How to Sew a Flat Button to add big buttons for eyes. Afterward, you’ll need to add stuffing to fully bring your project to life.
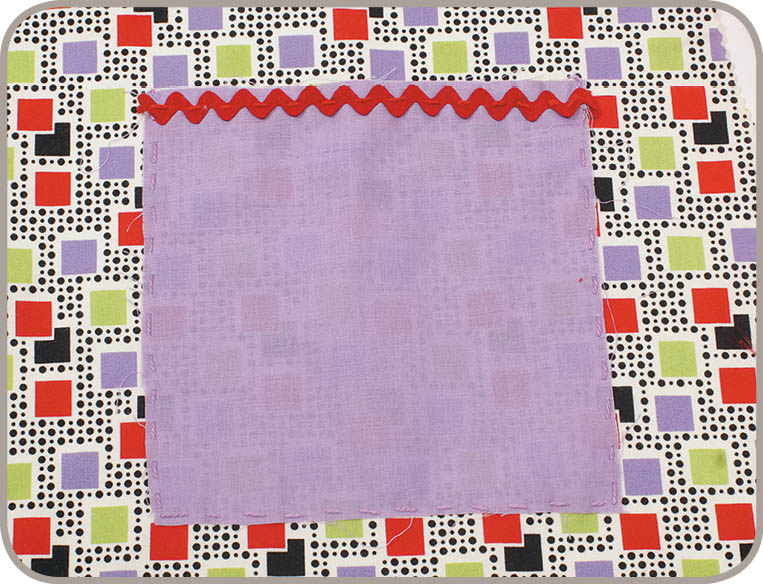
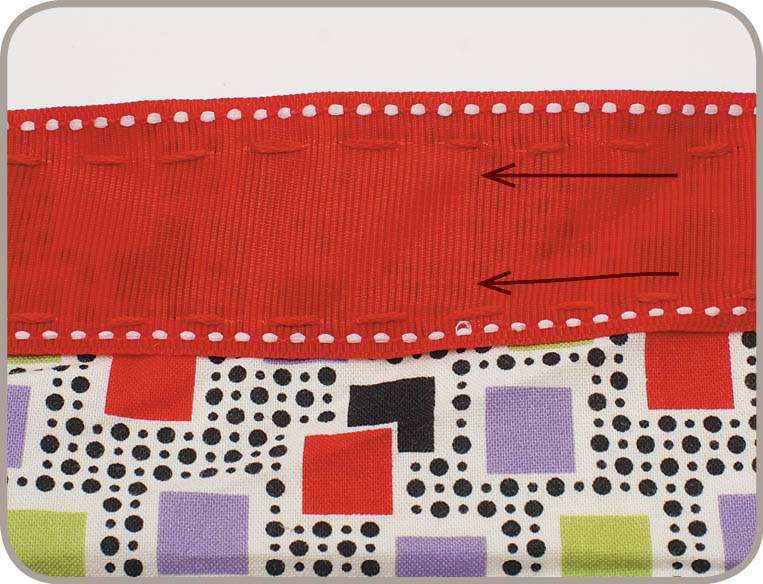
Sew some trim onto your Hold-My-Stuff Bag, or glue on patches to decorate an Eye-See-You Case. It’s fun to add trim to your work. The sky is the limit!
Embroider a picture of your initials on a project like a So Soft Pillow. Draw your design on fabric with a pencil. Now trace the lines with your needle and thread. It’s just like drawing with your needle!
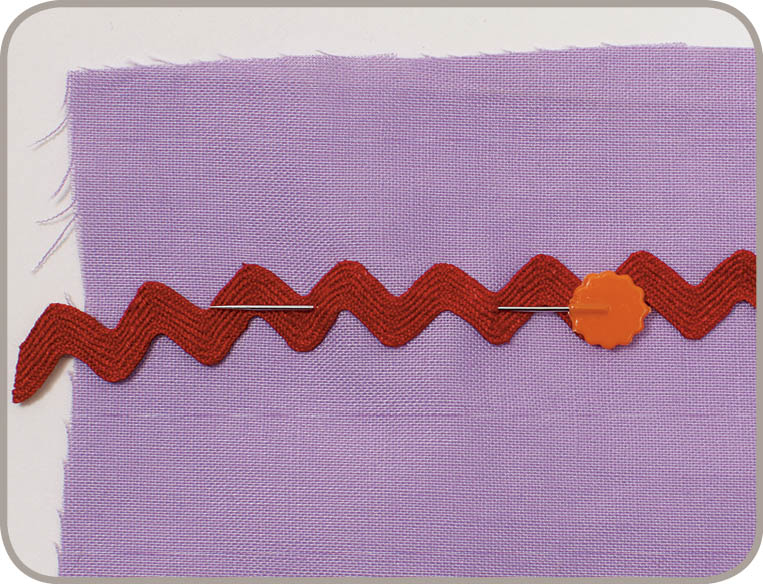
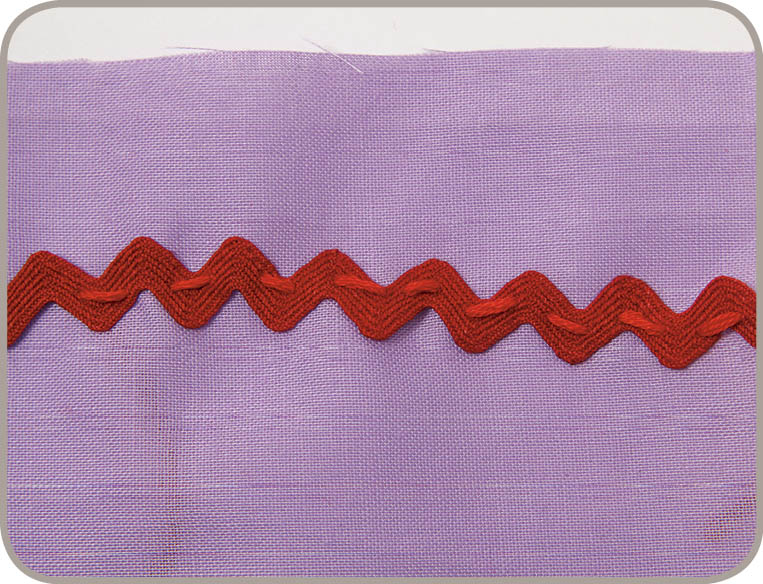
A little bit of trim can really dress up a simple sewing project. Here’s how you put it on.