Image

Scrappy Art Pin

Image

What You Need

LET’S REVIEW

Before you begin, you’ll need to know how to:

A NOTE FOR GROWN-UPS

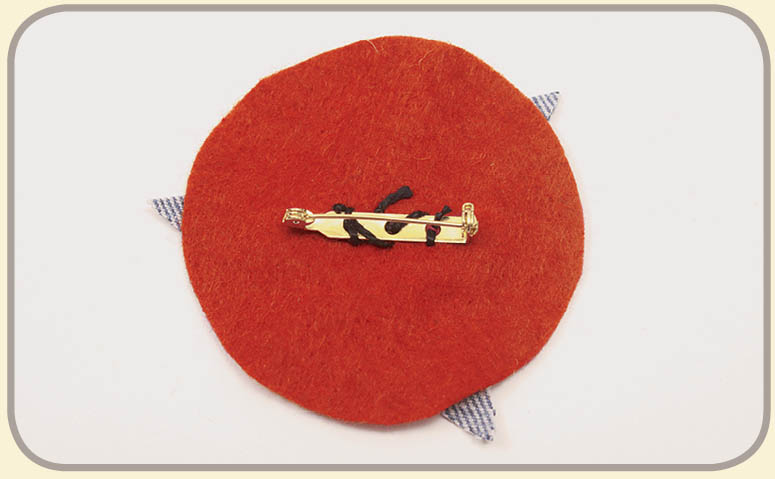
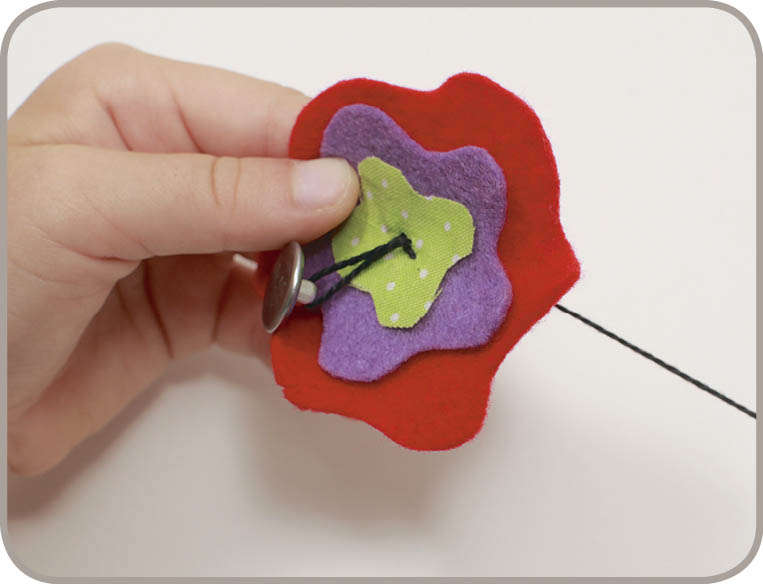
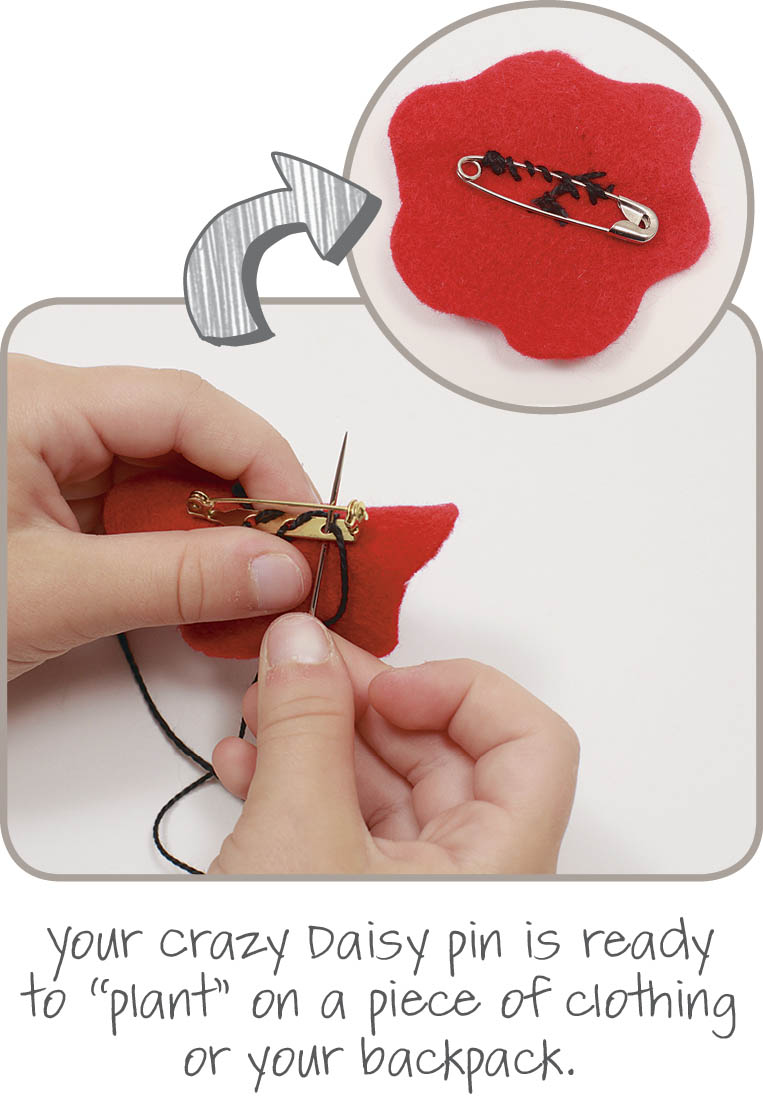
Young sewers can create so many different pins. Encourage them to use their imaginations. Keep in mind that sewing on the pin back may be challenging and require a little help from you.

Instructions

  1. 1. Print and cut out the pattern pieces. Use chalk to trace the three daisy shapes onto fabric. Use a different color of fabric for each daisy.
    Image
  2. 2. Cut out the fabric pieces.
    Image
  3. 3. Stack the daisies. You have a Crazy Daisy!
    Image
  4. 4. Sew through all fabric. Bring the needle up through the middle and then back down to the back. Do not knot or cut the thread.
    Image
  5. 5. Keep using the same thread. Bring the needle back up through the middle and add a button.
    Image
  6. 6. Sew on the button. Go through the holes in the button at least two times so it will stay put.
    Image
  7. 7. Push the needle to the back. Do not knot or cut the thread.
    Image
  8. 8. Sew on the pin back with a whipstitch. Go through only the biggest daisy. When you are finished, make a knot and cut the thread. Or you can use a safety pin instead of a pin back. Just sew it on using a whipstitch, and be sure to sew the side of the pin that does not open.
    Image

MAKE IT YOURS

Go-This-Way Pin

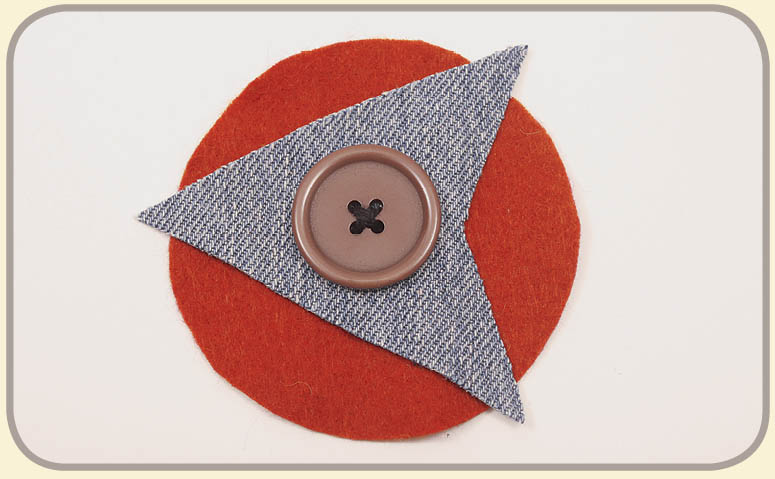
Here’s another pin that is made the same way as the Crazy Daisy, but the shape is very different! You can find the pattern for it listed in Pattern Pieces.

  1. 1. First you put a triangle on top of a circle and sew the two pieces together. The triangle looks like the pointed end of an arrow.
    Image
  2. 2. Next, you sew on a button.
    Image
  3. 3. Then you sew on a pin back or a safety pin, and the pin is ready to wear. Which way will it go?
    Image
Image