Prepping Your Plant-Powered Kitchen
Good news! You probably have a lot of the basics in your kitchen already. Pasta, rice, beans, and other familiar pantry staples are the foundations of many of the delicious meals we’ll be showing you in this book.
But there are a few key ingredients popping up in multiple recipes that may be unfamiliar to you. If the word “nooch” makes you raise your eyebrows, then you’ll find this section especially informative! Consider it your “vegucation.” First, we’ll cover the fresh foods and dry staples to keep on hand, then introduce you to the kitchen equipment you’ll need to make these fantastic recipes.
Stocking Your Pantry
With a well-stocked pantry, one thing is assured: you’ll never go hungry! When you invest in staples like rice, beans, and vegetable bouillon, and keep your kitchen stocked with onions and garlic, it’s easy to whip together dishes both sweet and savory, from Chewy Chocolate Peanut Butter Granola Bars (page 49) to Cornbread Chili Casserole (page 82). These are some of our most often used ingredients:
Dry Goods
Chocolate chips (vegan)
Flour (all-purpose)
Ground flaxseed meal
Nutritional yeast
Panko bread crumbs
Pasta (all shapes and sizes)
Quinoa
Raw almonds
Raw cashews
Rice
Sugar (brown, granulated, and powdered)
Textured vegetable protein (TVP)
Vegetable bouillon
Bottled and Canned Goods
Almond extract
Apple cider vinegar
Canned beans (assorted varieties)
Canola oil
Extra-virgin olive oil
Hot sauce (we love Sriracha)
Ketchup
Mustard (Dijon and yellow)
Peanut butter
Rice vinegar
Soy sauce
Toasted sesame oil
Vanilla extract
Vegetable shortening
Dried Herbs and Spices
Basil
Bay leaves
Black pepper
Black salt (kala namak)
Chili powder
Cinnamon
Cumin
Garlic powder
Marjoram
Nutmeg
Oregano
Poultry seasoning
Red chili pepper flakes
Salt
Smoked paprika
Thyme
Turmeric
Fruits and Veggies

Avocados
Bananas
Bell peppers
Carrots
Celery
Frozen fruit (assorted varieties)
Frozen veggies (assorted varieties)
Garlic
Mushrooms
Onions
Potatoes
Tomatoes
Zucchini
Refrigerated Items
Plant-based milk
Tofu
Vegan butter (sticks are ideal for easy measuring)
Vegan mayo
Five Superstar Vegan Ingredients
When you step into the world of vegan cooking, it can be overwhelming to see fifteen different plant-based milk options or to read a recipe calling for ingredients you’ve never heard of. To make it easier for you, let us introduce some of our favorite staple ingredients that may be new to you.
Black Salt (Kala Namak): We turn to black salt when we want to achieve an “eggy” flavor in a dish, such as Tofu Scramble (page 22) or Stephanie’s Deviled Potatoes (page 141). Black salt (which isn’t actually black and is usually pale pink) has a sulfury flavor and smell that’s very reminiscent of eggs. Skeptical? Trust us—it really lifts these recipes up a notch.
Ground Flaxseed Meal: Ground flaxseed meal (also known as flaxmeal) is another staple vegan ingredient that we turn to often as an egg replacer in our recipes. When mixed with water or another liquid and allowed to sit for a few minutes, flaxseed meal will gel and function as an effective binder in baked goods. It’s also rich in omega-3s and packed with fiber and protein. We always keep a stash in our refrigerators.

Nutritional Yeast: Also affectionately referred to as “nooch” or “vegan fairy dust,” nutritional yeast is an essential ingredient in any plant-based kitchen. Whether purchased prepackaged or from the bulk section at your local natural-foods store, you’ll find that these dry yellow flakes impart a savory, cheesy flavor to vegan mac ’n’ cheese, tofu scrambles, pesto, stuffed shells, and beyond.
Plant-Based Milk: It can be pretty overwhelming to visit the plant-based milk section at the grocery store since it’s exploding with options. For the most part, you can use unsweetened, plain plant-based milk in our recipes, but we’ve made sure to specify if another milk will work better. You’re welcome to choose the base of the milk that you’d like (soy, almond, oat, cashew, etc.), but we believe that soy milk works the best due to its high protein content, creaminess, and neutral flavor. You can also make your own milk from scratch in minutes—check out our recipe for DIY Almond Milk (page 224).

Vegetable Bouillon: Vegetable bouillon is one of our favorite ingredients. It’s essentially condensed soup stock that comes in the form of little cubes or as a powder in jars. Having it on hand makes it convenient and easy to prepare soups and sauces. In any of our recipes that call for vegetable broth, you’re welcome to use the equivalent amount of bouillon and water instead. Better Than Bouillon is one of our go-to brands; it comes in recyclable glass jars, and a single container makes thirty-eight servings.
All About Tofu

Tofu is one of the most misunderstood plant-based ingredients. Until we started food blogs, we thought tofu was weird and bland. But once we got to know this healthy protein made from soybeans, we both quickly fell in love. Tofu can be transformed into so many things. Ricotta. Mousse. Meats. “Egg” scramble. Pie filling. The possibilities are endless!
But before you run to the store looking for tofu, it’s important to understand the different types, as each behaves quite differently from the next in cooking. The two that we use most often are extra-firm tofu and silken tofu. In the refrigerator section at grocery stores, you can find tofu packaged in water, pressed tofu that’s vacuum packed, and even marinated baked tofu. Shelf-stable tofu packaged in aseptic boxes is often stocked in the unrefrigerated Asian section of the supermarket.
Extra-Firm and Super-Firm Tofu: This is the tofu we use most often. Its dense texture makes it easy to slice, dice, and crumble, and it doesn’t fall apart as easily as other varieties do while cooking. We use this in recipes including our Tofu Scramble (page 22), Rainbow Tofu Kebabs (page 134), and Tofu Bacon (page 234). Super-firm tofu is technically even more dense and firm than extra-firm tofu, but we use these interchangeably in all our recipes.
Silken Tofu: Also called “soft tofu,” this is an extremely delicate, high-moisture-content tofu that can be blended to create creamy dishes, especially desserts. We use this in our Chocolate Mousse (page 199), Pumpkin Chocolate Pie (page 176), Challah French Toast (page 39), and Fudge Pops (page 200)—all recipes that you’d never guess are made with tofu. Like extra-firm tofu, silken tofu loses any “beany” flavor when seasoned or blended with other ingredients.
Tofu Pressing

Pressing your extra-firm tofu removes excess water so that the tofu better absorbs the flavor of marinades and seasonings and eliminates excess liquid in a recipe. It also enables the tofu to crisp up better during cooking. If you don’t have time for pressing your tofu, simply wrap it in a kitchen towel and squeeze out excess liquid with your hands over the sink.
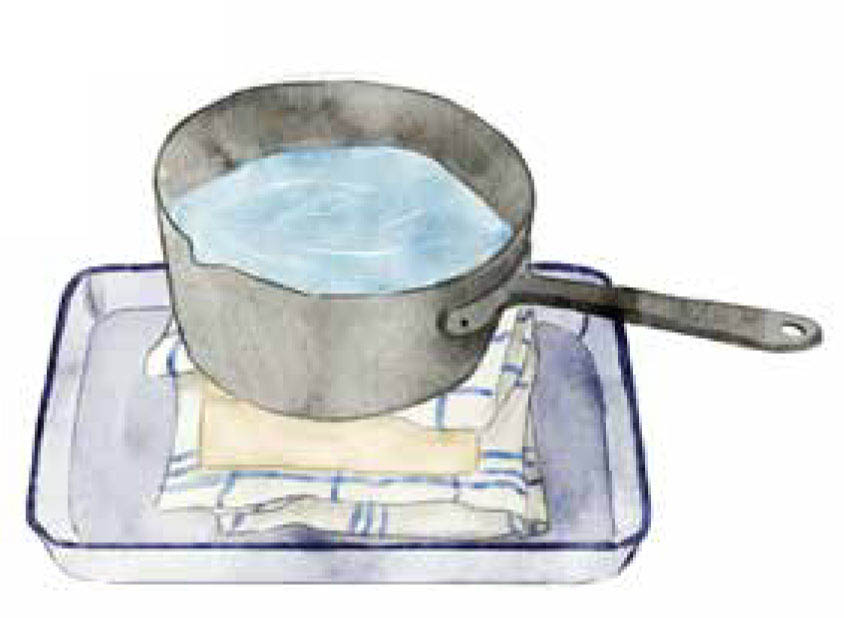
Although neither of us has ever owned one, a tofu press is a kitchen gadget worth considering. You can also use items you probably already own as a DIY tofu press. After removing tofu from its package, wrap it in a clean kitchen towel, place it on a rimmed plate or pan, and top with a heavy pot of water or stack of books. Allow it to sit for 5 to 10 minutes before using it in a recipe.
Kitchen Equipment
Cooking is a million times easier when you have the right tools, and investing in our recommended equipment will make your experience in the kitchen much more efficient and fun. Here are some of the tools we use in our book, listed from the things we can’t live without to the items that are just nice to have.
Chef’s Knife: A large, sharp, high-quality (and well-cared-for) knife is number one on our list. Many people have an entire block of knives, but 90 percent of your cutting and slicing can be done with a single chef’s knife. If you struggle to cut a tomato with a clean slice, your knife could use a sharpening (or an upgrade). Treat yoself!
Pots (Small/Medium and Large): An essential for any kitchen. We both use 2-quart and 3-quart pots regularly. And, as you’ll notice in our recipes, we love making huge batches of soup! This requires a large soup pot for maximum soupage. We both use 8-quart pots for that.
Large Nonstick Skillet with a Glass Lid: This is a staple for stir-fries, tofu scrambles, and beyond. The lid is needed for a few of our favorite recipes, including Mexican Rice (page 161).
Microwave: Microwaves are handy for melting chocolate without a double boiler and for reheating leftovers fast without the oven.
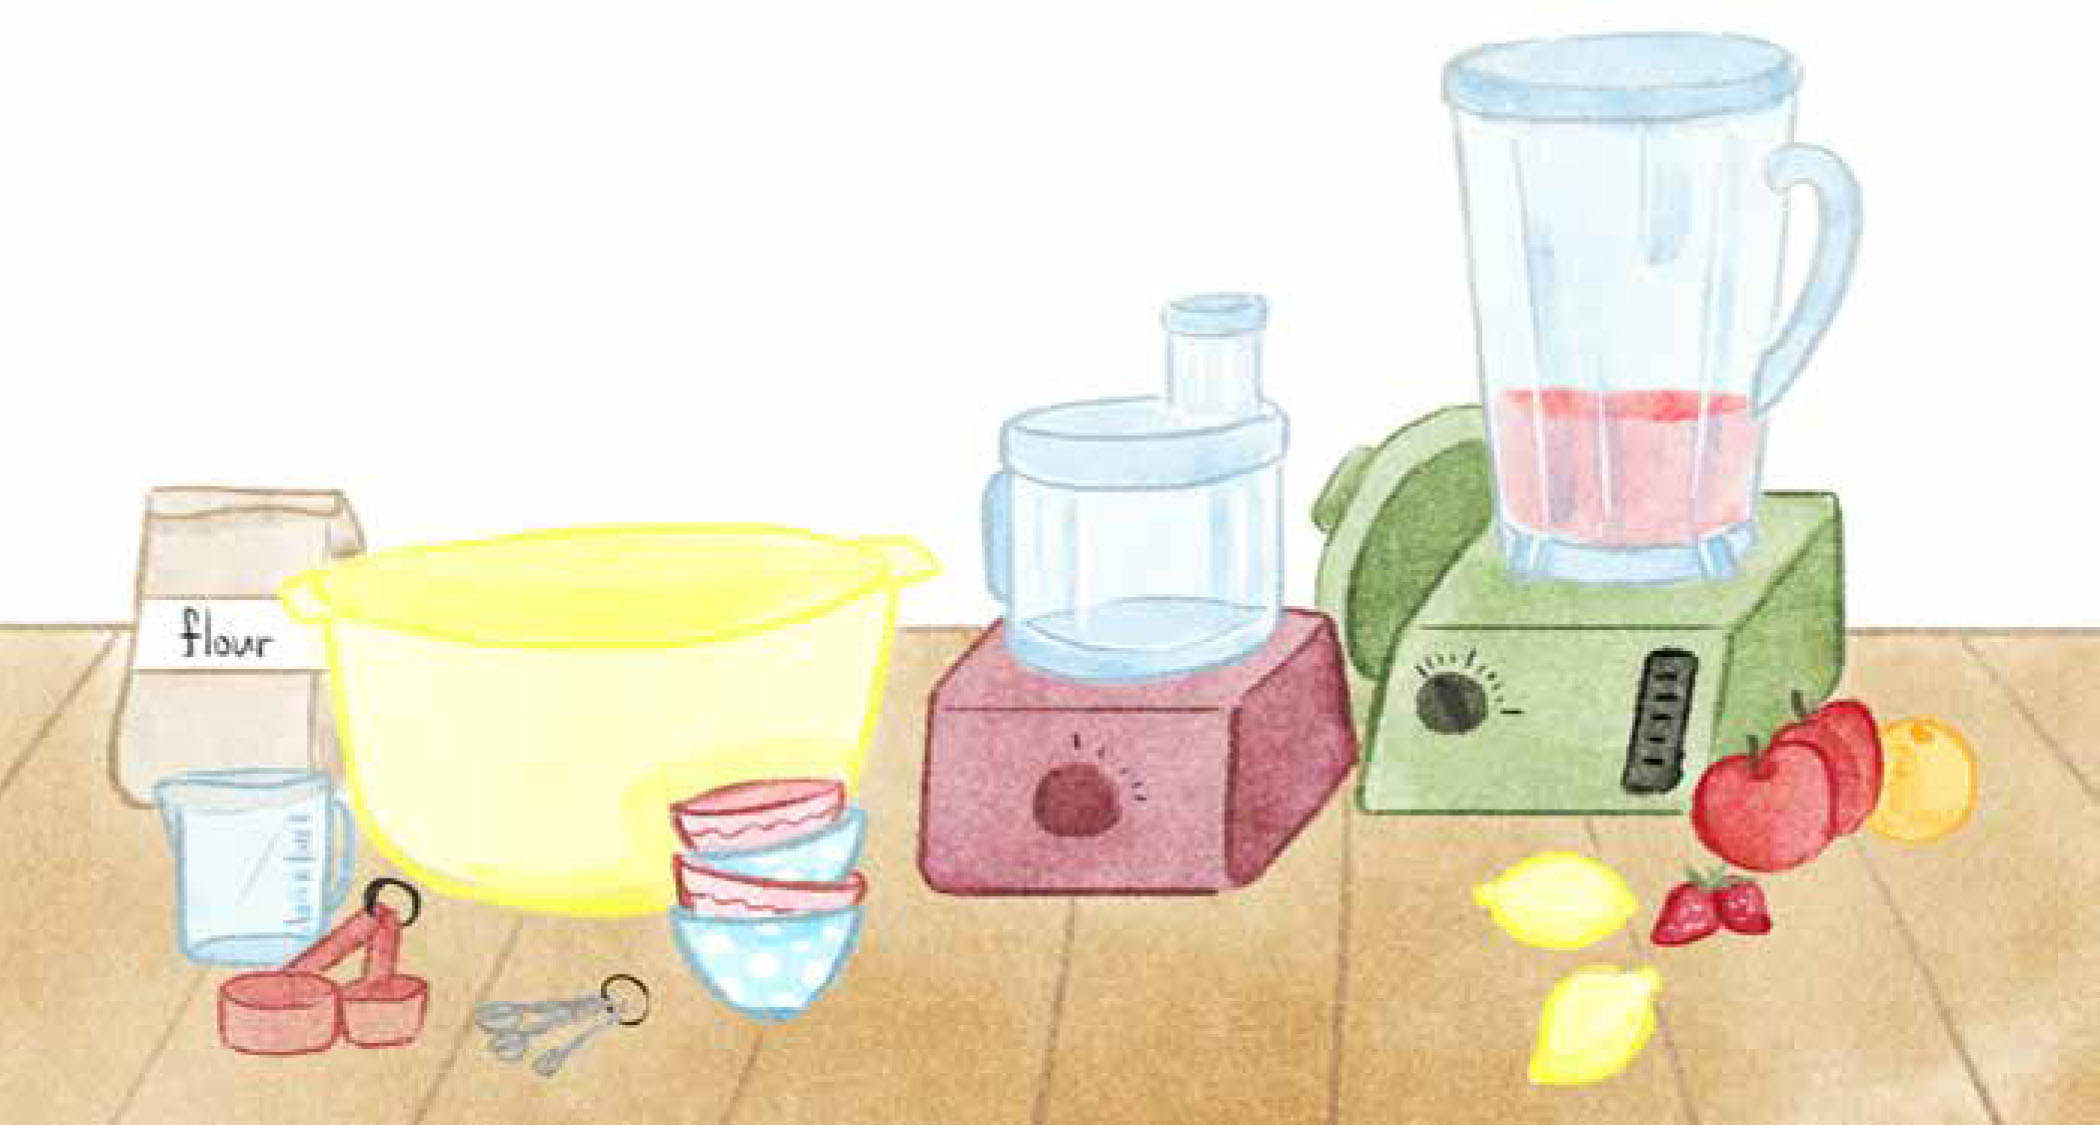
Measuring Cups and Measuring Spoons: Our recipes are measured in cups, tablespoons, and teaspoons, so a nice set of measuring cups and spoons are essential for making the recipes in this book. You can even find some good sets at your local dollar store.

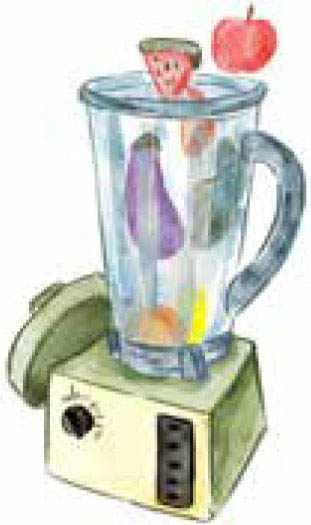
Blender: A blender is central to most vegan kitchens—not only for smoothies but also for creamy sauces, cheeses, and blended soups. If you’re able to invest in a high-powered blender, it will pay off for years to come. We both use a Vitamix and believe it is totally worth the investment.
Baking Pans or Sheet Pans: Any baking pans will do, but our favorites are aluminum commercial baker’s half-sheet pans. Two is all you’ll ever need, and when cared for, they can last a lifetime.
Silicone Baking Mat: Silicone mats have totally changed the baking game. No longer will you have to worry about your cookies or veggies sticking to the pan, nor will you need to get your hands slimy buttering the baking sheet. You’ll also use less butter or oil, making recipes a tad healthier, and you’ll save money by not having to purchase parchment paper so often.
Cake Pans: You can find these in any size, but we recommend 8-inch pans as a nice standard. If you foresee baking layer cakes, it’s handy to get two or three so you can bake all the layers at once. And if you want to make our Birthday Cake (page 170), you’ll need three cake pans! You can also invest in a cake leveler if you’ll be making multitiered cakes. This helps create a flat top that looks beautiful and professional when frosted.
Springform Pan: For our Ice Cream Cake (page 191), we call for a springform pan to make the process much easier. This pan allows you to release the cake in its original form without damaging it.
Cupcake/Muffin Pans: Essential for cupcakes and muffins, of course!
Cupcake Liners: We have a little drawer in each of our kitchens where we stash cupcake liners, sprinkles, and pastry bags and piping tips (for decorating with frosting). Not all of these are essential, but cupcake liners are always useful to keep on hand. You’ll also need them for making our Peanut Butter Cups (page 207).
Pastry Bags and Piping Tips: These will help your baked goods look like treats straight from a bakery. You can substitute a plastic bag with a corner cut off instead, but your cupcakes, cakes, and deviled eggs won’t look quite as refined as they would with professional piping tips (which you can get for just a few dollars). You can also buy reusable silicone pastry bags to cut back on plastic waste.
Donut Pan: If you’d like to make our delicious Donuts (page 189), you’ll need a standard-sized nonstick donut pan.
Ramekins: It’s handy to have some extra-small bowls, also known as ramekins, for heating or mixing very small portions.
Food Processor: A food processor is another kitchen essential used throughout this book. It is a magical tool that can shred, slice, chop, mix, and purée ingredients, and it will save you both time and energy.
Immersion Blender: You can get away without an immersion blender (we both did for many years), but it does make life easier when you’re making creamy soups. Instead of having to dump hot soup into a blender, you can pop the little immersion blender straight into the hot pot on the stove and give it a whirl. It is inexpensive, relatively small, and easy to store in your kitchen.
Nut Milk Bag: True, many people go through life unaware that nut milk bags even exist. But in a plant-powered kitchen, they’re extremely handy. You’ll use these to make your own nut milk in minutes, and for recipes like our Fettuccine Alfredo (page 75) and Horchata (page 214). They cost just a few dollars and take up almost no space. You can order them online or find them at many natural food stores.
Waffle Iron: Our Waffles (page 29) are crunchy on the outside, soft on the inside, and perfect for Sunday brunches, and to make them, you’re going to need a waffle iron.
Popsicle Molds: To make our Fudge Pops (page 200), it’s helpful to have popsicle molds. You can get them pretty much anywhere during the summer, and online all year round. In a pinch, you can use an Okamoto family hack: pour the mixture into an ice cube tray, cover the tray with aluminum foil, and stick toothpicks into each cube before freezing.

Sushi Mat: If you plan on making sushi regularly, we recommend a sushi mat. It makes the rolling process much easier, creating a tighter, cleaner roll. If you don’t have one, you can also use your hands to roll your sushi like a burrito.
How to Melt Chocolate
Double Boiler: The surest way to melt chocolate is to use a double boiler (or makeshift double boiler) because you can watch and constantly stir the chocolate as it melts—so you’re less likely to burn and ruin the chocolate. To make your own double boiler, fill a pot with 1 or 2 inches of water and place over medium heat on the stove. Place a smaller heat-proof bowl over the pot, put the chocolate in the bowl, and allow the steam to melt the chocolate while stirring frequently.
Microwave: In a small microwave-safe bowl, microwave the chocolate for 30 seconds. Mix with a fork until smooth. If the chocolate is still lumpy, microwave for additional 20-second intervals, mixing in between each, until the chocolate is completely smooth.
Note: Chocolate is sensitive to heat and can seize up and harden if you aren’t careful. Once the chocolate seizes, it’s no longer usable in our recipes.
Okay, friends. We’ve now prepared you with the basics that you need to stock your pantry and your kitchen, and throughout this book you’ll find many more of our tips for how to prepare food in the most efficient and tasty ways possible.