DRAINAGE
Drainage is a very important part of container gardening. More plants are killed through overwatering than underwatering, especially in today’s unpredictable climate. So it is crucial that your containers get the right amount of water.
Generally, with most plants, you need to include at least one large, or several small, drainage holes in the base of your container. Think of the standard black plastic pot that your plants come in from the garden center, which have several holes in the bottom—that gives you an indication of how well drained most plants need to be. As ugly and environmentally unfriendly as those pots may be, they are arguably the most effective receptacles for growing plants.
It is important to get the right amount of drainage for specific plants, so be aware of the needs of the plants you are using. There are many plant species that need a lot of water; for example, bog gardens have become more popular, encouraging people to grow plants that thrive in a waterlogged or permanently moist environment. If you decide to make a bog-garden container, put one small drainage hole in the bottom, just to make sure the soil doesn’t get completely waterlogged and toxic—but only one; otherwise, the drainage will be too effective and therefore unsuitable for the species you want to grow. If you are making a pond in a pot, there is no need for any drainage holes at all. In fact, if you do put them in, rather than a glorious haven for aquatic plants, you are more likely to have to file a claim on your homeowners’ insurance, or at least get complaints from the downstairs neighbors, when the contents flood out!
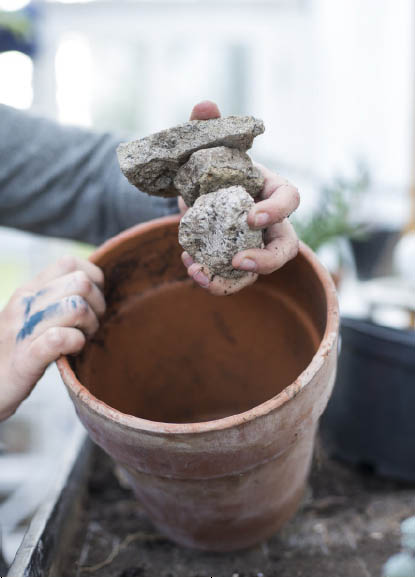
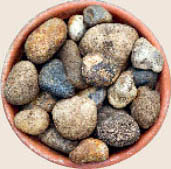
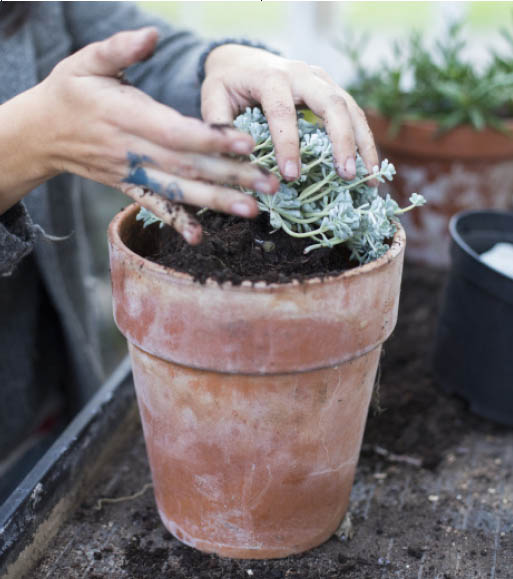
Another good way to improve drainage is by using pieces of stone or, more commonly, broken-up pieces of hard clay or pottery that go in the bottom of your container before you add the growing medium.
How much of this material you need depends on the conditions that your plant prefers. Obviously, the more drought tolerant your plant is, the more stones or pieces of pottery it will need in the container, but even moisture-loving plants should have a few pieces in the base of the pot because they serve to stop the buildup of wet, sloppy soil that becomes full of pathogens and toxicity due to waterlogging. No plant likes that kind of moisture; even in a pond pot, you will need to include oxygenating plants to get air to the roots of the aquatic plants. A sloppy base of soil will do nothing but harm. So sticking a few stones or pieces of broken pottery in the base of the pot gets the water moving through the soil quickly once it gets down to a deeper level in the container. They can also cover the holes in the pot to make the soil inside less likely to fall through the drainage holes when you water. So it’s win-win.
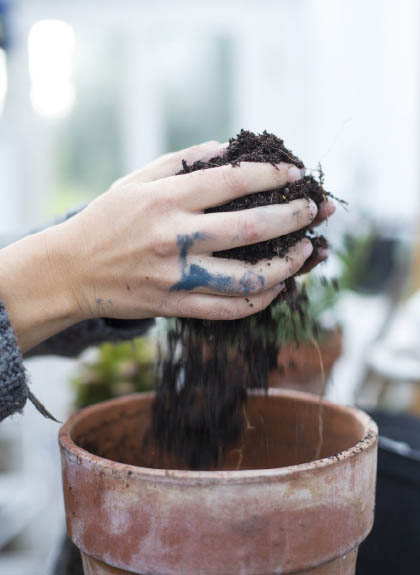
SOIL
The next consideration (and now we are really into the nitty-gritty) is the soil that you use. This is where things start to get a little more complex. Unlike all the other steps, it is not just a case of choosing your soil and letting the plants do their thing. Whatever growing medium you choose will need to be replenished on an annual or biennial basis to keep plants thriving (see page 152).
In technical circles, we use the term “growing medium” or “substrate” rather than “soil,” simply because a lot of plants don’t necessarily like a soil-based medium. The pond in a trough (page 106), for example, uses water as its substrate, whereas something like an orchid grows best in chopped-up cork. Get the substrate right, and you are more than halfway to success. If in doubt, consider it a general rule that most plants like a neutral to slightly acidic soil.
SOIL TYPES SIMPLIFIED
Acid lovers
Edibles (fruit and vegetables)
Edibles (herbs)
Seeds and cuttings
Conifers
Water lovers
Aquatics
Orchids
Cacti, succulents and drought lovers
Ericaceous soil
Nutrient-rich soil (with manure)
Free-draining soil with sand or gravel added
Low-nutrient soil
Slightly acidic soil
Humus-rich soil
Water
Cork or bark
Free-draining soil with a lot of sand or gravel
Soil mixes can create some differing opinions. For many generations, we have used peat as our principal growing medium for a number of reasons. First, it is very good at retaining moisture without getting waterlogged. Second, it is low in nutrients, which means that you can add whichever nutrients the particular plants you are growing will need, tailoring it to their exact requirements. There are, however, some rather dramatic drawbacks to some soil blends. Peat is an endangered and ever-decreasing material; peat bogs take thousands of years to form and are unique environments. Despite much research, scientists have found it impossible to recreate the conditions in which peat develops. The bottom line is that we are eating into a finite resource when we add peat to soil, so it is worth investigating the available peat-free alternatives, which I always try to use wherever possible.
However, there are also objections to some of the alternatives. Coir, for example, is a great peat-free growing medium that is a waste product from the coconut industry, but it is often associated with less-than-fair-trade working conditions and, of course, high air miles.
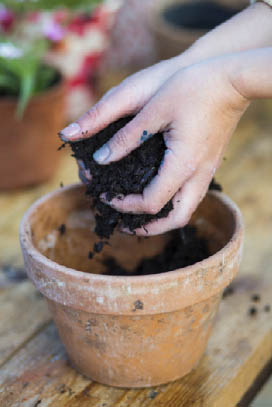
Another, fairly obvious, alternative to peat is a soil-based compost. This is a great option because you can produce it yourself by mixing your own garden soil or bought topsoil with compost and composted leaves, which makes it a cheap option. The only drawback is that its drainage levels vary, depending on what type of soil you have or the kind of soil-based compost you buy. You may have to improve the drainage by adding something from the “soil additives’” section (see page 54).
Something that I use often and really like as a basic container growing medium, is a compost made from cattail (bulrush). It’s light and free draining, and it grows healthy specimens. It is a very sutiable alternative to peat because it is a completely renewable resource.
So there you have the minefield that is choosing your growing medium. Now what do you do with it?
ADDITIVES
There are many substances you can add to your soil at this stage of planting your container that will make your plants healthier and, crucially, make your life easier in the long term. So what are these additives and what do they do?
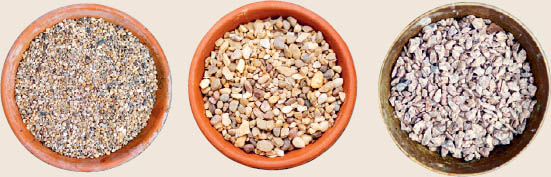

GRAVEL OR SAND
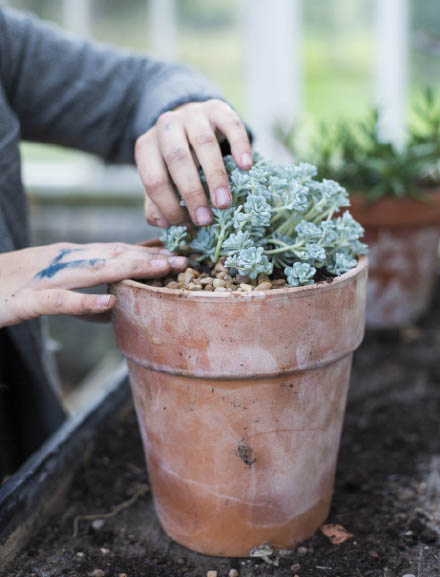
As someone who has had to empty many a waterlogged pot that sat in its own juices for months on end, I can tell you that it is not a fun job! This issue can be easily avoided by adding a little bit of sand or a few scoops of gravel. Neither material will harm your plants, and adding it could pay dividends in the future. For plants that need a lot of drainage, such as bulbs—lilies, in particular—and Mediterranean plants, such as geraniums, thyme, and lavender, make the soil and gravel/sand mix a 50:50 split. The compost retains moisture and nutrients and gives the plant’s roots a good structure to hold on to, while the sand or gravel allows the free movement of water around the roots and stops waterlogging. For less drought-tolerant species, add a few scoopfuls of gravel or sand just to help your plants out. If you have a bog pot or pond pot, then keep the gravel to a minimum. Succulents and cacti can be grown in gravel with just a little soil added.
WATER RETAINERS
The next additive that you can use is something that helps containers hold on to their moisture. Water-retaining additives come in all shapes and sizes. For example, some are like clear glass marbles made out of gel that slowly release their moisture and then shrink, and there are water-retaining crystals that look like crystalline salts and swell when you water your containers, slowly releasing their liquid over a period of time, meaning that you need to water less frequently. They work very well for hanging baskets or pots that are hard to get to, or you can add them to your pots if you are going away on a short trip. The easiest way to use these little beads of moisture is to add them to the soil as you are making up your containers. That way, you won’t cause any root damage by digging into the pot later, when the plants have established themselves.
PERLITE & VERMICULITE
They may sound more like ways to kill Superman than items to use in your garden, but, trust me, perlite and vermiculite are wonderful. Perlite is exploded volcanic glass—a bit like pumice, but heated to incredibly high temperatures. These little bits of rock are totally inert, meaning they contain neither nutrients nor anything harmful. They hold moisture because of all of the air that’s been introduced to the rock in the heating process, but they do little else. That is why perlite is so good for growing cuttings: it allows the stems to root without overfeeding, which can lead to weak growth. It is also a good soil amendment because it increases drainage and adds moisture retention.

Perlite is also astoundingly light, making it a great addition or alternative to gravel or sand in a hanging basket or window box that you do not want to be too heavy for structural reasons. It is completely natural, so it does not compromise any organic principles you might have, although there is a little energy required to heat the rock in the first place as well as some air miles associated with its import. Overall, it is a relatively cheap, easy, and effective way of improving your compost. Try a 50:50 mix with a multipurpose soil for general use in a container and with soil for seeds and cuttings. Otherwise, try a 50:25:25 mix with half soil, a quarter gravel or sand, and a quarter perlite. If the plants that you are growing are particularly moisture loving, don’t overdo the perlite.
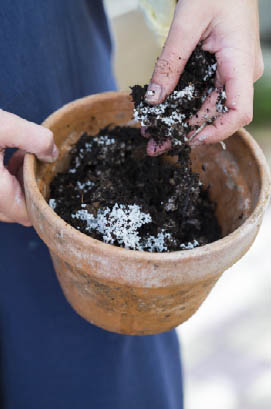
Vermiculite is a similar product to perlite and is used in a similar way. It is incredibly light and holds on to moisture, but it also contains air, so it allows some gas exchange in the soil. It is made from hydrated minerals and, because it is so light, it is often used to top-dress the soil, particularly in seed containers, covering the seed with a light layer of moisture-retentive particles. It doesn’t have the same structural integrity as perlite, so it gets squashed down into much smaller particles and breaks down quite quickly in the soil. That is not a bad thing—it’s just different from the tenacious perlite. Essentially, both perlite and vermiculite will do the same job, but one will do it for longer than the other.
FERTILIZERS
You will need to add fertilizer to your containers throughout their lifetime. The easiest time to add fertilizer is when you first plant your pots, because that is the most effective way of dispersing it evenly throughout the soil. This way, the roots—both existing ones and potential new ones—will be fertilized equally. So mix the fertilizer with your soil or compost, along with your gravel or perlite or sand (or all three) and and any other additives, and then put it in your container along with your plant or plants. Simple(ish)!
NUTRIENTS
But what fertilizer do you use? There are twelve essential plant nutrients that will almost always be present in whatever fertilizer you add to the soil, as well as in smaller quantities in the soil itself and in compost. These nutrients are:
Nitrogen
Phosphorus
Potassium
Sulphur
Magnesium
Calcium
Iron
Boron
Manganese
Zinc
Molybdenum
Copper
Of these twelve nutrients, there are three that plants need in considerably higher quantities than the rest, and they will be represented on the fertilizer’s packaging in the form of a ratio. The nutrients are usually listed in the following order: N (nitrogen): P (phosphorus): K (potassium). These are known as primary nutrients. The rest of the nutrients will not be shown on the packaging because plants need them in such miniscule quantities.
So what do those three major nutrients do? Well, nitrogen is needed by the leaves of the plant. If you are growing a shrub or a herbaceous plant that is grown more for its leaves than for its flowers, or a leafy vegetable, choose a fertilizer with a higher level of N. If you are using natural fertilizers this will be a substance like manure; chicken manure in particular is noted for its high nitrogen levels.
Phosphorus is needed by roots, so any plant with a weak root system that must be built up, or one that has tubers, rhizomes, or any kind of storage root, such as dahlias or root vegetables, will need higher levels of phosphorus.
Potassium is required by the reproductive parts of a plant: the flowers and the fruits. For any plant that’s grown solely for its fruits or for its flowers, use a fertilizer with a high level of potassium. For a natural version, seaweed, wood fire ash, and bat manure are particularly good.
It’s important to note that all plants need all three of these nutrients, plus many more, and nearly all fertilizers are higher in nitrogen than any other element. That is OK; don’t be put off by a certain fertilizer because it is high in nitrogen when you need something with high potassium, for example. Just look for the product that has the highest potassium level while keeping in mind it will still have more nitrogen than anything else.
TYPES OF FERTILIZER
There are all kinds of fertilizers on the market, but they are all divided into two distinct groups: slow release and quick release. A slow-release fertilizer stays in the container for a number of weeks or months and seeps its nutrients slowly into the growing medium, providing a sustained feeding system. A quick-release fertilizer provides, as the name suggests, an immediate rush of nutrients. It gives a boost when it’s needed and then is gone just days later. Both types can be natural or synthetic, and organic or inorganic. I tend to stick to the organic kinds whenever possible. These usually take the form of manure (either horse—which is easiest to come by—cow or chicken), which needs to age for six months to a year before it can be mixed into your compost. Essentially, this just means that you leave the manure outside, usually (but not always) covered, until the toxic compounds, such as ammonia, have broken down to be replaced with usable compounds, like nitrates.
Another organic fertilizer is bonemeal: dried fish, blood, and bone. This is a granular fertilizer that you can mix with the soil or scatter immediately around the roots of plants. It is technically a quick-release fertilizer, rapidly dissolved and absorbed, but it hangs around in the soil for a few weeks, if not months.
It is worth noting at this point that the more free draining your soil, the quicker the fertilizer you add to it will be washed away. So you must strike a balance. For the perfect combination, aim for a soil that is free draining but (and this is the crucial part) moisture retentive, unless your plant has special requirements.
Finally, a super quick-release fertilizer, and one that I use a lot, is comfrey tea. It is free to make if you have comfrey growing in your garden, or it can be foraged with the landowner’s permission. It is worth growing a pot of comfrey just to guarantee a constant supply of this precious liquid (see right)! It works like tomato feed or liquid seaweed, and you add it to your watering can.
For comfrey growers who want longer-lasting results, cut the leaves and dig them into or lay them on top of the soil. This makes a slow-release version of comfrey-tea fertilizer.
The aforementioned are all organic options, but if you go to a garden center, you will also be able to find inorganic versions. Slow-release fertilizers usually come in pellet form and release their goodness into the soil over two to three months.
Although it can be tempting to pile it on when applying fertilizer, always read the instructions on the package and err on the side of caution. Overfeeding plants, far from saving you time, can actually cause damage by either stunting them badly or, in the worst case, killing them altogether. More is not always better when it comes to fertilizer; a healthy balance is best.
ALTERNATIVE MANURES
There are many other manures available, but they can be more difficult to get your hands on. Bat manure is incredibly high in potassium, so if you know a bat conservation society or anyone who has bat boxes, it may be worth befriending them. Alpaca manure is also highly sought after. There are alpaca farms springing up all over the place, and the manure is ripe for the picking. The great thing about alpaca manure is that you don’t need to age it at all—it can go straight from posterior to pot, so to speak. Just make sure that you wear gloves when you handle it.
COMFREY TEA RECIPE
To make comfrey tea, remove the leaves from the comfrey plant and immerse them in a bucket of water, stirring the concoction every few days for two months. You might want to place a large stone on top to keep the leaves submerged. Do beware of the smell—it is potent. It’s a good idea to cover the bucket with a lid and perhaps place it in a less-used part of your yard. After two months, dilute the comfrey tea into your watering can at a ratio of one part comfrey tea to ten parts water and then use it to spot-feed plants.
MULCH
Mulching is one of the last jobs you need to do when planting containers. It is optional but worth doing. Mulch can be a strange concept for nongardeners; it is basically a layer of material that lies on the top of the soil, but it serves a good purpose.
Mulch is designed to make your life easier and is surprisingly effective. It keeps weeds at bay by preventing light from getting to the soil, which stops weeds from gaining strength. It also stops your containers from losing too much water, which means you can water less often. Plus, it looks much more attractive than bare soil.
You don’t need to add mulch—the plants will not die without it—but when growing in containers that you want to be aesthetically pleasing, it really does help finish them off.
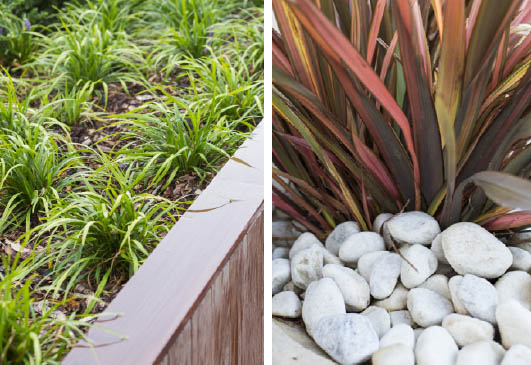
Gravel usually provides the nicest look, but you can also use bark, matting, or even soil, which will feed the plants over time, too.
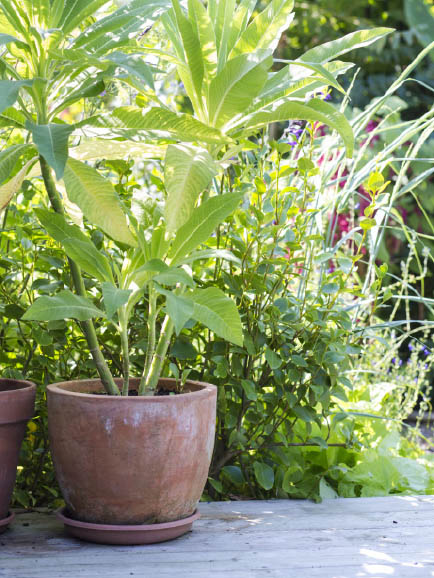
DRIP TRAY
Once your container is finished, with all the features such as drainage, fertilizer, mulch, and the plant itself in place, all that’s left to do is water it. And here’s where a drip tray comes in handy.
A drip tray is a container that catches any excess water that runs through the soil and out of the pot’s drainage holes, and there are a few good reasons for using one. One reason is to protect any surfaces your container is perched on—such as decking, a balcony, a windowsill, or concrete—by preventing water from sitting around the base of your container for long periods. Having a drip tray also allows you to water less frequently, because any water that flows through the soil in the container will sit in the drip tray and get slowly pulled back up by the plant’s roots through capillary action—the roots suck up the water like a straw. This has obvious benefits for the environment, too, because it means lthat ess water is wasted. However, be careful not to overwater your plants; in general, plants do not like to sit in moisture all the time, so make sure your drip trays aren’t always full of water.
As well as being really practical, drip trays can also be attractive. Often they may sit at the bases of pots and are pretty innocuous, but there are trays that completely cover your pots, meaning that you can pot plants in any old container and then hide them entirely with a lovely, ornate drip tray.
Handy and practical—that’s a combination that you should never underestimate!
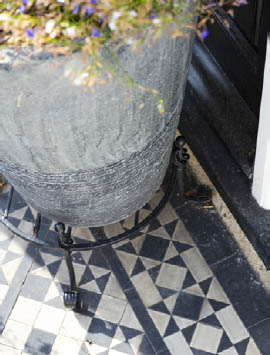
If your pot is very big, and you don’t want to ruin the floor, or if you have a very ornate floor and are worried that the pot itself will cause damage, then placing your pot on a structure that lifts it off the ground can be a good idea.