

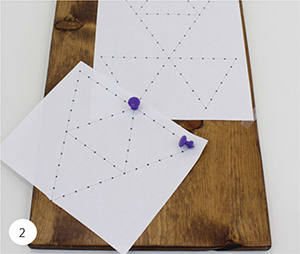
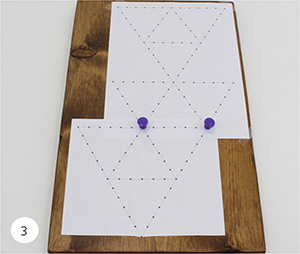
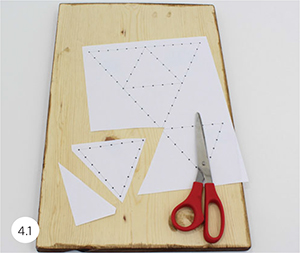
Some of my favorite string art designs are the abstract ones, such as this grid of triangle tiles. In this project, we are going to walk through the basic steps of duplicating and expanding a pattern to fill your space. By taking multiple copies of the same pattern, you can easily trim and align portions of it to create your own unique design. You can also use this basic pattern to make larger triangles or mix and match different sizes.
Pine board: 1" × 12" (2.5cm × 30.5cm), cut to 23" (58.5cm) long and stained (Shown: Minwax Wood Finish in Classic Gray)
5⁄8" (1.6cm) silver nails
Embroidery floss in 8 colors (Shown: DMC 907/Light Parrot Green, 910/Dark Emerald Green, 992/Light Aquamarine, 3844/Dark Bright Turquoise, 824/Very Dark Blue, 823/Dark Navy Blue, 915/Dark Plum, 891/Dark Carnation)
2–3 photocopies of pattern (page 92)
Picture-hanging hardware
2 felt furniture pads
Tools: Hammer, needle-nose pliers
Basic supplies: Superglue, scissors, thumbtacks, transparent tape
Preparing a board (page 8)
Applying a nail pattern (page 9)
Stringing basics (pages 10–11)
Double-wrap technique (page 13)
23" × 11.5" (58.5cm × 29cm)
Note: These steps describe and show the general method of connecting triangle tiles in whatever pattern you choose. Shown on page 93 is just one of many possible designs.
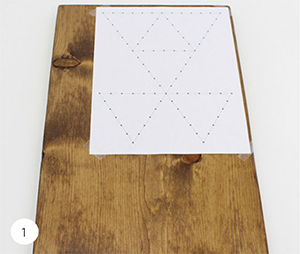
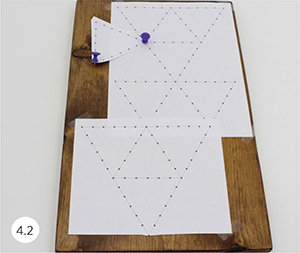

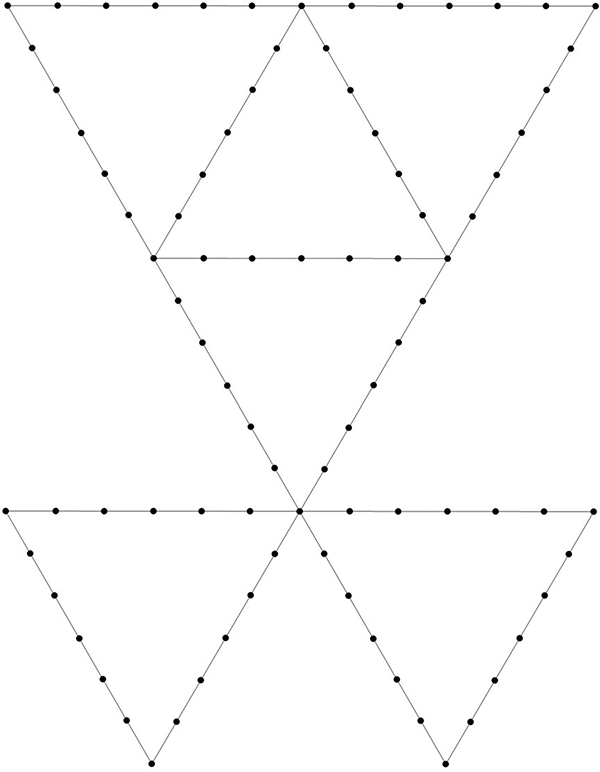
Triangle tiles pattern
Enlarge at 133%.
